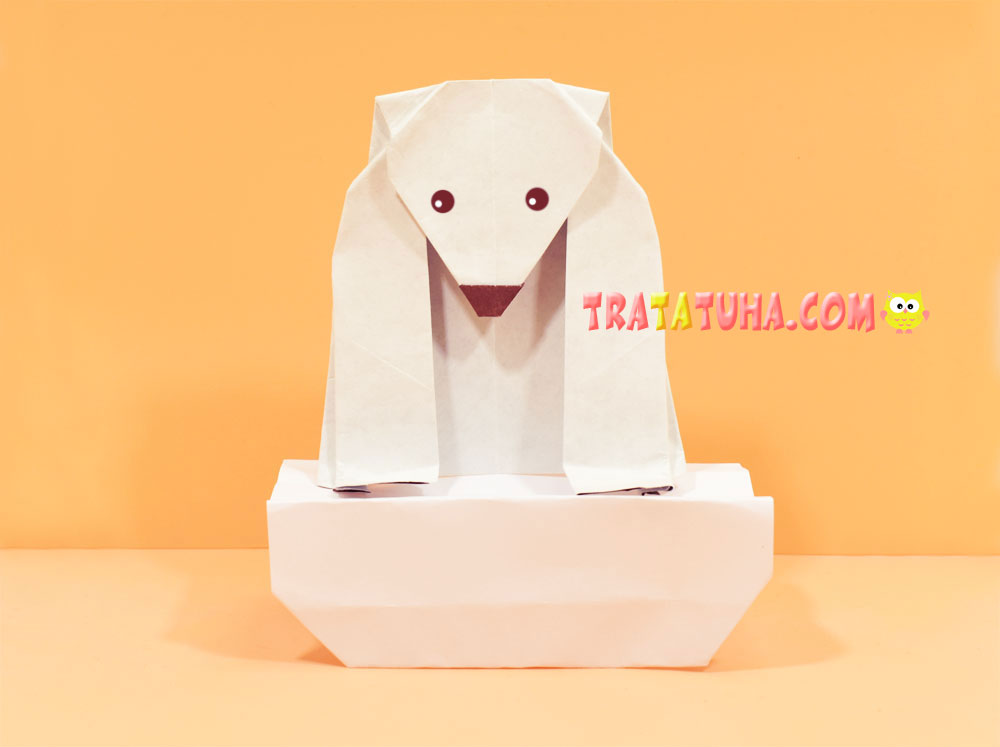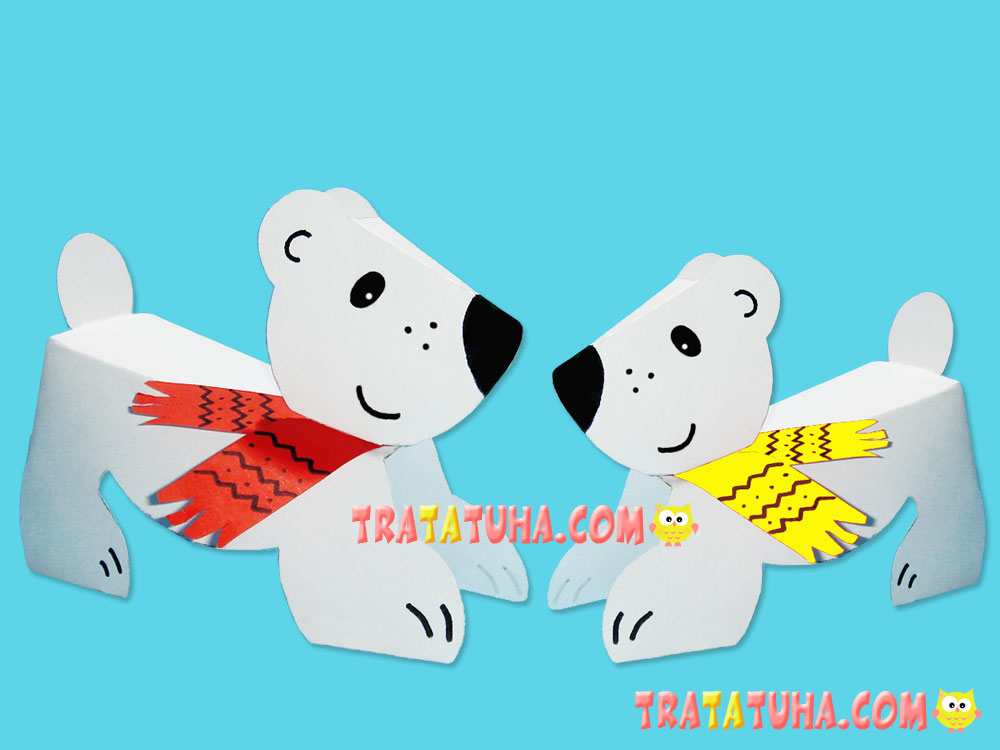
A polar bear made of paper is an excellent winter craft. The step-by-step instruction contains a template that will make the work as easy as possible.
You will need:
- White paper;
- A bit of coloured paper for a scarf;
- A black felt pen, scissors, a glue stick.
DIY Polar Bear Craft
Thanks to the ready-made template, it is not difficult at all to make the bear. Print the template with the bear’s head and body or copy it.
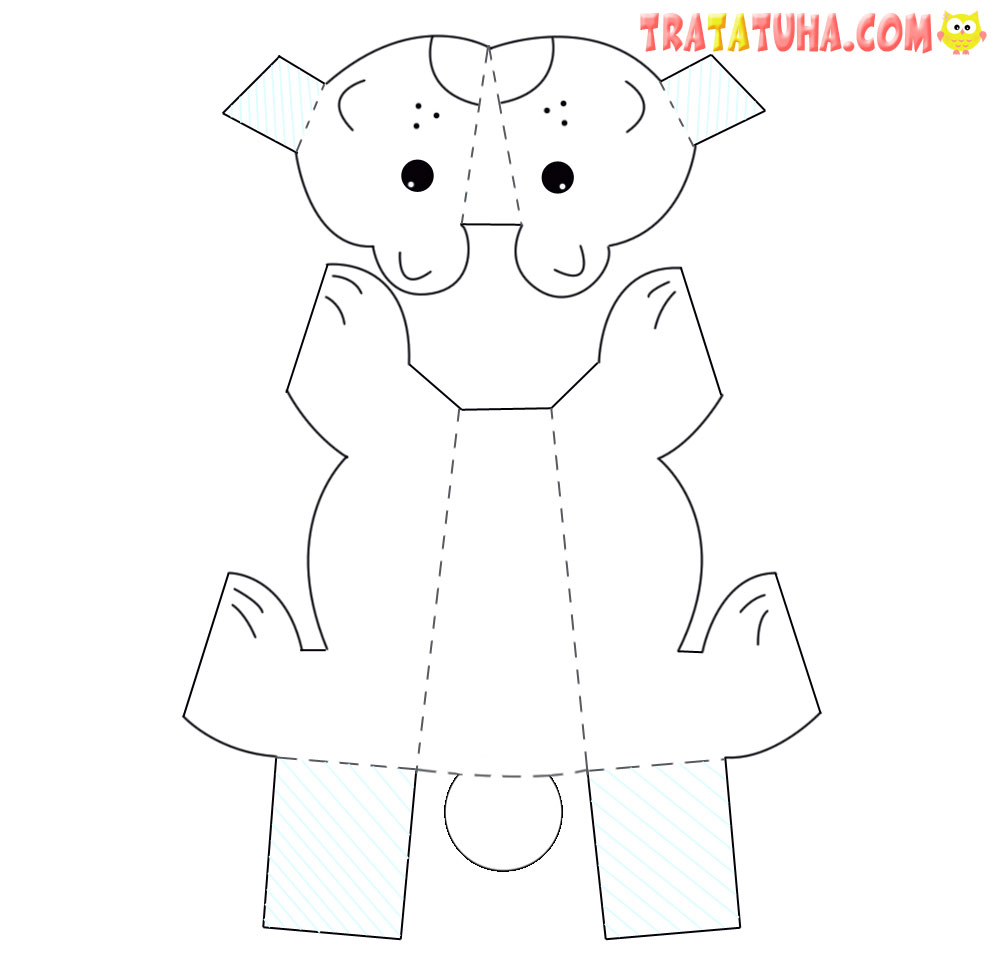
Pay attention to the template. Straight lines are for cutting and dashed ones are the places of folds; shaded blue areas – the area of gluing.
Cut along the contour. At this stage, it is convenient to use a black felt pen to draw a nose, eyes, smile, and various lines on the paws and ears. If you have printed the template, these details will already be present; you can only outline or renew them with a felt pen.
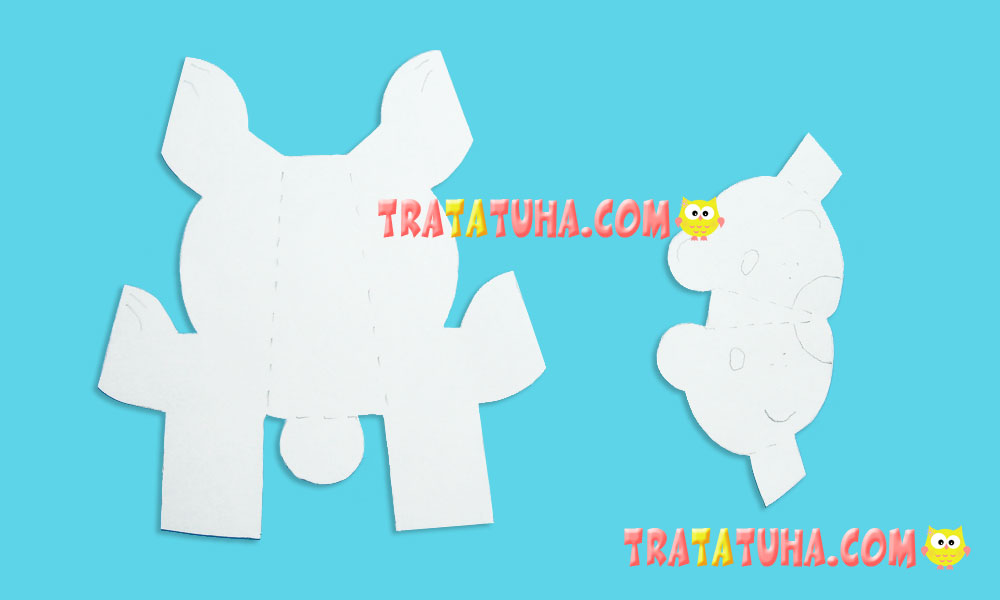
Fold the cut details along the dashed lines. Glue together in the shaded areas.
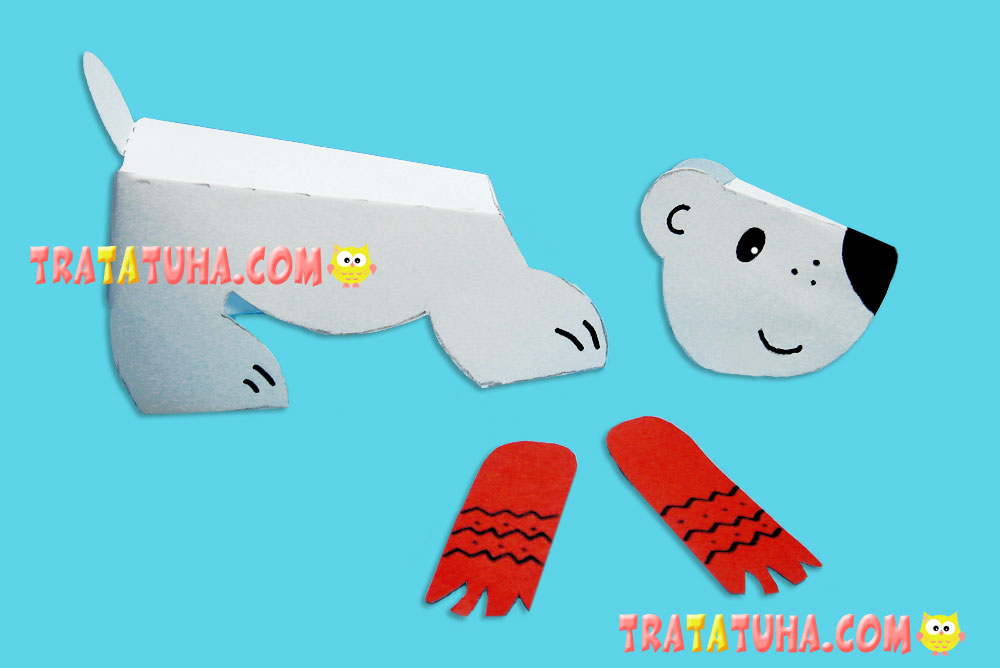
Optionally, you can cut out a scarf. You can cut out two small stripes of any color, or make them slightly rounded with a fringe at the ends. You can add a bit of your own imagination into this seemingly conventional work by painting the scarf, for example, or drawing template on it.
Glue the scarf to the already made body and the head atop of it. That’s it, the Polar Bear Craft is completely ready.
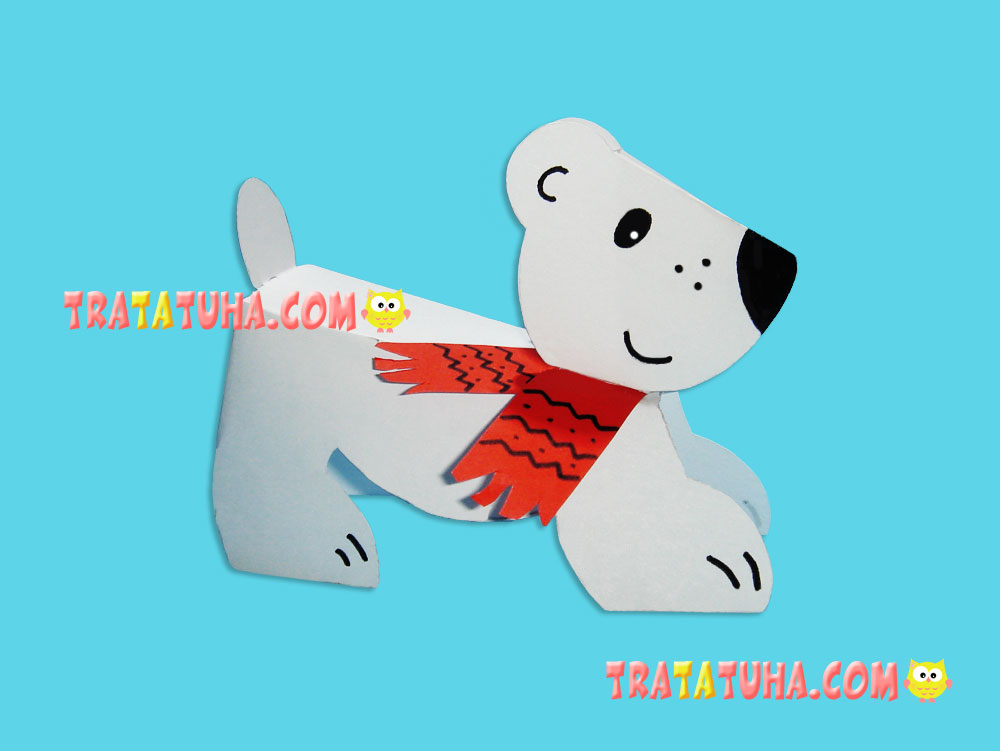
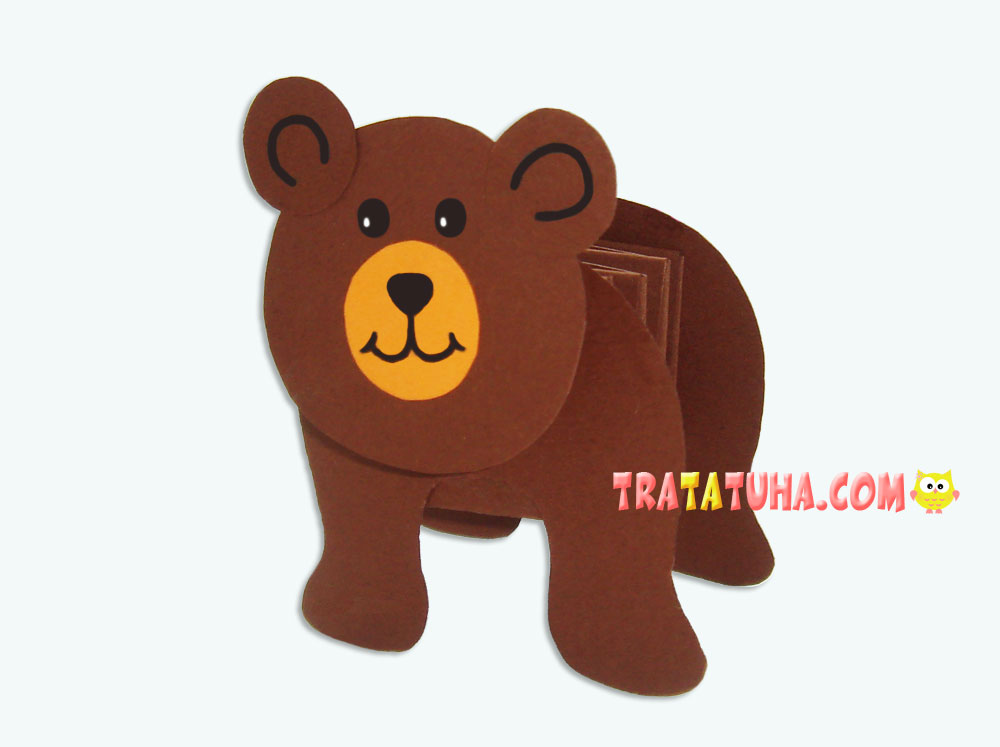
It is a perfect winter craft if the character is in white, or it can be universal – when you choose brown paper.
Many other ideas in the collection of Paper Animals Craft.
Crafts for Kids – learn how to make craft at home! Super cute crafts for all age groups!
