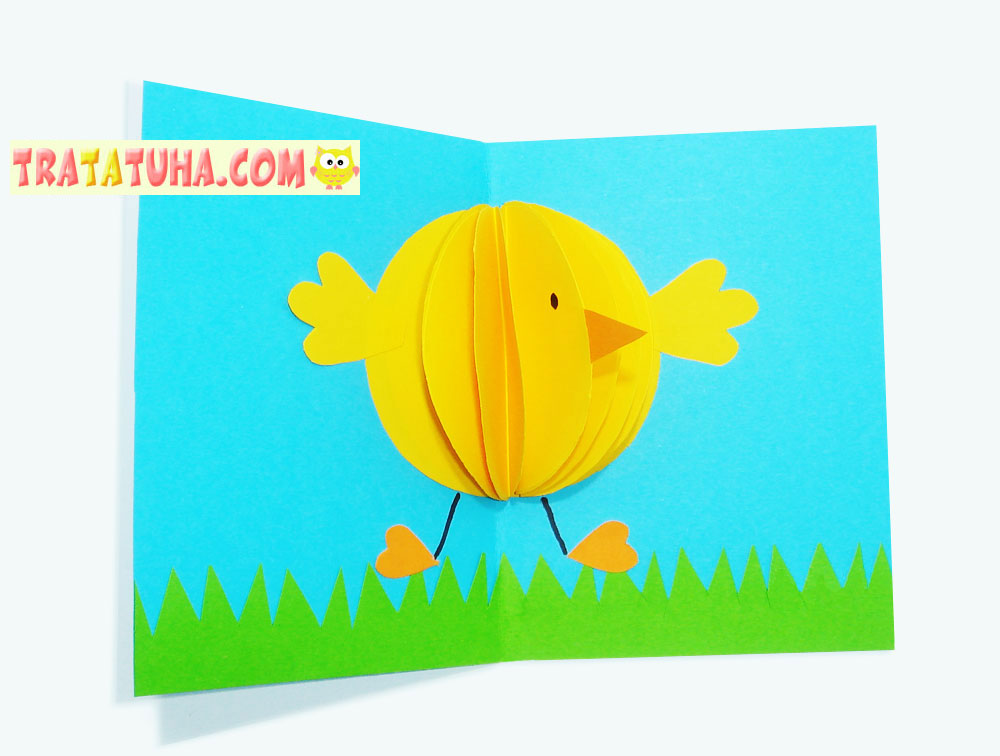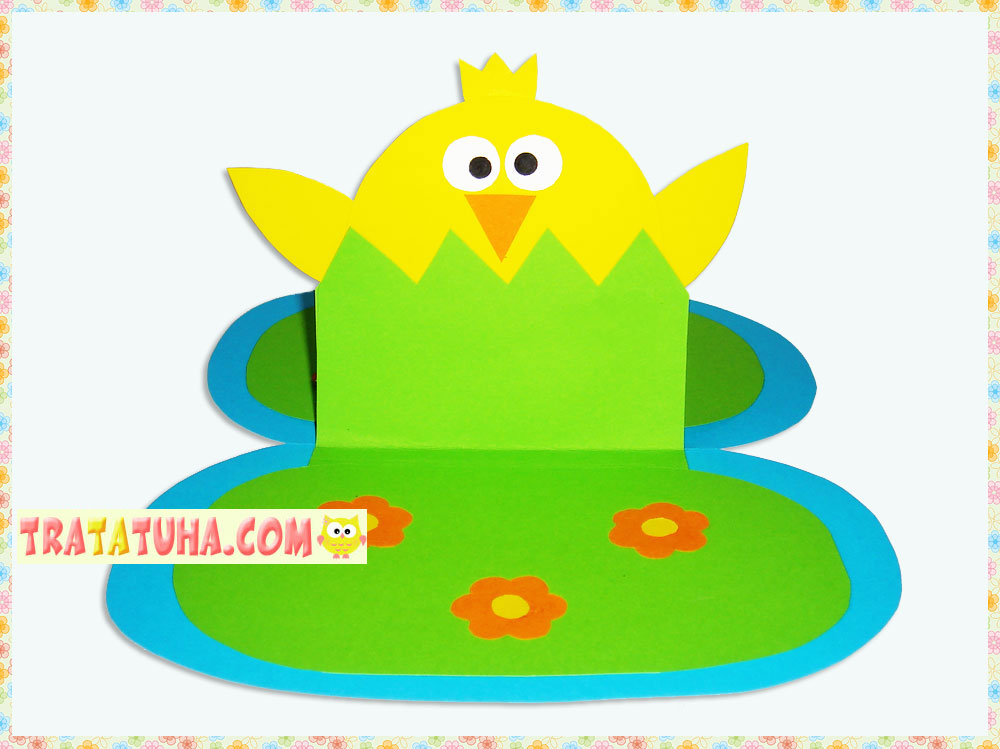
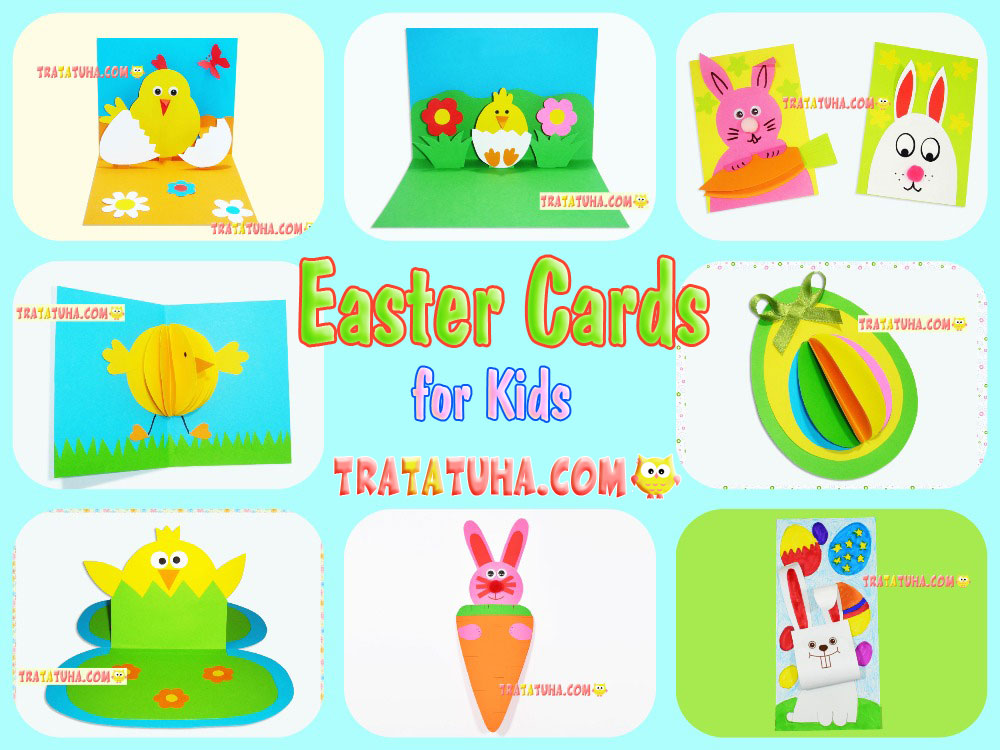
I offer you another idea of what a pop up chick card could be like. This is a 3d and bright postcard with a chicken in a clearing, which takes a vertical position when opened.
The following materials were used in the work:
- Double-sided colored cardboard in blue or light blue, green, yellow, orange;
- White cardboard;
- Scissors, glue stick, glue stick, black marker.
Pop Up Chick Card Step by Step
Postcard Cover
Prepare cardboard for the cover, in this work it is blue. The size depends on the desired size of the postcard.

Fold the cardboard in half. And from the fold side (it’s on the left) draw an oval.
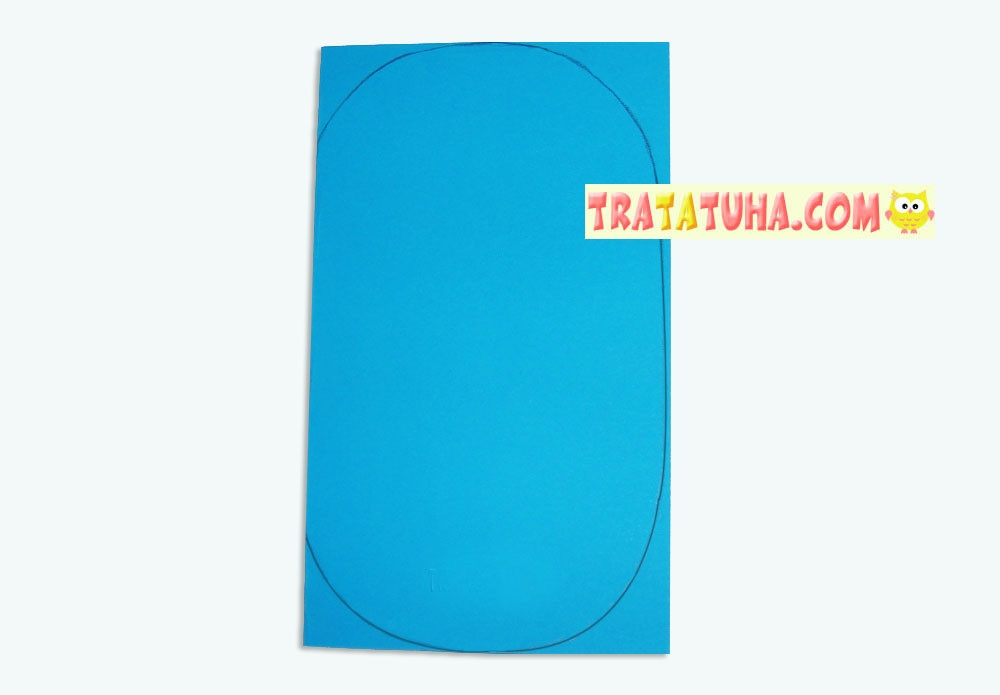
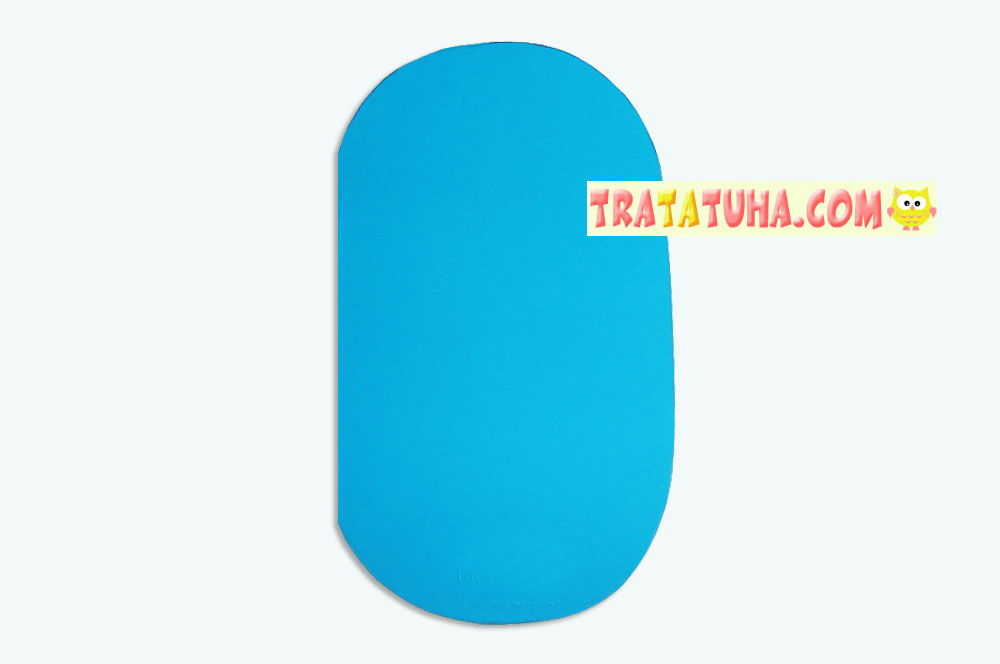
Cut out the oval without cutting the fold on the left side.
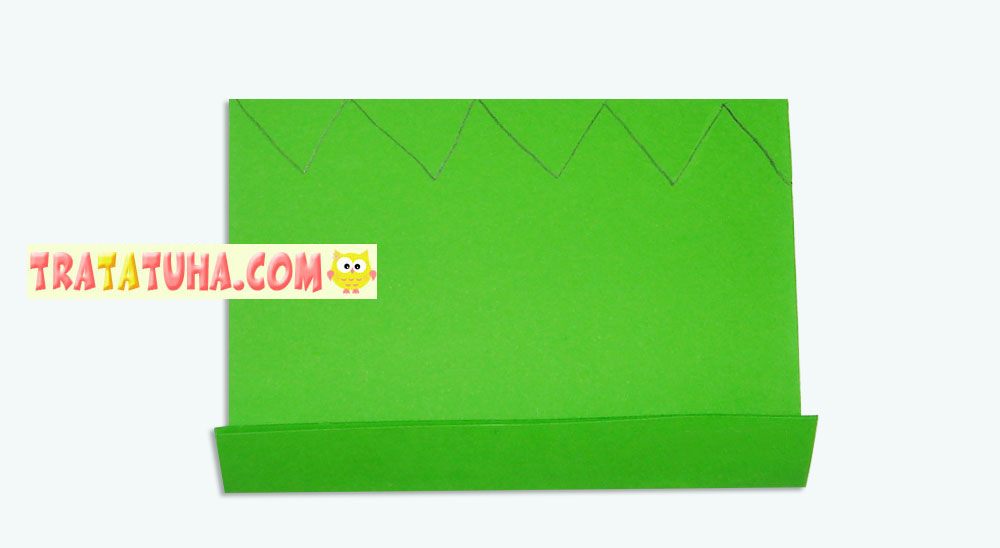
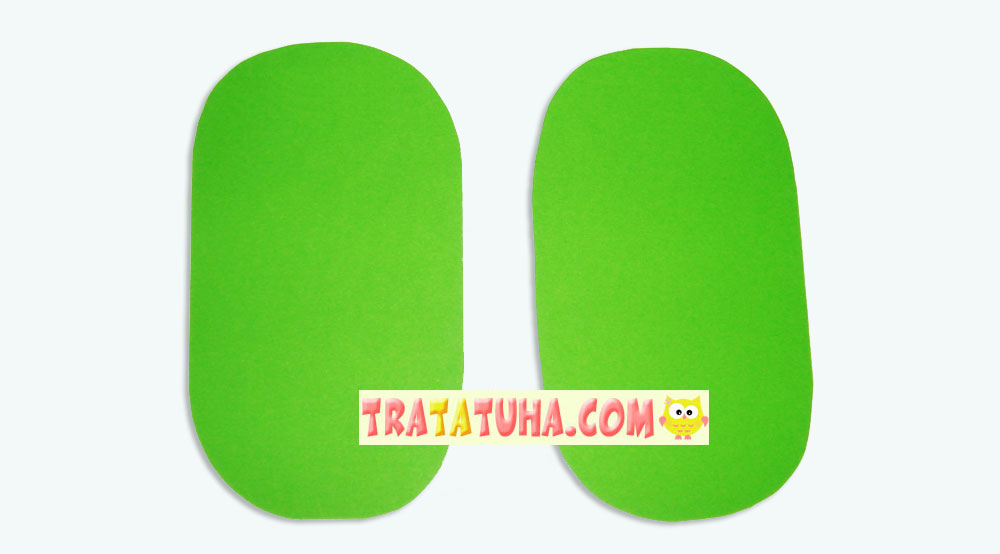
Cut 2 rectangles from green cardboard. They should be no higher than the card and no wider than the fold area.
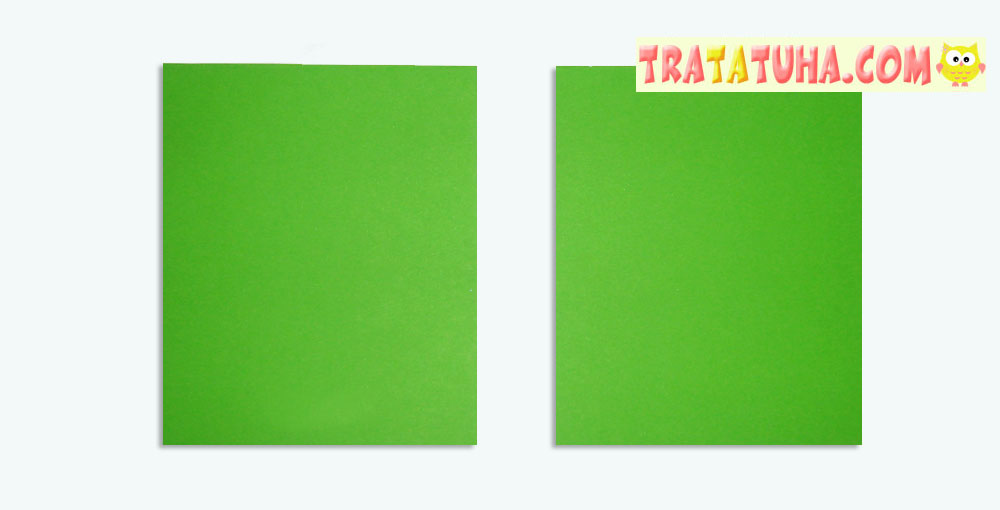
Place one green piece on the other, bend one side, and draw teeth on the opposite side. Can be uneven and uneven.
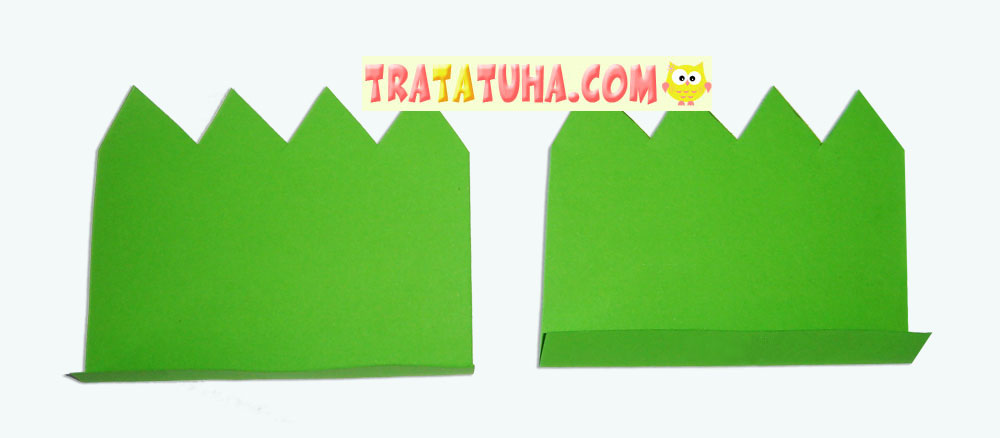
Cut out the cloves and you will have two identical green parts for your Easter card. It will be weed. It can be made a little shorter than shown in the photo.
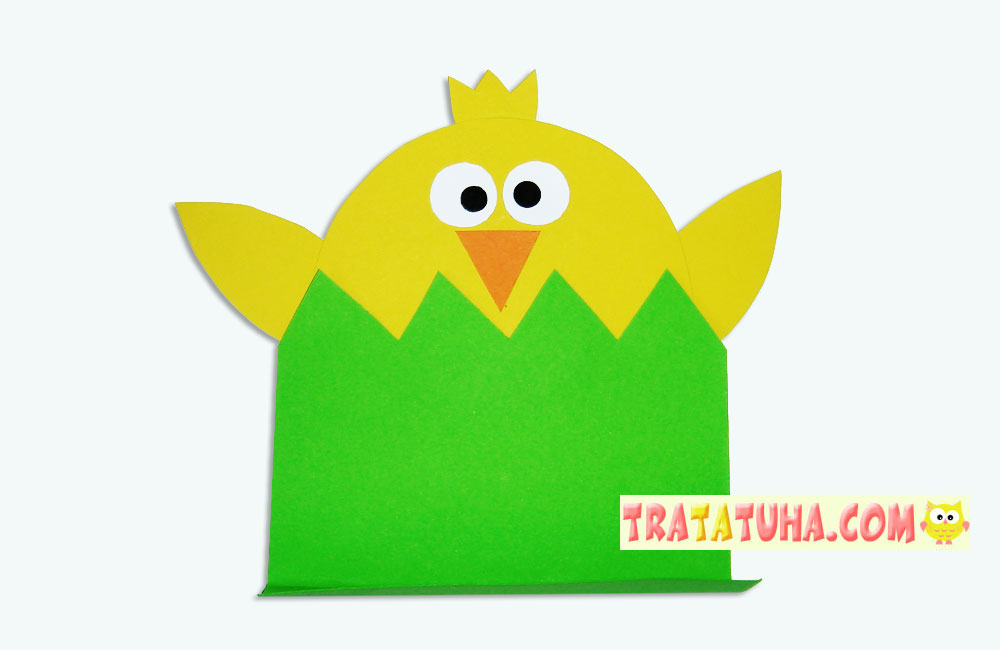
Chick
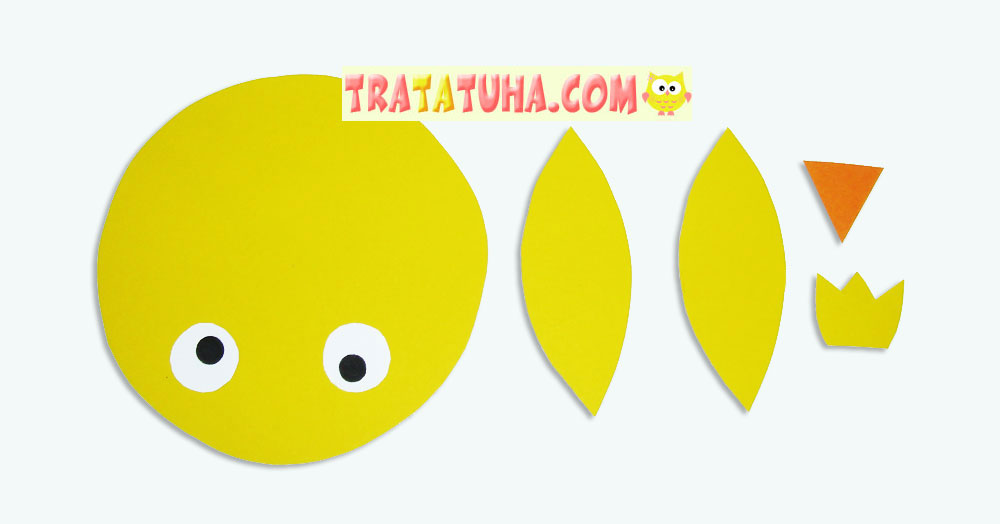
Draw a circle on yellow cardboard that should be no higher and no wider than the grass. Cut it out. This will be the body of the chicken. Also cut out any wings, forelock or crown from yellow cardboard. Orange – triangular beak. Cut out small circles from white paper or cardboard and draw pupils in the middle with a black felt-tip pen.
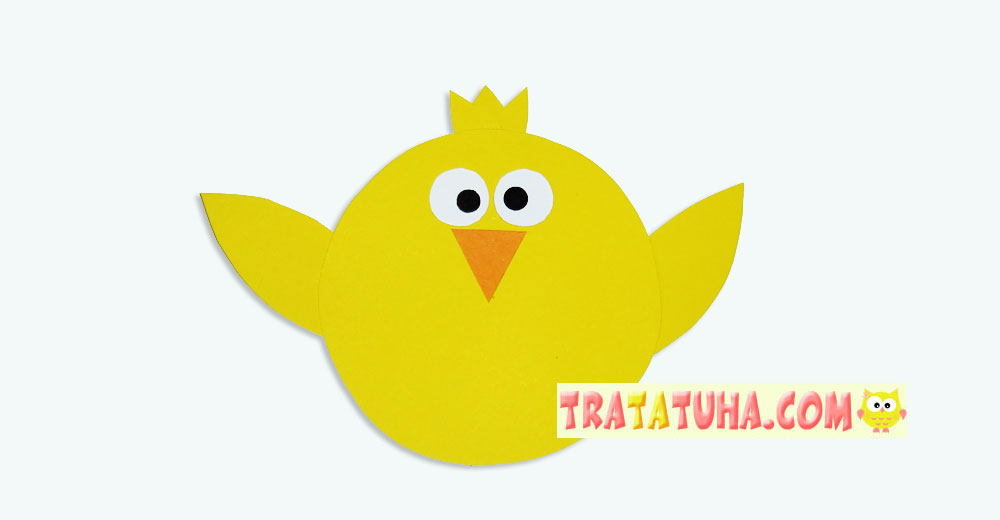
Glue all the prepared parts together and you will get this fun and simple chicken.
The Final Stage of Pop Up Chick Card
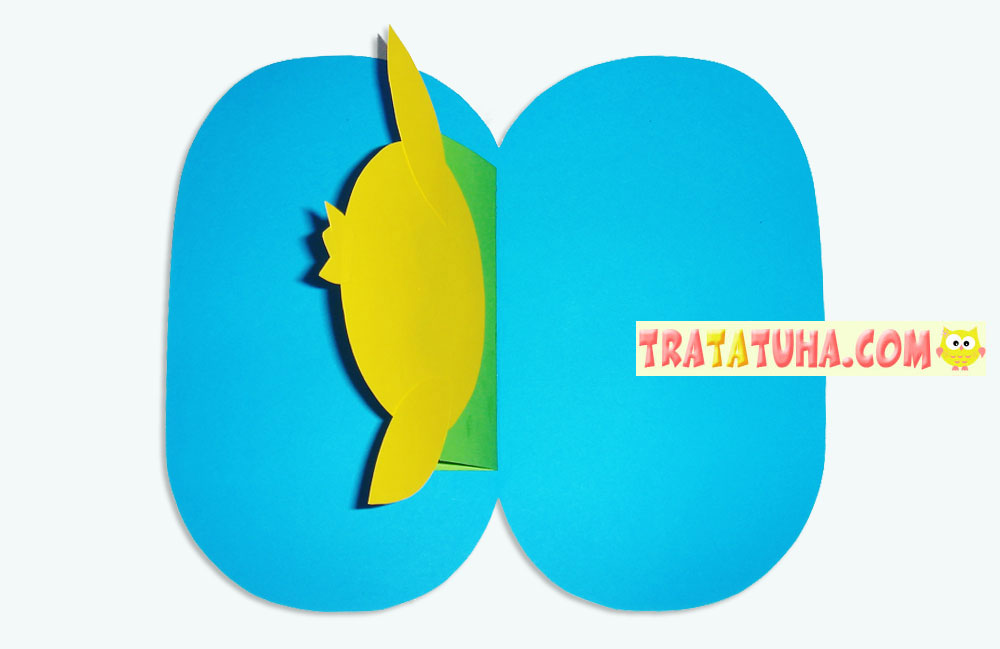
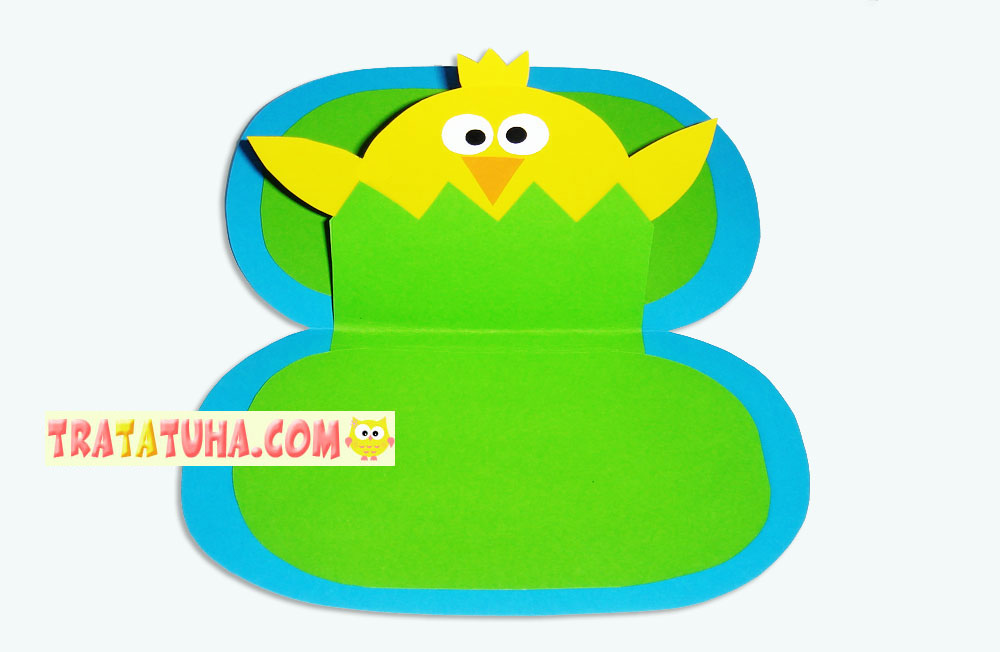
Glue the chick to one piece of grass on the back side so that only half of the chick is visible. As you can see, the bottom fold is on the other side.
Apply glue to the bottom folded part of the grass and glue it with the chicken to the cover, aligning the fold of the grass with the fold of the cover.
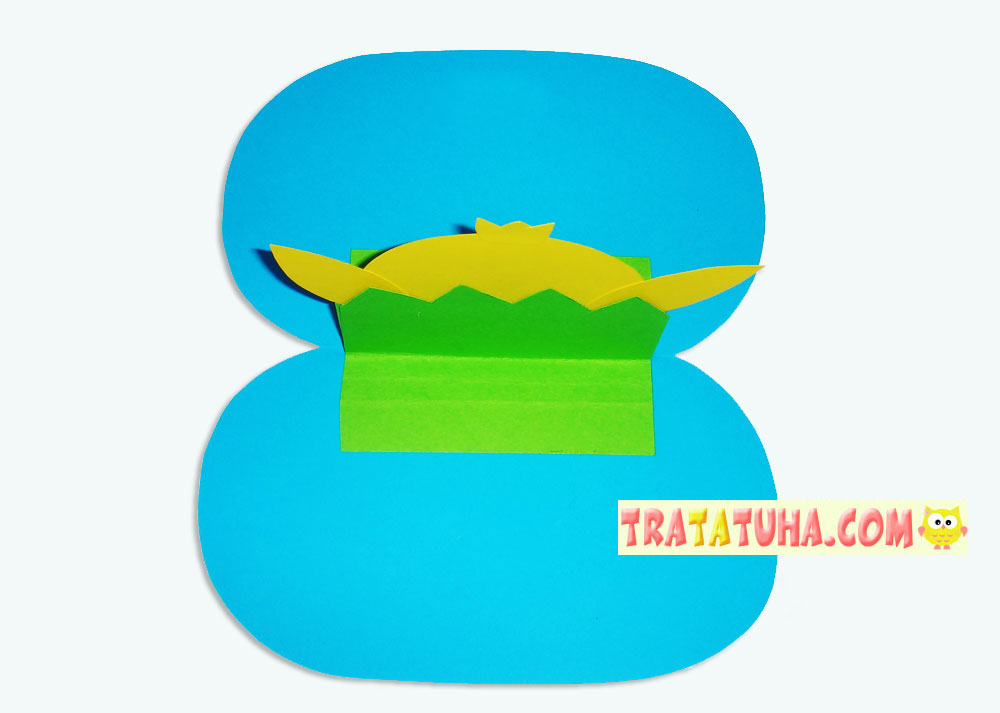
Now glue the second piece of grass to the back of the chicken. Stick to both the cover and the chicken. Note that both pieces of grass should be glued to either side of the fold on the cover, just short of it. This is important so that the postcard will subsequently open and close correctly and successfully.
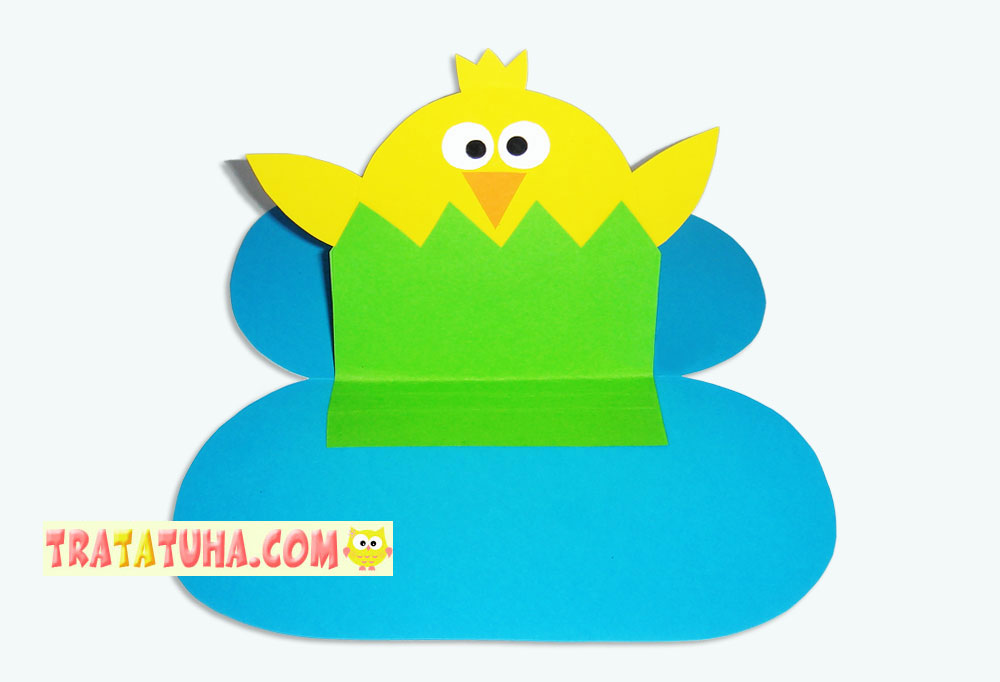
Now the postcard looks as if a chicken is swimming in the grass in the middle of a lake. Therefore, you should continue to grow the grass and complete the clearing for it.
Cut out ovals from green cardboard that should be slightly smaller than the cover.
Glue them on either side of the chicken.
Cut out the desired number of any flowers.
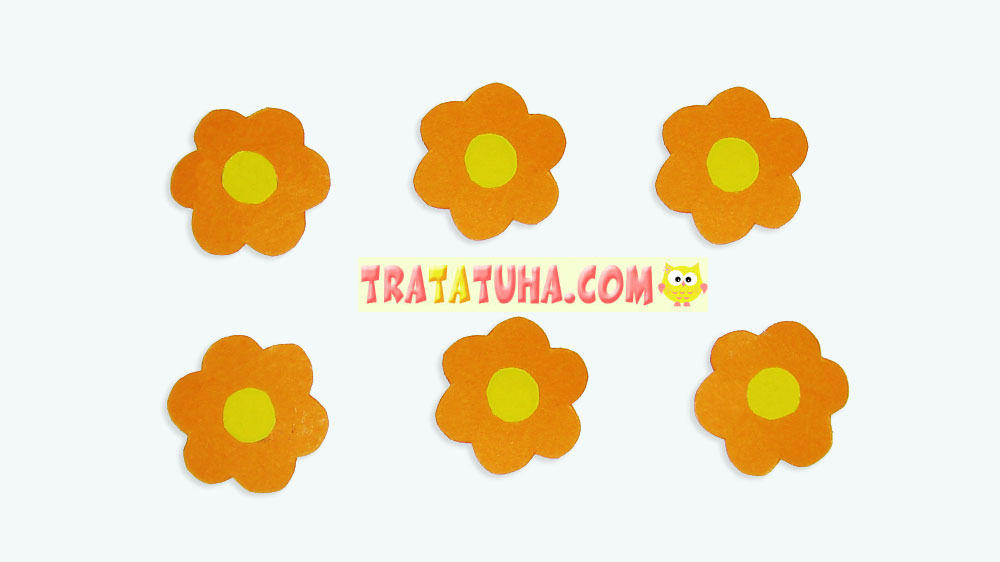
Glue them to the clearing, in front of the chicken and behind it.
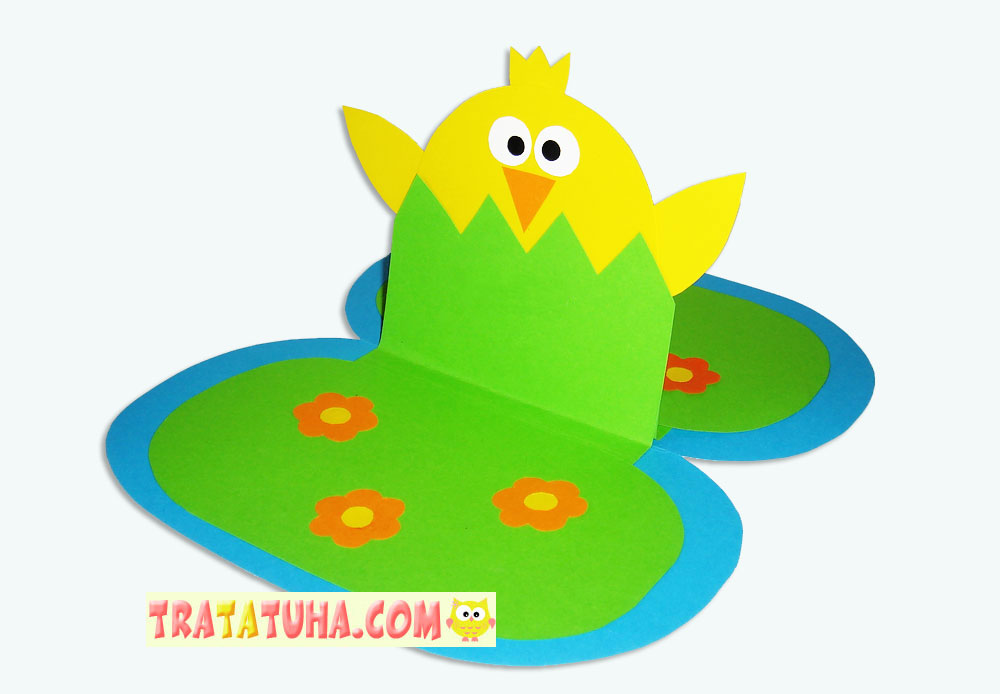
That’s it, the pop up chick is ready. It can be signed both inside and outside.
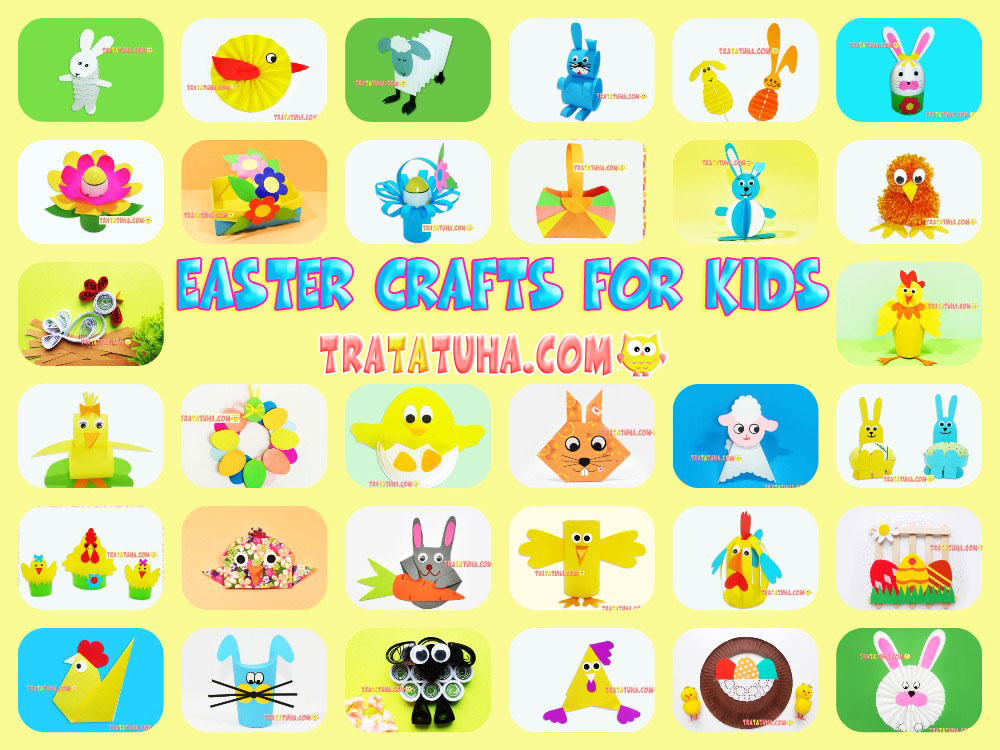
Many other ideas in the collection of Easter Cards for Kids.
Here’s to more easy Easter Crafts for Kids.
Related Post: