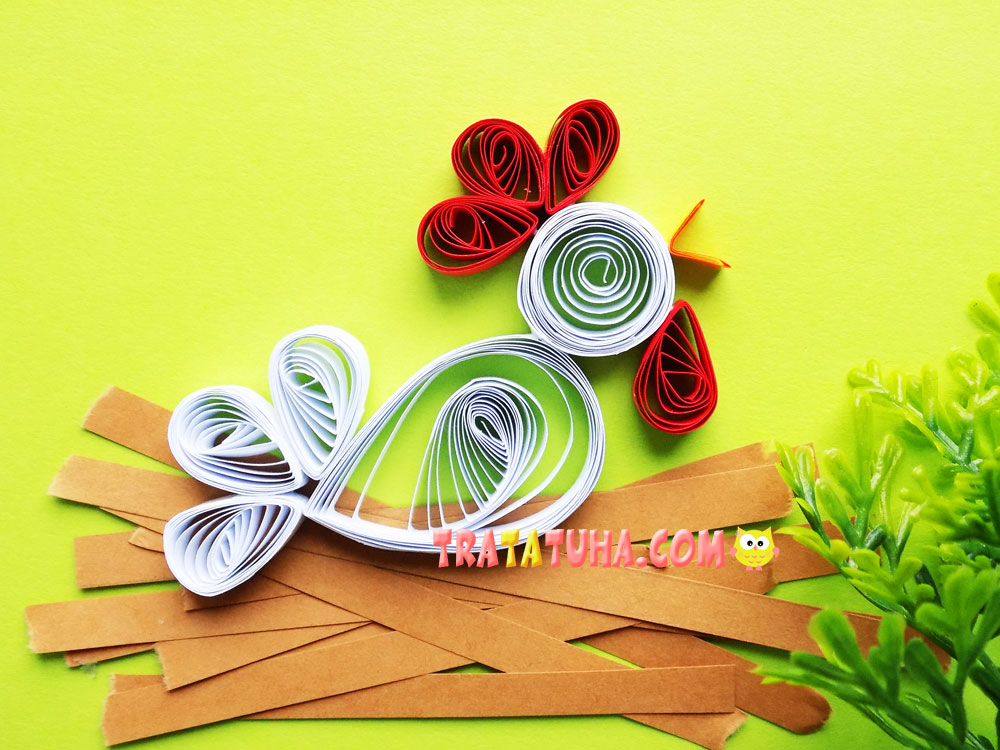
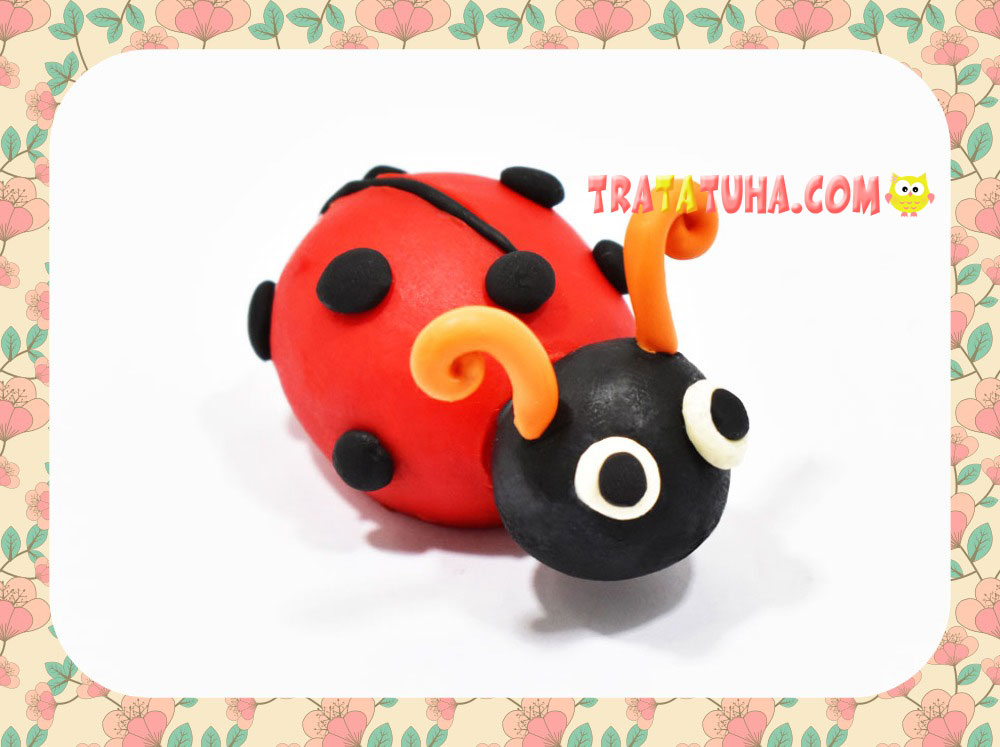
By twisting narrow paper strips, various openwork figures can be obtained. This time it is a quilling ladybug, all the steps for creating which are demonstrated in the tutorial.
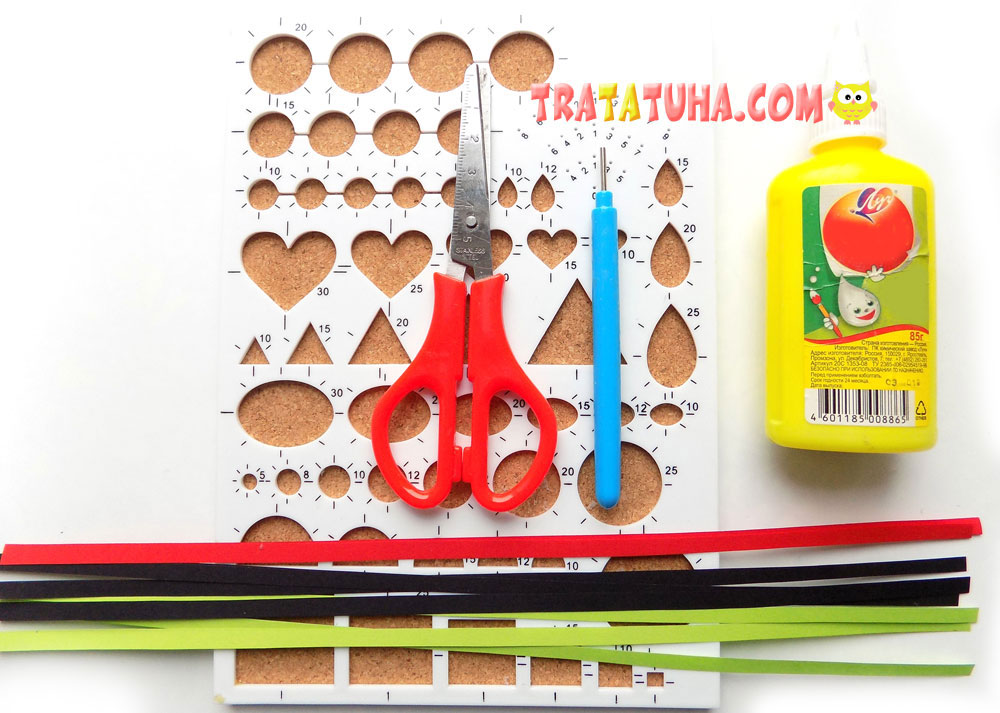
To make such a ladybug, take:
- strips of paper in red, green, black;
- white glue;
- recessed template;
- tool.
Quilling Ladybug Step by Step
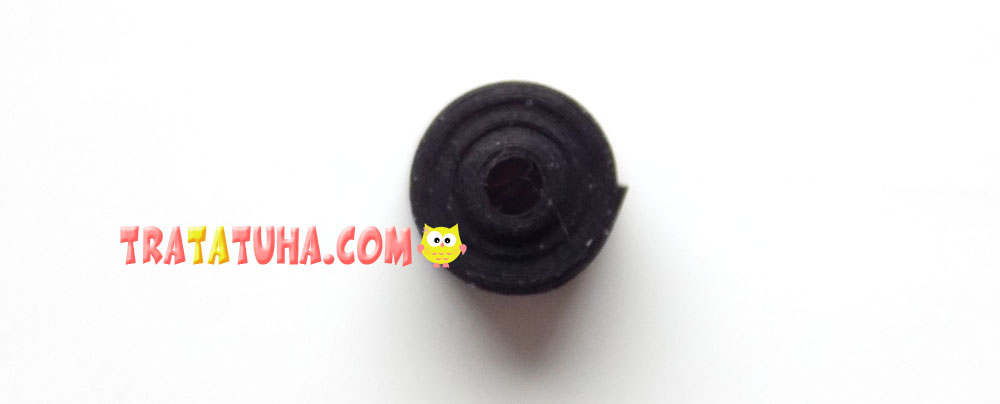
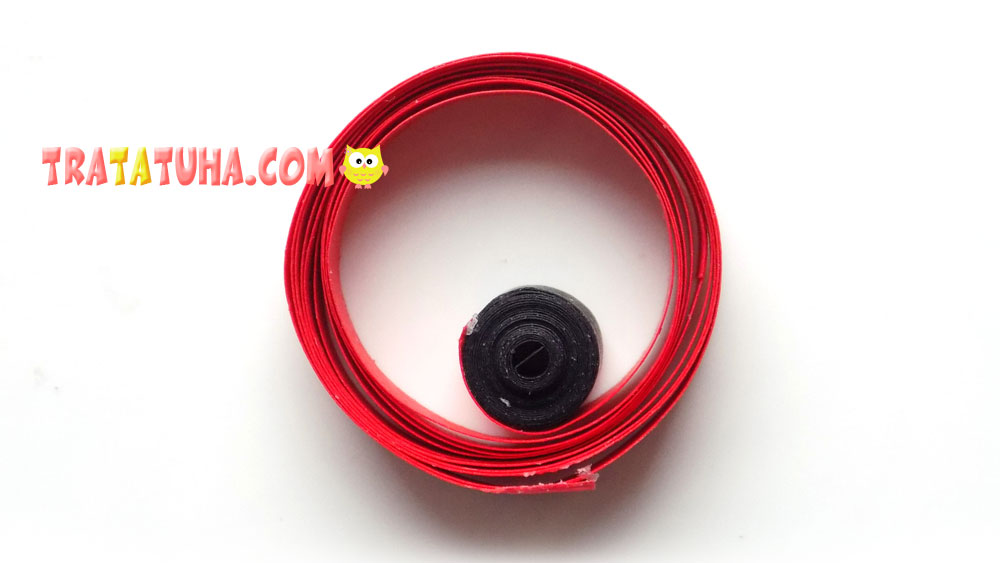
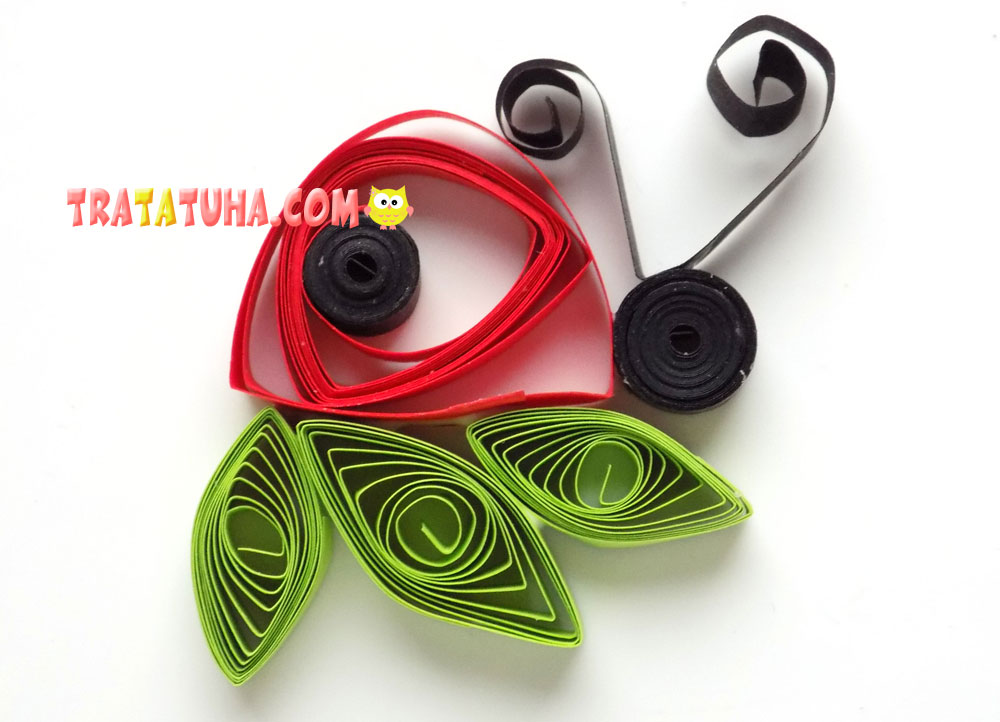
Let’s start by creating a black blank, for which you will need to glue 2 strips, and then twist them into a tight roll.
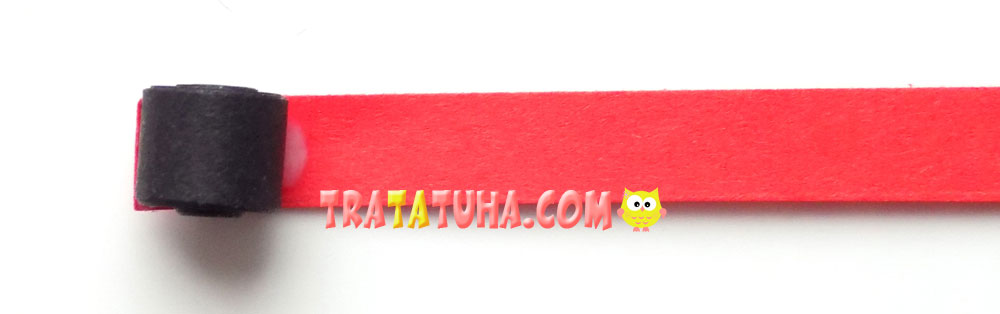
We glue 2 red stripes to this black roll, connected in series with glue.
Then we twist everything and place it in the template marked “20”.
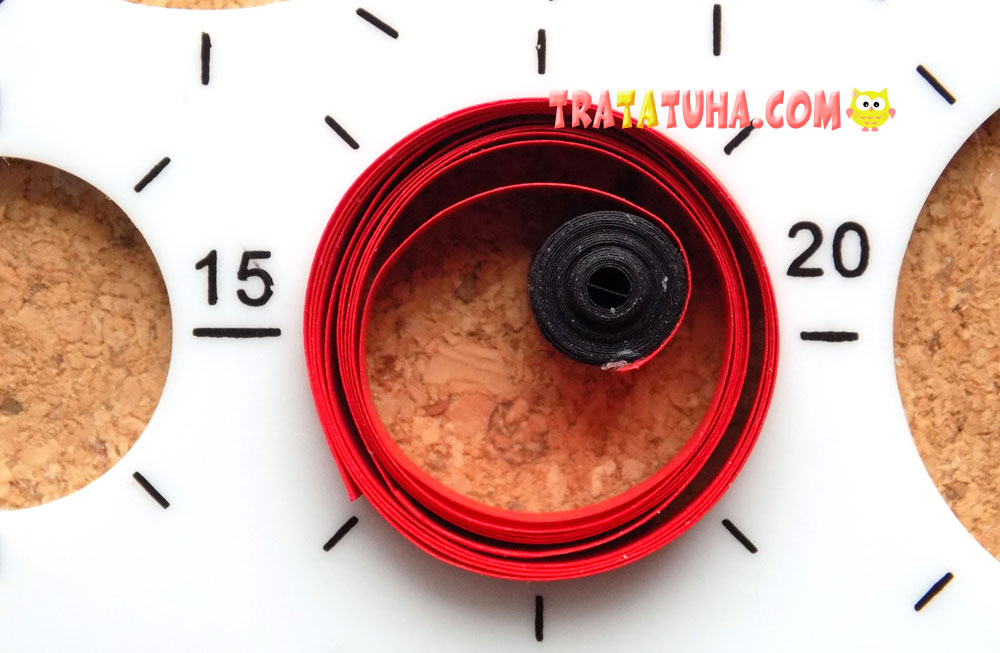
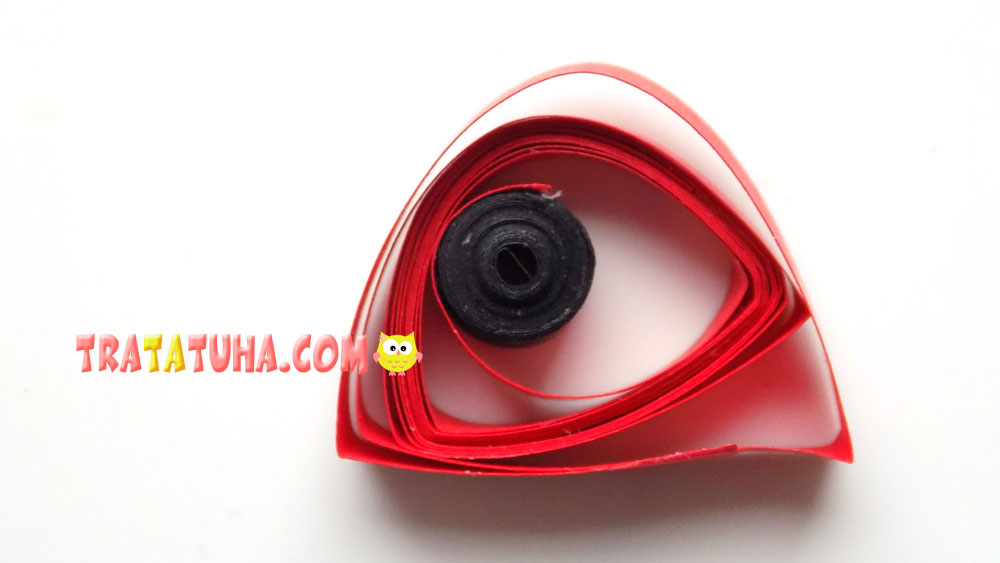
We take it out, and glue the end.
We give the shape of a semicircle, this will be the body of a ladybug.
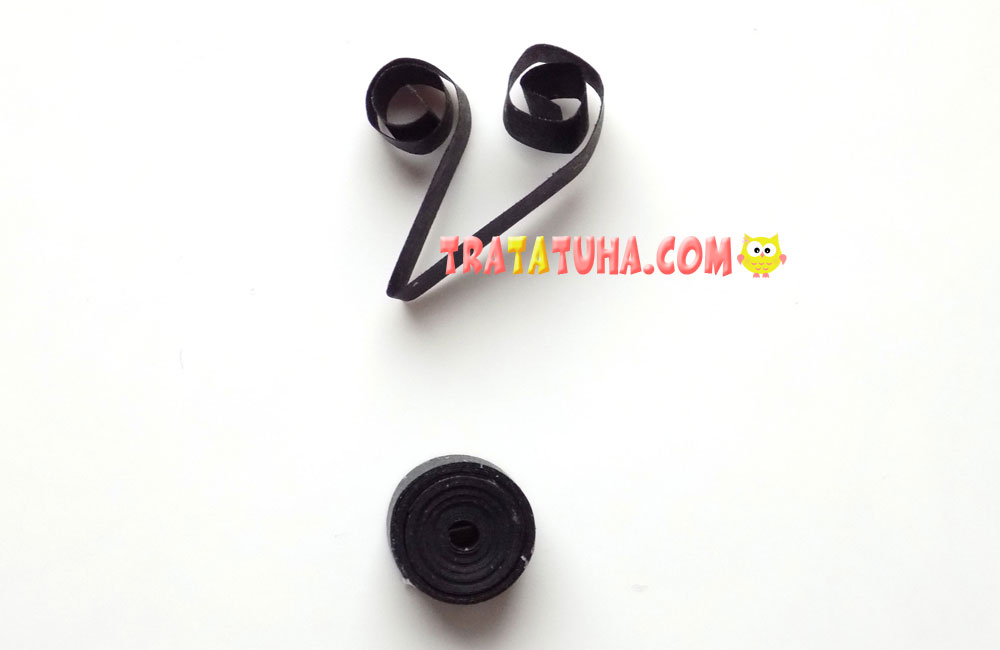
To create a head, we need to glue 2.5 black strips into a tight roll. From the half of the strip we make antennae, the tips of which we twist.
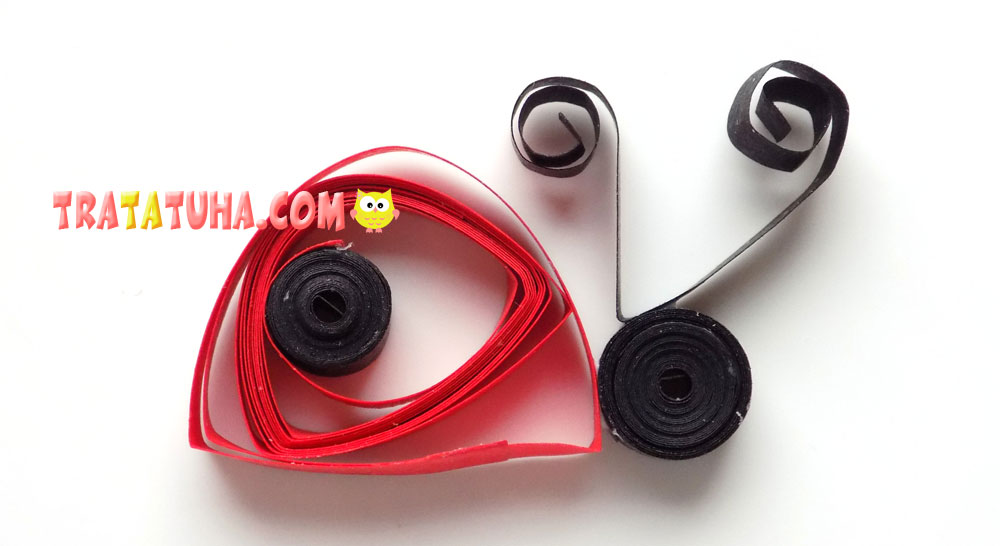
Glue the antennae to the head, and then connect the head to the body of the ladybug.
We make a leaf using the quilling technique
Now let’s create green leaves on which the insect will sit. To do this, we will twist the strips and place them in the recesses “15” and “20”.
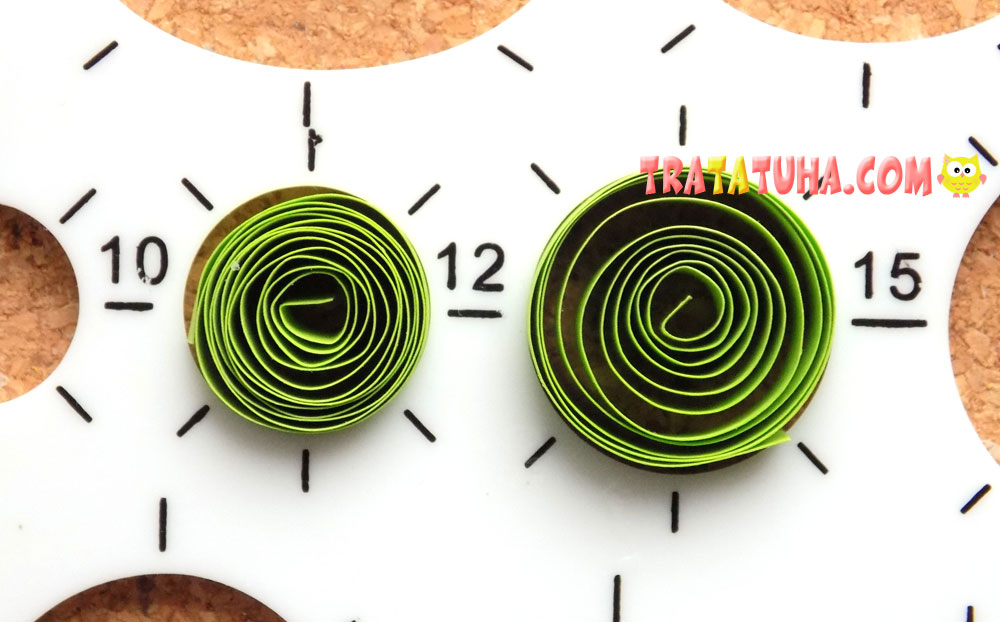
With a diameter of 15 mm, 2 circles are required.
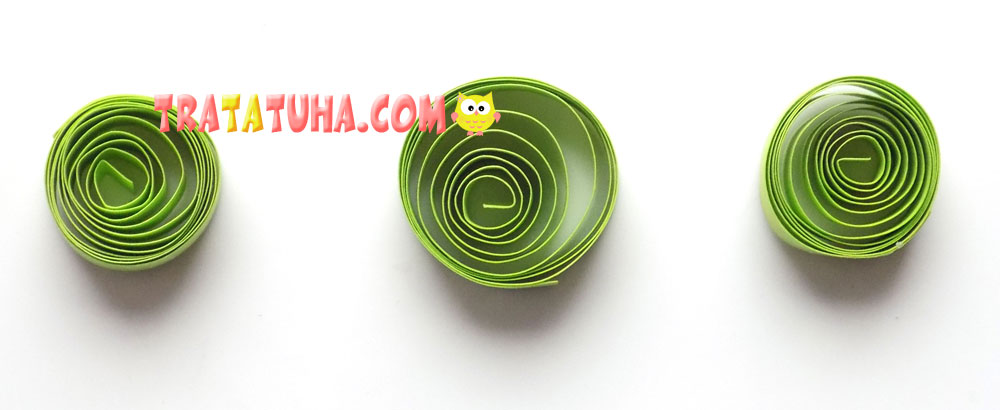
Then gently squeeze these round blanks from both sides. Such elongated leaves turned out.
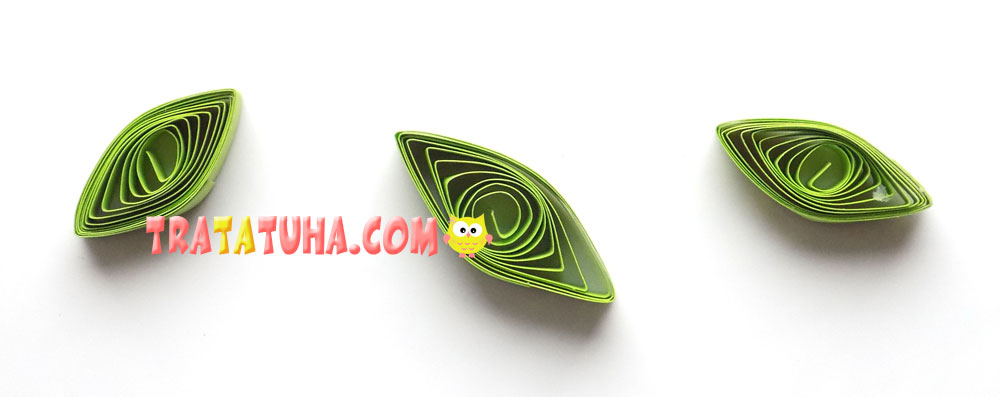
We glue them together.
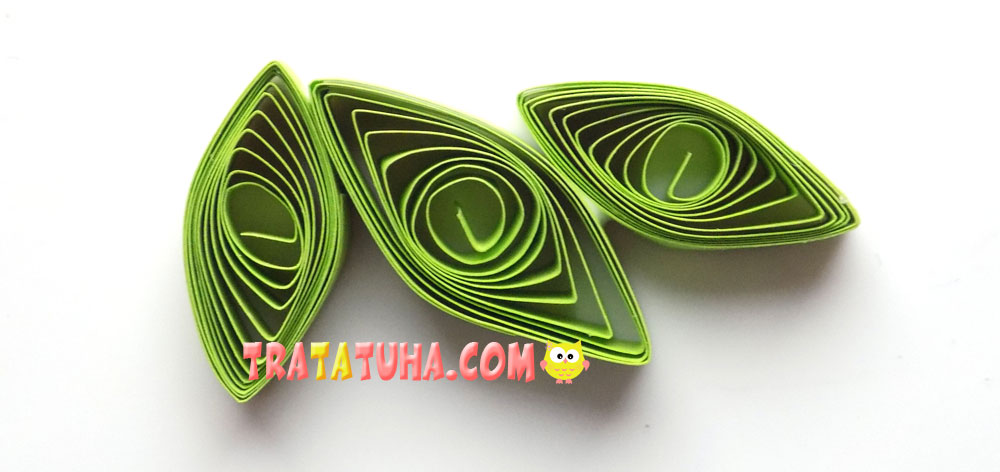
And glue the ladybug on top. Quilling ladybug is ready.
See more ideas about Easy Paper Quilling.
Many other Insects Crafts for kids.
Crafts for Kids – learn how to make craft at home! Super cute crafts for all age groups!
Related Post: