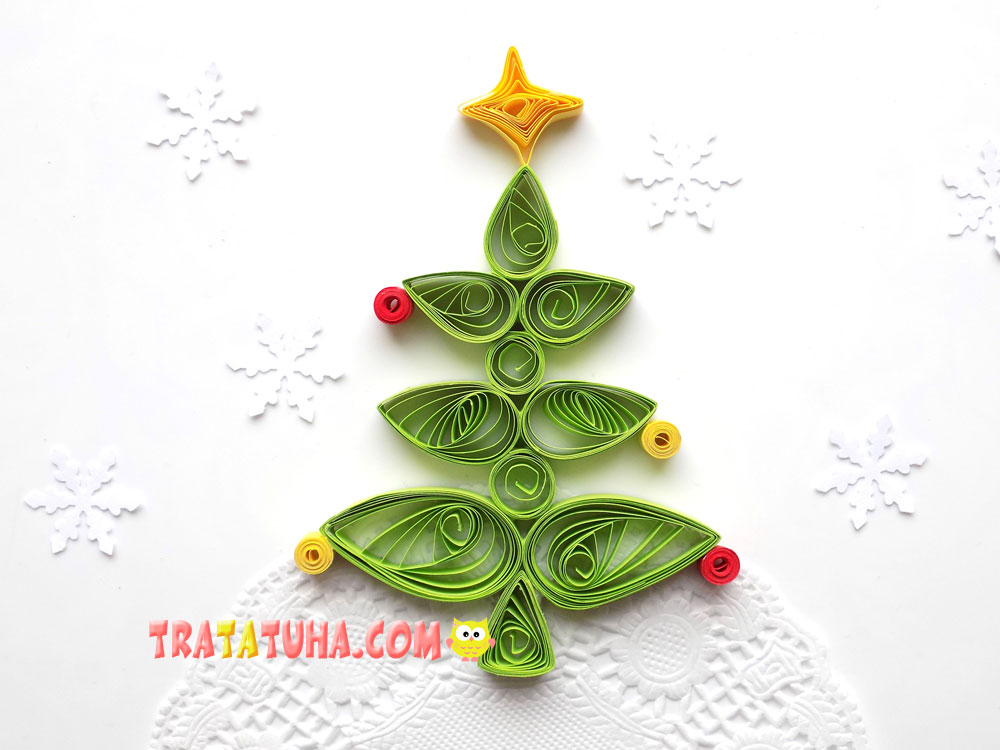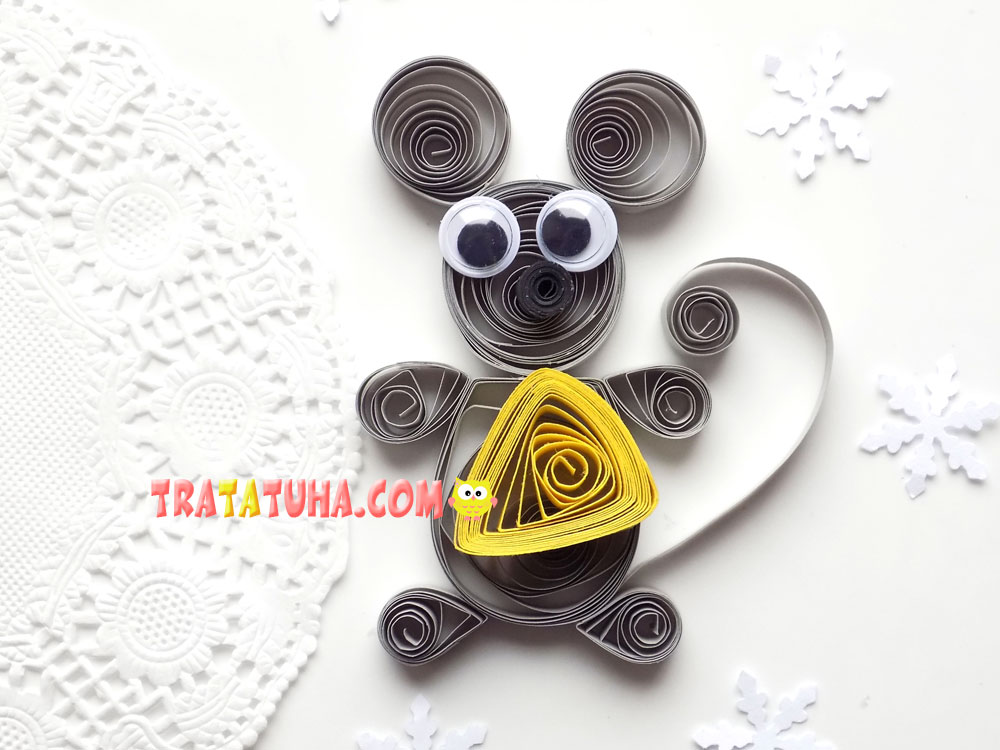
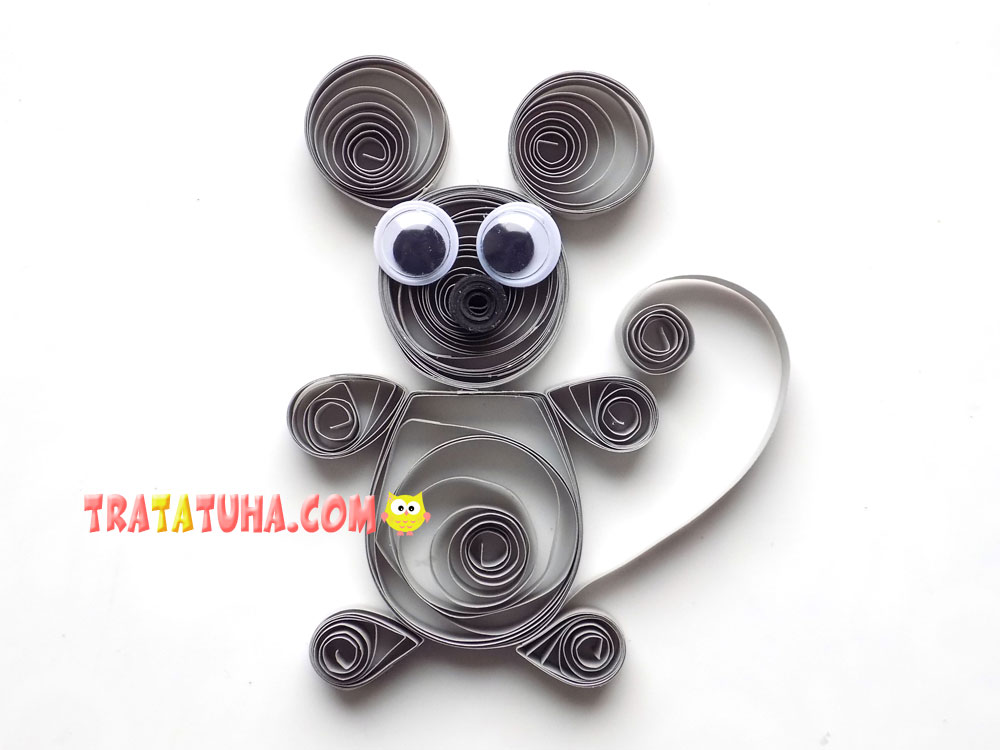
Making various crafts from narrow paper strips is known as quilling. In this master class we will make a quilling mouse.
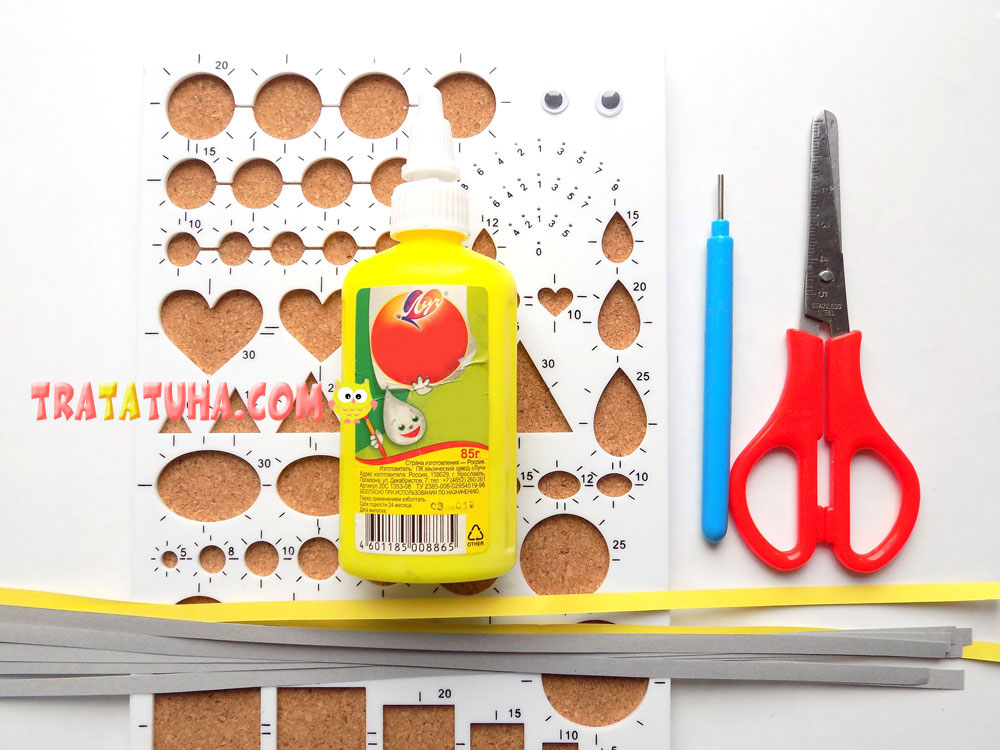
To create such an openwork mouse, we will prepare:
- stripes of gray, yellow and black;
- white glue;
- special tool;
- sample;
- scissors;
- decorative eyes with movable pupils.
Quilling Mouse Step by Step
The main material in our craft is gray stripes. It is from them that we will make a mouse. First, we will make the body, for this we glue 2 strips, then we twist them and place them in the “25” recess.
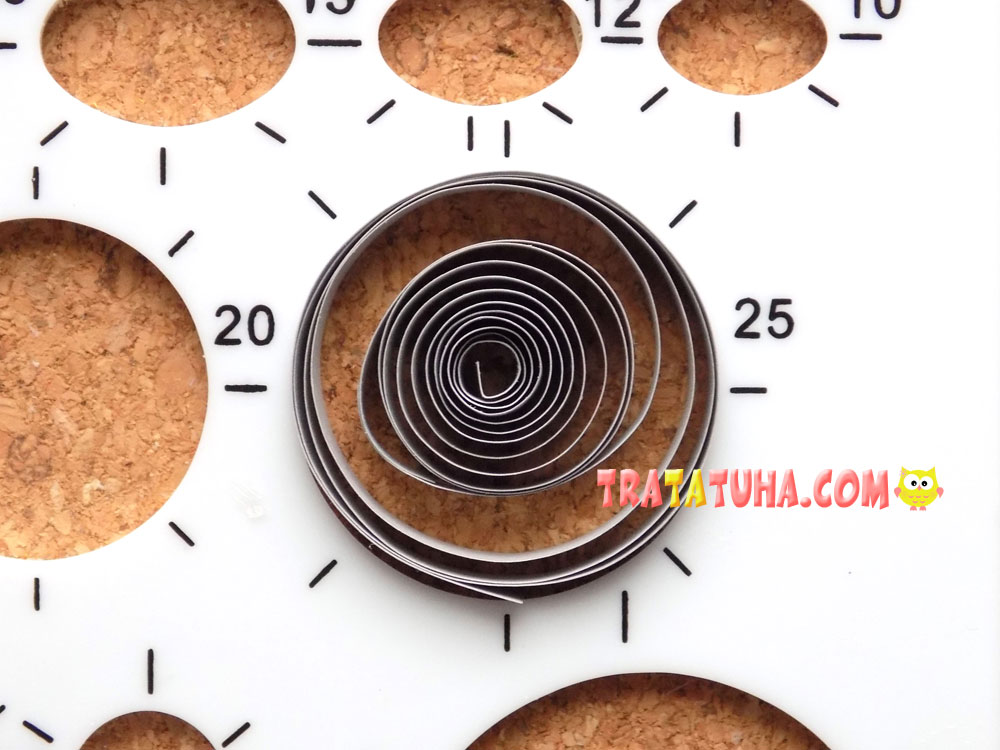
We take it out and glue the end.
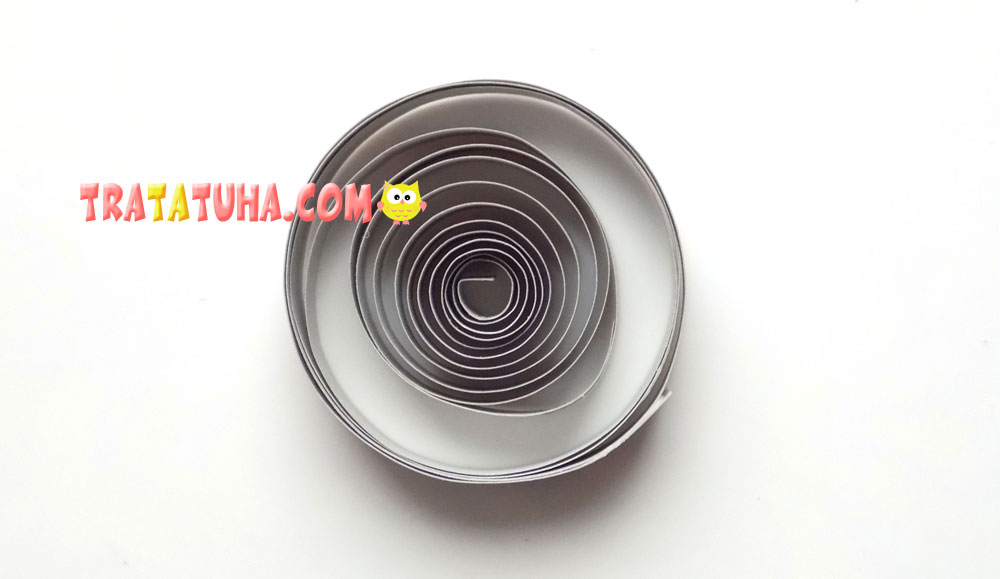
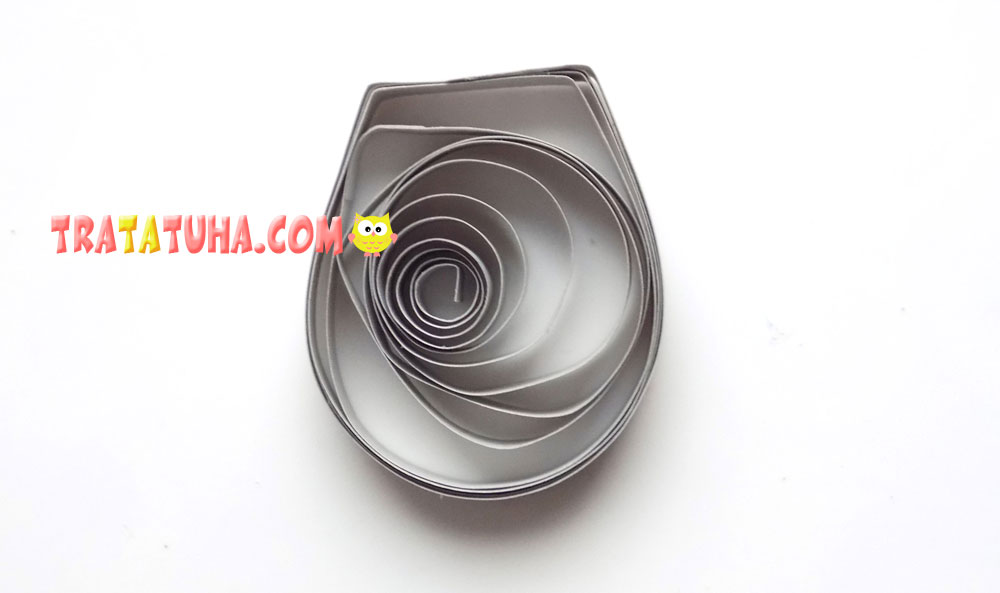
We give the gray blank the following shape.
For the head, we glue 3 strips in series, then twist them into a roll. The diameter of the head of the future mouse will be 20 mm.
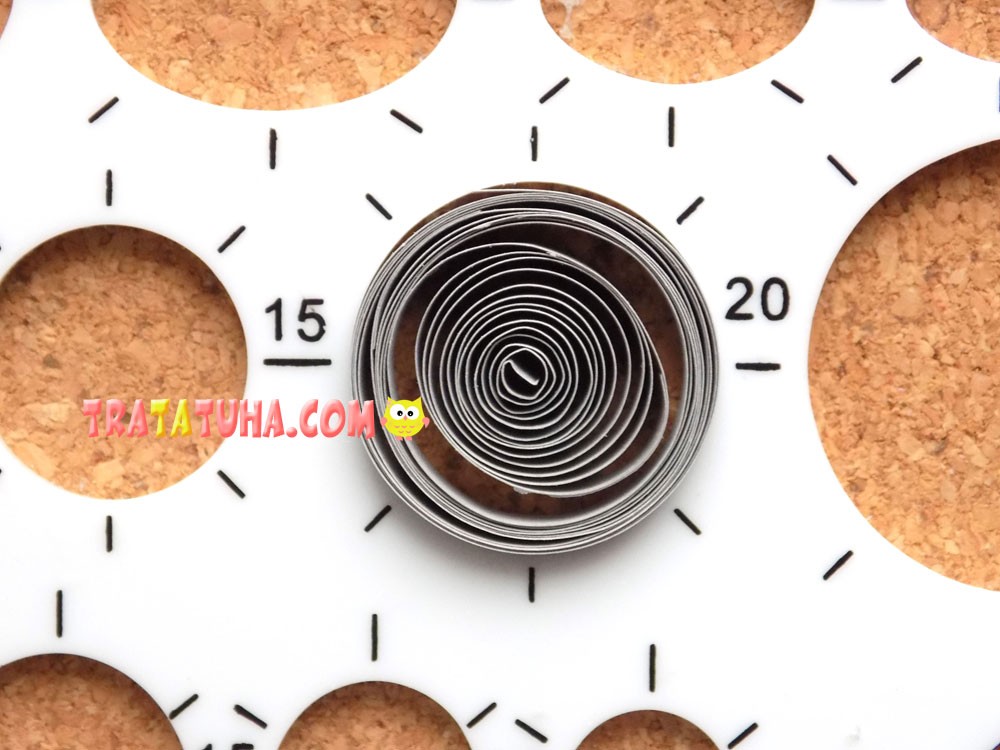
We take out the circle, fix the edge of the strip with glue.

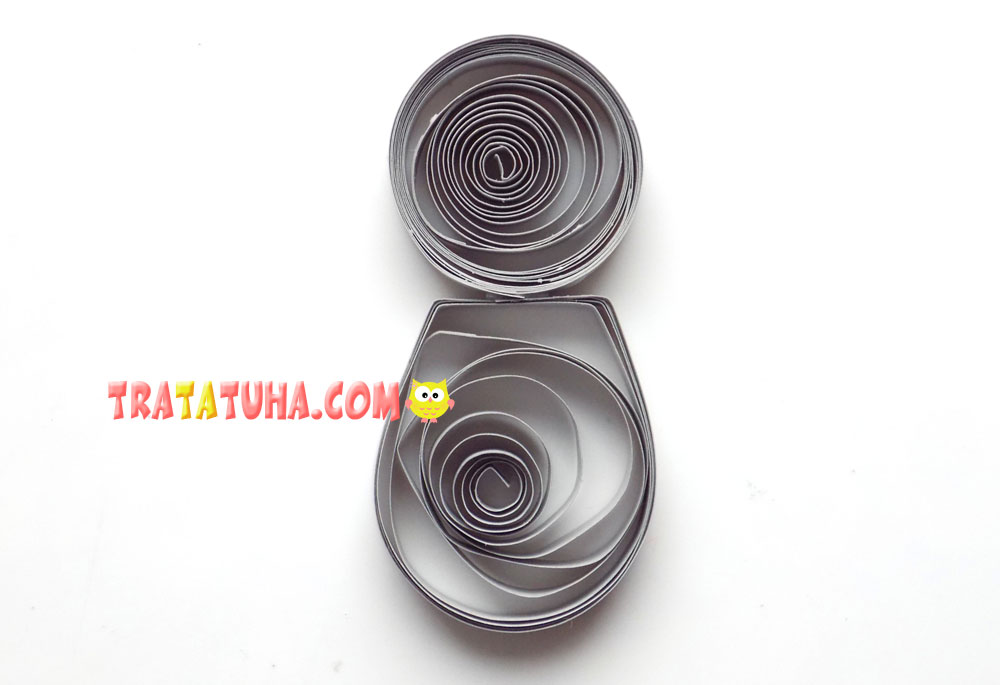
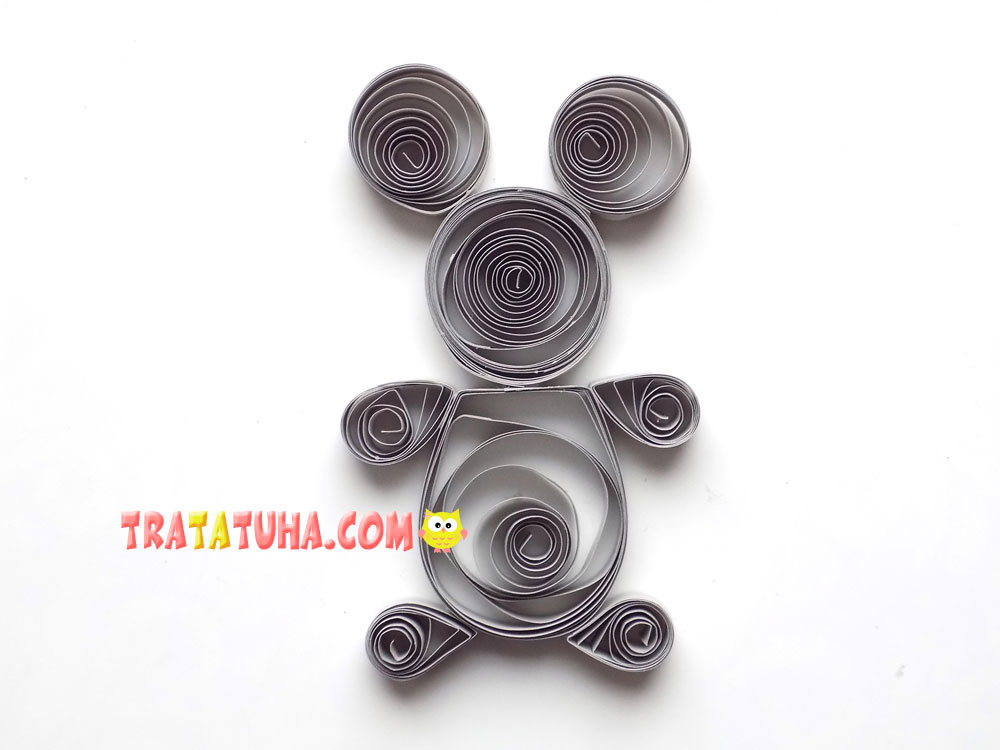
We connect the head with the body.
For the ears, we will make round blanks (each of one gray strip) with a diameter of 15 mm.

Glue the ears to the head.

We make paws, each is made from one strip, twisted into a roll with a diameter of 12 mm, and then we give the blanks the shape of droplets.
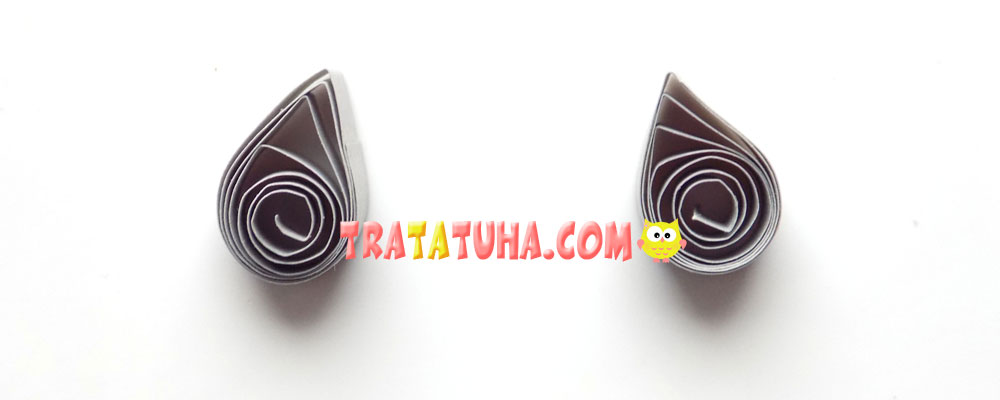
Glue the paws at the bottom of the craft.

The upper paws will be the same size.
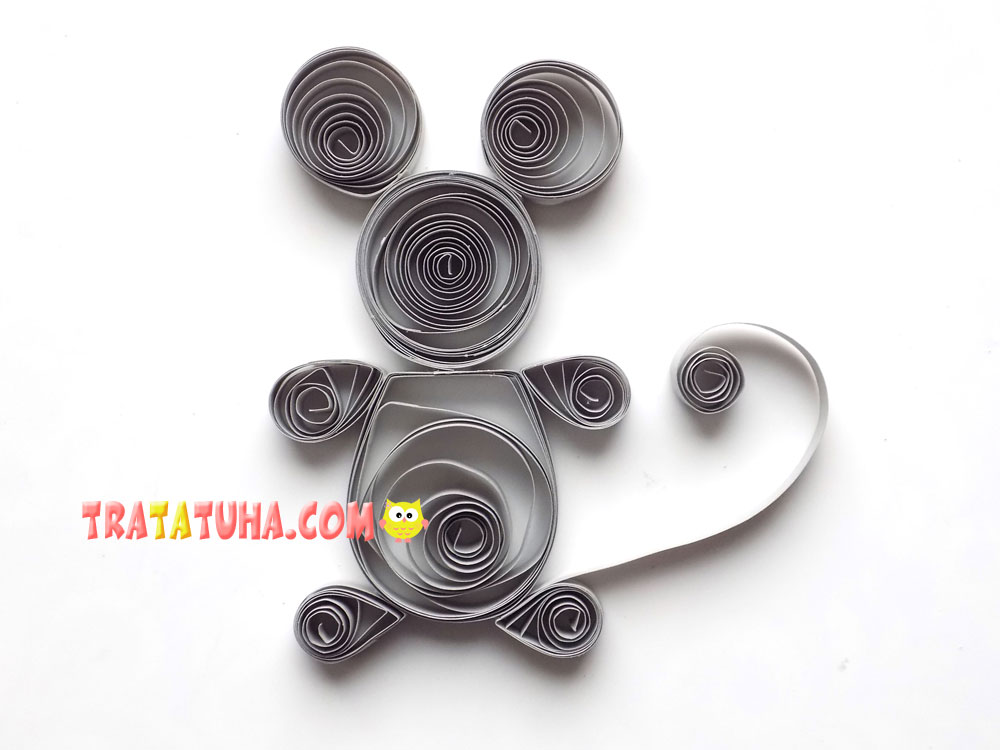
Add a tail, half a gray strip is enough to create it.
We glue decorative eyes to our mouse.
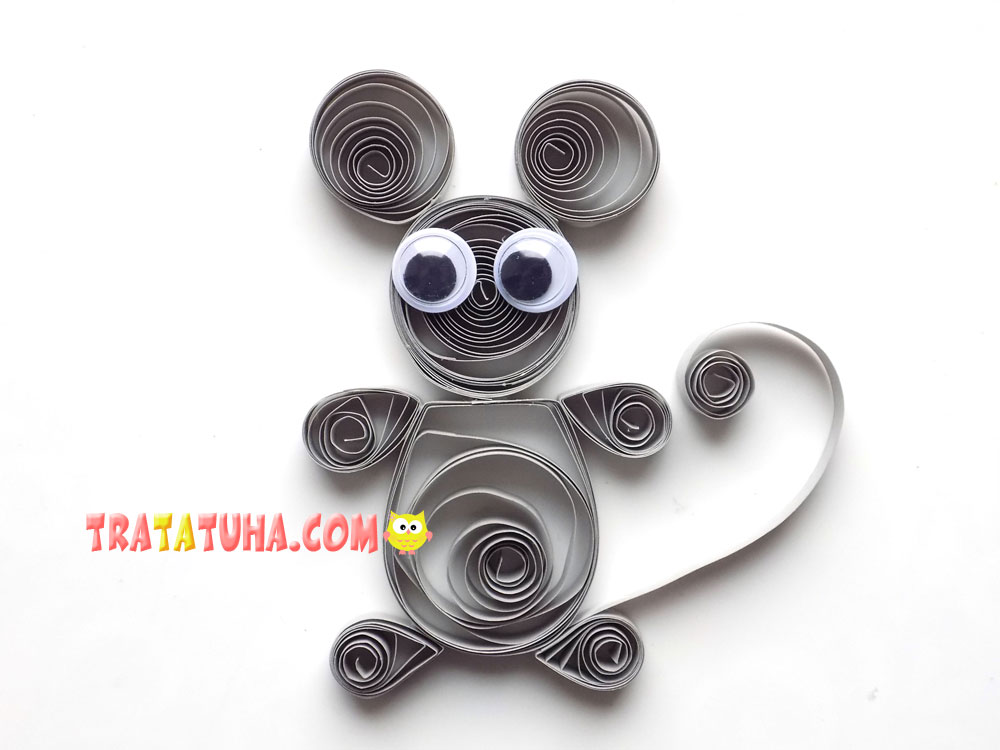
We twist the nose from part of the black strip.
Quilling Mouse Cheese
Now let’s make a piece of cheese that the mouse will hold. To do this, glue 2 yellow stripes, then twist them.
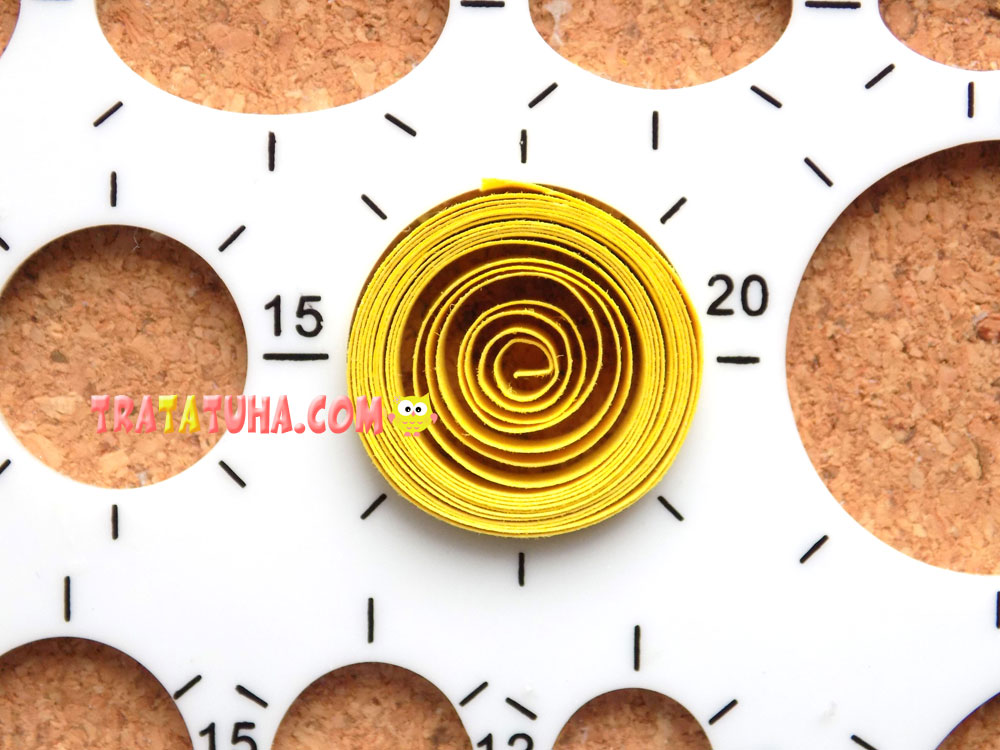
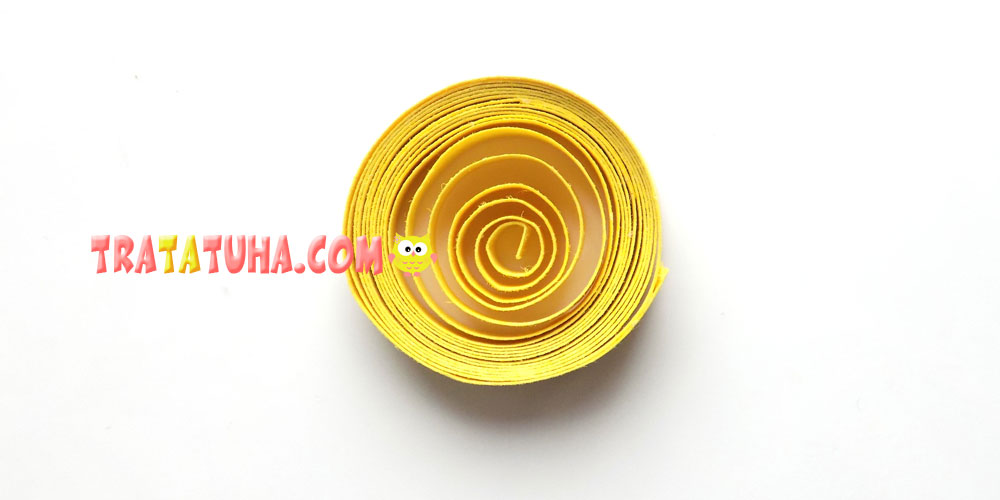
Received a round billet with a diameter of 20 mm.
Give it the shape of a triangle.
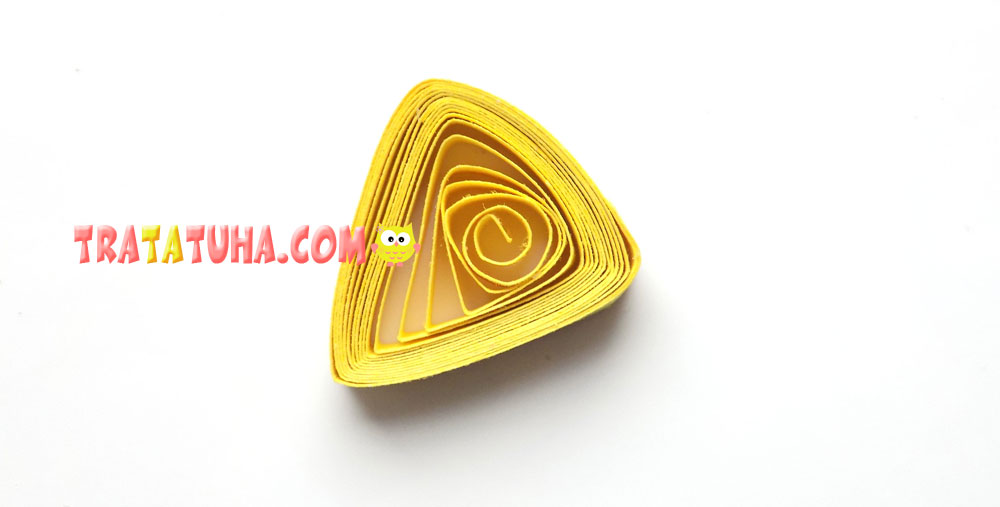
We give cheese to the mouse in the paws (fix with glue).
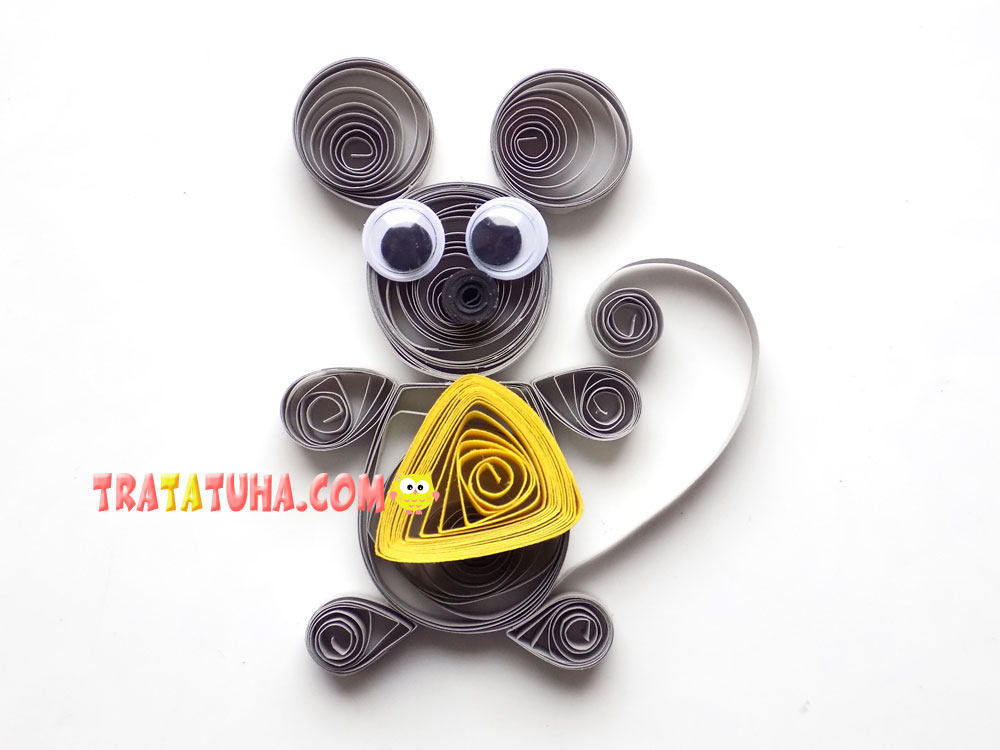
Everything, the quilling mouse is ready.
See more ideas about Easy Paper Quilling.
Many other ideas in the collection of Paper Animals Craft.
Crafts for Kids – learn how to make craft at home! Super cute crafts for all age groups!
Related Post: