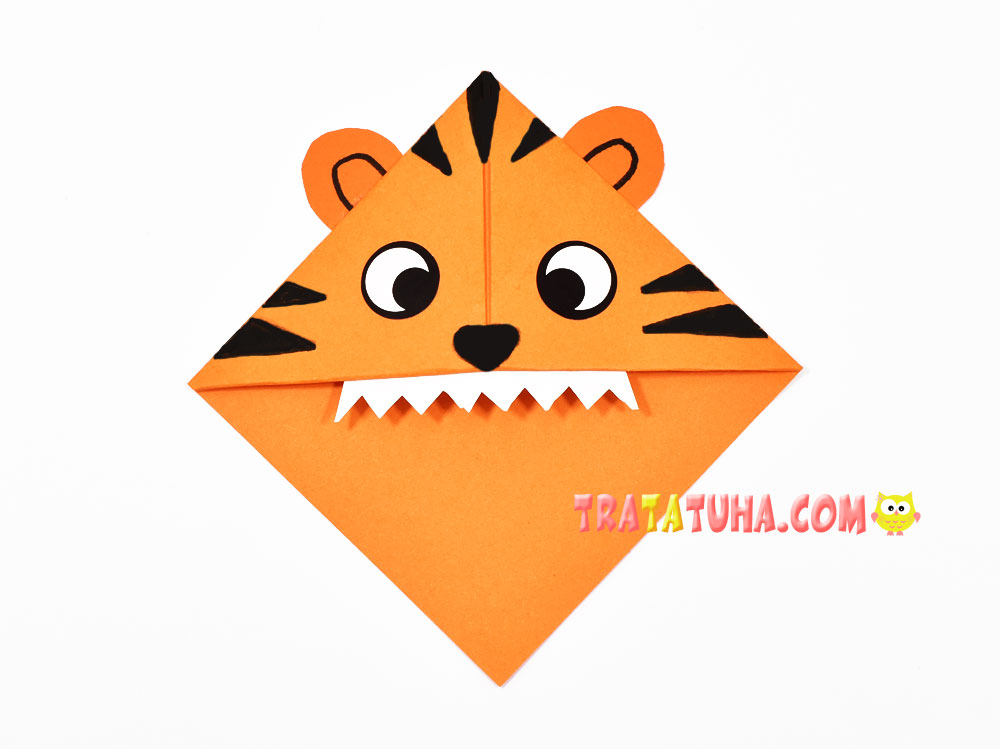
A simple tiger corner bookmark for kid’s art. Made in the technique of origami in the form of a bookmark corner for books.
Many other paper corners in the selection — origami corner bookmark.
Materials for work:
- Orange paper;
- White paper for teeth;
- Homemade or purchased eyes;
- Black marker.
Tiger Corner Bookmark Step by Step
Prepare a square piece of paper.

Fold it into a triangle by connecting the opposite two corners. Smooth out the fold carefully. Always in origami it is important to carefully and carefully fit the edges, sides and corners. The end result of the work depends on this. And sometimes the result itself, because with negligence, some origami may not work out.

Lift the right corner up, connecting it with the corner at the top.

Now fold the left corner in the same way.

Bend the corners back, returning the shape of a triangle. Now pull the top corner down, all the way to the bottom side of the triangle. As you can see, there the paper was folded in half, so only one sheet of paper should be sent down, the bottom one remained untouched.

Now direct the right corner into the pocket formed in the middle as a result of the fold.

Place the left corner in the pocket as well. Corner bookmark is ready.
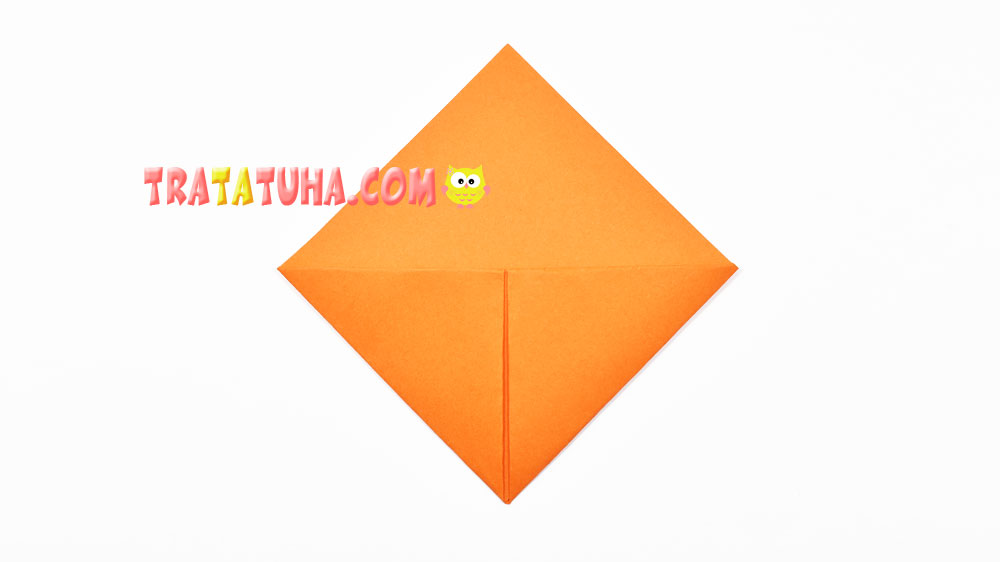
Turn it over by changing the top and bottom.

At this stage, the corners are turned into different characters. For example, it can be animal corners, an owl corner. But in our case, we will make a tiger. To do this, you should do a minimum of actions:
- Draw characteristic stripes on top and sides with a black felt-tip pen or marker;
- Add ears, eyes and draw a nose;
- Cut out a white strip of paper, make sharp peaks on one of its sides and glue the resulting teeth to our predator.

That’s it, the tiger corner bookmark is ready.

Many other ideas in the collection of Paper Animals Craft.
Crafts for Kids – learn how to make craft at home! Super cute crafts for all age groups!
