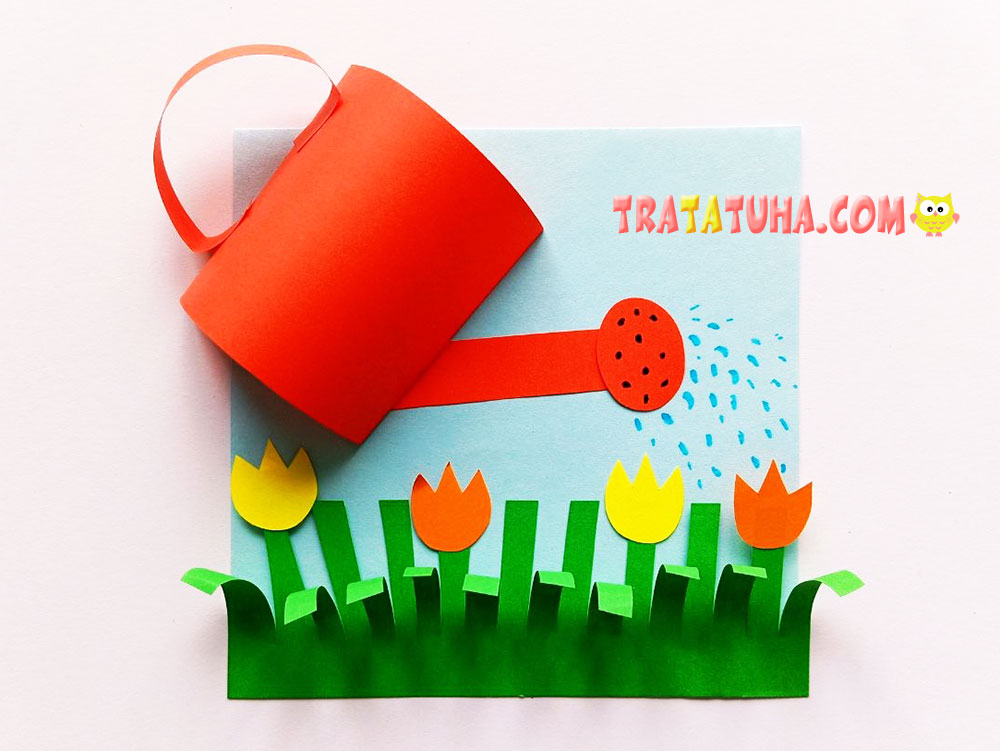
This colorful paper watering can craft features a watering can pouring water over bright tulips. The craft is simple to make and has a lovely 3D effect, making it a perfect spring paper craft for kids.
Materials Needed
- Green paper for the grass;
- Colored paper for the watering can;
- Two different colors of paper for the tulips;
- Light blue paper for the background;
- Black and blue markers for the details;
- Scissors;
- Glue.
Step-by-Step Watering Can Paper Craft
First, choose the color scheme for your craft. You can use any bright colors for the watering can and tulips, such as red, yellow, orange, or pink. In our example, the watering can is red, while the tulips are orange and yellow.
Once you have chosen your colors, start cutting out the craft pieces.
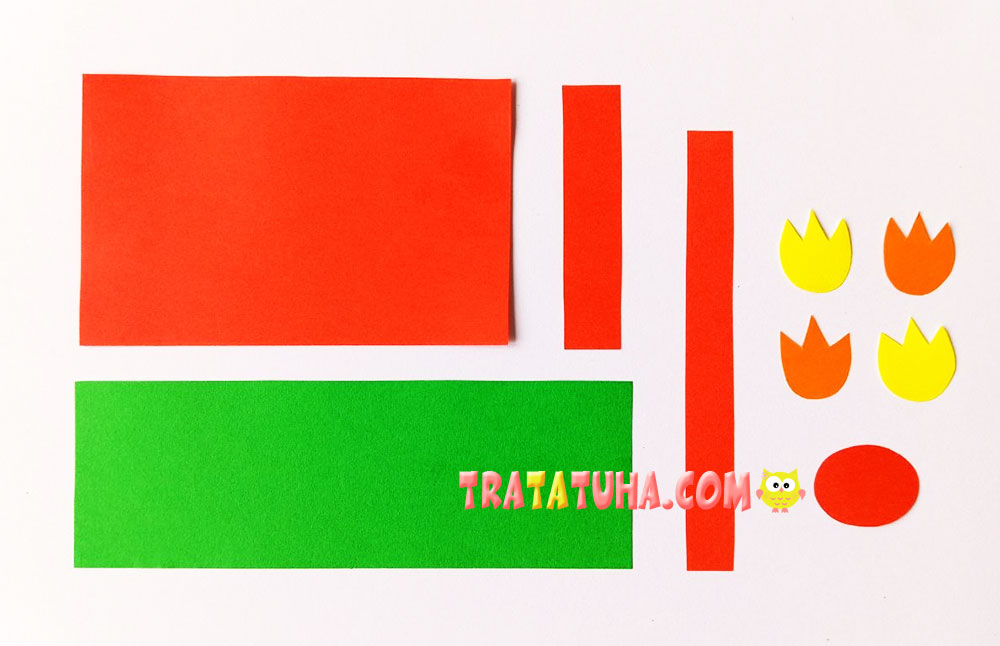
- Cut a rectangle, an oval, and two strips from red paper. One strip should be thicker and shorter, while the other should be thinner and longer. The rectangle will form the body of the watering can, the oval will be the sprinkler head, the thicker strip will be the spout, and the thinner strip will be the handle.
- Cut a long, thin rectangle from green paper. This will be the grass at the bottom of the craft.
- Cut four tulip buds from yellow and orange paper: two orange and two yellow.
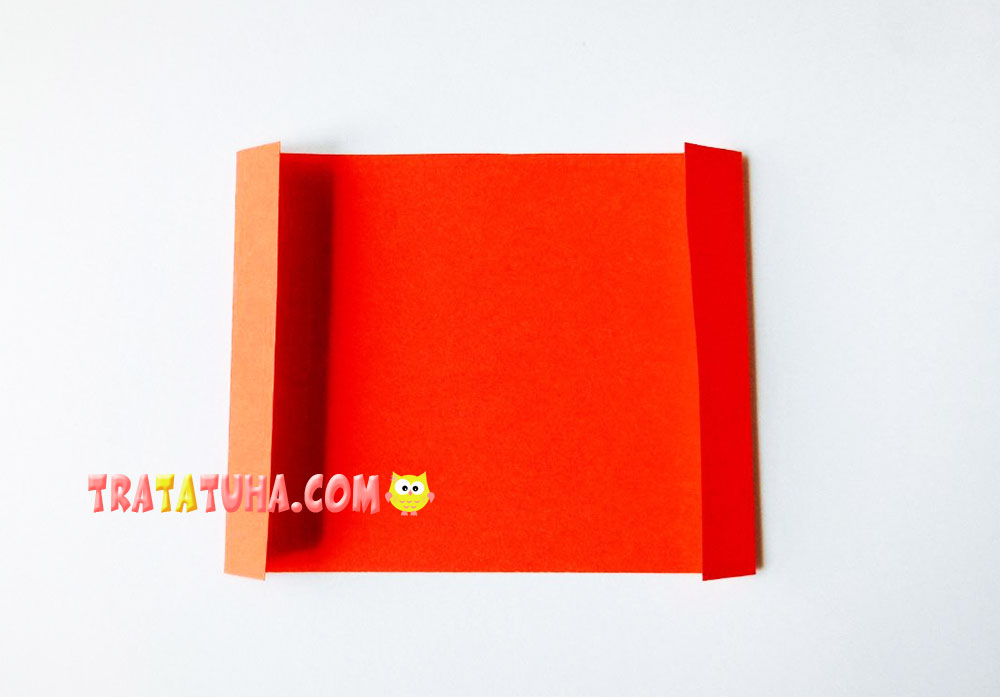
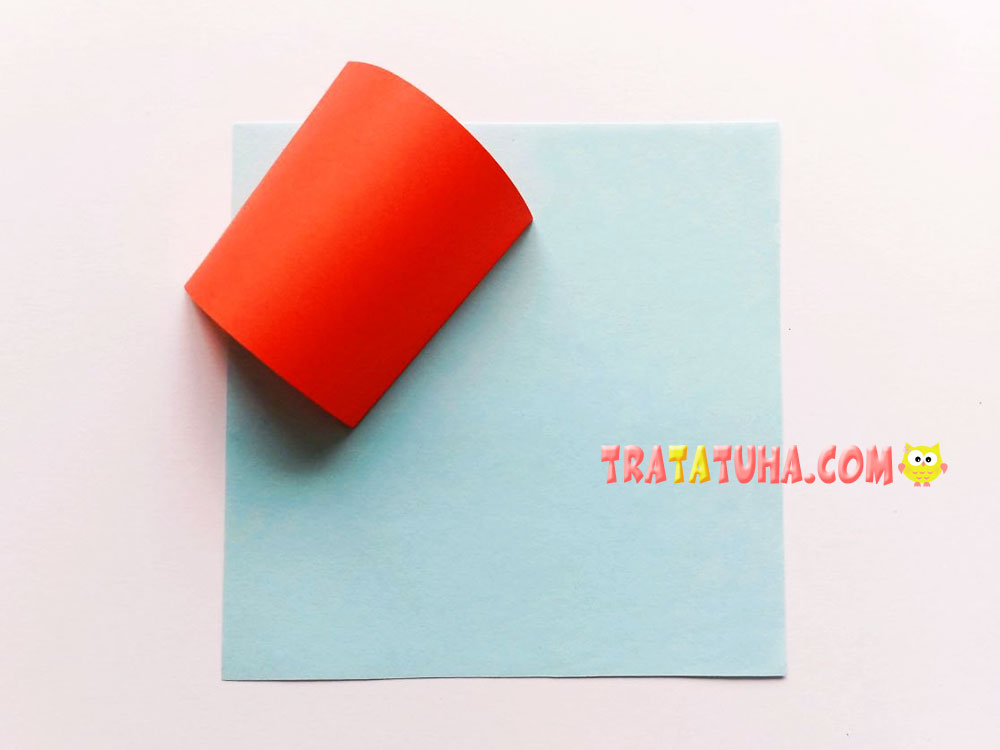
Next, fold the short sides of the red rectangle inward. You should end up with two identical folds.
Then, glue the rectangle onto the background sheet to form the body of the watering can. Apply glue to the folded sections you made in the previous step. Place them close together so that the body has a 3D effect.
Glue the body at an angle rather than vertically, as the watering can should look like it is watering the flowers instead of standing upright on a table.
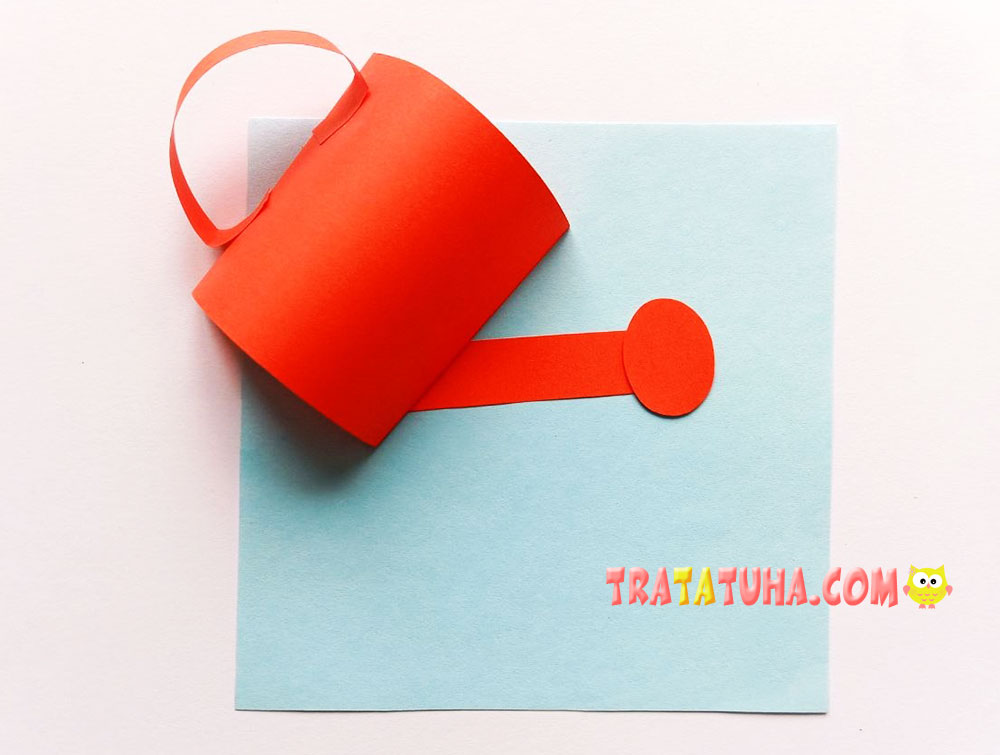
Next, attach the remaining parts of the watering can: the handle, spout, and sprinkler head. Fold the ends of the handle in the same way as you folded the sides of the body, and glue it onto the folded sections.
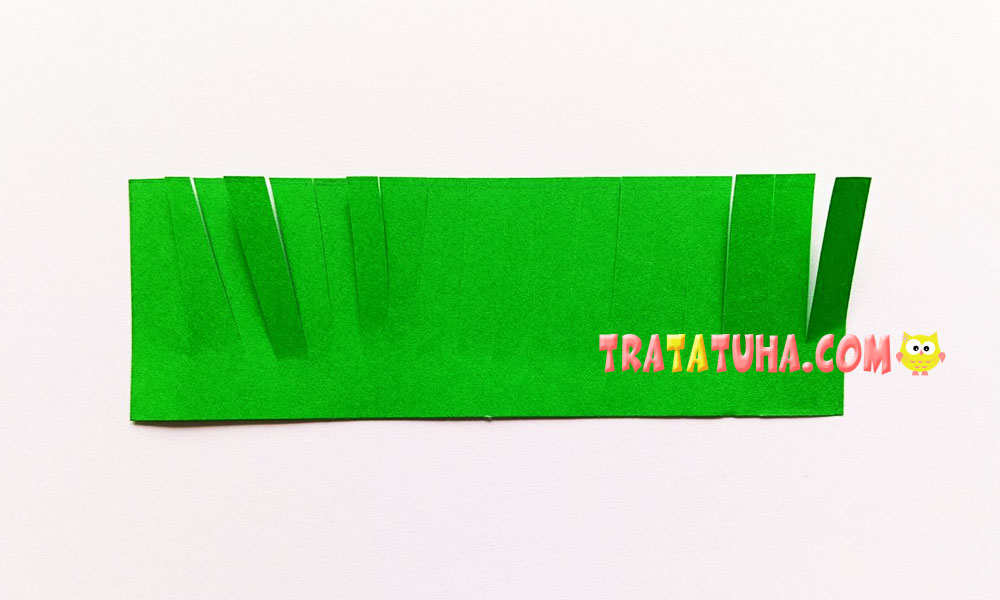
Now, move on to the grass. Cut the green rectangle into many thin strips, stopping before you reach the edge to create a fringe.
Then, glue the grass onto the background. One part of each blade of grass should lie flat against the paper, while the other part should stick out. To create this effect, wrap the strips around a pencil or pen. Alternate between blades that lie flat and those that stick out.
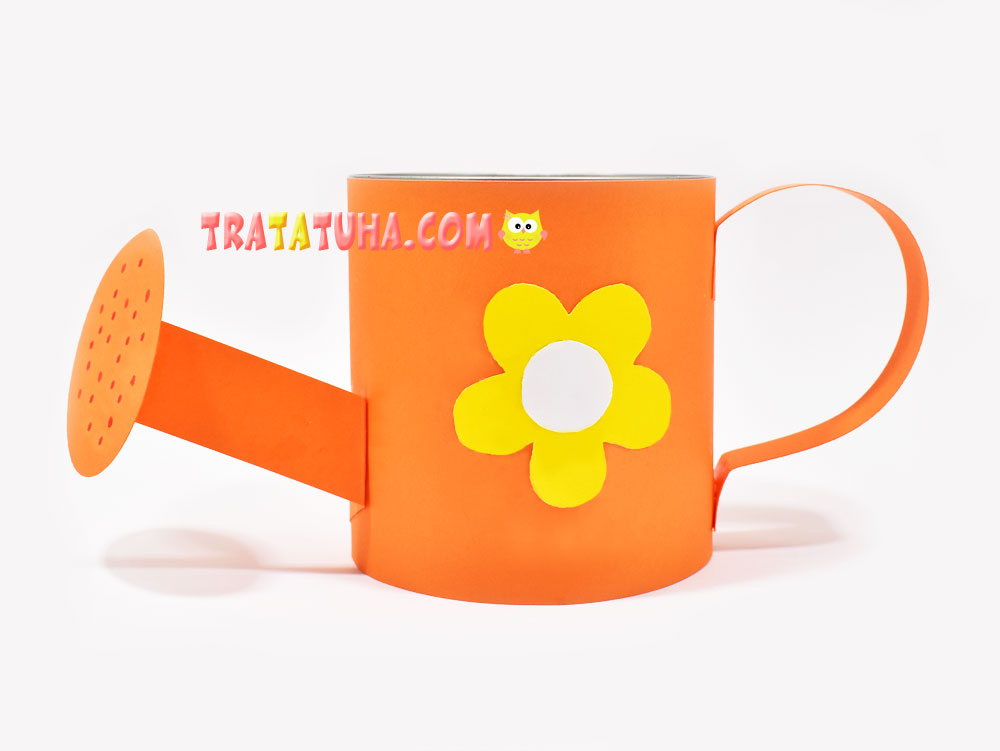
You can also make a watering can from waste materials. Check out our step-by-step tutorial on making a watering can from a tin can.
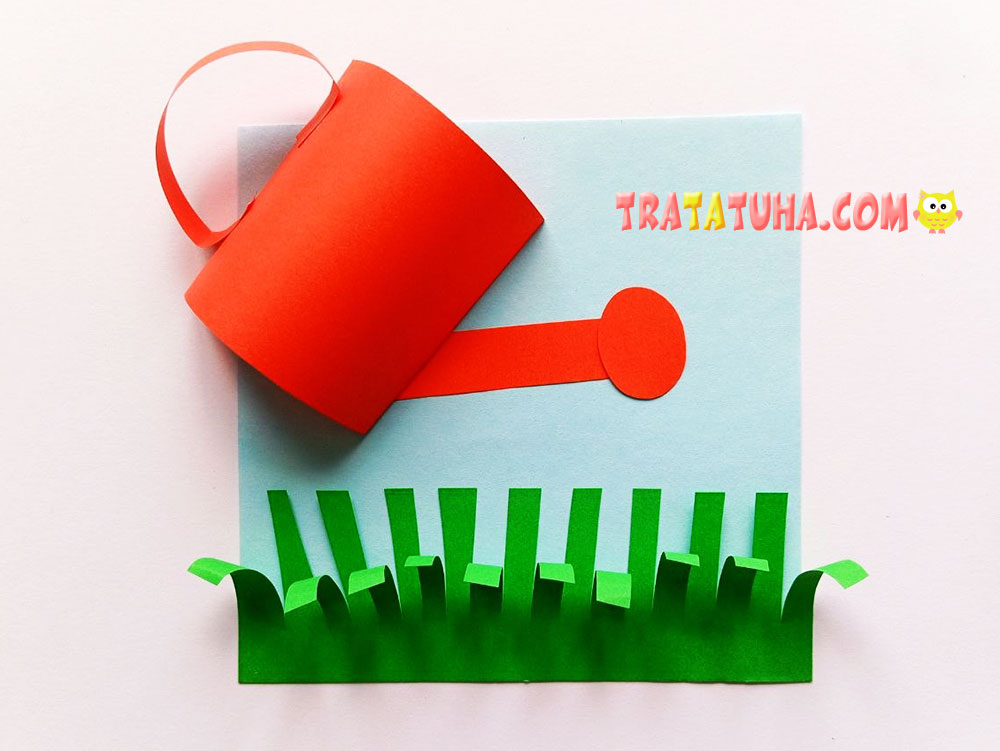
Next, glue the tulip buds onto some of the blades of grass. Attach the flowers only to the blades that lie flat against the background.
Finally, add some details with markers. Use the black marker to draw small holes on the sprinkler head where the water comes out. Use the blue marker to draw tiny water droplets on the background, falling onto the flowers and grass.
And that’s how our colorful watering can paper craft turned out! It’s especially lovely to make in spring when tulips are in bloom, but summer is a great time for it, too.