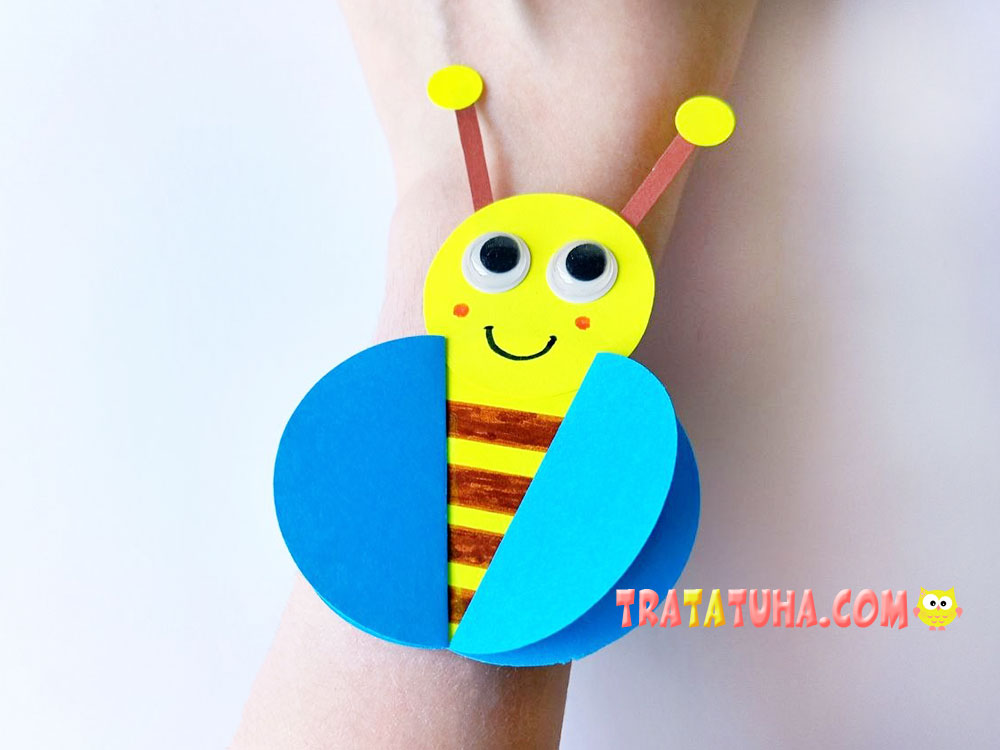
A fun paper bee bracelet craft that your child can wear on their wrist as a decoration. It won’t sit gathering dust on a shelf — it will always be right there with your little one!
You Will Need:
- Yellow, blue, and brown paper;
- Black, red, and brown markers;
- Googly eyes from a craft store (or you can draw the eyes instead);
- A ruler (optional);
- Scissors;
- Glue.
How to Make a Paper Bee Bracelet Craft Step by Step
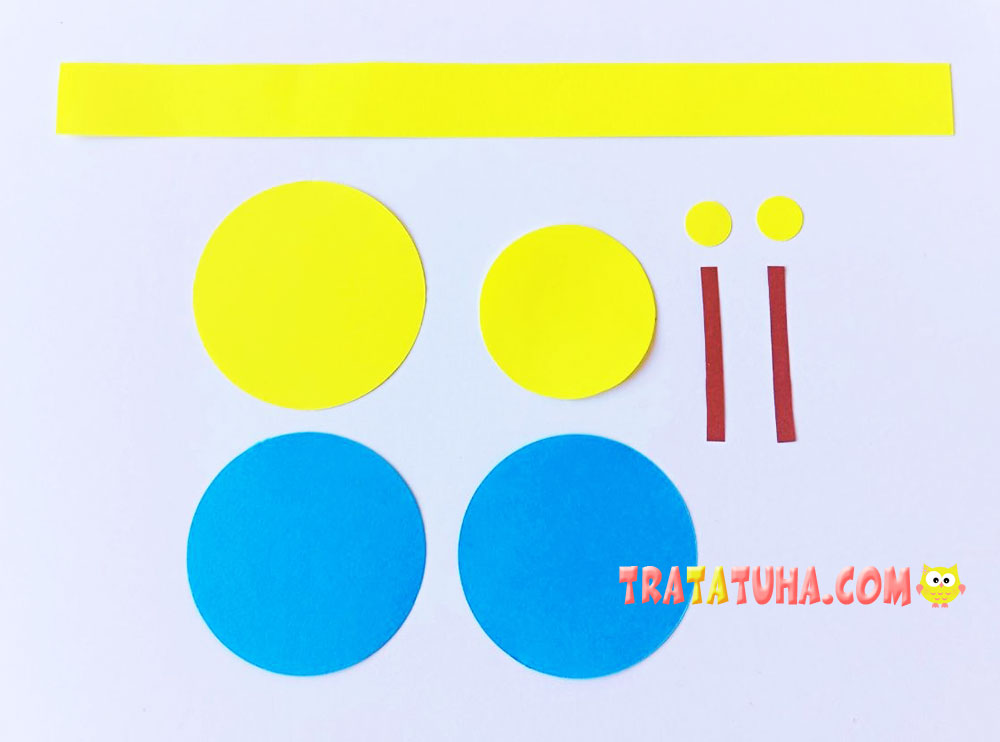
First, prepare everything you need for the bracelet.
- From yellow paper, cut out two circles, one larger and one smaller. The larger circle will become the body, and the smaller one will be the head. Also cut out a long strip to use as the bracelet band. Separately, cut out two tiny circles that will go on the ends of the bee’s antennae.
- From blue paper, cut out two identical circles, approximately the same size as the bee’s body. These will become the wings of the busy little bee.
- From brown paper, cut out two small, thin strips for the bee’s antennae.
Next, decorate the insect’s face. Take the smaller yellow circle, which is the head, and draw a smile and rosy cheeks. Glue the googly eyes slightly above them. If you don’t have googly eyes, simply draw the eyes with a black marker.
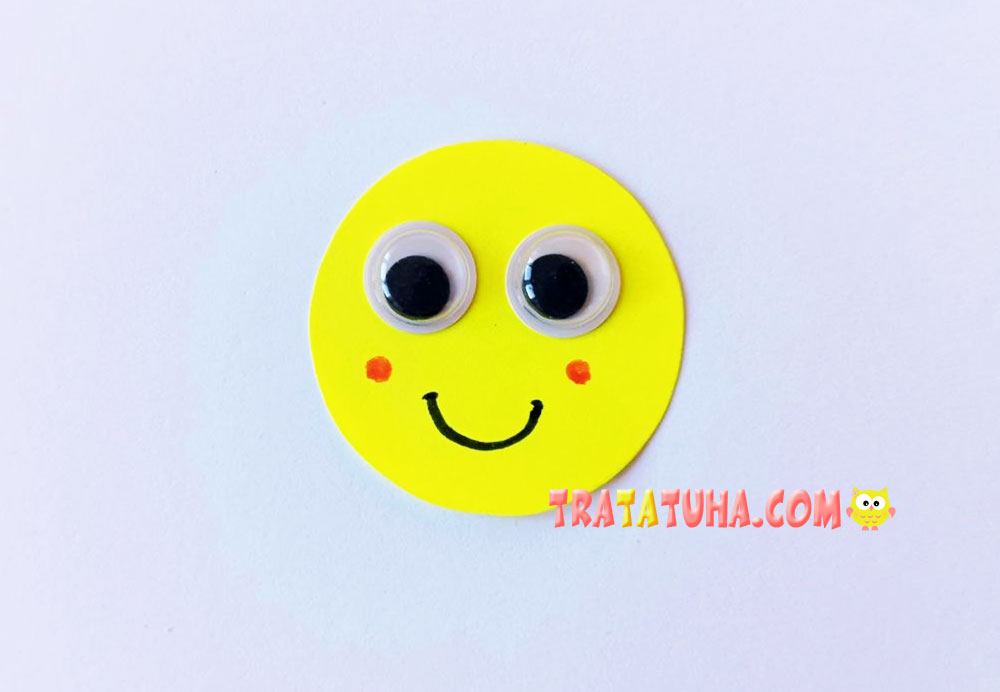
After that, glue on the antennae. Spread them out to the sides rather than pointing them straight upward — this makes the bee look more lively.
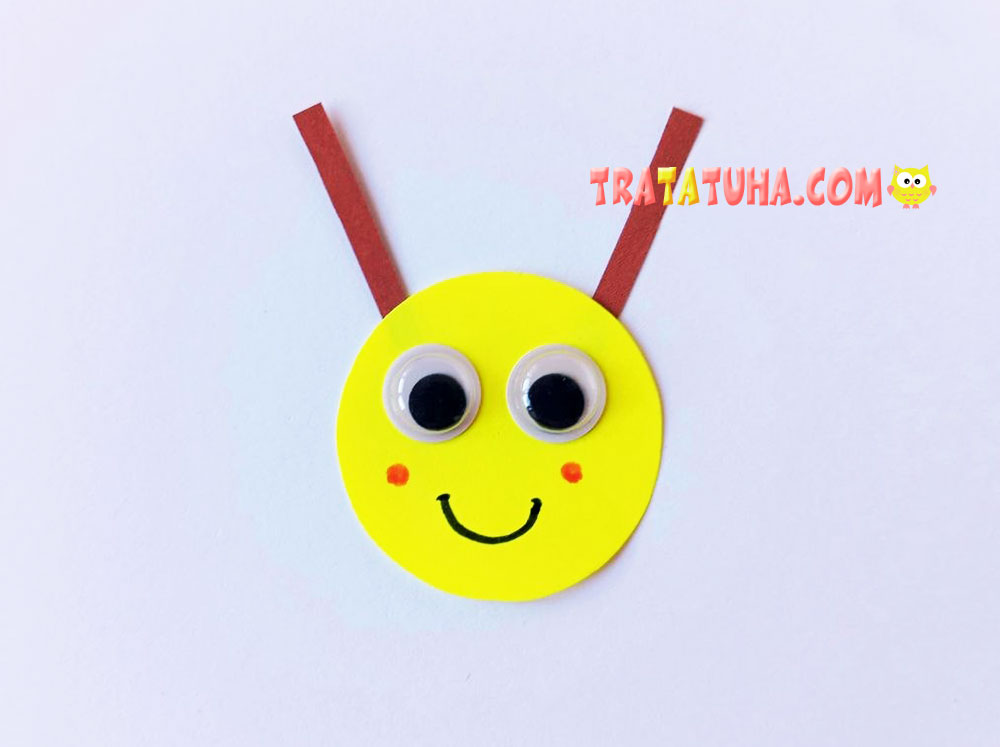
Next, glue the tiny yellow circles onto the ends of the antennae. This will make the craft look brighter and more attractive.
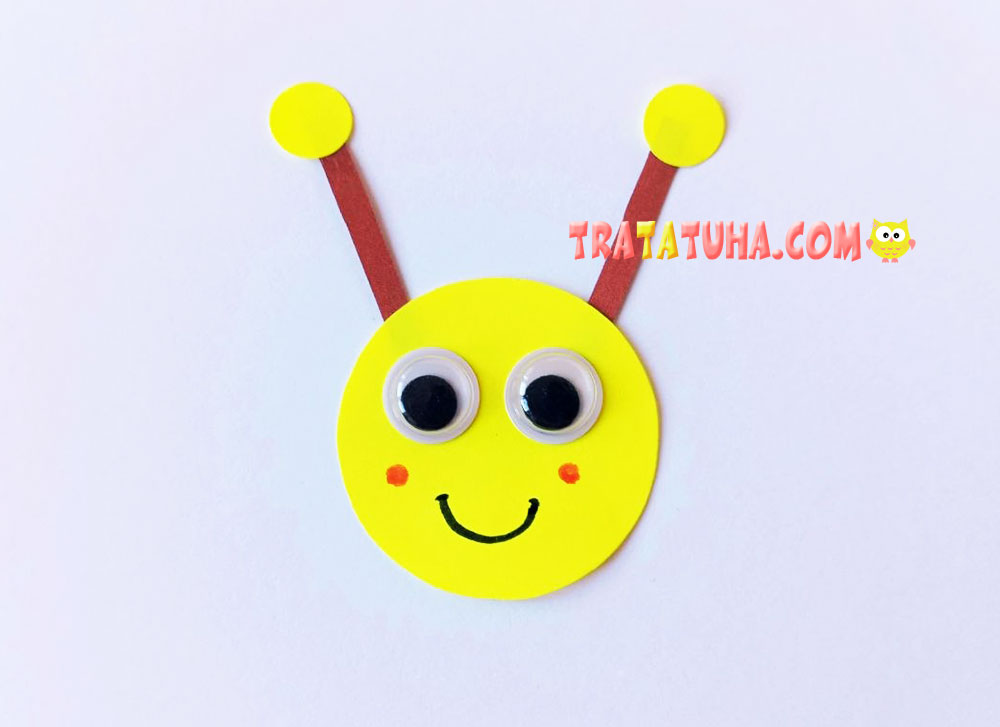
Then glue the head onto the body.
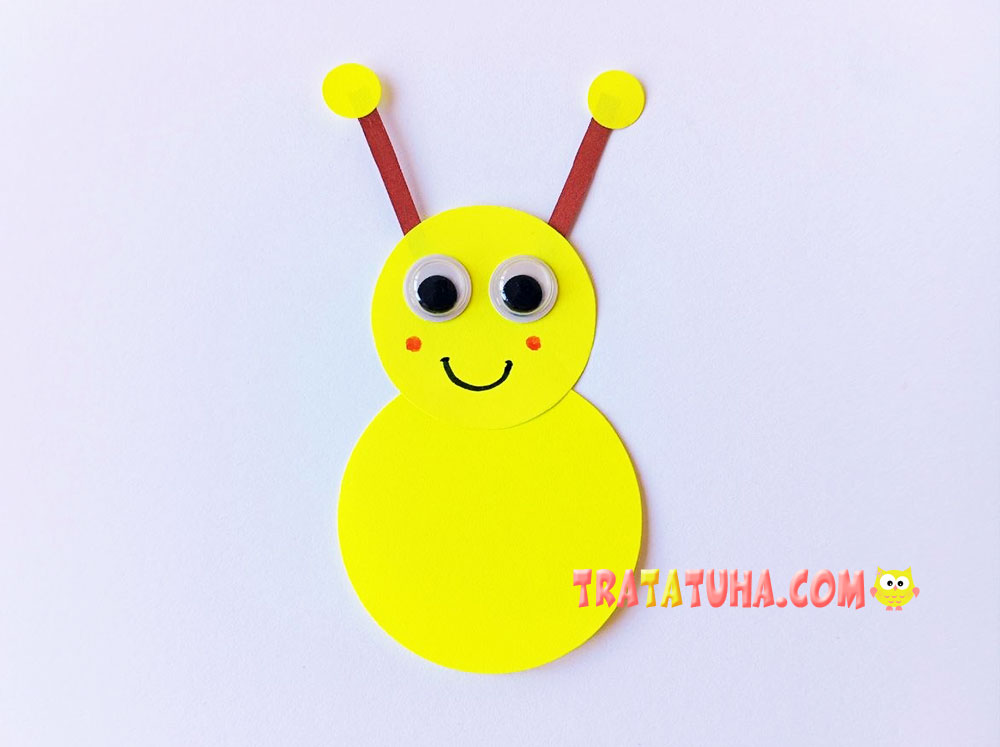
Next, draw stripes across the body. A ruler makes it easy to draw neat lines, but you can also skip it and draw the stripes freehand.
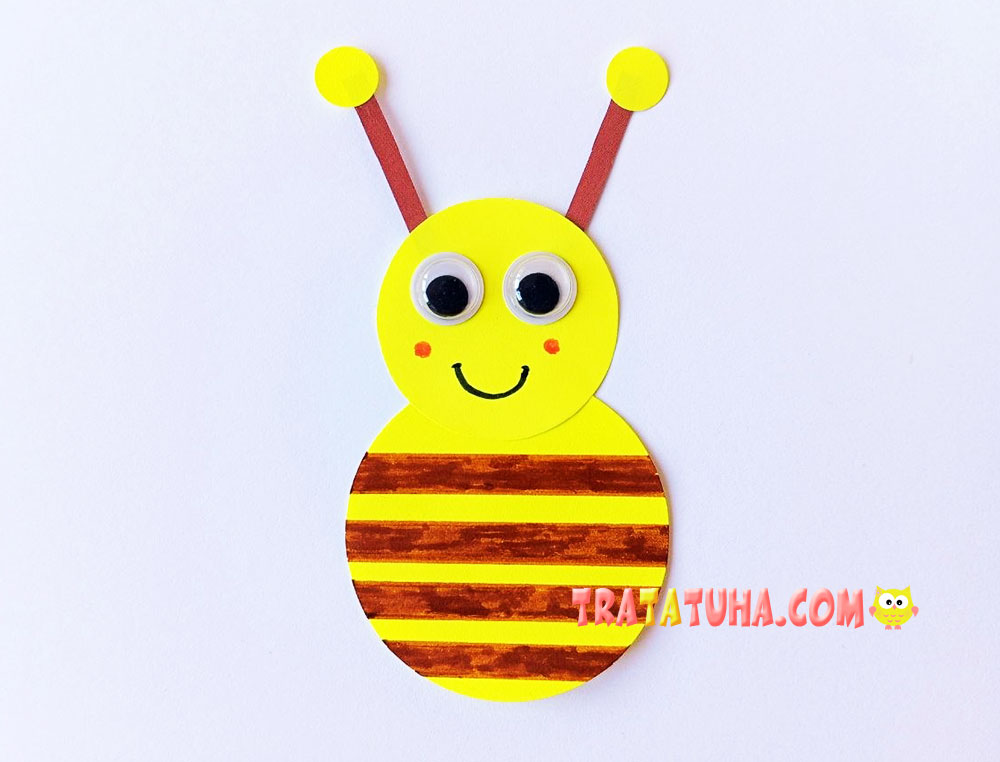
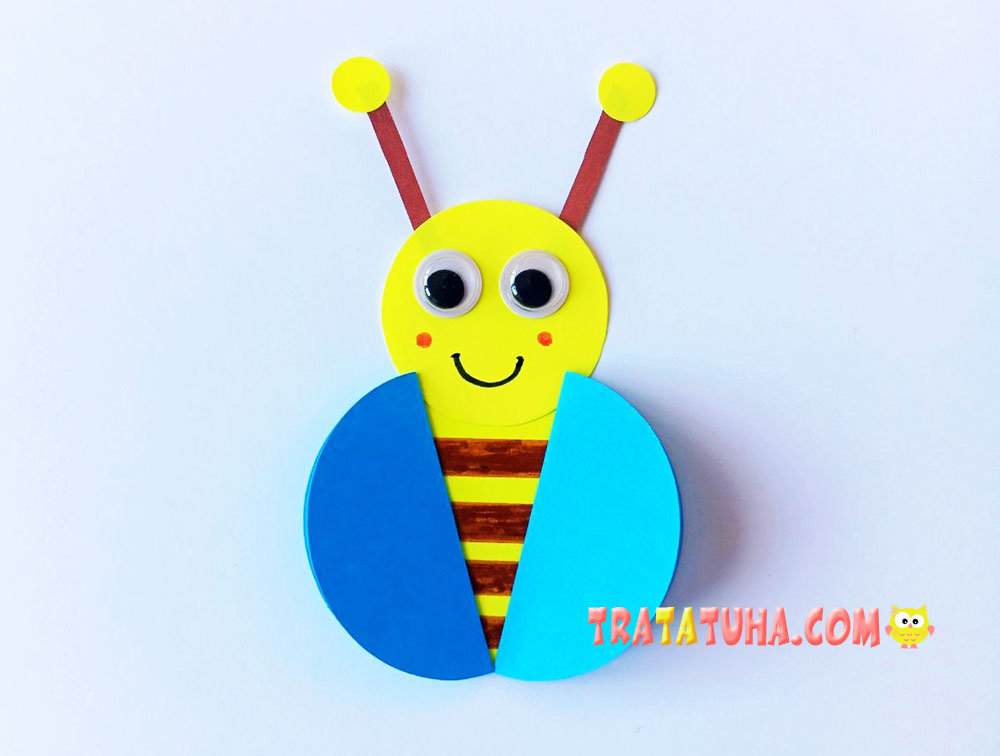
After that, fold the blue circles in half and glue them onto the body. Now the little worker bee has wings! The edges of the semicircles should meet at the bottom of the body.
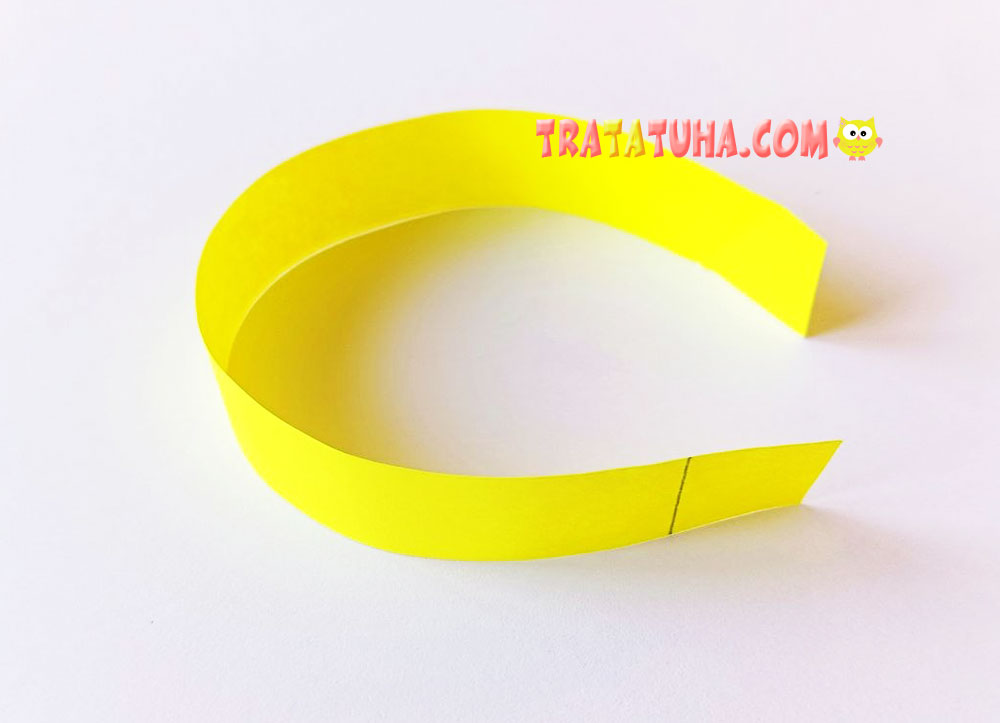
Now move on to the bracelet band — the long yellow strip. Make a vertical slit at one end of the strip, but don’t cut all the way through. The photo below shows exactly where to make the slit.
Try inserting the other end of the strip into the slit you just made. This will join the two ends and create the bracelet.
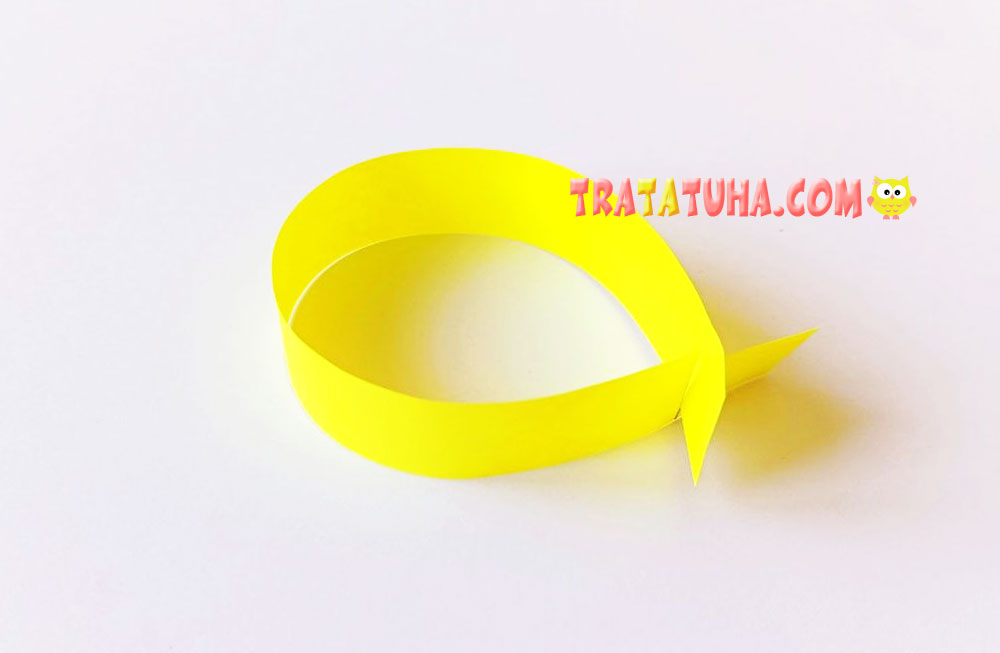
Then, using the fastening you made, put the bracelet on your wrist. The fastening should face downward and sit on the underside of your wrist.
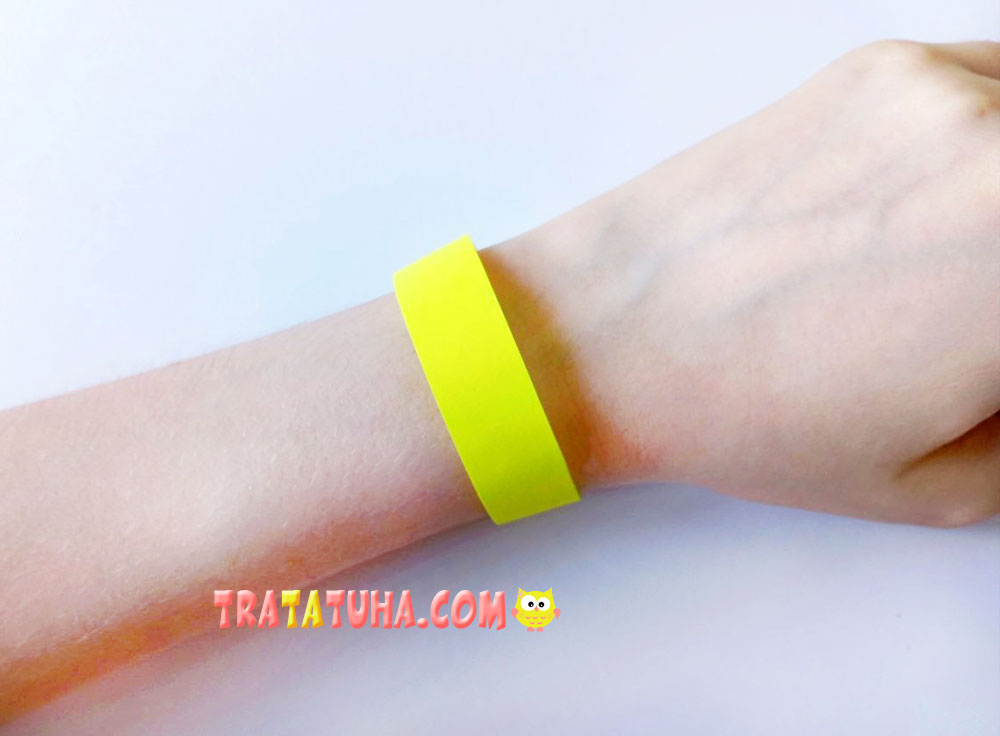
Next, glue the bee onto the bracelet.
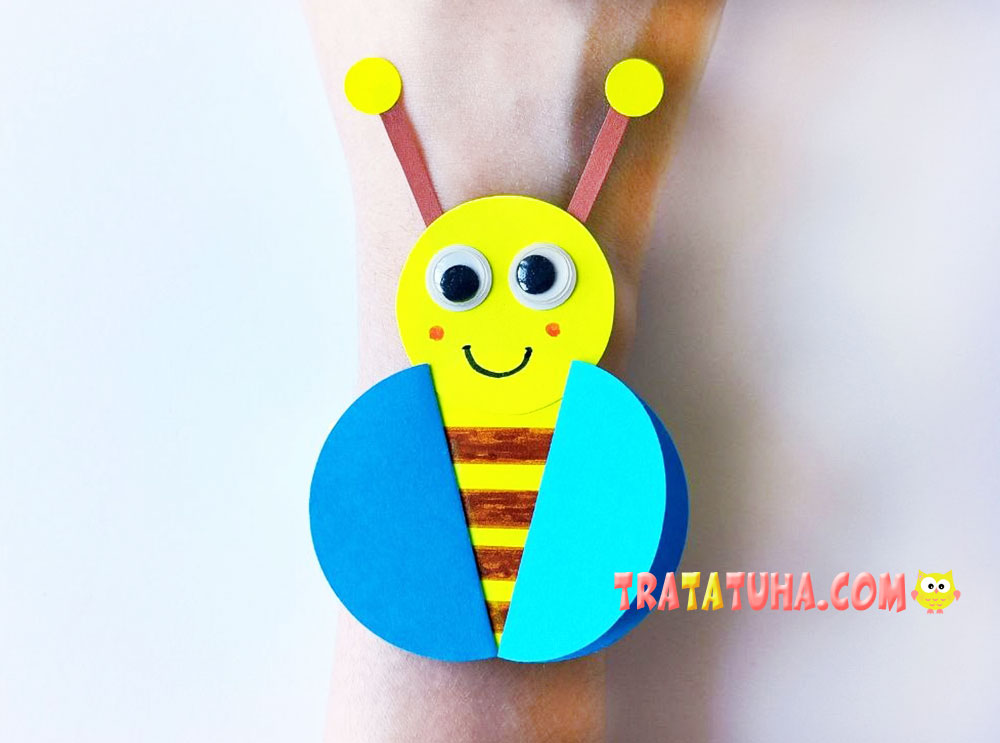
That’s it! Your paper bee bracelet craft is ready. You can change some of the colors if you like. For example, use light blue or white instead of blue, or black instead of brown.
If you’re looking for more homemade bracelet ideas, try making a bracelet from yarn and a cardboard roll.
Related Post: