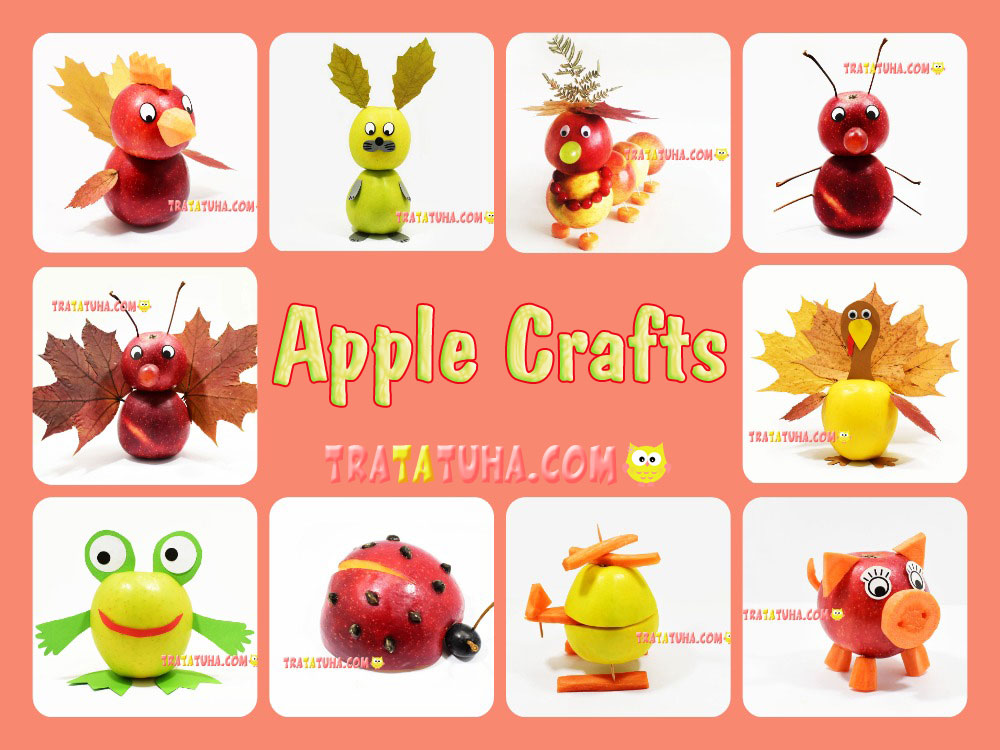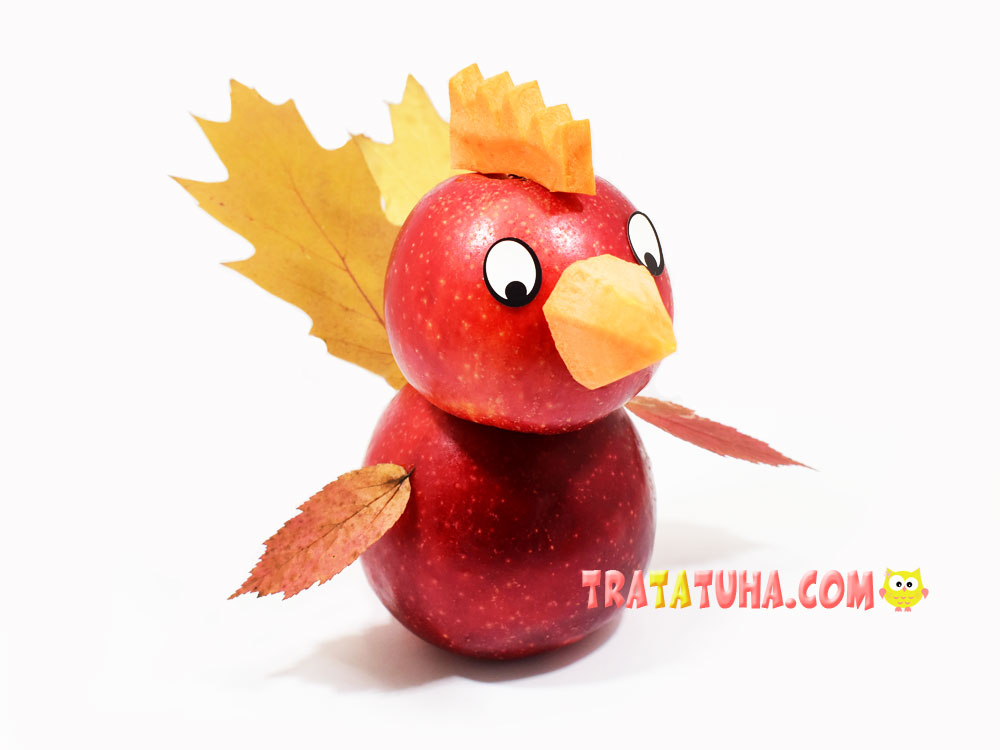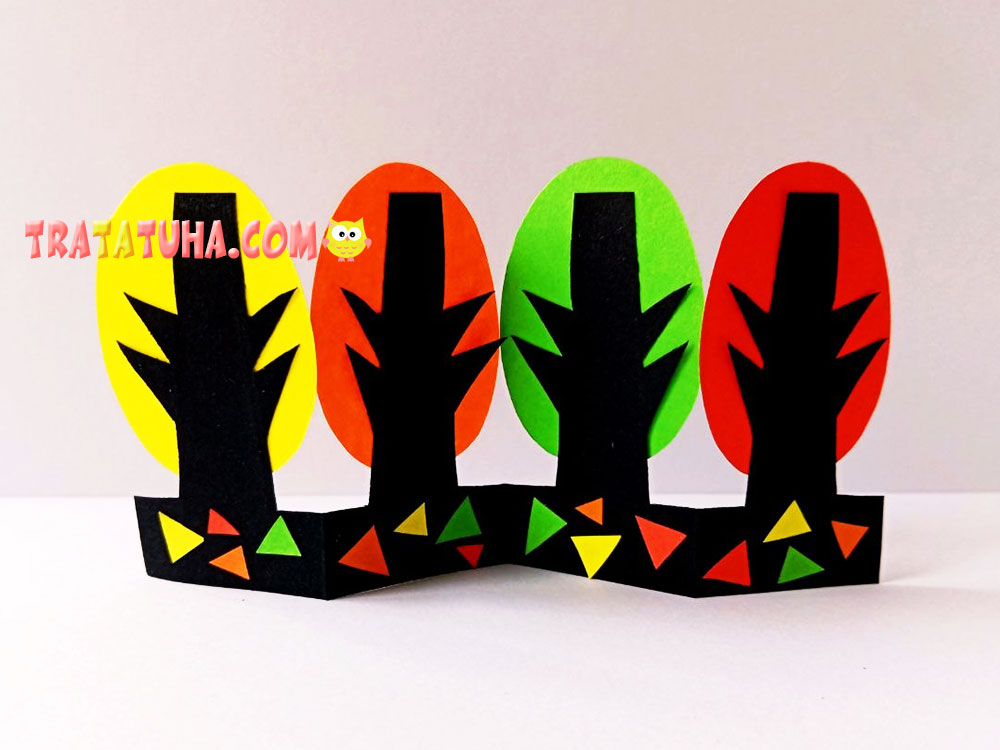
In this step-by-step tutorial, you’ll learn how to make a paper autumn forest. The bright tree canopies contrast beautifully with the black base, giving the craft an unusual, bold look that immediately catches the eye. It’s a wonderful autumn craft idea for kids!
You will need:
- Black paper for the base;
- Red, orange, yellow, and green paper for the colorful details;
- A pencil;
- Scissors;
- Glue.
How to Make a Paper Autumn Forest Step by Step
First, prepare the base of the craft. Cut a long strip of black paper. It should be long enough to divide into four equal sections and wide enough to fit the tree trunks and branches.
It’s best to use paper rather than cardstock for this part of the craft. Cardstock is too thick, so it would be difficult to cut neatly once folded into four layers.

Fold the black strip in half. You will get a shape that looks like a card with two halves. Position it so that the fold is on the right.
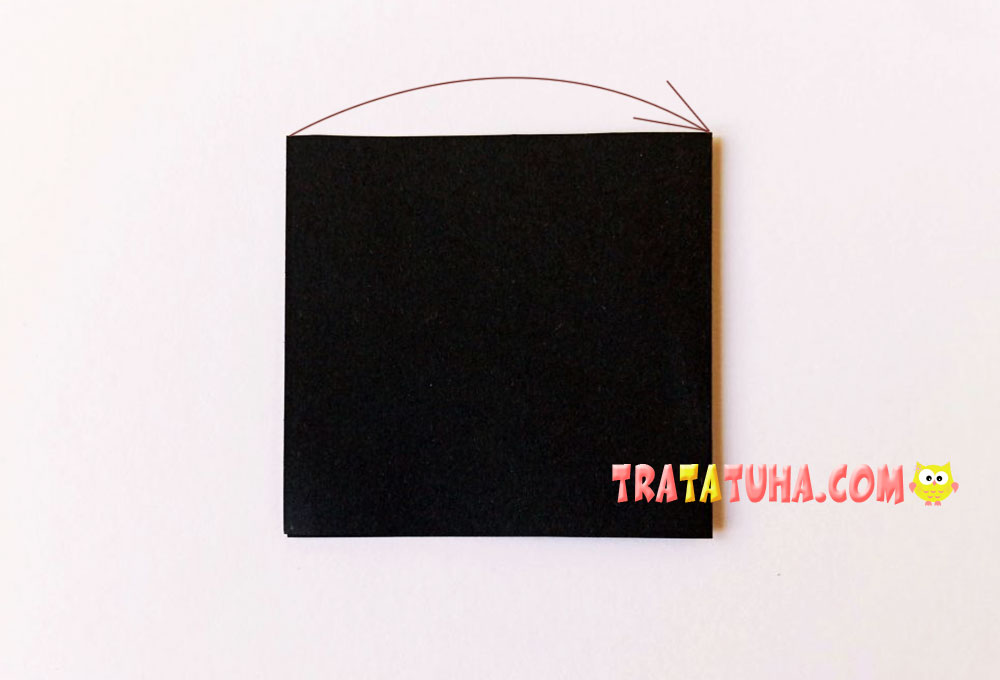
Now fold the top half in half again, bending it outward to the right toward the main fold.
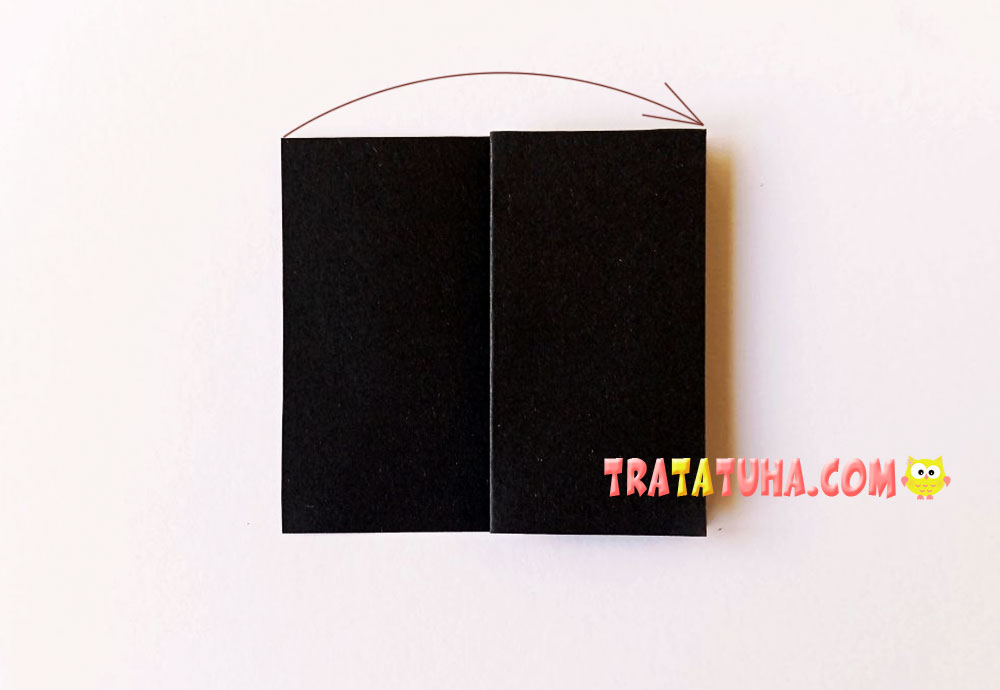
Fold the second half in the same way. As a result, you should have a narrow, tall piece of paper folded into four sections.
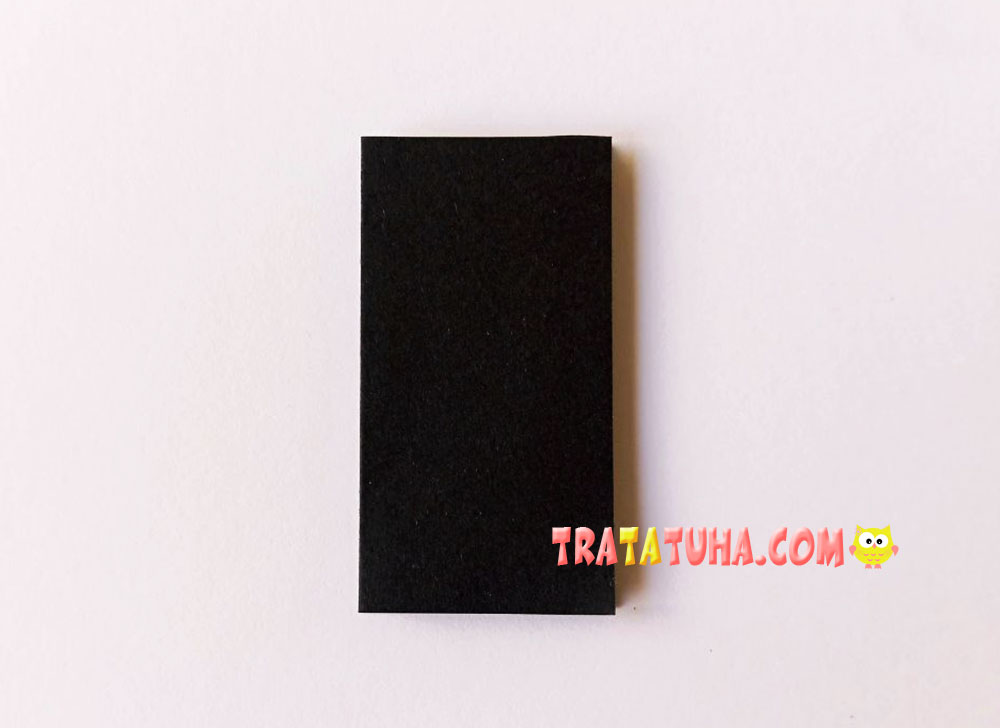
Draw the outline of the ground and a tree growing from it on the folded paper. Make the bottom section wide enough, as it will serve as the base and help the finished craft stand upright.
Draw the tree symmetrically, with two branches on the right and two on the left.
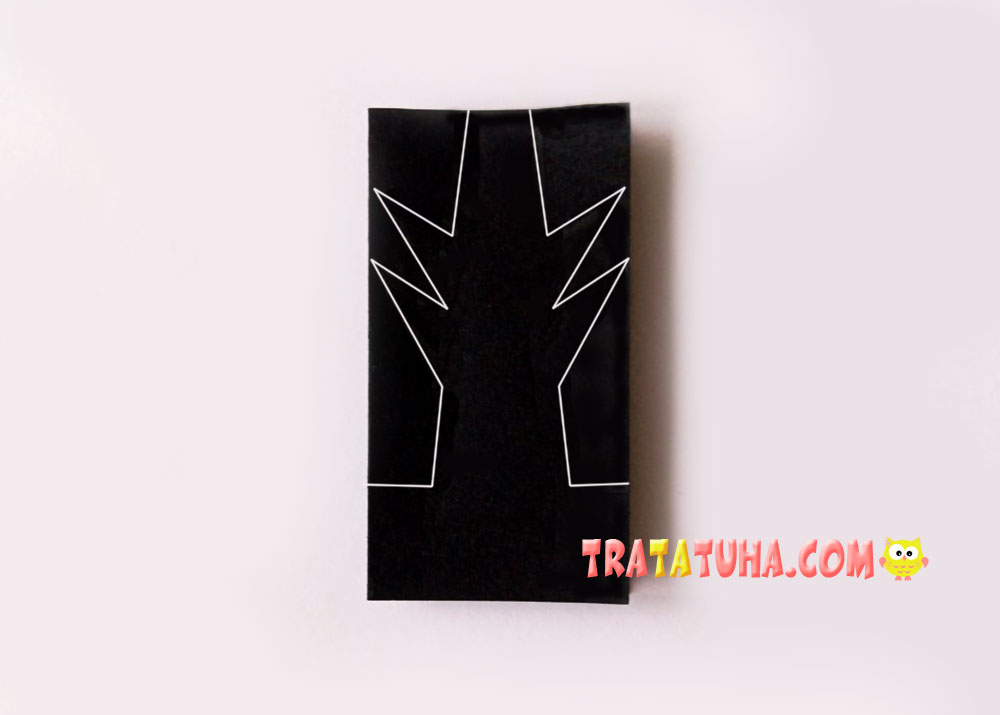
Carefully cut along the outline. Take your time so that you don’t accidentally cut through the folds or any other important parts of the base.
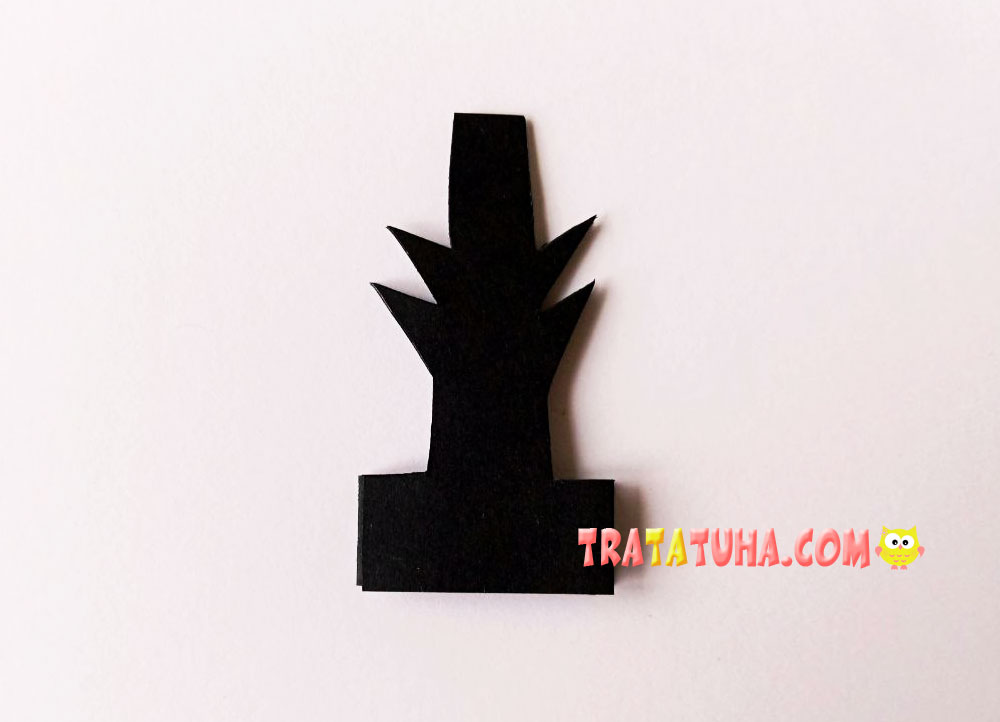
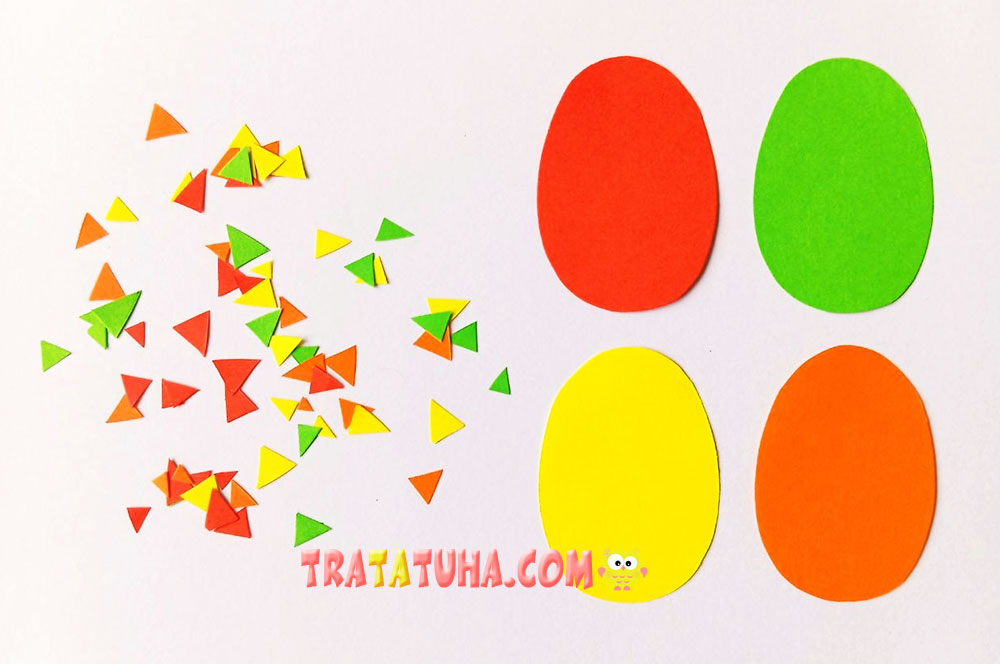
Now prepare the colorful details for your autumn forest. Cut four oval tree canopies from red, orange, yellow, and green paper.
Also cut out plenty of small triangles to represent fallen autumn leaves. The triangles don’t have to be exactly the same — they can vary slightly in shape and size.
For the best effect, use bright autumn colors such as green, yellow, orange, and red. They will look especially striking against the black background.
Unfold the black base. You should now have a forest made up of four trees.
Glue a colorful canopy onto each tree, then decorate the bottom of the craft with the small triangular leaves. In our example, there are four leaves beneath each tree, but you can add more or fewer if you like.
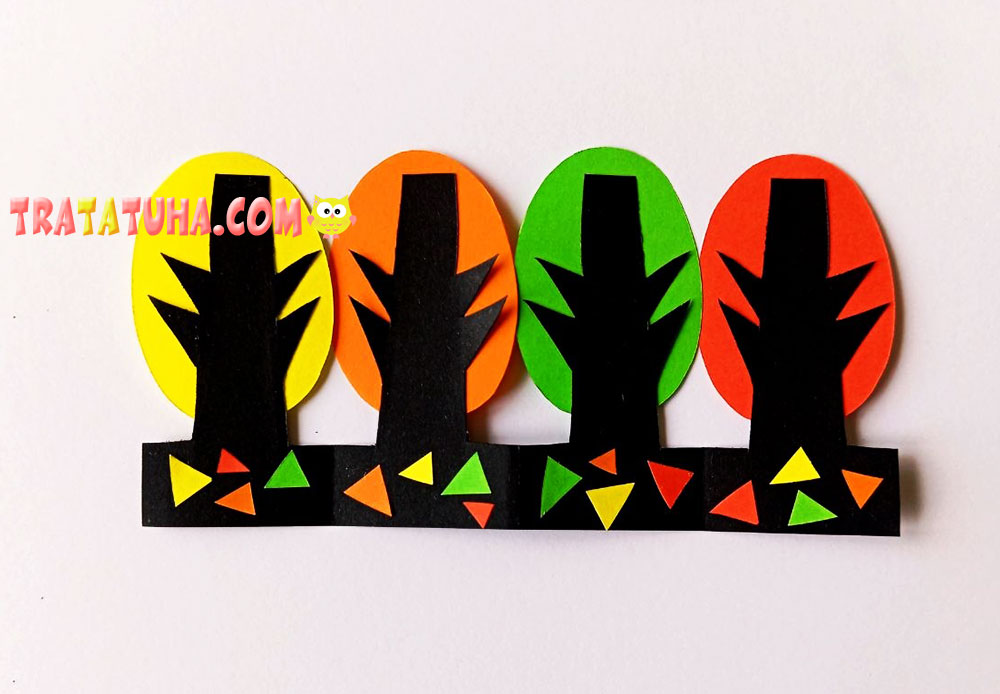
Stand your finished autumn forest upright. Thanks to its folded construction, the craft holds its shape well and stands securely on a flat surface.
That’s it! Now you know how to make a paper autumn forest. The bright tree canopies and colorful fallen leaves contrast beautifully with the black base, giving the composition an original and stylish look. This easy autumn paper craft is a fun activity to make with kids, and the finished forest can be displayed on a shelf, table, or in a child’s room.
Related Post: