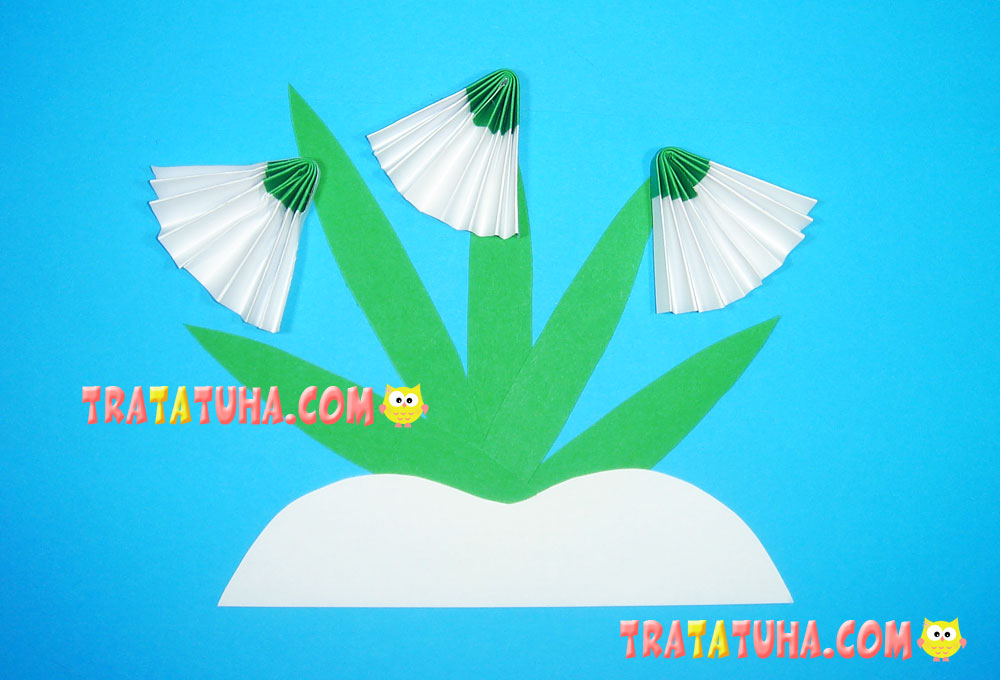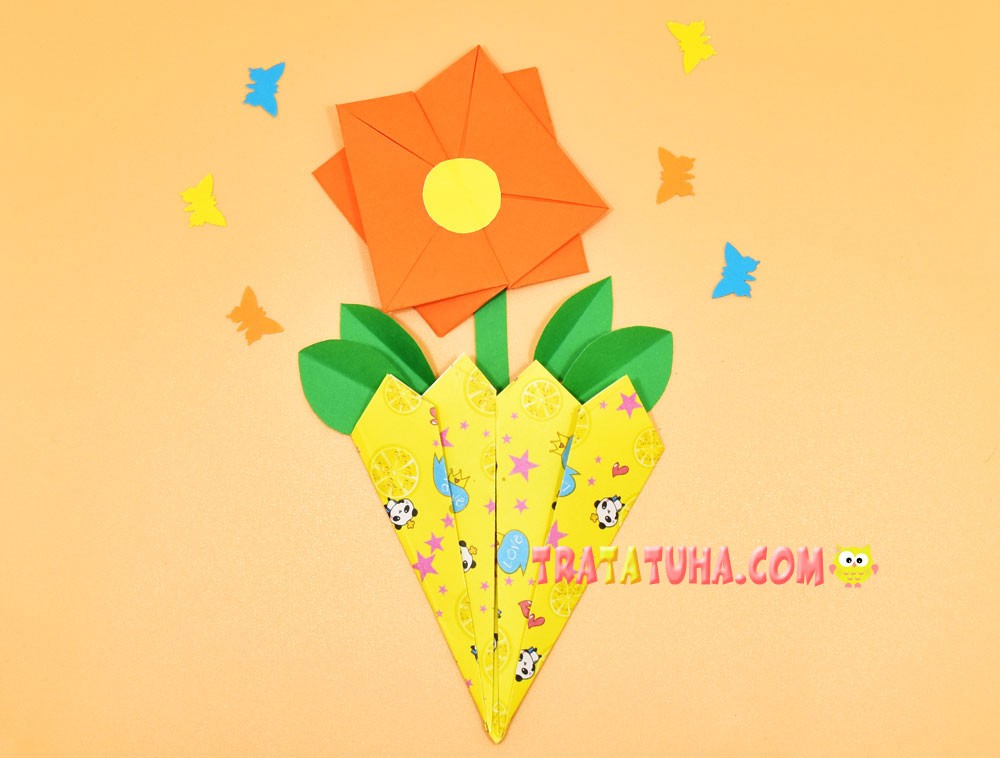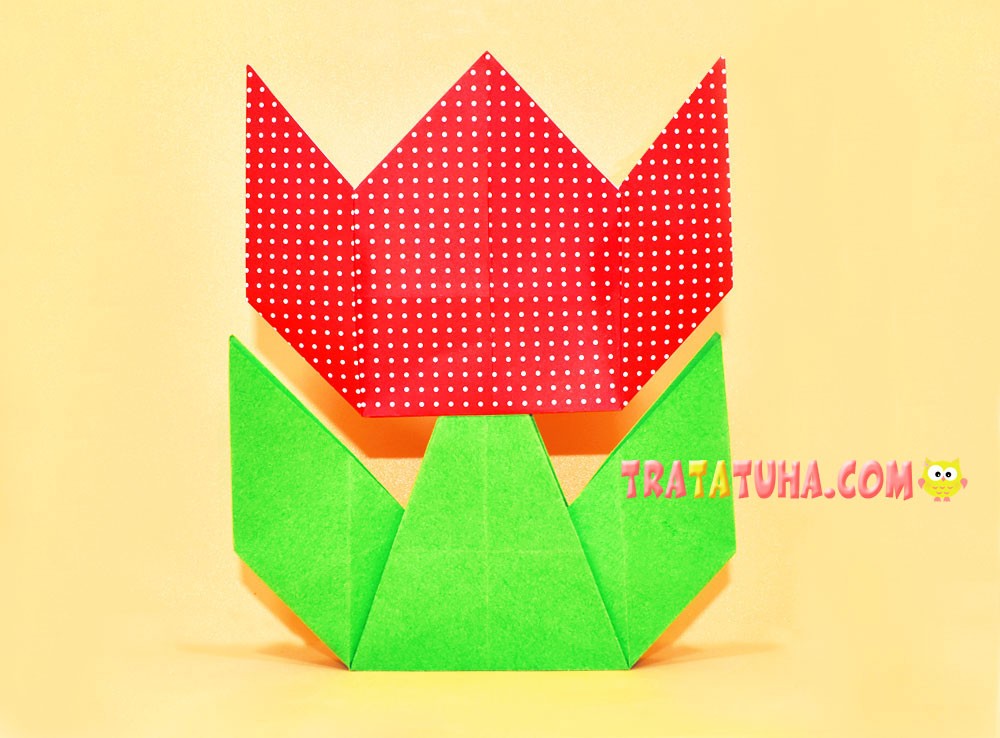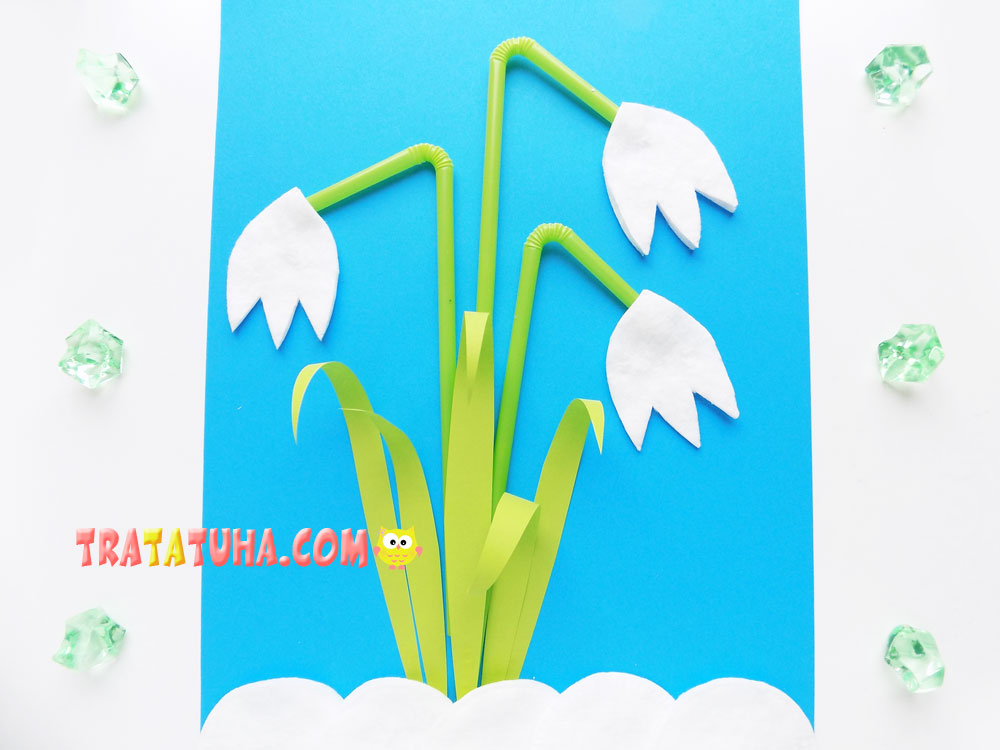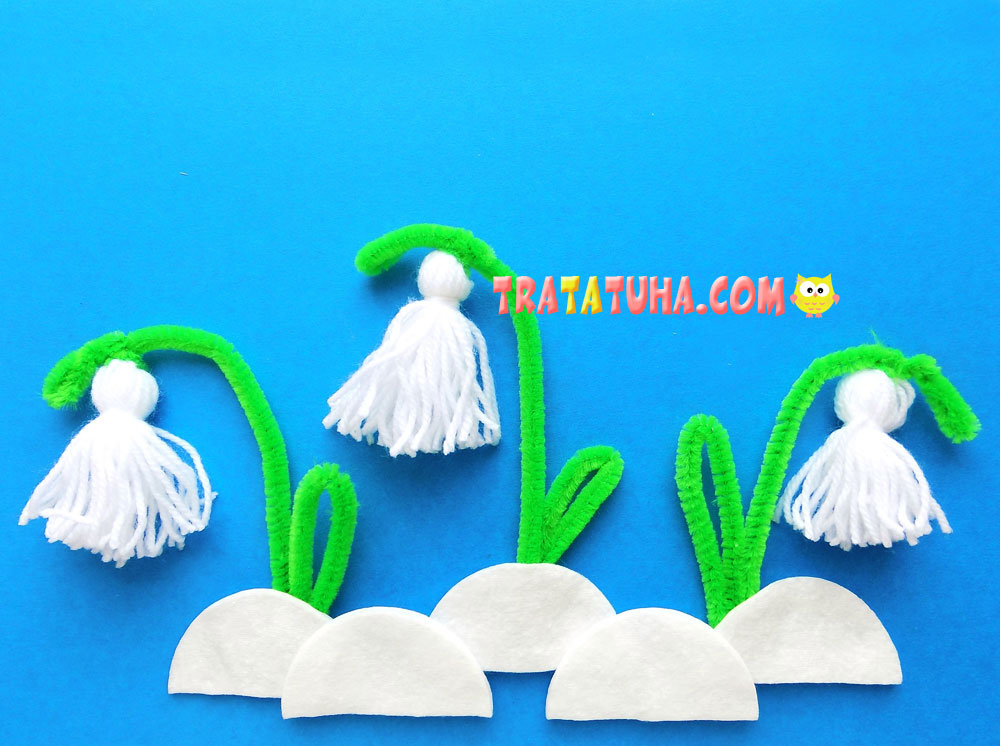
Let’s use paper to celebrate the beginning of spring and make an origami snowdrop. Here are 3 options from the simplest to the slightly complex.
The following were used in the work:
- Double-sided green colored paper;
- White paper;
- Scissors, glue stick.
Origami Snowdrop for Kids: Easiest Option
Making a Flower
Prepare white paper in a square shape.

Fold it in half, from corner to corner.
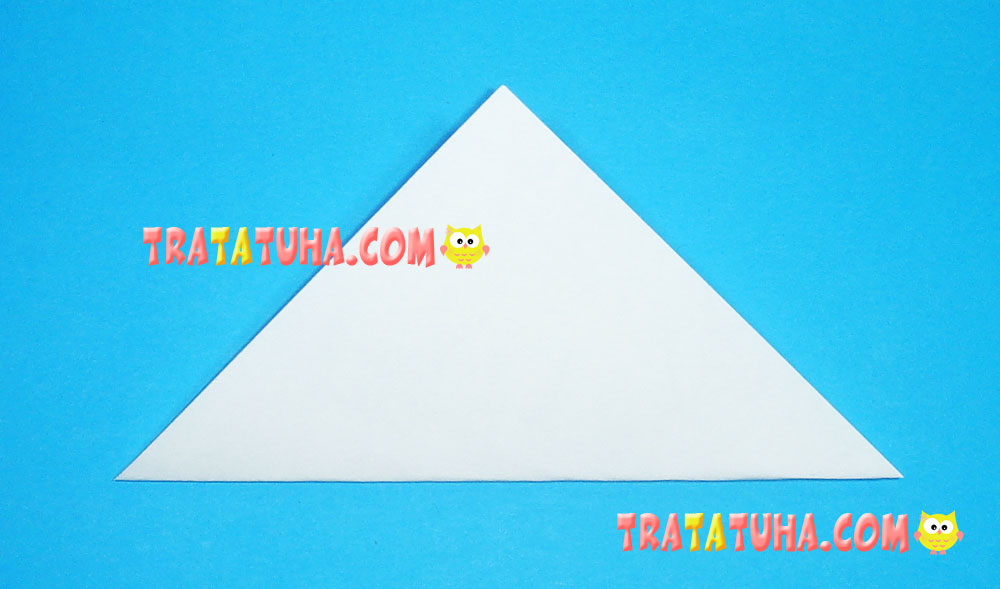
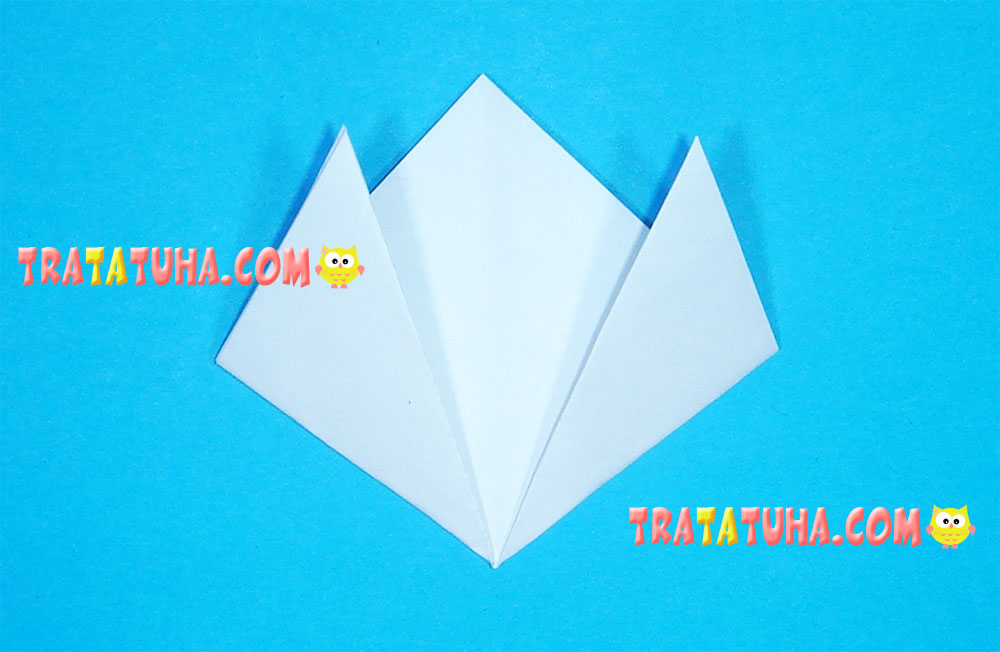
This step is not shown in the photo, but children can fold the paper again to determine the middle of the triangle. You can skip this step and immediately raise the right and left corners up, placing them as symmetrically as possible with respect to the upper corner. The origami flower is already ready. If desired, you can cut out two green triangles or a quarter of a circle and glue it (them) to the base of the flower.
Making an Origami Snowdrop Stem and Leaf
Very young children can simply cut out an oblong sheet; older children can make an origami sheet. Prepare a green square piece of paper.
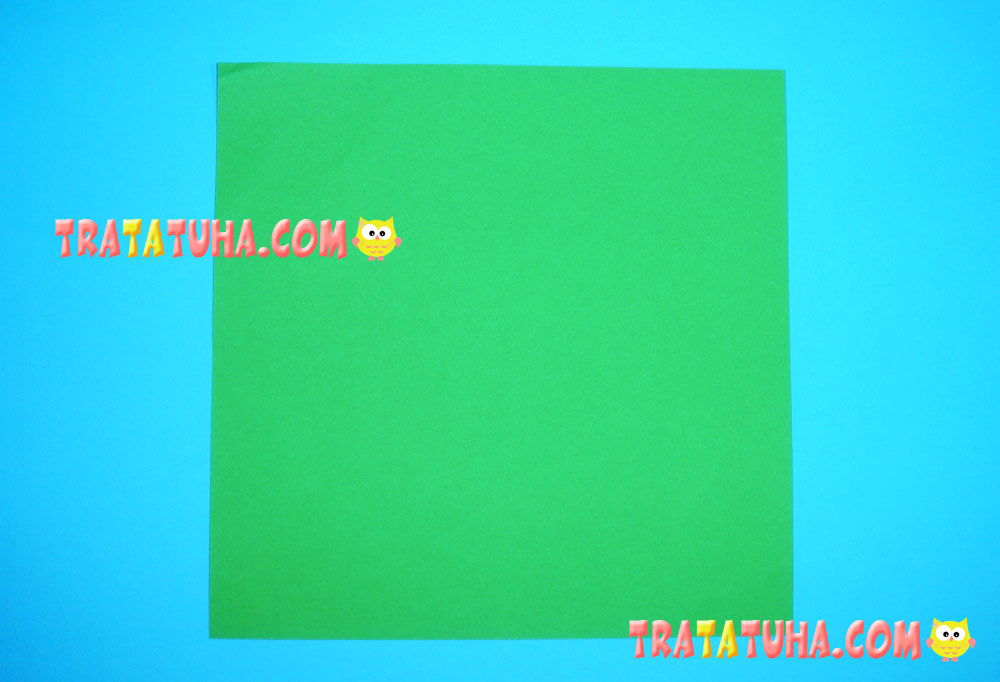
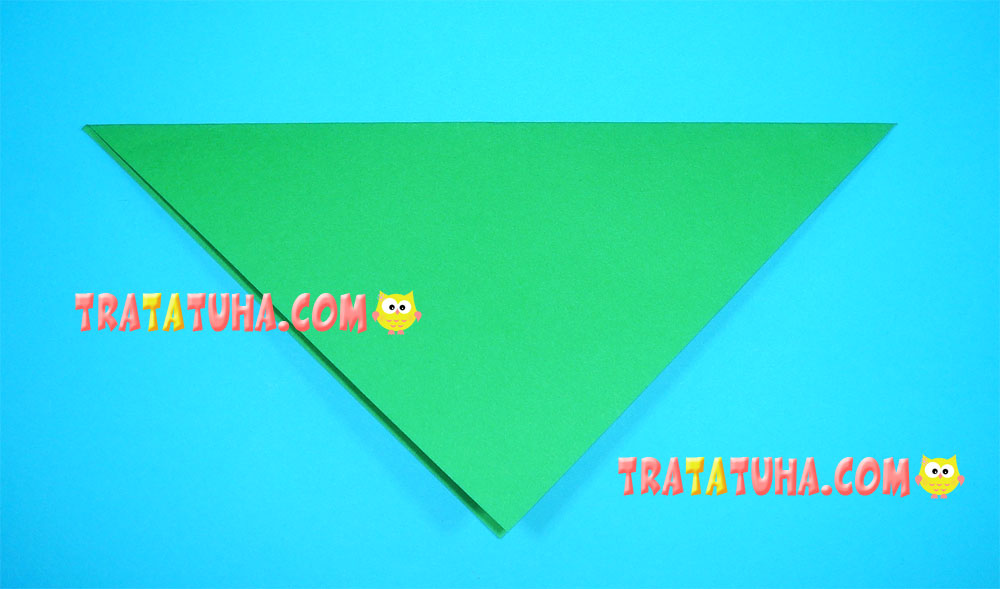
Connect the opposite corners, turning the square into a triangle. This will mark the fold in the middle.
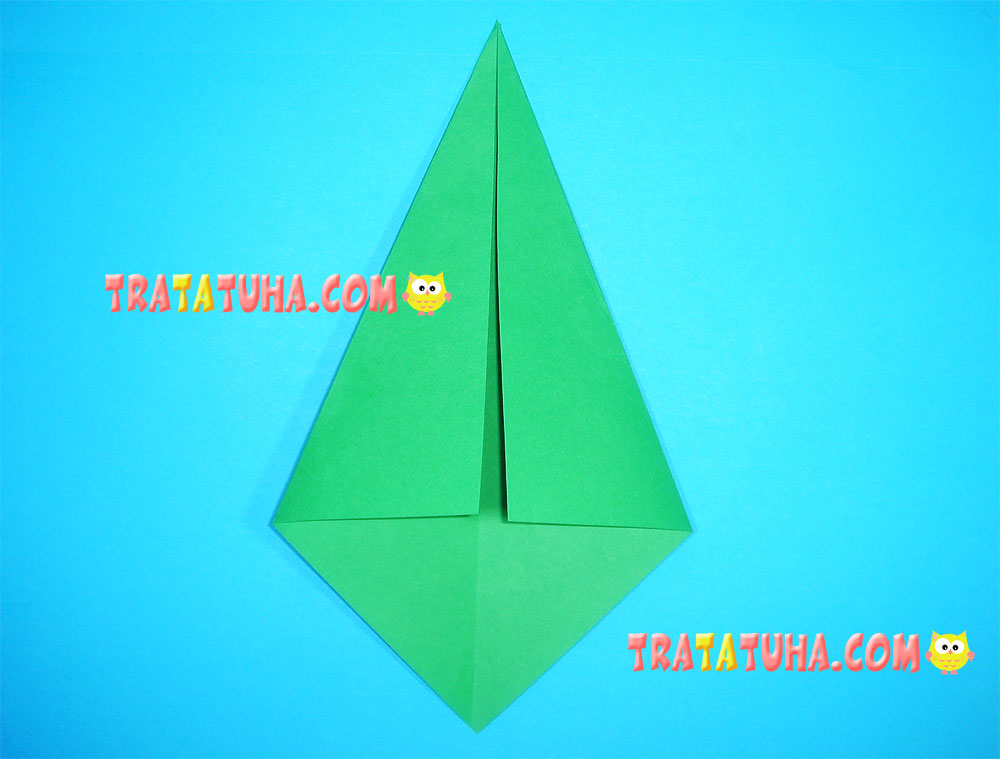
Unfold the paper, returning it to a square shape, and fold the sides, aligning them along the fold.
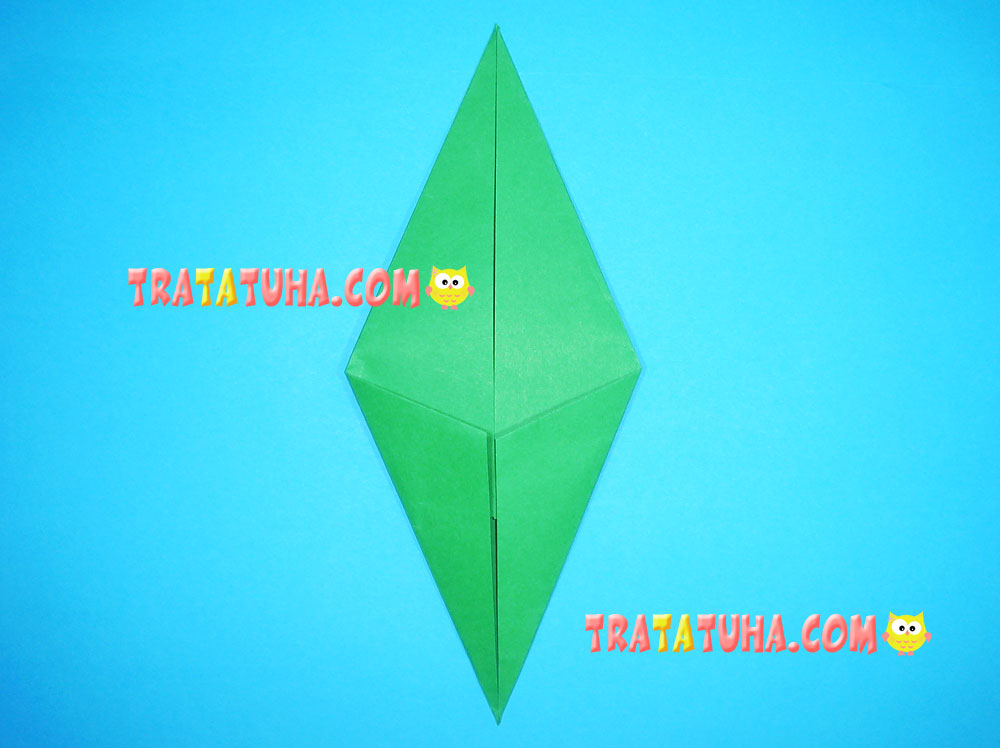
Align the bottom sides along the fold in the same way.
Repeat the steps again, although now it will be a little more difficult. Fold in the top sides, aligning along the center line. Right.

Then left.

Now make folds at the bottom. Right.

Left.
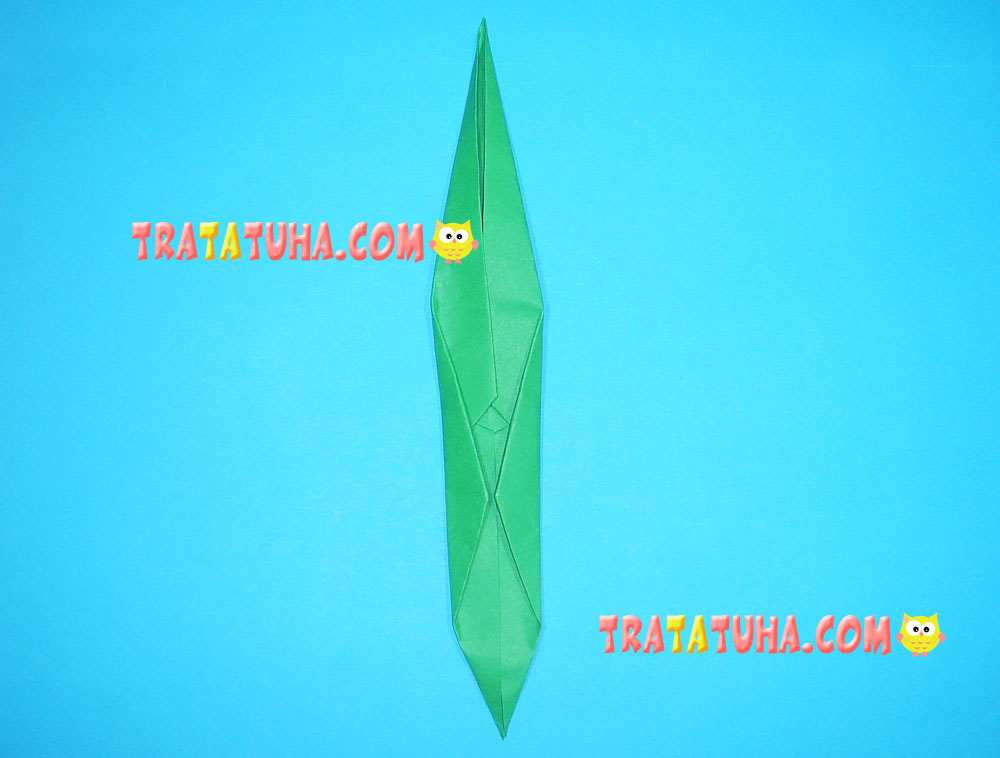
The origami sheet is ready. If desired, the folds can be glued so that they do not open in the future, especially if the children do not have enough strength to press them well.
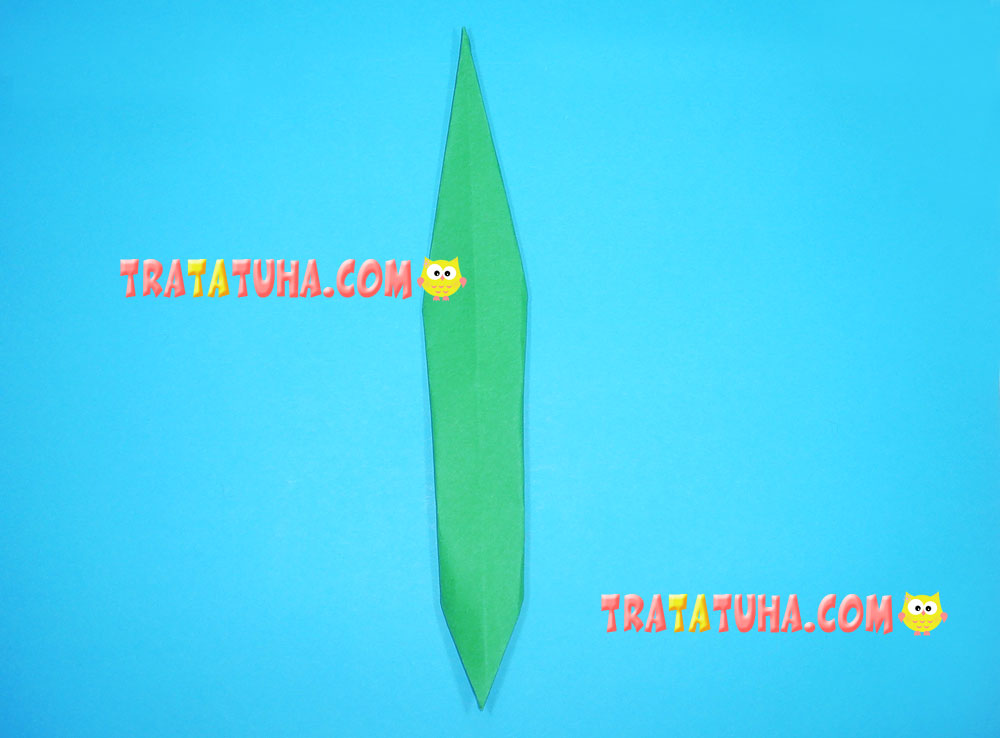
The stem is made of a long strip folded into a thin tube.
Glue all the components together and you get this origami snowdrop.

You can twist the ends of the stem so that the flowers “look” down.

Origami Snowdrops: Making the Work more Difficult
Despite the loud statement, this method of creating a flower is also very easy, just a little more steps compared to the previous one.
The stem will be the same as the leaf.
Prepare a rectangular piece of paper.

Fold it in half lengthwise to mark the middle.

Return to original condition.
Fold the corners, aligning them with the fold in the center.

Then center the sides there, directing their outer edges towards the middle. Right.
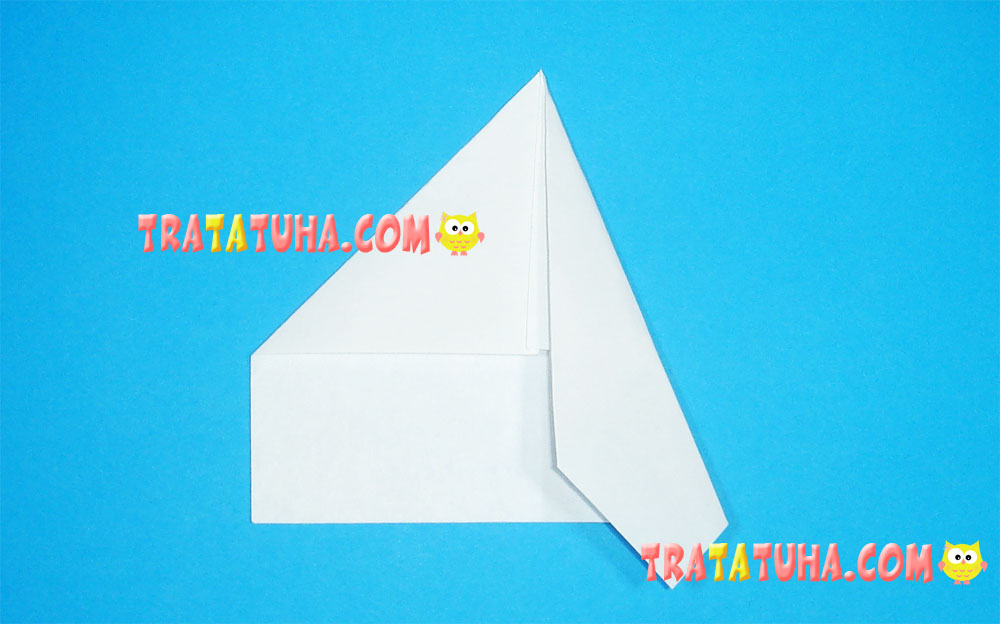
Left. The flower is almost ready.

Cut a quarter of the circle and glue it onto the sharp base of the flower.
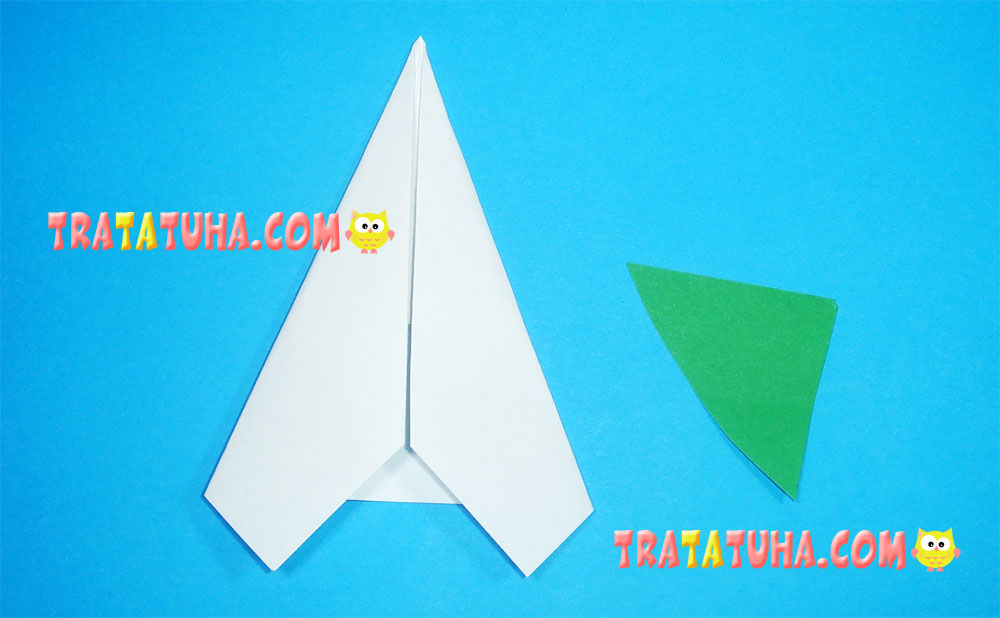

Glue the flower to the stem, don’t forget the leaf, which, by the way, can simply be cut out of paper.

Origami Snowdrop with Complex Flower
In the third option, the flower is much more complex than the previous ones. Moreover, the most difficult part is at the end, since you need to understand the principle of folding the sides, which can be quite difficult for children.
For this flower you will need a square white piece of paper.
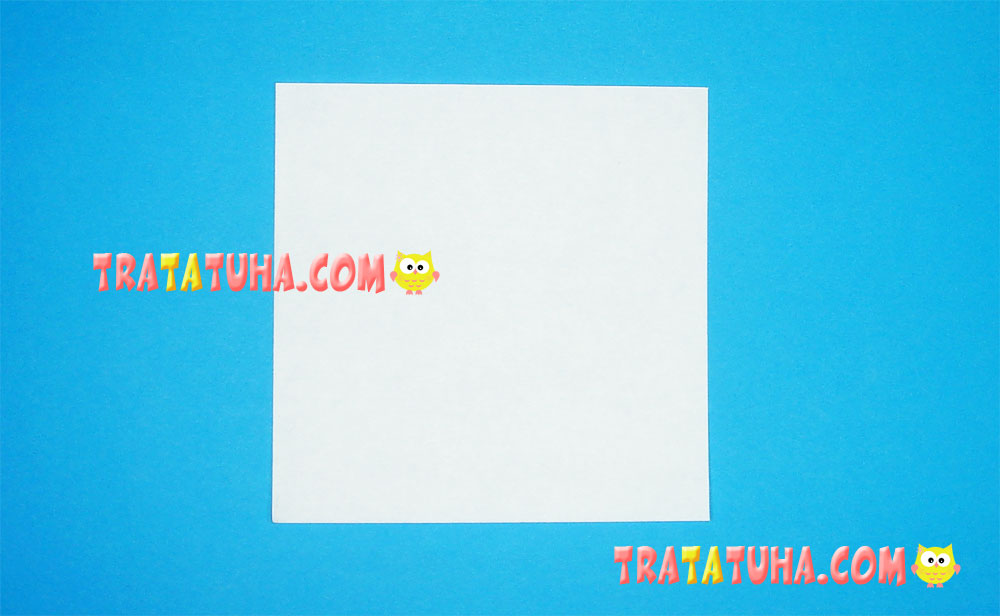
Fold it in half, from corner to opposite corner.
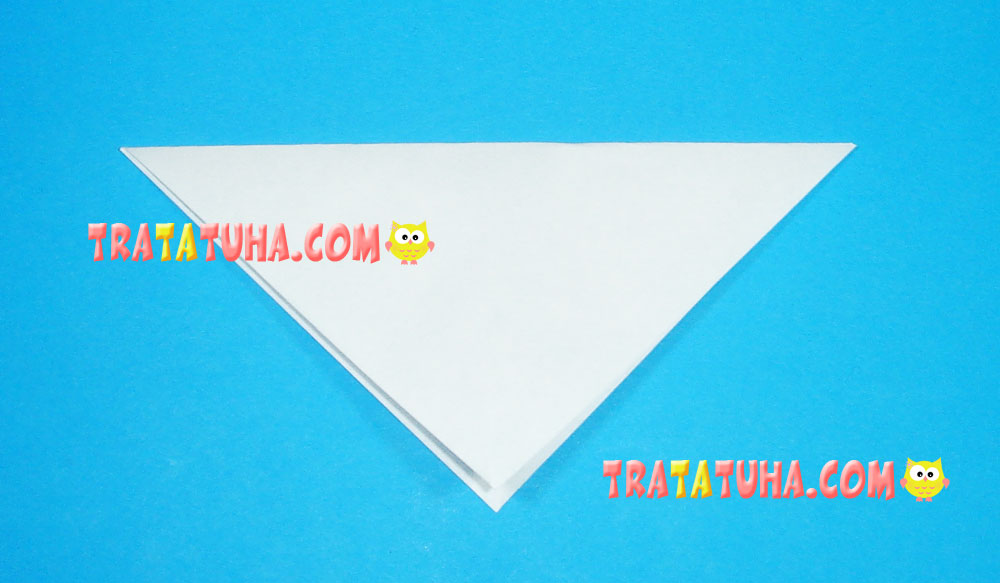
You can fold it again to determine the middle of the triangle.
Fold the corners, aligning them with the fold in the center. This action and subsequent ones are needed to create the necessary folds.
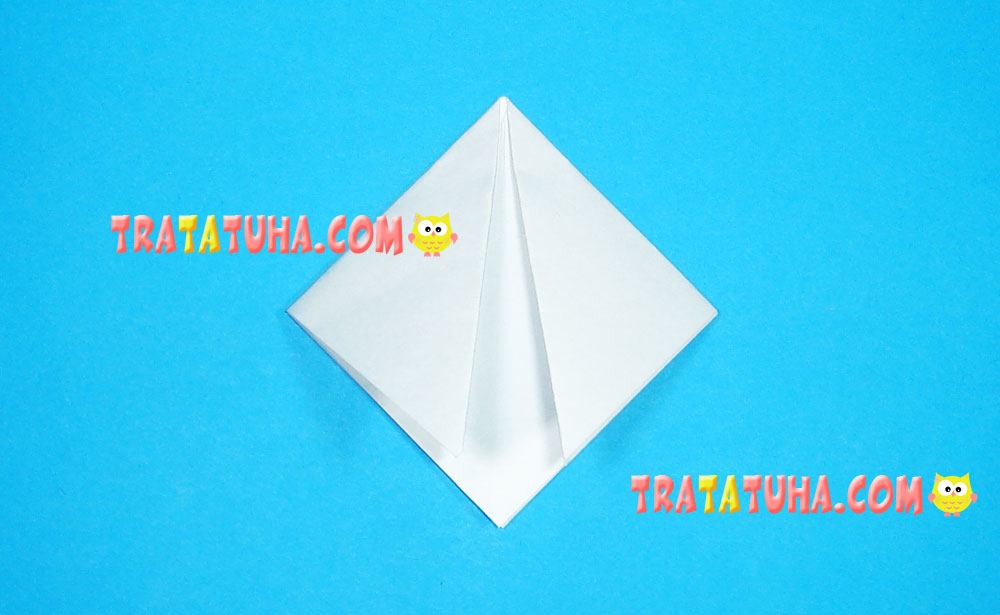
Open the paper, then fold the side corners again, aligning them with the outermost side folds.
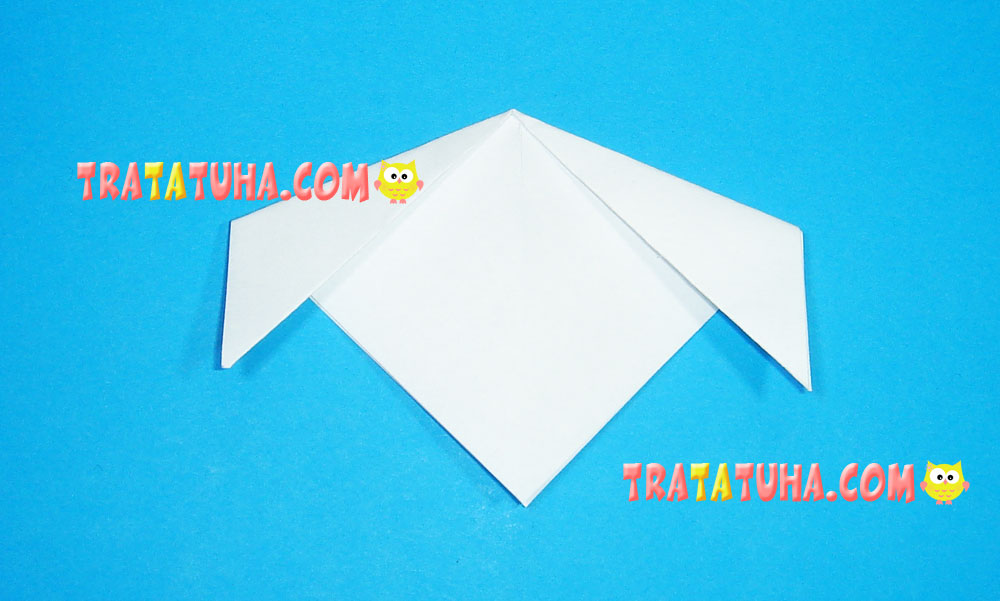
Open the paper again, you should have the folds as shown in the photo. Two on the edges and one in the center.
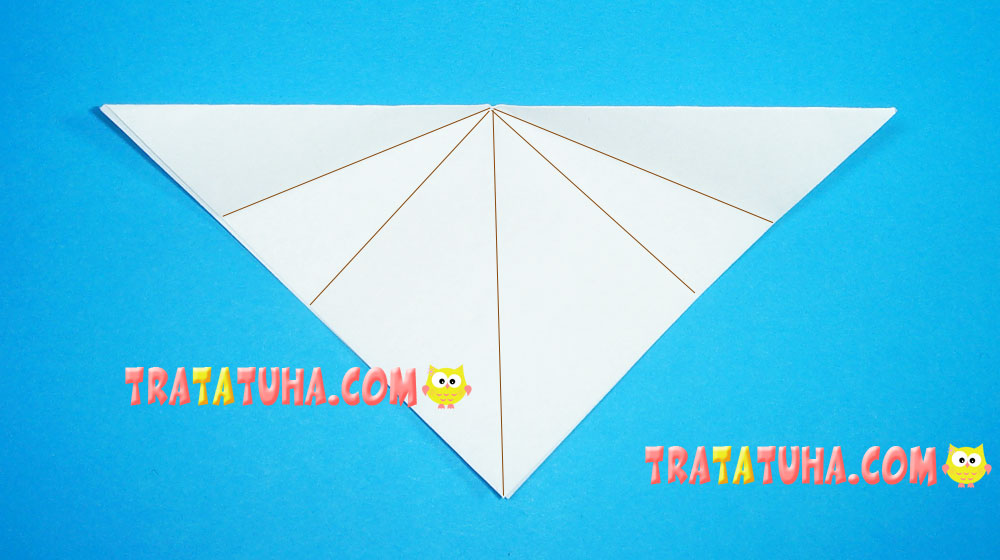
Now fold the corners, aligning them along the new extreme fold. Thus, we added one more, third fold along the sides of the paper.
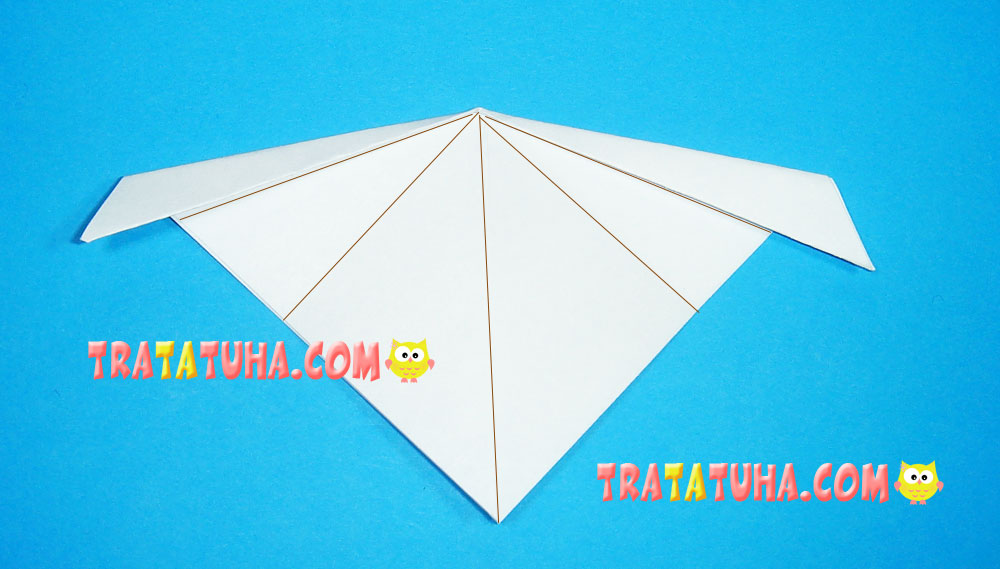
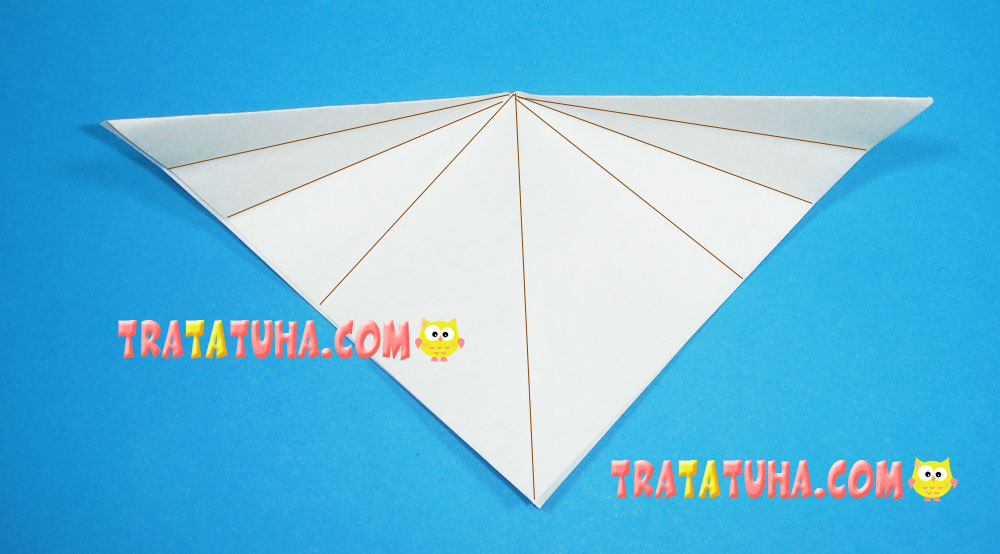
Fold the right corner to the third fold, the second will be in the center.
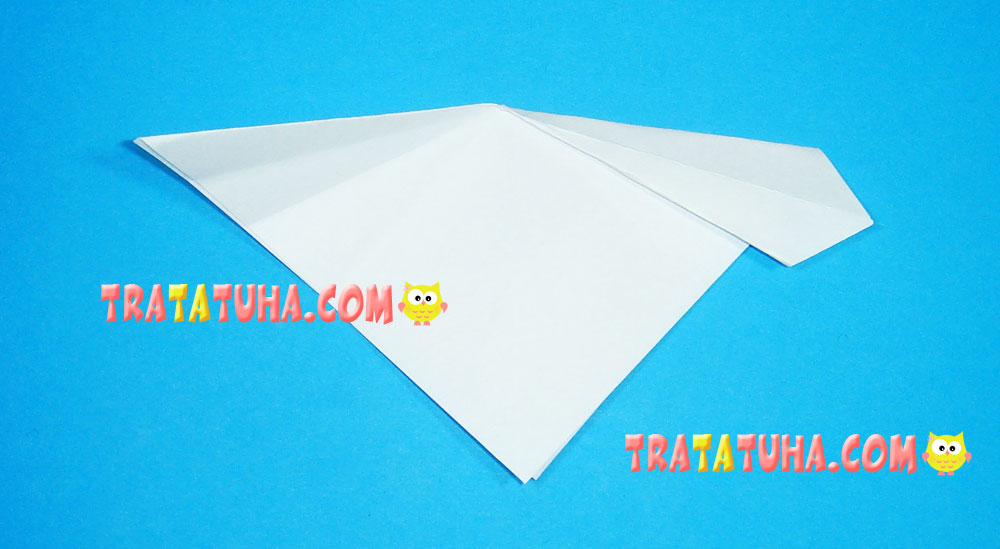
Now on the left. You will get something like petals.
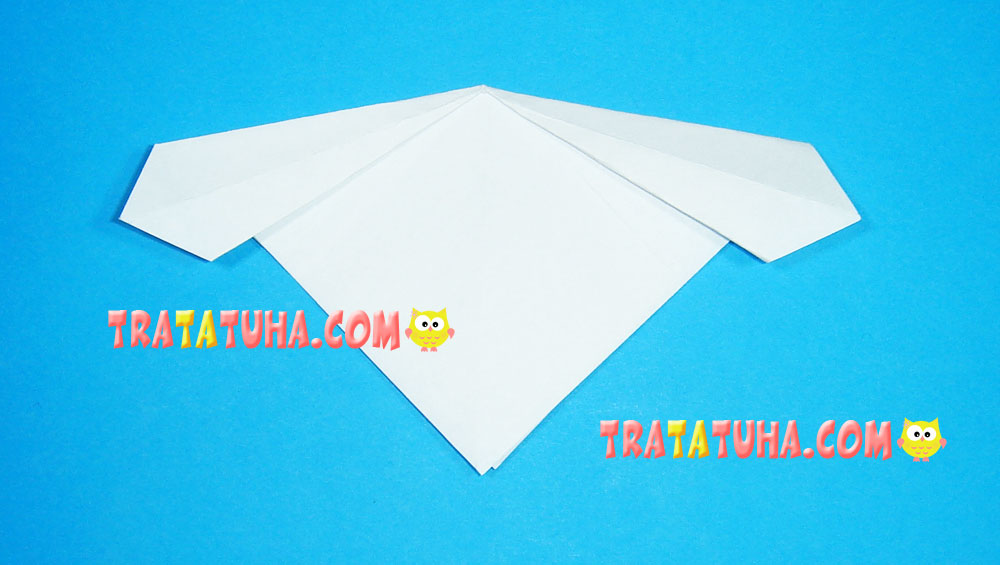
Here are important points, and difficult ones for children. Bring the created petals together at the front, pushing back the fold at the front as you go.
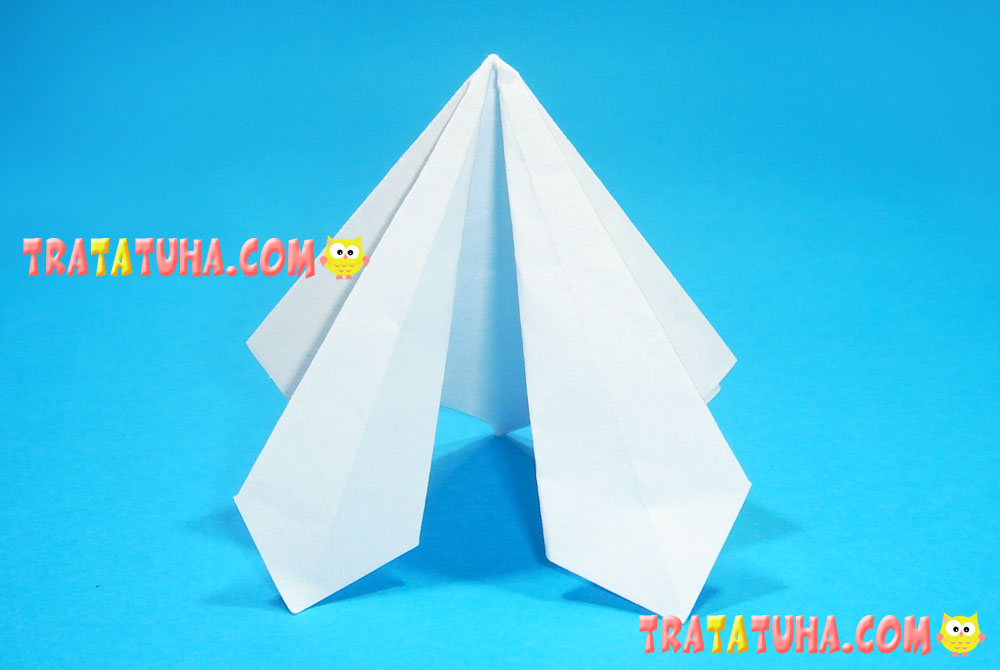
Now redirect the folds inward on the sides.

Press down and the flower is ready.

This is what it looks like from behind.

Next, at your own discretion, cut out the stem and leaf from green paper or fold it. Glue a flower to them. The origami snowdrop is ready.
