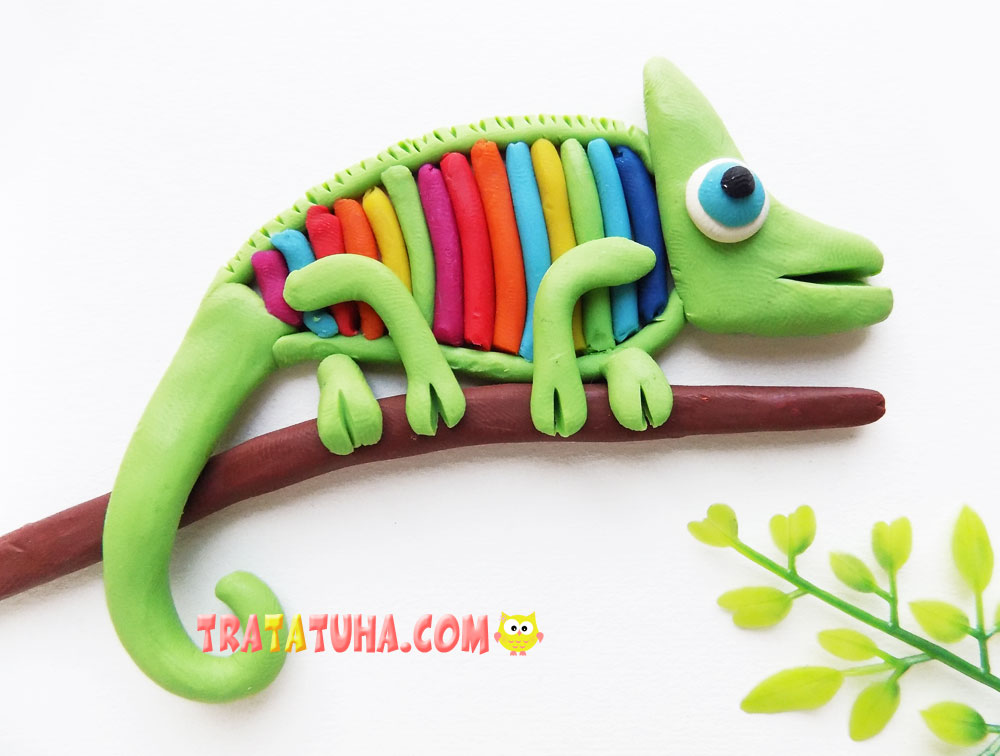
A bright clay chameleon for children in the form of an craft. Tutorial on sculpting an amazing lizard that can change its color.
To sculpt such a chameleon we will use:
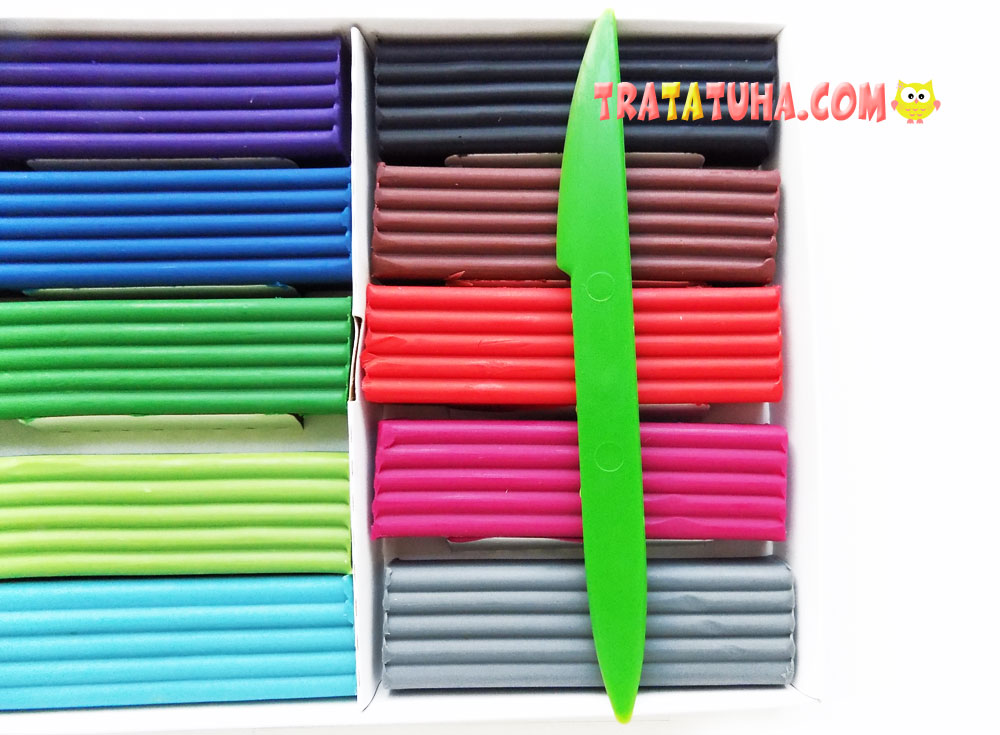
- a set of colored clay;
- a piece of cardboard;
- stack of plastic.
Clay Chameleon Step by Step
First, take light green clay and roll 1 ball out of it, as well as several flagella of varying thickness.
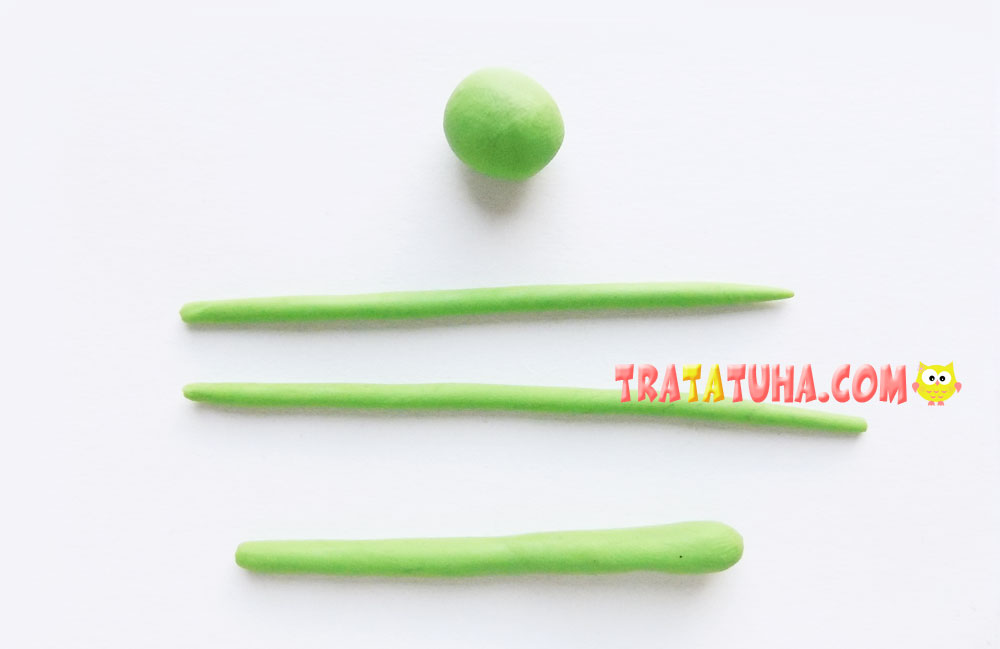
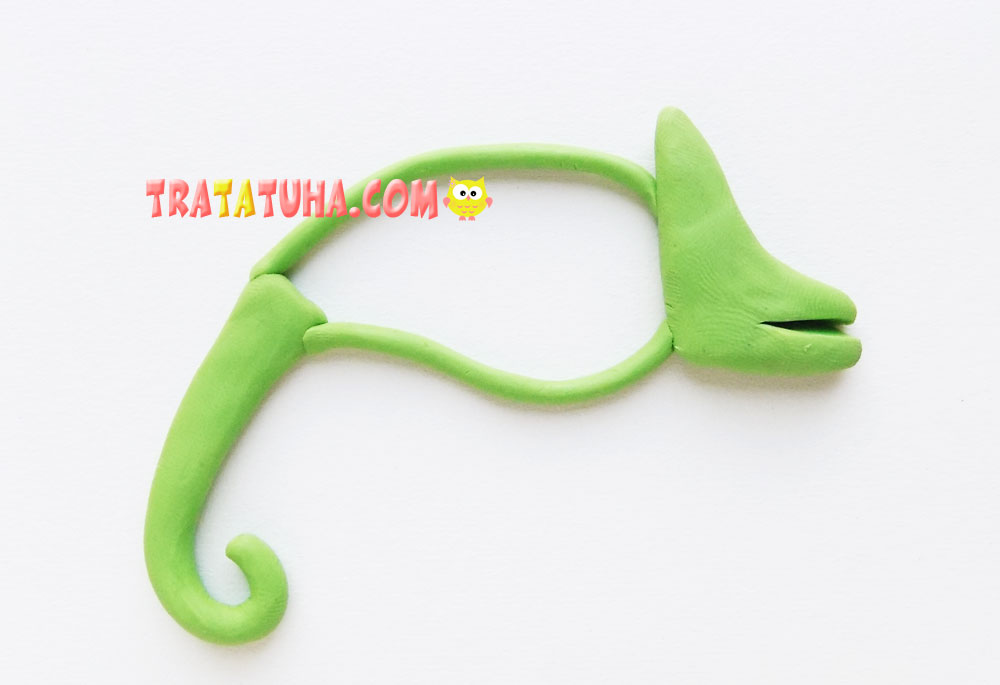
These blanks are required to create the basis of the future chameleon. We lay out a contour from thin flagella, a thick flagellum will become a tail, and from a ball we form a head. We fix all these parts on a small piece of white cardboard.
See also how to make a Clay Lizard
Next, we will roll a large number of short flagella from clay of different colors. These blanks are needed to form the body.
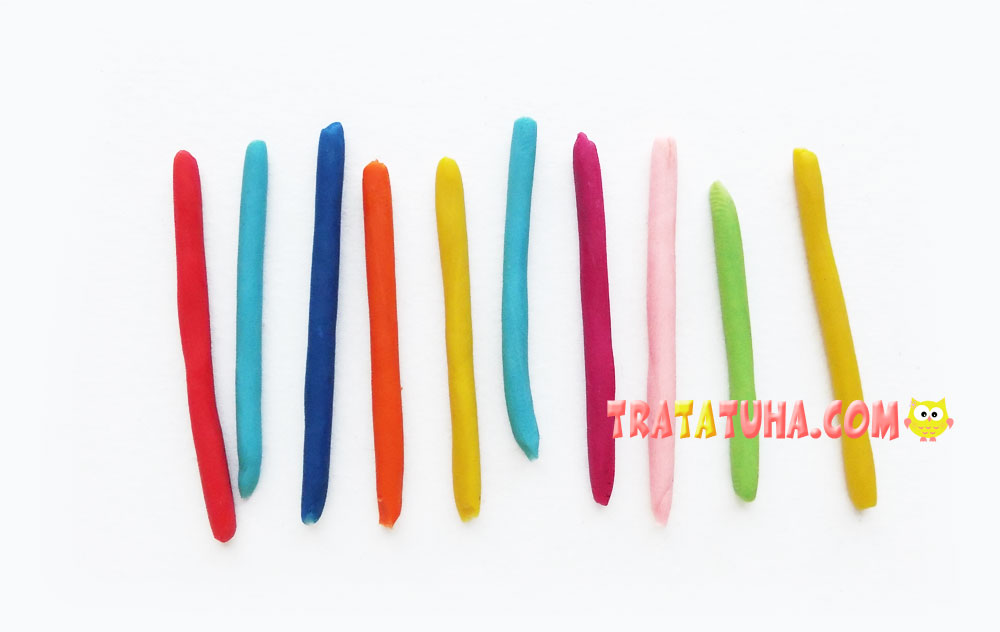
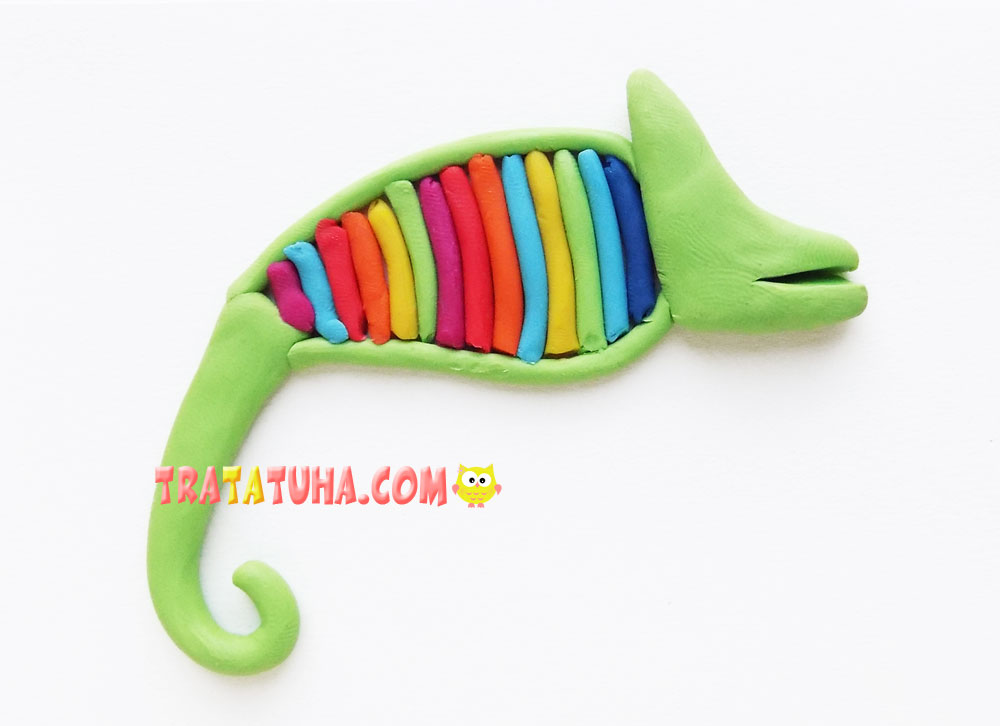
We begin to lay them out in the free space, shortening the length of each piece if necessary using a plastic stack.
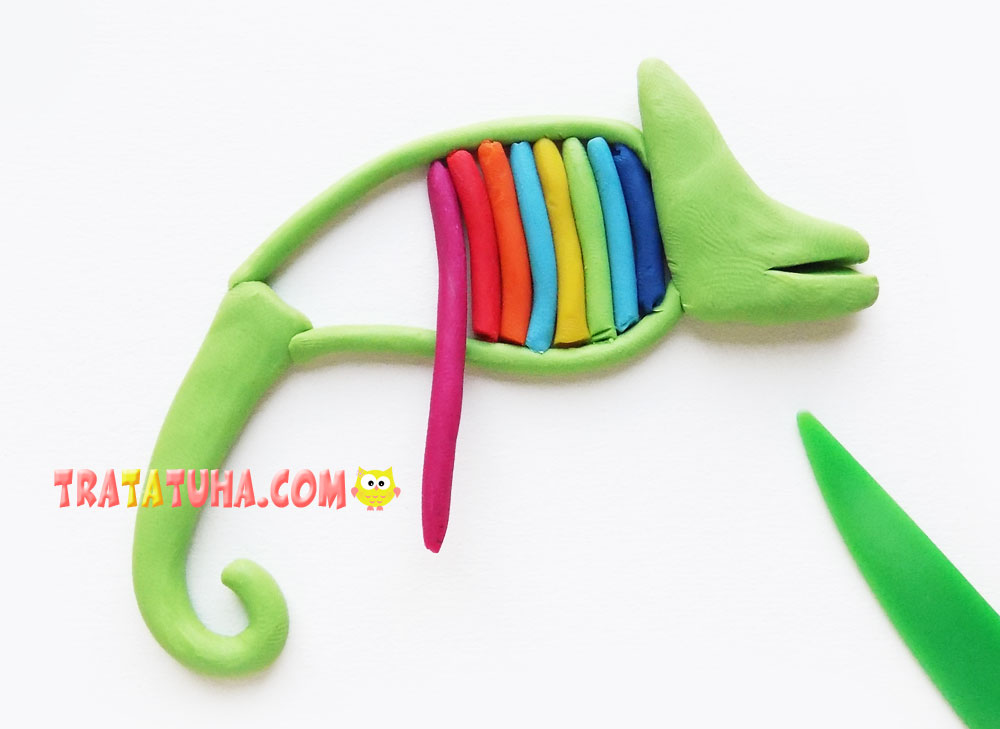
Thus, we completely fill the body with multi-colored clay flagella.
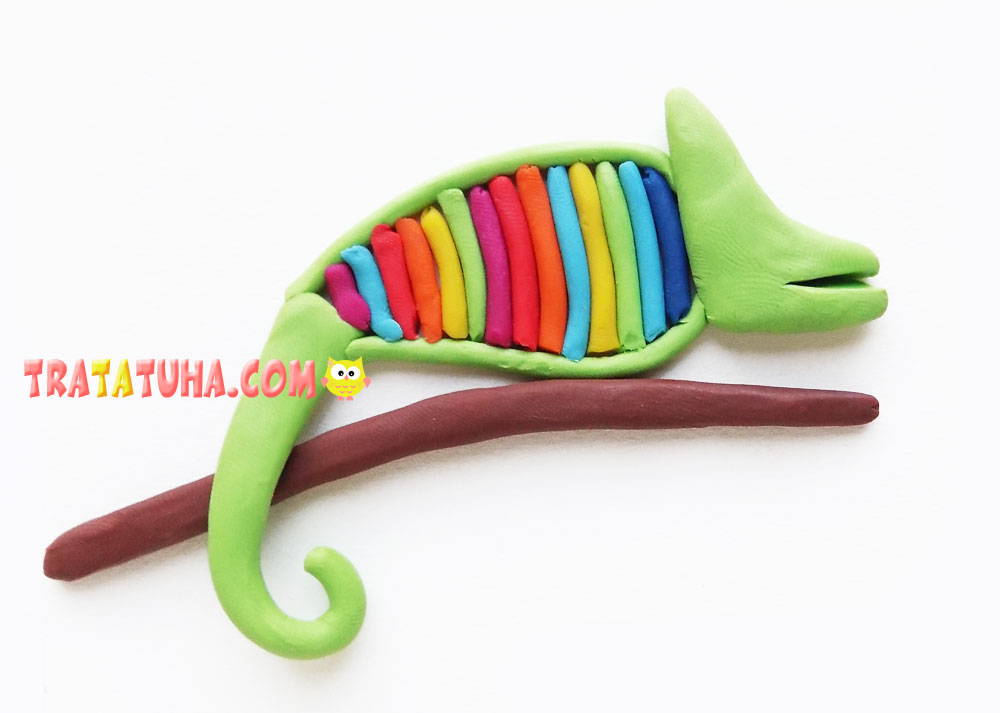
Now let’s use brown clay. We need it to create a branch on which our chameleon will sit. To do this, roll the workpiece to the required length and place it below.
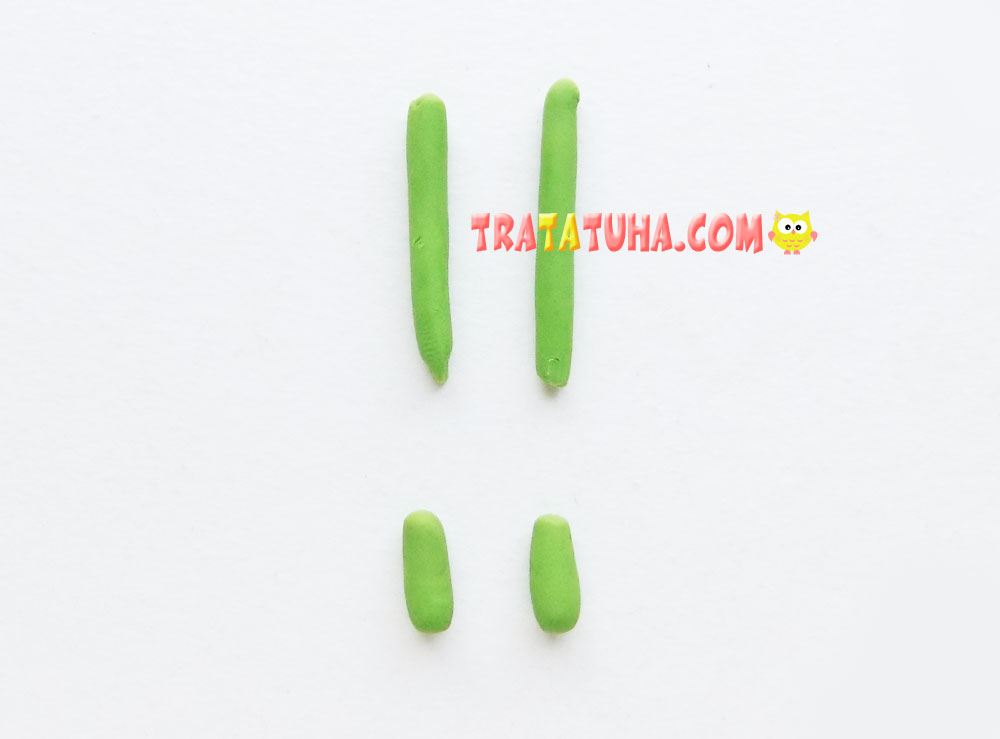
Let’s start creating the limbs. We prepare for them 4 blanks of different lengths from light green clay.
We form legs from them and additionally decorate them using plastic stacks.
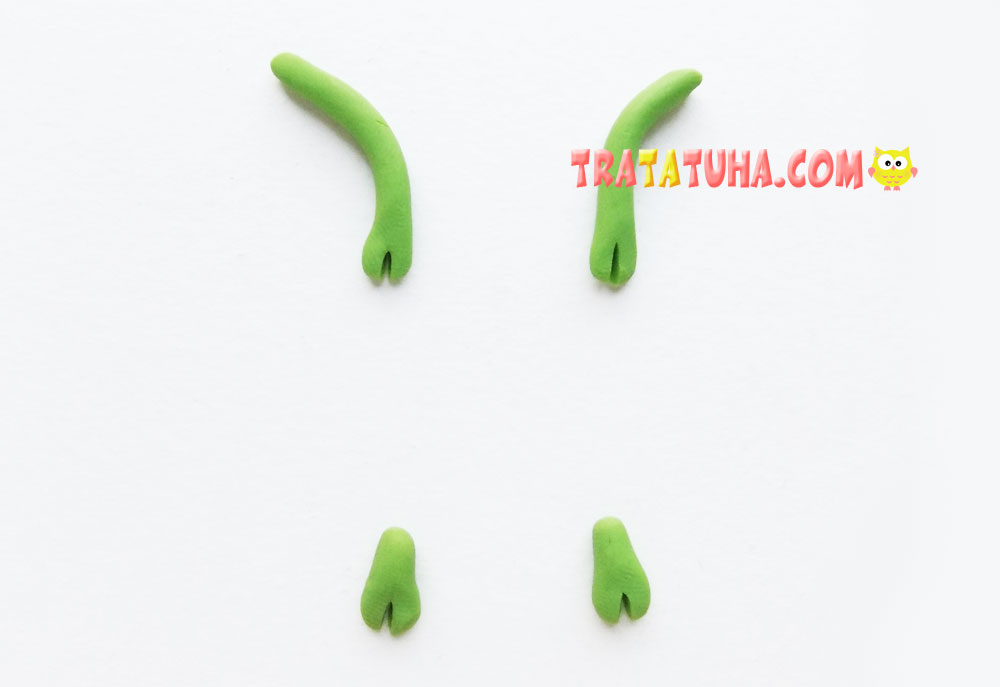
We attach the resulting paws to our clay craft.
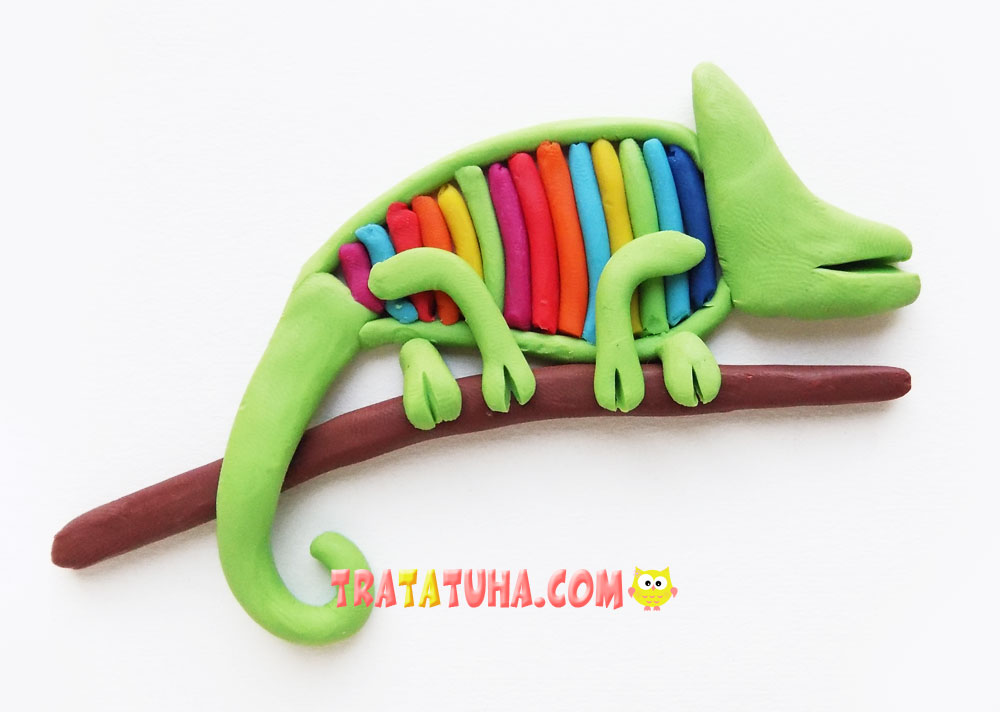
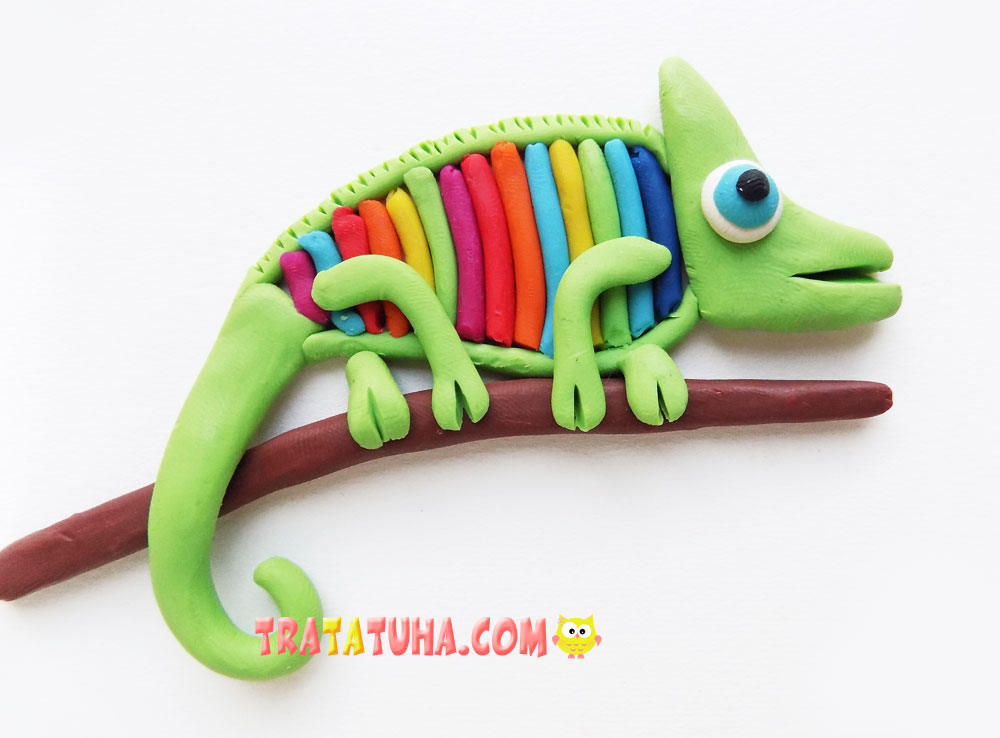
All that remains is to make the eye. To create it we use small balls of white, blue and black. Flatten them slightly, place them on top of each other, and then secure them to the craft. This is how we got an interesting clay chameleon.
See more ideas about Clay Crafts.
Clay Painting – art ideas for all ages.
Clay Animals – art and craft ideas for all ages.
Crafts for Kids – learn how to make craft at home! Super cute crafts for all age groups!
