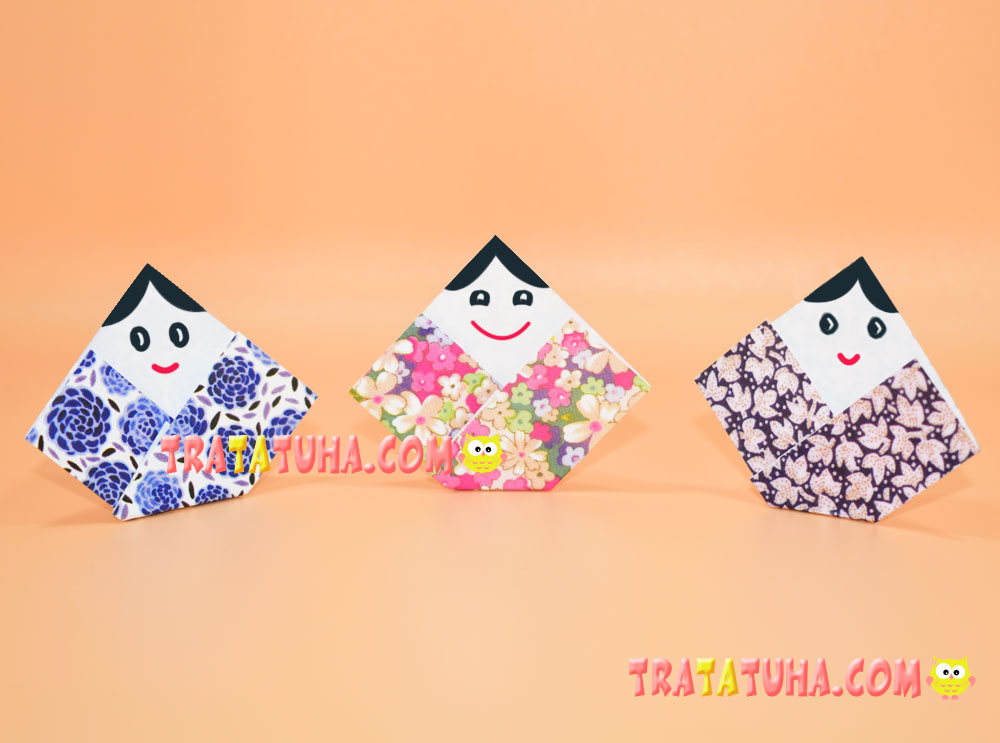
Even small children will be able to make this simple Japanese origami doll. A minimum number of steps, an easy pattern – a perfect result.
You can make such a Japanese girl or boy any time; all the steps are very simple and perfectly suitable for children.
What materials will you need?
- Single-sided colored or decorative paper (there should be a pattern or color on the one side and a light area on the other to highlight the doll’s face);
- Black and red felt pens or markers;
- If you have no special square origami paper, you will need scissors and a ruler to prepare paper squares for making the craft.
Japanese Origami Doll Step by Step
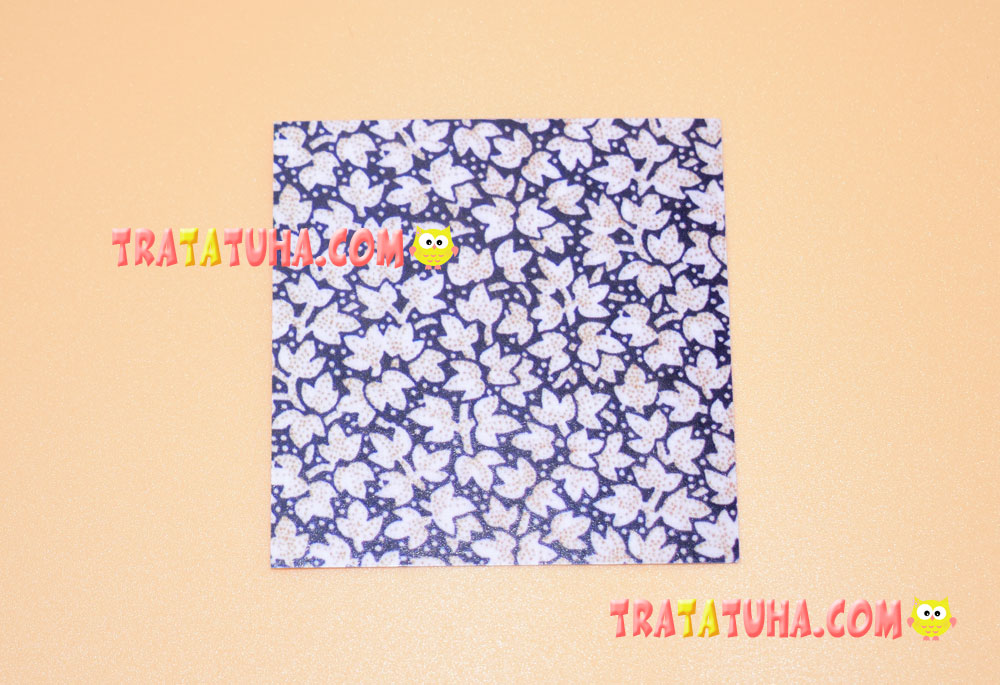
Prepare a square piece of paper and place it in front of you.
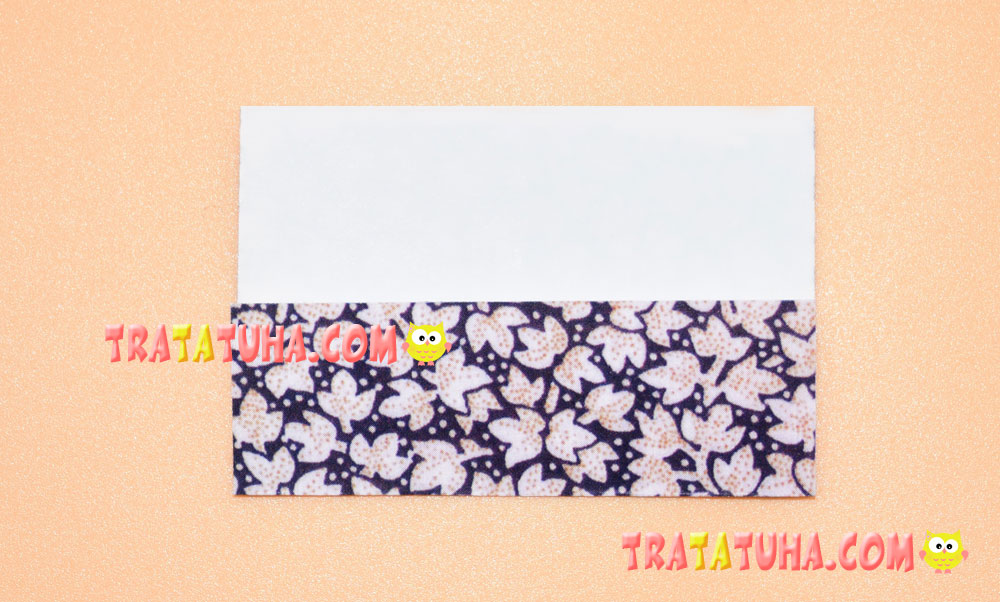
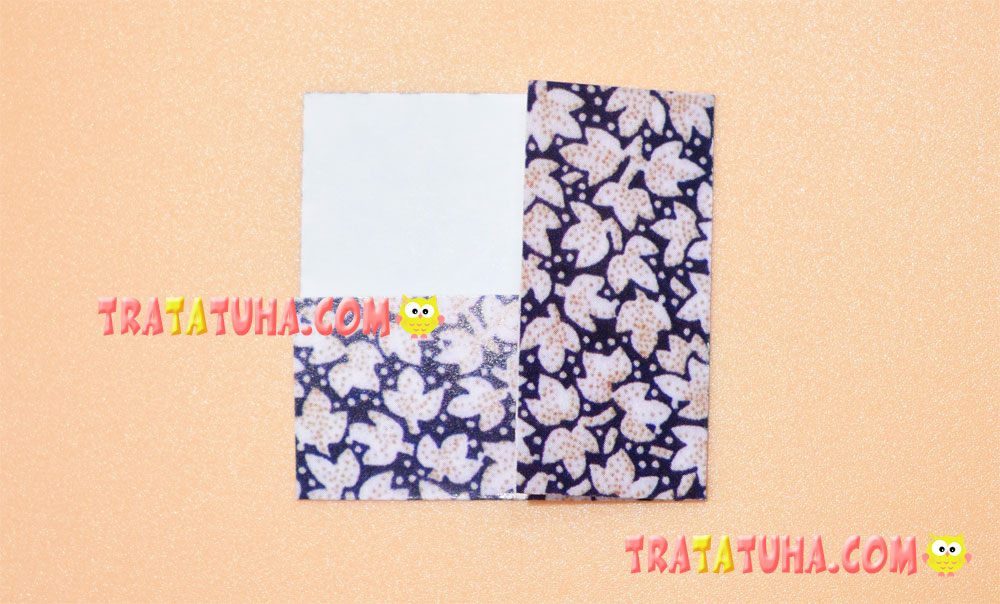
Turn it the white side up and fold the bottom side upwards at 1/3 of the square area. In your mind, divide the square into three sectors (very small children can use a pencil to draw lines) and fold the side upwards.
Now, fold the side from the right to the left at 1/3 of the square area.
Turn the figure the white side up, since it is the origami doll’s head; fold backwards a small corner at the bottom part.
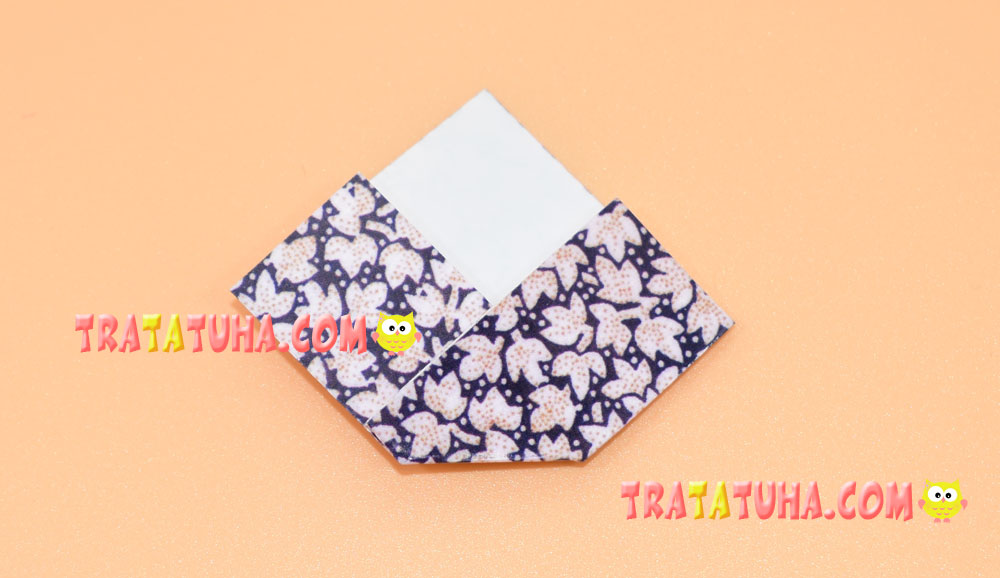
It makes the doll complete and works as a backup as well, which makes it possible to place the figure vertically and use for decoration of any surface at home.
Use felt pens or markers to draw a bang, eyes, and a smile for your character and the Japanese origami doll is ready.
Dolls look bright and attractive, so don’t be afraid to experiment with paper colors and patterns.
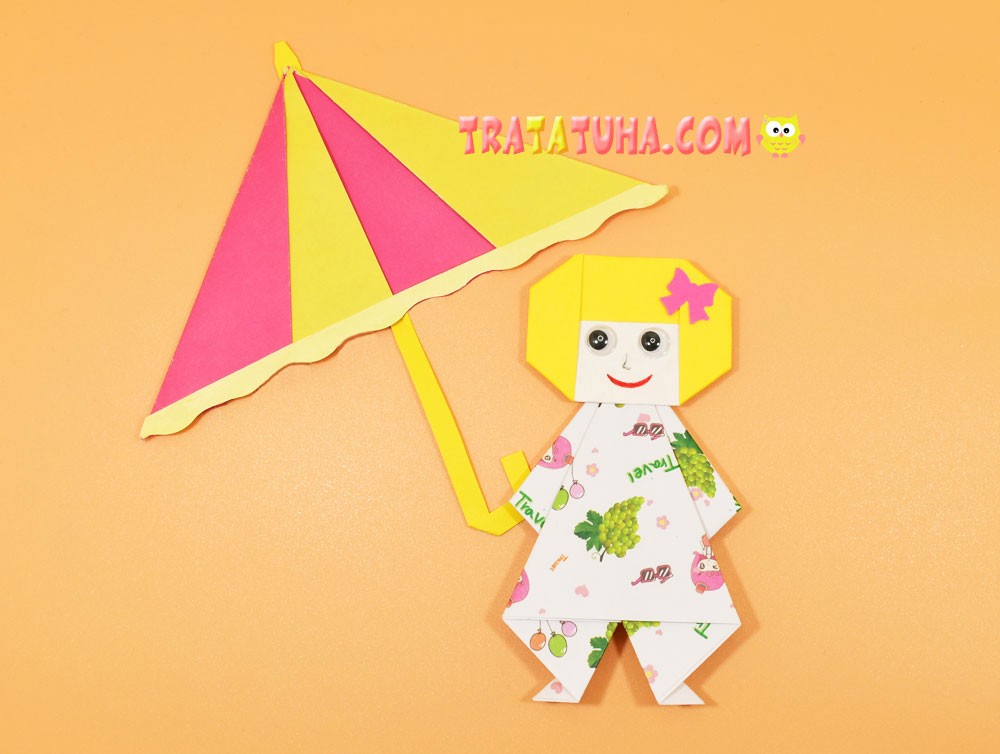
See another simple option of folding an origami doll using just a few parts – an origami girl.
Crafts for Kids – learn how to make craft at home! Super cute crafts for all age groups!