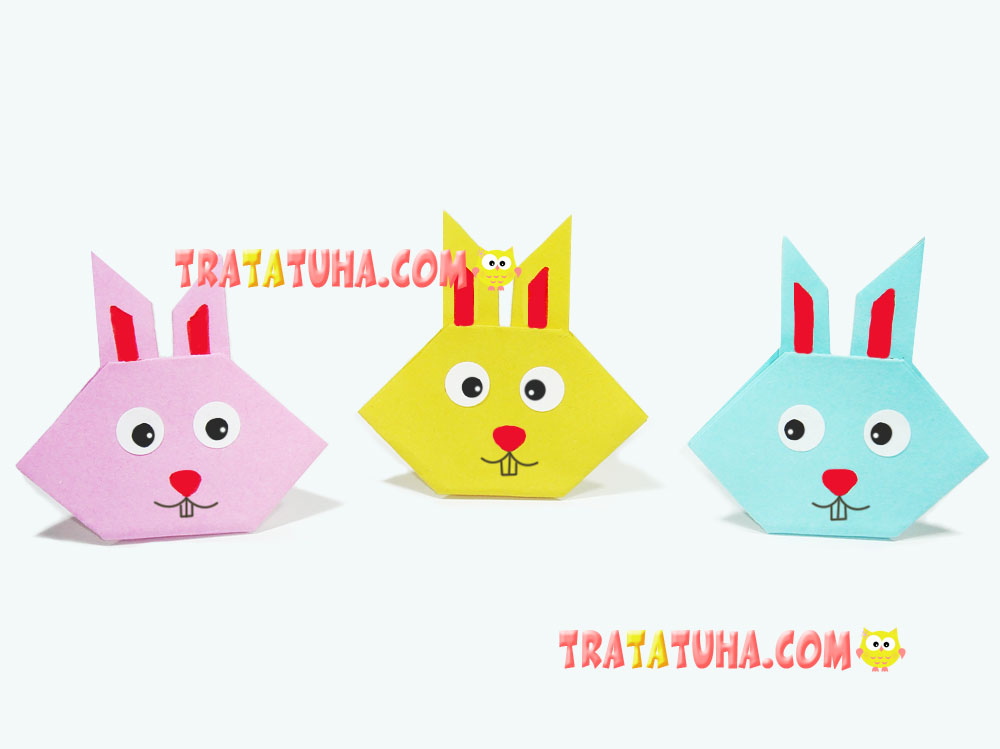
This page will tell you how to make a basic origami Bunny. Although this Bunny consists of two parts, it is simple and easy to do. All the folds are pretty straightforward, and your kids will be happy with the result.
Materials:
- single-sided colored paper or special origami paper;
- glue, scissors and a felt pen;
- two moving eyes from a craft store / homemade (explained below)
Here is a Step-by-Step Guide to making you first origami Bunny
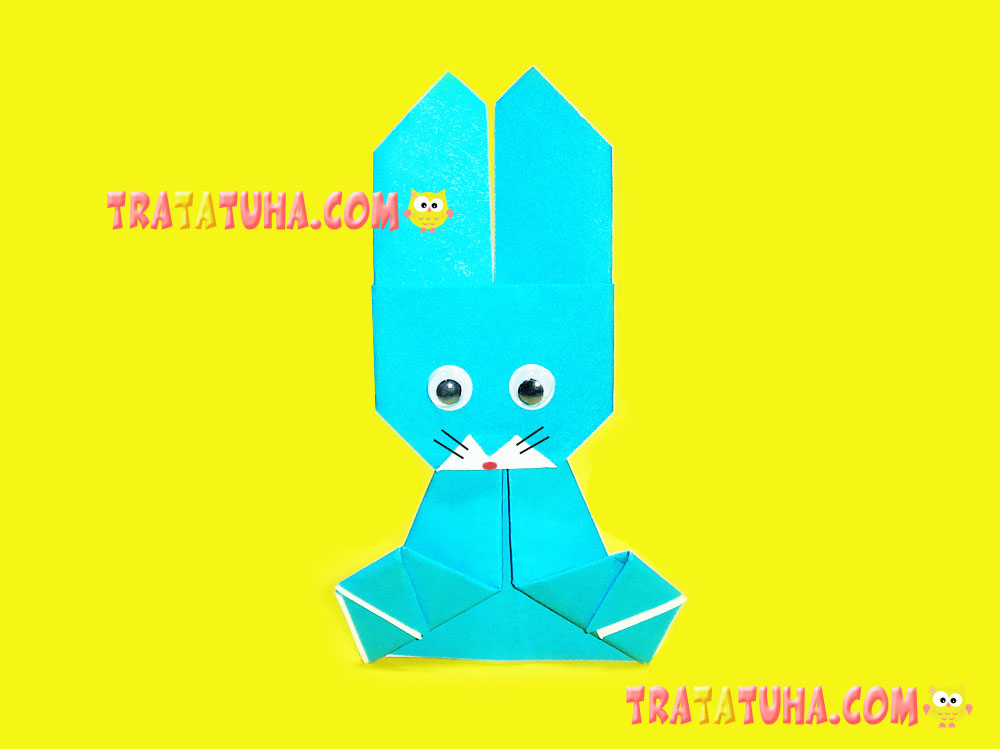
As we’ve just mentioned, this pretty Bunny is made of two parts that are just glued together in the end. The first part is a Bunny’s head, and the second – its body.
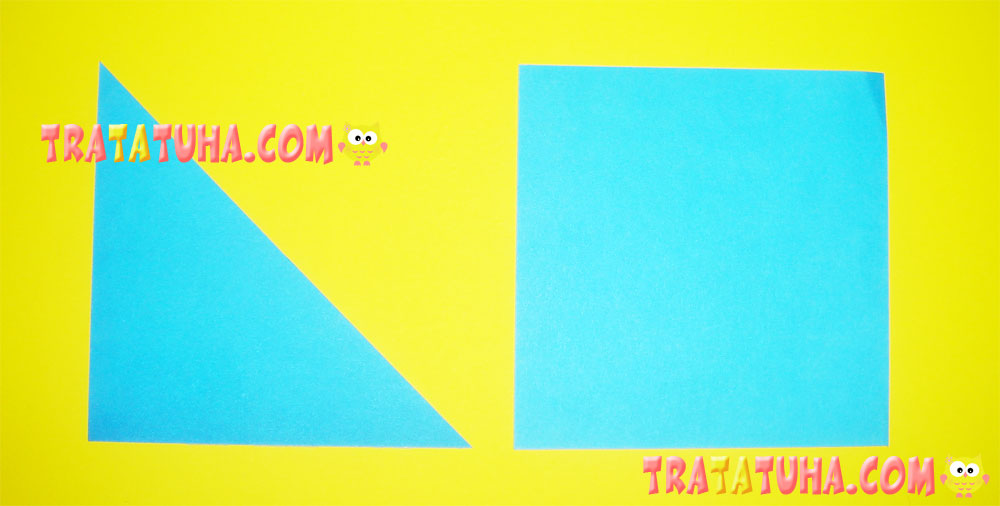
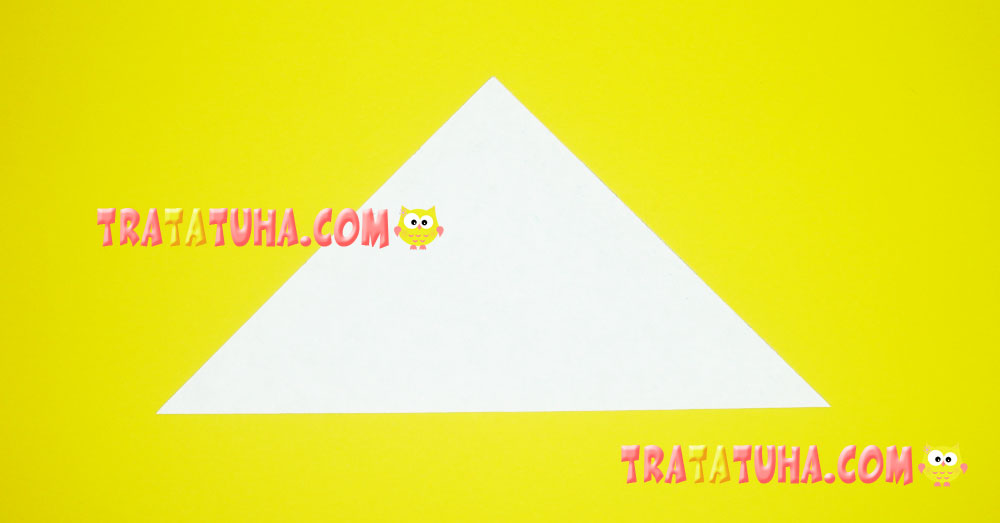
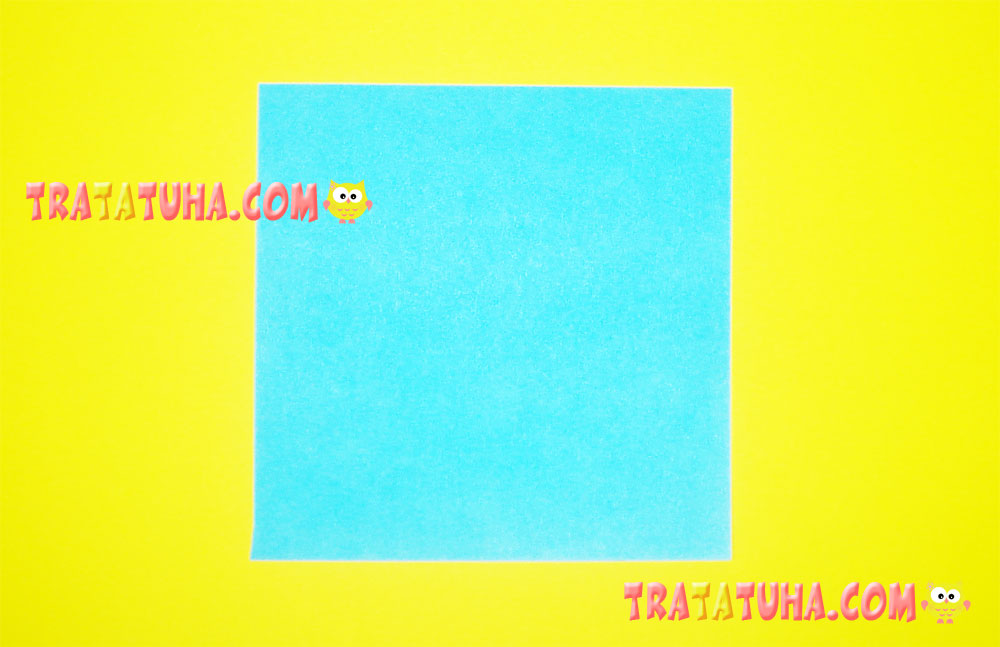
For that you will need two pieces of single-sided square paper (of identical size). You have to make a triangle out of one of them: fold its diagonal corners and cut it in two. In case you already have a triangle, make sure that the length of its two sides is equal to the length of the square side.
Making a Head
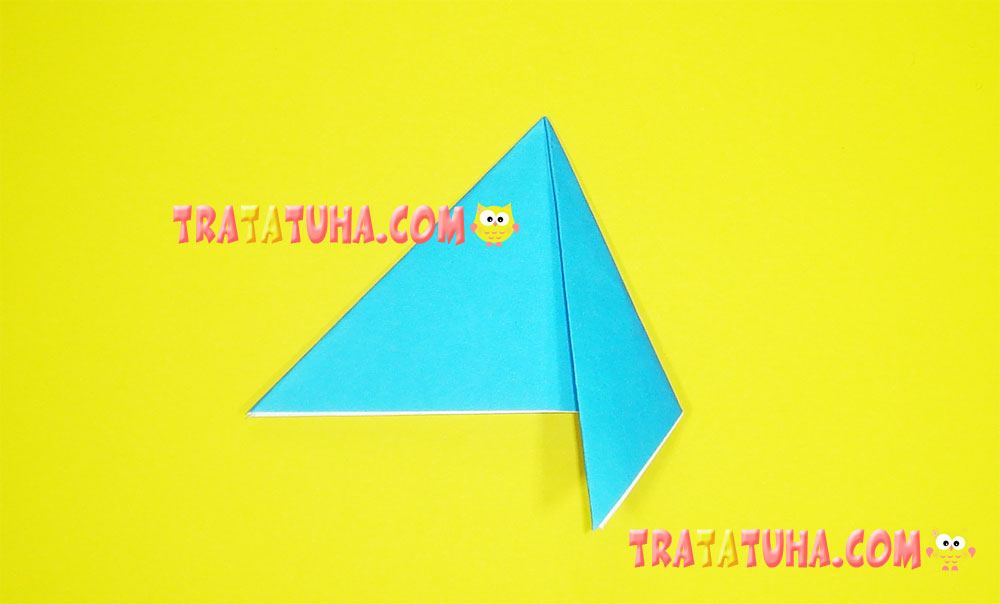
Place a triangle in front of yourself, the white side up (and the colored – down).
Pull the upper tip of the triangle downwards until it reaches the bottom edge, and make a firm crease.
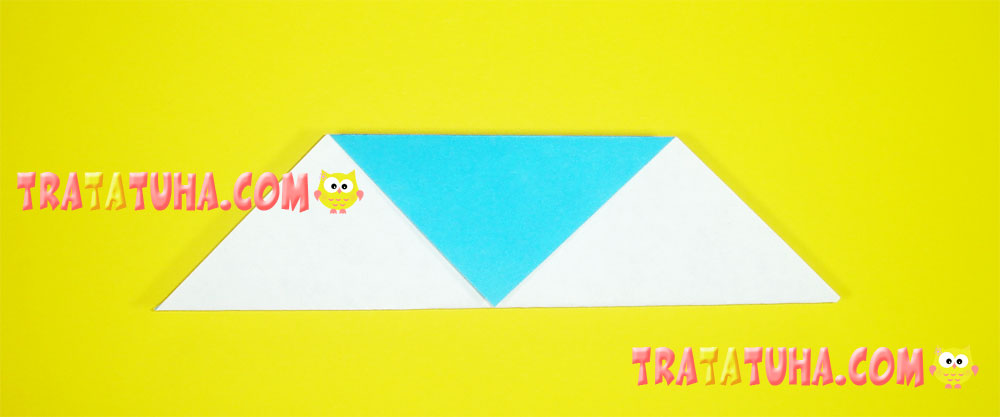
Now turn the model backside and fold its left side inwards (approximately to the centre).

And then do the same with its right side.
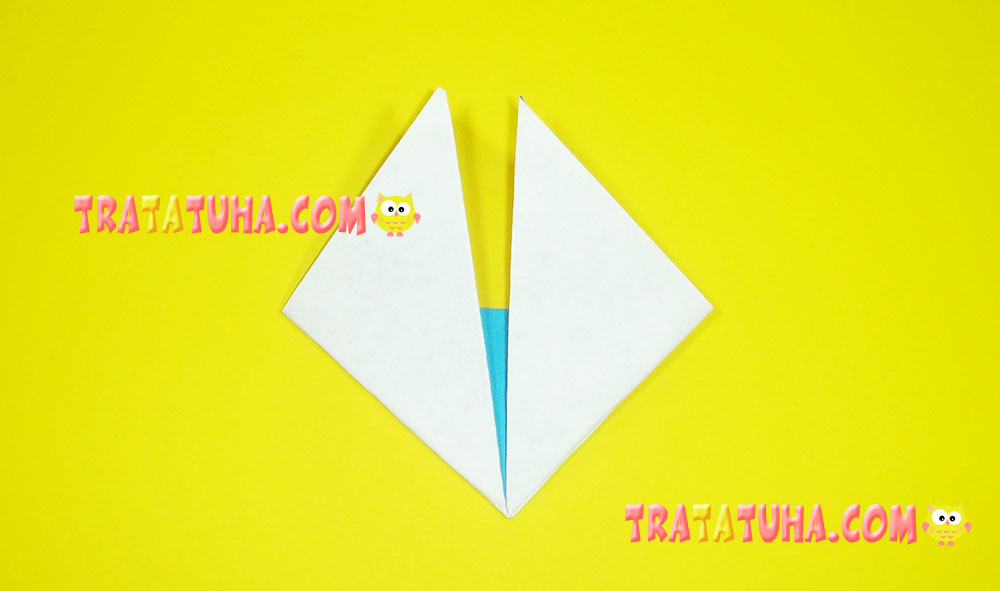
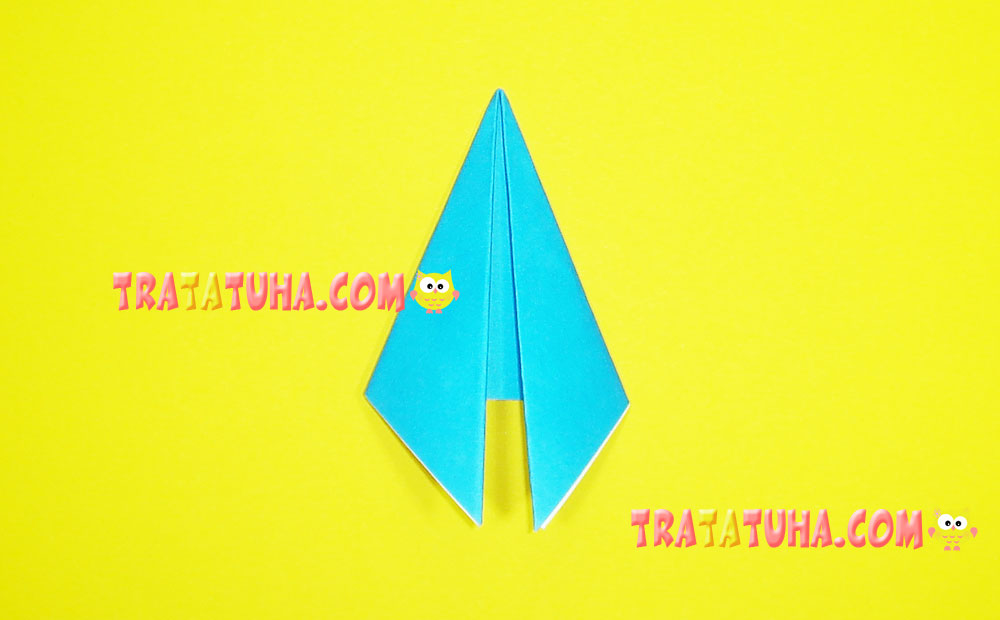
Bend the opposite corners inwards until their tips connect with each other in the centre.
Now bend the very tips of the upper corners – these are your Bunny’s ears.
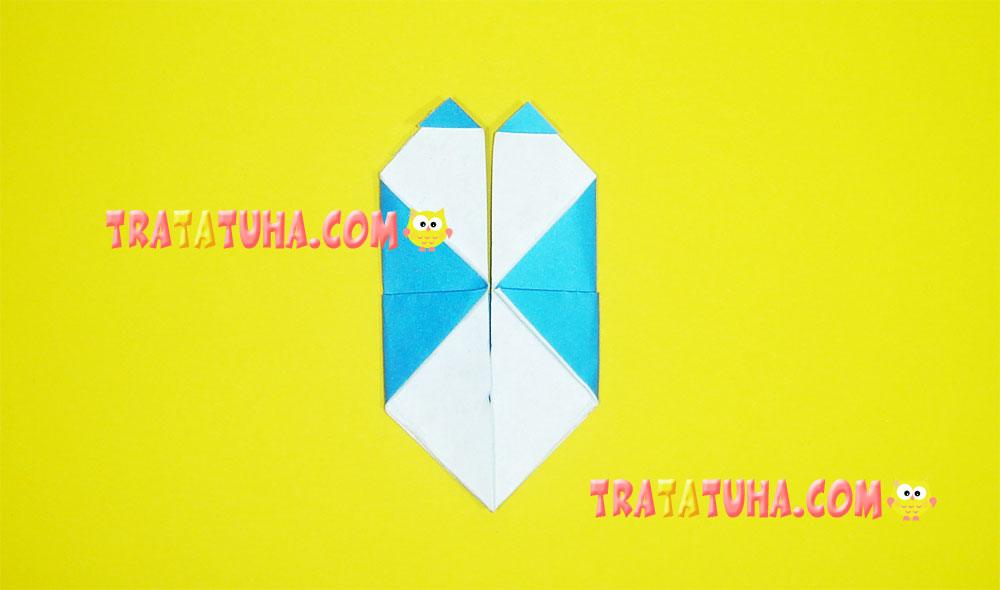
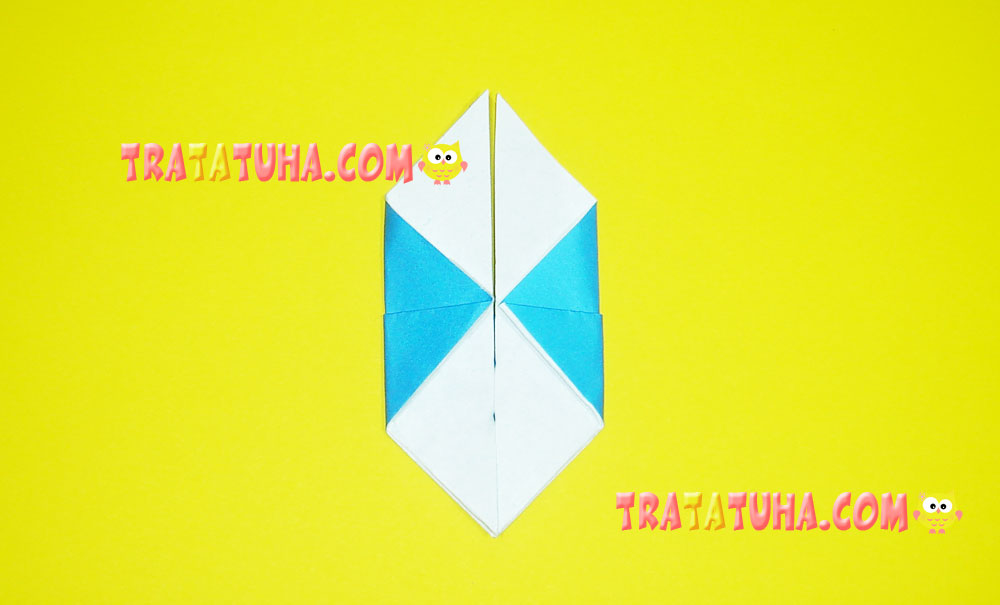
Turn the model face up again, and you will see that it reminds you a Bunny’s head with ears.
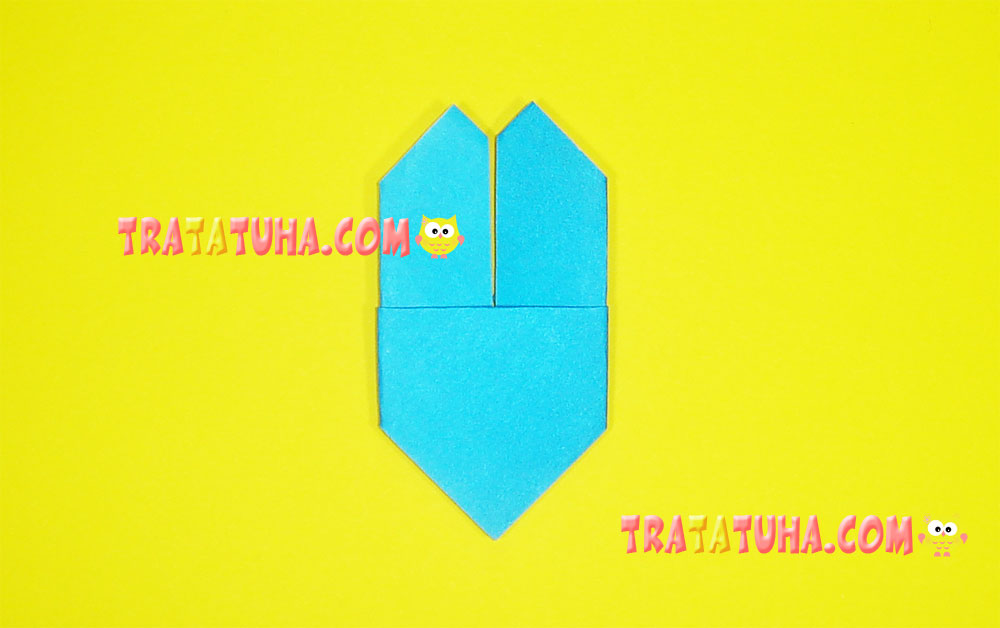
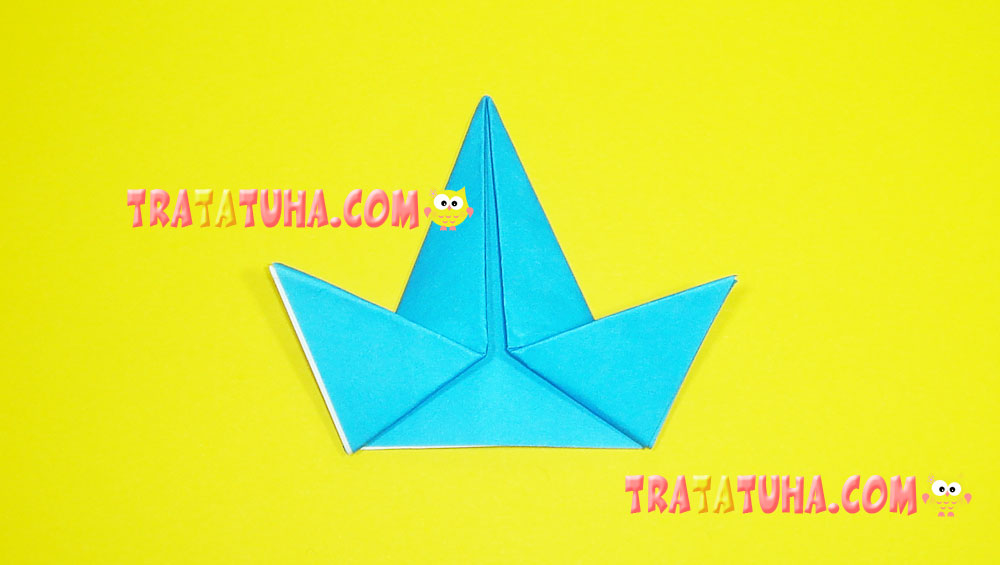
Fold the tip of the first bottom corner upwards, and the tip of the next bottom corner – to the wrong side (behind).
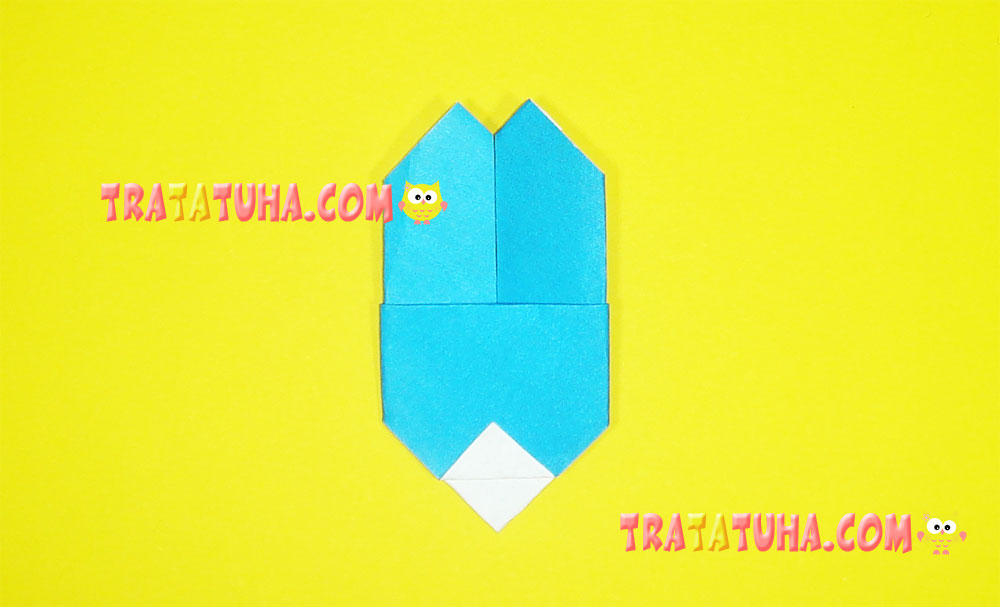
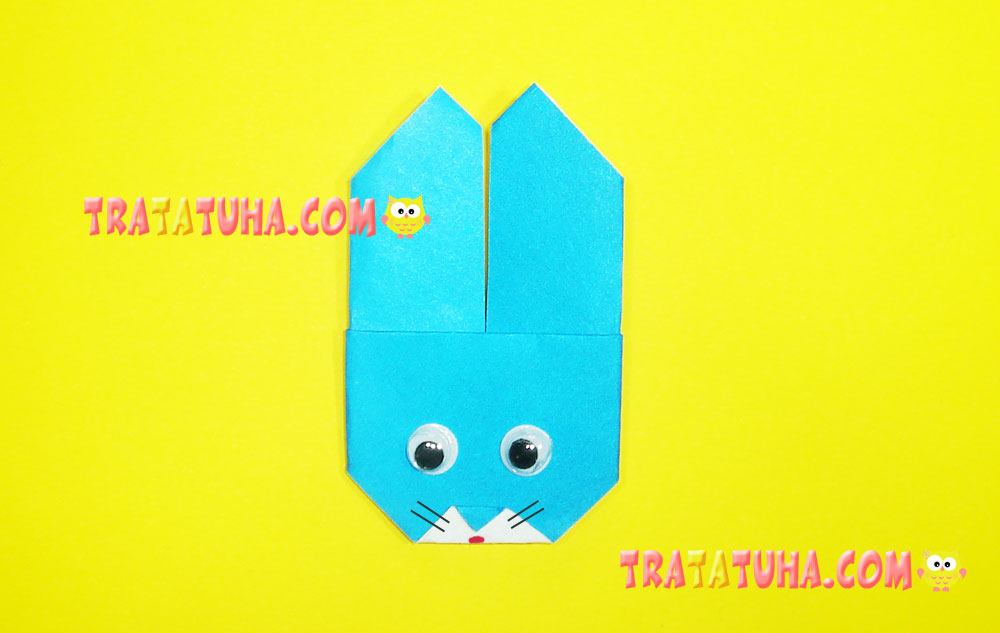
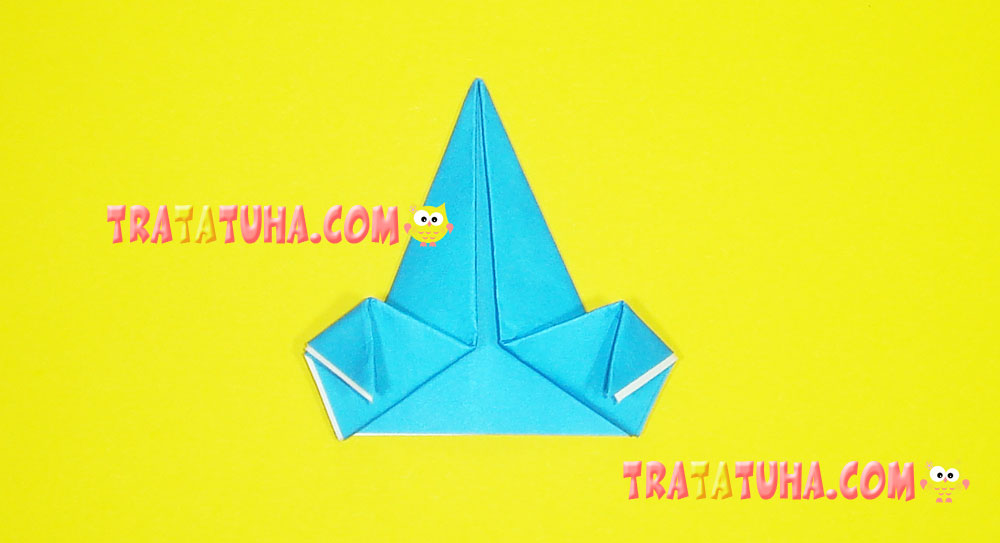
Now we make a funny Bunny’s nose – by bending the very tip of just folded corner downwards – like it is shown on the picture. The nose is ready! It is remained only to glue the moving eyes, and draw black whiskers and a small red mouth. Never mind, if you do not have ready moving eyes. The bunny will be pretty even if you draw his eyes with a felt pen.
Making a Body
Now we are ready to make a body of our little Bunny, for which we can use just one piece of paper of your own preference: single-sided or double-sided.
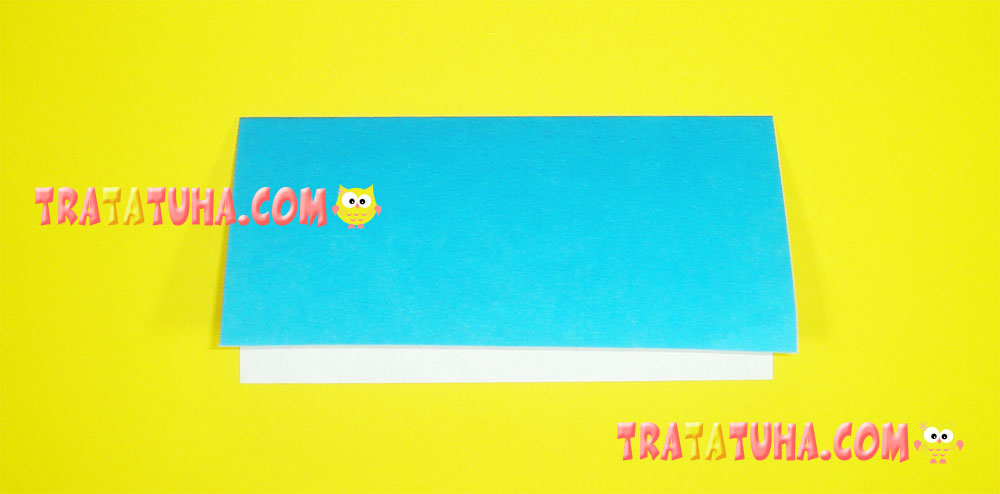
Fold the paper in half connecting the opposite corners.
For finding out where its centre, you can fold it again. Now bend its right side inwards aligning it with a centre crease.
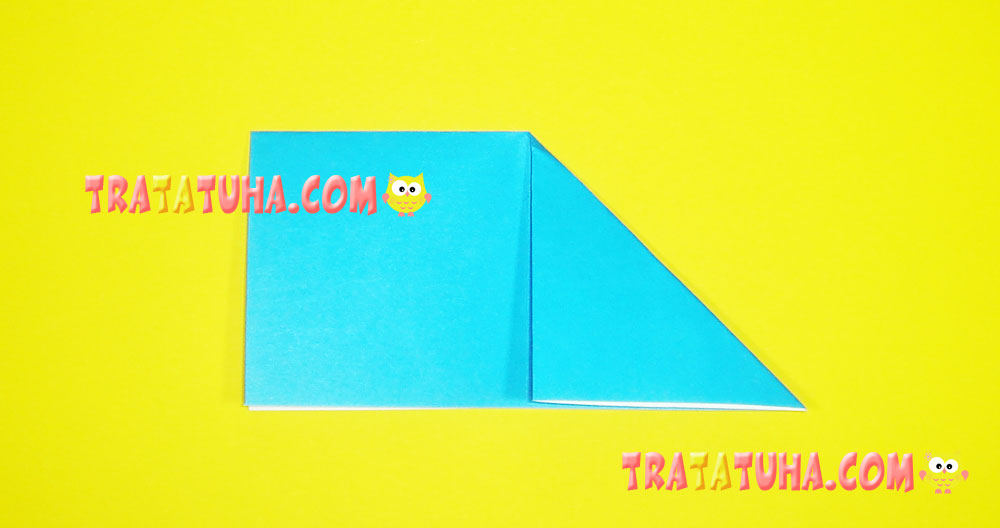
Do the same with its left side.
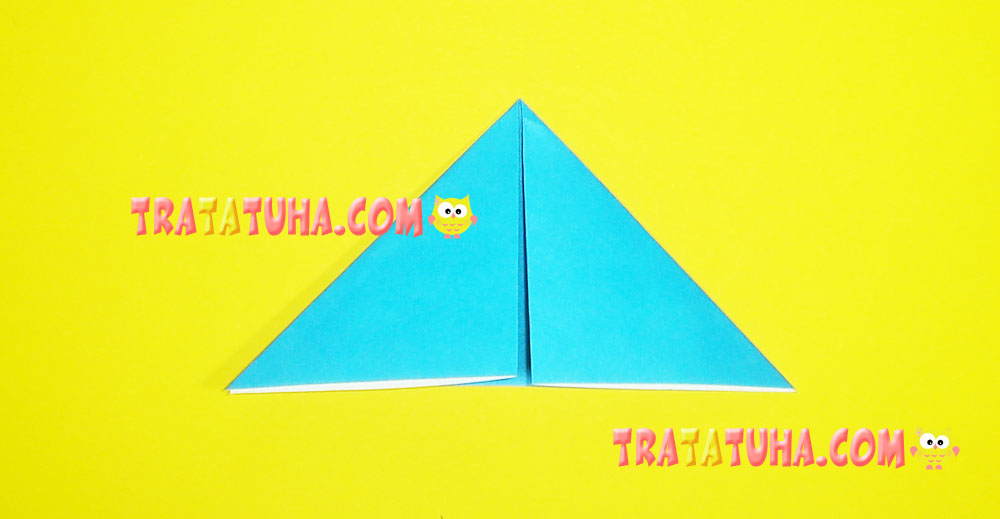
Now bend the right side of the figure one more time and again align it with the centre.
Then – the left one.
After that pull the tips of protruding bottom parts up and to the opposite sides. The picture will guide you.
Now fold the tips of fresh corners downwards forming the Bunny’s paws. This is it – the body is finished!
All you have to do now is to glue these two parts together. Now you can play with your first little paper origami Bunny!
See also other tutorial of Origami Animals.
Many other ideas in the collection of Paper Animals Craft.
Crafts for Kids – learn how to make craft at home! Super cute crafts for all age groups!
Related Post: