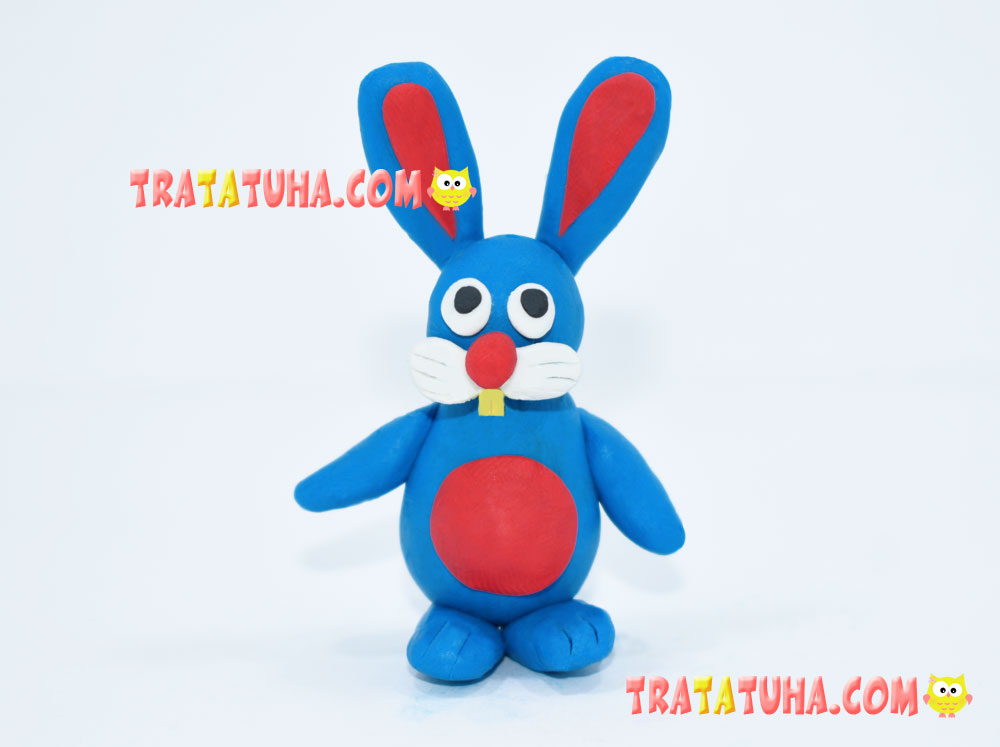
A simple clay bunny for kids. A step-by-step review with detailed photos that will help you blind a hare without much difficulty.
The following materials were used in the work:
- Blue clay;
- Red clay;
- White and a little black and yellow;
- Stack (knife);
- Modeling board.
Clay Bunny Step by Step
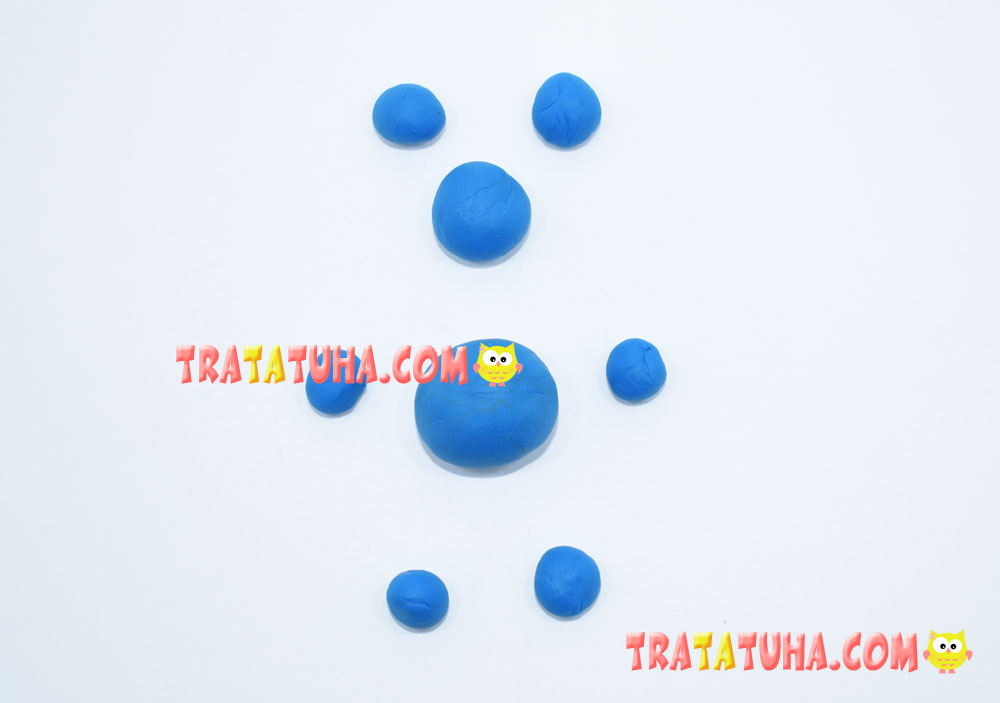
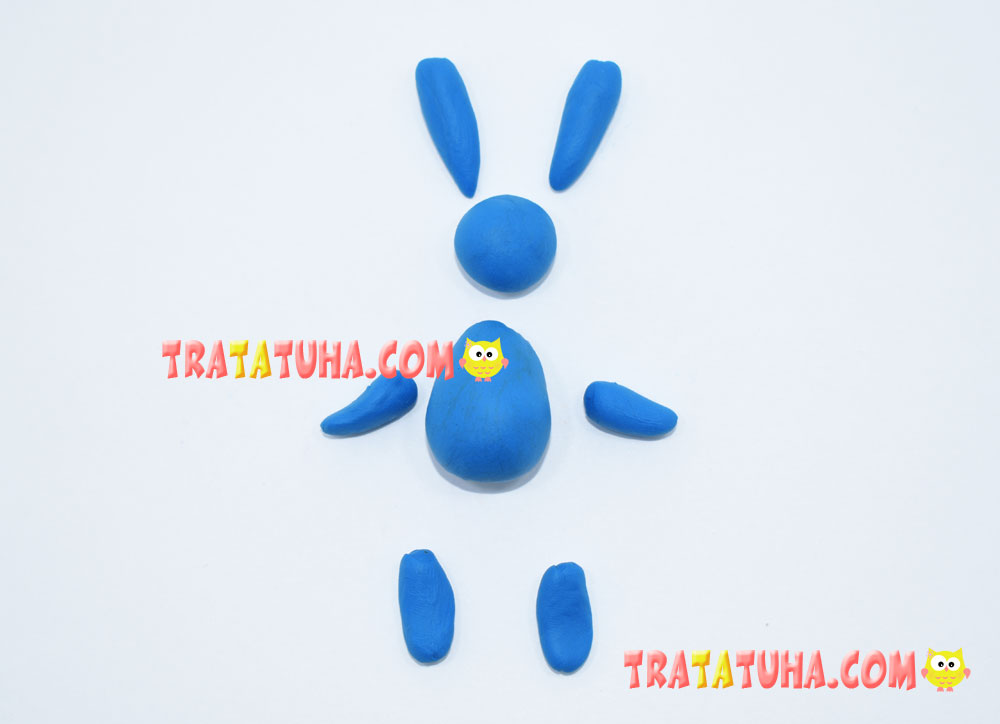
Knead the clay and roll into balls to later make important parts of the animal out of them. You will need:
- One largest ball for the body of a clay bunny;
- One smaller ball – for the head;
- 6 balls for paws and ears. For the ears, you can make bigger balls;
- The photo is not captured, but the bunny also has a tail.
Roll out the balls for the paws, making them elongated. Roll the ears into carrots. Subsequently, they need to be pressed a little. Make the body pear-shaped.
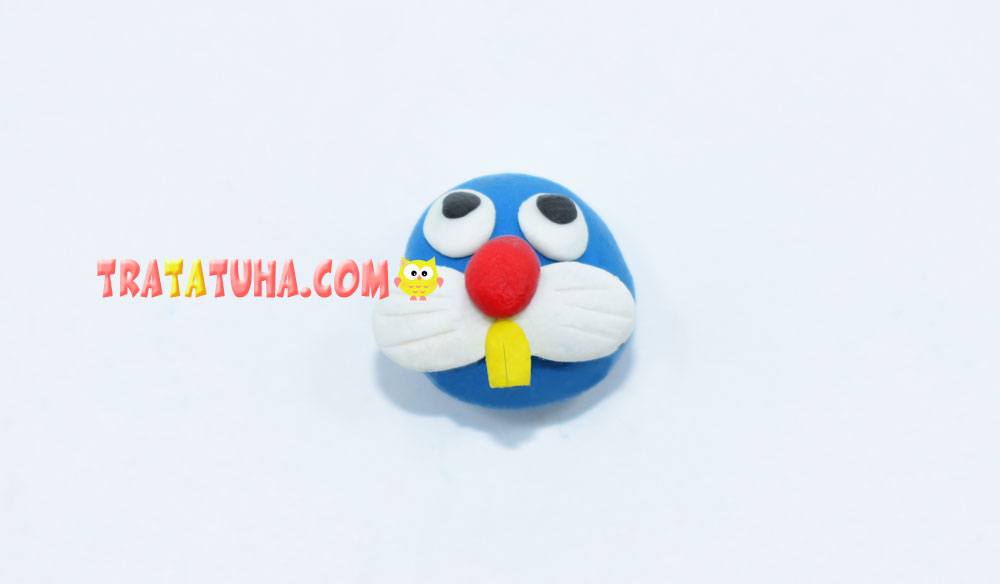
Glue white balloons with black ones in the center onto the round head balloon to make the bunny’s eyes. Also roll up two white balls, flatten them and make prints with a knife. Glue the cheeks on the head and a round red nose on top. Complete the head with yellow or white teeth.
Attach the head to the pre-stretched body, add the ears, paws and tail. The clay bunny is almost ready.
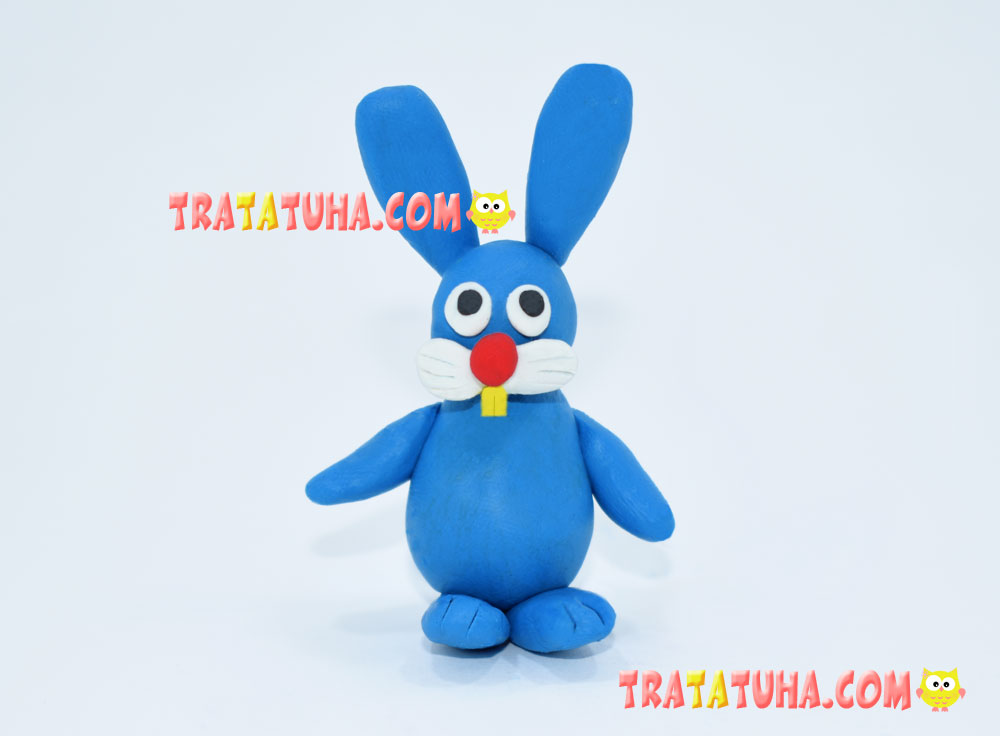
It remains to add a few strokes in the form of a red tummy and the same red elongated ears for additional details. On the paws, if desired, you can make small direct prints using a stack.

It is possible and even desirable to choose the colors of clay at your own discretion, thus developing creative thinking and imagination. In addition, each child can bring something of their own to the work, add various little things, for example, a bow, spots, carrots, expressing their individuality, imagination, bringing their creative finds to life.
See more ideas about Clay Crafts.
Clay Animals – art and craft ideas for all ages.
Crafts for Kids – learn how to make craft at home! Super cute crafts for all age groups!
