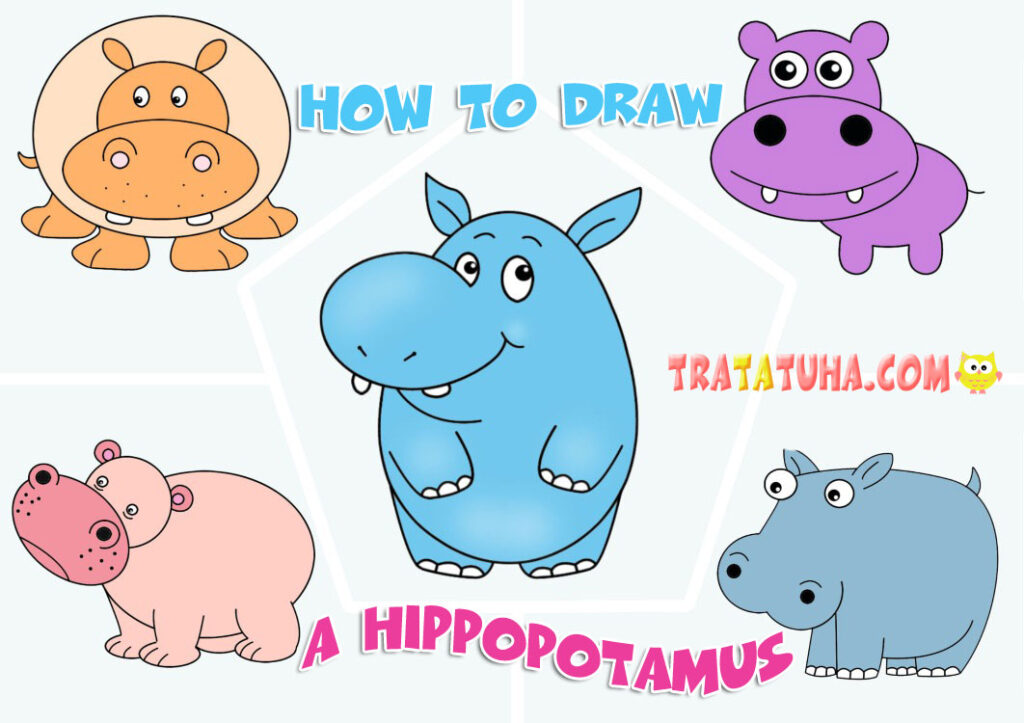
We continue our step-by-step drawing lessons; this review shows several ways on how to draw a hippopotamus.
For creativity you will need:
- White drawing paper;
- A simple pencil with an eraser;
- Colored pencils.
How to Draw a Hippopotamus — 1 Way

A very simple drawing where this large animal consists of ovals and circles.
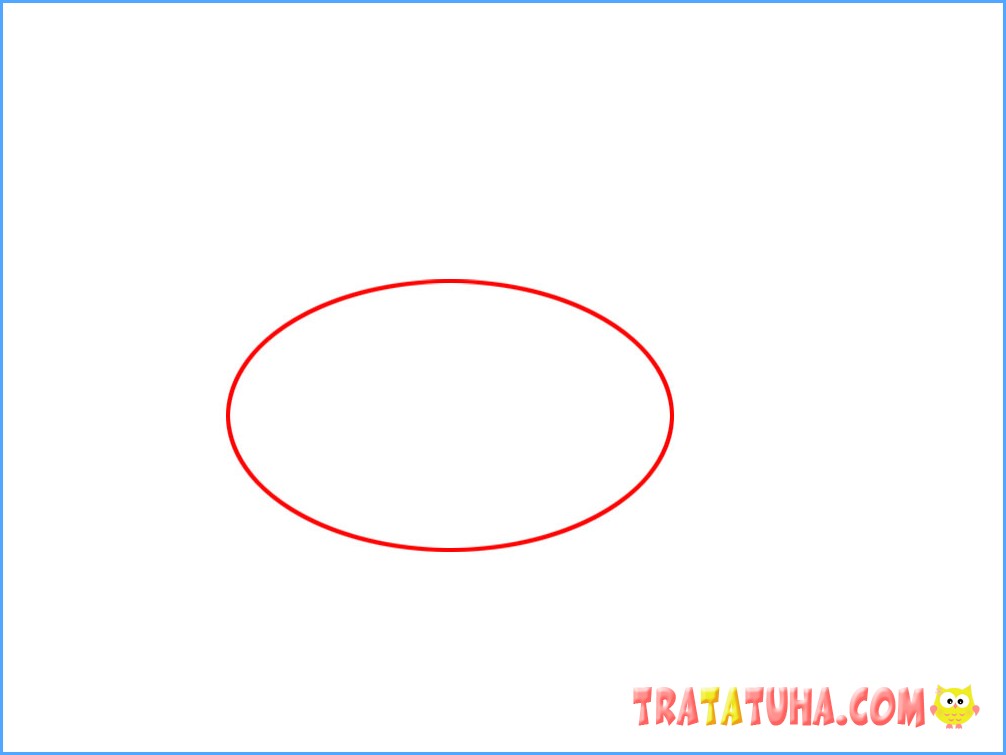
Let’s start with the head. At the first stage, we will draw an oval muzzle.
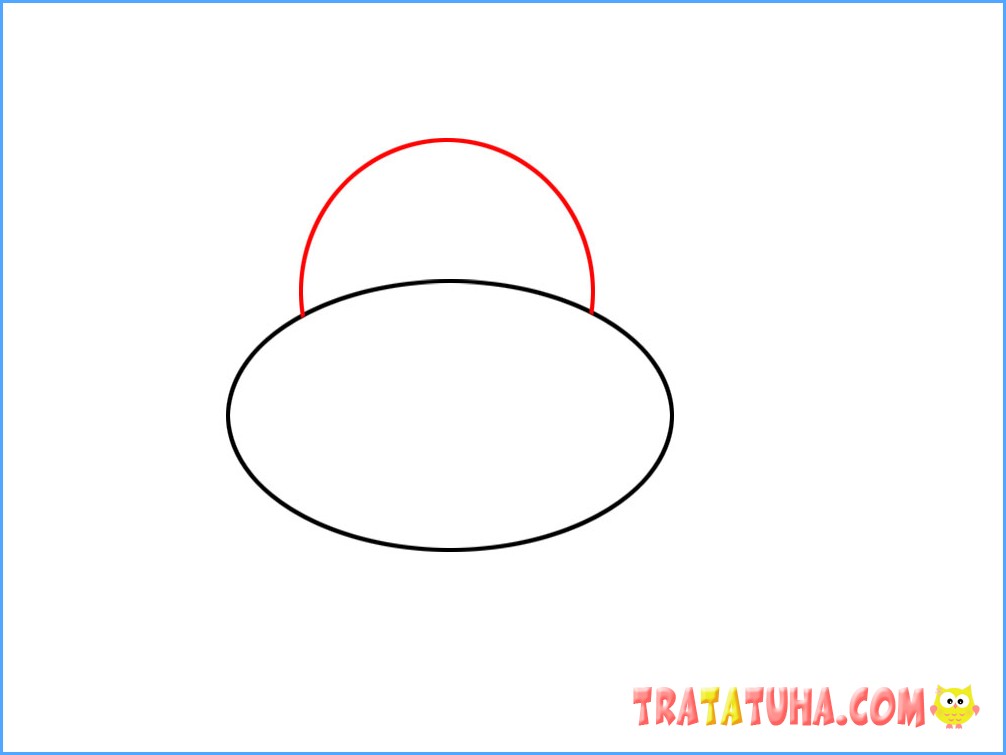
Add a semi-oval on top.
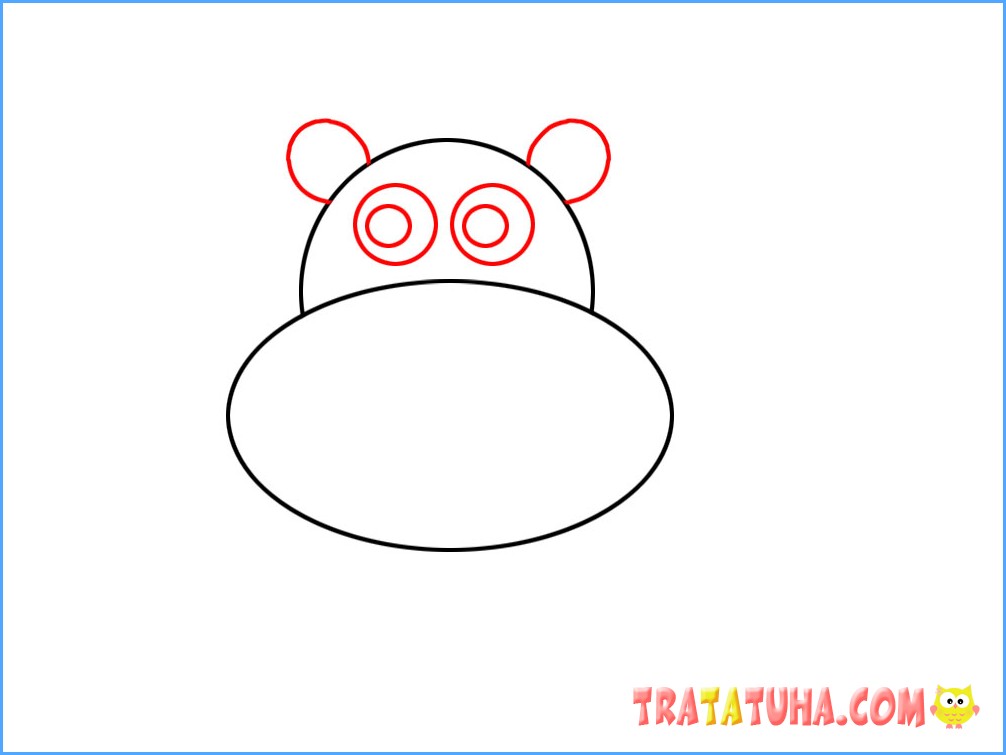
Let’s draw round eyes and ears.
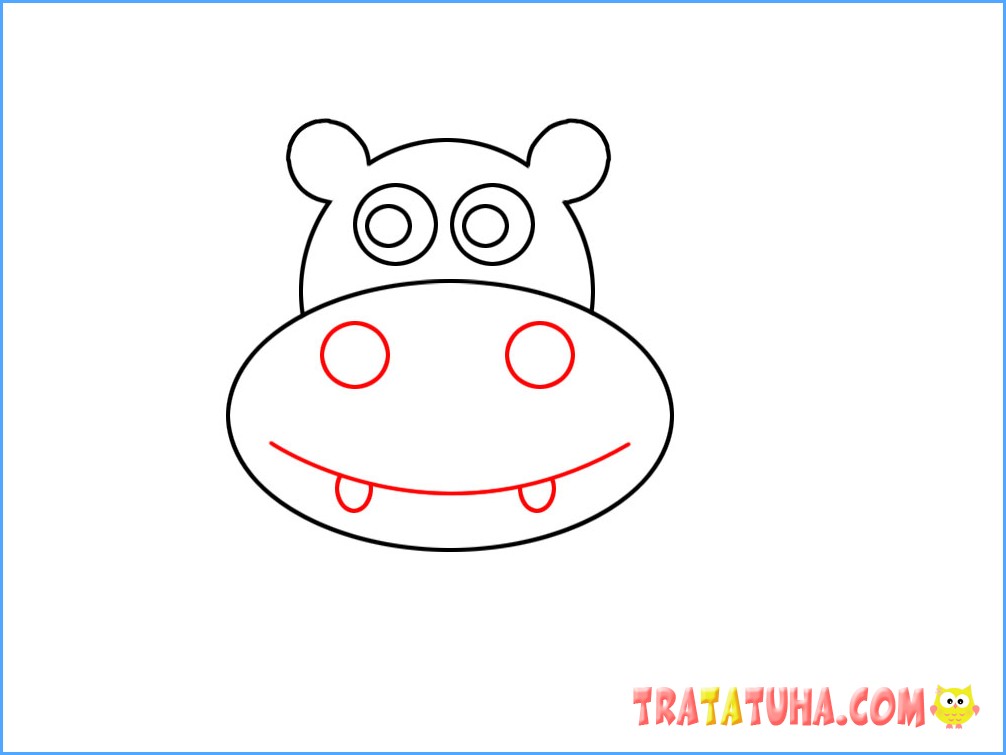
Let’s complete the hippo’s head with a smile with teeth and circles of nostrils.
Let’s continue the drawing with the body. The hippopotamus in this lesson is somewhat non-standard, rather comical, and its body will be smaller than its head, although in fact the carcass of the animal is much more impressive. Let’s draw a semi-oval to the head.
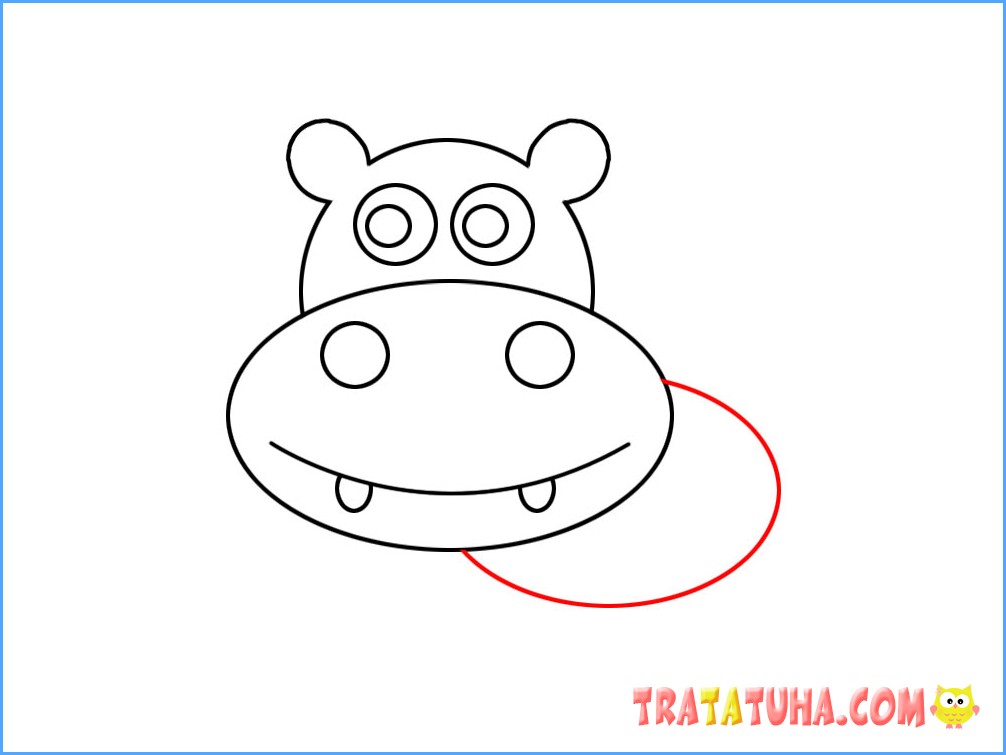
Let’s complete the hippopotamus with two legs and a short tail.
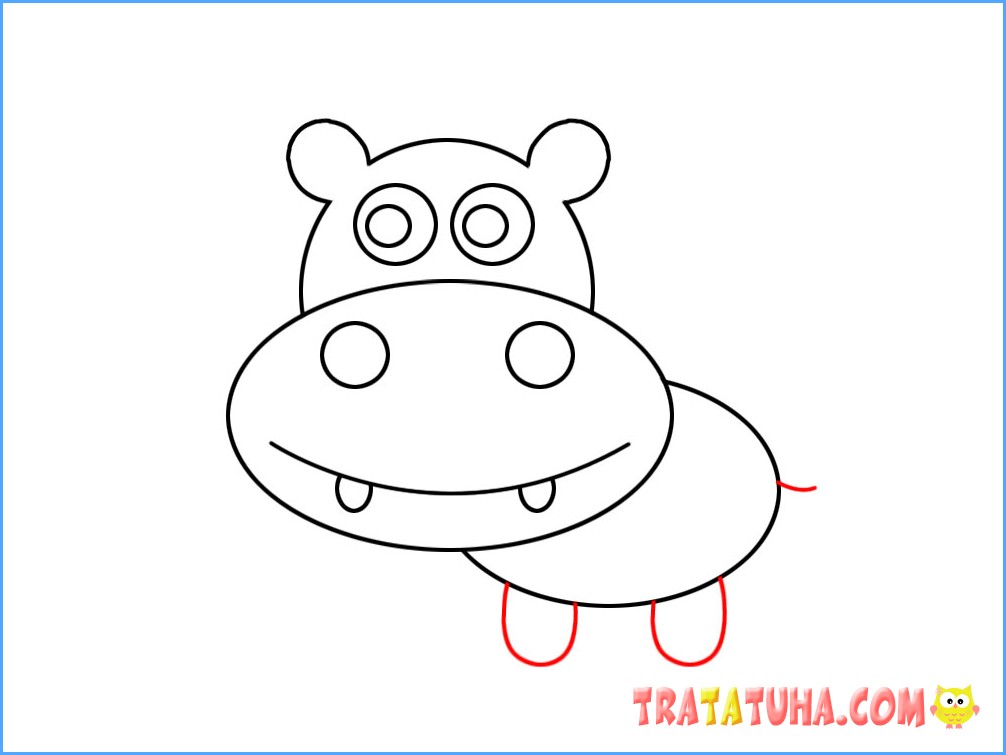
Erase the extra lines in the leg area. The drawing is ready.
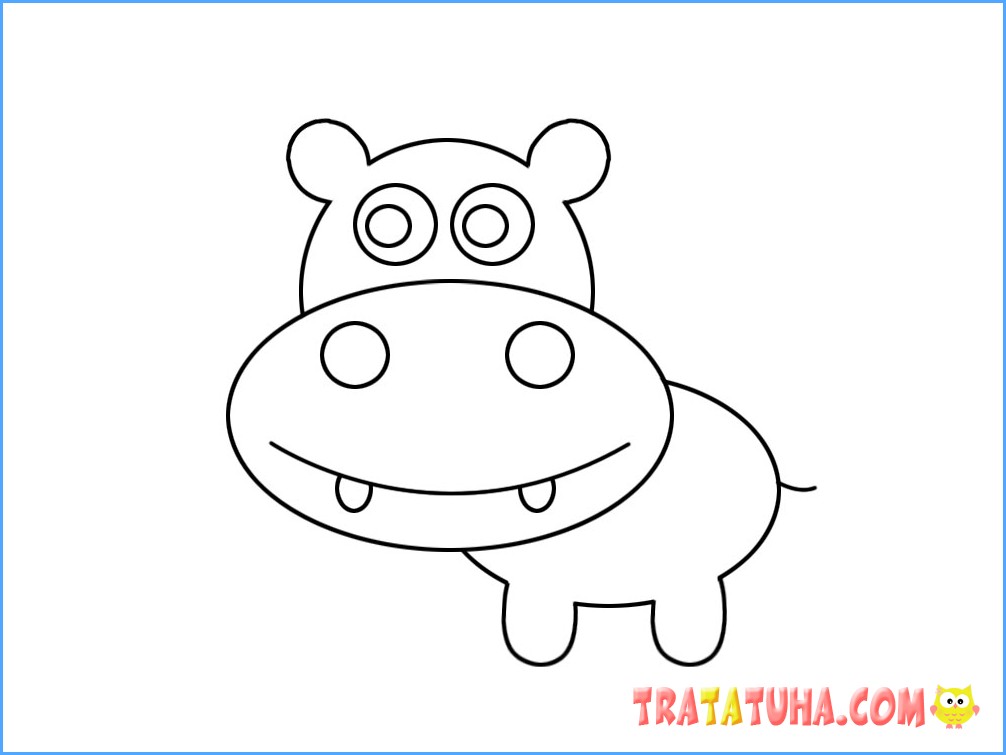
You can color it with colored pencils at your own discretion.

How to Easily Draw a Hippopotamus — Method 2
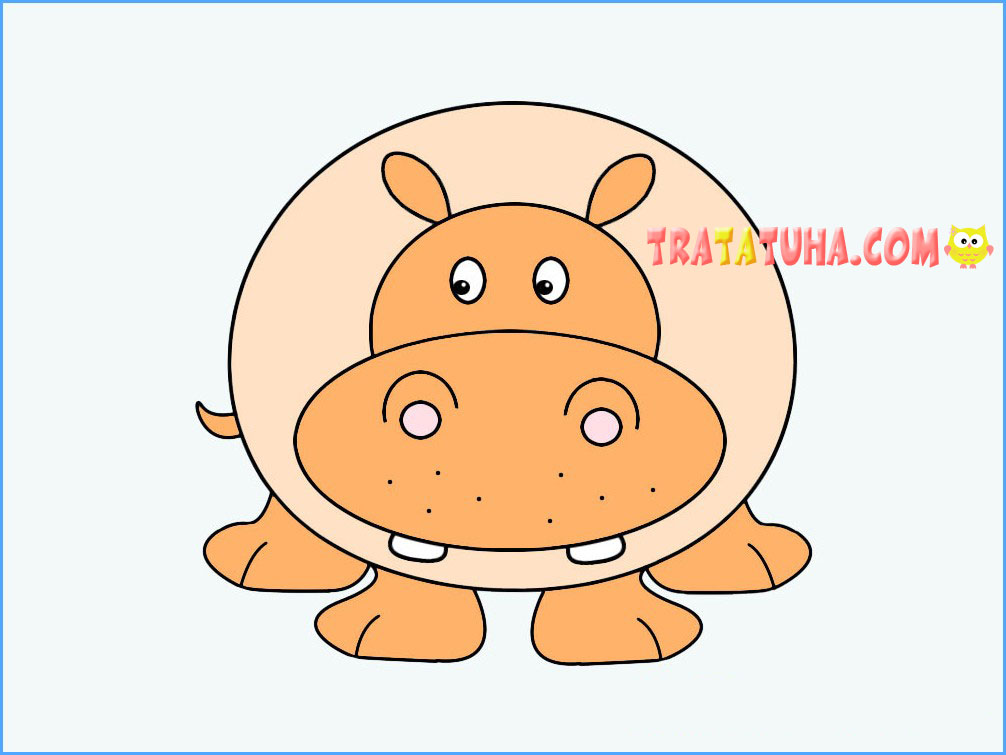
The second option is also easy. The main part of the animal’s details are circles and ovals. Perhaps the legs will seem a little more difficult for children, but they can always be replaced with a simpler option, the same oval or rectangle with slightly rounded corners.
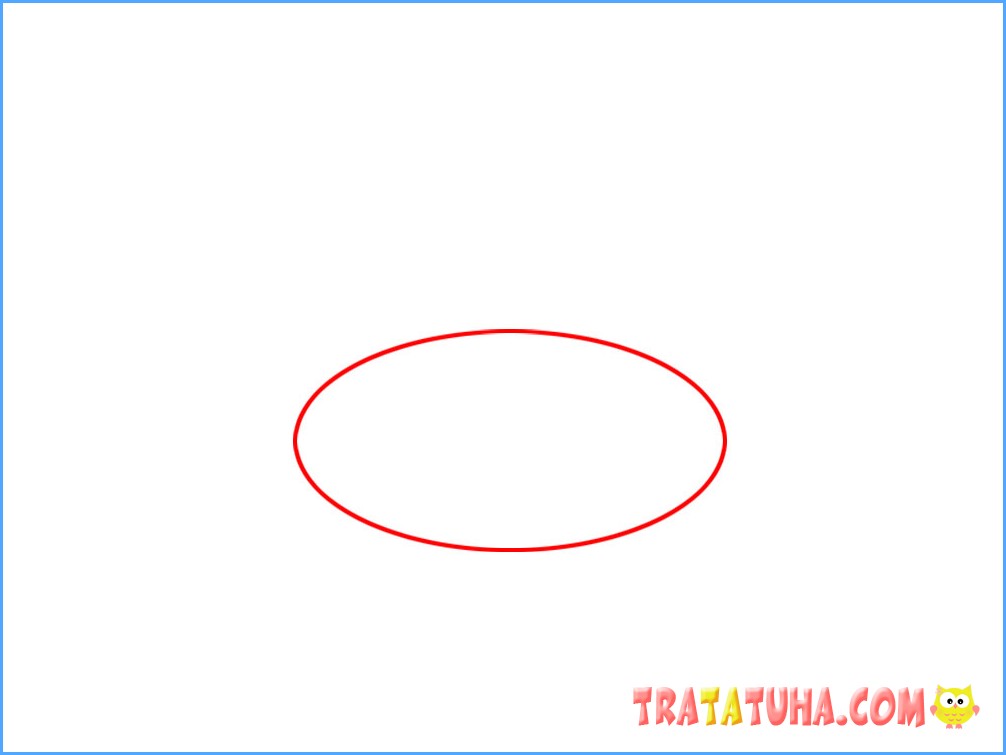
Let’s start the drawing also with the muzzle. Draw a horizontal oval.
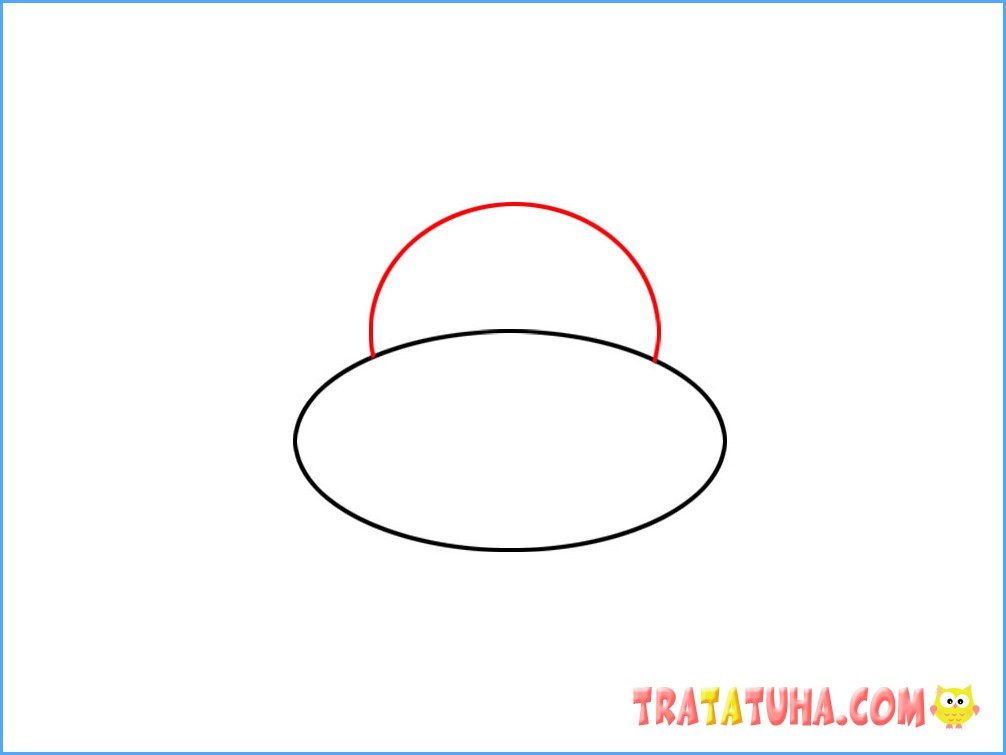
Add part of the head on top.
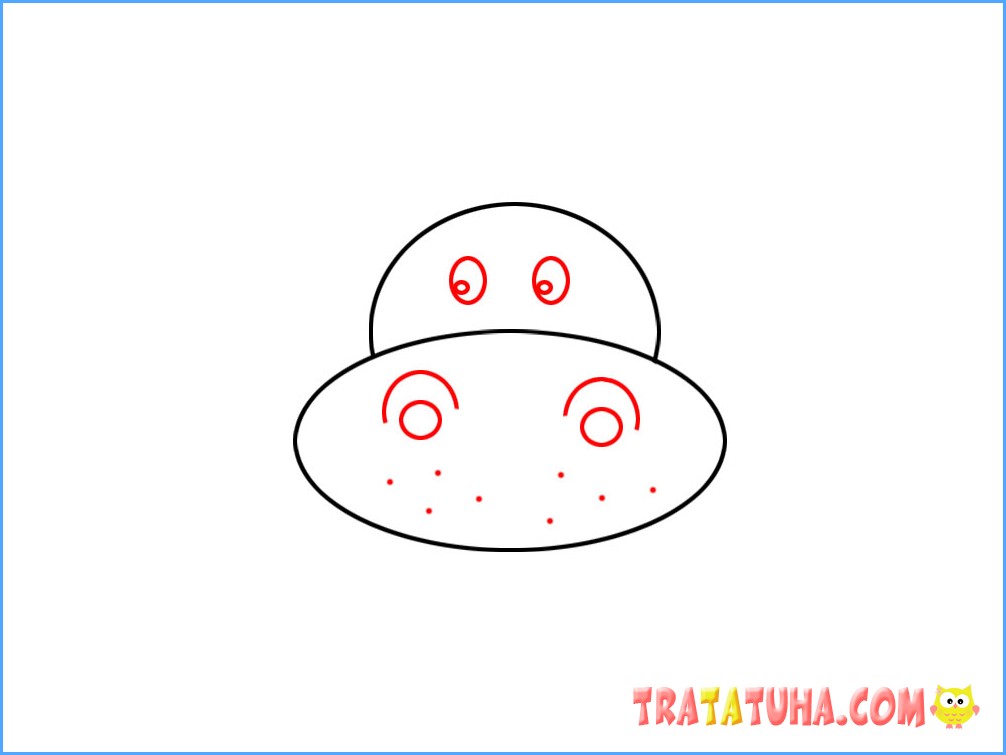
Afterwards we will draw the eyes and nostrils.
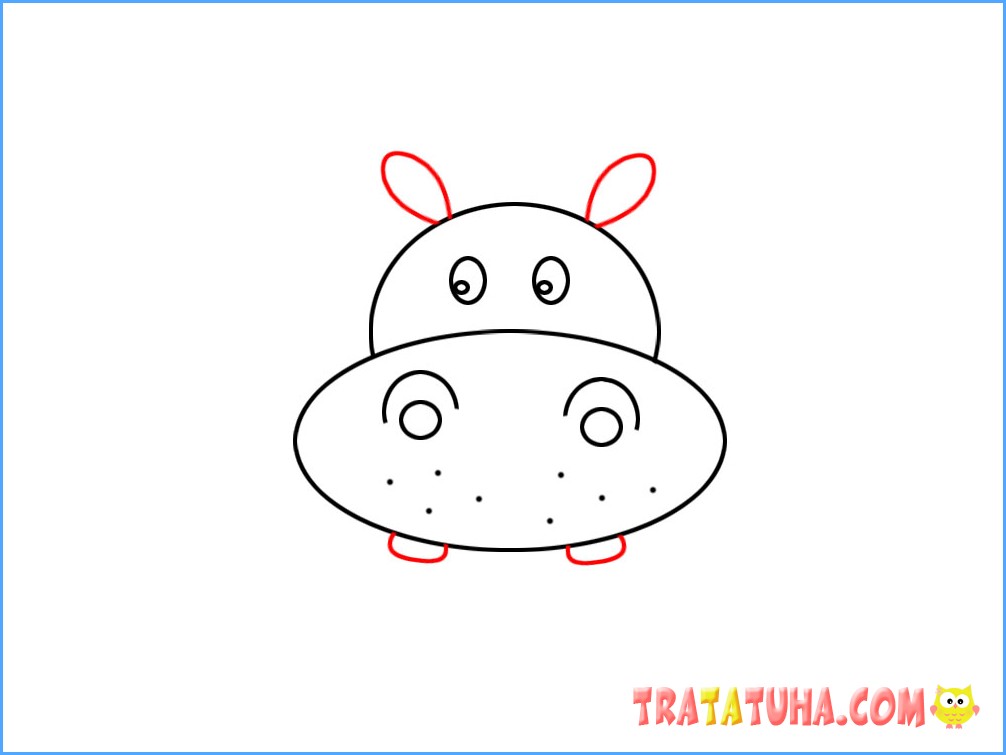
We complete the head with ears and teeth.
Now let’s move on to the body. It will represent a circle that we will draw around the head of the hippopotamus.
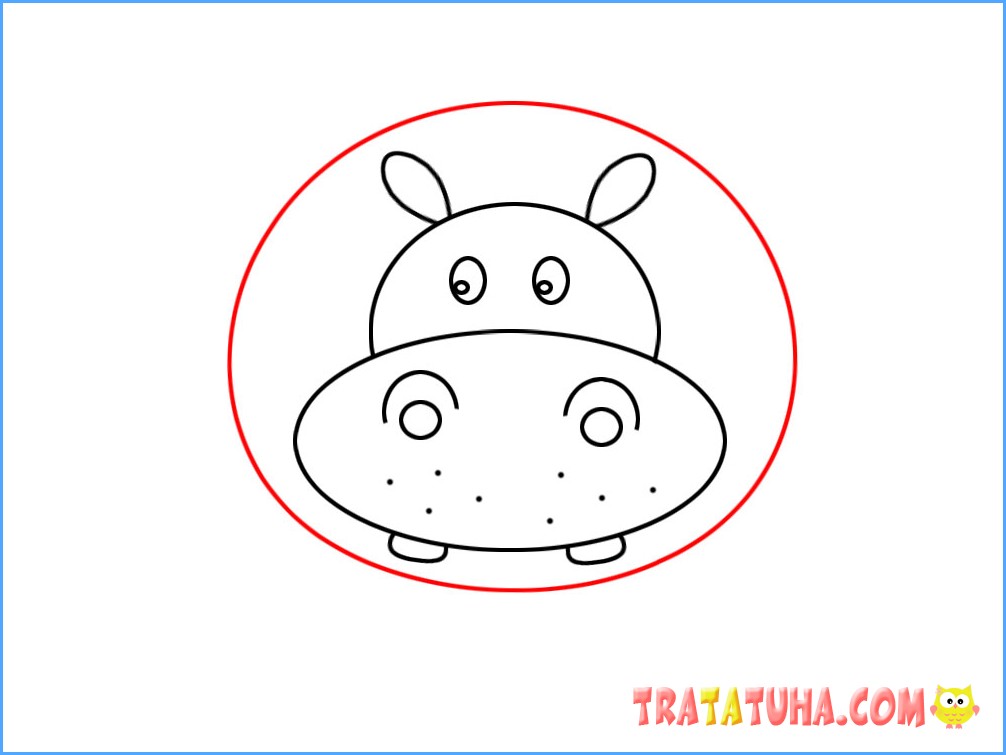
Add the first pair of legs from below.
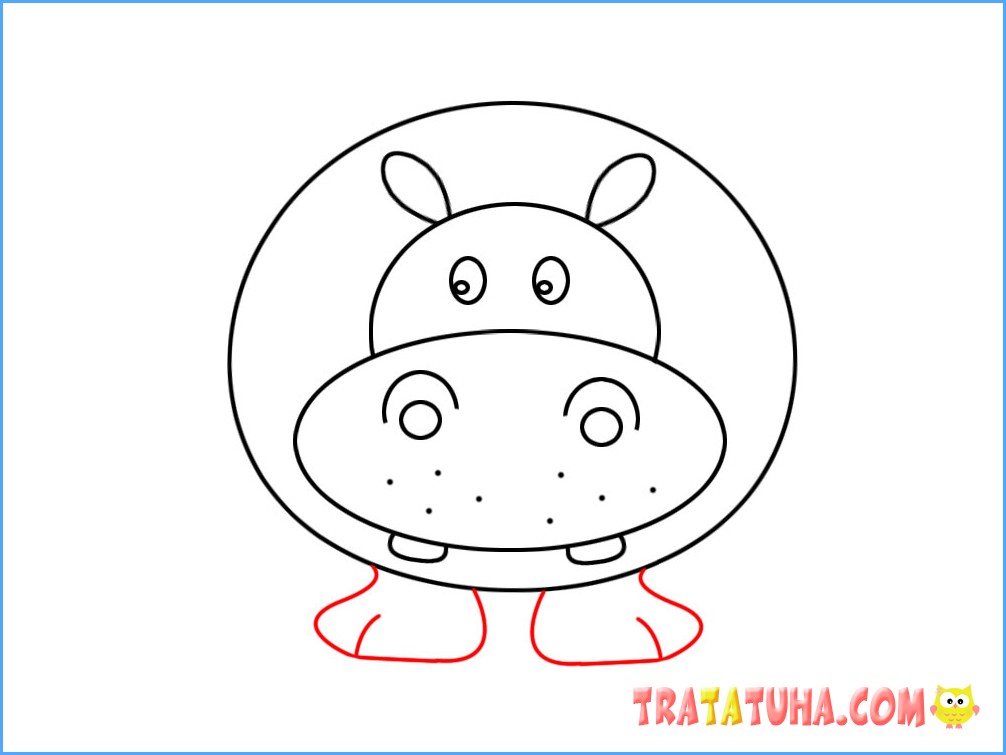
Then a second pair, as well as a small ponytail.
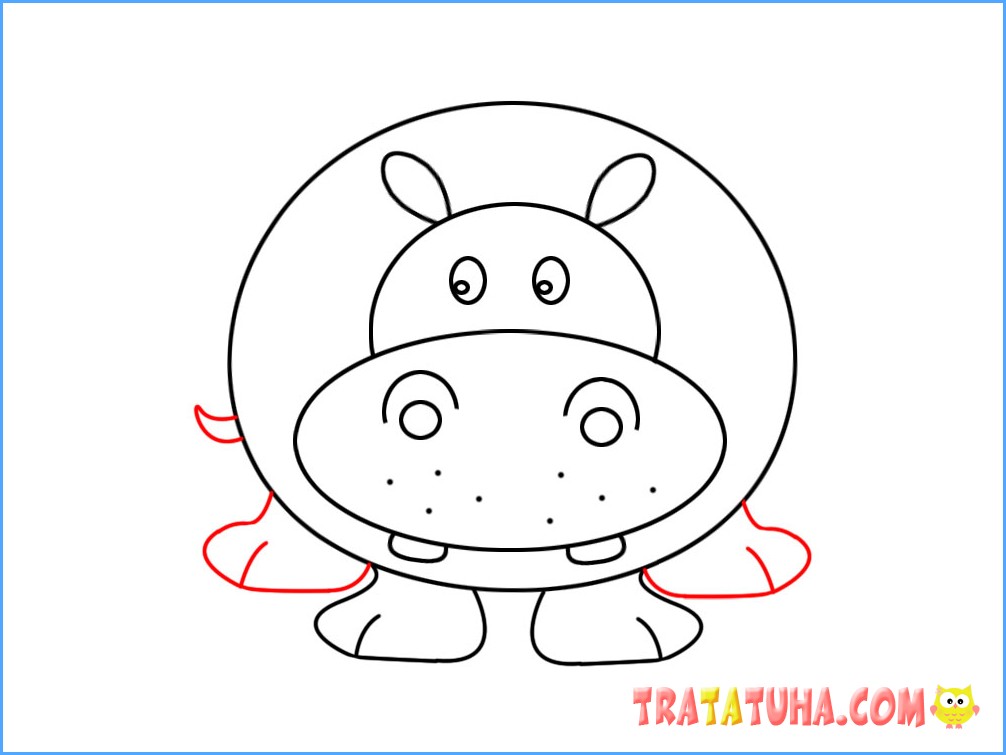
The hippopotamus drawing is ready.
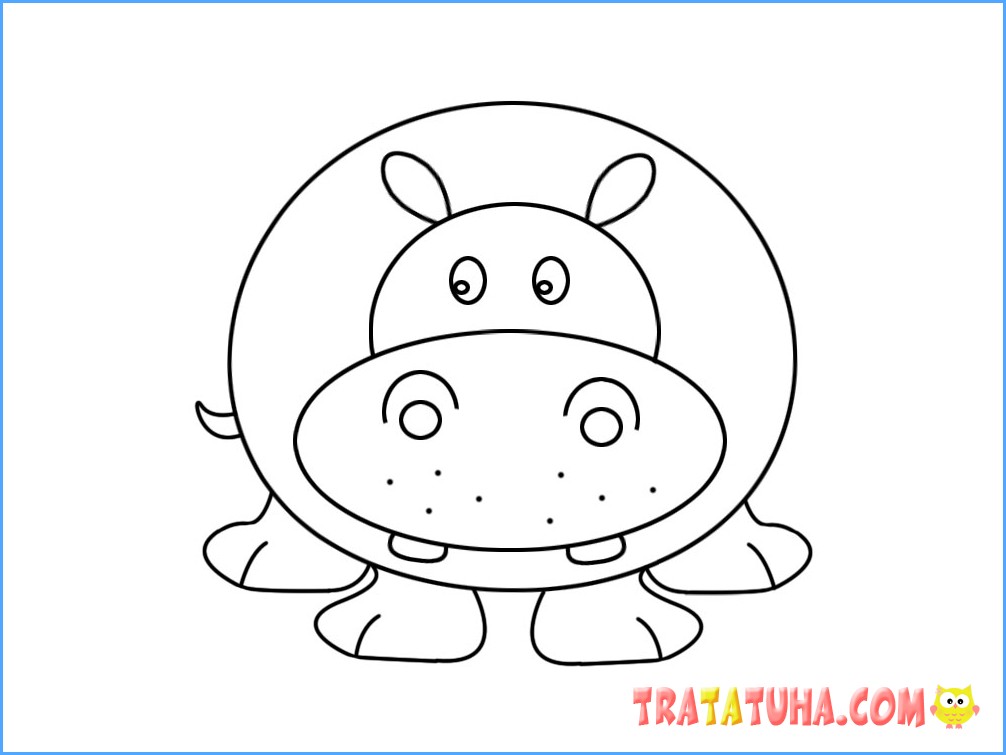
Give it a colorful look using colored pencils.

Drawing a Hippopotamus— Method 3

This version of the drawing is more cartoonish. The hippo turns out to be funny and cheerful.
The body and head of the animal in this case will be a single whole – elongated, egg-shaped.
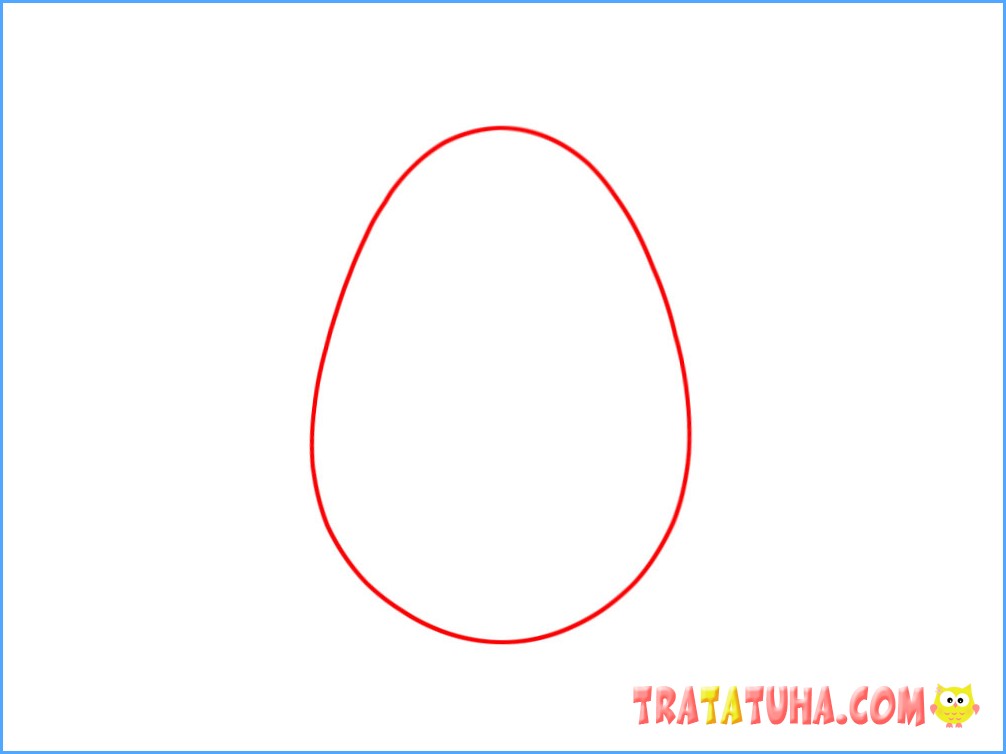
Let’s draw a large nose.
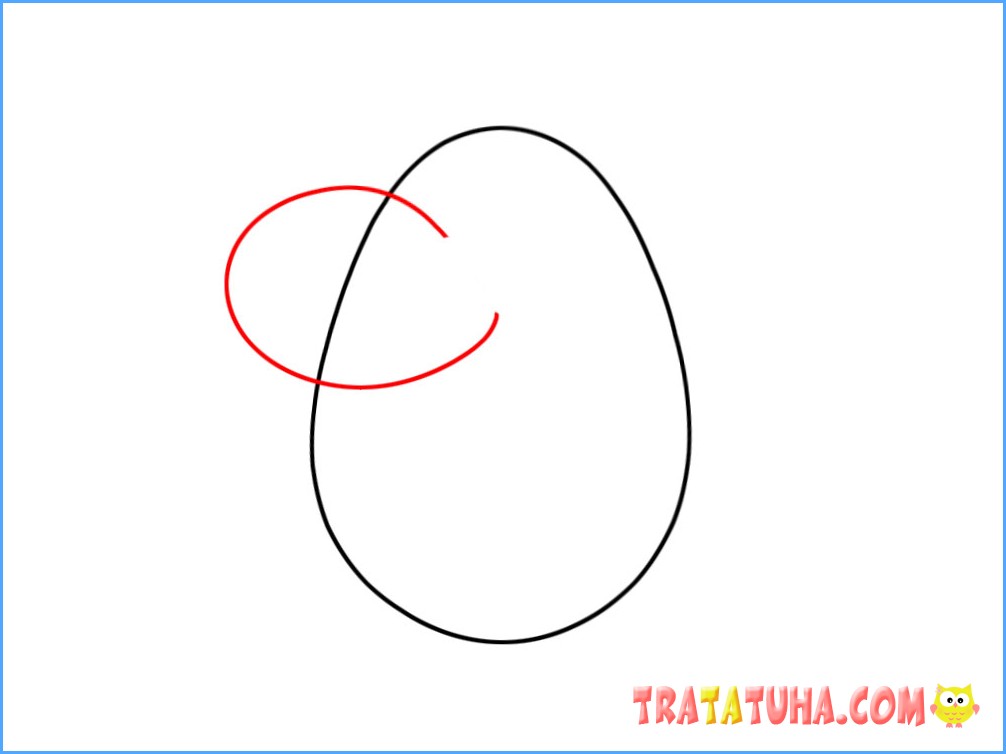
Don’t forget to use an eraser to remove excess lines, in this case in the nose area. At this stage we will add eyes and eyebrows.
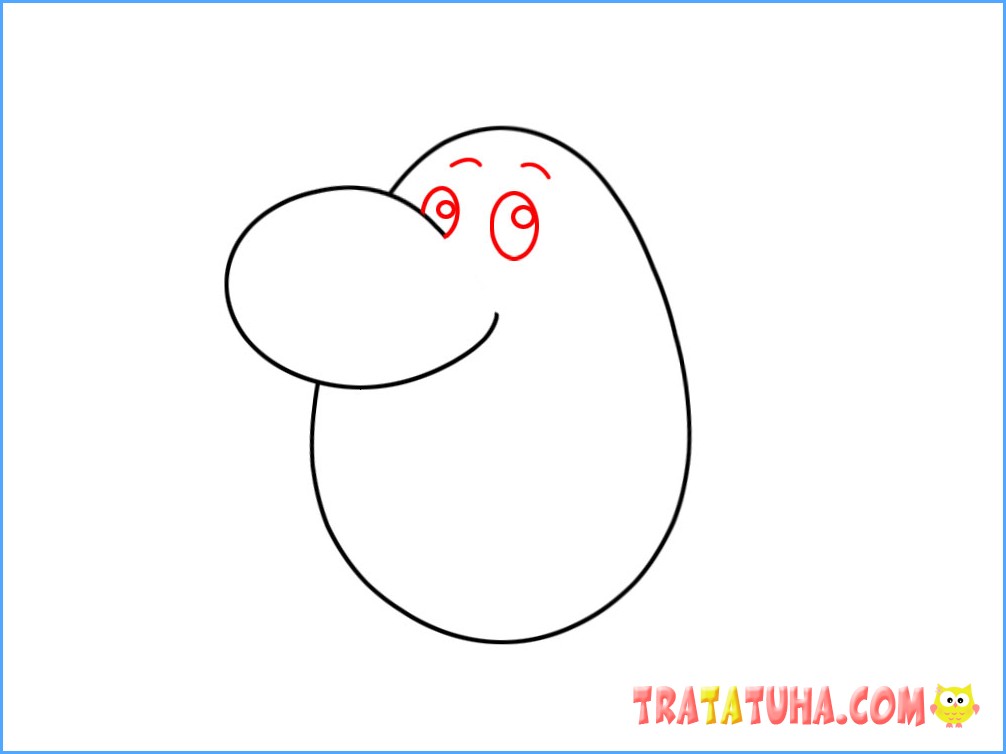
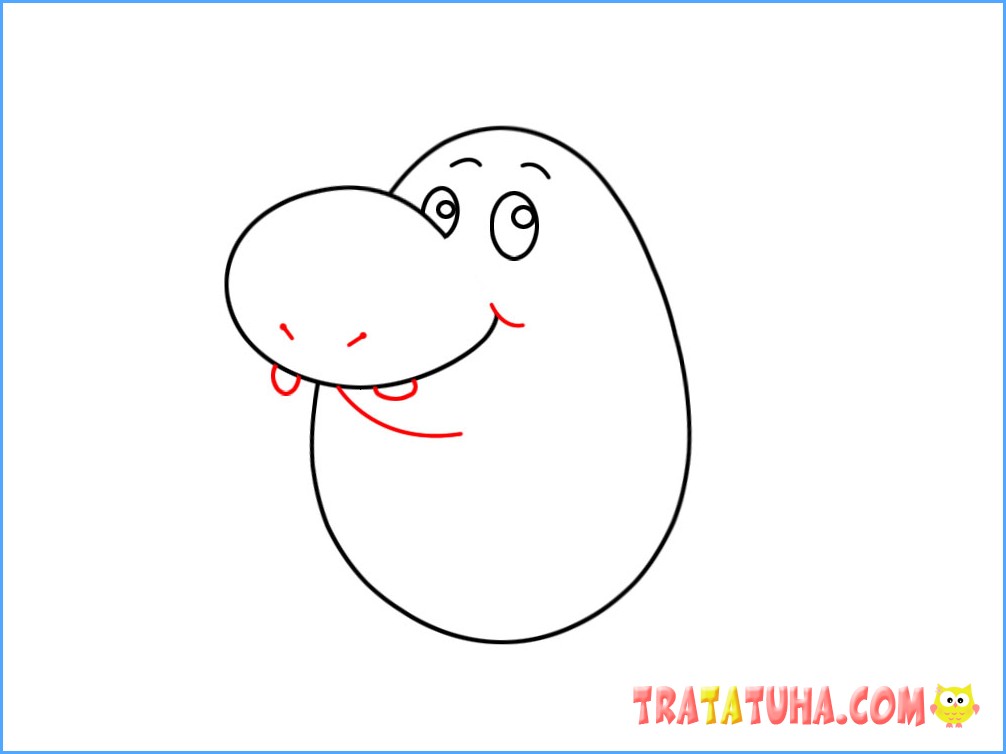
We draw some small details — nostrils, teeth, folds under the nose, a smile.
We complete the head with ears.
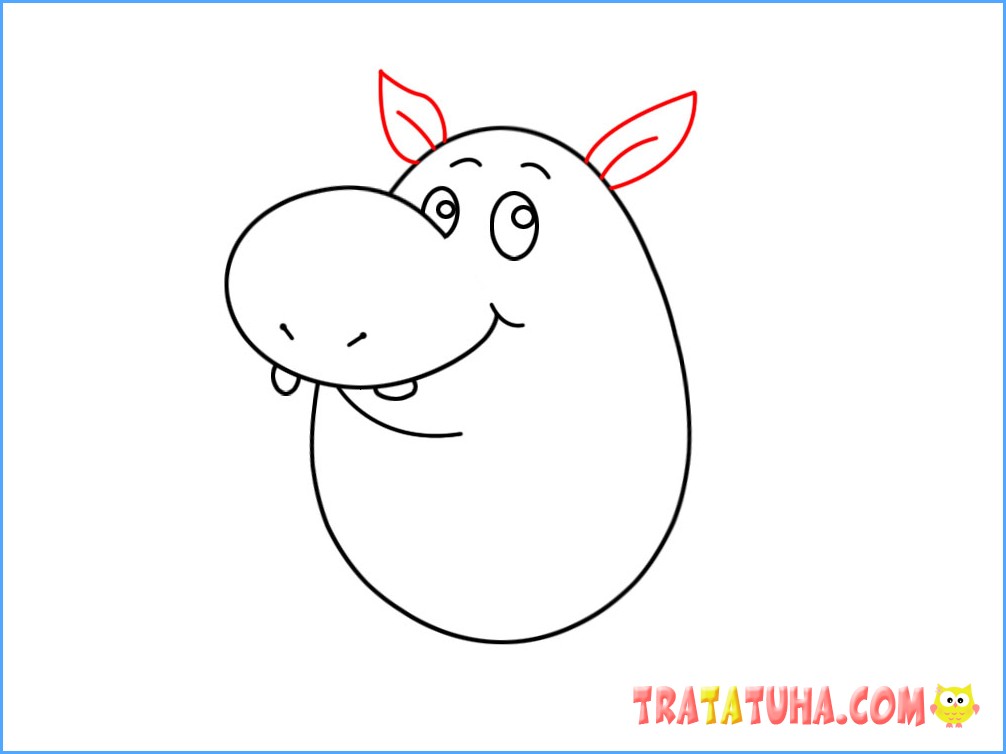
Now we move on to drawing the legs — one pair in the torso area, and the second in its lower part.
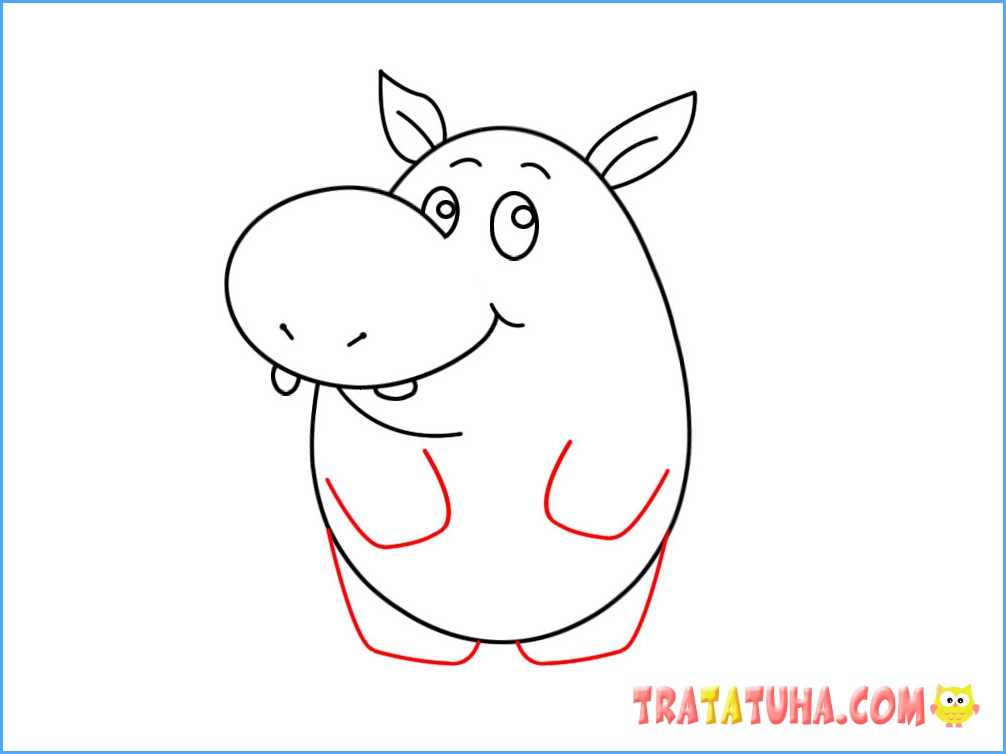
Draw circles on the tips of the legs.
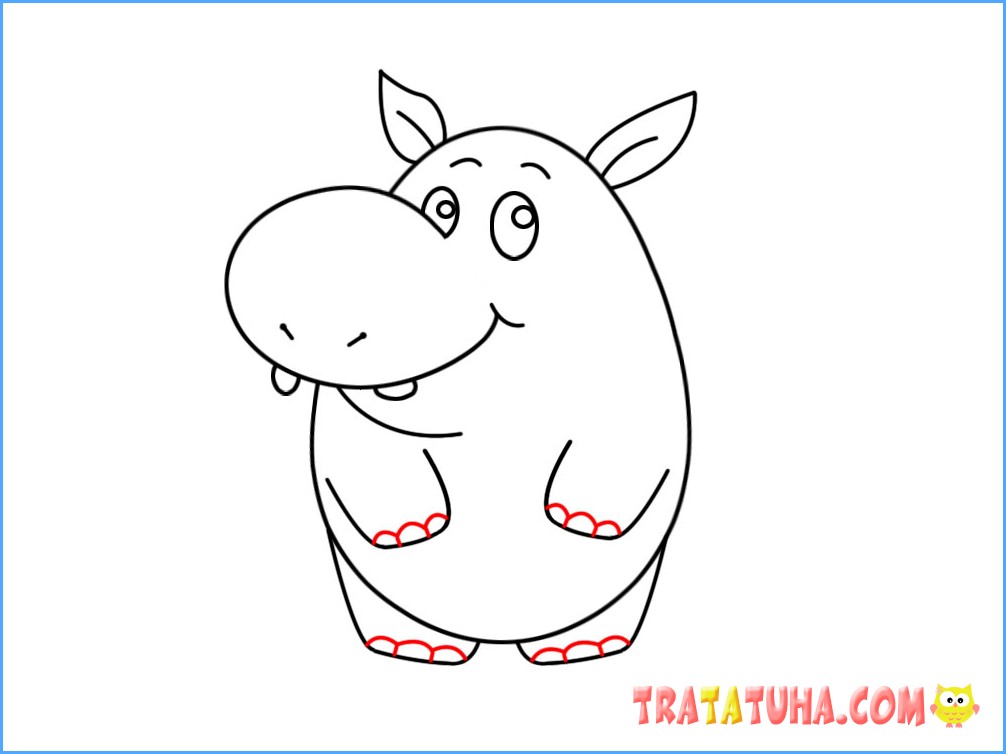
The drawing is complete.
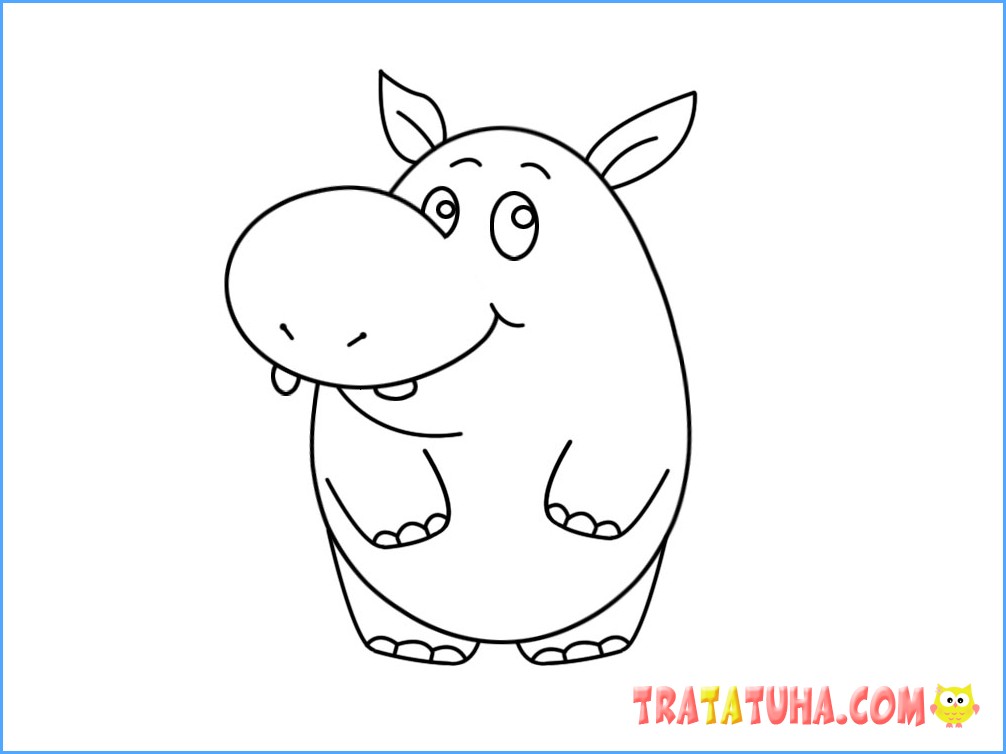
All that remains is to paint it in the desired colors.

How to Draw a Hippopotamus — 4th Method

Here the hippopotamus is shown sideways and closer to the real prototype.
Let’s start with the muzzle. Draw a figure similar to an unfinished figure eight.
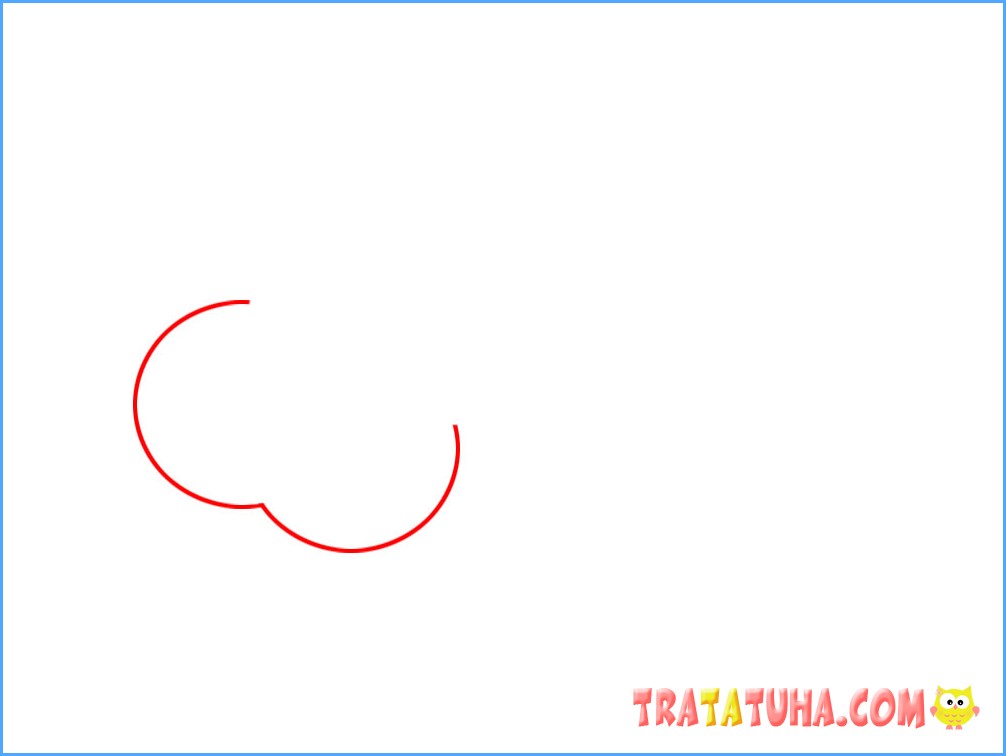
Draw a line higher and draw the first round eye.
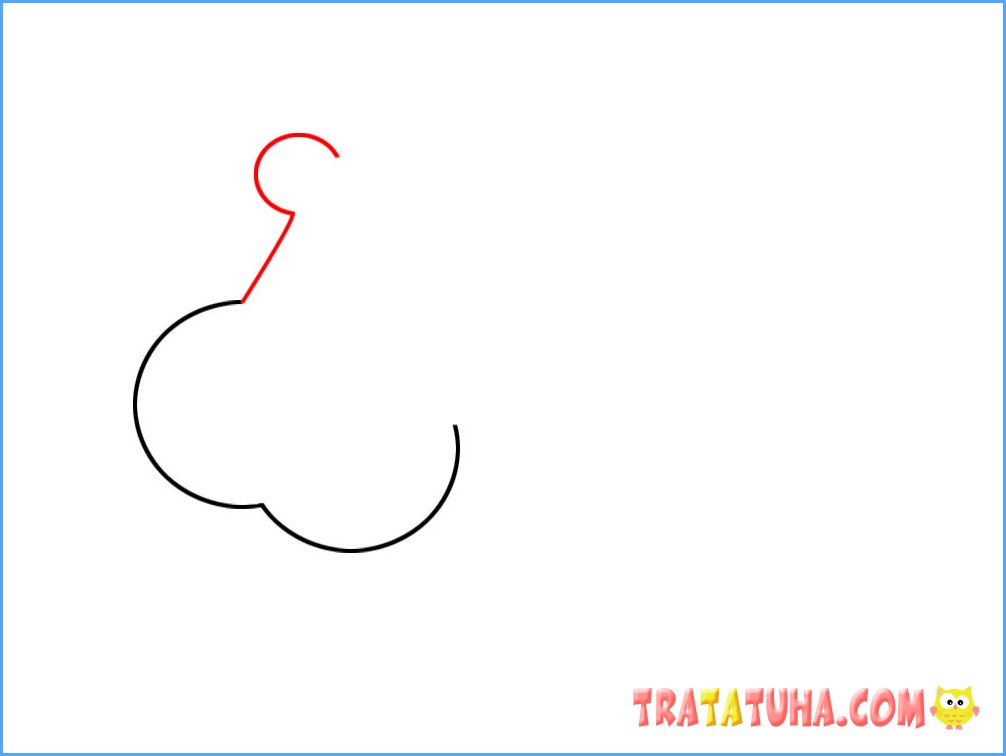
Add a second one.
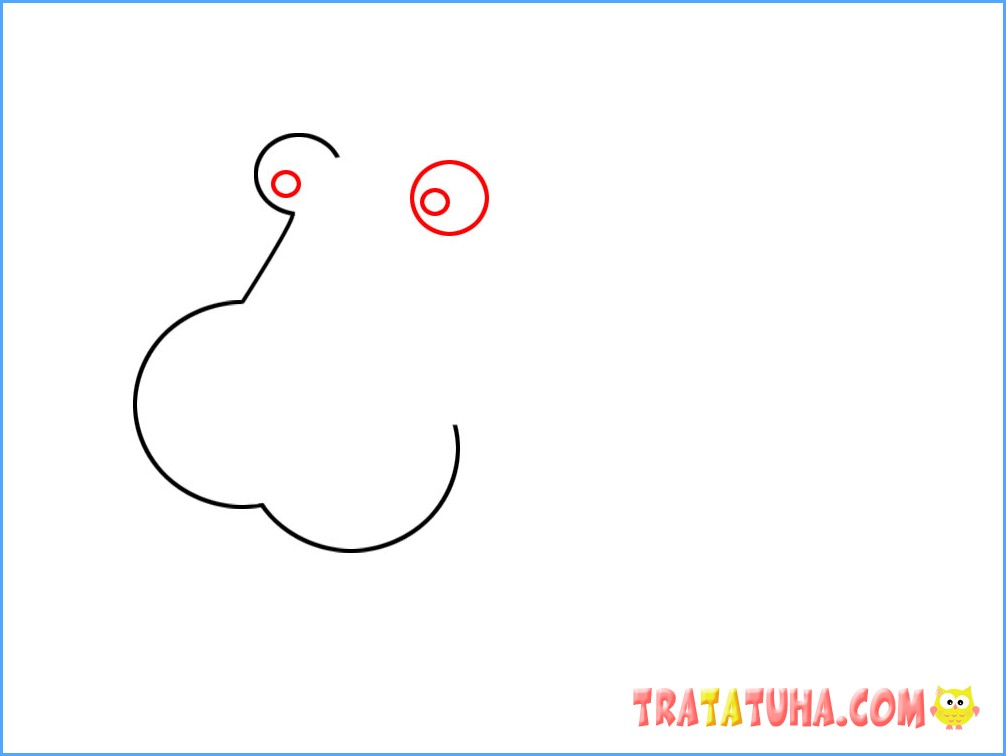
We continue the drawing and draw a line from the forehead to the hind legs.
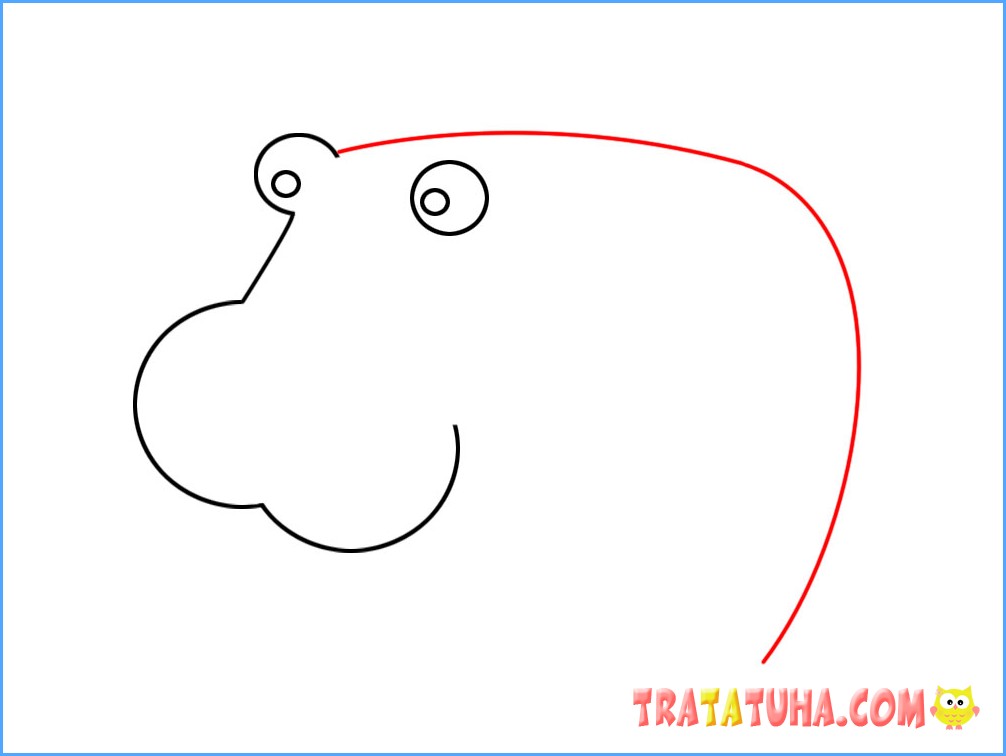
Let’s move on to the front legs. We outline the first leg.
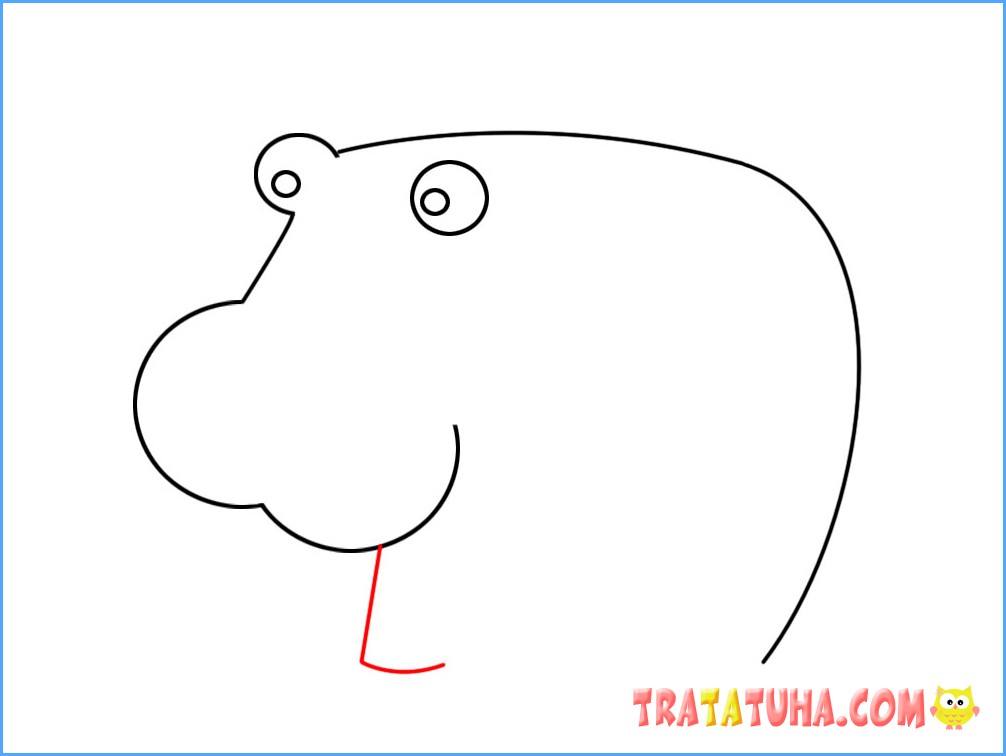
Then the second and belly.
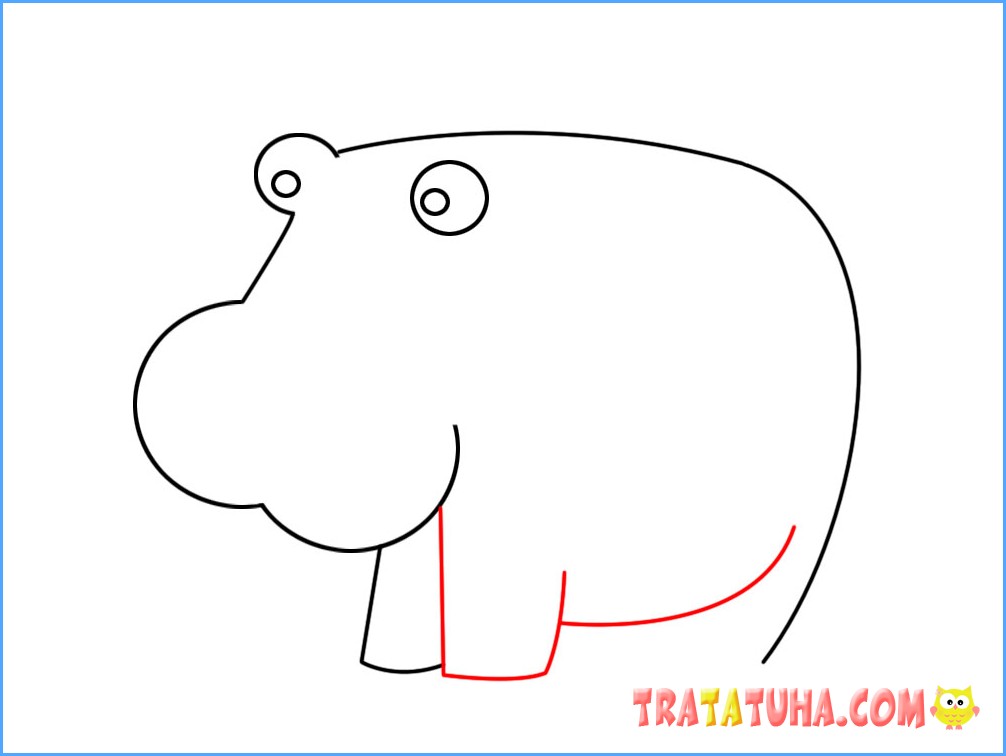
We finish with the hind legs.
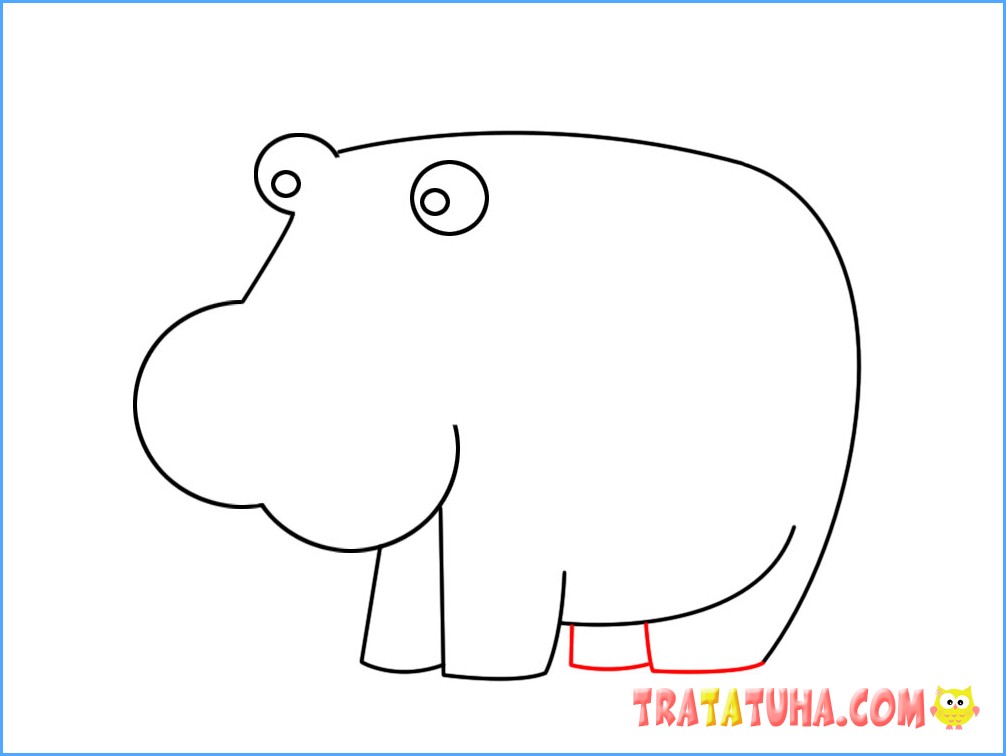
We return to the head and draw ears and nostrils on it. Add a small tail at the back.
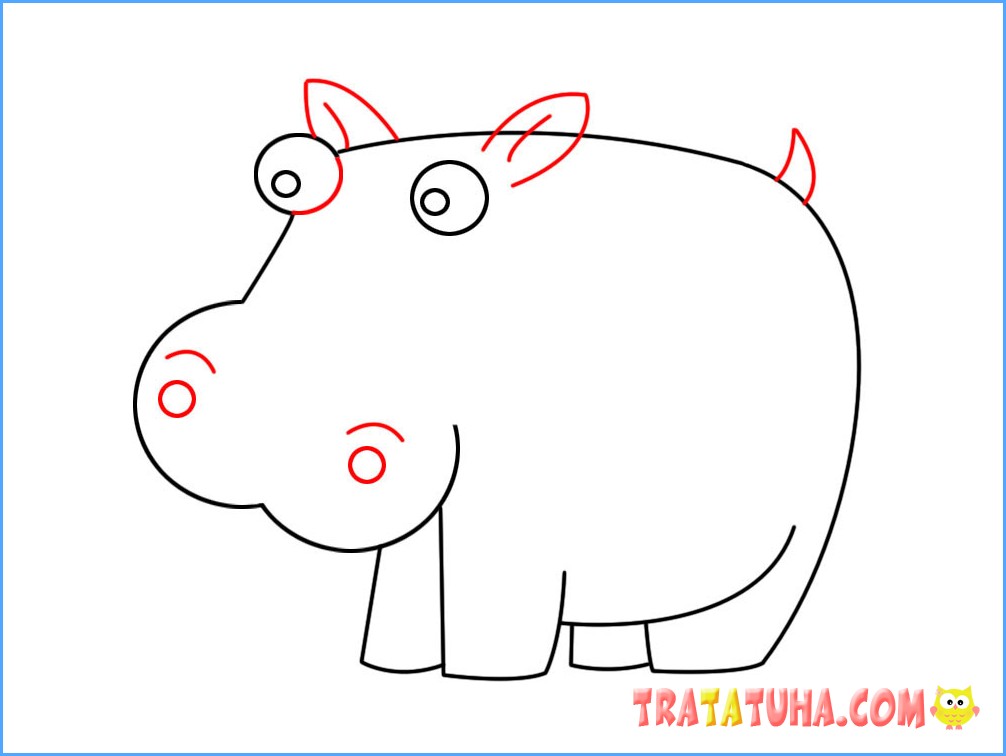
We complete the drawing with circles on the legs.
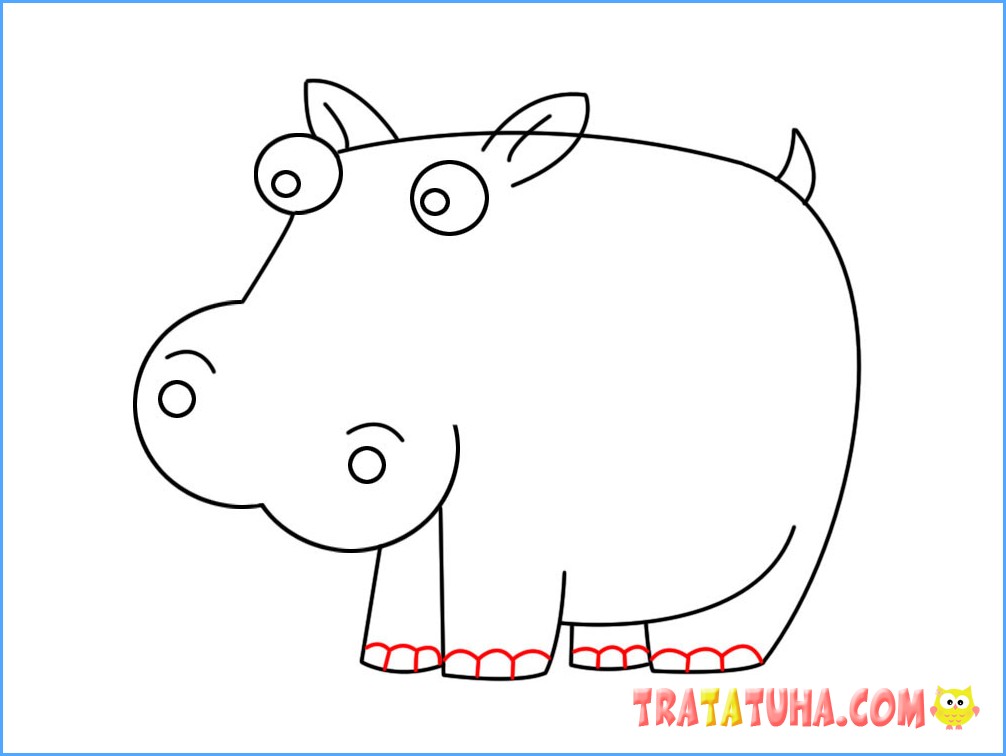
Hippopotamus is ready.
We add brightness to it using colored pencils.

Hippopotamus Drawing — 5th Method
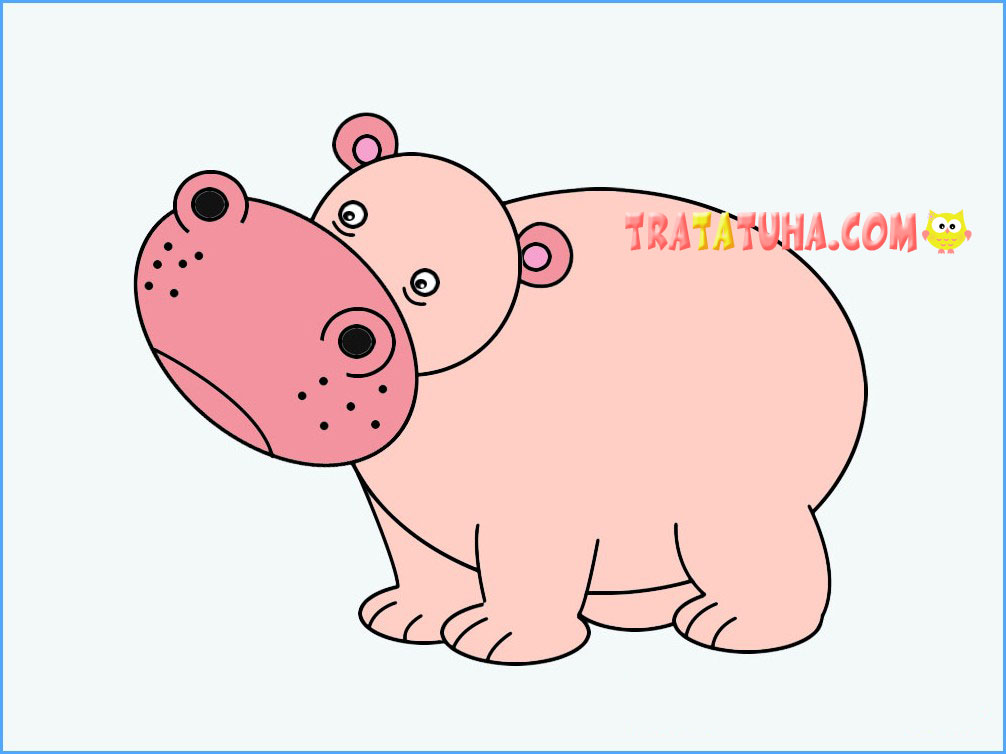
We return again to the usual shapes, which are easiest for children – ovals, circles. This behemoth consists almost entirely of these figures. But in this case it is somewhat more complicated, there are many places where extra lines will form, which are important to remove with an eraser. Therefore, initially you should draw with light pressure of a simple pencil in order to erase the lines without effort and consequences.
Let’s start with the body, which is a large oval.
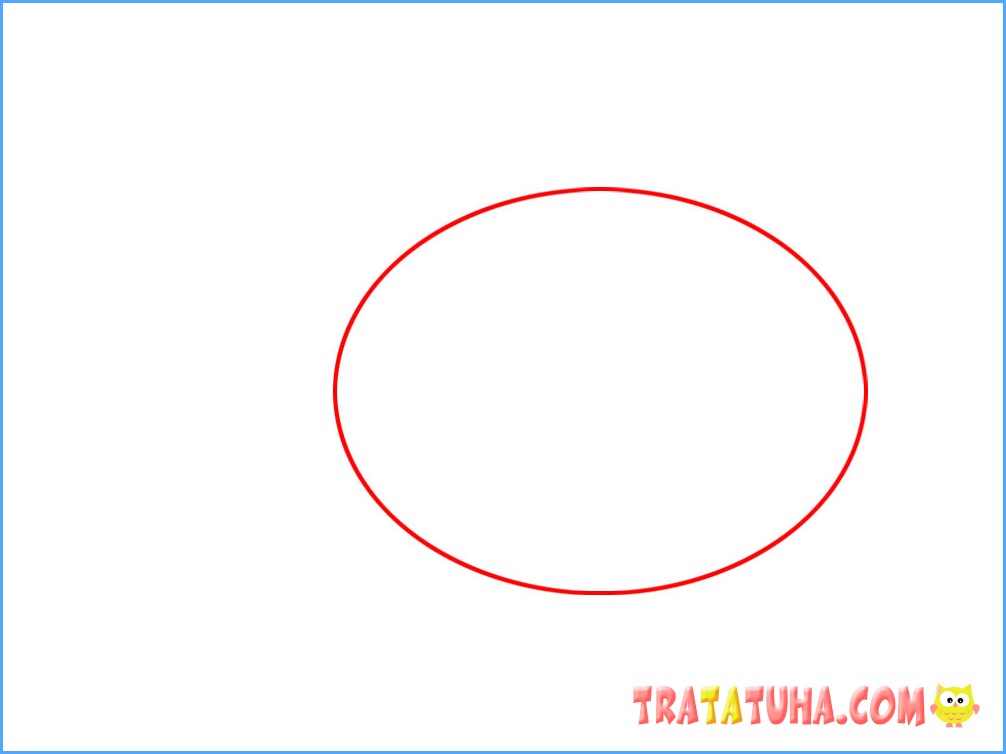
On the side we draw an oval muzzle.
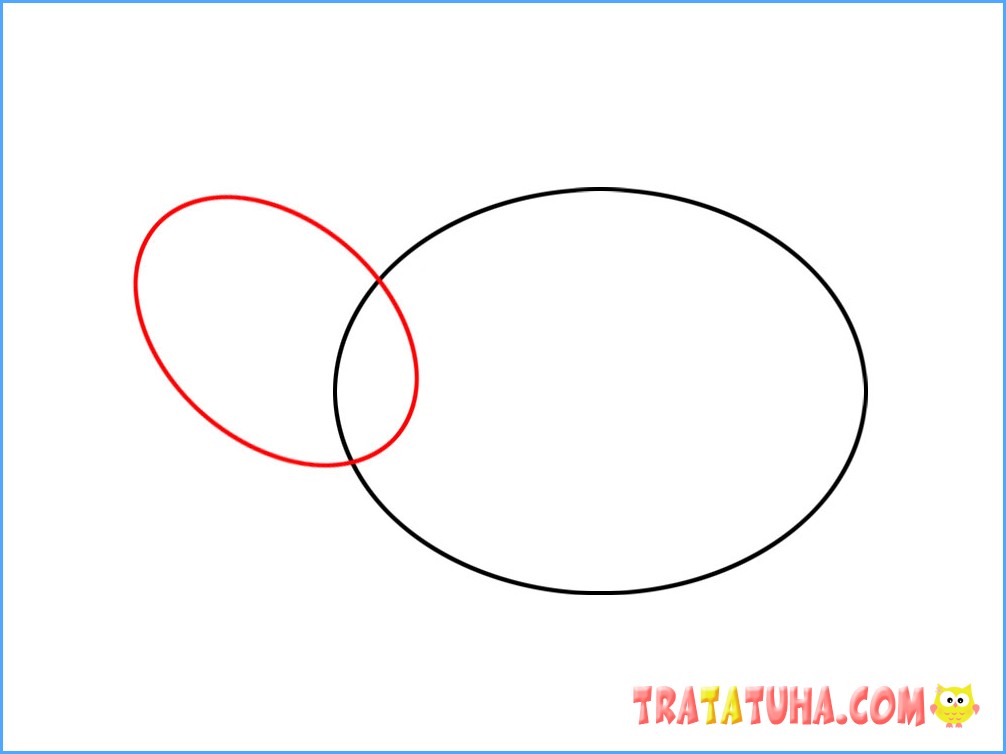
Erase the extra line in the muzzle area and add a circle on top.
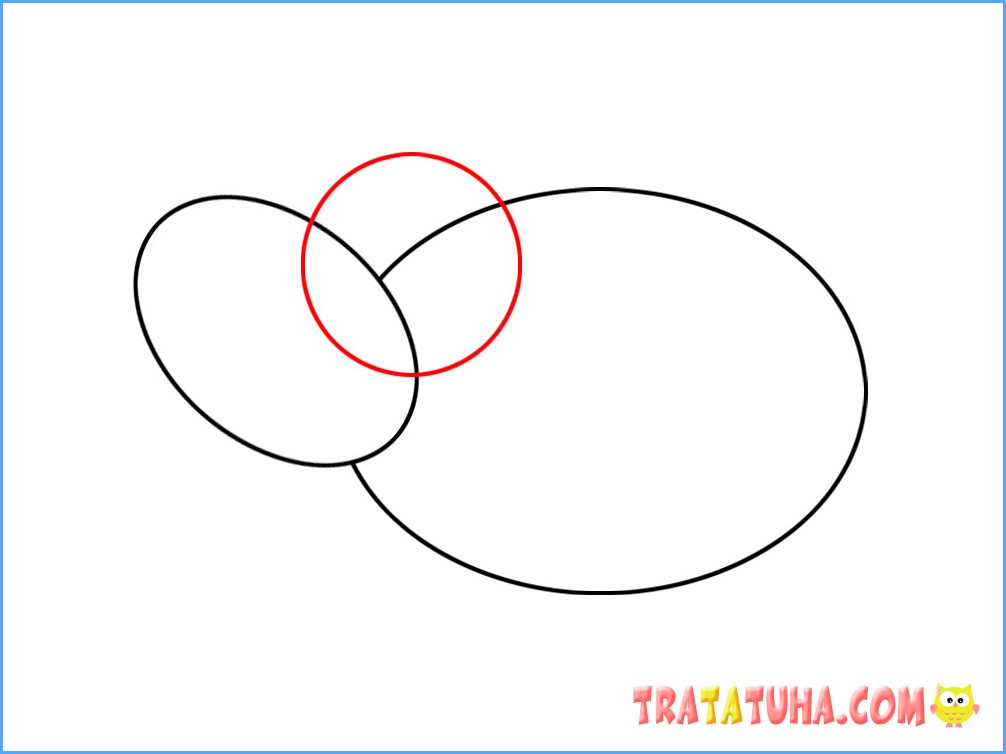
Let’s use the eraser again to clear the head of unnecessary lines. And we finish drawing the ears and eyes.
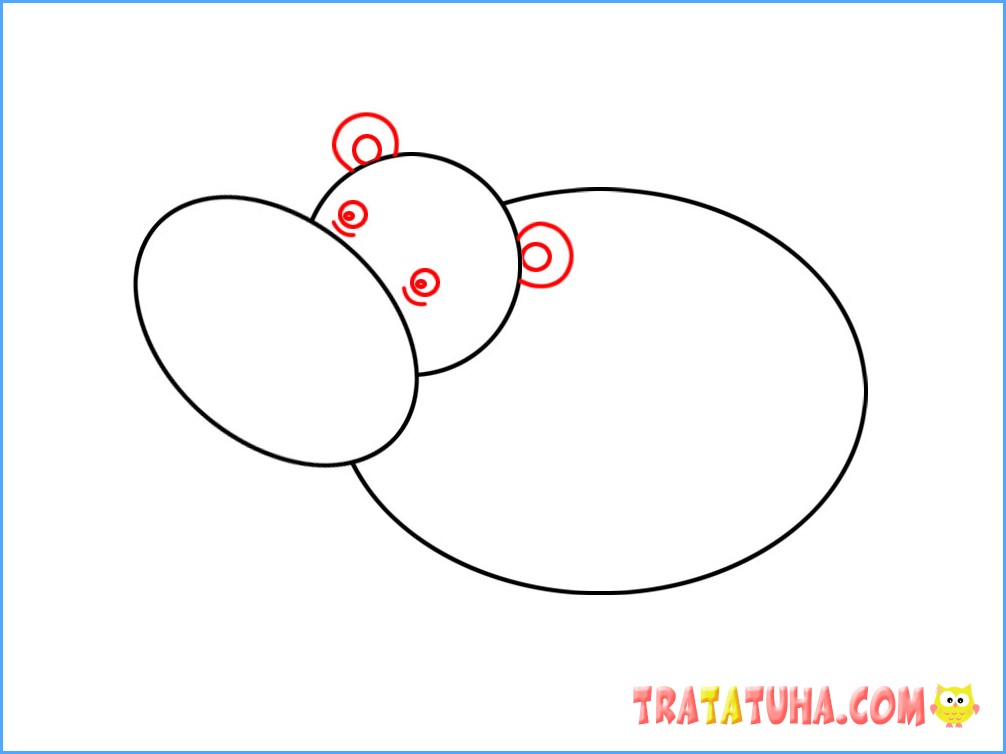
We complete the muzzle with nostrils and dots, an arc.
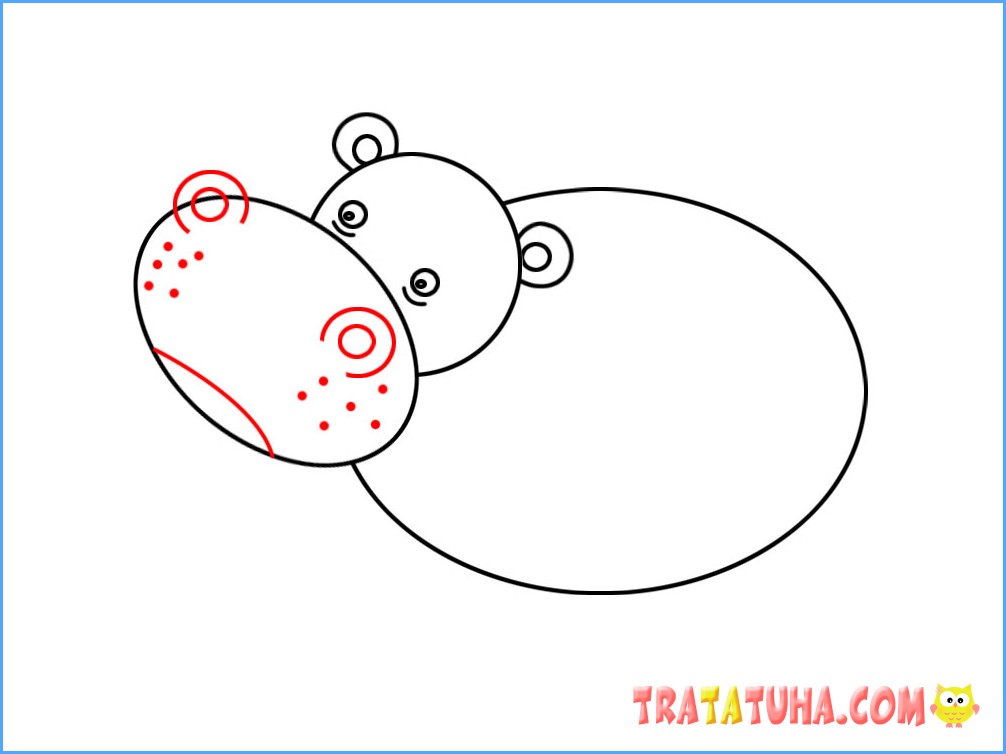
Let’s move on to the legs. This shows a complicated version of the legs, but kids can simply draw four rectangles. First, draw lines down from the torso to indicate the location of the legs.
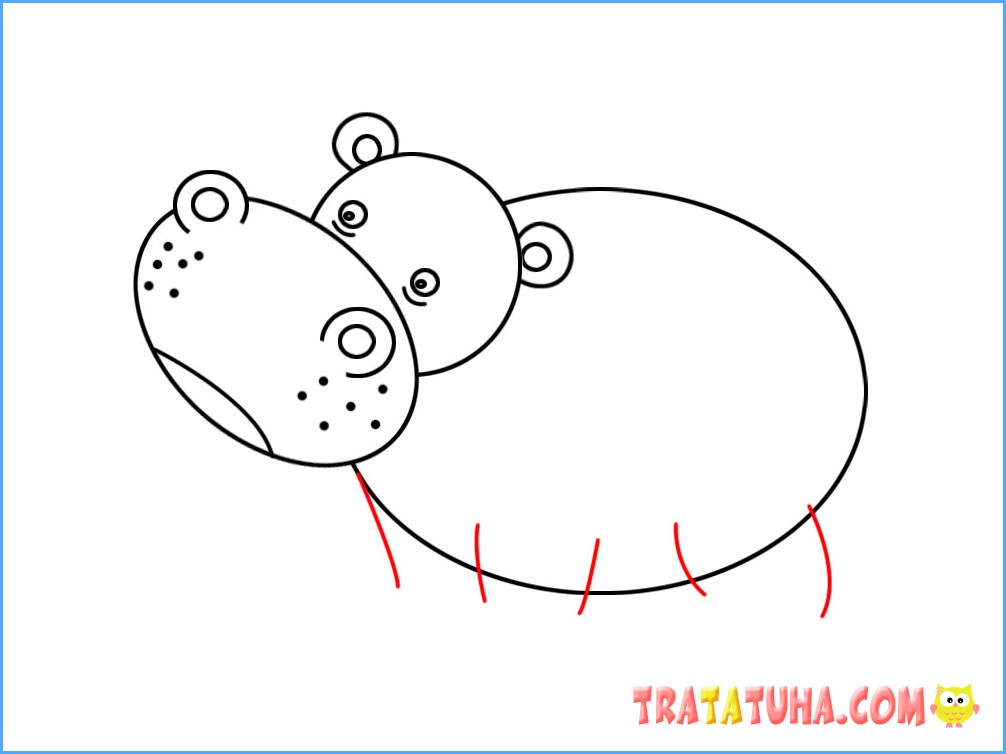
Then the limbs.
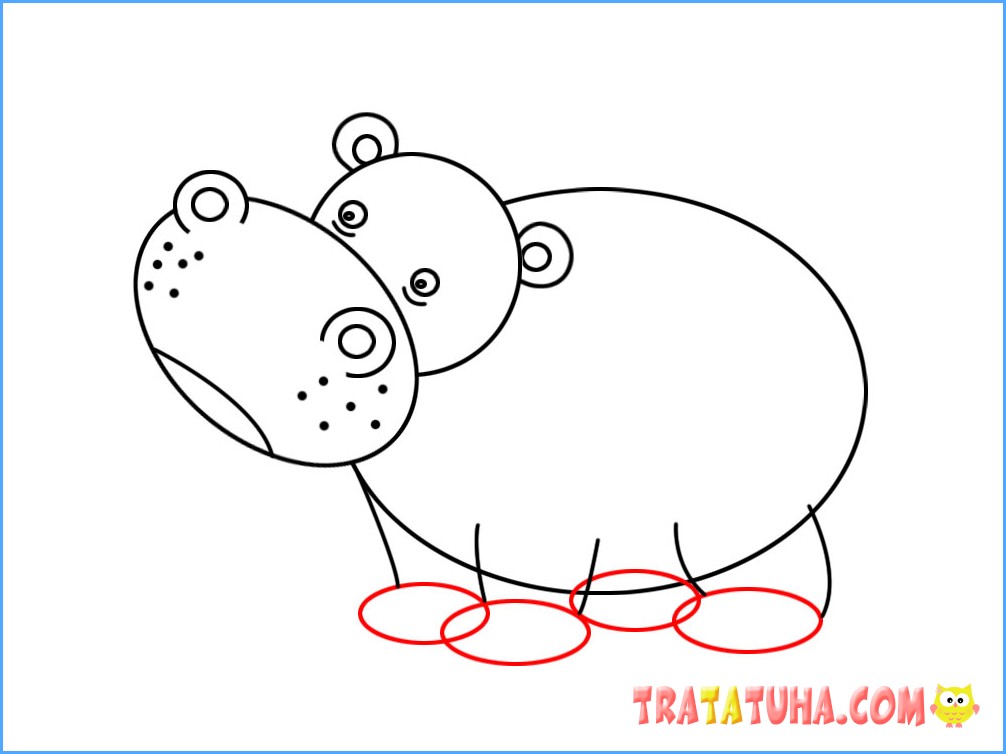
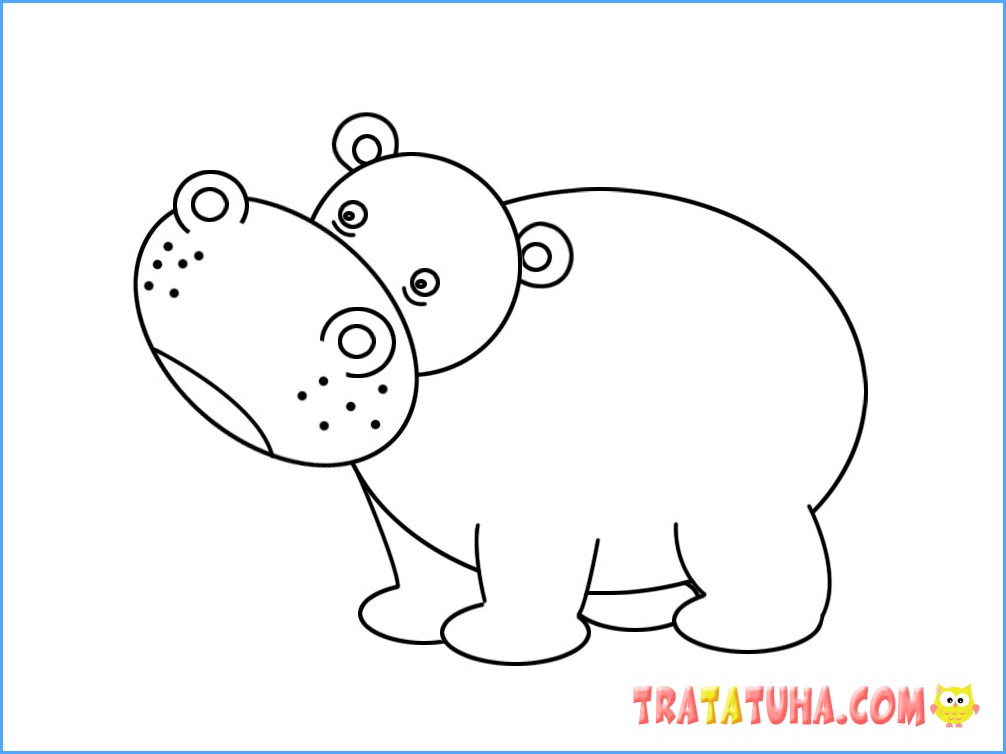
Then we erase all unnecessary lines.
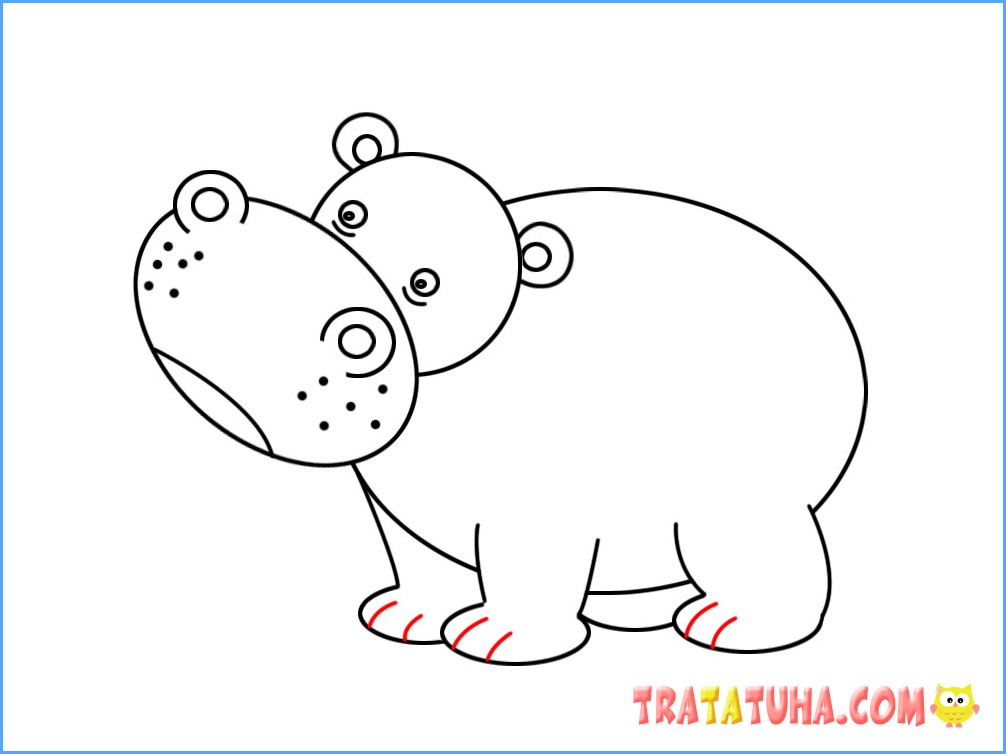
And we finish with a few touches in the leg area.
The drawing is ready.
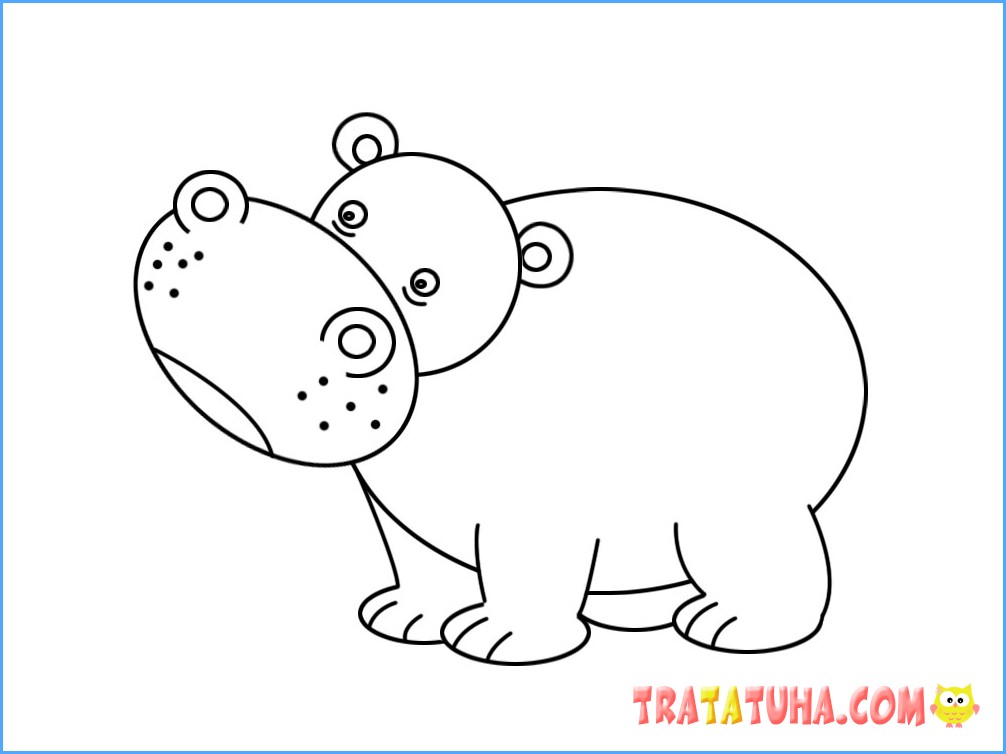
It can be painted in the desired colors.

Lessons on the topic — how to draw a hippopotamus — are completed.

Even more ideas for step-by-step lessons in the section — how to draw.

