Interested in how to make an origami shark? This easy way is for you! Step by step photo tutorial.
Materials:
- A piece of colored paper of a square shape;
- Some white paper for teeth;
- Eyes;
- Scissors, black marker.
How to Make an Origami Shark — Step by Step
Prepare the paper in the shape of a square. Sizes can be any, at your own discretion. As, however, and color.

Fold the square into a triangle to define the crease in the middle.

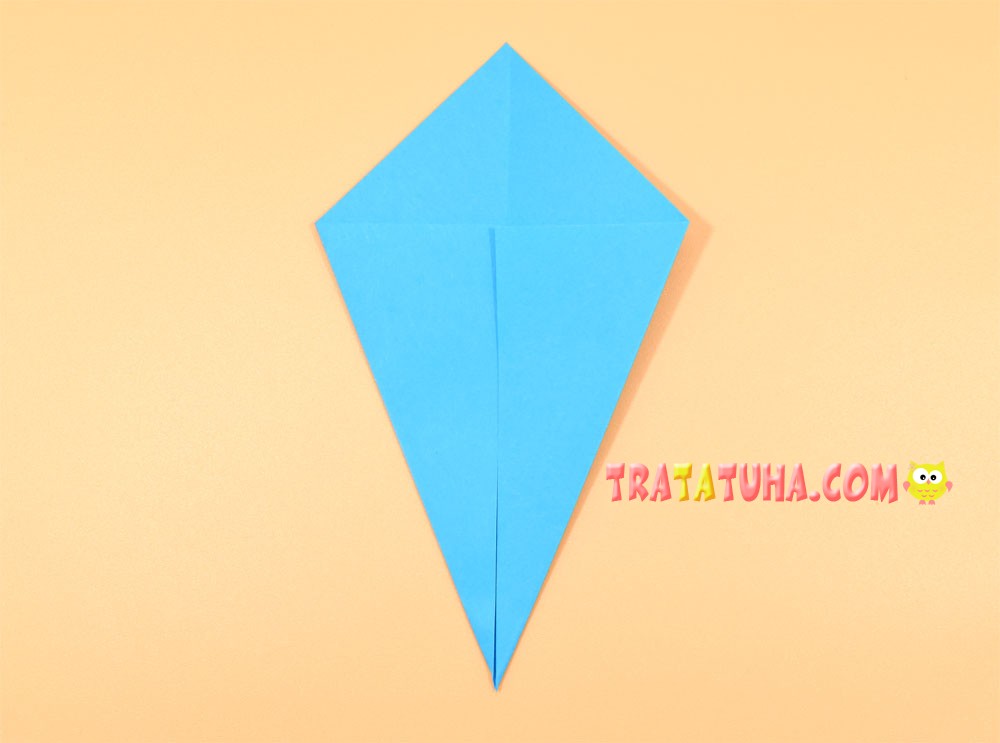
Bend the right side to the fold.
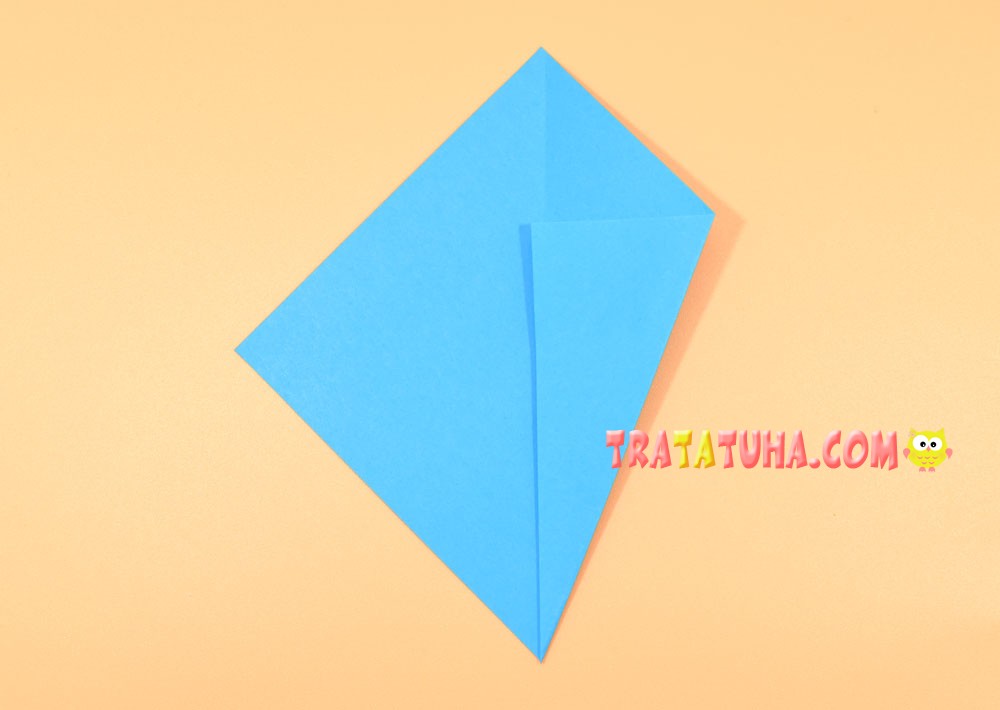
Then left.
Point the top corner down and bend as shown in the photo.

Open and cut the paper in the fold area from the corner to the outside.

Bend the bottom corner up to the fold.

Open and cut from the bottom corner to the last fold line.


Point the bottom corner up and the side slit to the right.

Fold in half.

Place horizontally for more convenience.

Pull out the tail from the middle, set it vertically and press.

Bend one part of the tail back.

Pull out the fin from the middle.

Glue your eyes. Cut out the grin.

Use a felt-tip pen to draw zigzag lines to represent the impressive shark teeth.
Everything, the origami is ready.
Now you know how to make an origami shark. Create with children with pleasure!
Related Post: