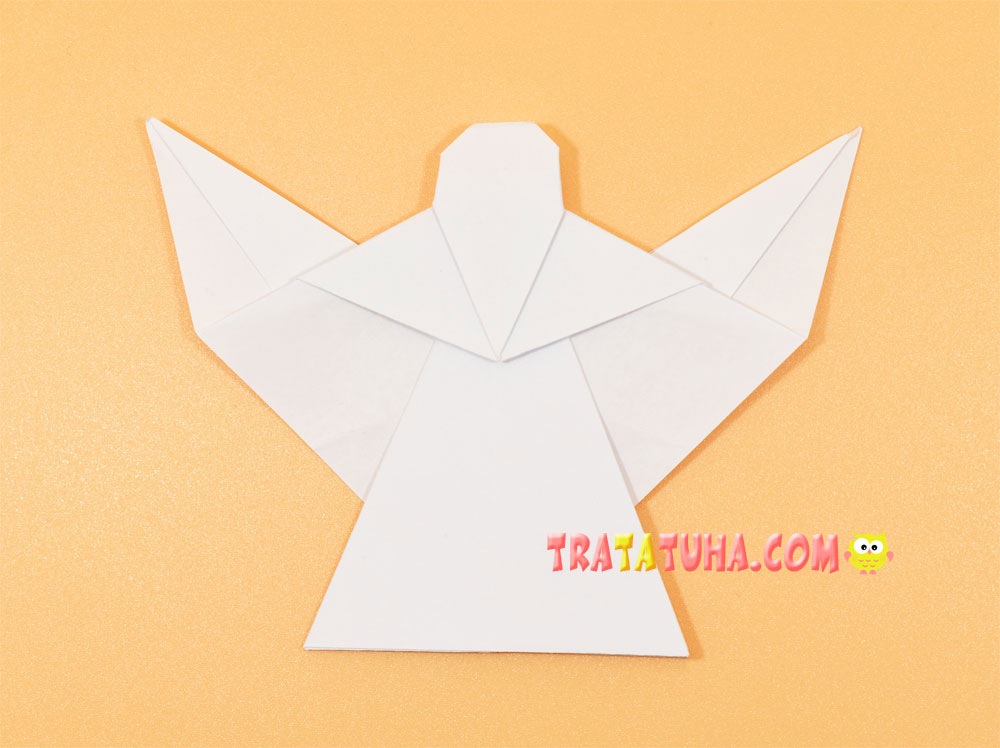
Simple origami angel with step by step instructions. Consists of two parts, each of which is absolutely not difficult to put together.
Materials:
- White paper;
- Glue stick.
Origami Angel Step by Step
Prepare two identical square pieces of paper. In this work, paper squares measuring 12:12 cm.

Adding the 1st Part of the Angel
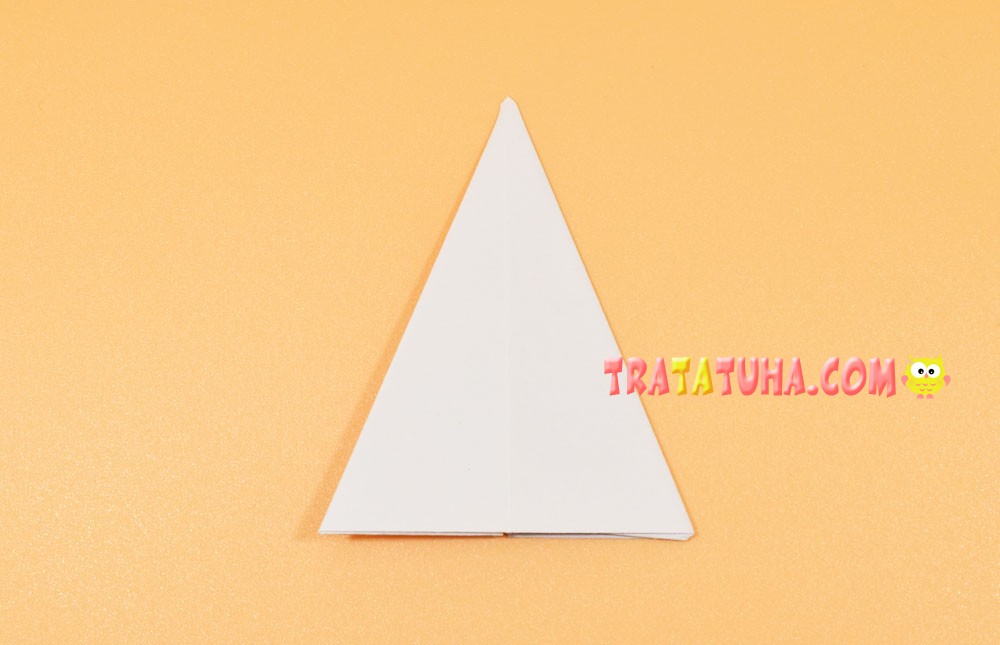
To do this, take a square sheet of paper.

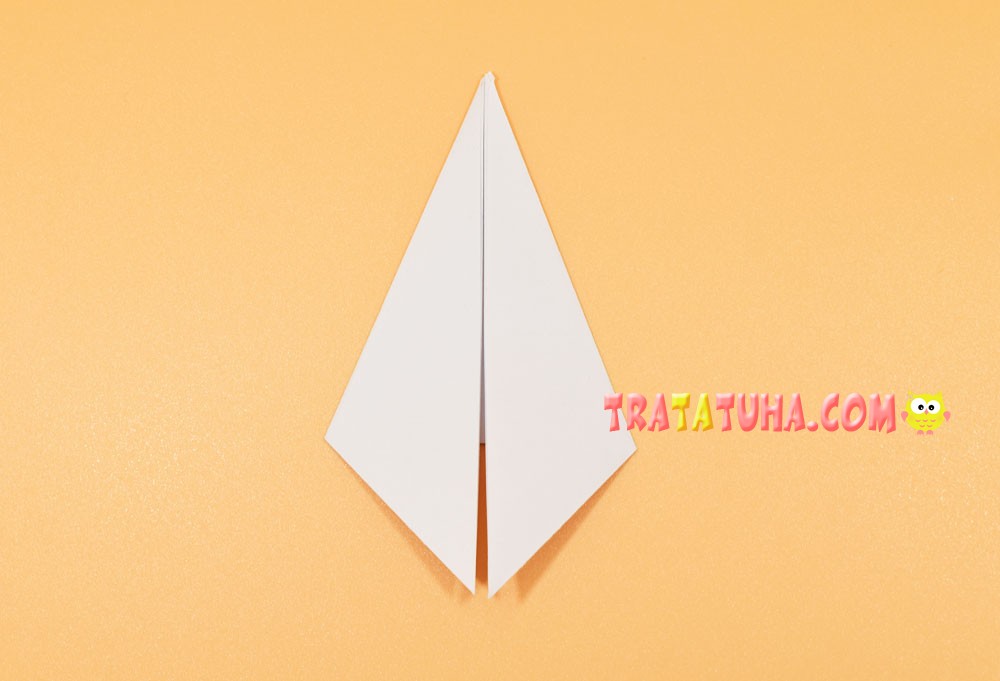
Fold it into a triangle, open it and fold it into a triangle again, connecting the other two corners.

The intersecting folds are ready.

Return the square to the shape of a triangle.

Bend the bottom corner to the top side, directing it to the left side. Please note that you do not need to completely press the fold, the main thing for us is to outline the fold from the left corner to the middle.

Open this piece of paper.
And now bend the corner to the top side and to the right. Press the fold also only to the middle.

Open the paper. As you can see, we have outlined the folds we need for further work. Two folds branch off from the middle and one in the center. In the photo they are marked with a dotted line.
Redirect the fold in the center outward, and press the side folds, lifting the entire triangular part up.

For convenience, point the protruding corner to the left.

And then bend to the right, setting it in the center.

Slightly open the same corner and set its central fold in the middle, as if flattening the corner completely.

Flip over to the other side.

Now we need to define some landmarks on the right and left sides of the triangle.
To do this, bend the lower corner up, and at the same time point the right side to the left. Do not press the fold, we are just marking the area we need here. You can mark it with a pencil or press the paper a little.

Open this part and fold it again, but now pointing the left part to the right. Press down on the very edge.

Open the paper, the guidelines we need are ready. They are marked with stars in the photo.

Bend, starting from the middle, the right side of the triangle, setting the side in the area of the asterisk.

Then left.

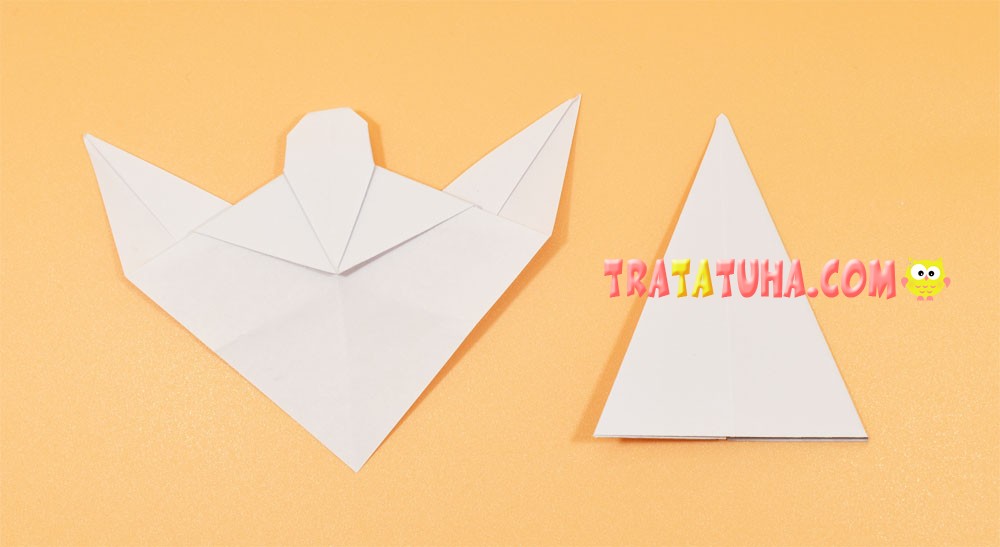
Making small folds at the top, lift the wings up. Please note that the fold should start from the outer corners.
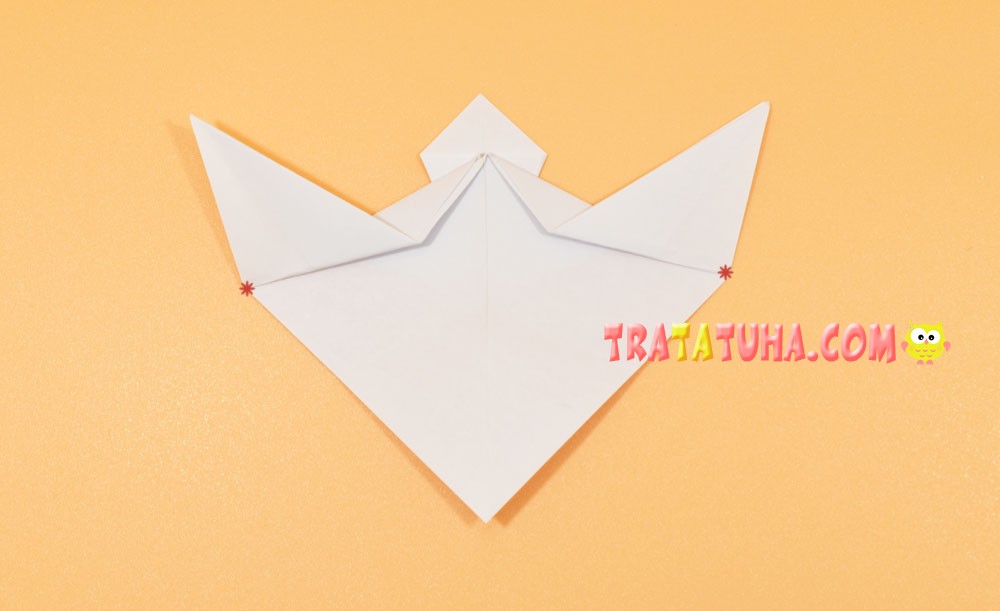
Turn over to the other side and in the head area round all three corners — the top and the sides. The first part of the work has been completed.

Origami Angel — Part 2
It’s even faster and easier here.
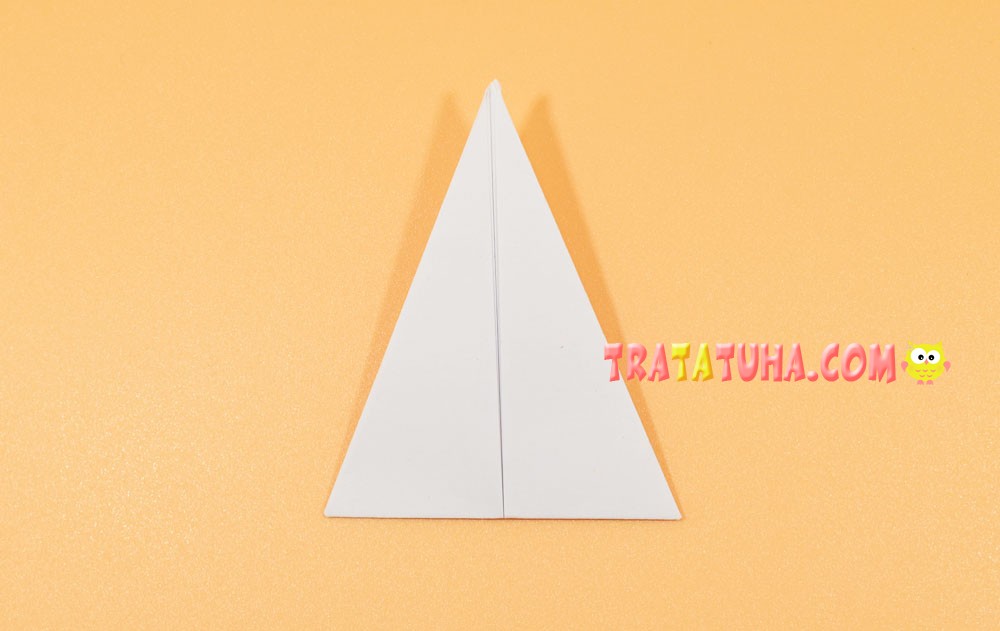
At the initial stage, exactly the same as in the first part. We need to make intersecting folds:
- Take the second piece of paper in the shape of a square;
- Fold it into a triangle;
- Open and fold again, but now the other two corners;
- The folds are ready.
Leave it as a triangle.
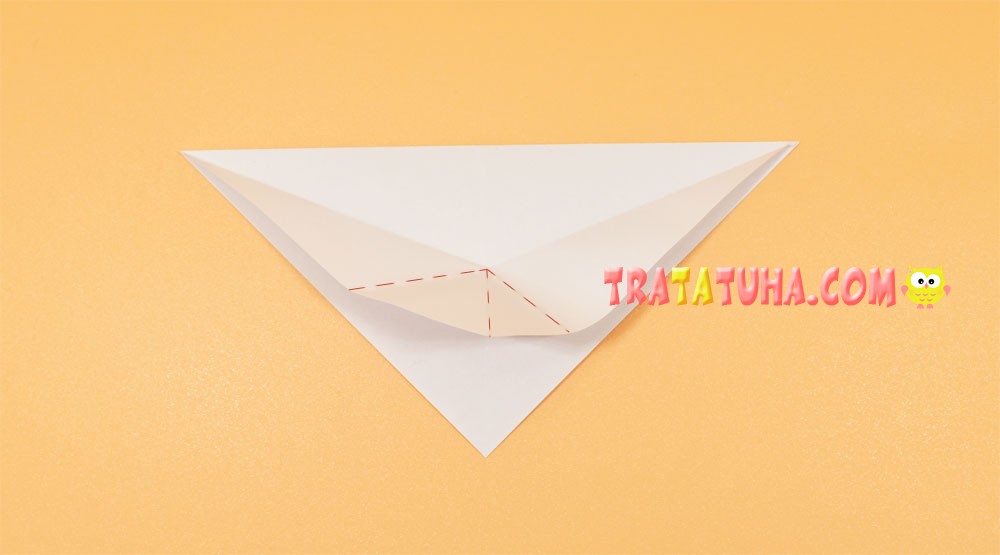
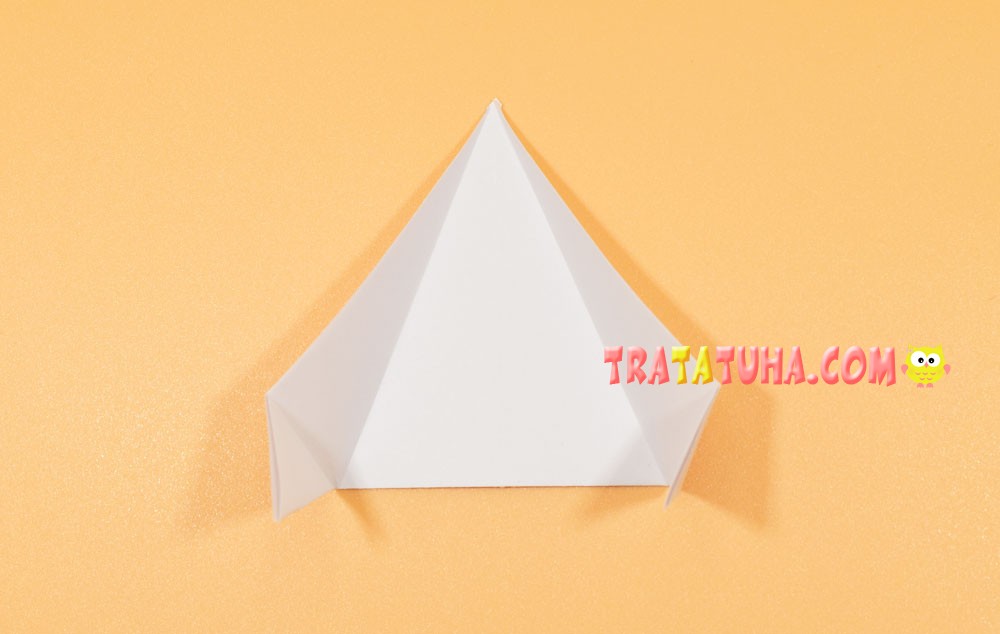
Lower the right corner down, aligning the side to the center.

Point down and left corner.
Fold back the bottom corners, aligning with the bottom edge.
Bend the bottom corners, and at the same time the sides.
Open the right side, and point the fold in the center inward.


Close the right side.

Similarly, redirect inward and the left corner.

Flip over to the other side, the second part of the work is also completed.
Both parts are ready, it’s time to put them together.
Point the triangle inward as shown in the photo. For reliability, pre-apply glue and secure both parts.
Everything, the origami angel is ready.
Related Post: