An easy craft for kids – an paper elephant. The trunk is an ordinary cylinder, plus some simple details – trunk, ears, tusks, eyes.
Materials for crafts:
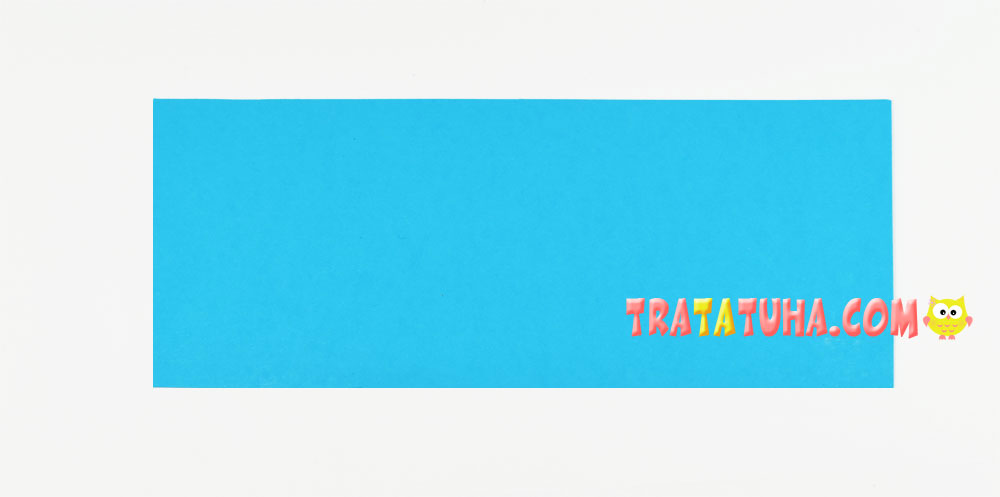
- Blue cardboard;
- White cardboard or paper;
- Paper or wiggle eyes;
- Black felt-tip pen, scissors, ruler, glue.
Paper elephant step by step
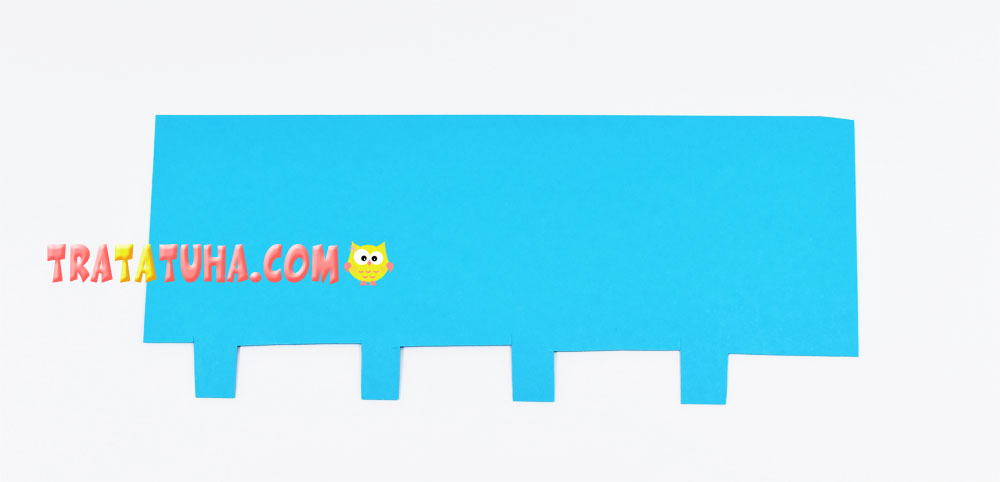
The animal’s body is just a paper roll. You will need a long strip of paper. At the bottom of the strip, mark the location of the legs.
You can use the example in the photo or do it in your way, it also depends the age of the child.
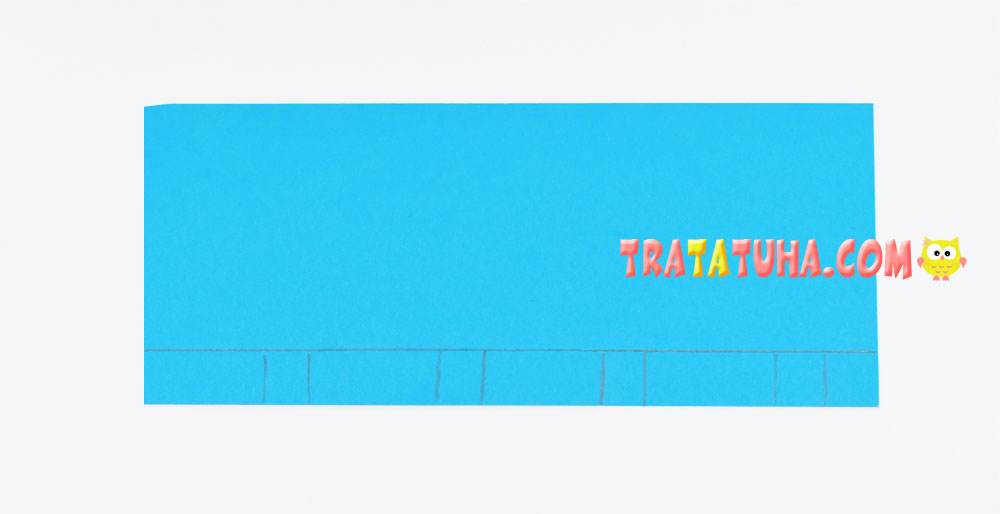
For example, you can twirl the roll and make leg slots from below. That’s easier easier to cut the legs separately and glue them.
The strip with legs is ready.
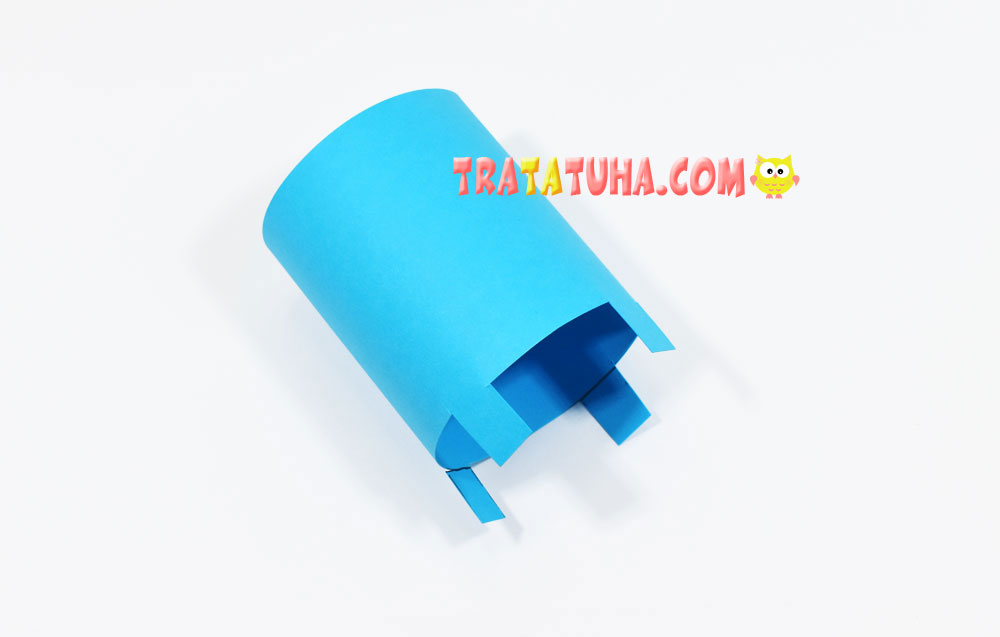
Twirl it into a cylinder or roll it into a roll.
Prepare the remaining components of the elephant:
- A thin paper strip for the elephant’s tail.
- A strip with different widths on the sides for the trunk
- Two oval ears;
- White tusks.

Glue the eyes to the body, add the trunk in the middle, after twisting the tip with a pencil.
You also need to add slightly twisted ears on the sides, and tusks below.
Glue the tail on the back.
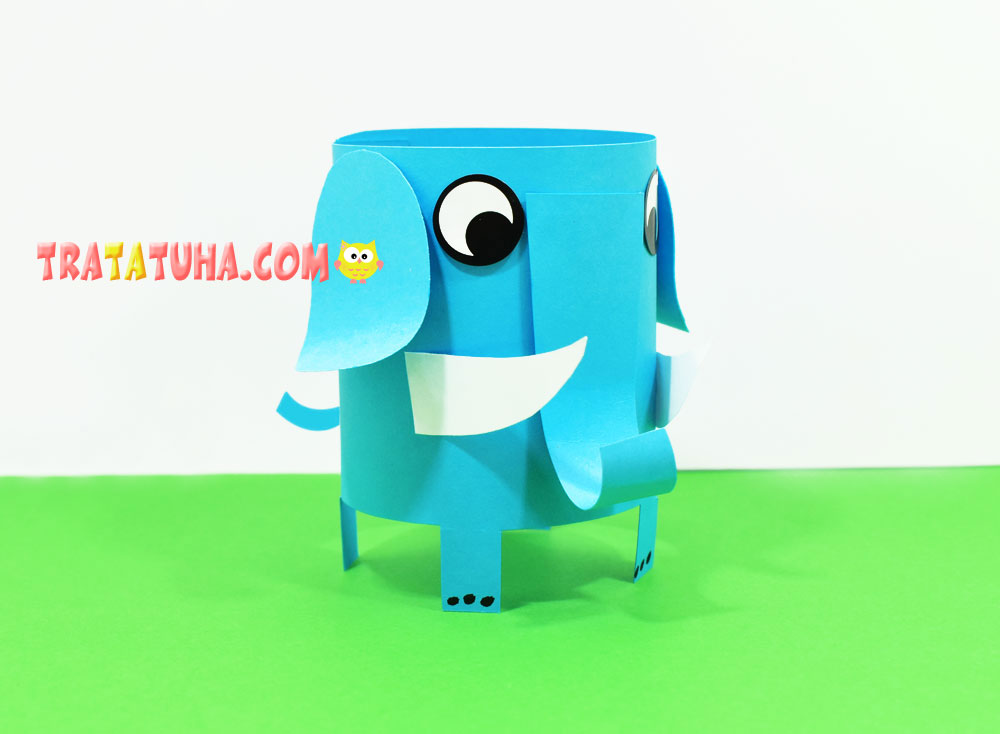
That’s it, the paper elephant is ready.
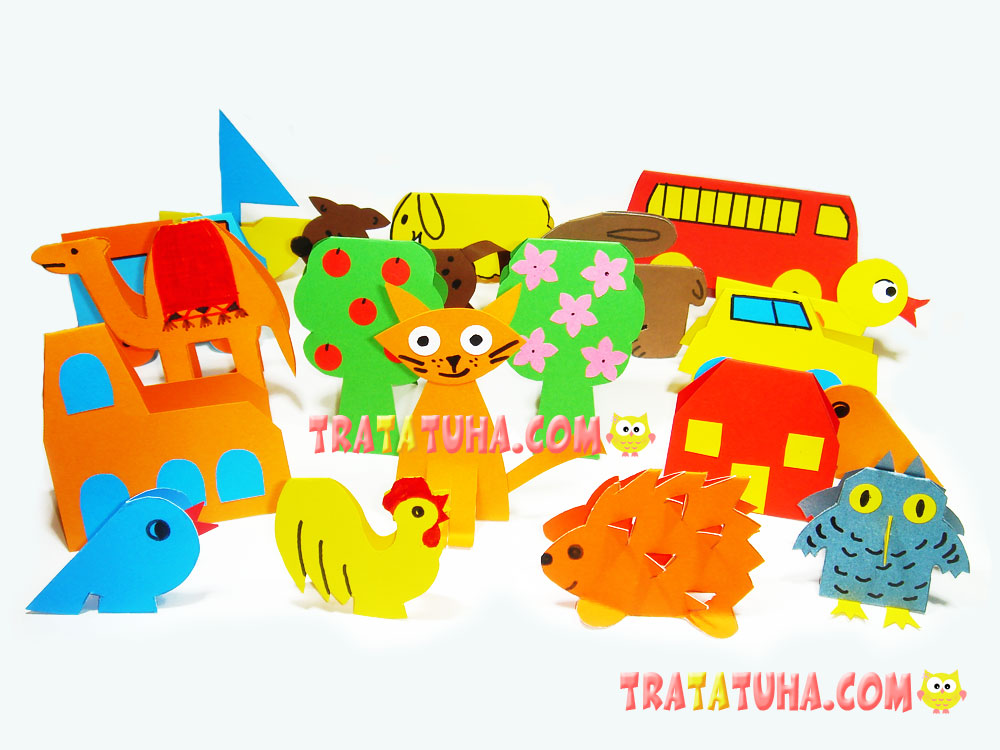
Many other ideas in the collection of Paper Animals Craft.
Crafts for Kids – learn how to make craft at home! Super cute crafts for all age groups!
Related Post: