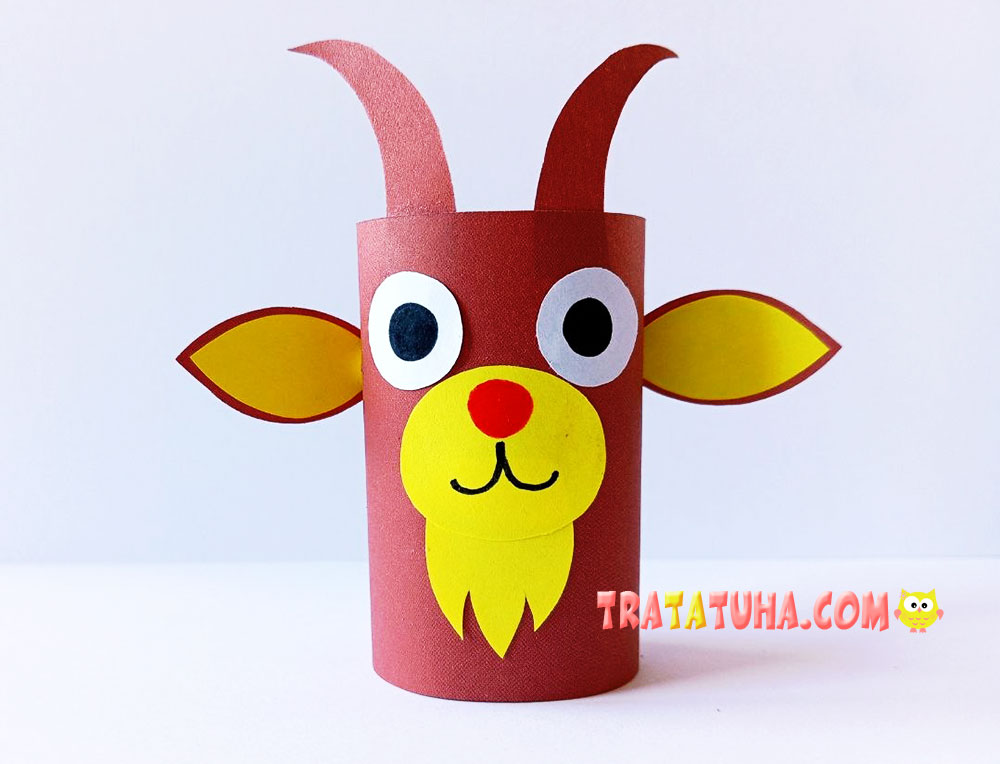
How to make a goat out of paper? This simple and fun step-by-step tutorial will show you how to create an adorable paper goat craft for kids, with easy-to-follow instructions and photos.
A cute paper goat (or a little billy goat, whichever you prefer!) that you can make to celebrate the New Year 2027. After all, according to the Chinese zodiac, 2027 is the Year of the Goat! However, this craft is perfect for any time of year, as the little animal turns out adorable and funny.
Materials needed:
- Brown and yellow paper;
- Googly eyes (store-bought or handmade);
- Black and red markers;
- Scissors;
- Glue.
Paper Goat Craft: Step-by-Step Instructions
First, choose the colors for your goat. In our example, the goat is brown and yellow, but you can make it gray and white or choose any other color combination. Goats come in many different colors!
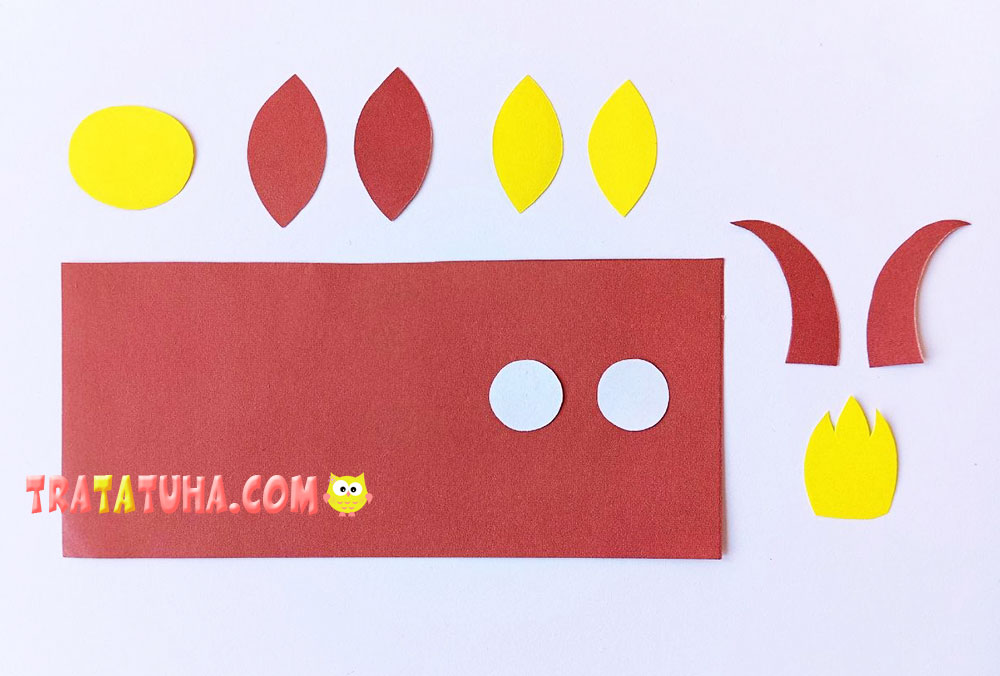
Next, cut out all the necessary pieces.
- From brown paper, cut out a long rectangle to make the base of the craft. Also, cut out two horns and two leaf-shaped ears.
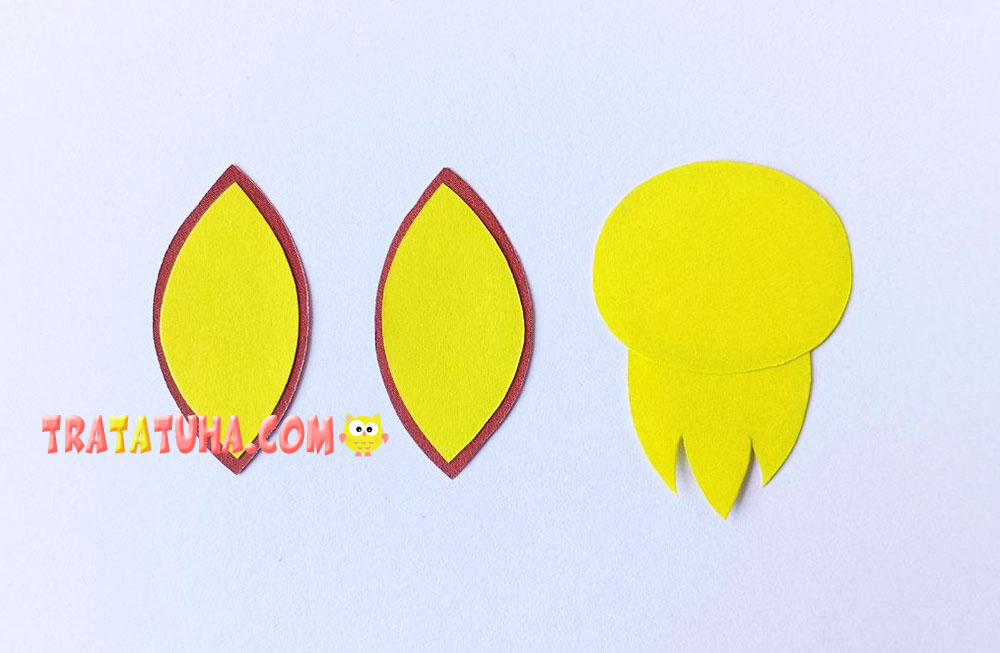
- From yellow paper, cut out a beard (shaped like a little flame), two ears (smaller than the brown ones), and an irregular oval.
- From white paper, cut out two circles for the eyes of your little horned jumper. Make them fairly large to give your goat a funnier look. If you prefer not to cut them out yourself, you can use ready-made googly eyes.
Next, glue some of the pieces together. Attach the yellow ears to the brown ones. Then, join the beard to the oval to create the goat’s face. Glue the beard to the wider end of the oval, not the narrower end.
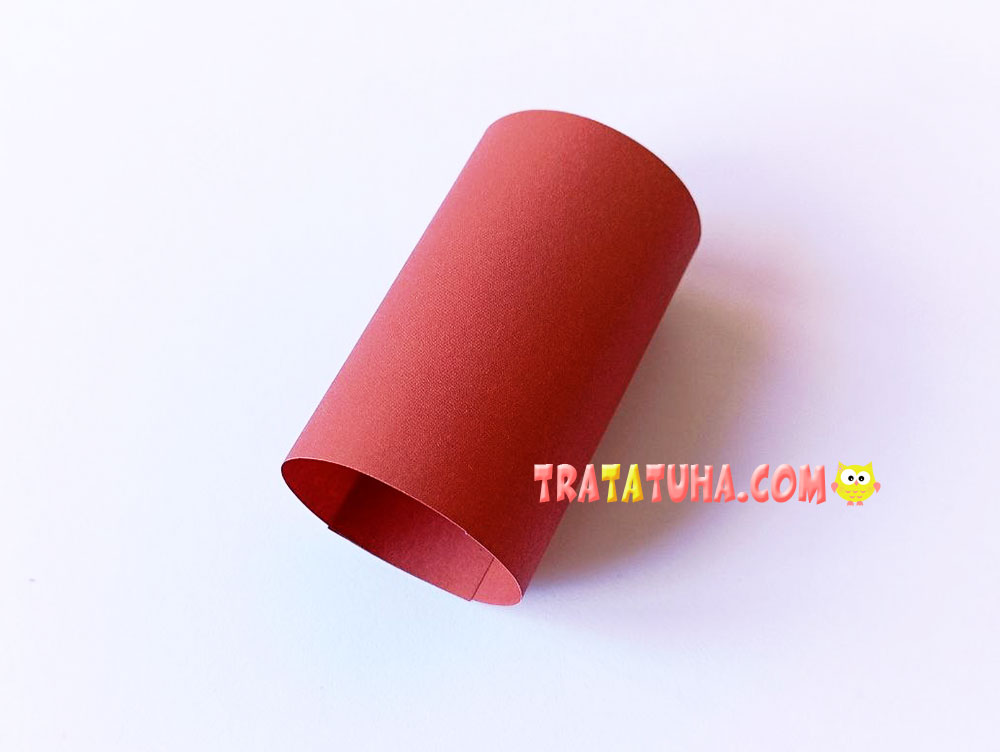
Then, roll the brown rectangle into a cylinder and glue the edges together so it stays in shape. You should now have a tall cylinder.
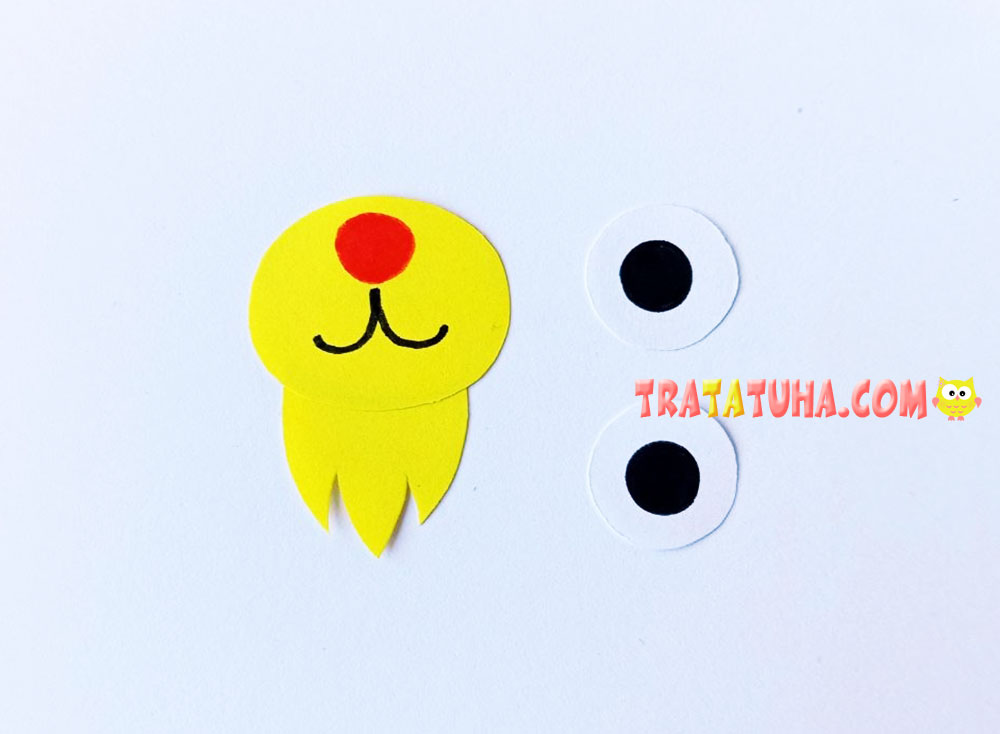
Next, draw a nose and a smile on the little animal’s face. Our goat has a red nose, but you can make it black instead.
If you cut the eyes out of paper, draw pupils on them. In our example, the pupils are round, but you can make them horizontal, just like real goat pupils. Add little highlights if you like (this is optional).
After that, glue the face and eyes onto the cylinder, which forms the base of your craft.
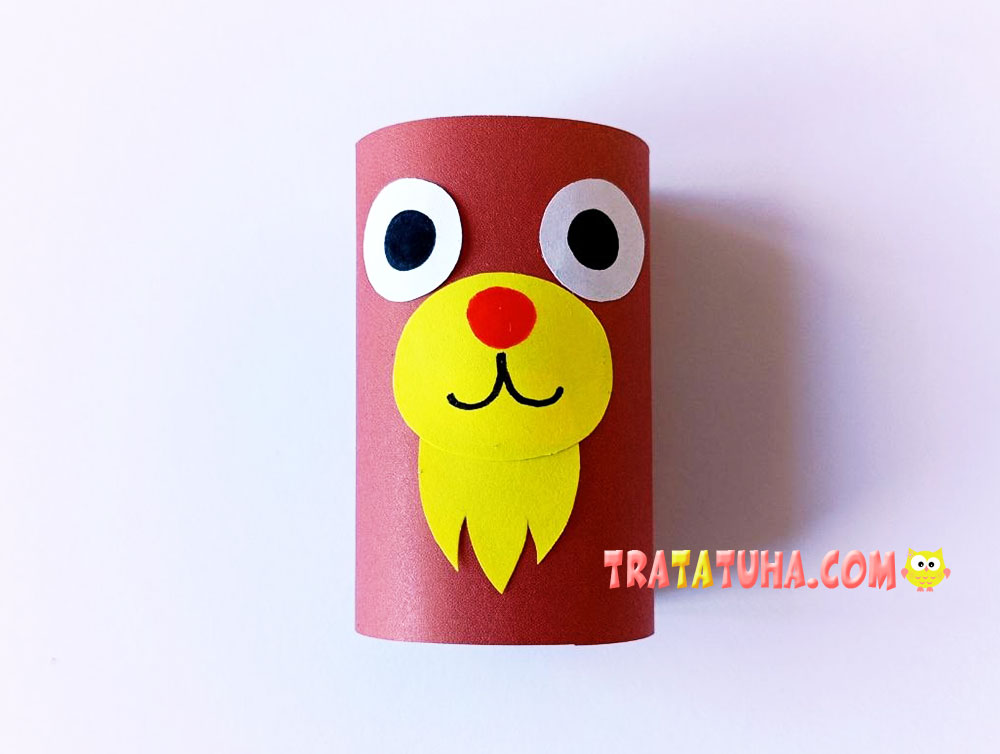
Now attach the remaining pieces: the horns and ears. Place the horns at the top and the ears on the sides. To attach the ears securely, fold back their corners and apply glue to the folded parts.
Your paper goat is ready! This adorable little jumper looks charming and is easy to recognize. Best of all, this is a simple paper animal craft that children can easily make.
Related Post: