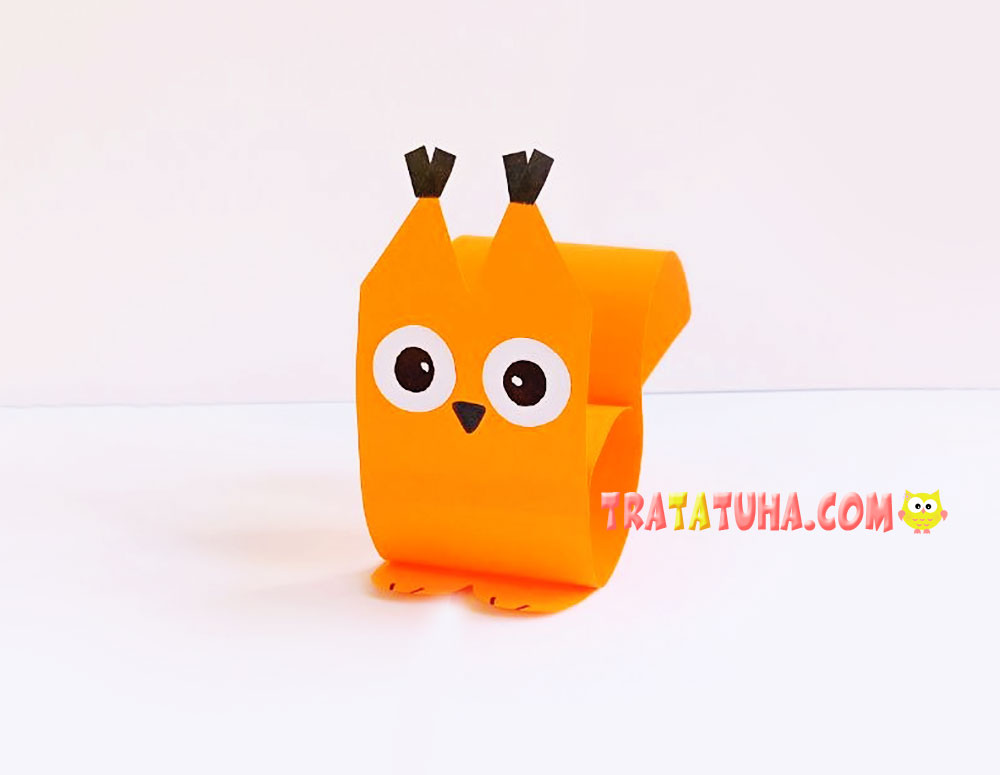
An adorable and vibrant colored paper squirrel. A lovely forest beauty you can create with your own hands, simple and quick to make.
Materials needed:
- Orange paper
- Black paper
- Black marker or felt-tip pen
- Scissors
- Glue
- Eyes (cut from paper or store-bought)
Colored Paper Squirrel Craft Step by Step
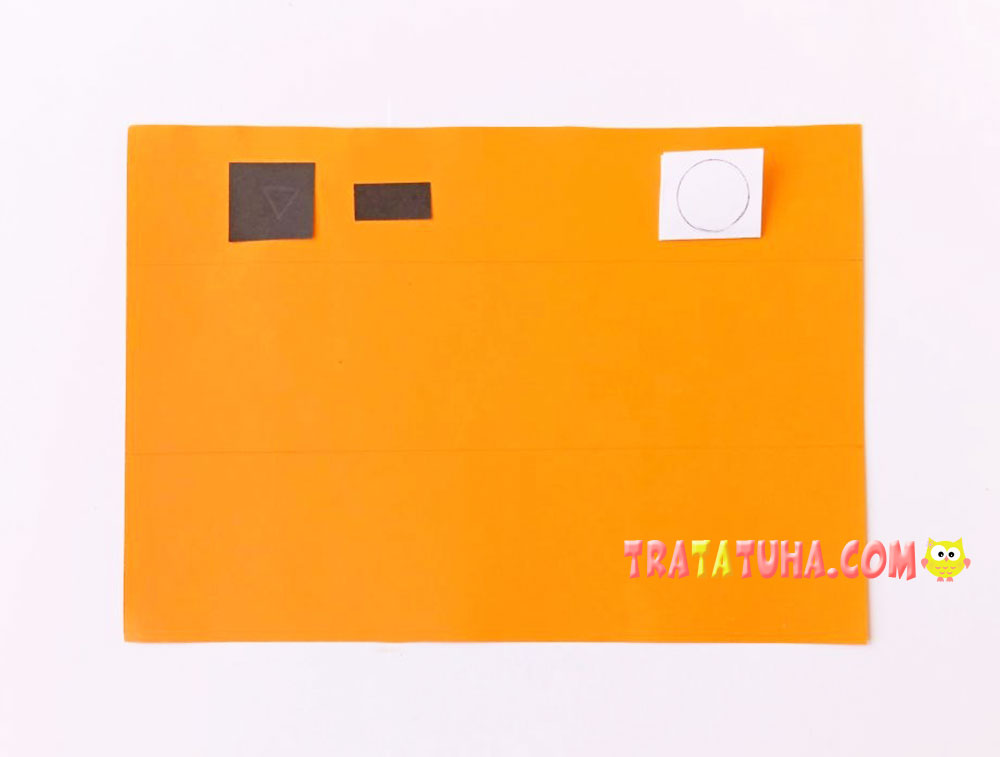
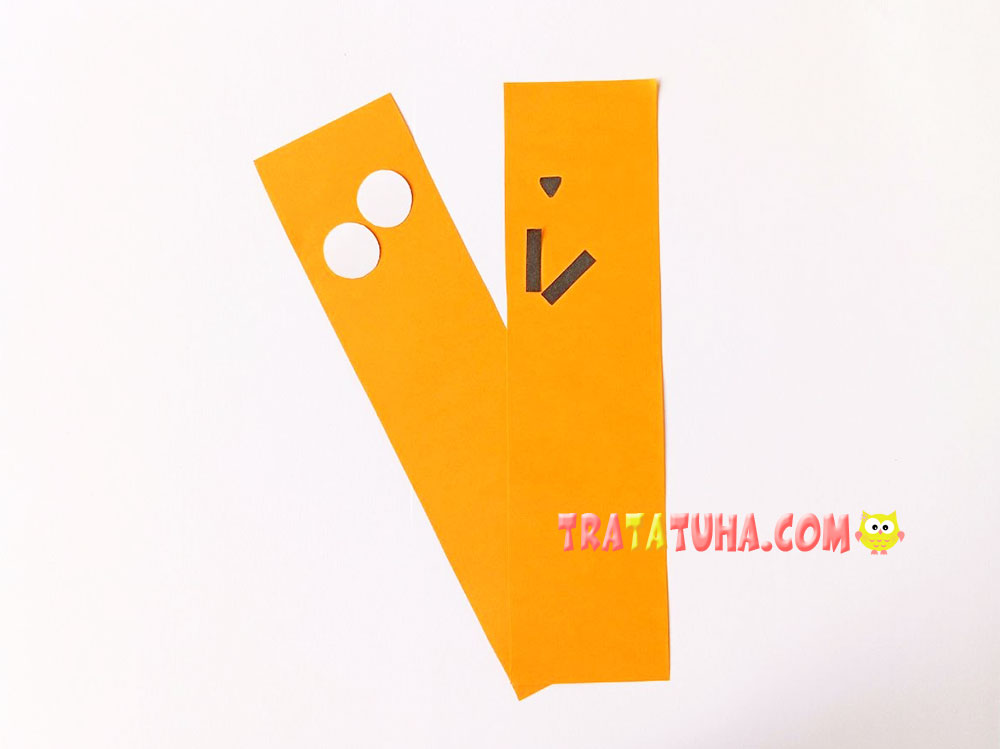
The base of the craft is two identical long strips of paper. Mark them on the orange sheet, and on the black paper draw a small nose and ear tassels. If you decide to make the eyes yourself instead of using ready-made ones, draw neat circles on white paper. You can give the eyes different expressions, for example slyly squinting or even angry.
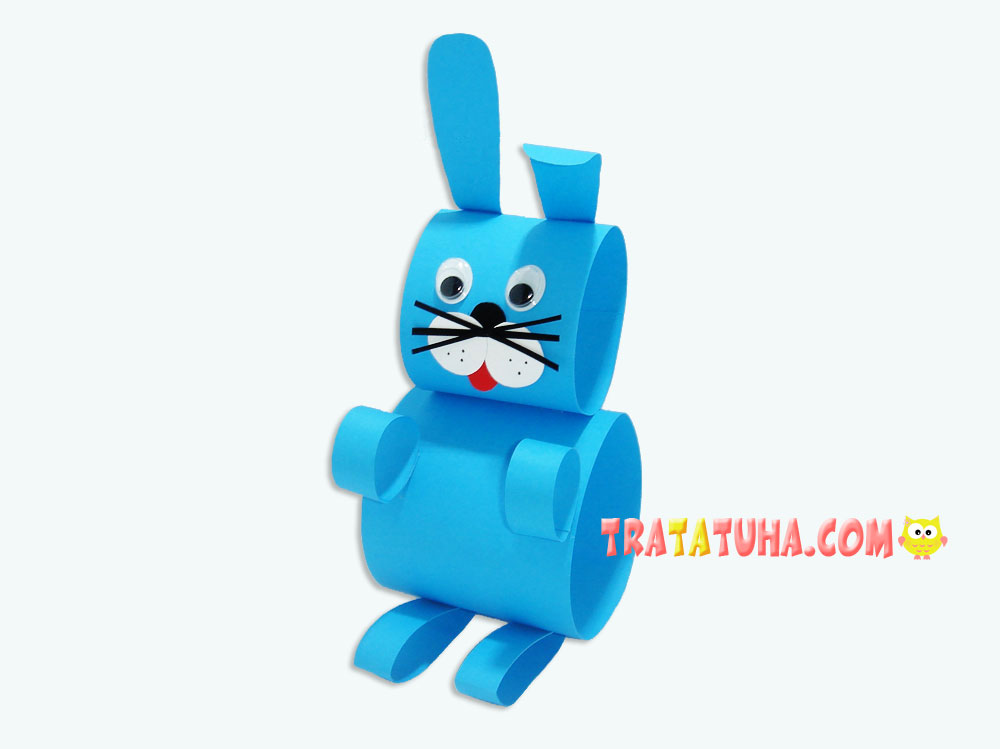
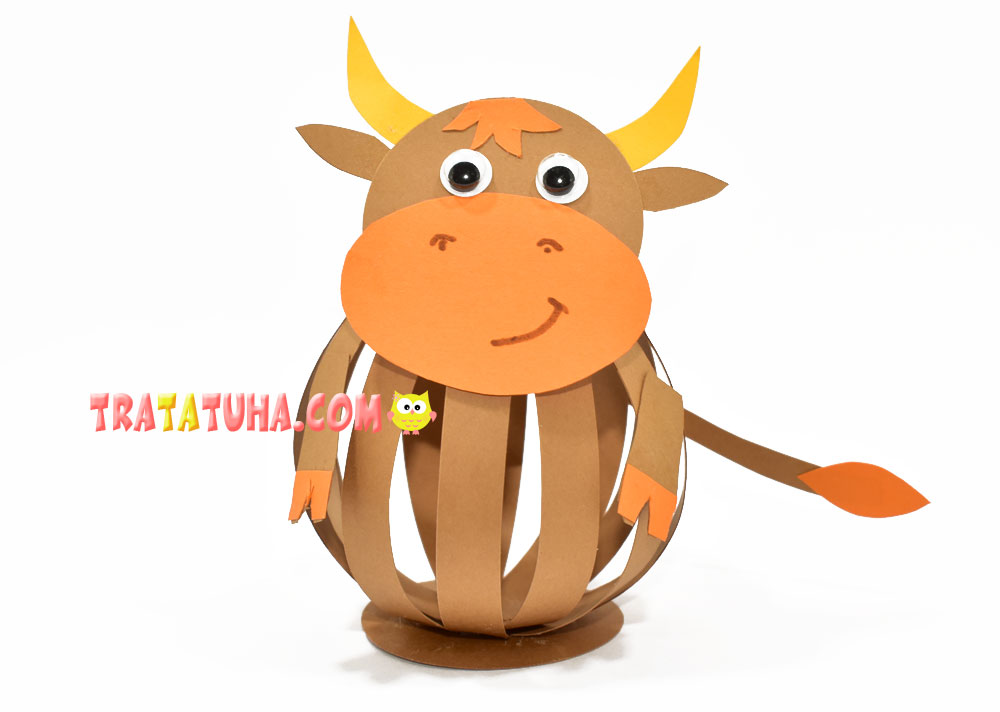
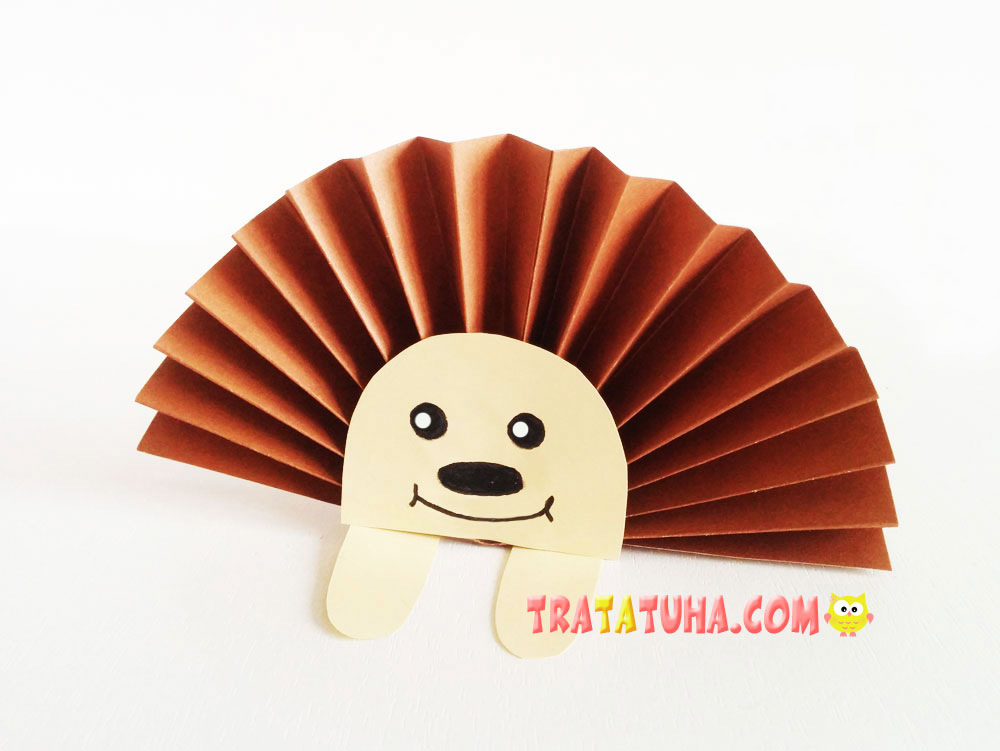
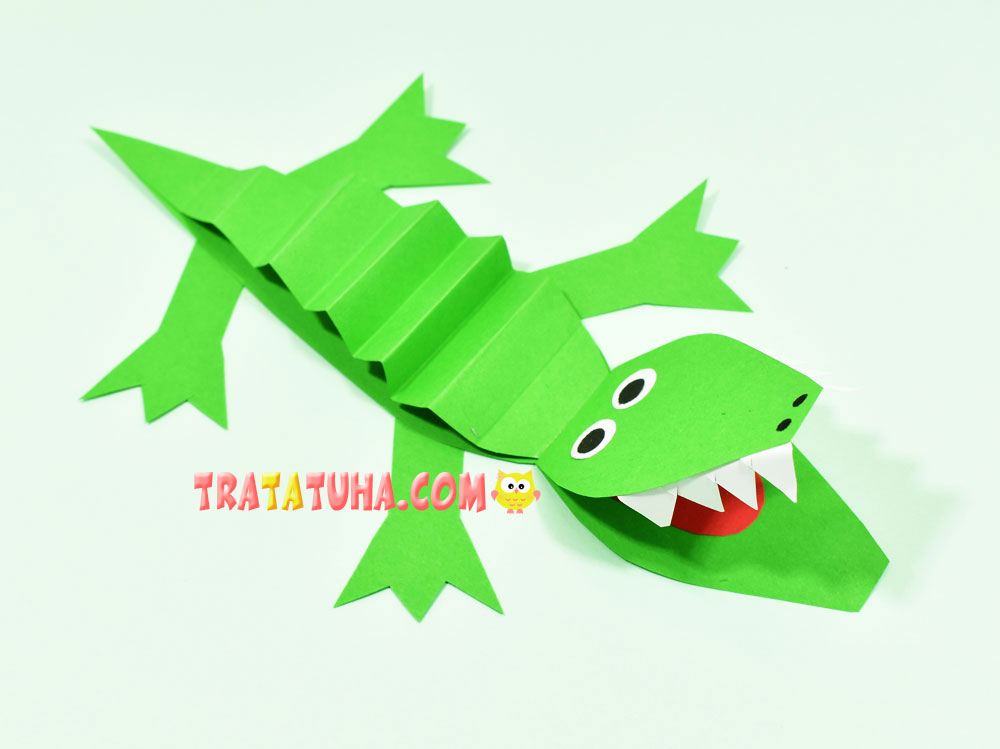
Here is another option for how a paper squirrel can look.
Cut out all the pieces. Fold the sheet in half to cut two identical parts at the same time. This will give the squirrel a neat and symmetrical appearance.
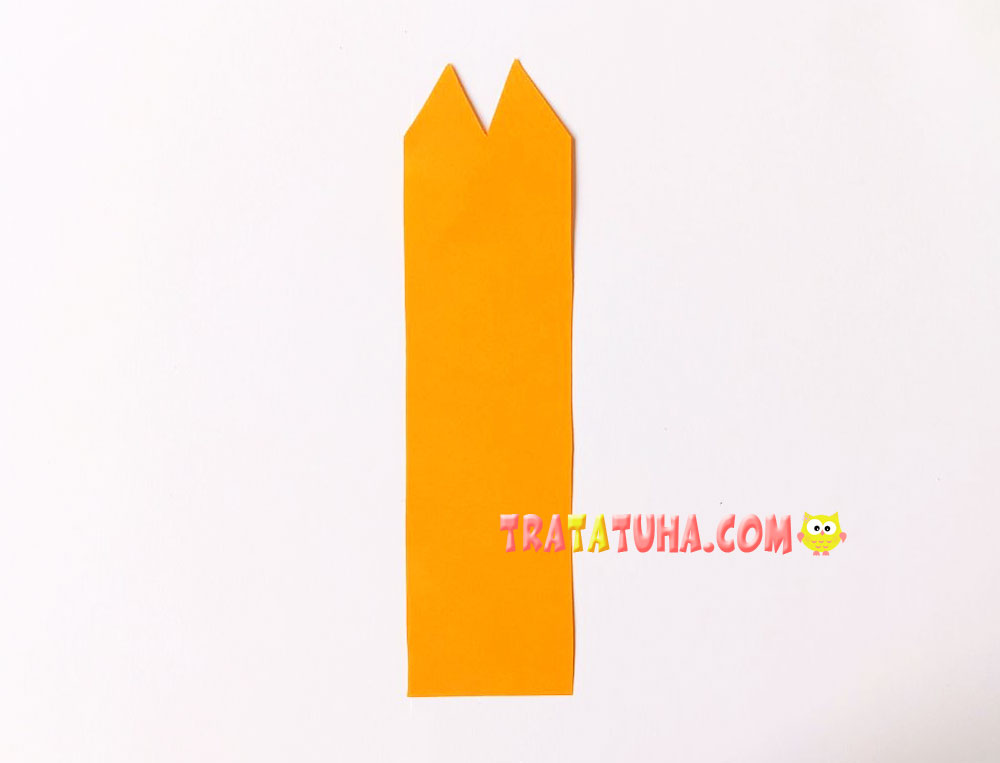
Take the first strip and trim the corners on one of its narrow sides. Then cut a triangle in the center of the same side — this will form the squirrel’s ears.
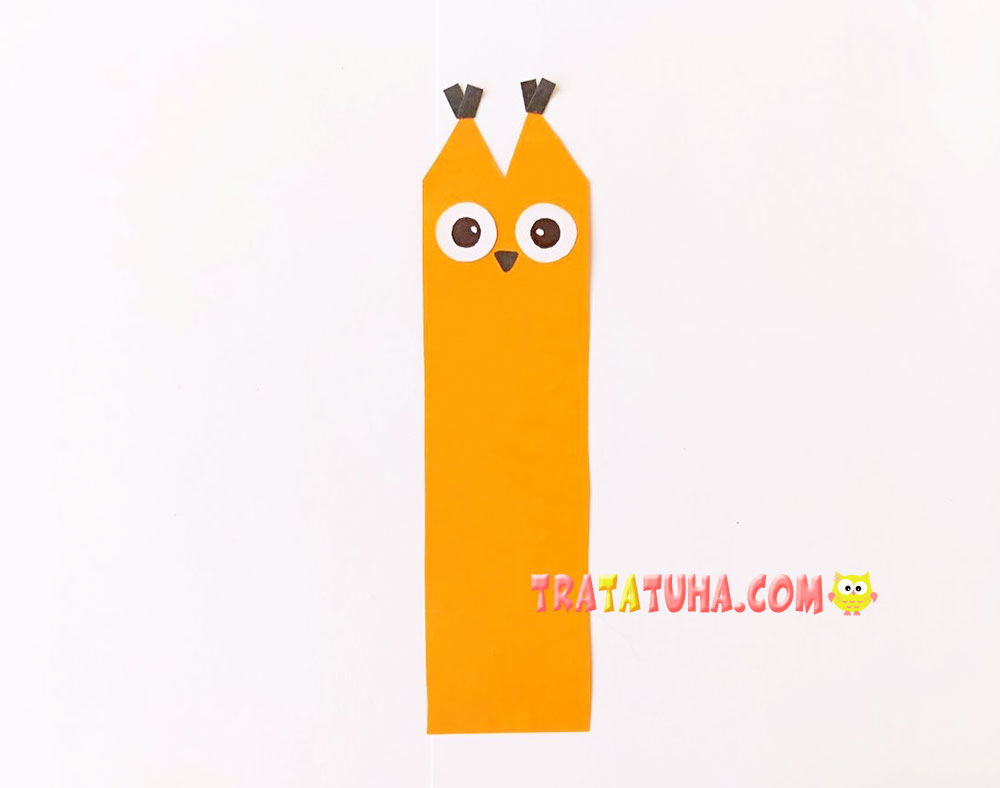
Assemble the face: glue on the eyes, nose, and tassels on the ears. You can place the eyes closer together or farther apart, experimenting with the squirrel’s expression. You can also make the pupils different sizes: larger or smaller, whichever you prefer.
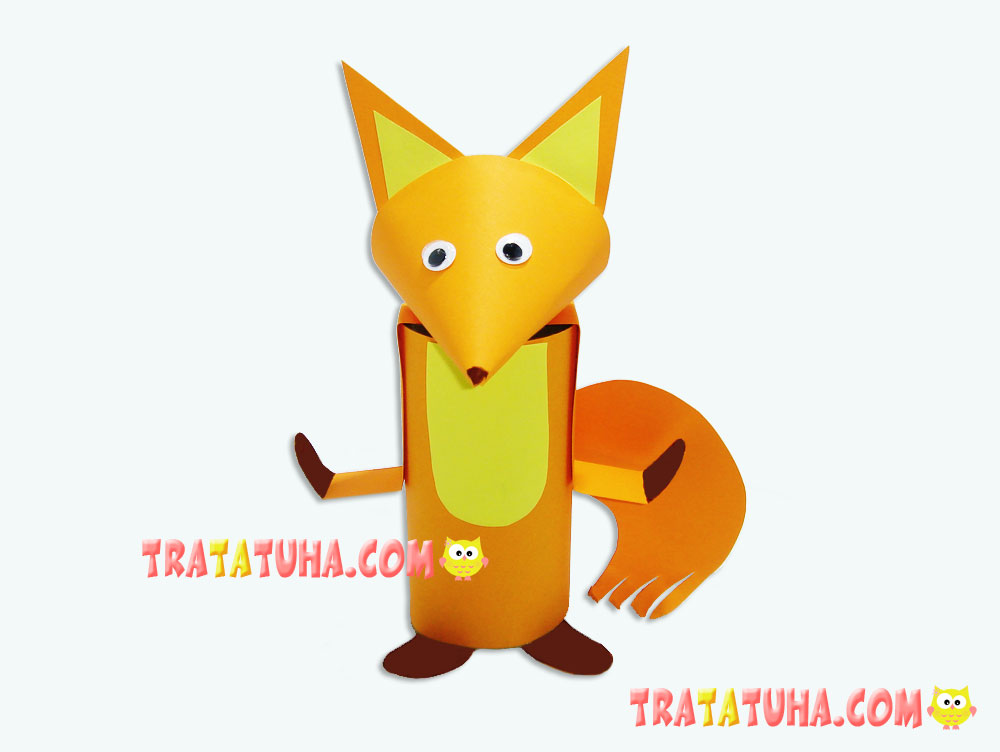
Many different animals can be made from cardboard tubes, including a cute squirrel made from a toilet paper roll.
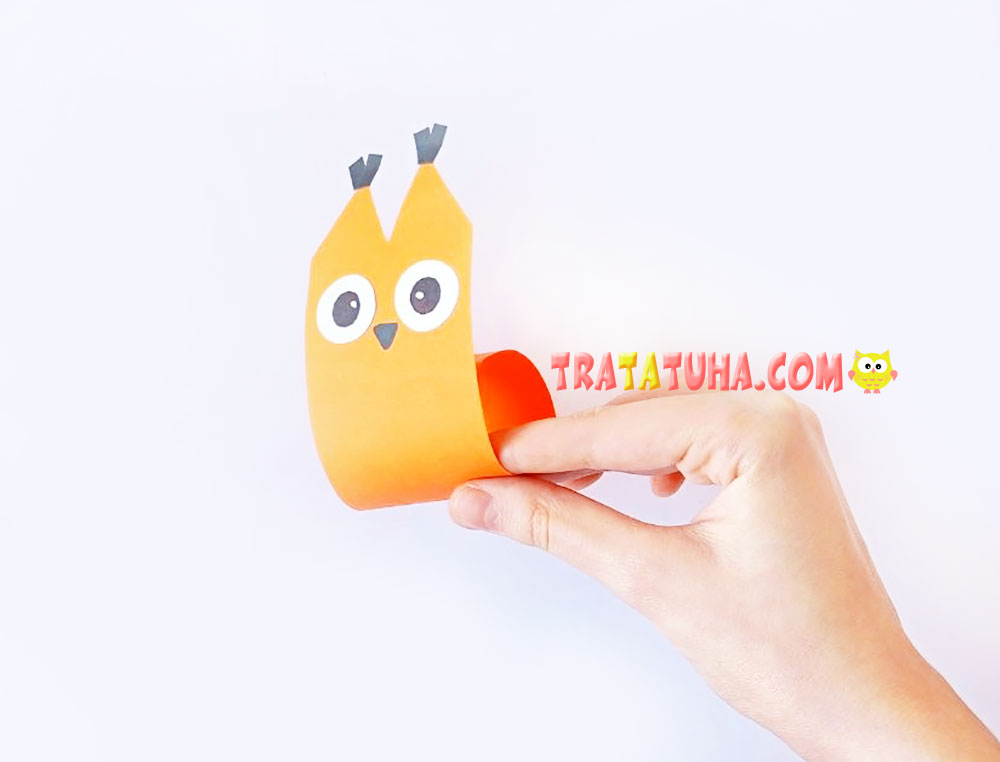
Apply glue to the lower part of the strip with the face. Carefully bend it and glue it into a smooth rounded shape. It should look like a cylinder with a protruding face.
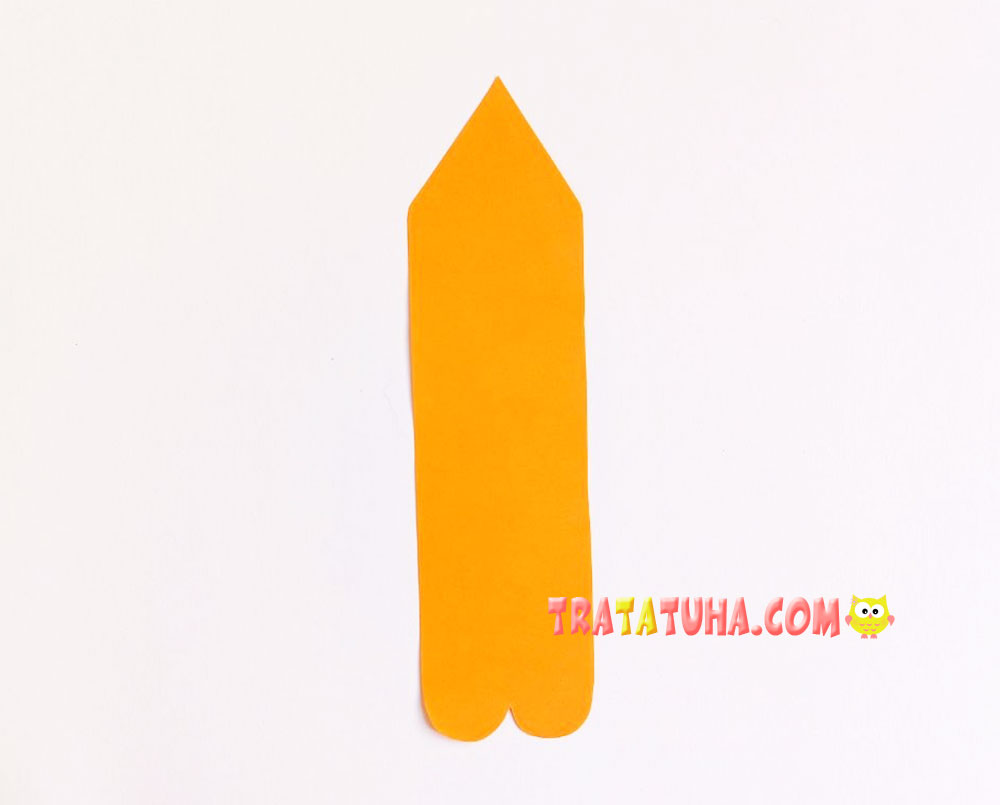
Take the second strip. Trim the upper corners so the top becomes pointed like a little roof. This will be the squirrel’s tail. At the bottom, cut a small semicircular notch, creating two rounded protrusions on the sides. These will be the squirrel’s paws.
Glue all the parts together. Attach the squirrel’s body to the second strip, right above the paws. Don’t forget to draw little toes on the paws with a few strokes.
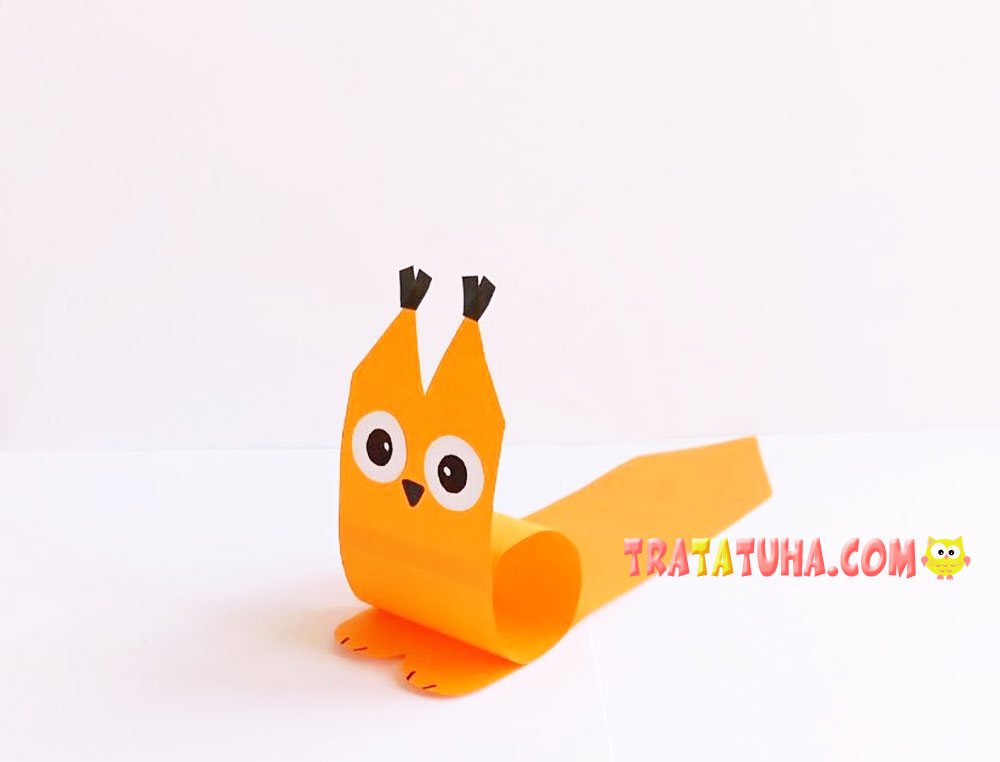
Bend the long protruding part of the strip to shape the tail and glue its base to the body. It is easier and more convenient to bend the tail using closed scissors, gently curling the paper.
To make the craft stand more steadily, you can glue a small piece of cardboard to the bottom part — it will serve as a support base.
This colored paper squirrel craft does not require much time or effort, but its bright and cheerful look will delight any child!
Many more step-by-step crafts can be found in the collection — paper animals.
Related Post: