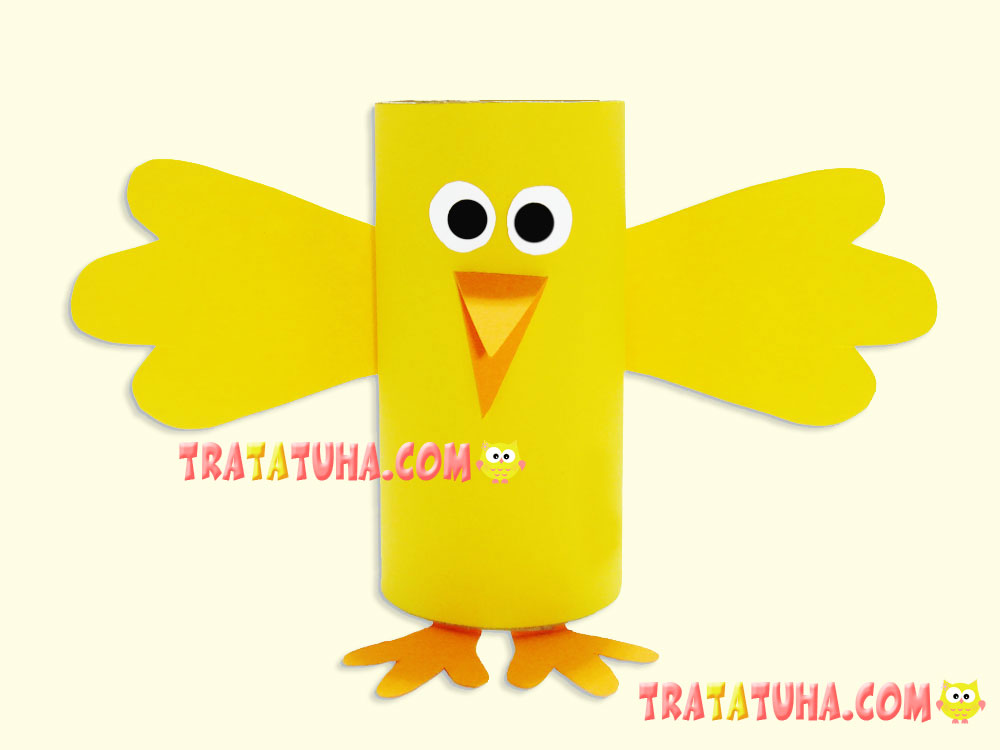
A simple yet fun accordion paper duck that will brighten any child’s free time.
Materials needed:
- Yellow paper (preferably double-sided so the craft looks neat from all sides);
- Scissors;
- Glue (glue stick or PVA);
- Black and orange felt-tip pens;
- Eyes (you can cut them out of paper or draw them).
Step-by-step Accordion Paper Duck
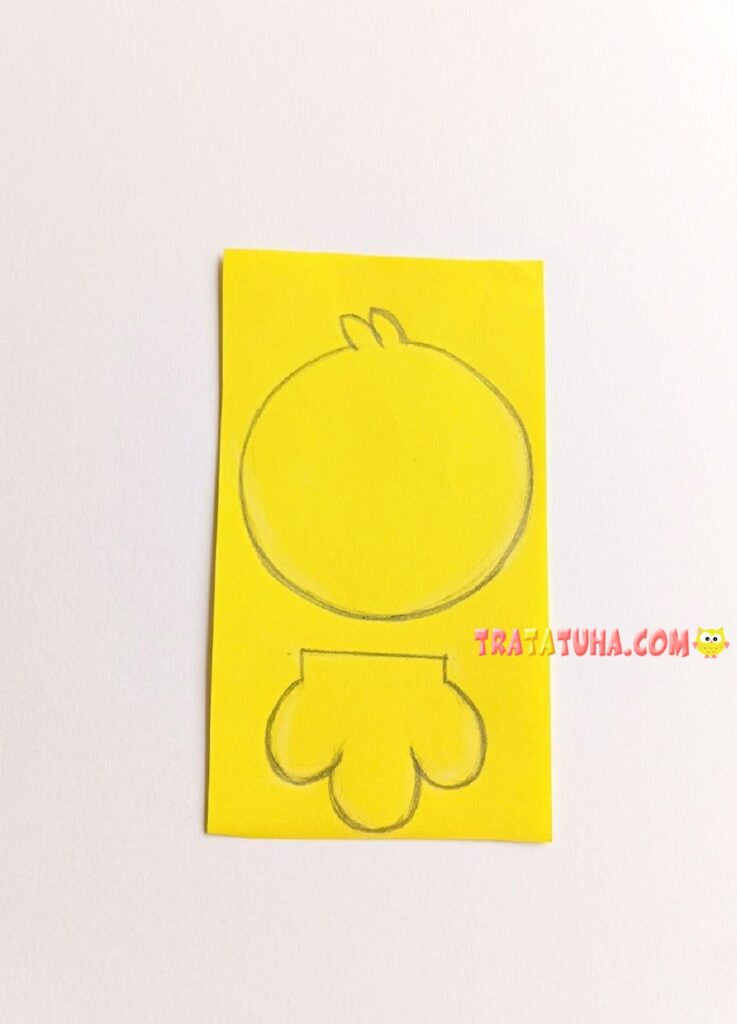
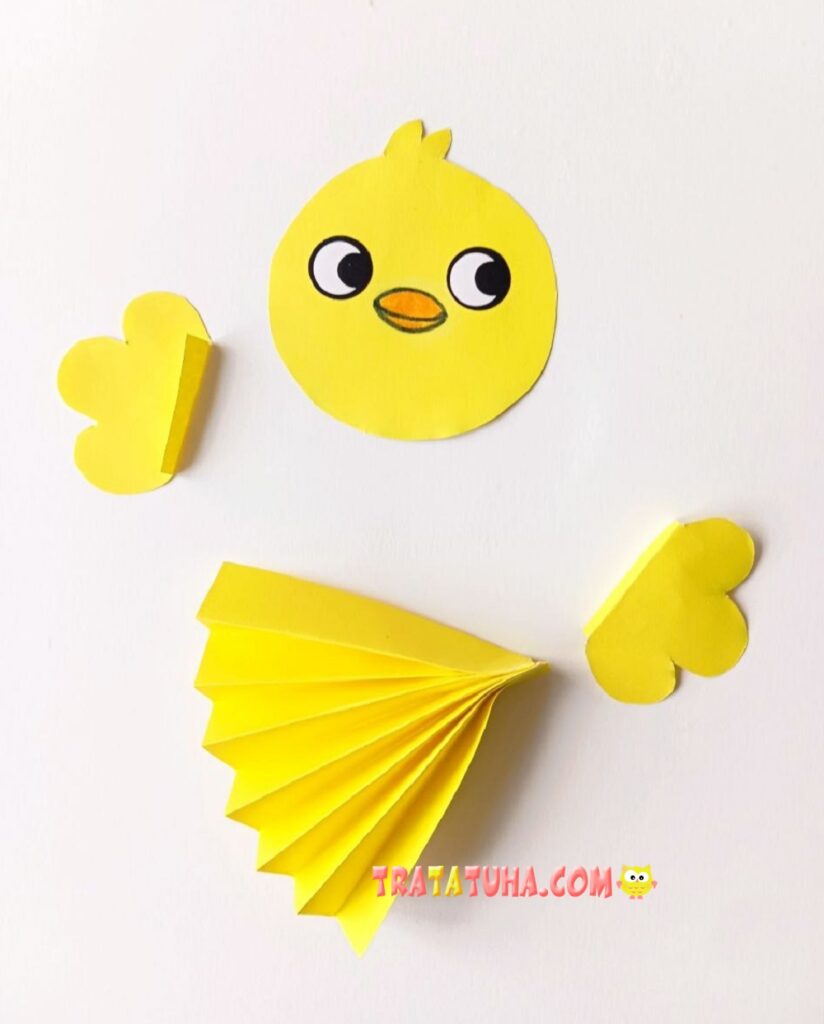
Our little bird consists of four parts: the body, the head, and two wings. First, sketch the outlines of the last two parts on yellow paper.
The head can be any oval-like shape. To give your duck some charm, draw a funny tuft on its head. Use your imagination and make your chick unique!
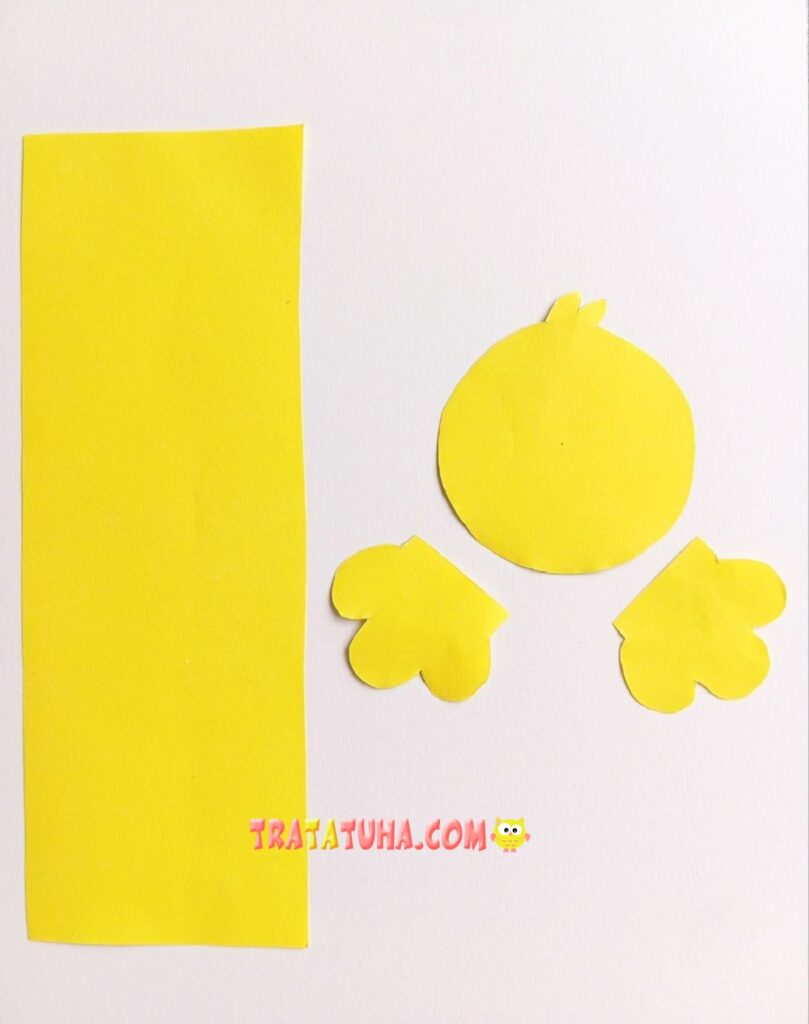
Carefully cut out the shapes you sketched, and also prepare a long rectangle from yellow paper — this will be the duck’s future body.
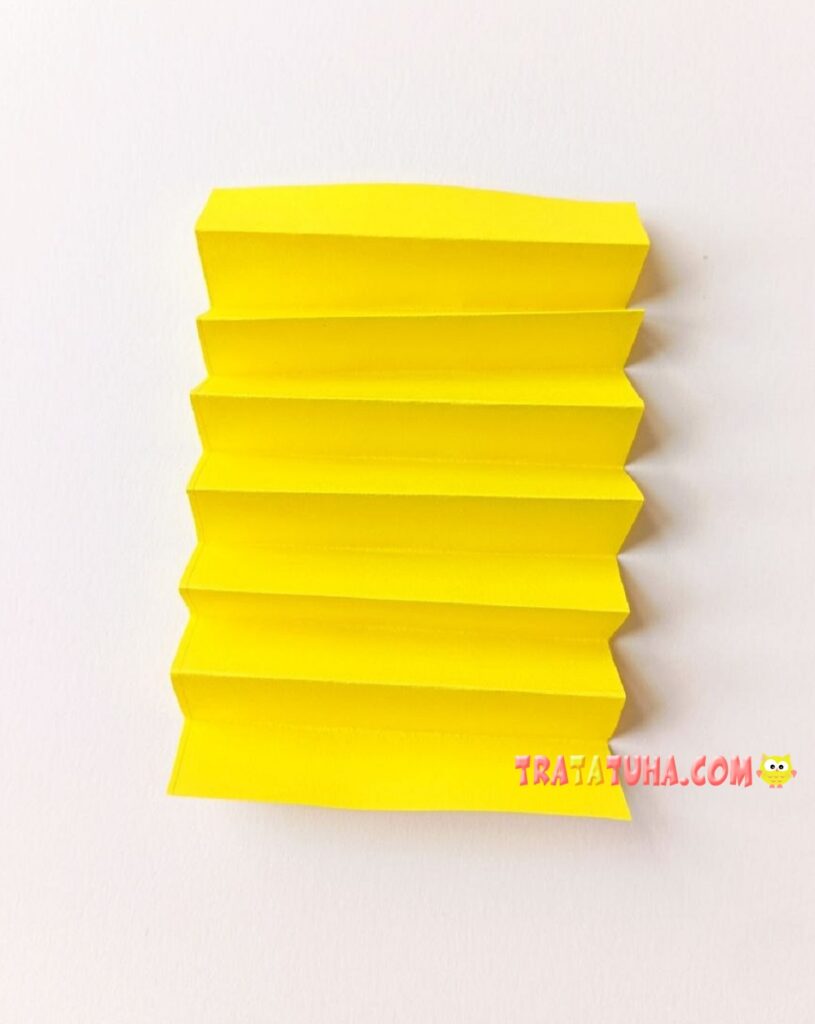
Fold the paper into an accordion. Bend the top edge of the strip and press the fold firmly, then flip the sheet over and repeat. The “steps” can be any size, but try not to make them too thin or too wide.

Folding an accordion from paper helps develop fine motor skills, which is beneficial for children. Working with bright, colorful materials also has a positive effect on a child’s mood, making them more cheerful and energetic.
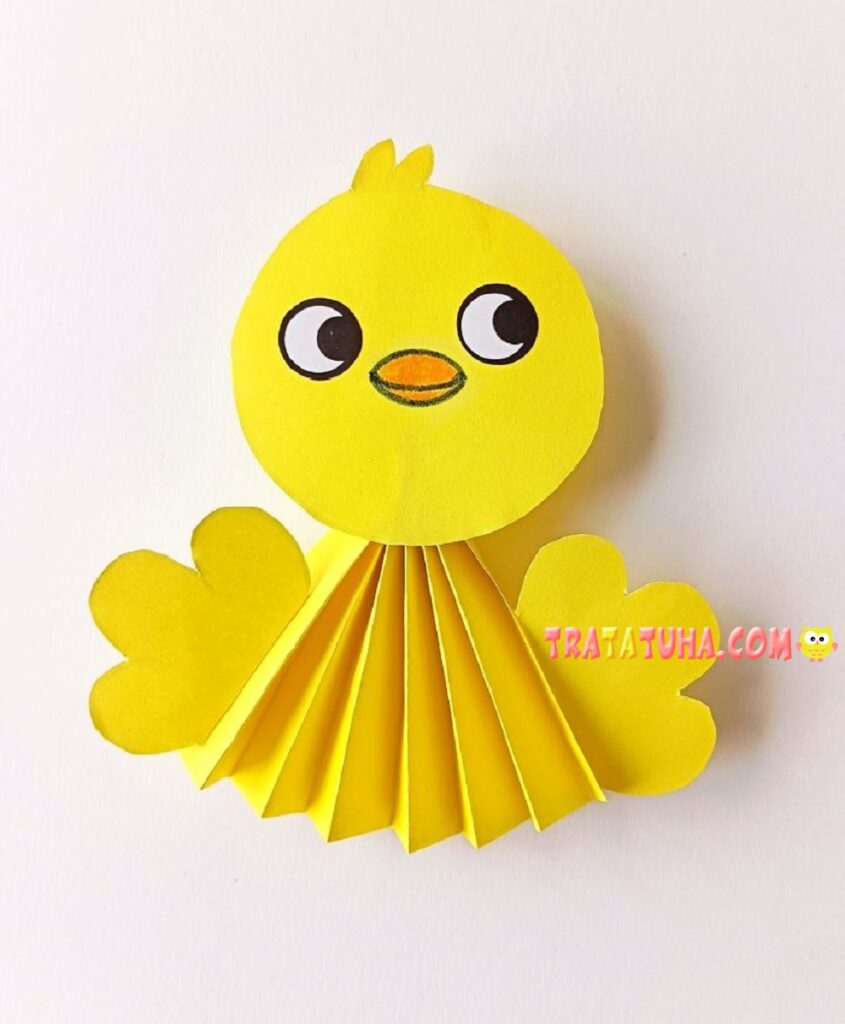
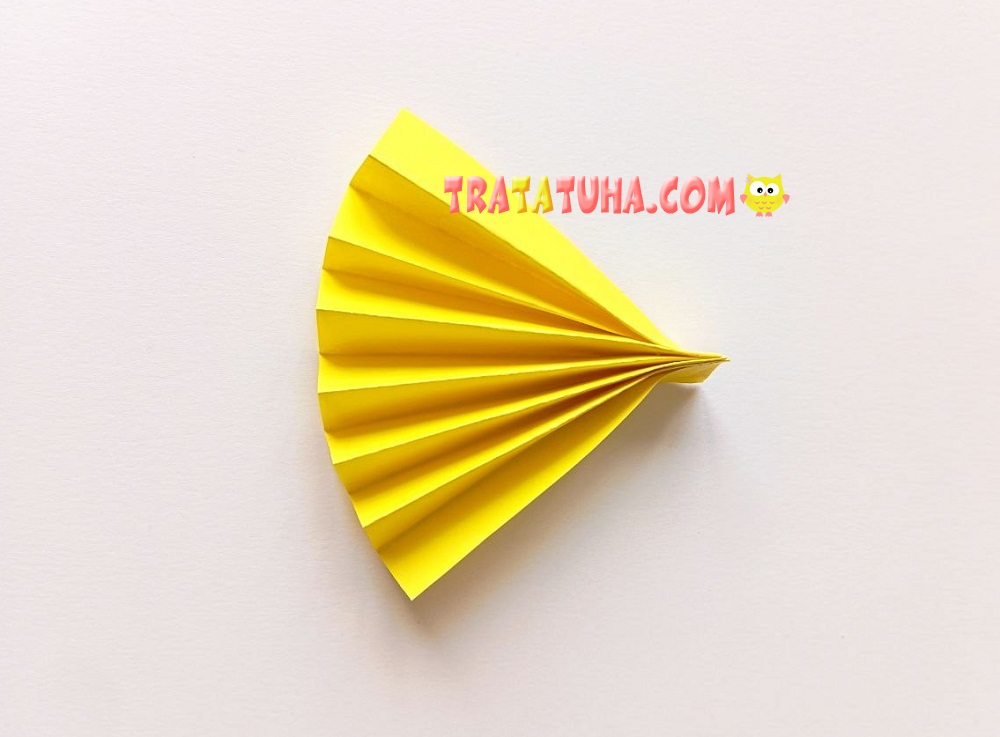
The duck’s body is almost ready. Glue the edge of the accordion or fasten it with a stapler to form a “fan.”
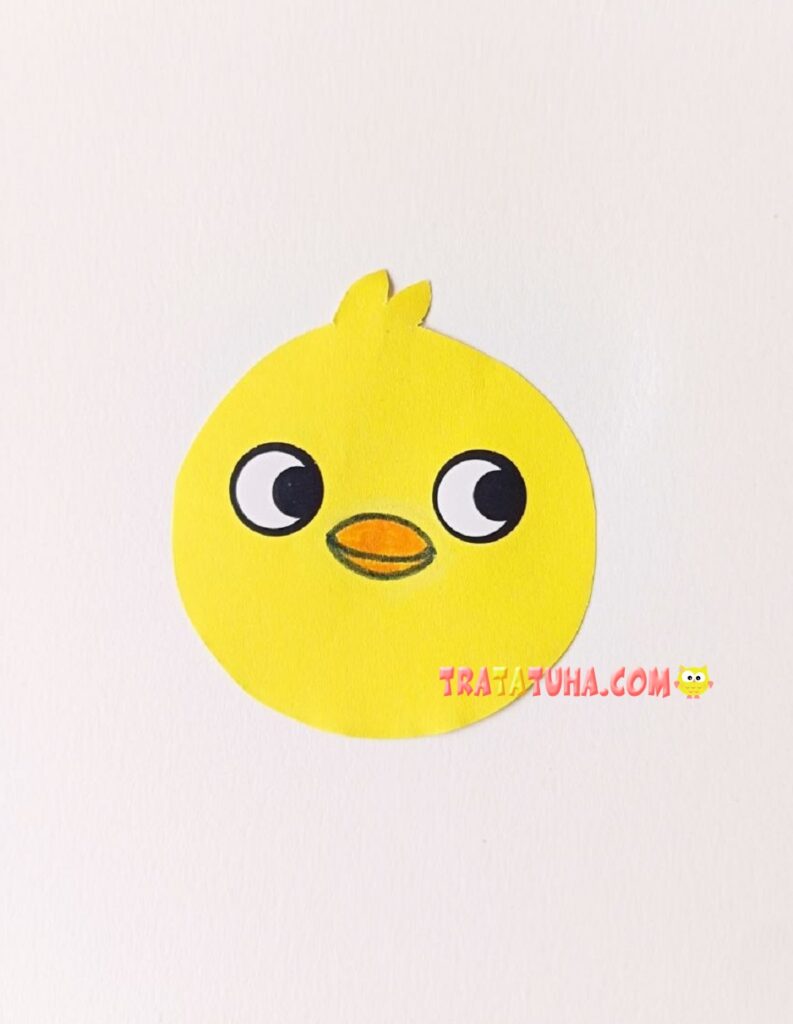
Now it’s time for the head! The beak can be drawn or cut out of orange paper. The eyes can be made from white and black circles, drawn with a marker, or attached if you have ready-made ones.
Prepare all the parts of the craft. Fold the edges of the wings — this will make them easier to attach to the body.
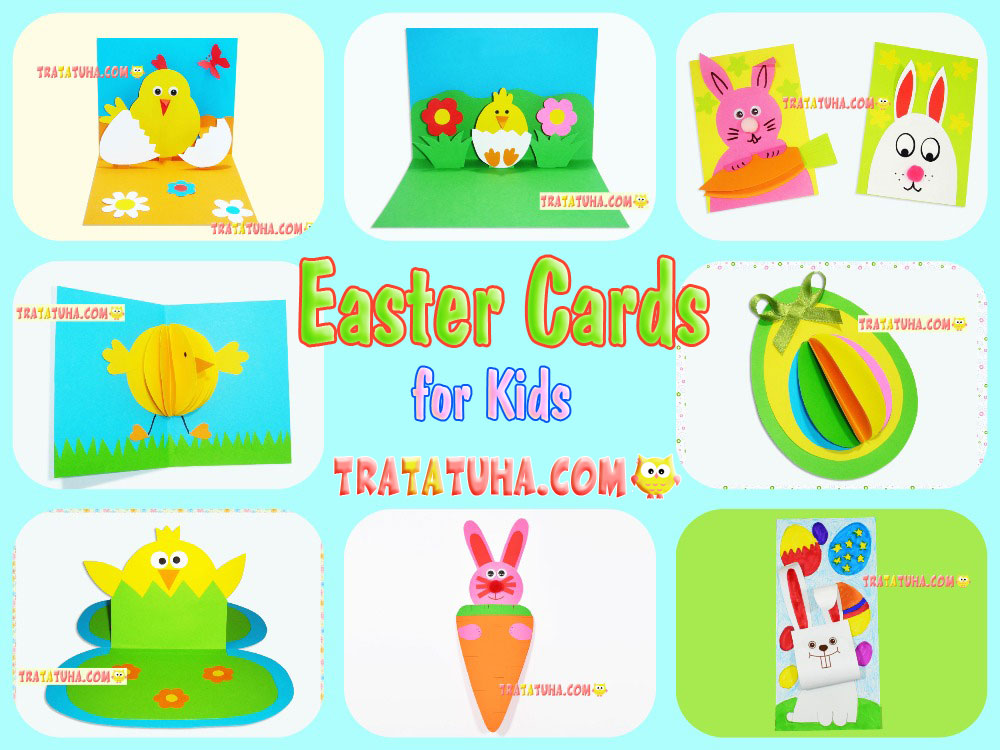
Related Post: