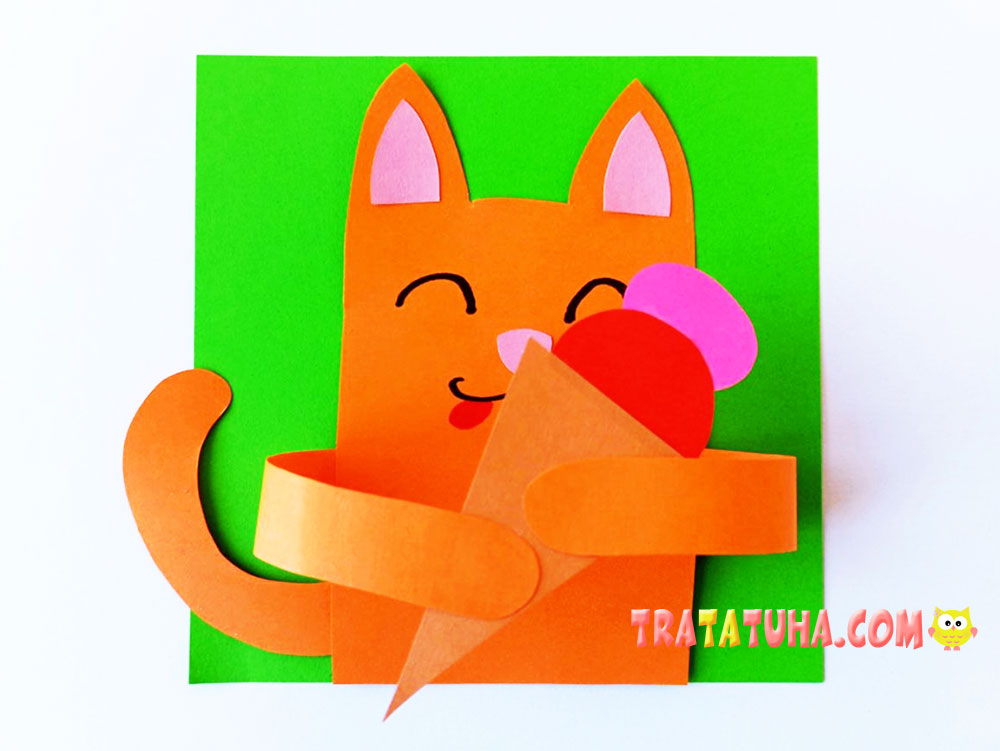
A cute little cat holding a delicious ice cream cone in its paws. This ice cream cat craft is made from simple paper shapes, comes together quickly, and has a fun layered, three-dimensional look.
Materials
- Colored paper for the cat;
- Colored paper or cardstock for the background;
- A small piece of pink paper for the nose and inner ears;
- A piece of brown paper for the ice cream cone;
- Two pieces of colored paper in different colors for the ice cream scoops;
- Black and red markers or felt-tip pens;
- Scissors;
- Glue.
Ice Cream Cat Craft — Step by Step
First, cut out all the pieces for the craft.
Start by choosing the color of your cat’s fur. Our cat is orange, but yours can be white, gray, black, or even a fun fantasy color.
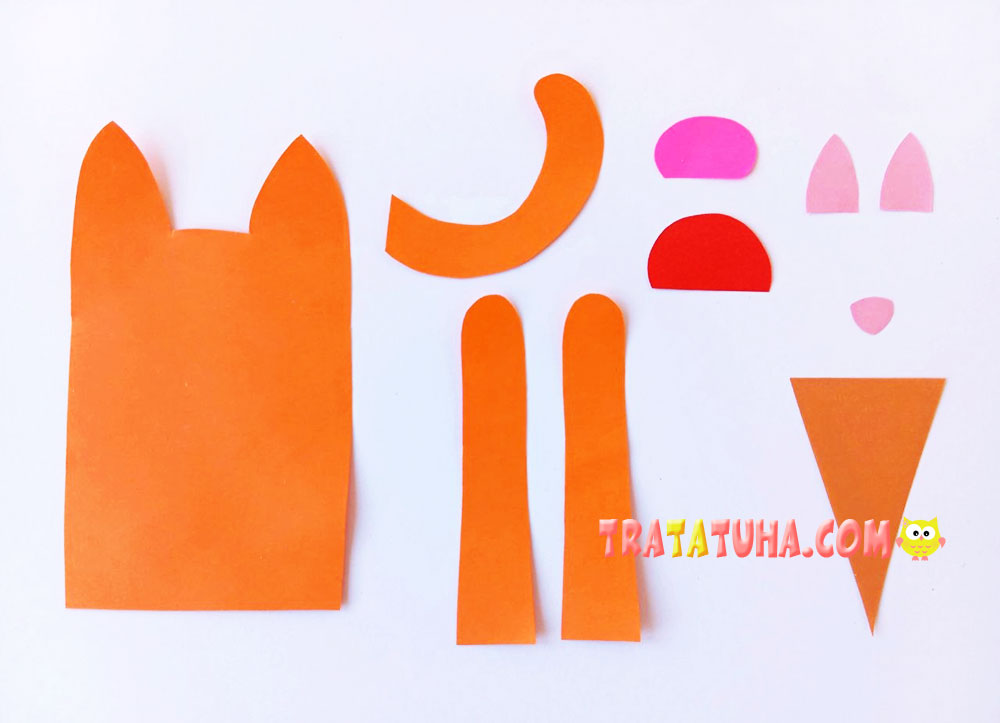
- Cut the cat’s body, tail, and two front paws from the colored paper. Make the body as one single piece with the ears included.
- From the pink paper, cut out three small pieces: the nose and the two inner ear pieces. Shape the ear inserts like slightly rounded triangles.
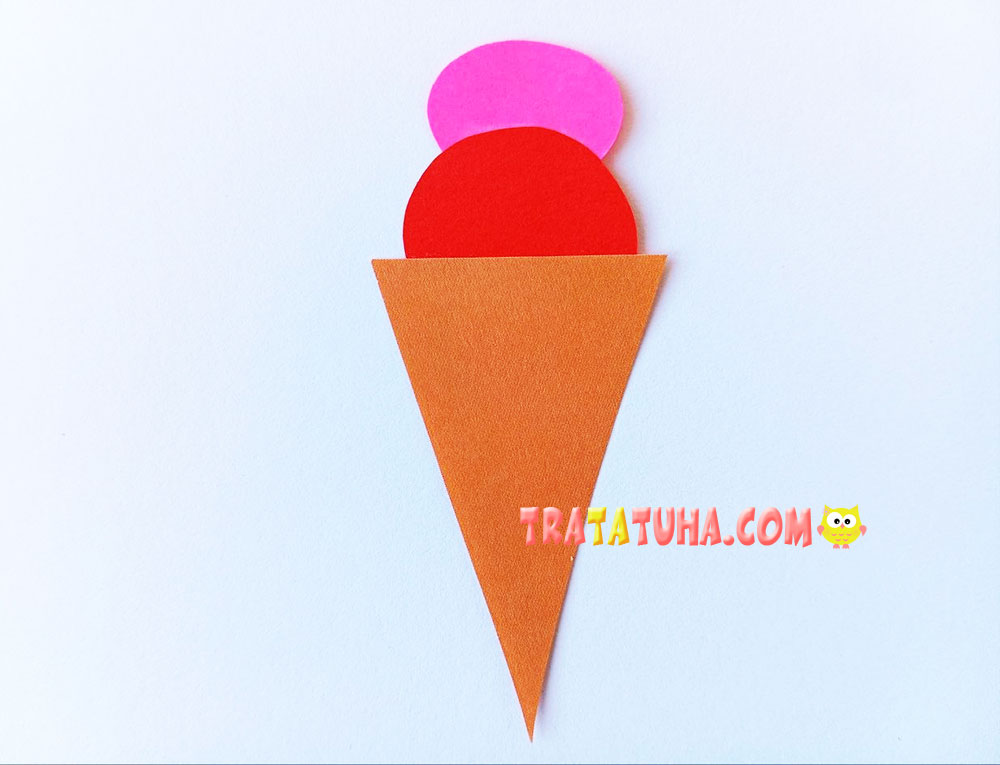
- Once the cat is ready, move on to the treat. Cut a long triangle from the brown paper to make the ice cream cone.
- Then cut two semicircles in different colors. They don’t have to be perfectly even. One should be larger than the other to represent the ice cream scoops. We used red and pink, but you can choose any colors you like. Just make sure the scoops don’t blend in with the cat or the background.
Next, assemble the ice cream. Glue the larger scoop onto the cone first, then attach the smaller scoop on top.
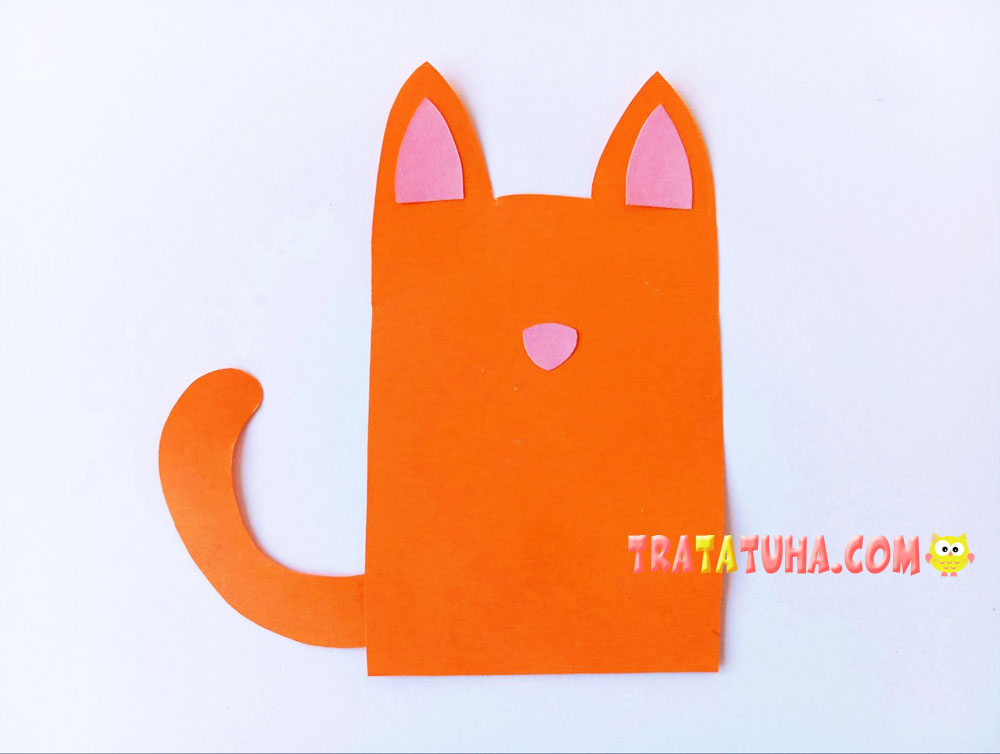
Now work on the cat. Glue the tail, nose, and inner ear pieces onto the body.
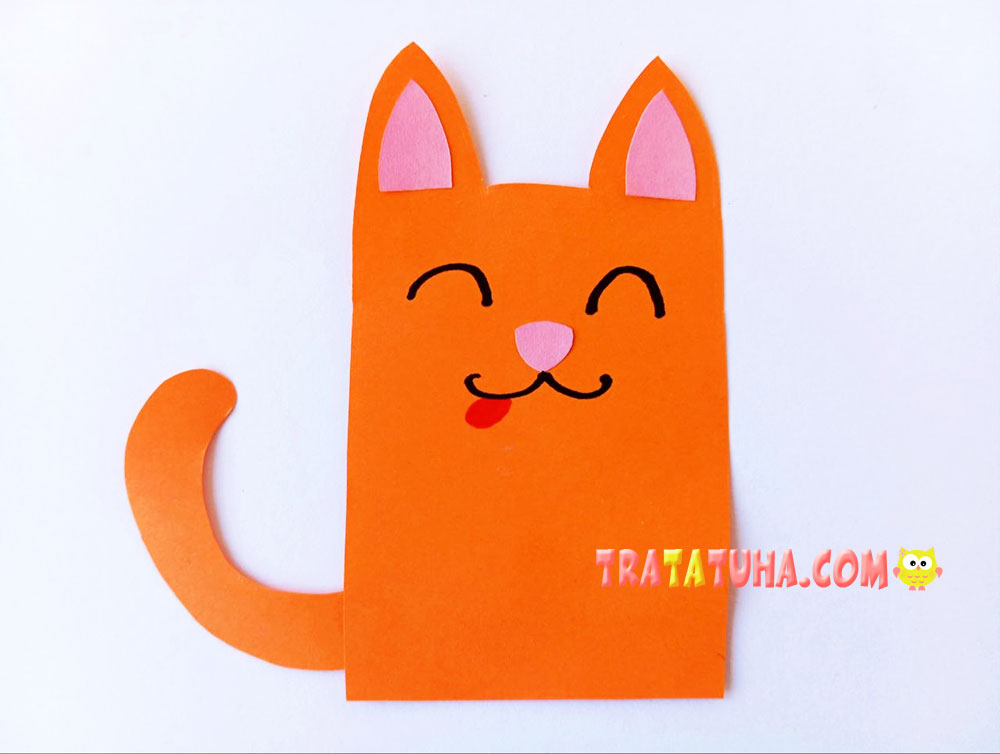
Draw the cat’s face with a black marker, and don’t forget to add a tiny tongue sticking out—the cat is happily enjoying the cool, tasty ice cream.
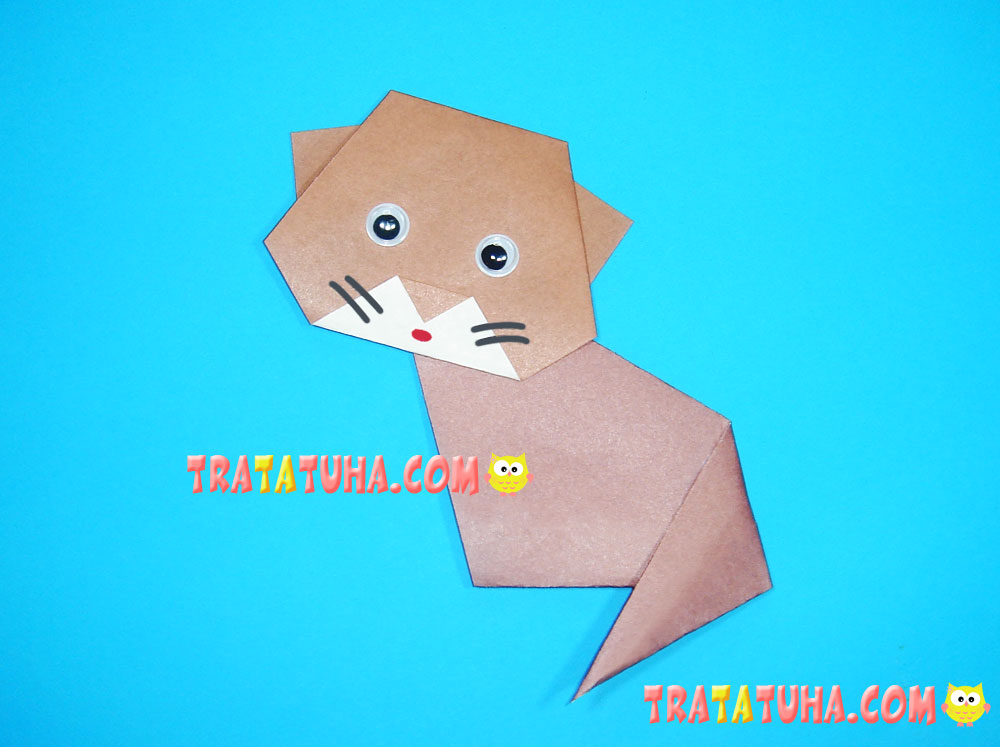
Love cats? Fold your own adorable feline from paper with this easy origami project. Find the step-by-step tutorial in our origami cat guide.
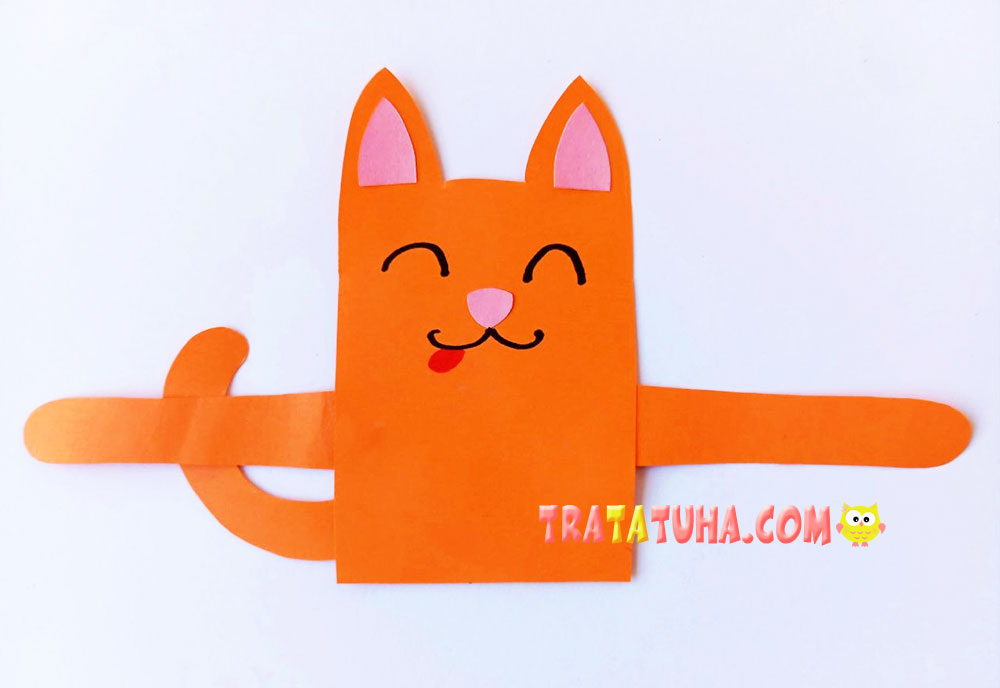
Next, glue the front paws onto the cat. They should be spread slightly apart and attached straight, without tilting.
Then place the ice cream into the cat’s paws by gluing the cone between them. It should look as though the cat is holding the cone.
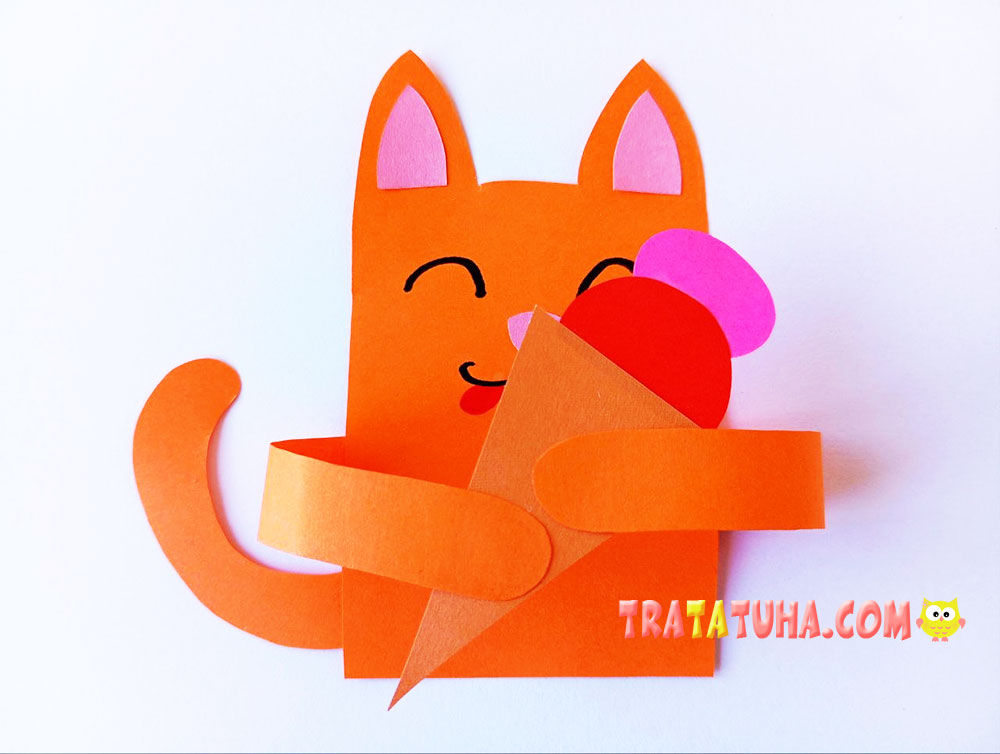
Finally, glue the finished cat onto the background sheet. The background can be any color. We chose green, but you can use any color you like.
Instead of an ice cream cone, your cat can hold a lovely paper heart. Learn how to make it in our step-by-step guide — paper cat with a 3d heart.
Your ice cream cat craft is now complete! It’s bright, cheerful, and fun to make. Children can even create it to look like their own pet cat, making the project even more exciting and personal.
Related Post: