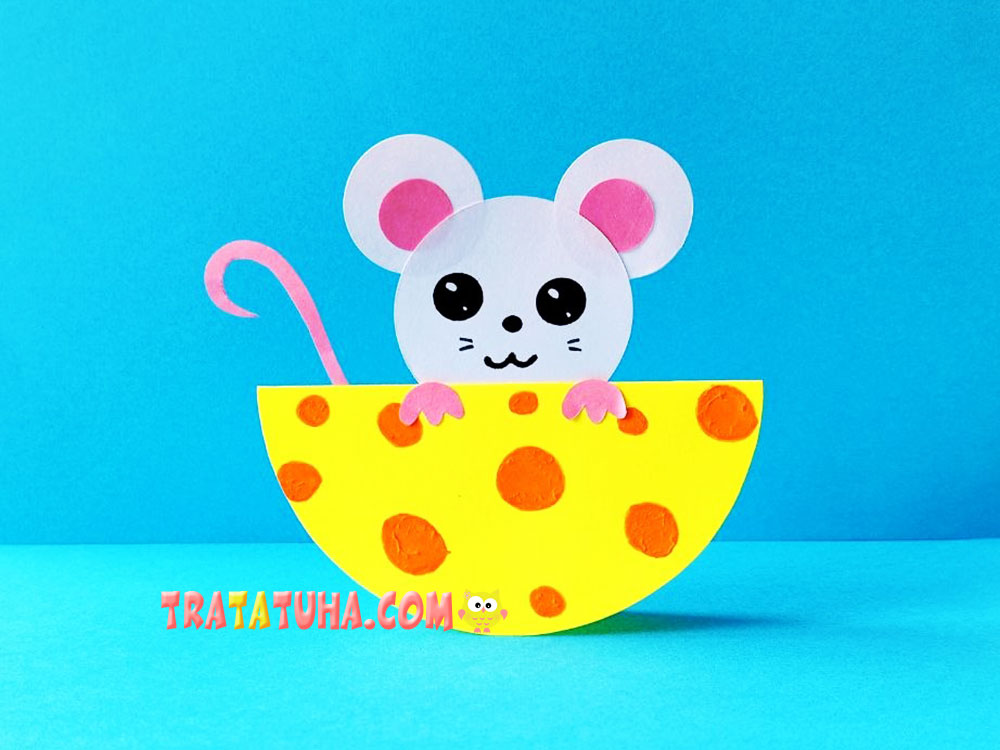
This article contains instructions for making a cute little animal sitting on a delicious treat. This movable mouse on cheese craft is quick and easy to make and consists of simple pieces — circles.
Materials needed:
- Colored paper for the mouse (gray, brown, beige, or white);
- Pink paper for the mouse’s details;
- Yellow cardstock for the cheese;
- Black felt-tip pen for the mouse’s face;
- Orange felt-tip pen for the holes in the cheese;
- Scissors;
- Glue.
How to Make the Movable Mouse on Cheese Craft Step by Step
First, decide what color you want your mouse to be. Gray is an ideal choice because it is commonly associated with this little rodent, but brown, beige, and white will work well too. In our example, the mouse is white.
Next, prepare the craft pieces. There are only a few of them, and they are very simple to make.
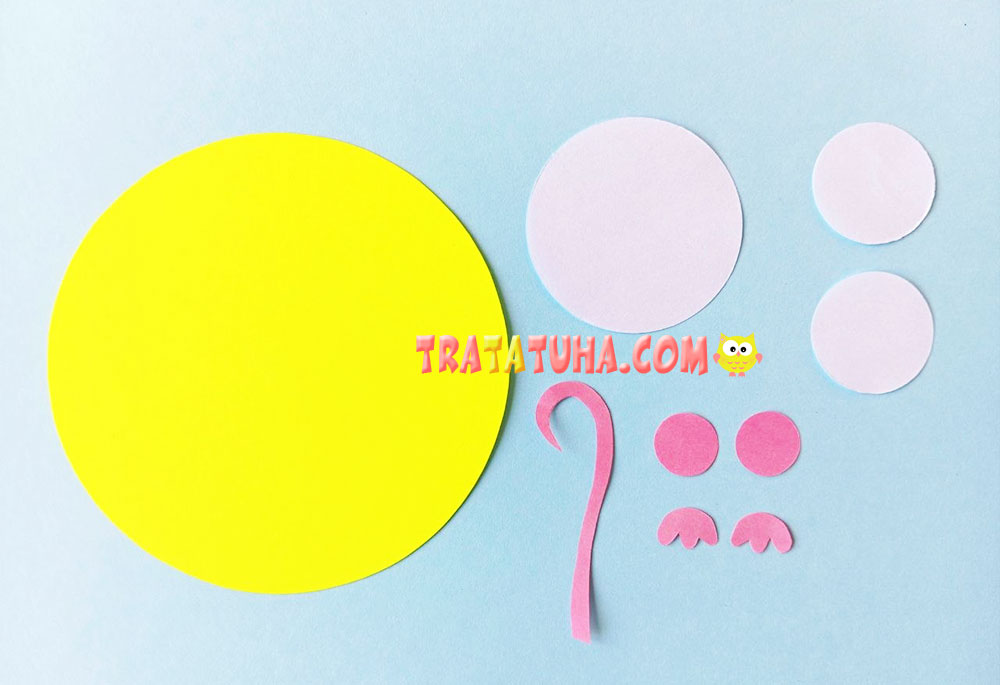
- Cut three circles out of white paper: one larger circle for the head and two smaller circles for the ears. The two smaller circles should be the same size.
- Cut two paws, one tail, and two small circles out of pink paper. The pink circles should be smaller than the white ones because they will form the inner parts of the mouse’s ears.
- Cut a large circle out of yellow cardstock. This will be the cheese and the rocking base of the craft, with the mouse attached to it.
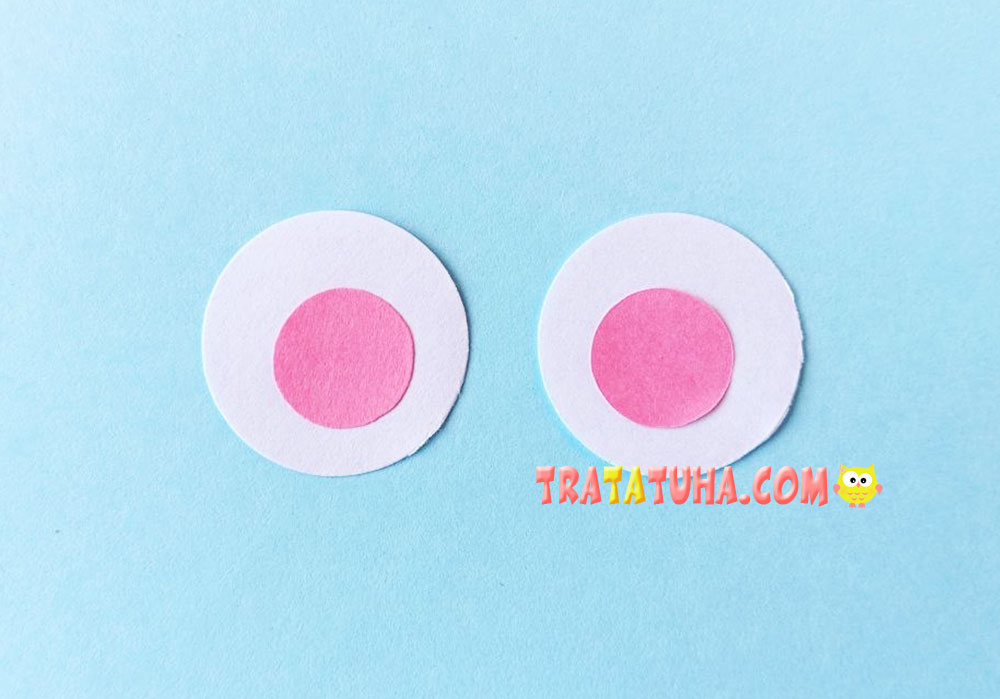
Next, start assembling the craft, beginning with the ears. Glue the pink circles onto the white ones, placing them slightly downward and to the side of the center.
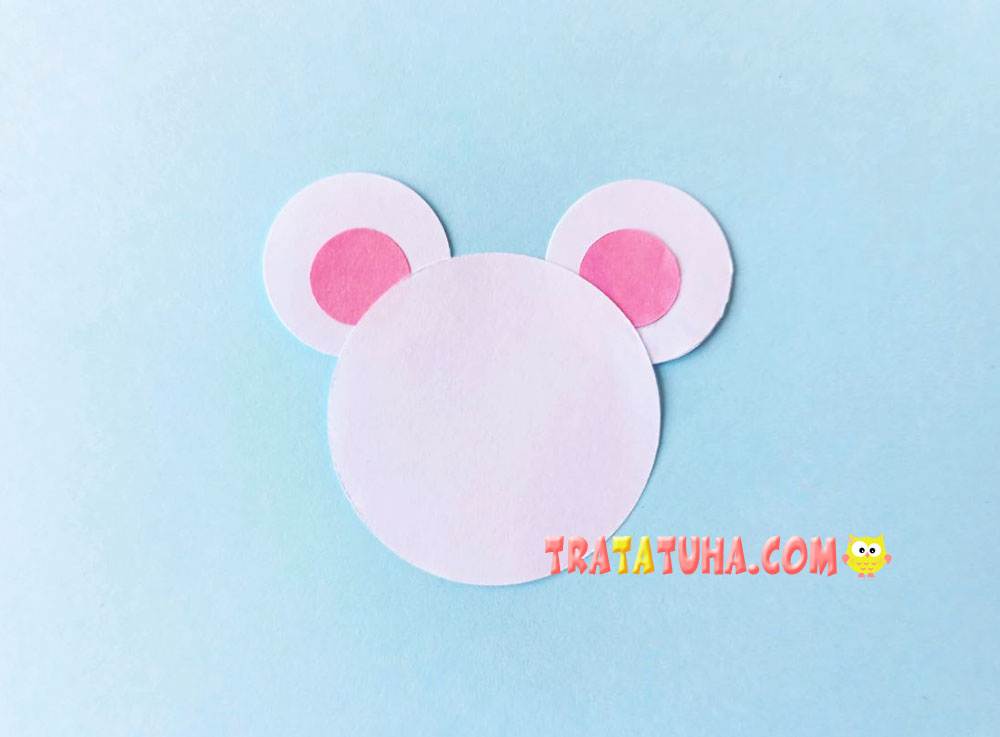
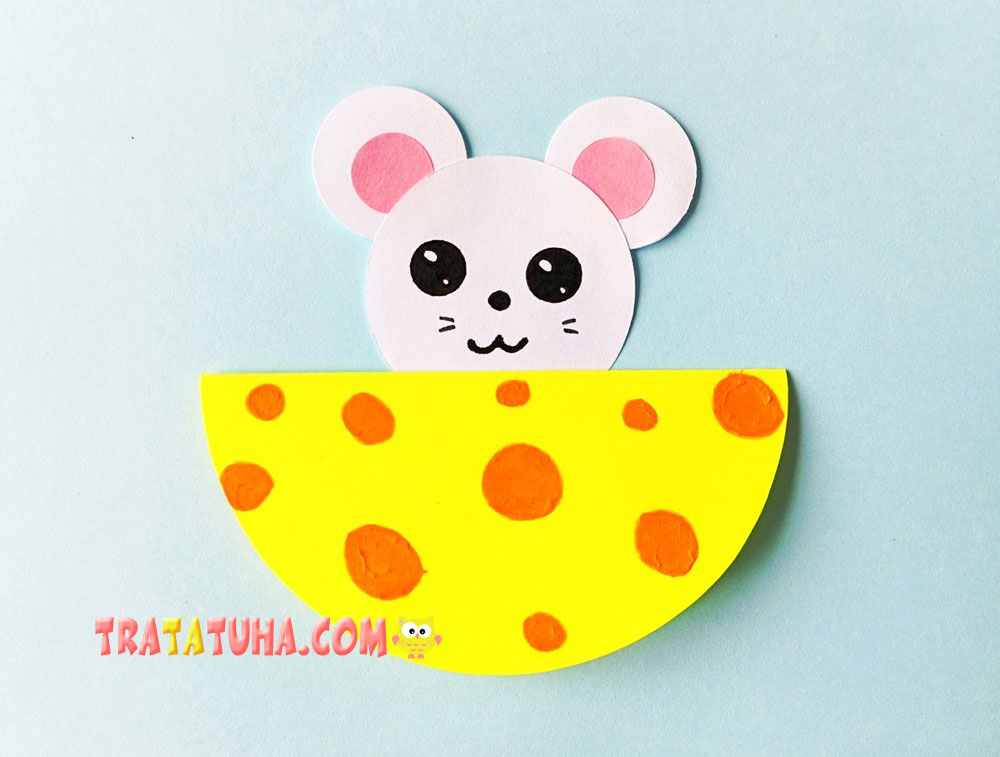
Then glue the finished ears to the large white circle, which will become the mouse’s head. The ears should be attached behind the top of the head, with the head slightly overlapping both the white and pink parts of the ears.
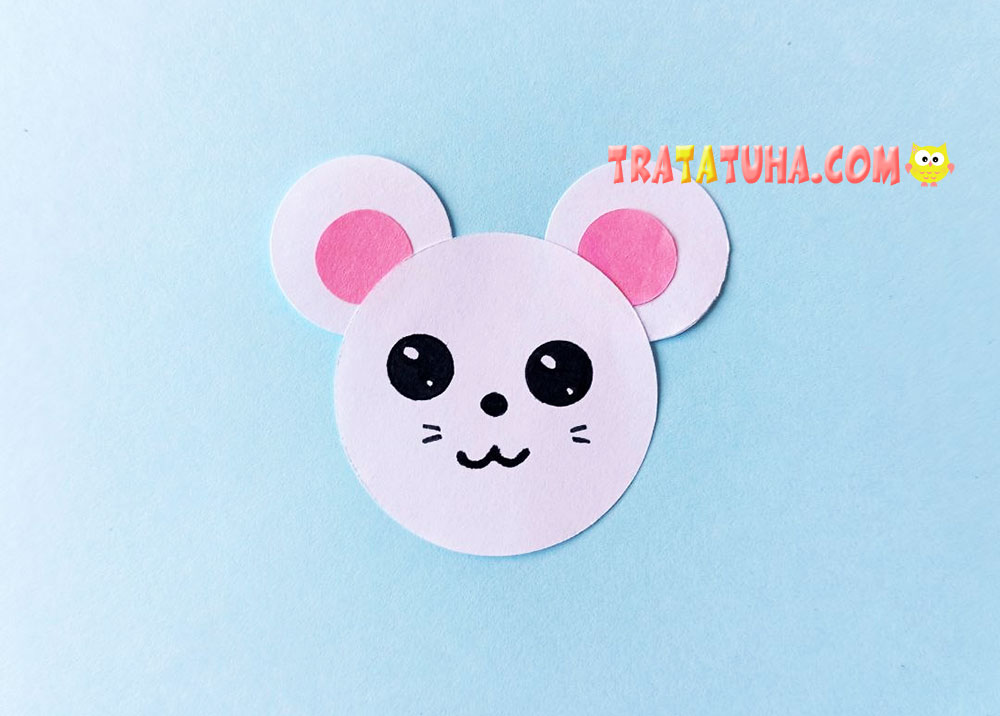
Next, draw the mouse’s face: beady eyes, a small nose, a smile, and whiskers. Use a black felt-tip pen for this.
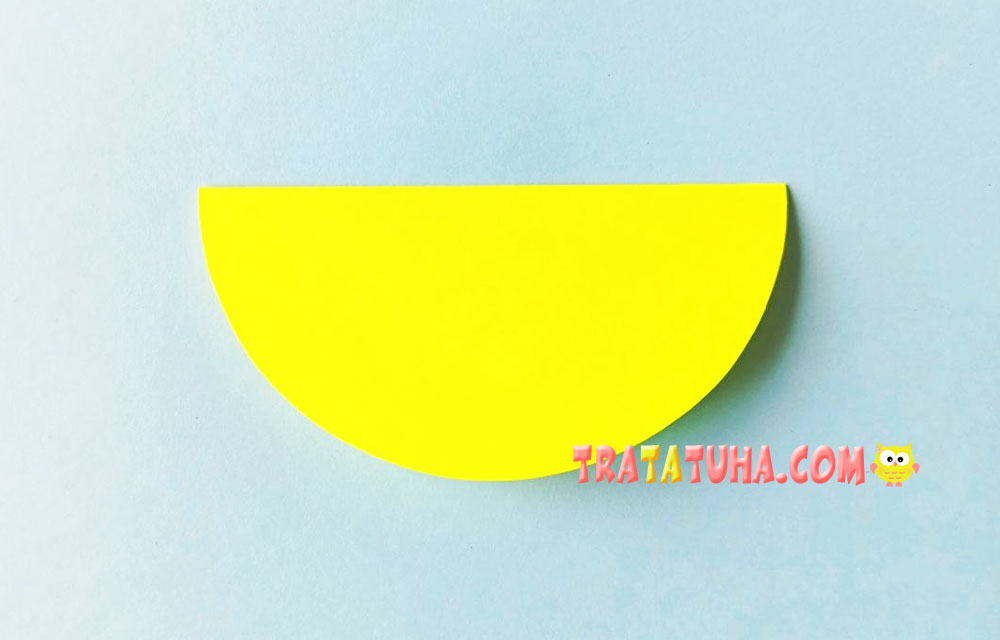
Now move on to the cheese, which will serve as the sturdy base of the craft. Take the yellow cardstock circle and fold it in half.
Then decorate the resulting semicircle with spots to make it look like cheese. Use an orange felt-tip pen to draw lots of holes in different shapes and sizes.
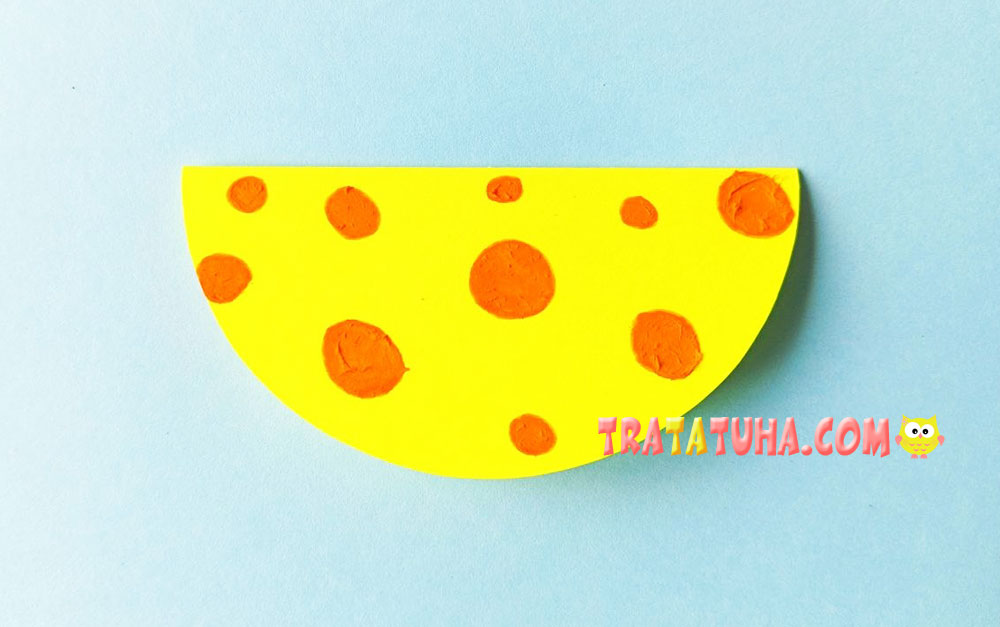
Next, glue the mouse’s head to the back of the cheese. The little animal should look as if it is hiding behind the treat, peeking out slightly from behind it.
Finally, attach the remaining pieces to the craft. Glue the mouse’s paws to the front of the base, making it look as though the mouse is holding onto the cheese and does not want to let go. Glue the tail to the back. Like the head, it should peek out from behind the cheese.
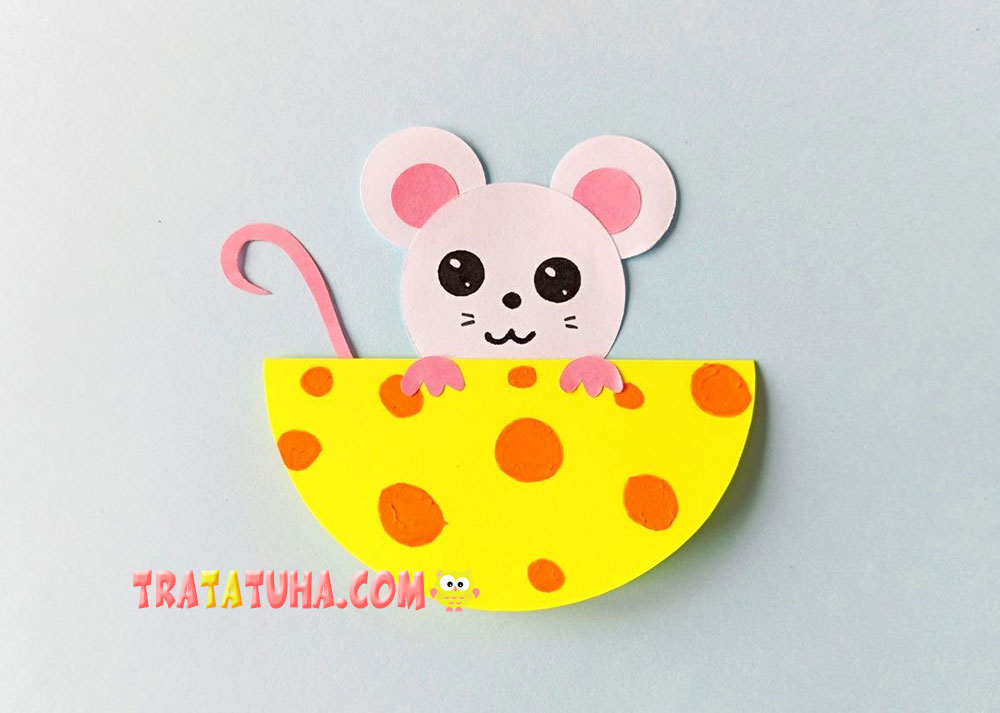
Then stand the craft upright. Thanks to its semicircular base, it stands securely and does not fall over on the table!
Do you enjoy making rocking crafts? We also recommend making a cute paper toy — a movable cat with an aquarium.
The movable mouse on cheese craft is ready. Give it a gentle push with your finger, and it will cheerfully rock from side to side like a roly-poly toy.
Related Post: