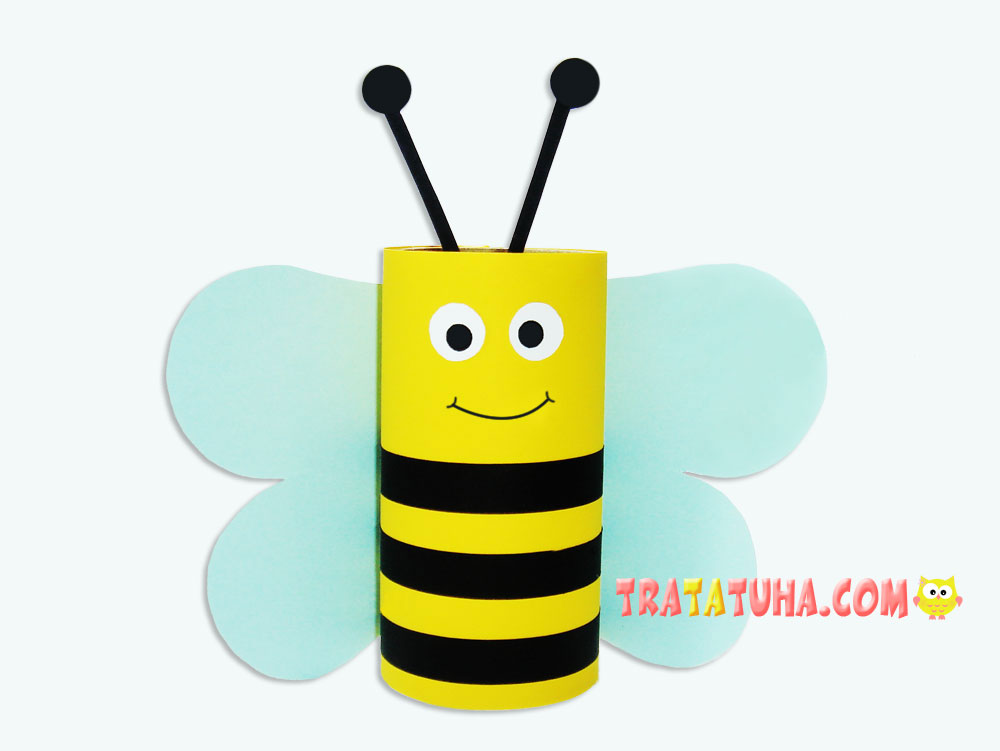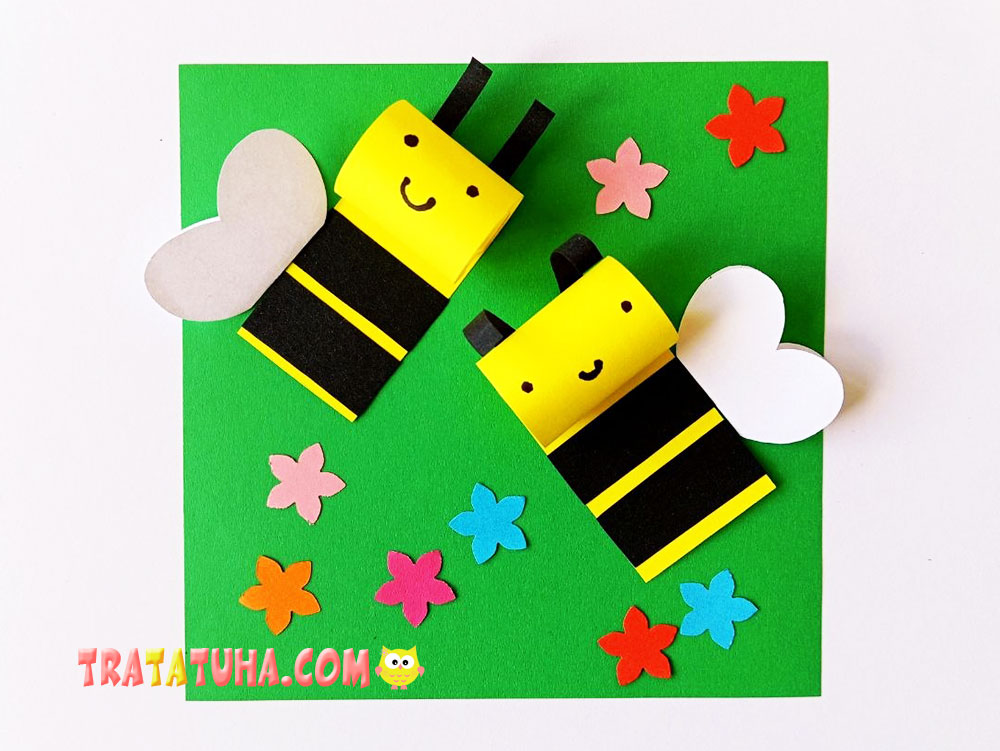
Turn a few strips of yellow paper into adorable little bees! By rolling part of each strip into a tube, you can quickly create these cheerful insects.
Today’s project is an easy and eye-catching bee craft for kids, perfect for spring or summer activities.
Materials
- Yellow and black paper for the bees
- White or light blue paper for the wings
- Colored cardstock or construction paper for the background
- Colored paper for decorations
- A black marker for the eyes and smiles
- Scissors
- Glue
Bee Craft for Kids – Step by Step
As with any paper craft, start by preparing all the pieces. Since you’ll be making two bees, you’ll need two of each main part.
Draw two long, medium-width strips on the yellow paper.
Next, take the black paper. Draw four wide strips for the bees’ stripes, then draw four thin, narrow strips for the antennae.
Now prepare the white or light blue paper for the wings. Fold it in half so you can cut matching pairs. Draw two pairs of wings in any shape you like. You can make double wings like in our example or simply cut out two oval-shaped wings for each bee.
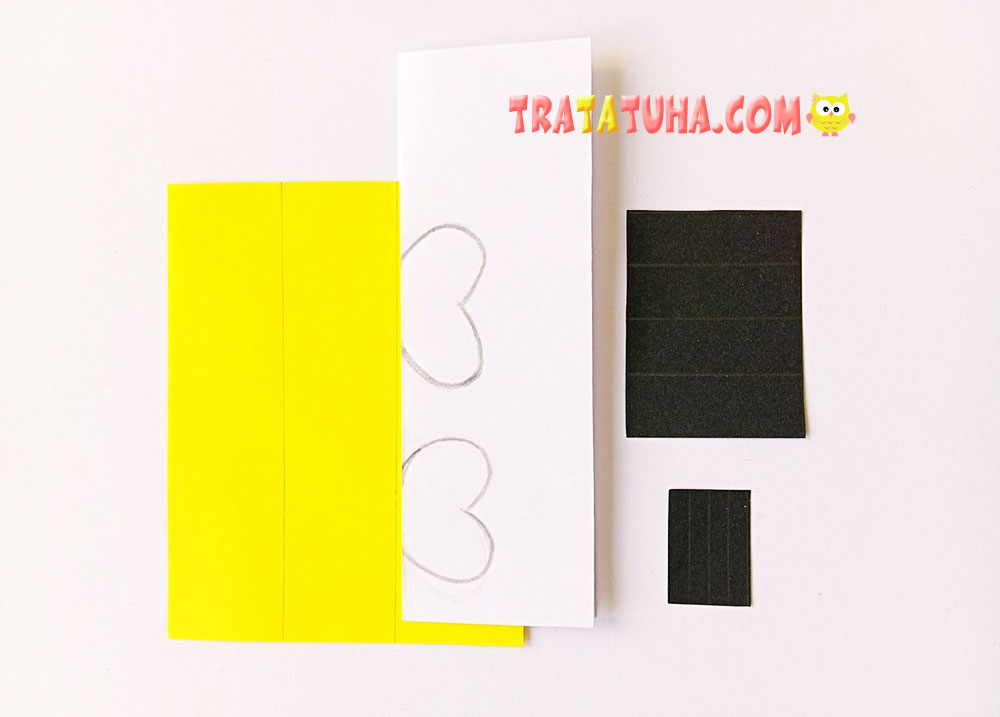
Cut out all the pieces. Check that you have two yellow strips, two pairs of wings, four black stripes, and four antennae.

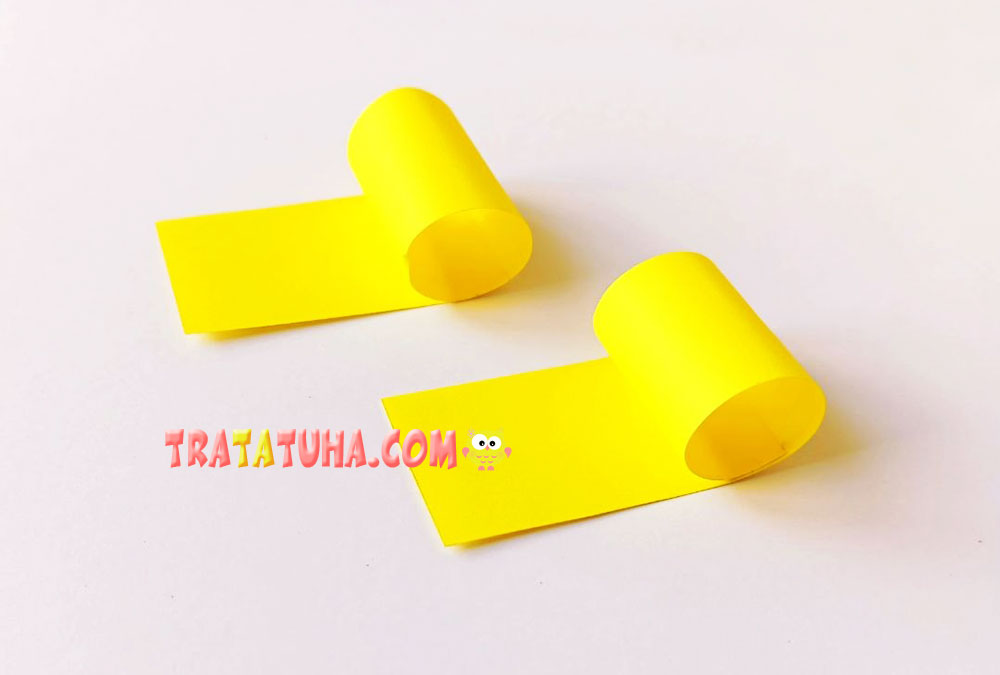
Take the yellow strips and roll one end of each strip into a loose tube. Roll only a small section, leaving most of the strip flat. The rolled section will become the bee’s head.
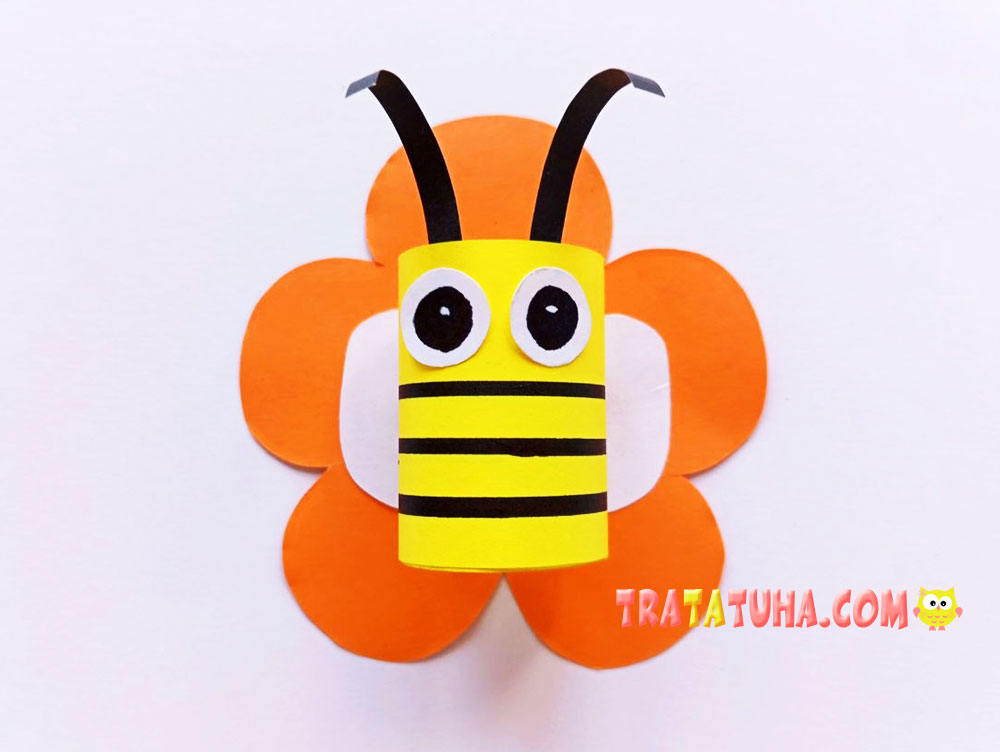
You might also enjoy another fun project—a bee on a flower paper craft.
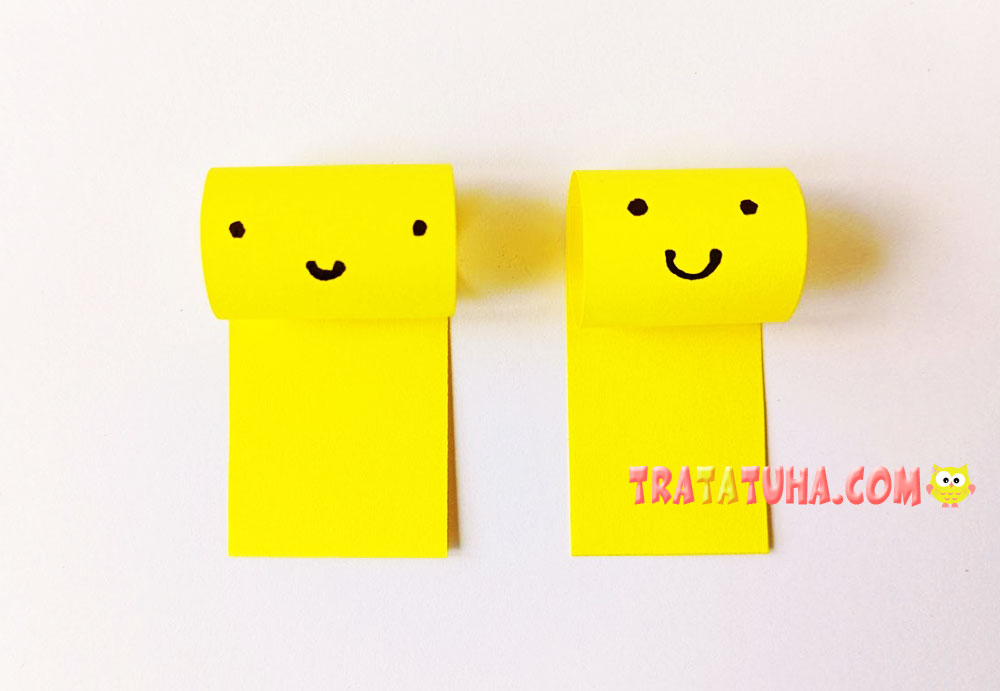
Draw the bees’ faces with eyes and smiles. Make each bee a little different by changing the spacing of the eyes or the shape of the smile.
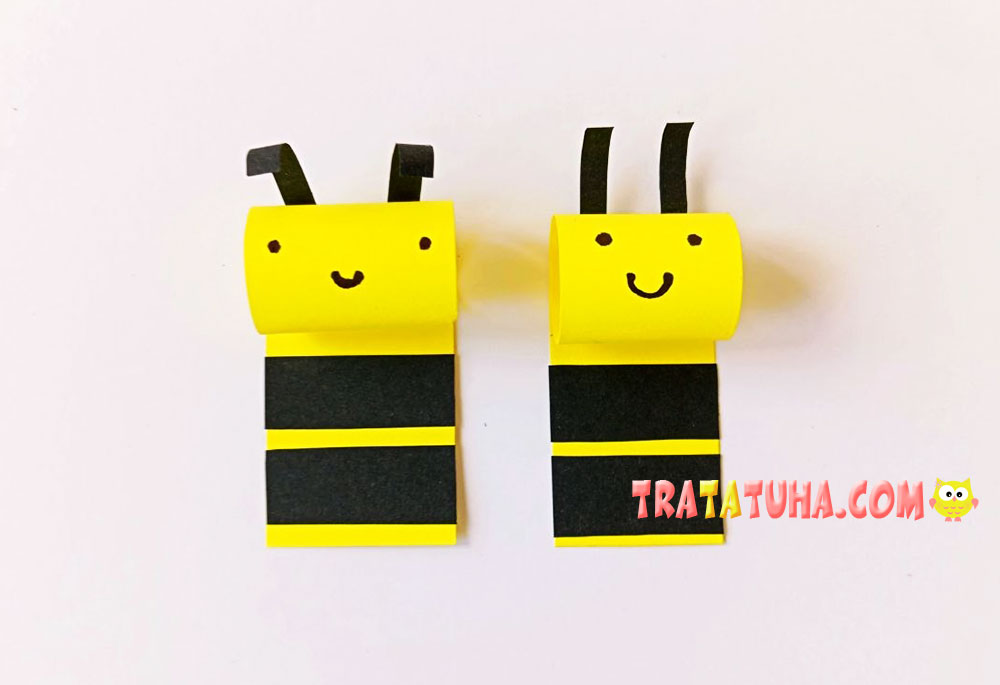
Glue the black stripes and antennae onto each bee. Trim any excess if the stripes are too long. Bend the antennae slightly forward to give them a more natural look.
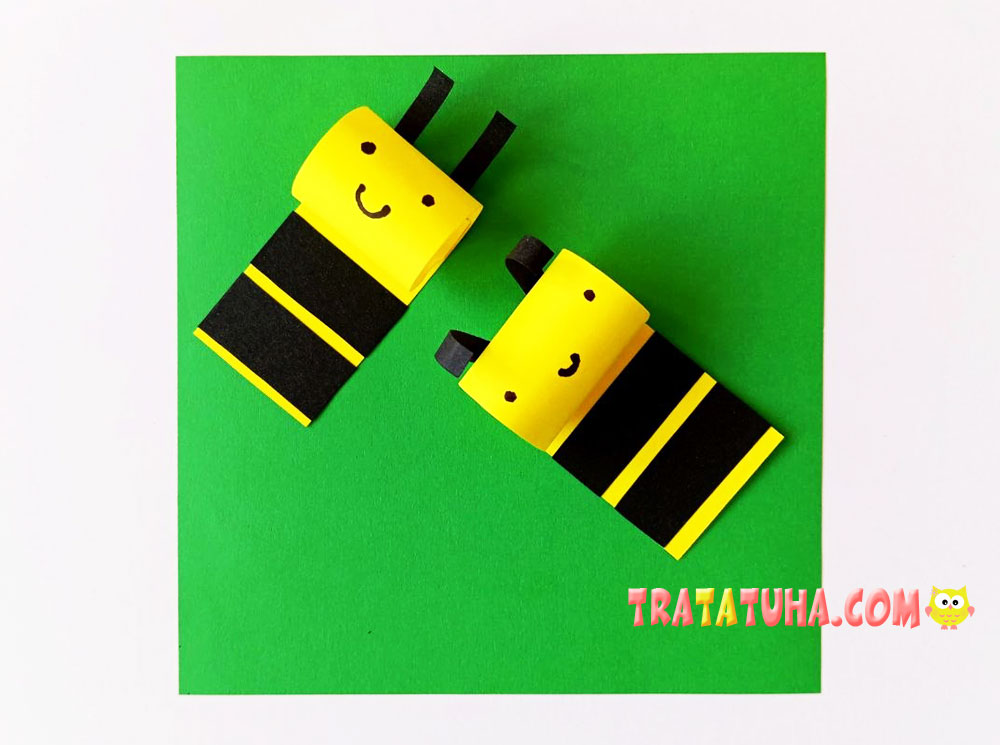
Add a Green Background
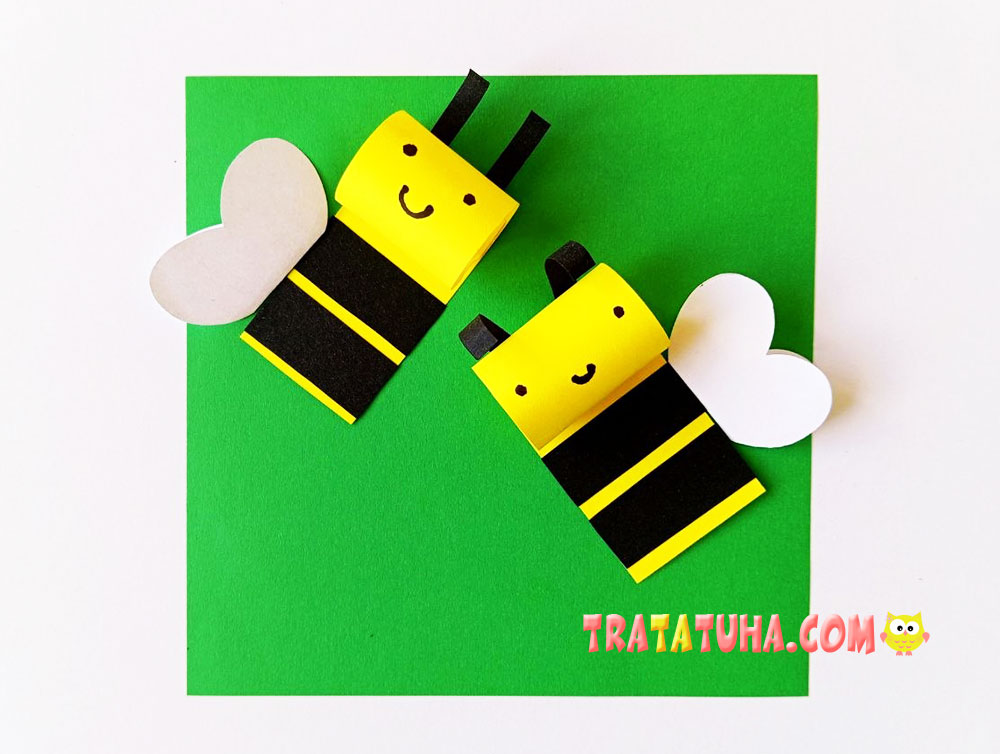
Glue the bees onto your background sheet. You can choose any color you like. A blue background looks like the sky, while a green one creates the feeling of grass or a meadow.
Attach the bees at a slight angle to make them look as though they’re flying.
Glue the wings onto each bee, placing them close to the body so that no background shows between the wings and the bee.
Finish the craft by adding decorations. If you chose a blue background, add fluffy clouds. For a green background, decorate it with colorful flowers scattered around the bees. These details make the finished craft brighter and more cheerful.
Your bee craft is now complete! With its simple steps and easy-to-cut shapes, this project is ideal for young children and beginners.
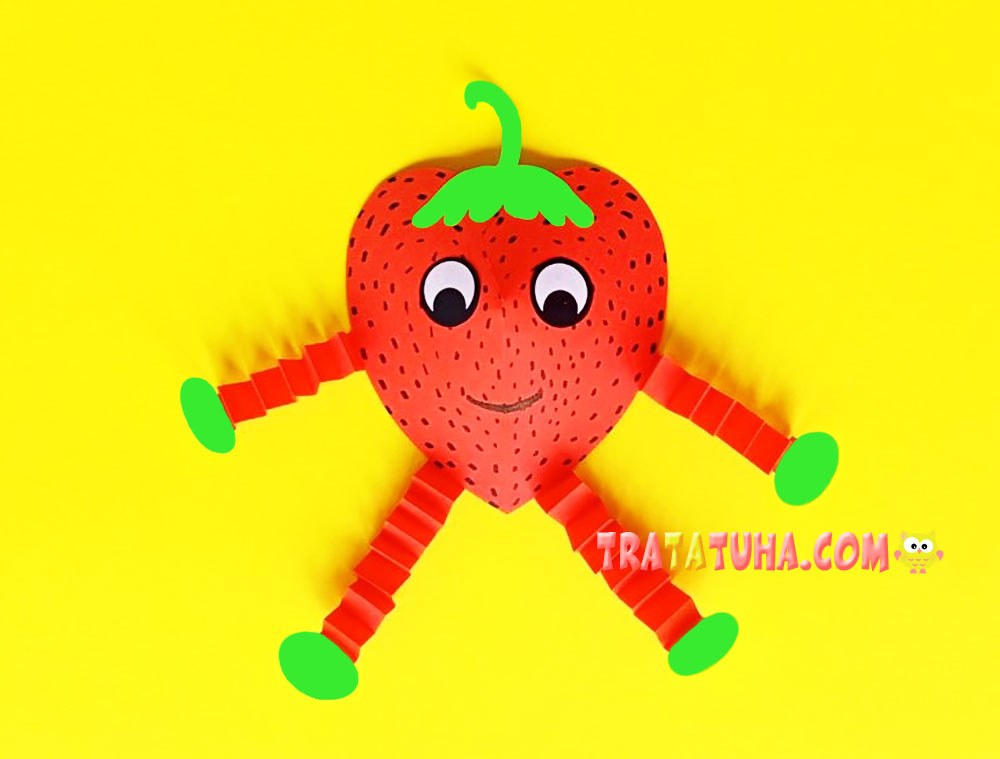
If you enjoy making bugs and insects, be sure to explore our collection of insect crafts for kids.
Related Post: