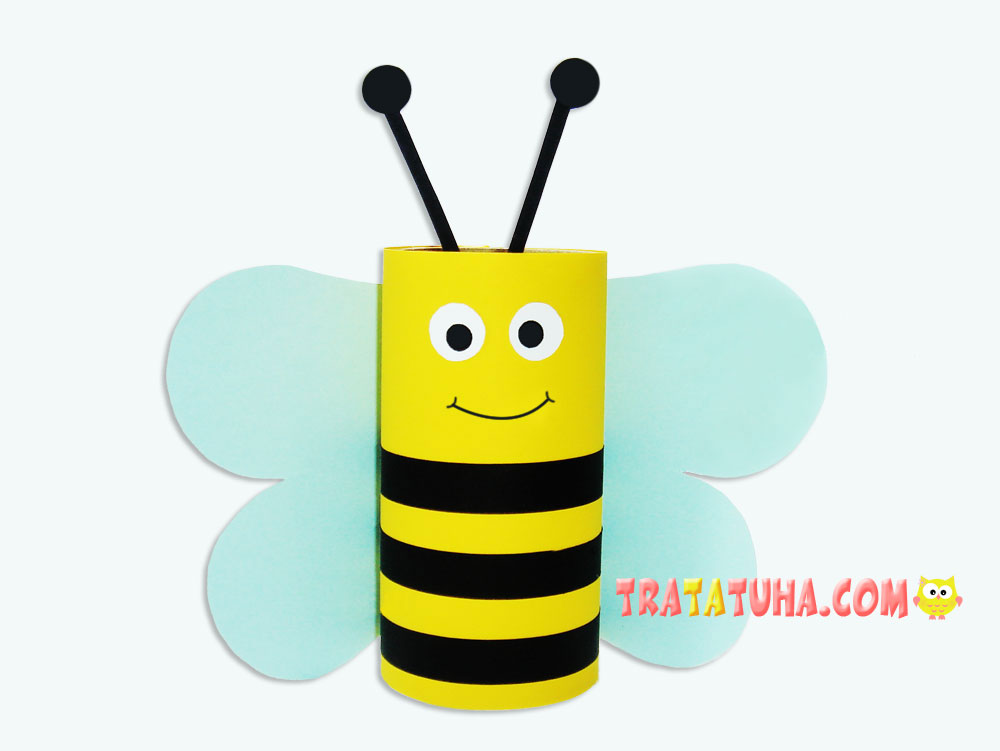
A toilet paper roll bee is one of the easiest crafts out of this waste material. You can make it in just a few simple steps. The bee can be timed to coincide with the lesson about insects, it is also a great spring craft.
Materials used:
- Toilet paper roll;
- Yellow paper;
- Blue or white paper;
- Double-sided black paper;
- Scissors, glue stick, black marker.
Toilet Paper Roll Bee Step by Step
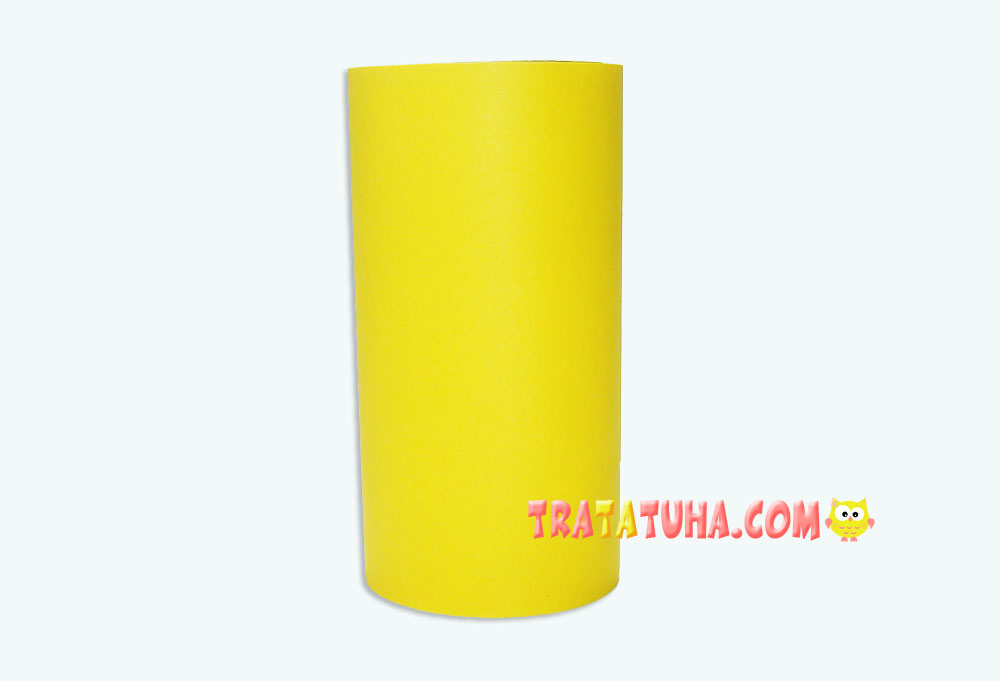
Wrap the roll not very tight in yellow paper and measure the dimensions with a pencil – the length and width of the segment. Alternatively, the roll can be painted yellow. If the choice fell on paper, cut the yellow rectangle to the finished size.
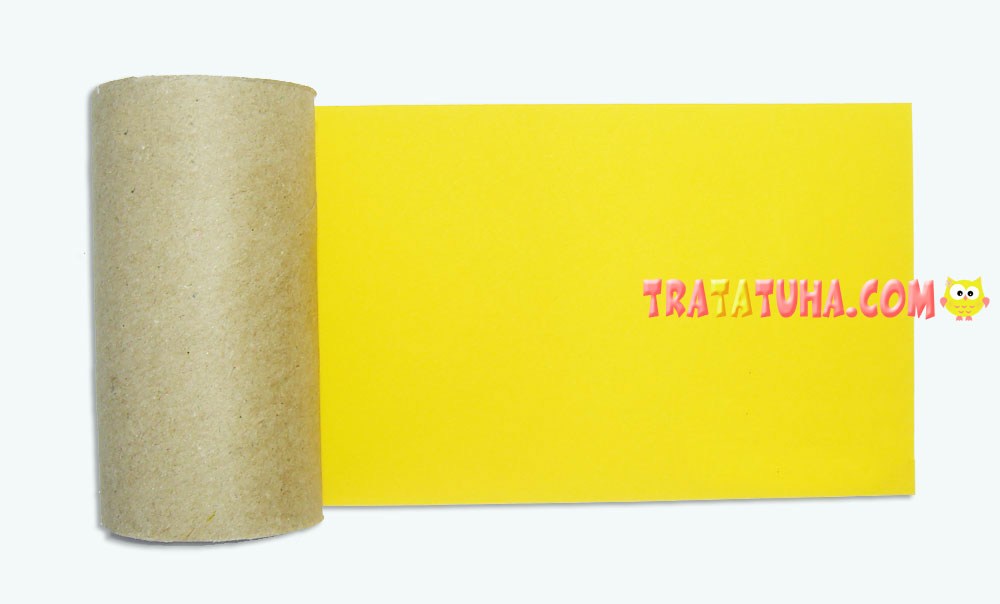
Glue it to the roll, carefully and carefully fitting the edges.
Prepare the parts that complement the bee from the roll:
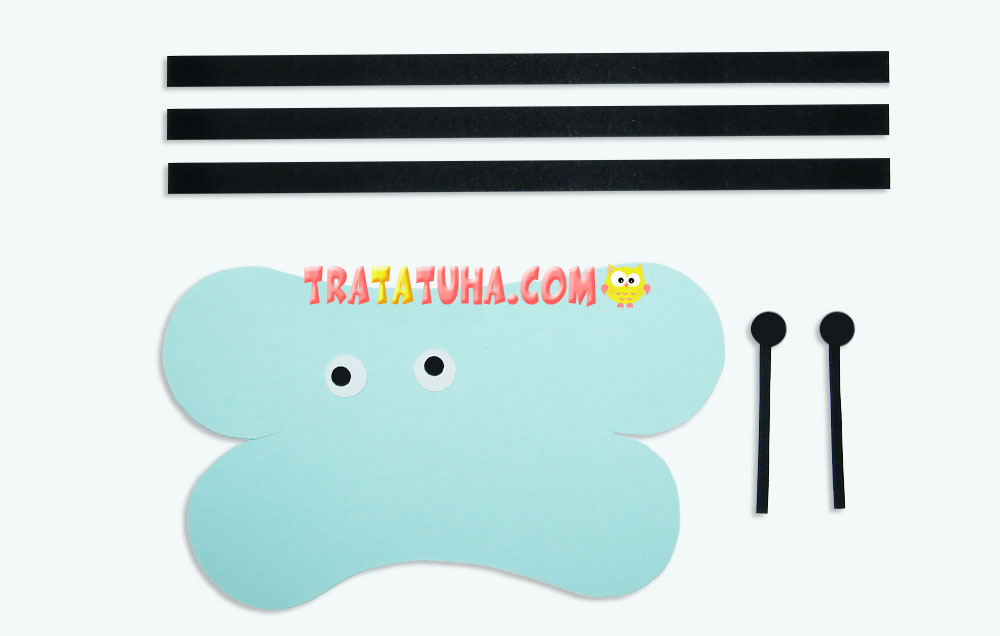
- Two or three black stripes;
- Black antennae, they can be quite simple in the form of the thinnest stripes, without rounding at the tips;
- Wings made of blue or white paper. In this example, they are one. But it is easier for small kids to cut out the wings separately, and in general only two, for example, as in a bee from a cone;
- Cut out two circles from white paper and draw pupils on them. Or use ready-made moving eyes.
The Final Stage
Glue the eyes on the body roll and draw a smile with a felt-tip pen.
Below, glue the strips around the roll, trying to place them from each other at the same distance. Complete the toilet paper roll bee with antennae glued on top and wings.

See more ideas about Toilet Paper Roll Crafts.
Many other Insects Crafts for kids.
Crafts for Kids – learn how to make craft at home! Super cute crafts for all age groups!
