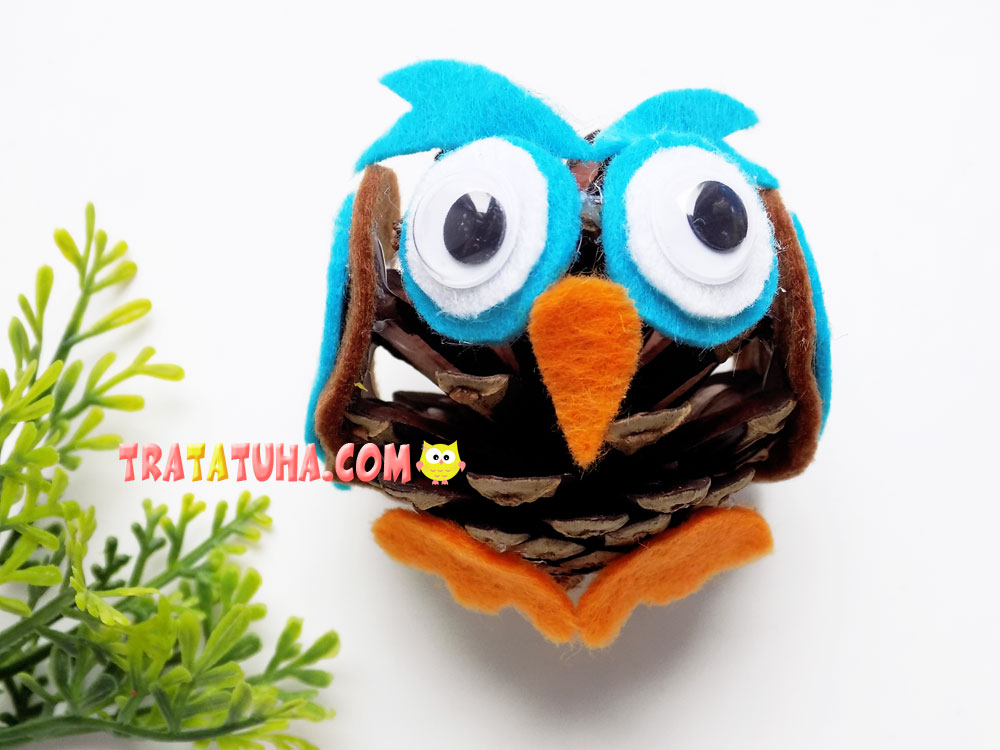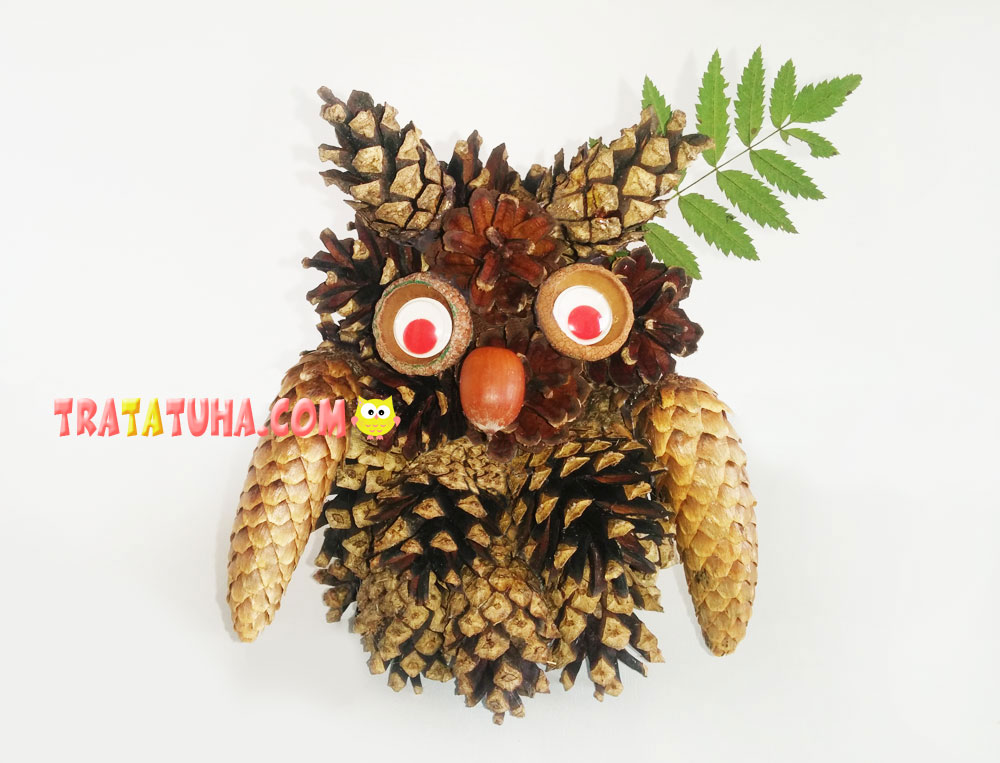
An owl of pinecones is always a safe pick of a craft made of natural materials, dedicated to autumn celebrations. The owl looks catchy and distinguished, being adored by everyone, especially by children.
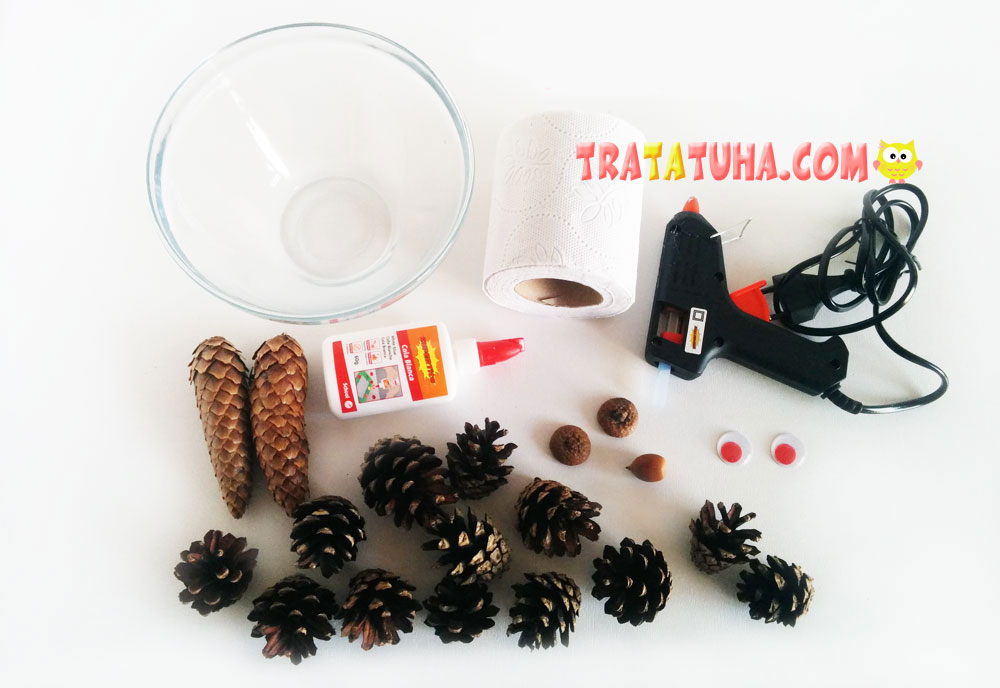
What will you need for the craft?
- Pinecones;
- Two fir-cones;
- 1 acorn and two acorn caps;
- A glue gun;
- Toilet paper, water, a bowl for making papier-mache;
- PVA glue;
- Moving eyes, but it is optionally.
Big Owl of Pinecones Step by Step
For our purpose, the work can be divided into two parts: preparing the owl carcass that will be made up from papier-mache, and actually creating the owl of cones. If you don’t feel like dealing with papier-mache, you can use plastic dishware instead: an empty yogurt or cream cup, a small bucket, etc.
How to Make Papier-Mache?
Depending on the desired owl size, pour PVA glue in a bowl.
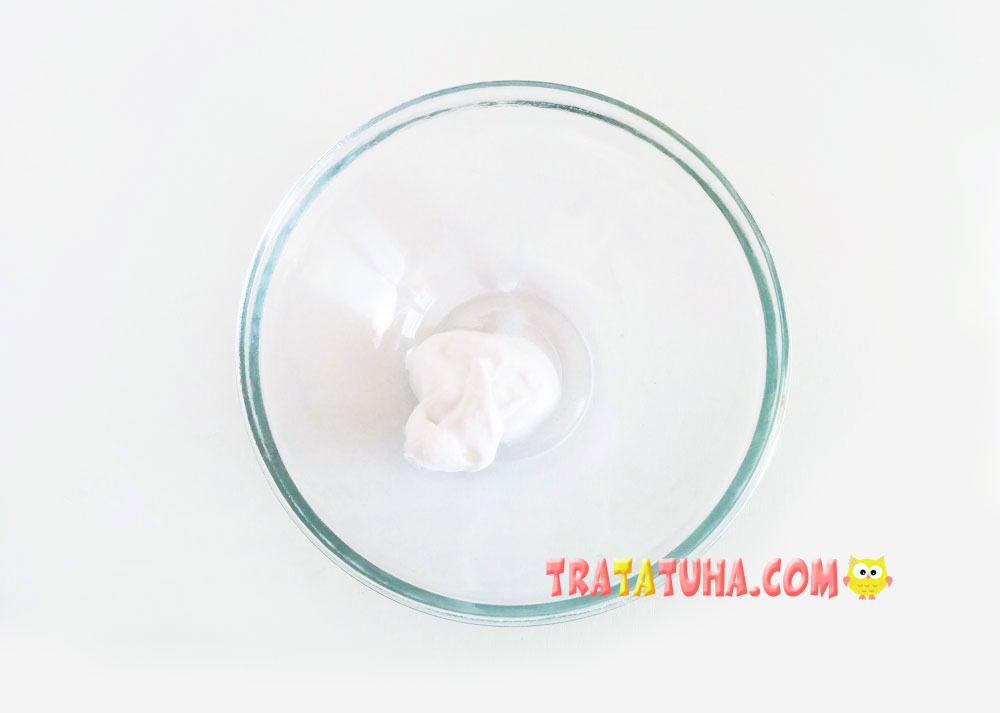
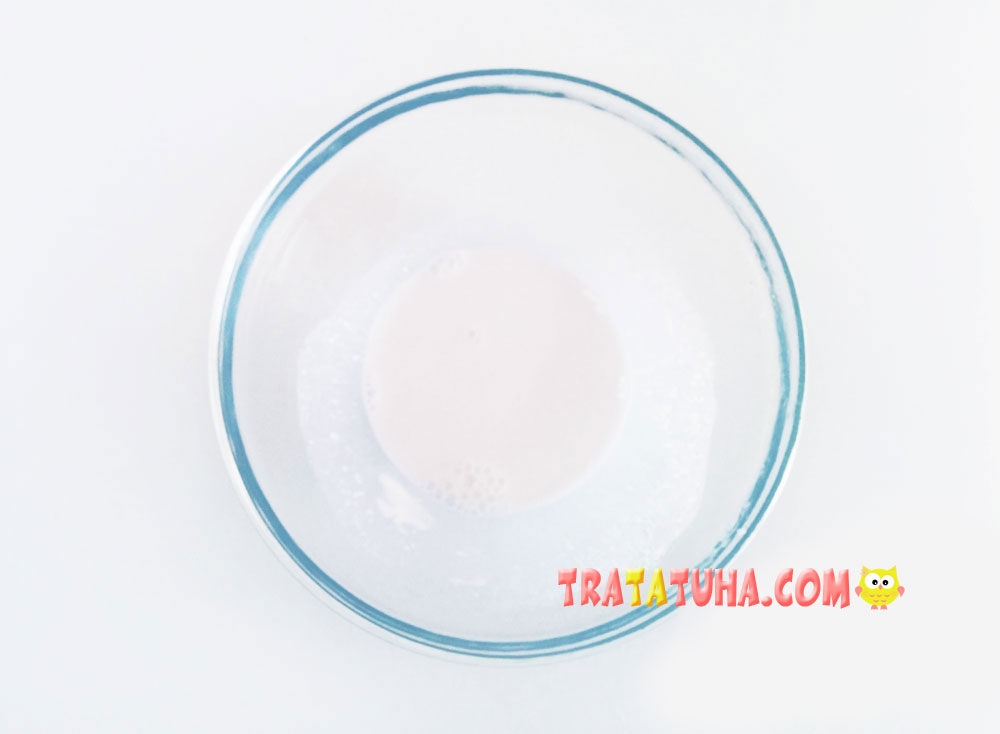
Mix it with water in the ratio of 1 to 1 and mix until the glue dissolves. I have a medium-sized owl 15 cm high. I took about 2 tablespoons of PVA glue.
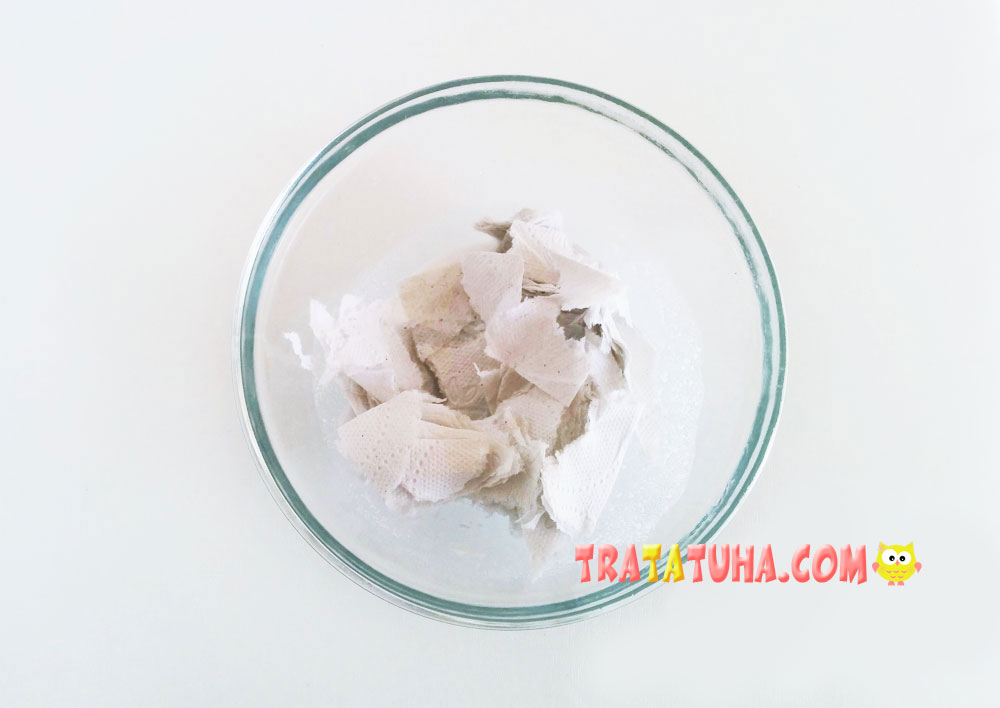
Then, tear the toilet paper into pieces and soak it in the glue solution.
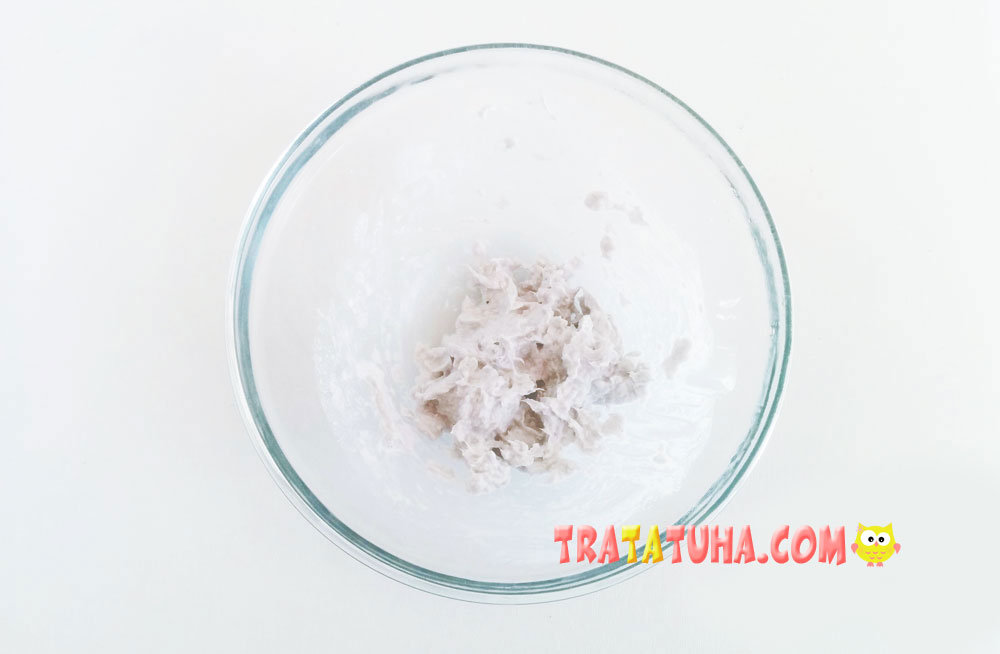
Mix thoroughly to get a relatively smooth paste.
All the next steps are simple – you need to crumple dry toilet paper with slightly wet hands, forming a certain shape out of it that resembles a bird body; in other words, it should look like an oval with a tail. It can be small, not even exceeding a common cone; later, glued cones will significantly increase its dimensions.
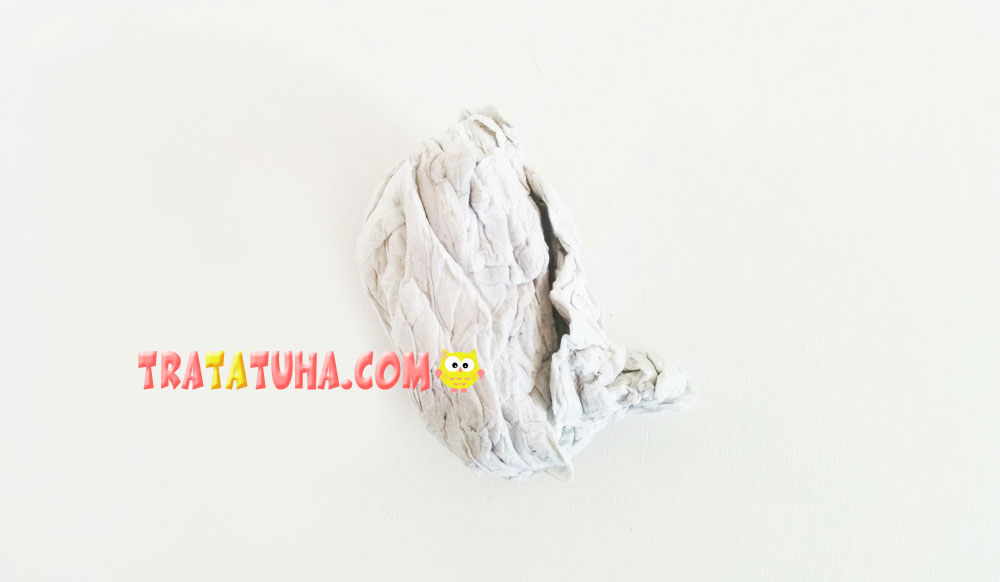
Atop of it apply a thin layer of the adhesive mass. Theoretically, papier-mache models should be smoothed thoroughly, but we don’t need this, since there will be cones atop of it anyway.
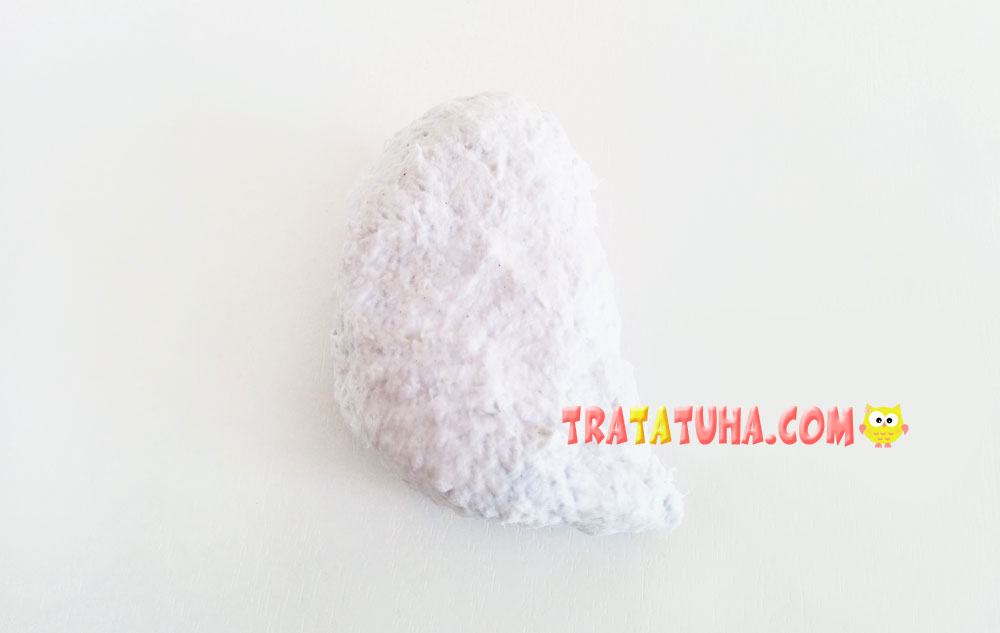
Use the similar method to make a paper ball – it will make up a future owl head. You can make the whole part at once, but I think that it’s more convenient and simple to make them separately.
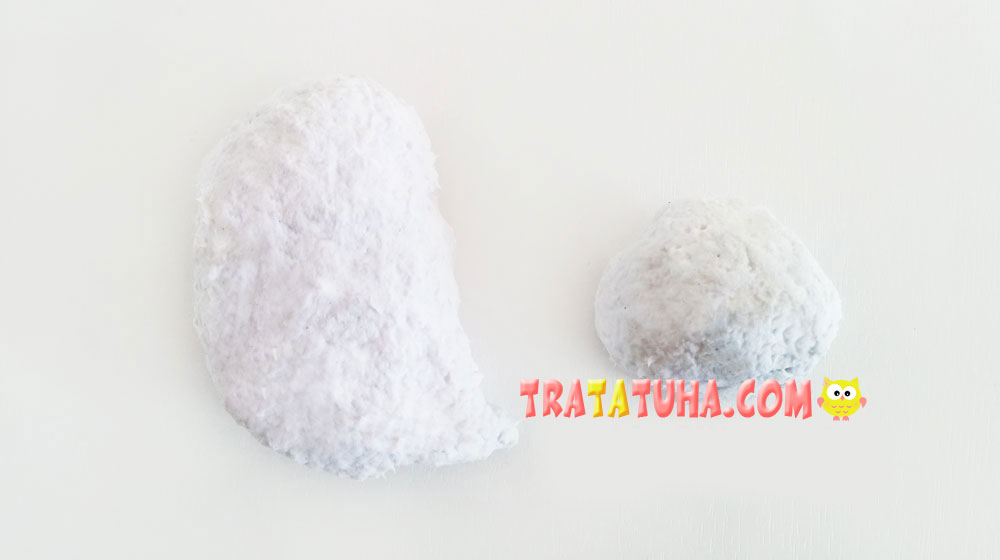
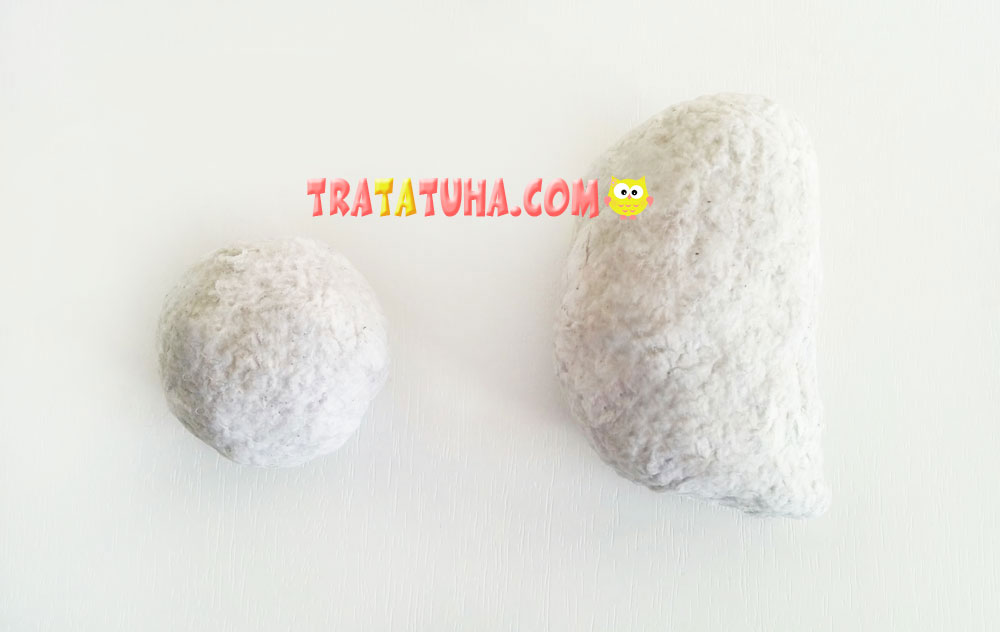
Then, the craft should be dried in an oven at a temperature of 60 degrees for about 3 hours. From time to time, you should open the oven and turn the parts over. But to tell the truth, I wasn’t patient enough to wait for so long. After the parts spent about half an hour in the oven, I put them to a microwave. After 6 sets, 30 seconds each, the owl head and body were ready. They became dry, seamless and lightweight.
How to Make an Owl of Pinecones?
The owl base is ready; now, we need to glue the cones onto it. I used a glue gun, but maybe you will be able to stick the cones to the paper with superglue, but I’m not sure about it. But you have no other options when working with cones and plastic – only a glue gun.
Heat the device for 5 minutes, squeeze a large glue pea slightly on the side of a cone and glue it to the bottom part of the papier-mache body. Thus, you fix the first bottom row. You can start with a tail, so that a cone could be located right on its tip.
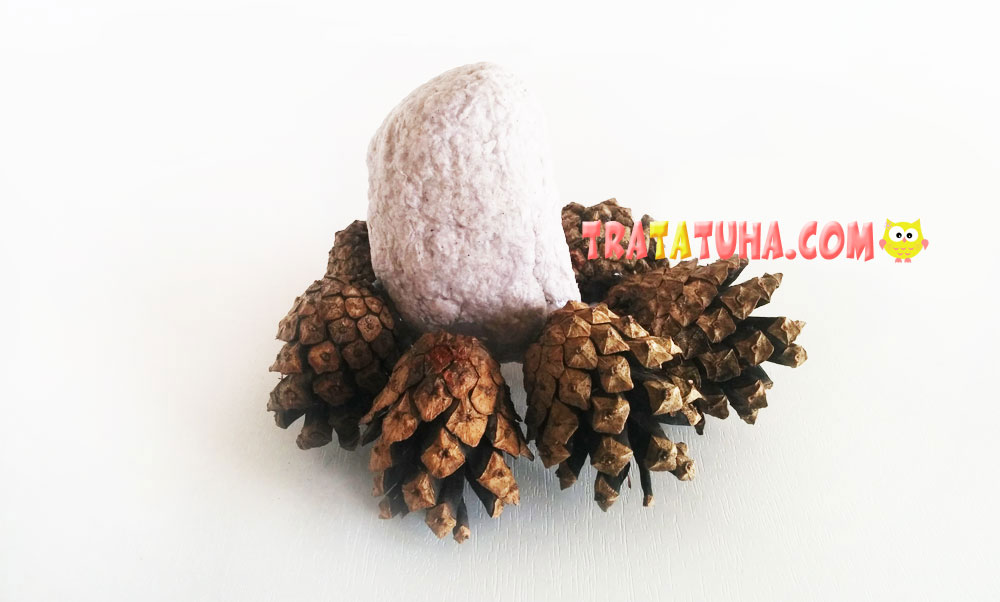
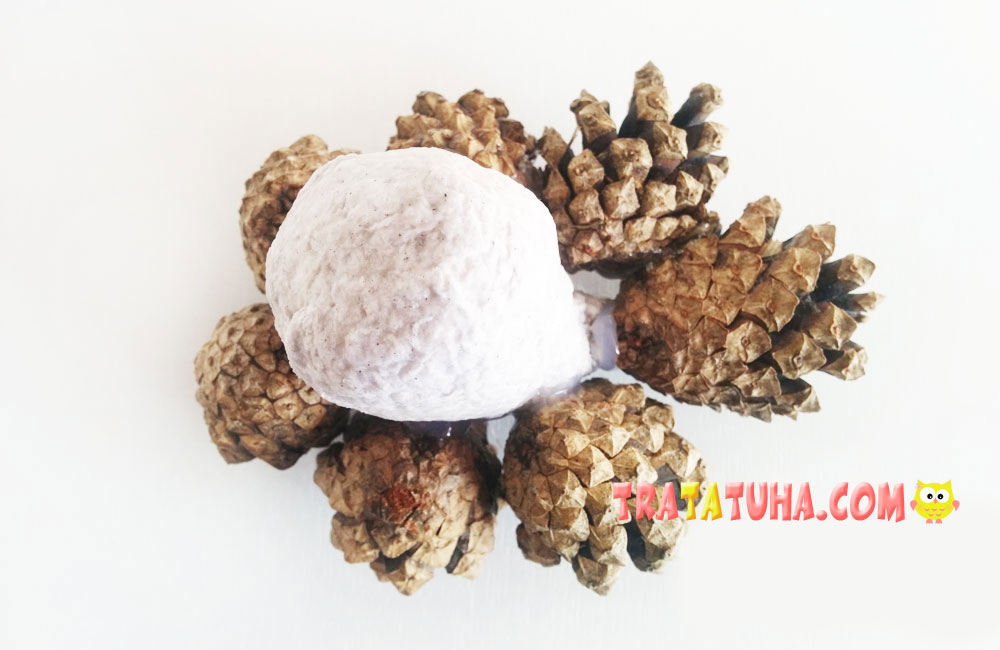
The second row is attached in the similar way. You should select cones of a suitable size so that they could completely hide papier-mache, but at the same time don’t bulge unevenly.
The body is almost over, it’s time to attach the head onto it and continue our work.
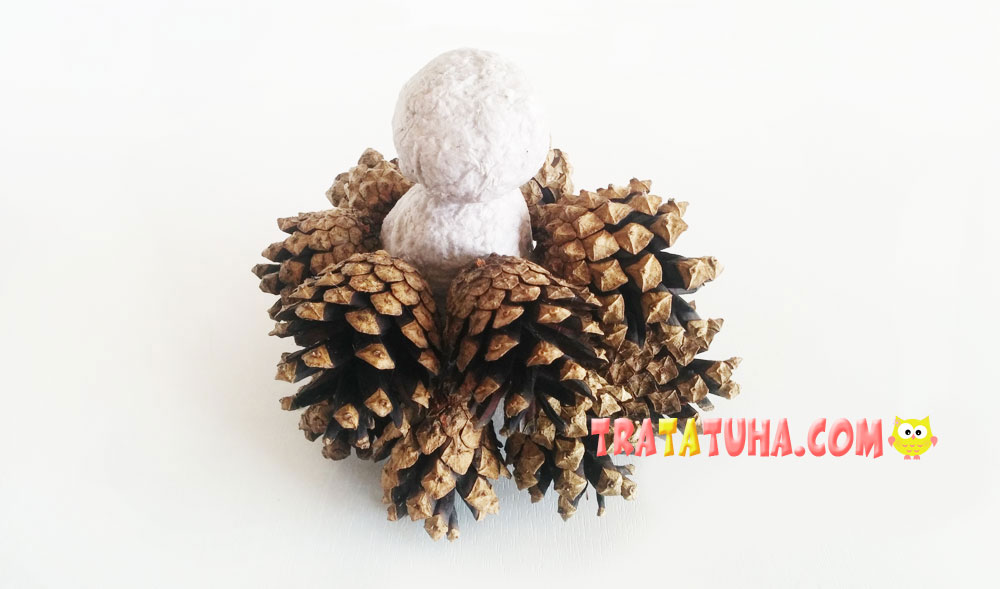
The cones look unattractive when glued sideways to the head; therefore, I attached them by their flat part. I covered the whole head with cones, trying to make it look more or less symmetrical.
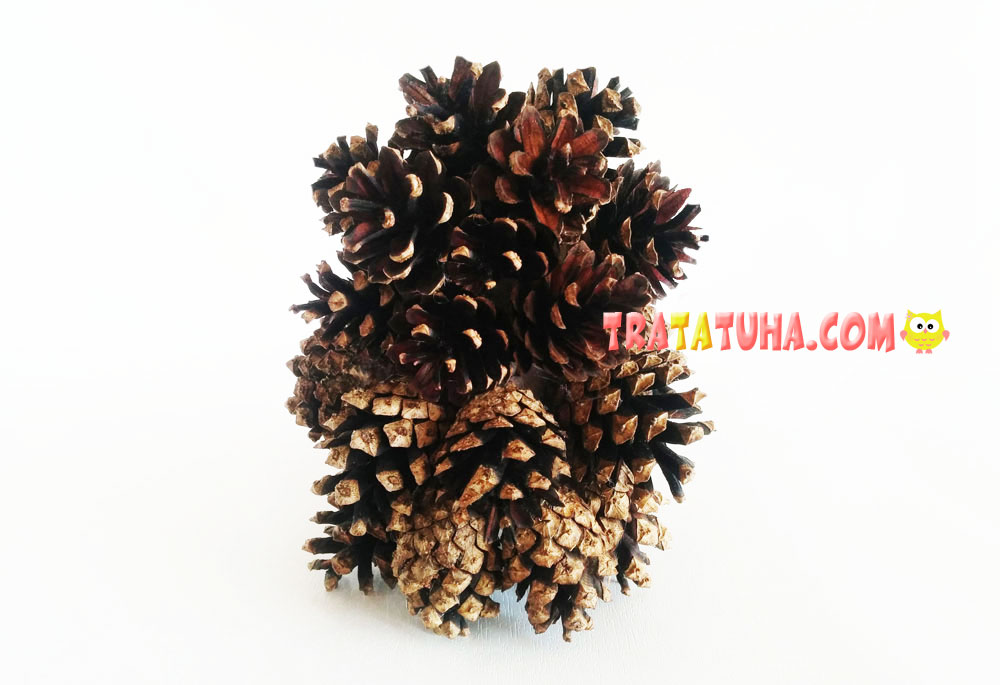
The construction still doesn’t resemble an owl – it will look like one after I have attached stubbled ears, for which I will use small unopened cones. Moreover, we need fir-cones for wings, acorn caps for eyes and an acorn itself for a nose.
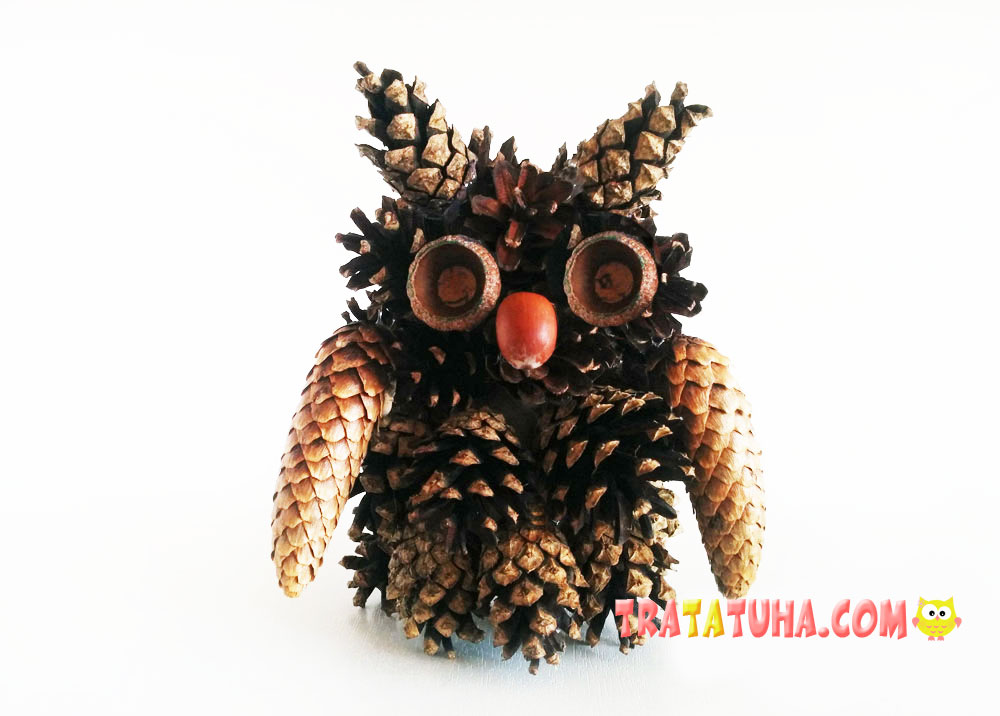
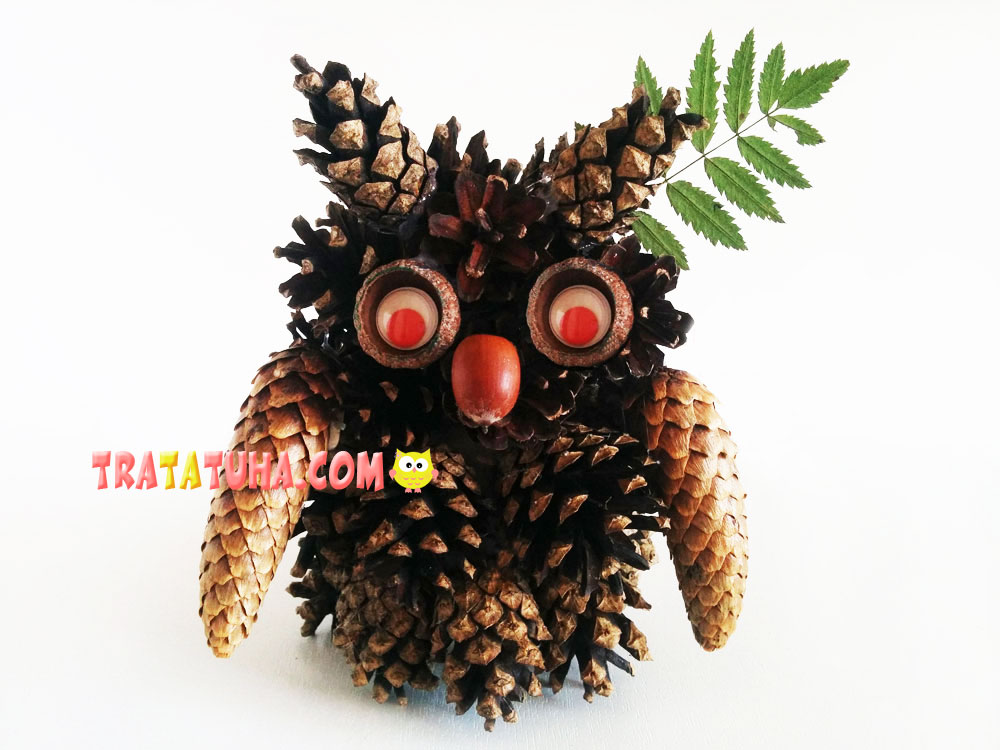
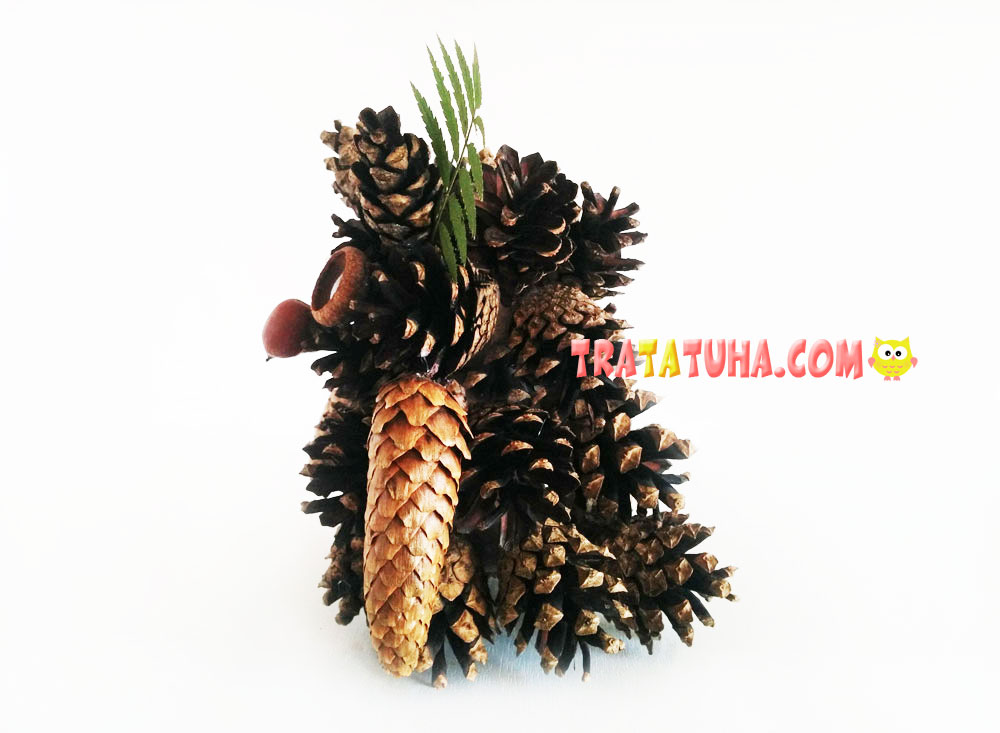
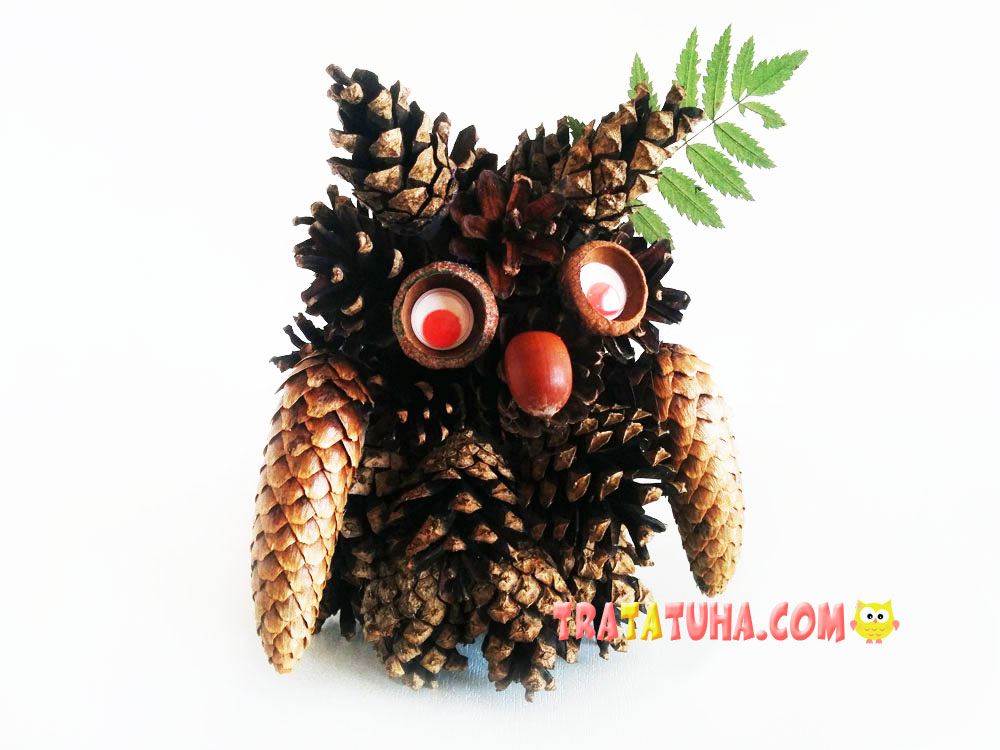
Thus, we’ve made such a rather large owl of pinecones, which consists from natural materials only, but for the paper base. However, I wanted to stick moving eyes inside the acorns caps, which made the owl’s appearance much livelier. Moreover, you can decorate the owl with leaves – for example, with a flirty pocking out dried twig.
Another good option for an autumn craft is a hedgehog made of cones and a plastic bottle.
See more ideas about Pinecones Crafts.
Crafts for Kids – learn how to make craft at home! Super cute crafts for all age groups!
