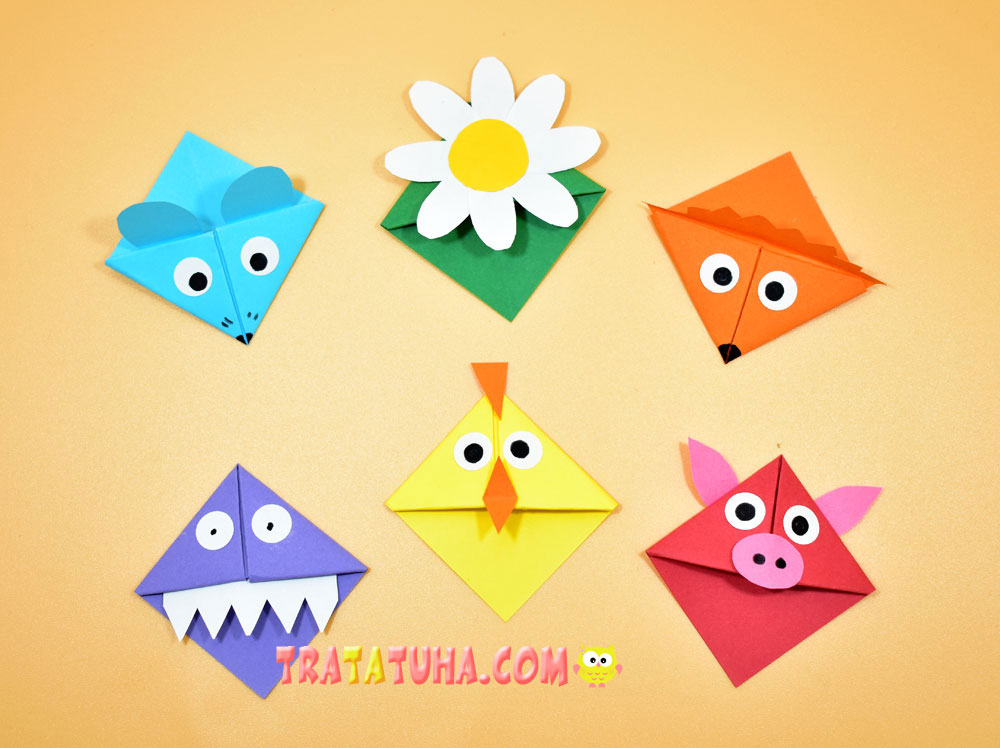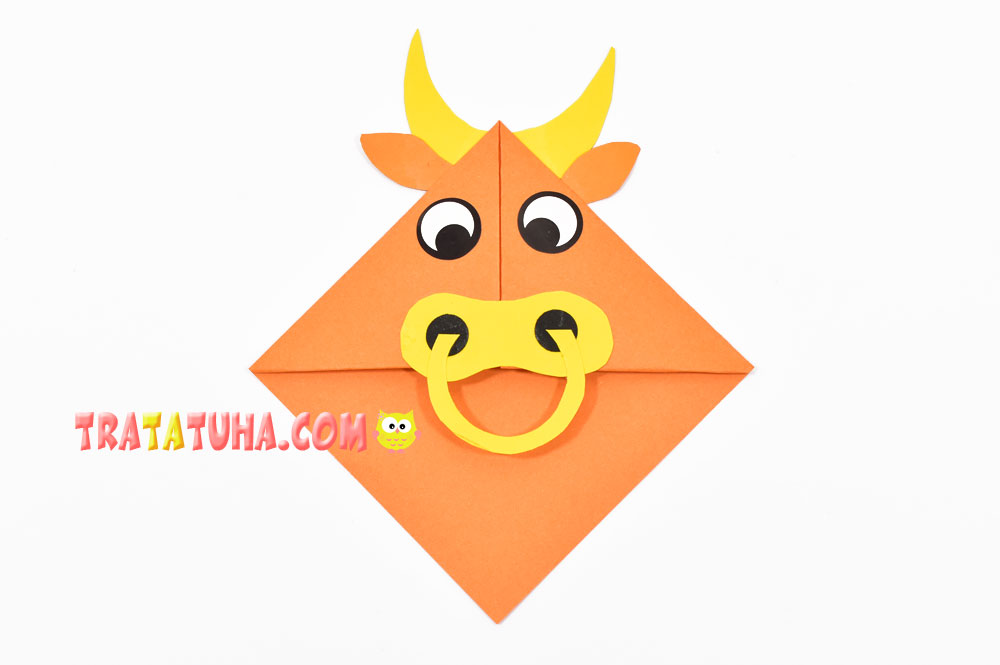
A simple bull corner bookmark for children’s creativity step by step. An interesting bookmark for books relevant this year.
Many other paper corners in the selection — origami corner bookmark.
Materials used:
- Colored paper;
- Compasses, simple pencil, scissors, glue stick.
Bull Corner Bookmark Step by Step
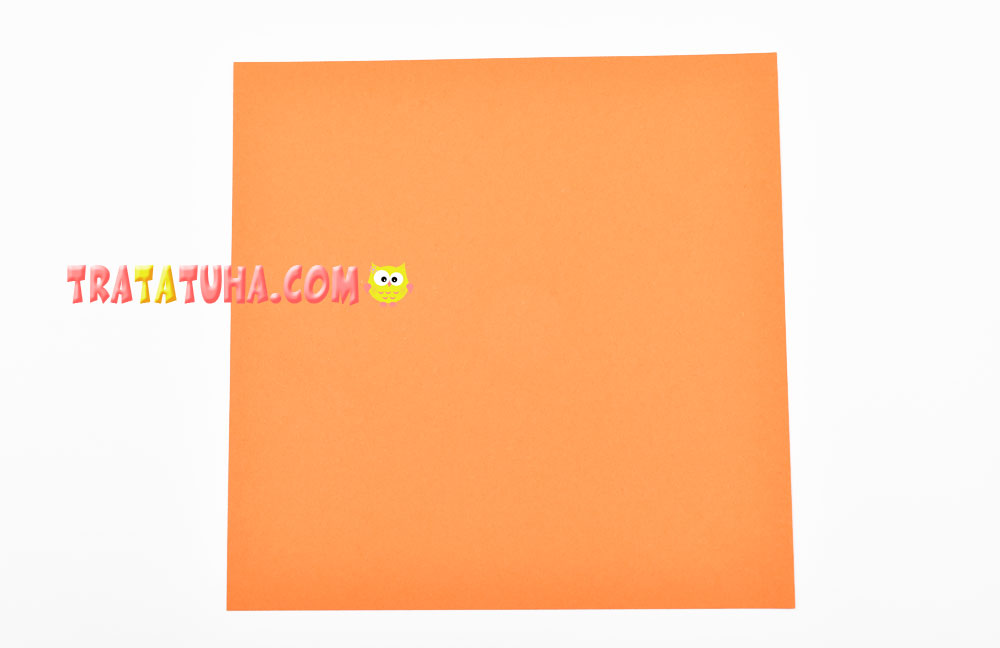
Prepare square paper. In this work, origami paper 15:15 cm was used.
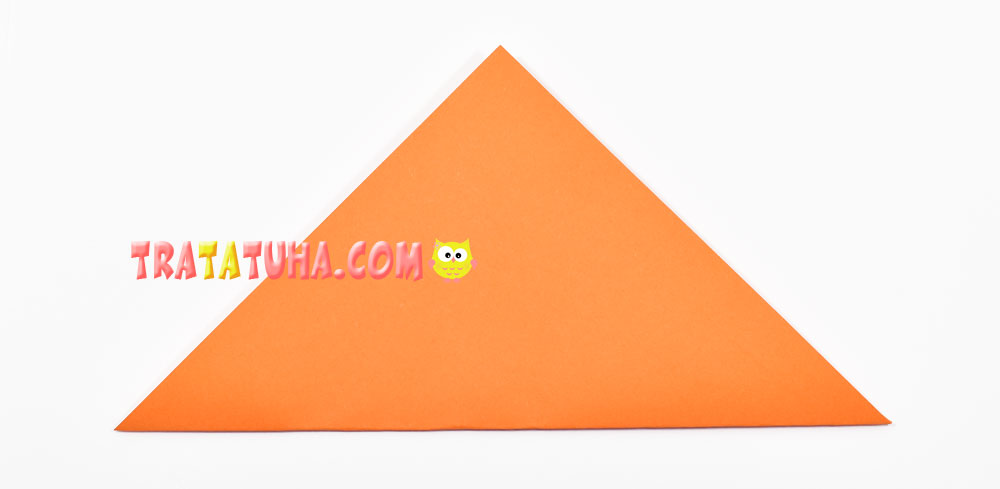
Connect opposite corners to make a triangle.
Connect the right corner of the triangle to the top corner.

Then do the same with the left corner, aligning the sides in the middle. With these actions, we will outline the folds, thanks to which it will be easier to fold the corner in the future. With sufficient experience in folding the corner, this step can be skipped.

Return the corners to their original state.

Lower the top corner down to the opposite edge. Since the corners are doubled at the top, one of them will be bent down, and the second will remain in the same state.

Now fold the right corner into a pocket in the middle.

Press down the side and smooth the fold.

After direct there and the left corner.

Turn over, changing the bottom with the top. The bookmark is ready. Now it’s time to give her the image of a bull.
Using a compass, pencil and scissors, draw and cut out small details that characterize the animal:
- Monthly horns;
- A muzzle shaped like a figure eight;
- Two black nostrils;
- Ears;
- Nose ring;
- Eyes.

Glue the details. Bull corner bookmark is ready. The paper corner looks great on the book. In addition, it is quite a necessary practical thing.


