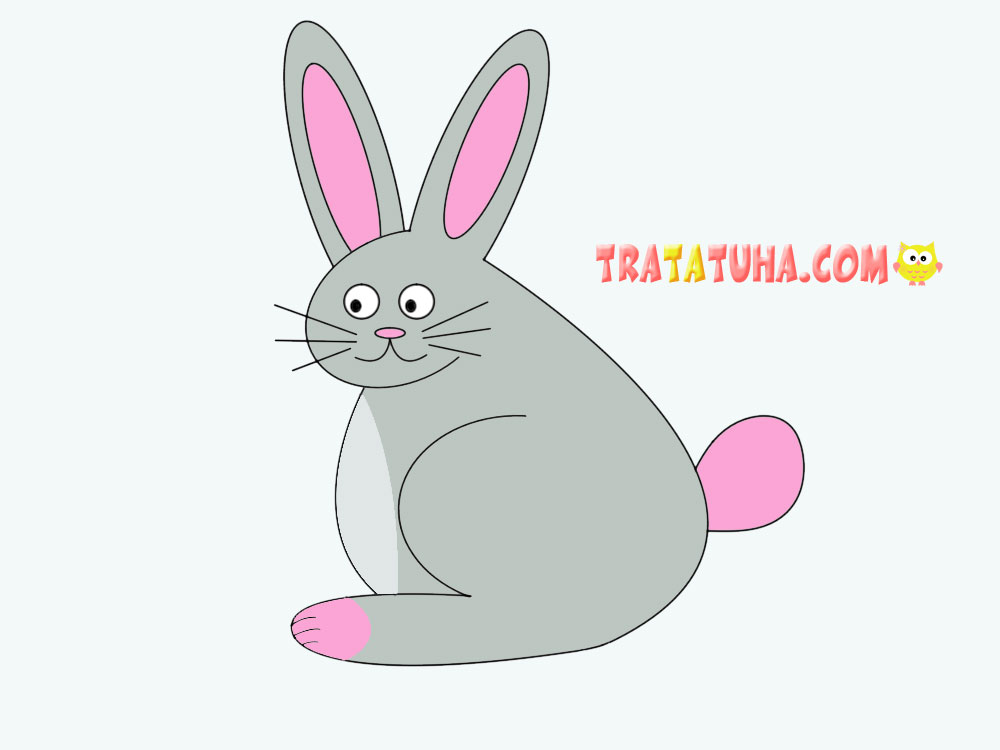
Step-by-step instruction with a photo on the topic “How to draw a rabbit.” An easy way for children’s creativity. The rabbit turns out to be funny and well-fed, it can be an decoration for an Easter card, crafts.
Materials for creativity:
- A sheet of white paper;
- Simple pencil;
- Eraser;
- Colored pencils or markers.
How to Draw a Rabbit in Stages
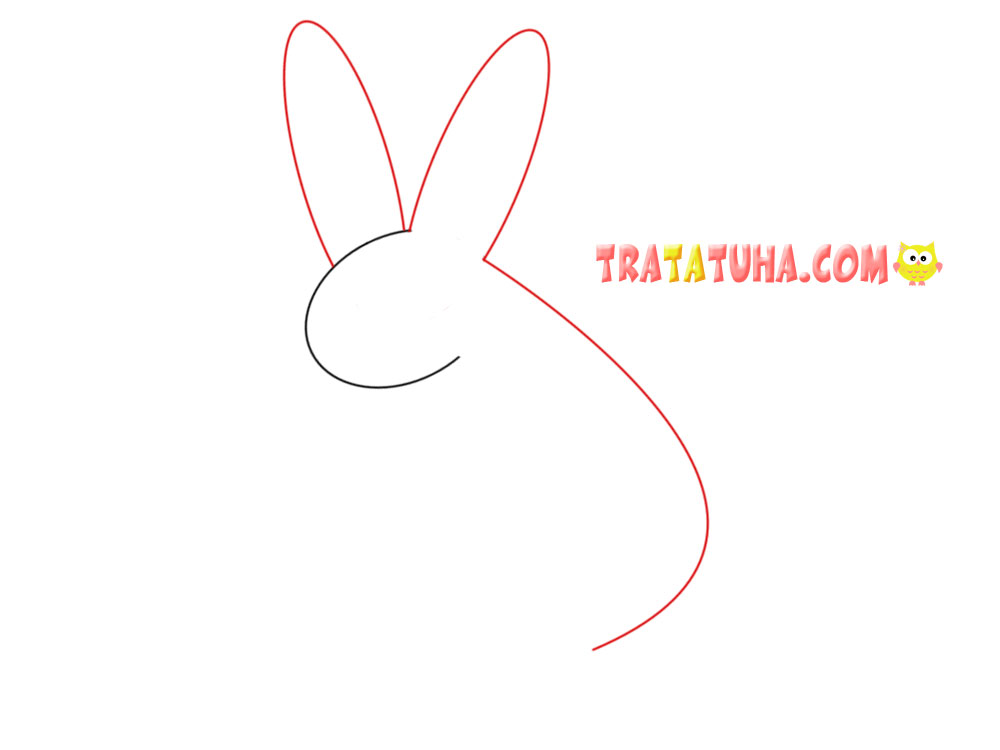
In the center of the sheet, draw a small oval, which will be the head of the rabbit. You can completely complete the oval, and then erase part of the line on the right. Or, initially draw a semi-oval-muzzle.

At the top of the semi-oval draw two long ears. And then, starting from the second ear, draw a line a little to the side and down, forming the back of the animal.
Now draw the foot as shown in the photo.
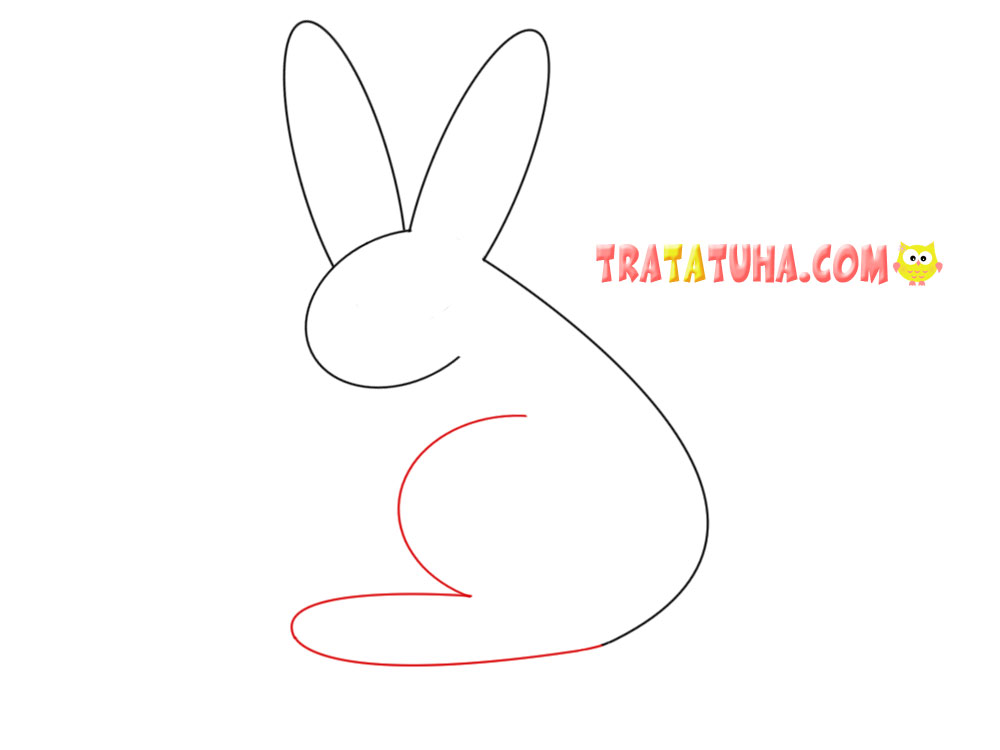
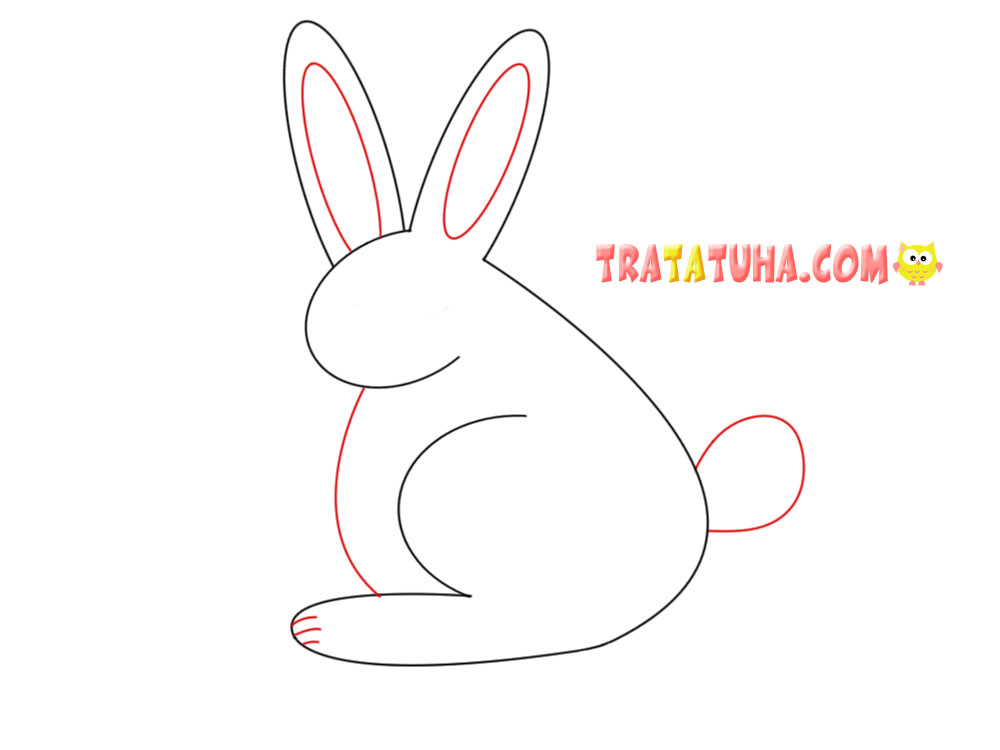
Draw an arc from the head to the very paw to draw the rabbit’s belly. The larger the belly, the fatter the rabbit will look. At the back, add a small ponytail, and also draw long narrow ovals inside the ears. Also add nails to the foot.
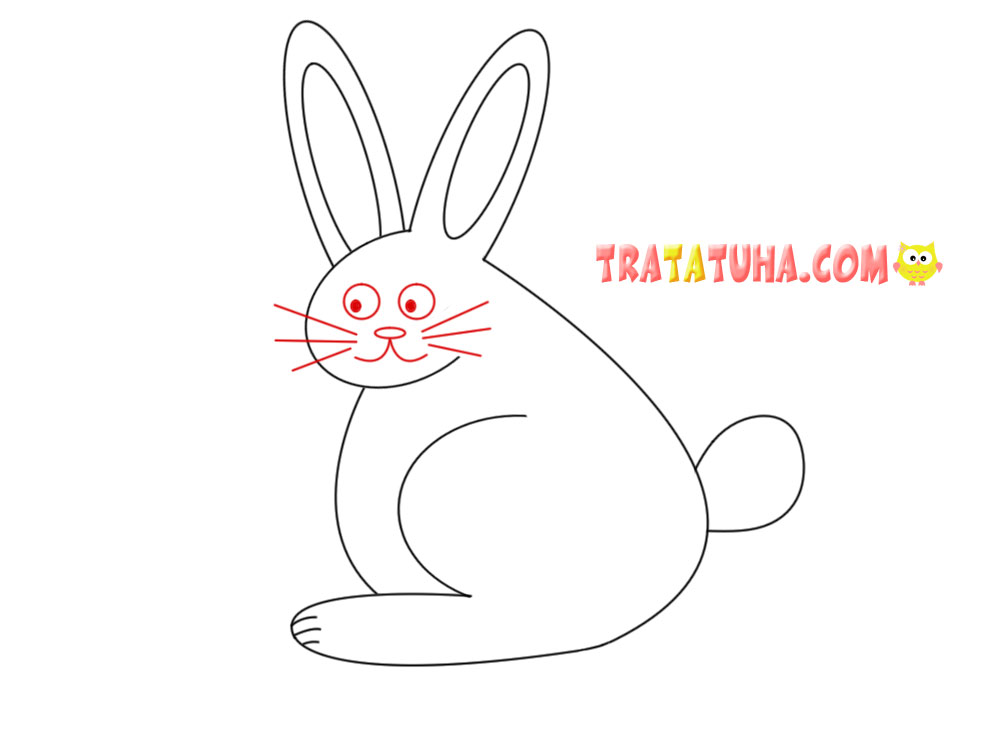
Now let’s move on to the muzzle. Draw round eyes, a nose from which small arches and mustaches extend from both sides of the muzzle.
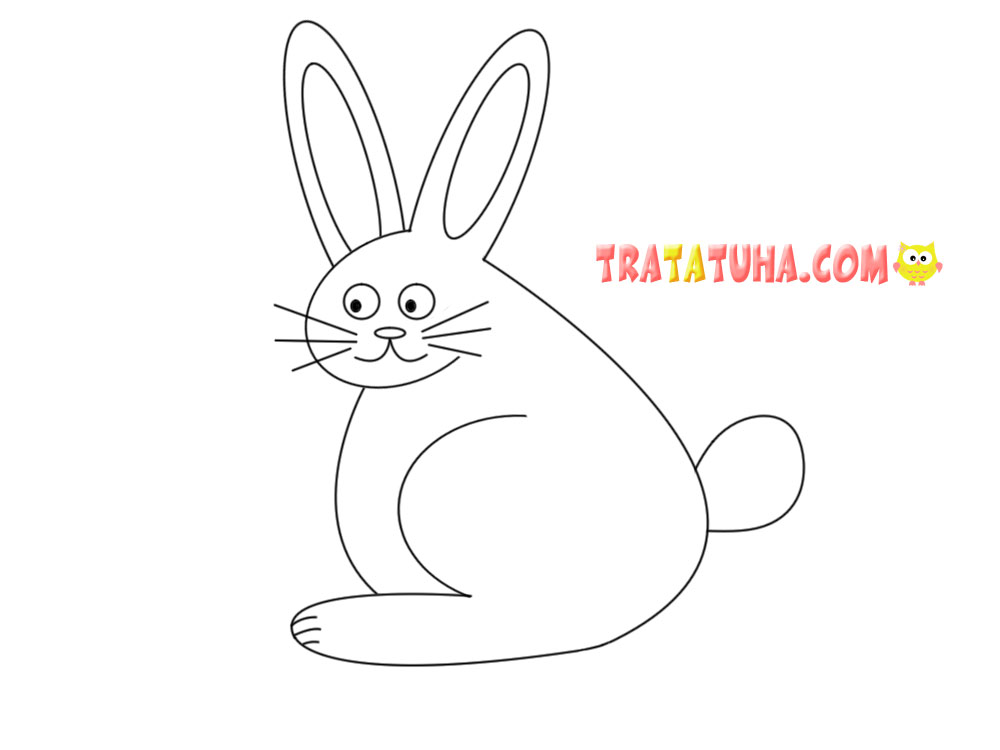
The main important part of the work is completed. It remains only to color inside the contour at your own discretion.
The classic version is gray with pink. But after all, rabbits have rich colors, they are both plain and spotted. The Easter version generally accepts pastel pink and blue variations. Now you know how to draw a rabbit. Happy creative process! Even more step-by-step ideas in the rubric — how to draw.
Related Post: