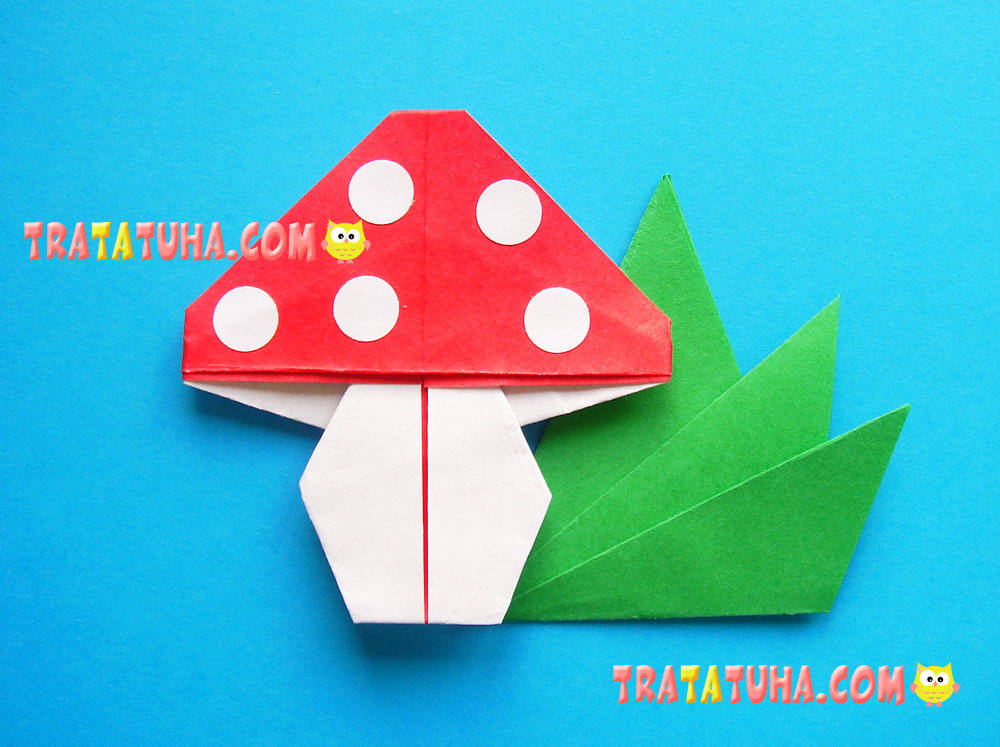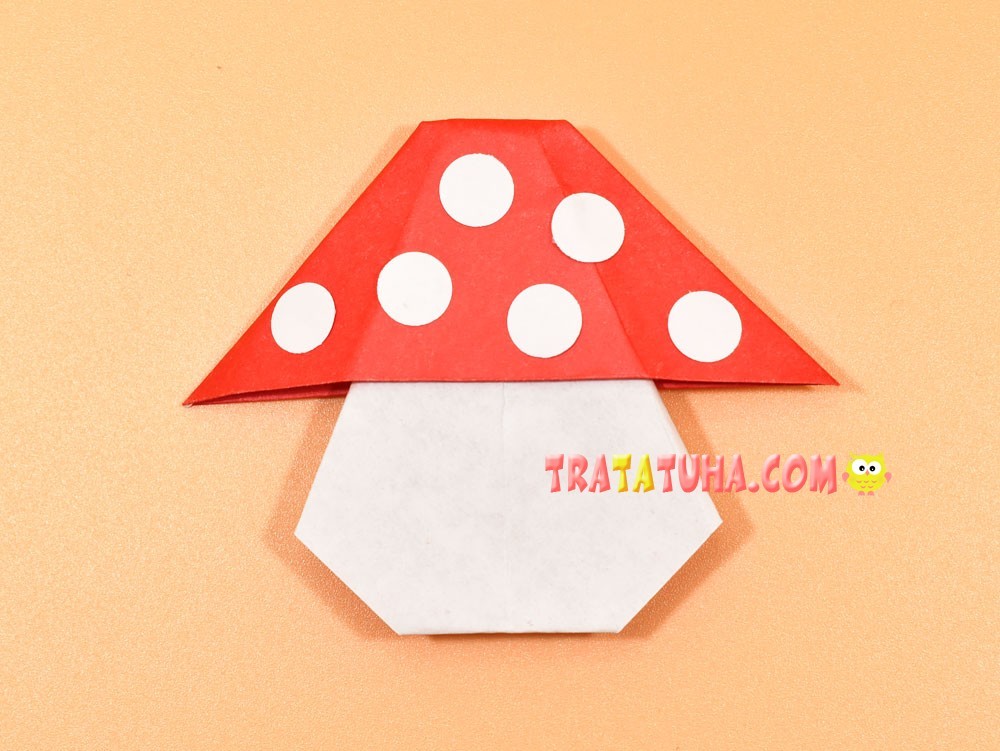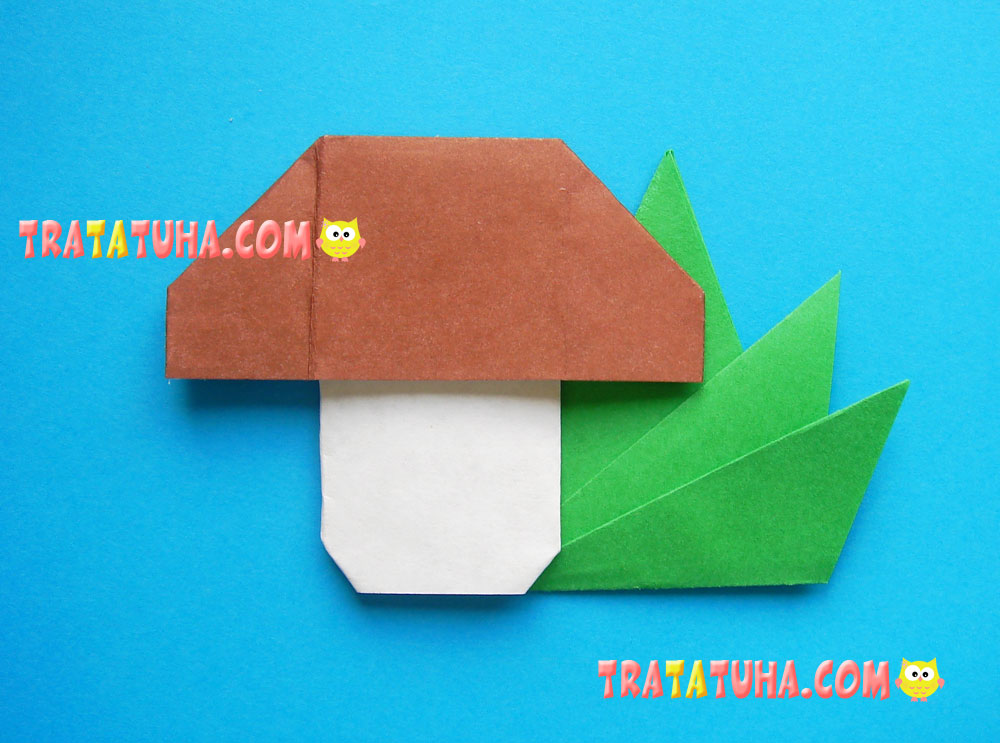
Origami boletus mushroom for kids’ crafts. A great idea for autumn children’s events. Besides it, you can make origami grass.
Materials for the craft:
- Single-sided colored paper (a square piece of special origami paper);
- Scissors if you have no origami paper.
Origami Boletus Mushroom Step by Step
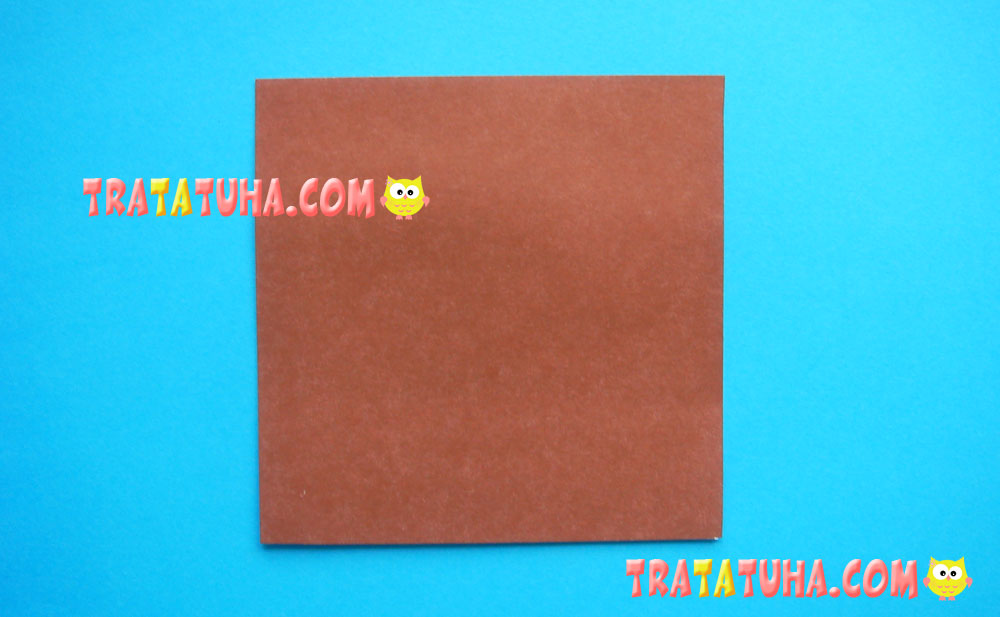
Place a square piece of paper in front of you, the brown side up.
Pull the upper edge and fold it down, reaching a little further than a half of the paper length. It will make up a boletus mushroom cap and it shouldn’t be too narrow.
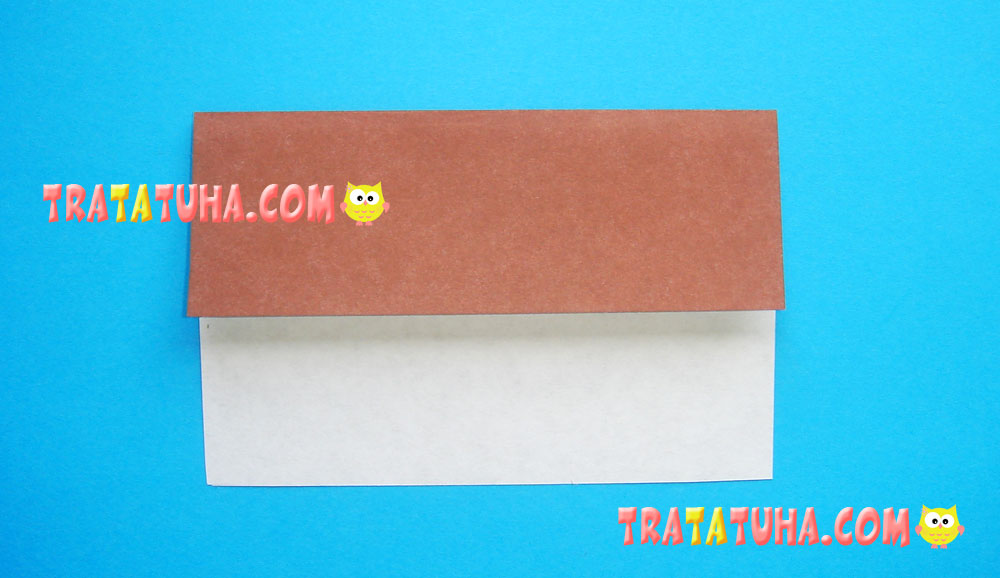
Turn the paper over. Fold the right side so that it could be roughly as long as the left one.
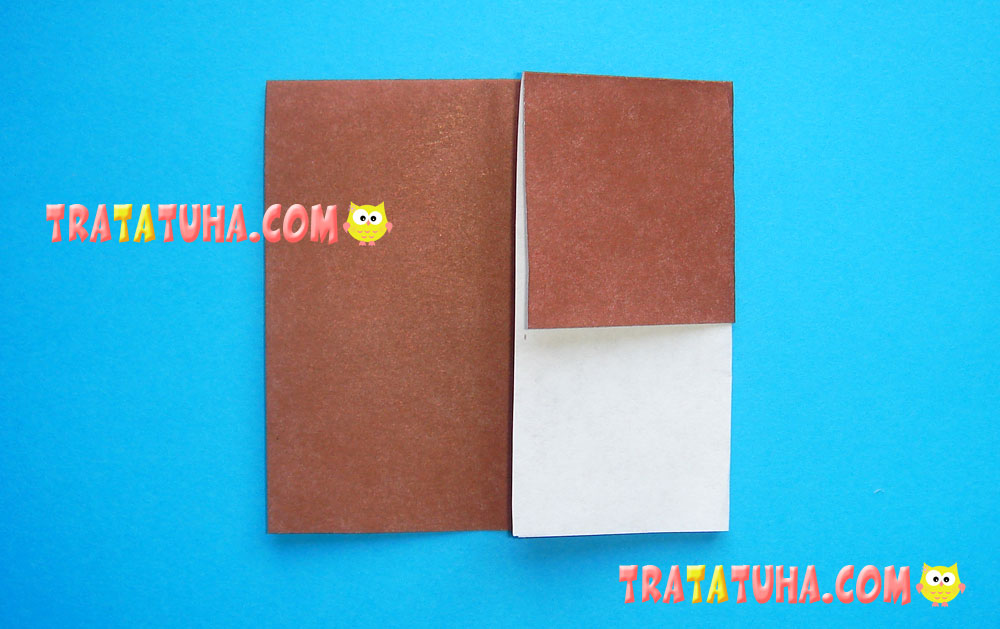
Now, we form the origami mushroom cap. To achieve this, open up a pocket to the right.
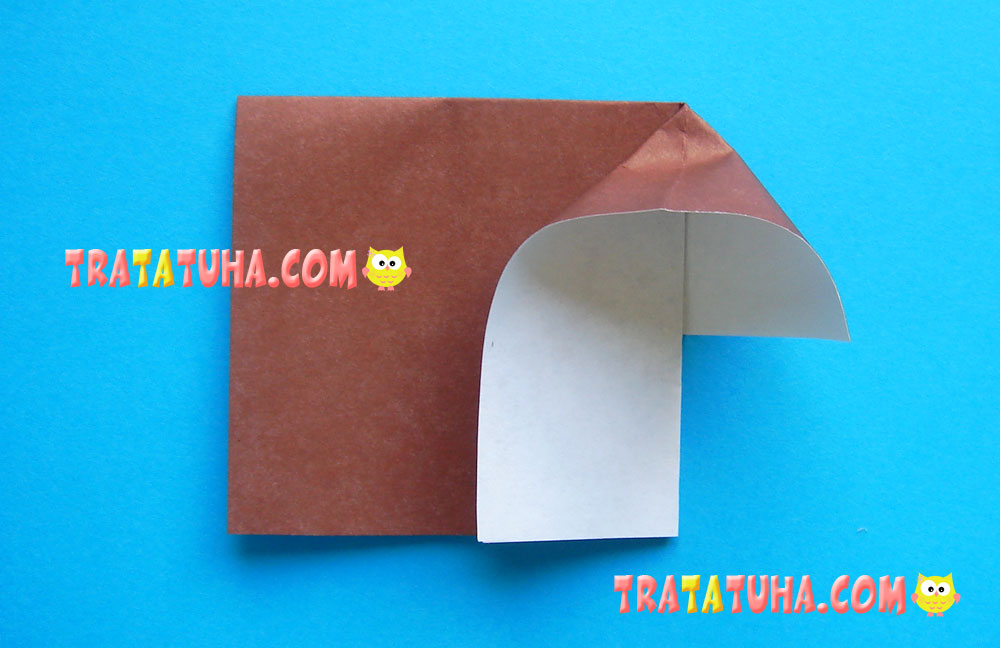
Then, press it and smooth down the edges.
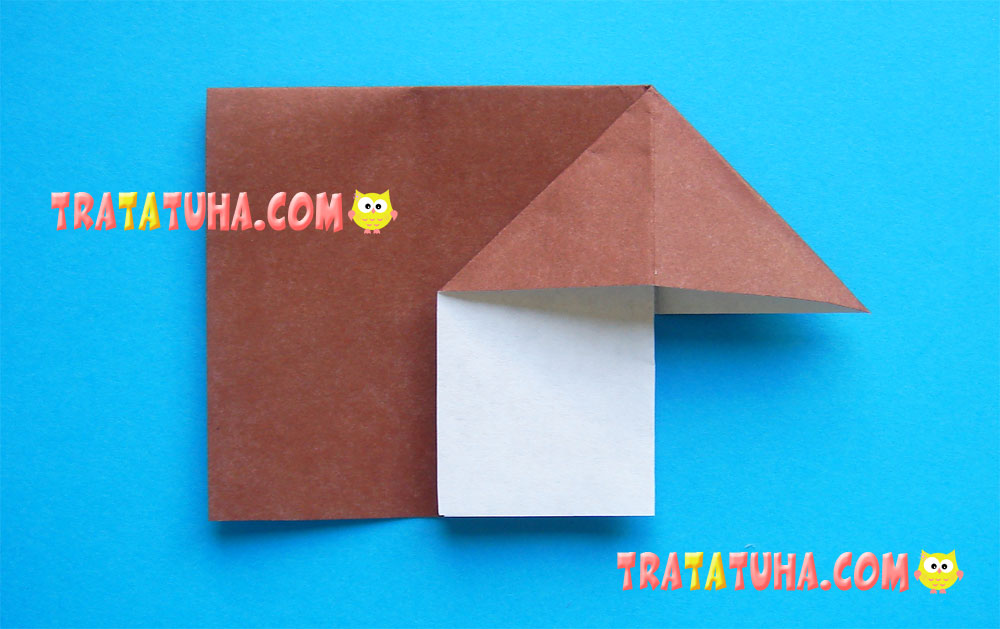
Fold the paper left side onto the right one in the overlapping manner.
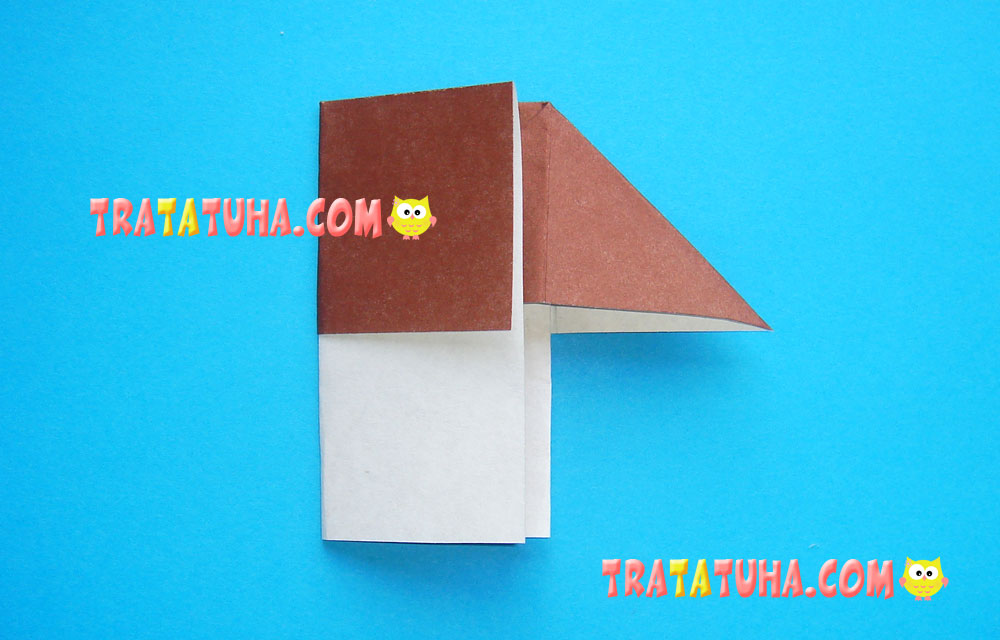
Use the similar technique to make the left side of the cap. In other words, unfold the pocket to the left.
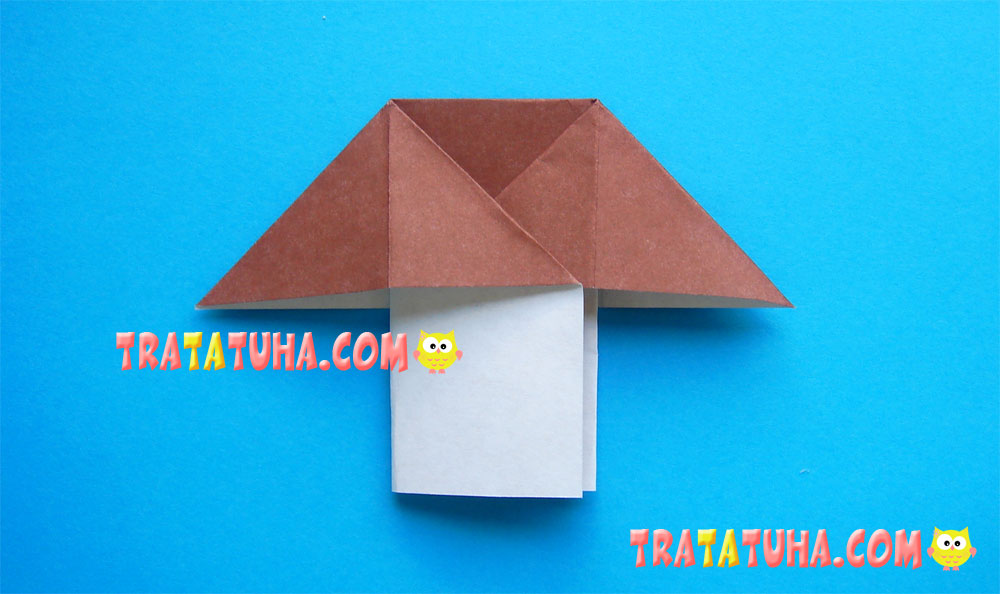
Round the mushroom off by folding small corners on either side of the cap, as well as corners at the bottom part of the leg.
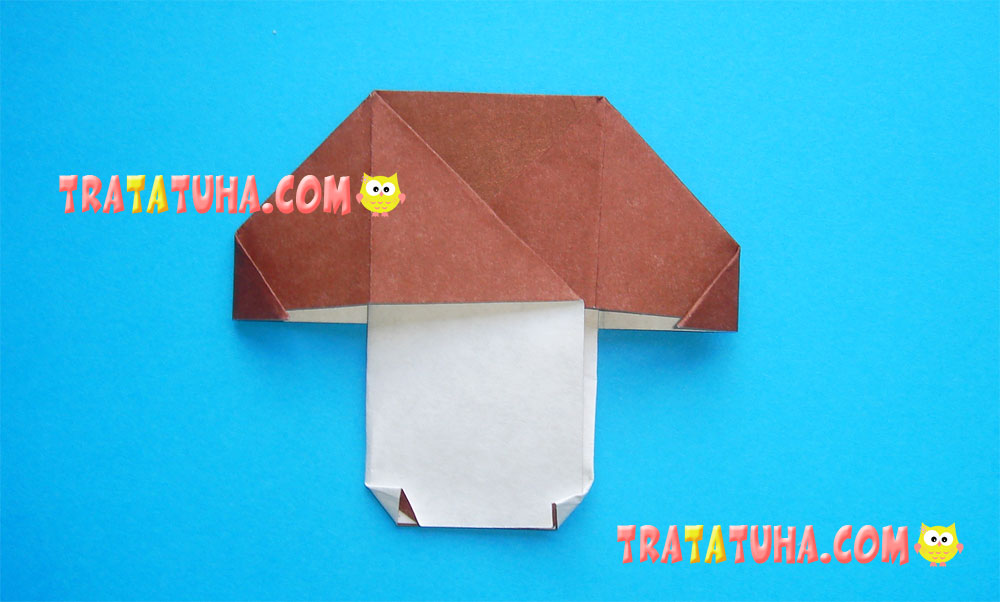
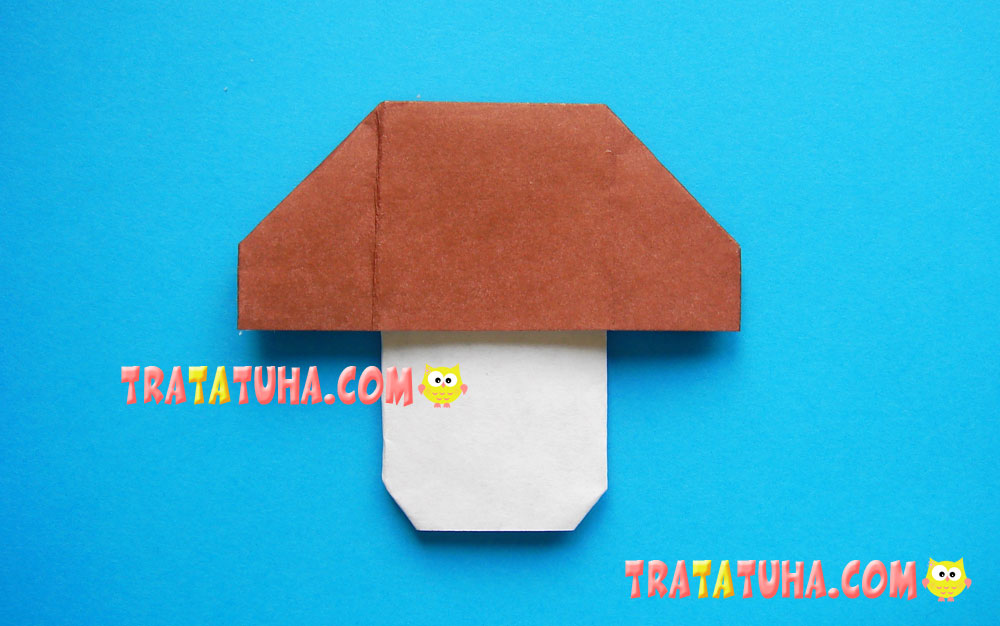
Turn it over – the origami boletus mushroom is ready. You can also make a very simple grass if you want.
Origami Grass
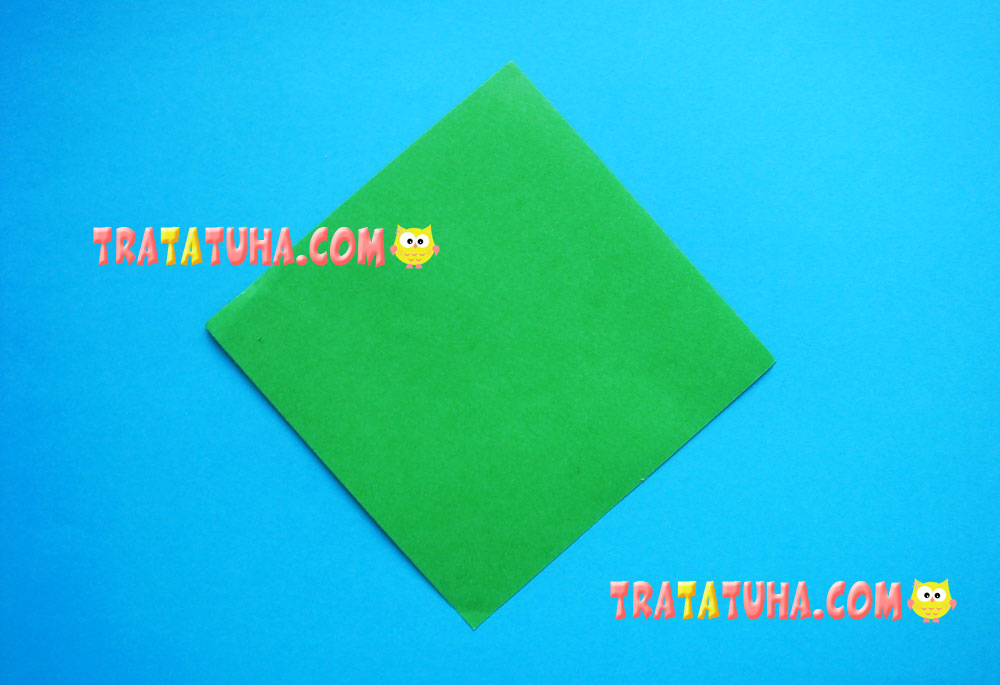
Prepare a square piece of double-sided green paper. You can use the same size as for folding the mushroom.
Fold the paper in half, corner to corner. You will get a triangle.
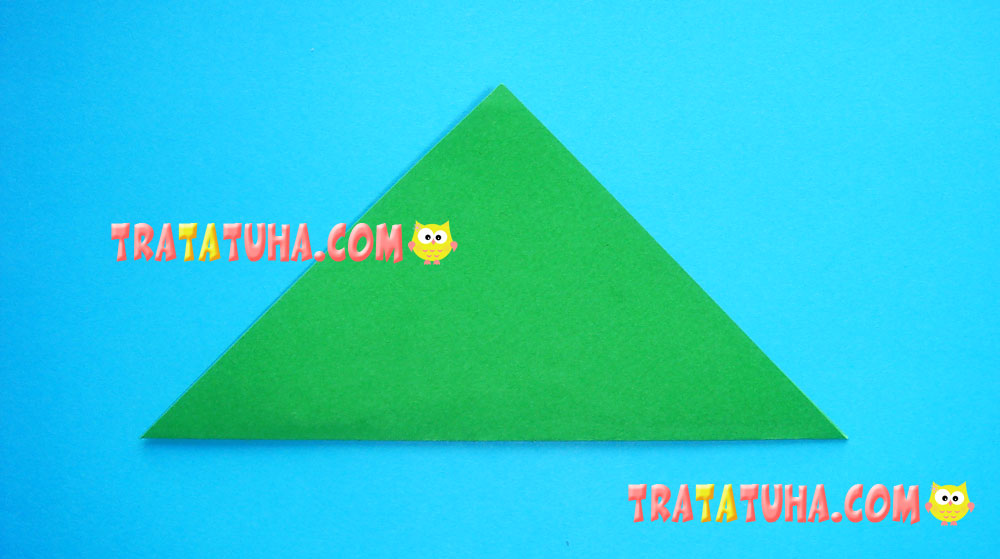
Now, fold the triangle once again by connecting the left and the right corners.
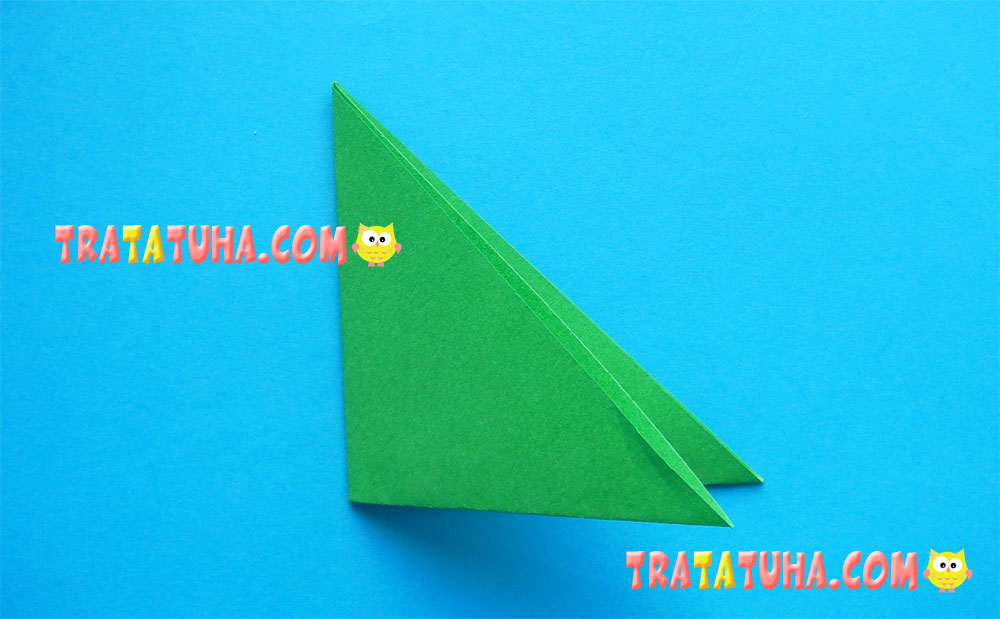
Fold the upper part upwards and slightly diagonally.
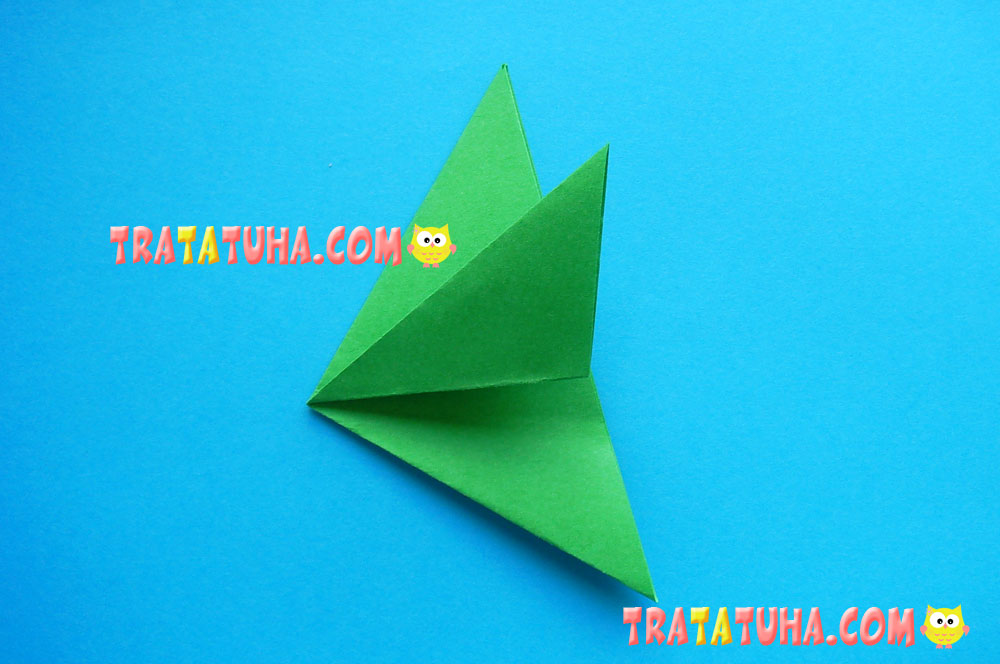
Similarly, fold the triangle bottom part upwards and cornerwise, forming roughly equal steps. Origami grass is ready.
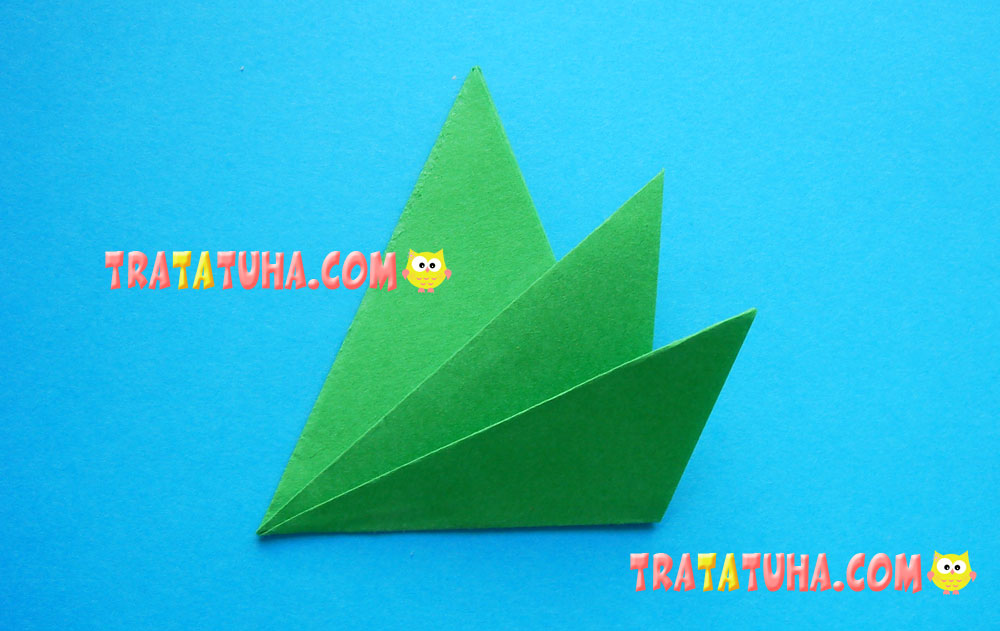
You can attach the grass to the origami mushroom or make an applique work by gluing them together onto cardboard. You can make origami fly agaric as well.

Crafts for Kids – learn how to make craft at home! Super cute crafts for all age groups!
