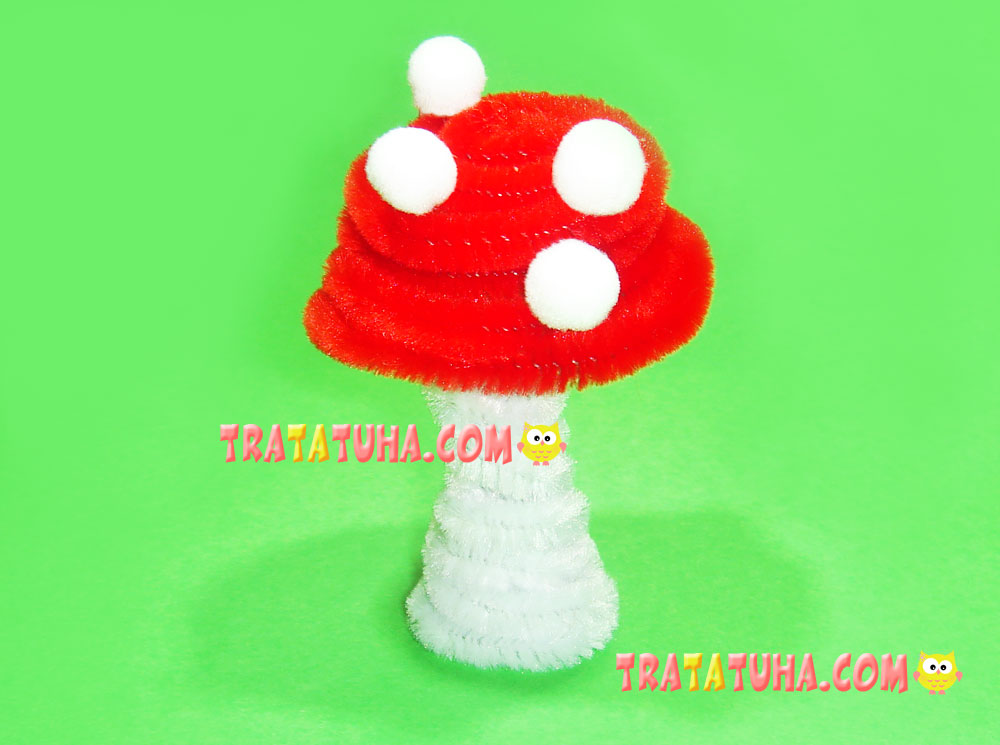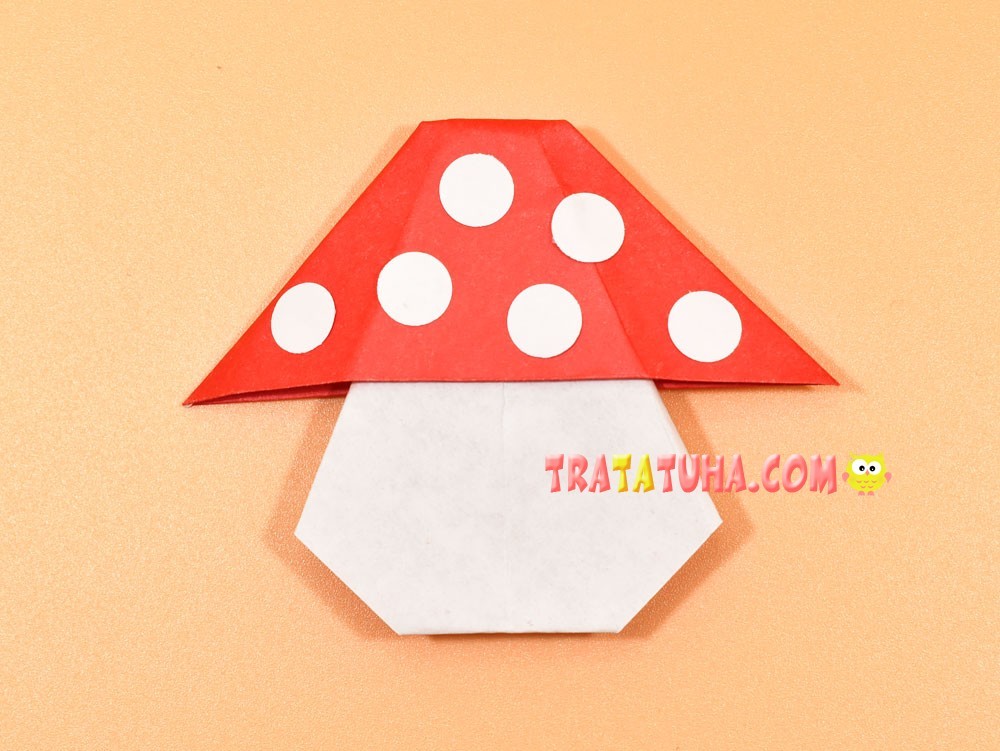
Bright origami mushroom made of paper. Step-by-step work with a detailed description and clear photographs.
Mushroom folding materials:
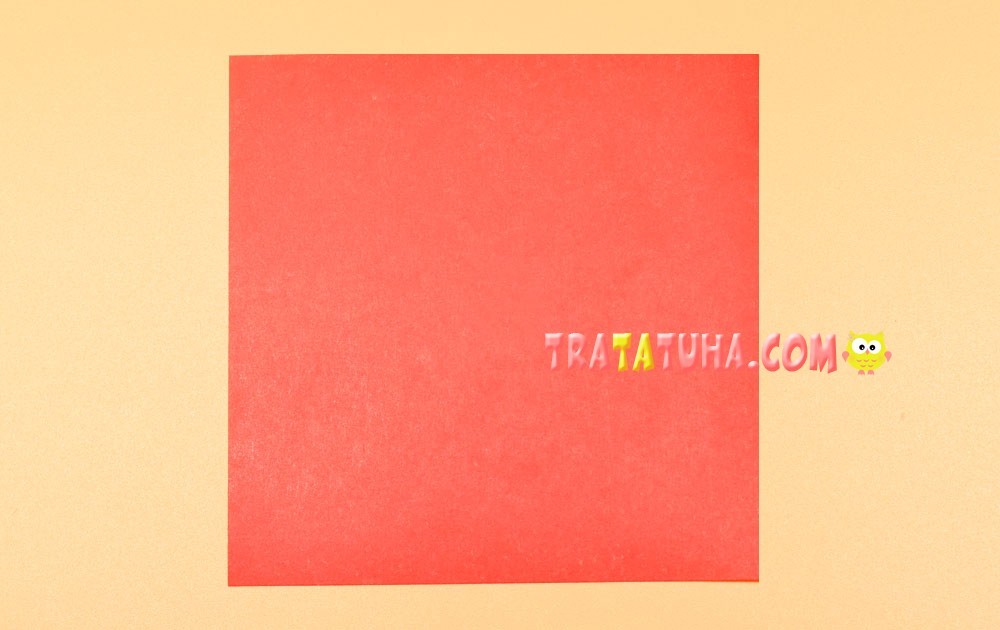
- Colored paper, one side of which is white and the other side is red. Alternatively, two pieces of red and white paper glued together;
- White paper for circles;
- Hole punch or scissors with a compass;
- Glue.
Origami Mushroom Step by Step
Prepare square paper.
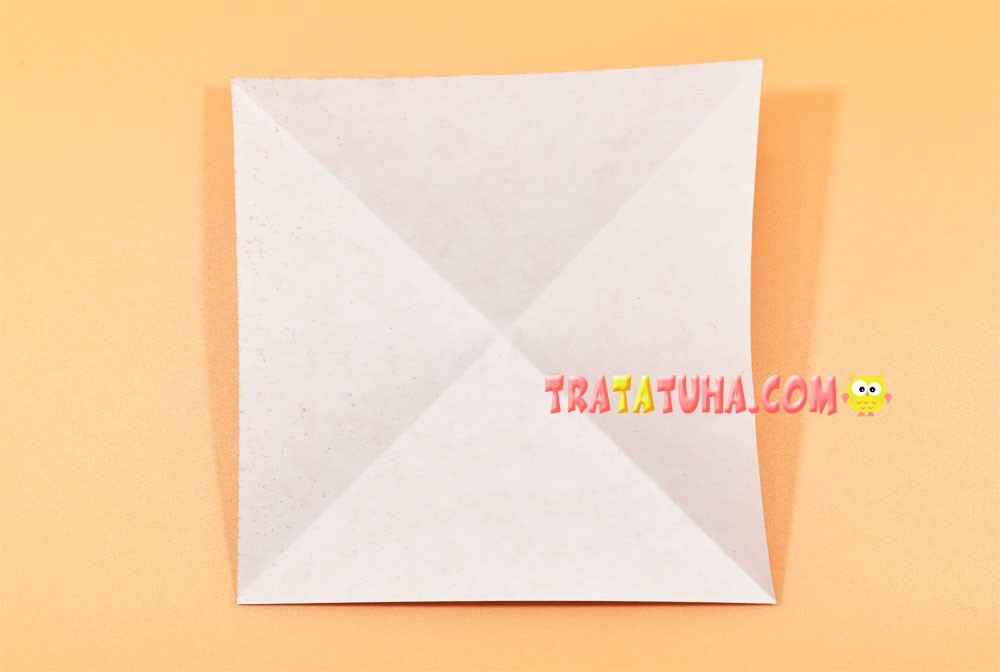
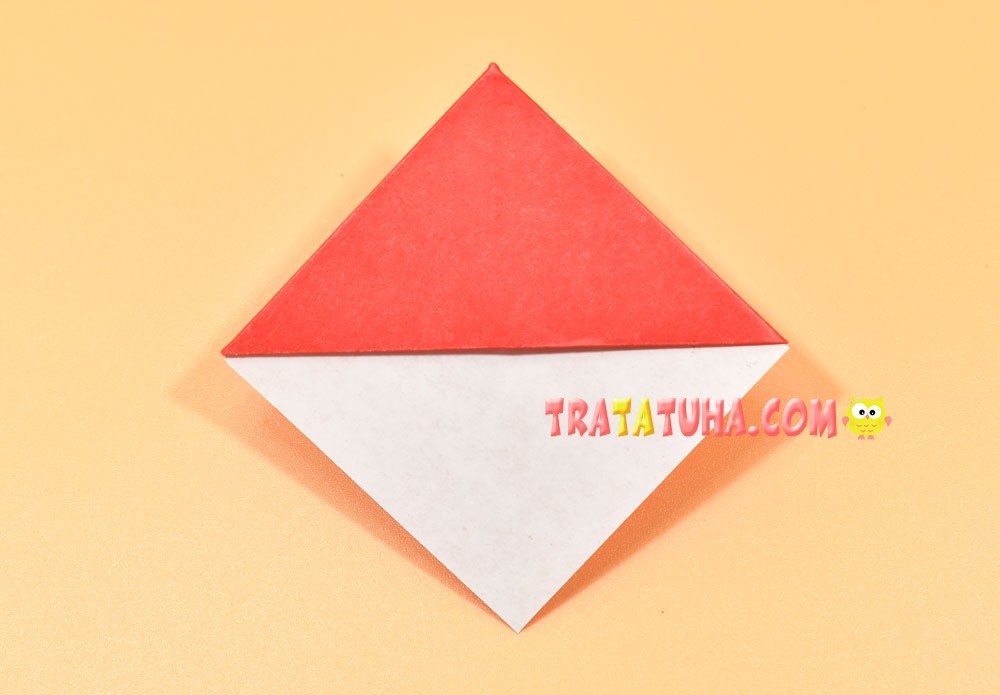
Fold into a triangle. Note that the white color should be in the middle.

Open the triangle and fold it again, but now connecting the other two corners. With these actions, we outlined the intersecting fold lines on the square.
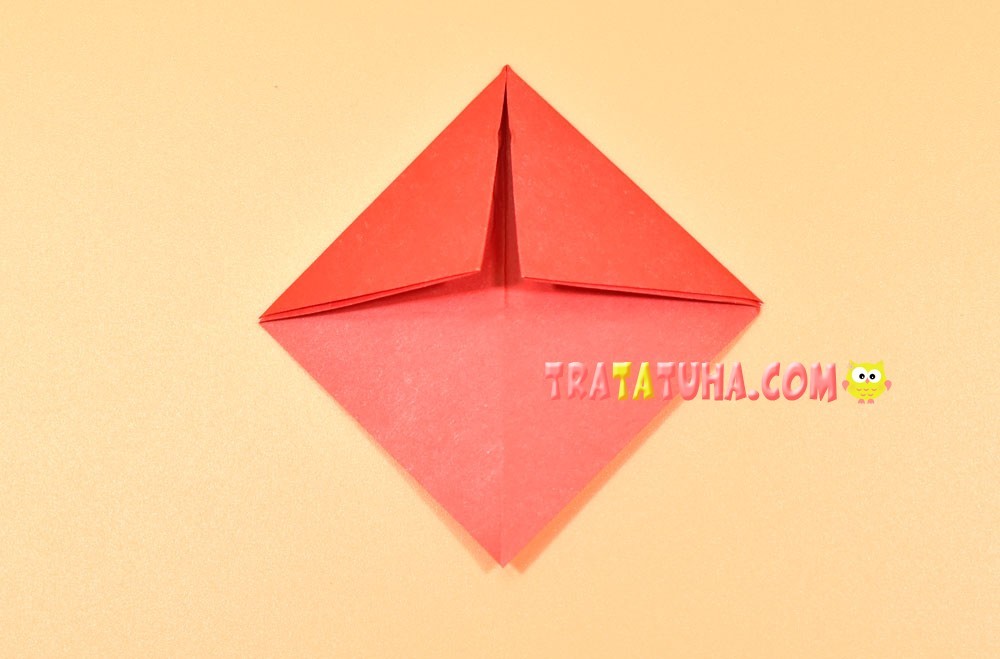
Bend down to the center the top corner of the square.
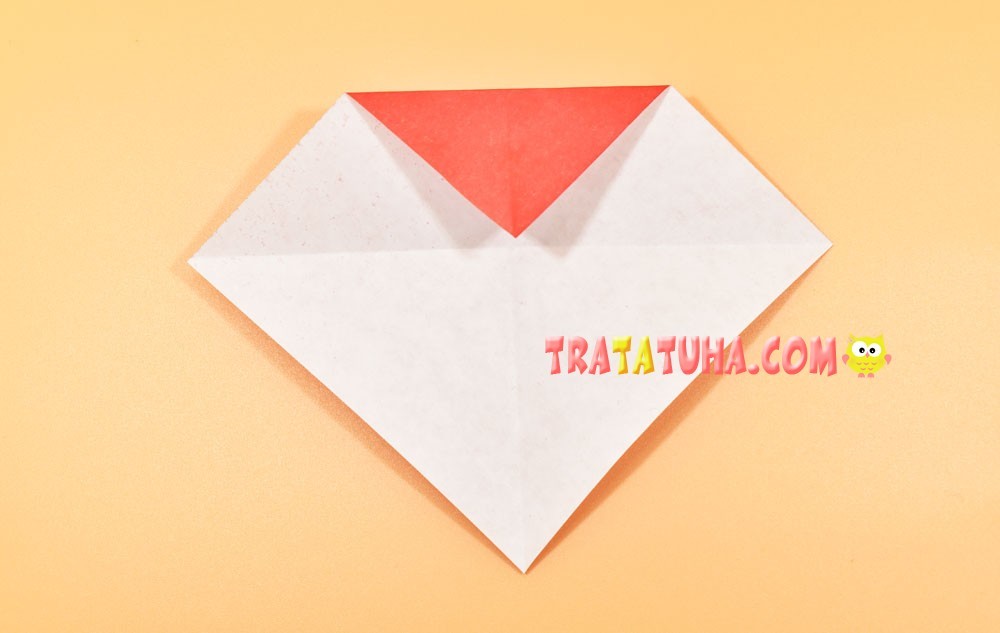
Then two side also direct there.
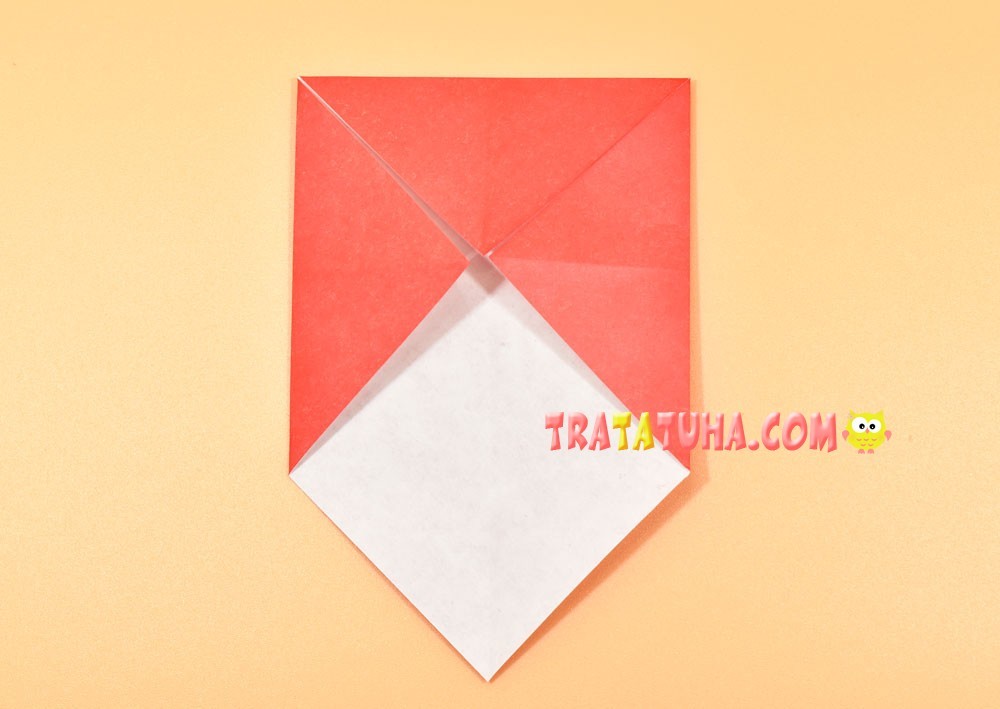
Fold the paper in half along the center fold line.
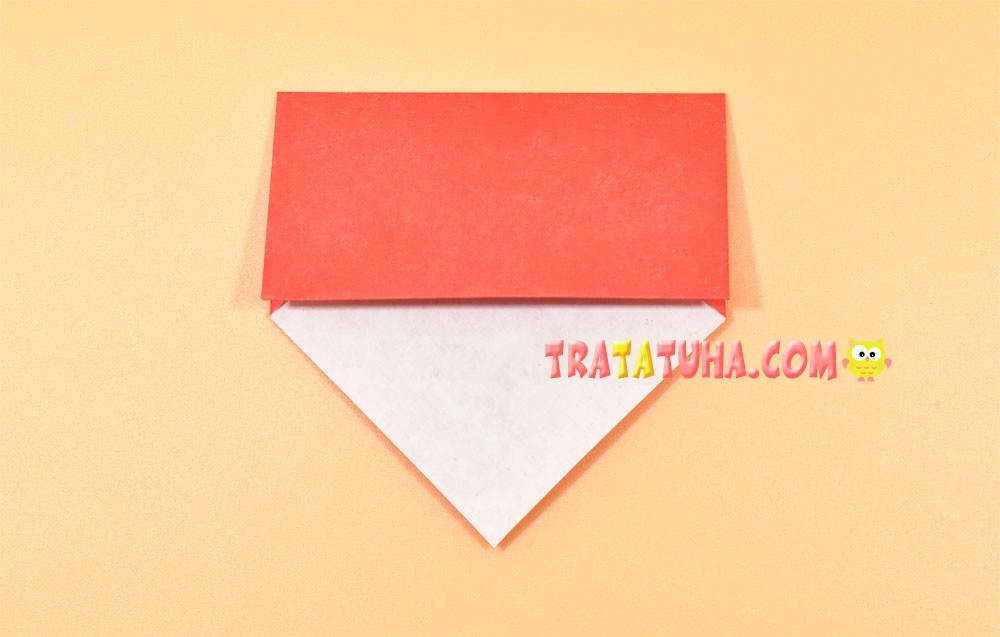
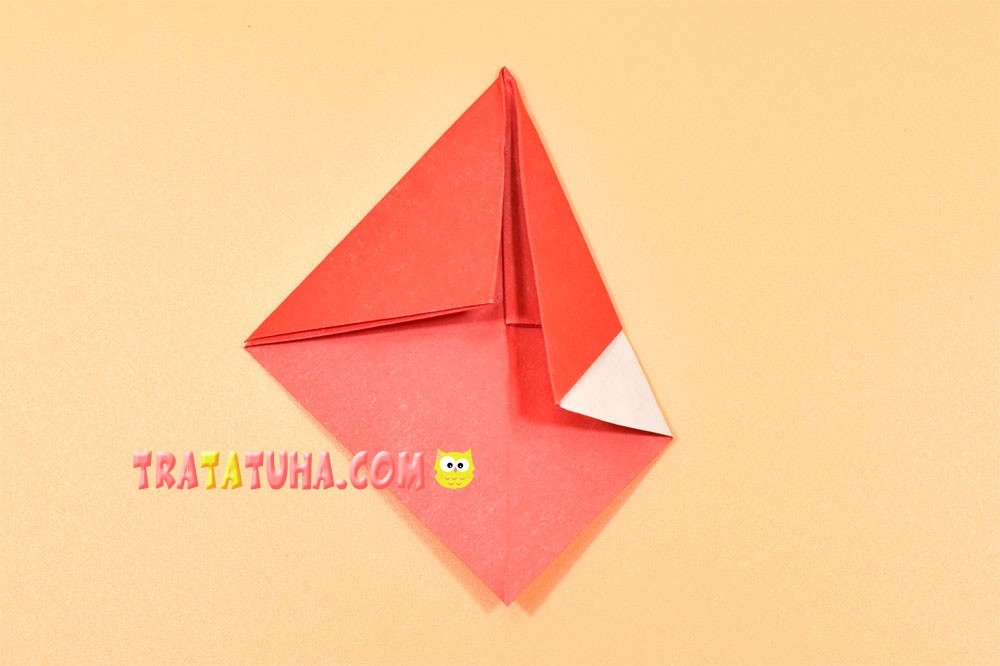
Fold the left corner back.
Then the right one. We got such a red and white square.
Flip over to the other side.
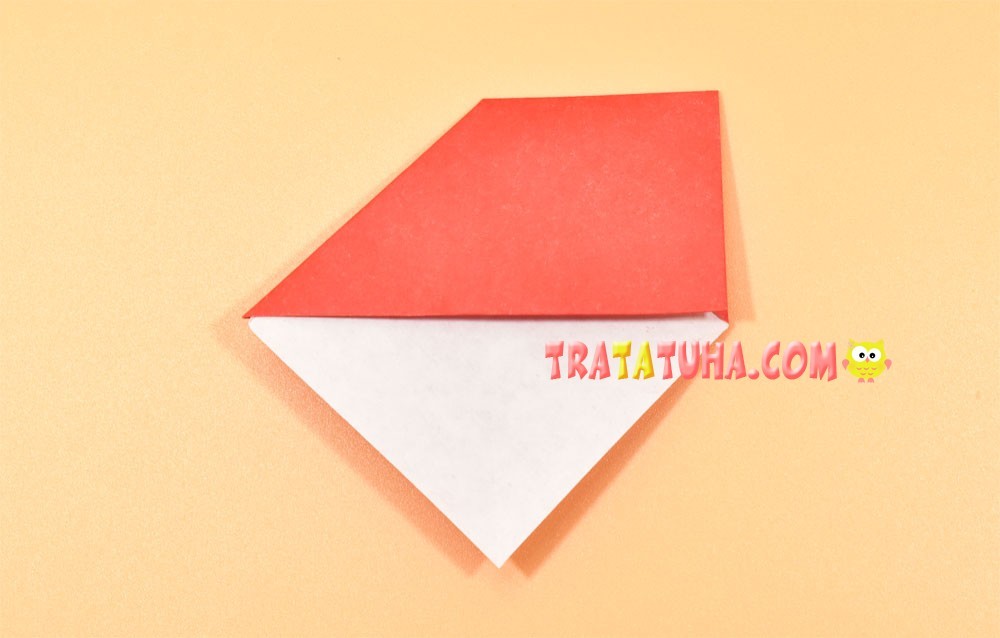
Center right corner.
Then the left.

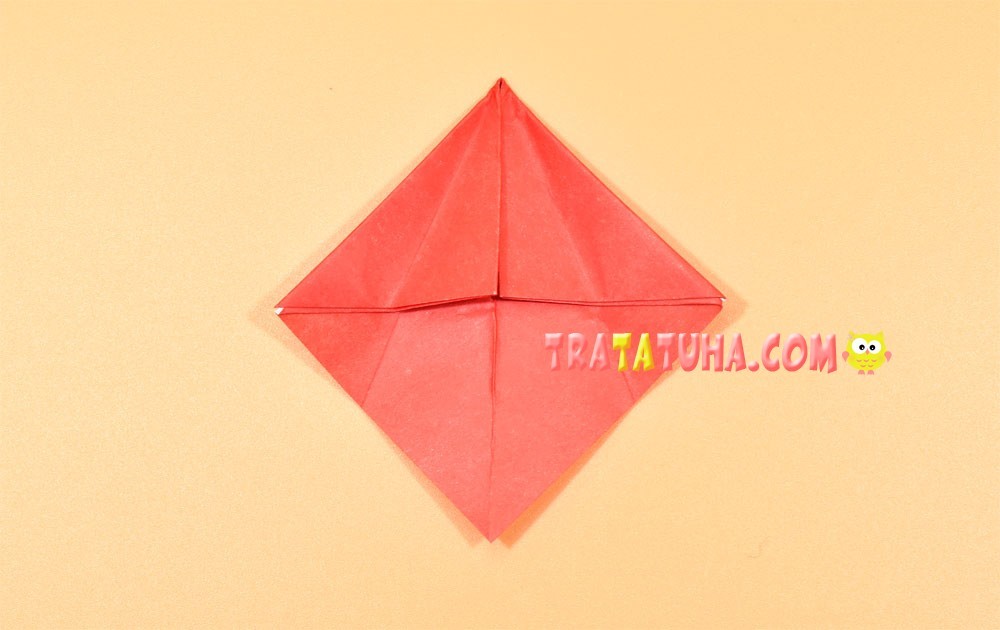
Straighten those corners. Now we can clearly see the oblique folds, which are important in further work.
Raise the right side.
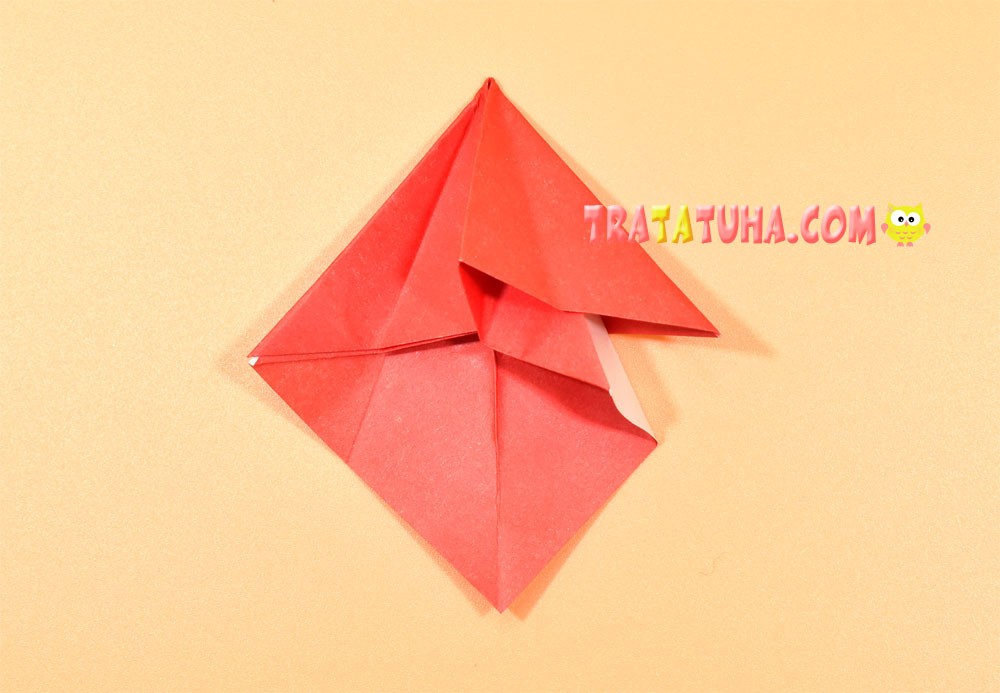
Redirect it to the left, placing it under the triangle — the future origami fly agaric hat.
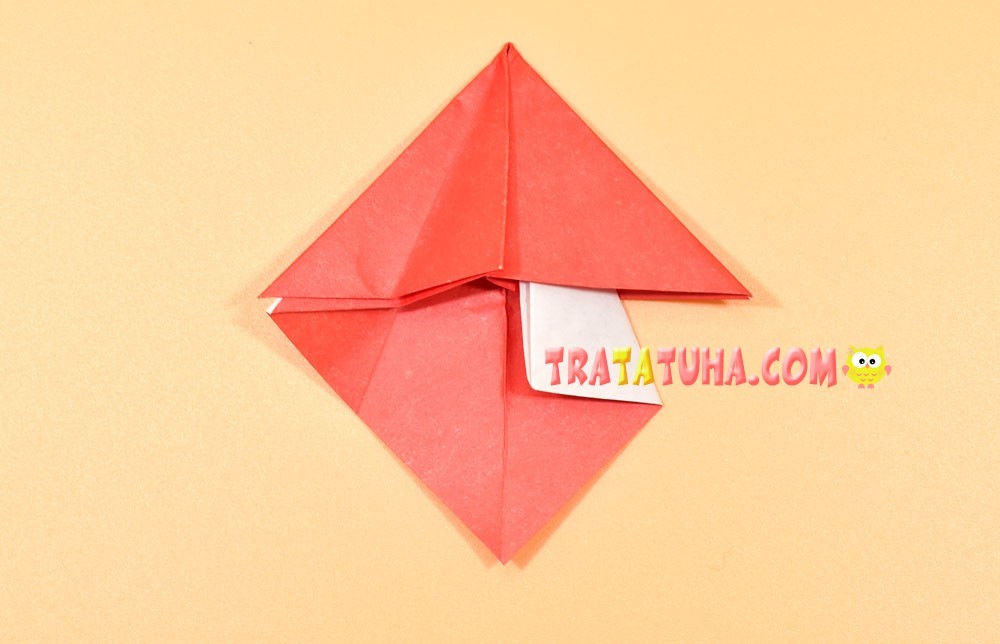
Do the same on the left side.

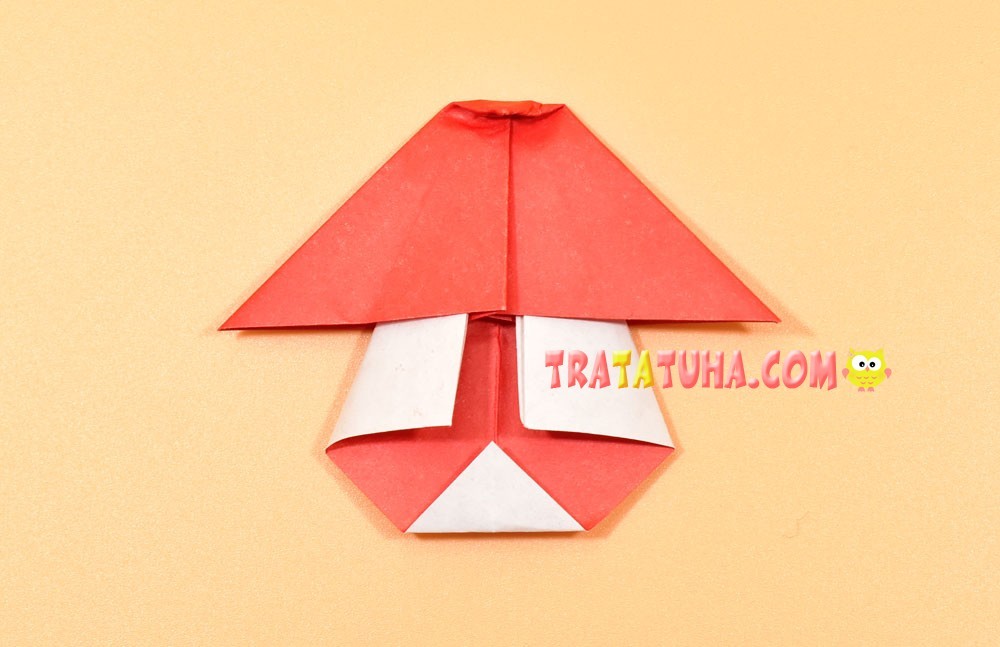
Bend the small corners on the cap and at the bottom of the stem of the mushroom.
Flip over to the other side. The mushroom is almost complete, but you will need the main attributes of the mushroom — white circles.
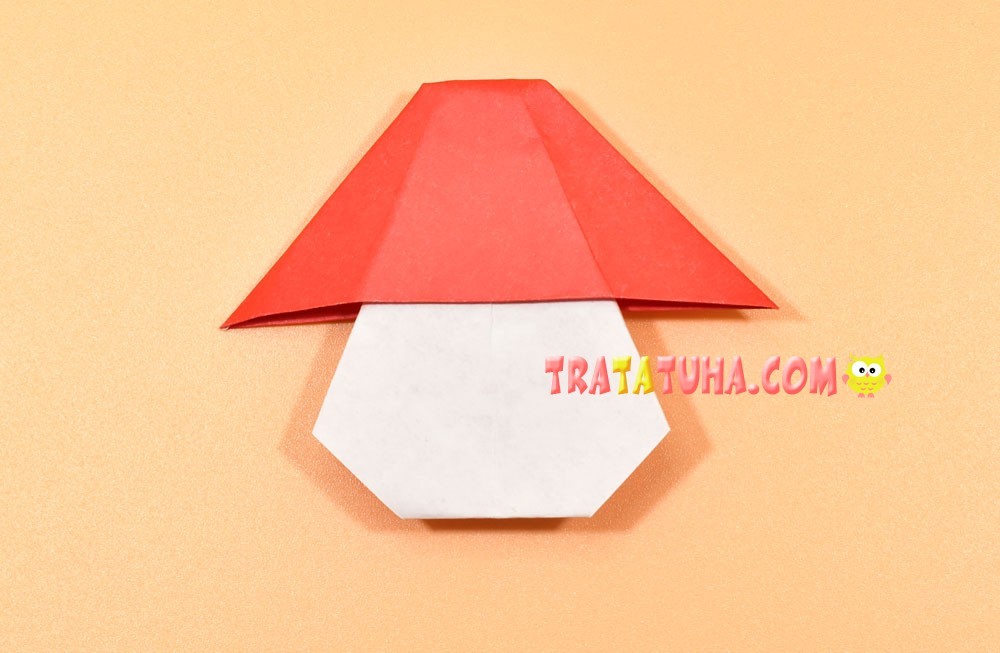
Cut them out and glue them on the hat. Origami mushroom is completely ready.
You can also watch a few more tutorials on this topic:
Related Post: