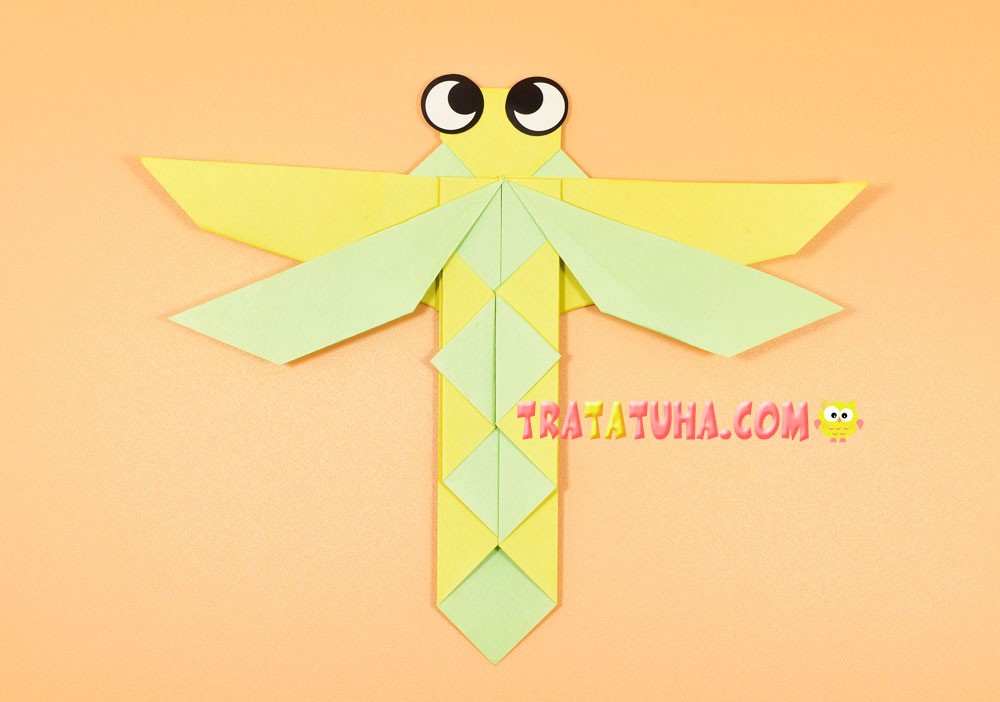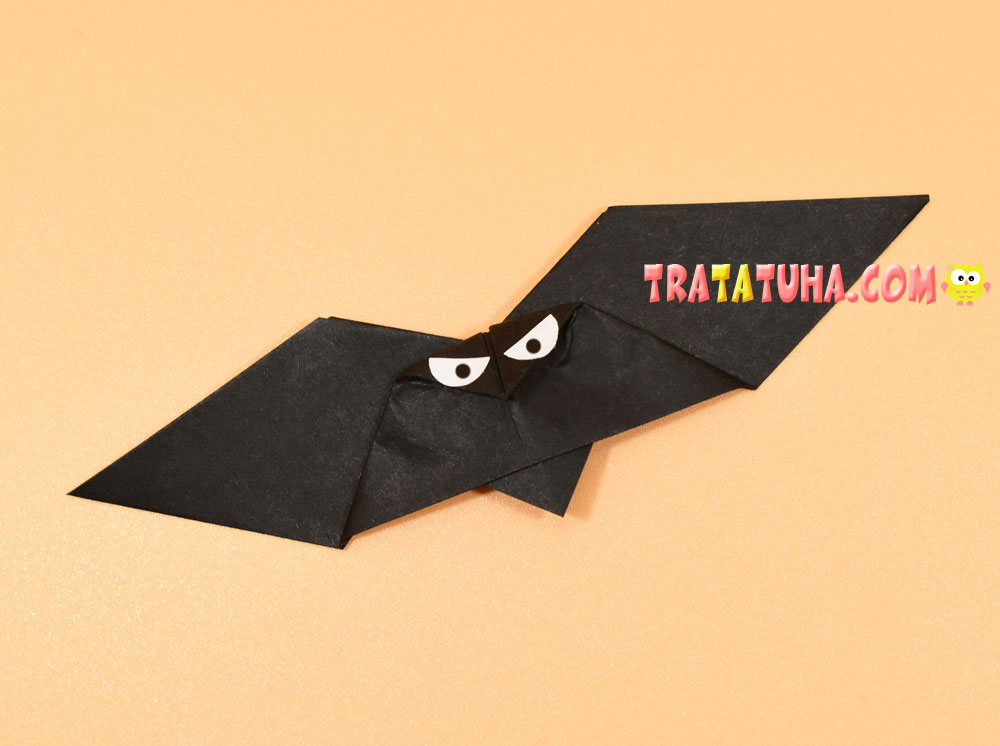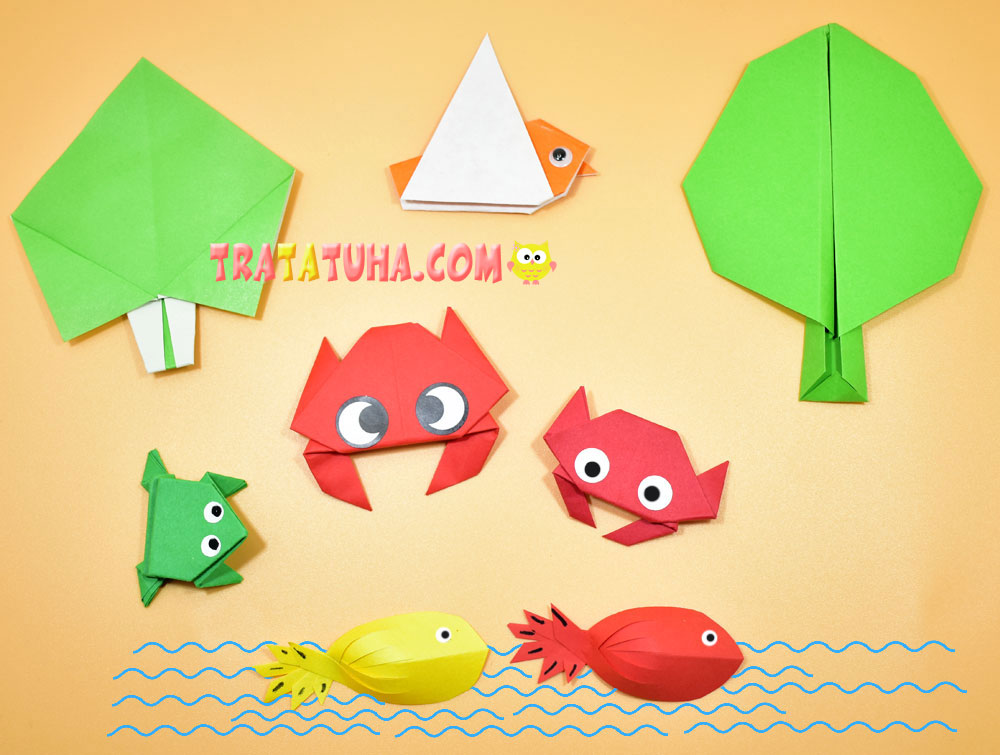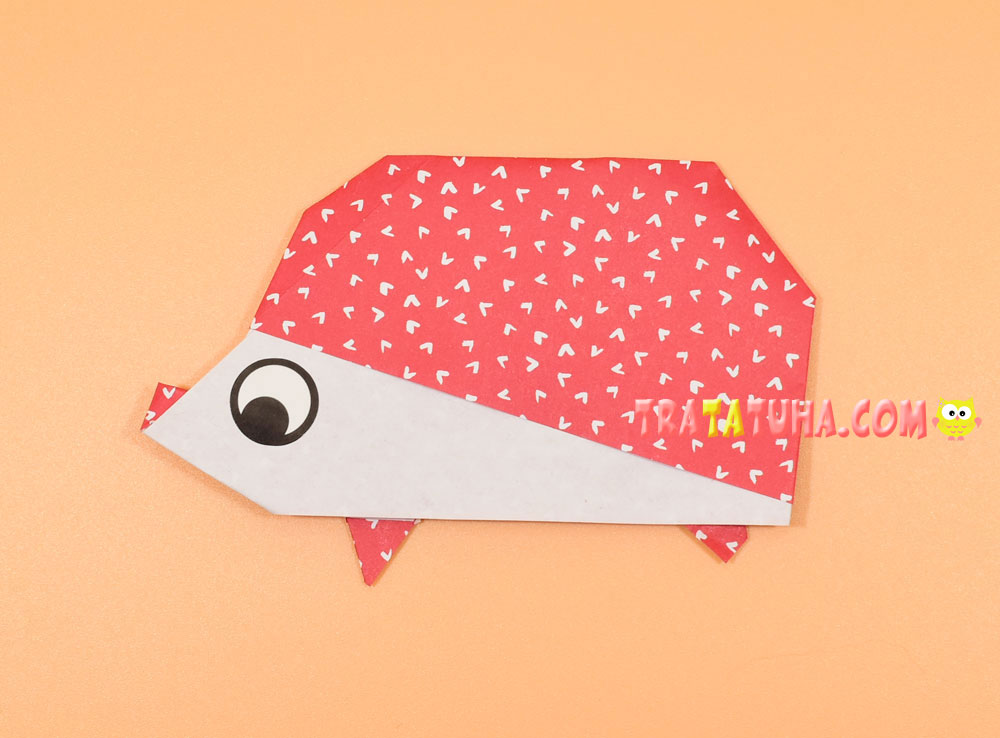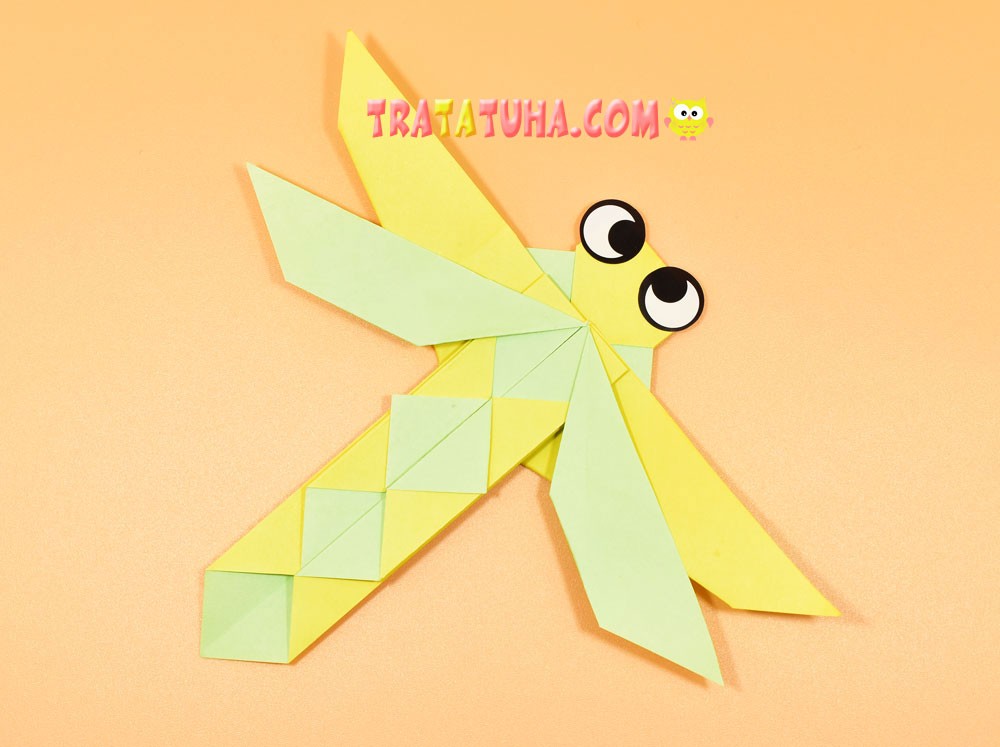
This origami dragonfly is a real souvenir made of paper with your own hands. Beautiful and fragile piece of simple technique.
What you need for creative work:
- Colored paper. Preferably two-color;
- Paper eyes;
- Scissors, glue.
Origami Dragonfly Step by Step
Prepare square paper. You should not use very small sizes, the best choice would be one whose sides start from 15 cm.

Connect the corners to make a triangle.

Mark the fold in the middle of the triangle by folding it in half again.

Straighten, point down the top corner. Bring the corner back up since we bent it to make a horizontal fold.

Fold the bottom of the paper up to the fold mentioned above.

Open the paper. On its surface there should be 4 horizontal folds and one vertical.
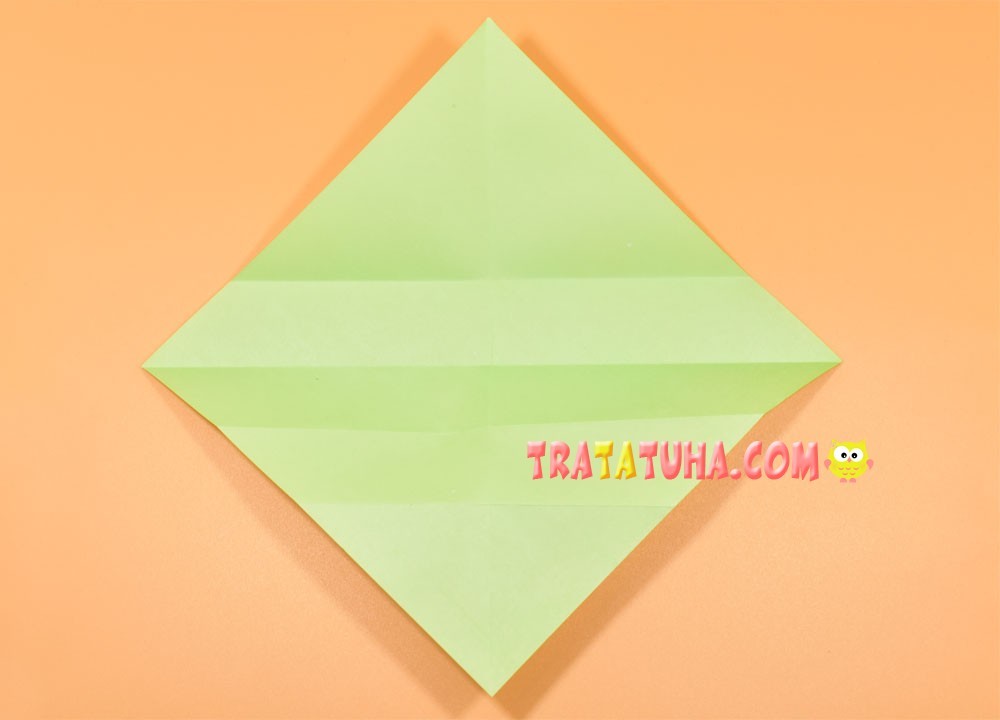
Make a crease by directing the second fold from the bottom to the center.
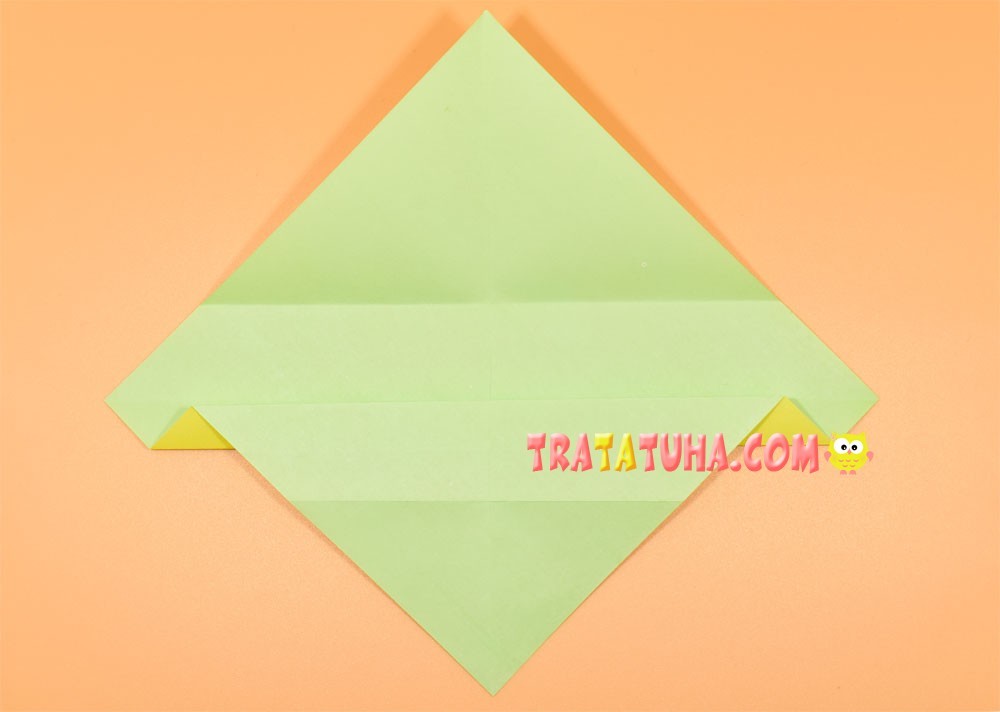
Mirror the same action from above.
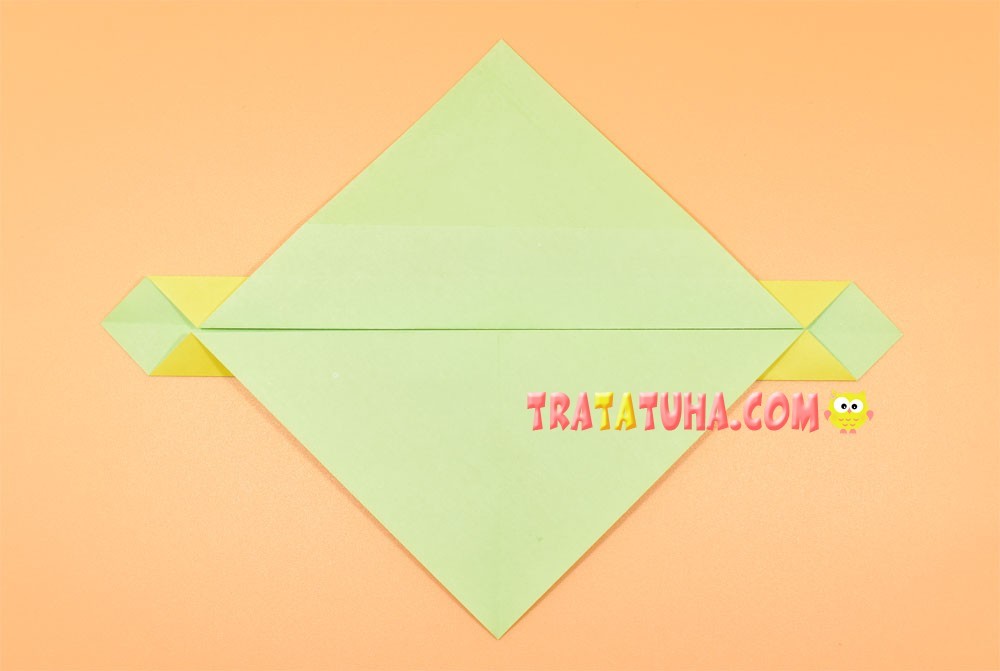
Flip the paper over and cut along the sides all the way to the fold.
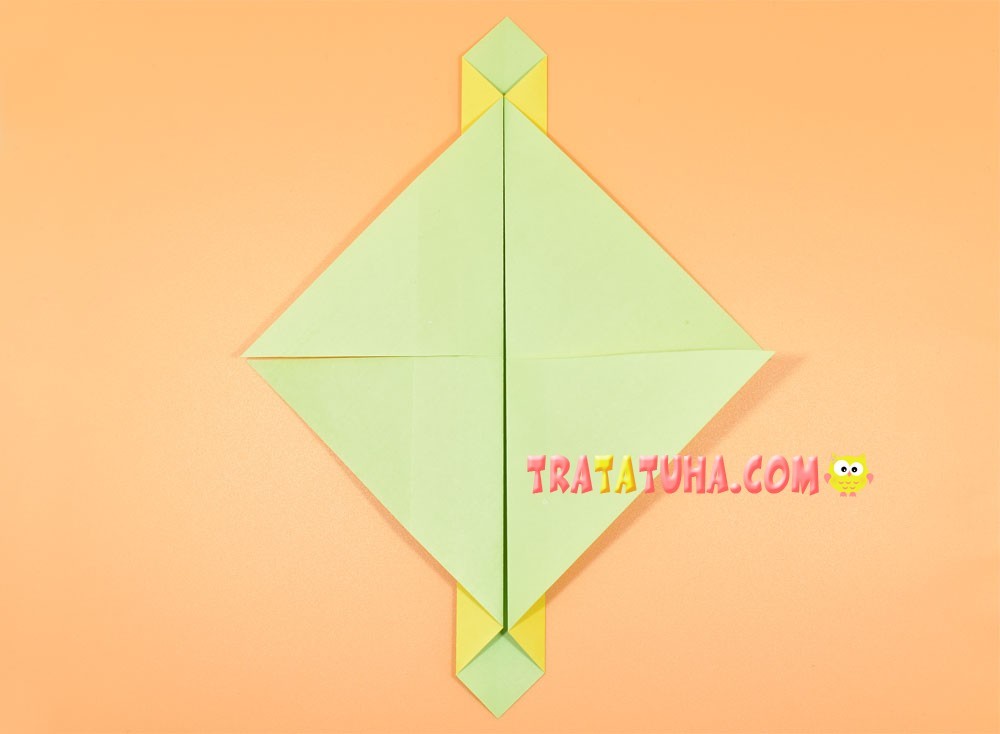
Fold down the right cut corner.
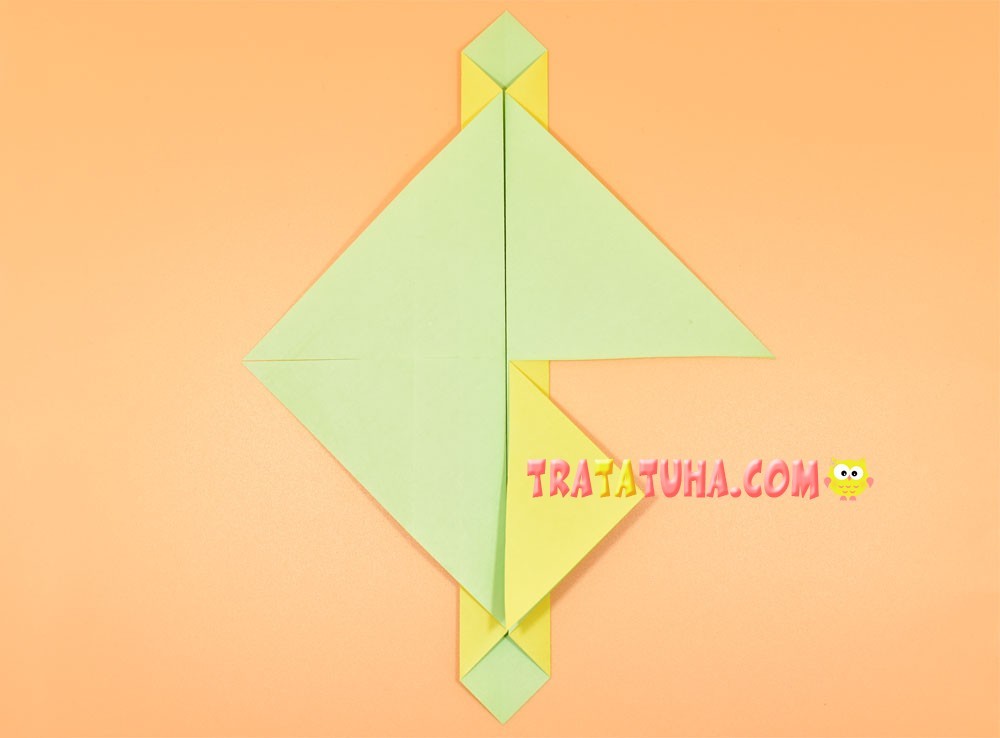
Then the left. We need this to create folds that will also need to be cut.
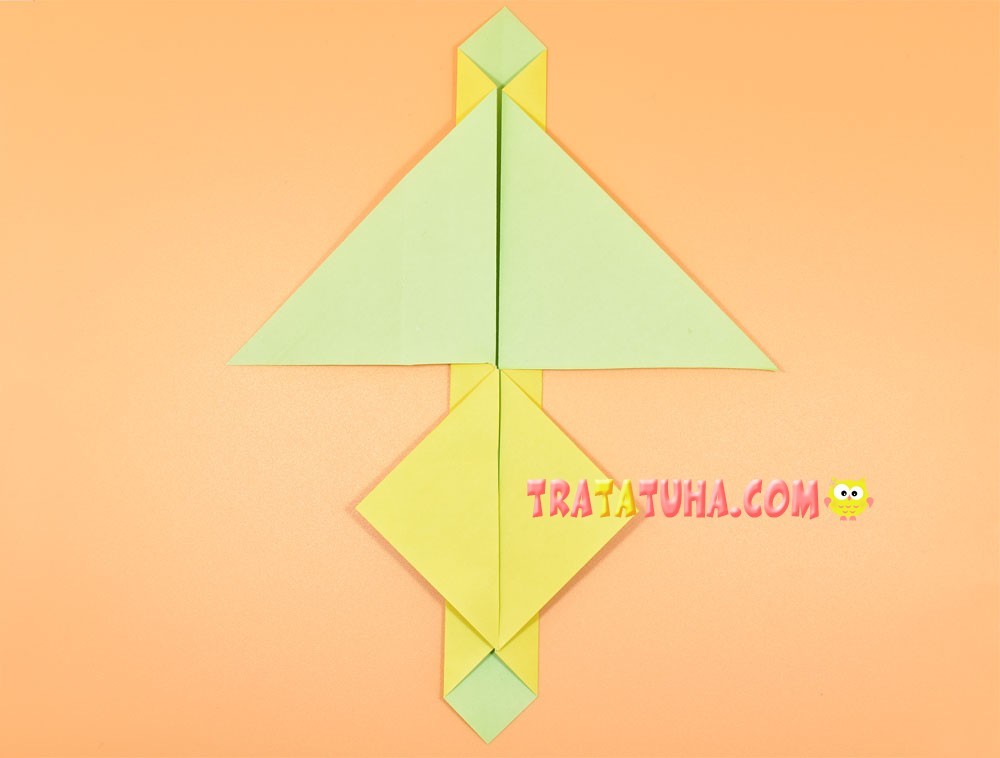
For convenience, turn the part over to the other side, open the bottom area and cut along the basting.
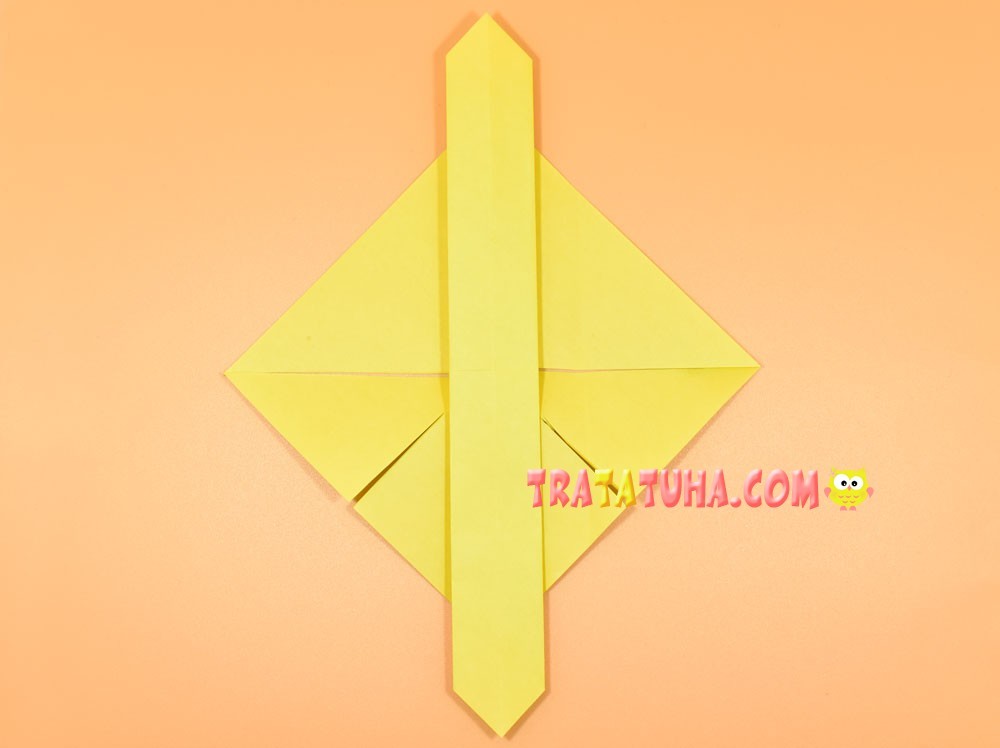
Bend the right corner of the incision area to the left. Then immediately to the right, aligning in the middle.
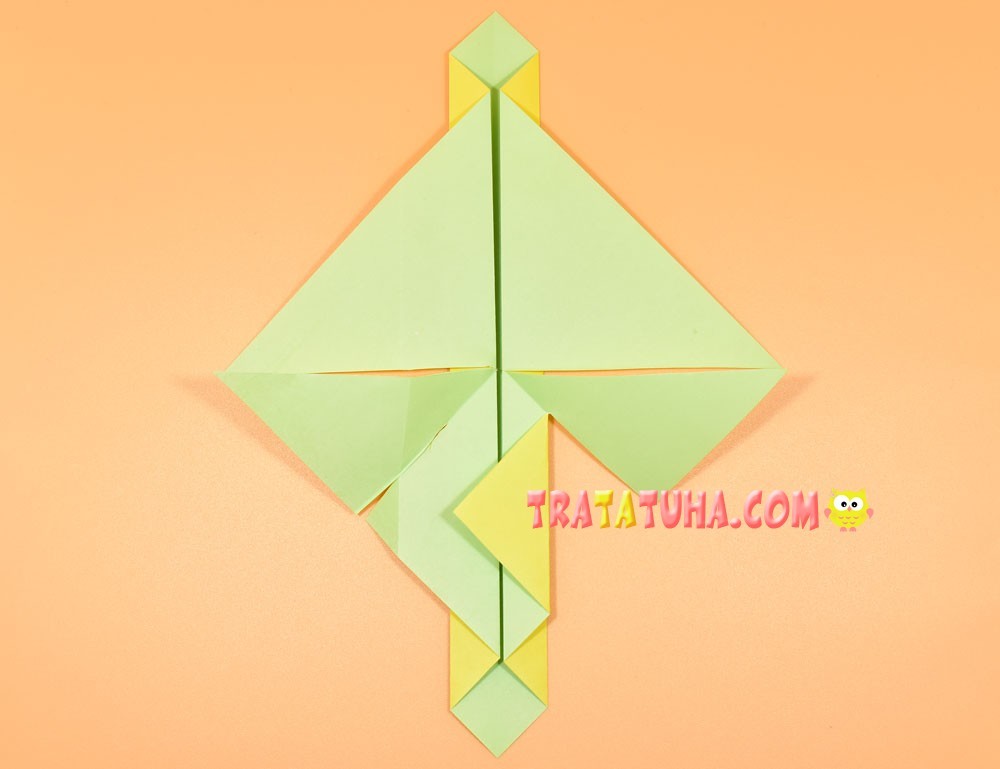
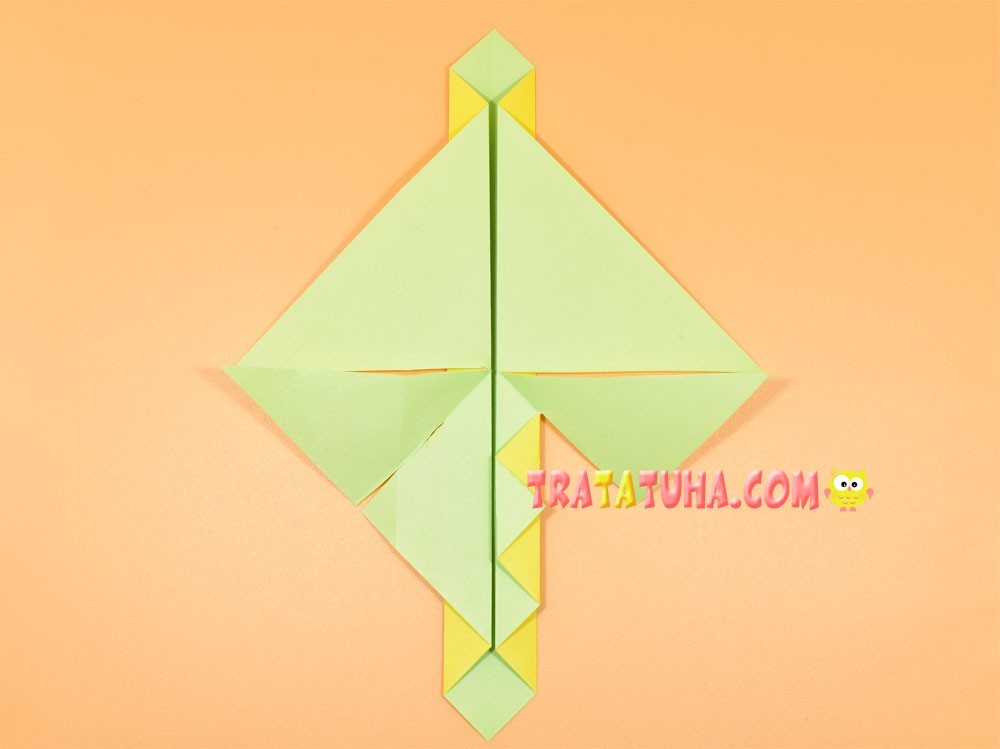
Repeat for the corner on the left. Bend to the side first.
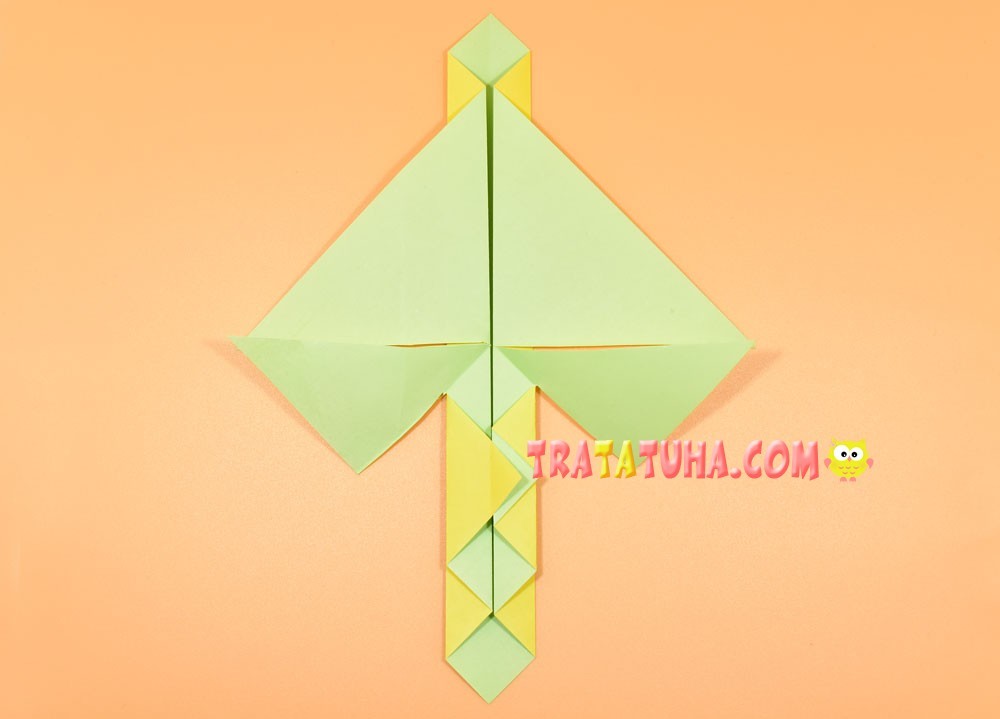
Then fold back. You will get such cute rhombuses that will look spectacular on the body of an origami dragonfly.
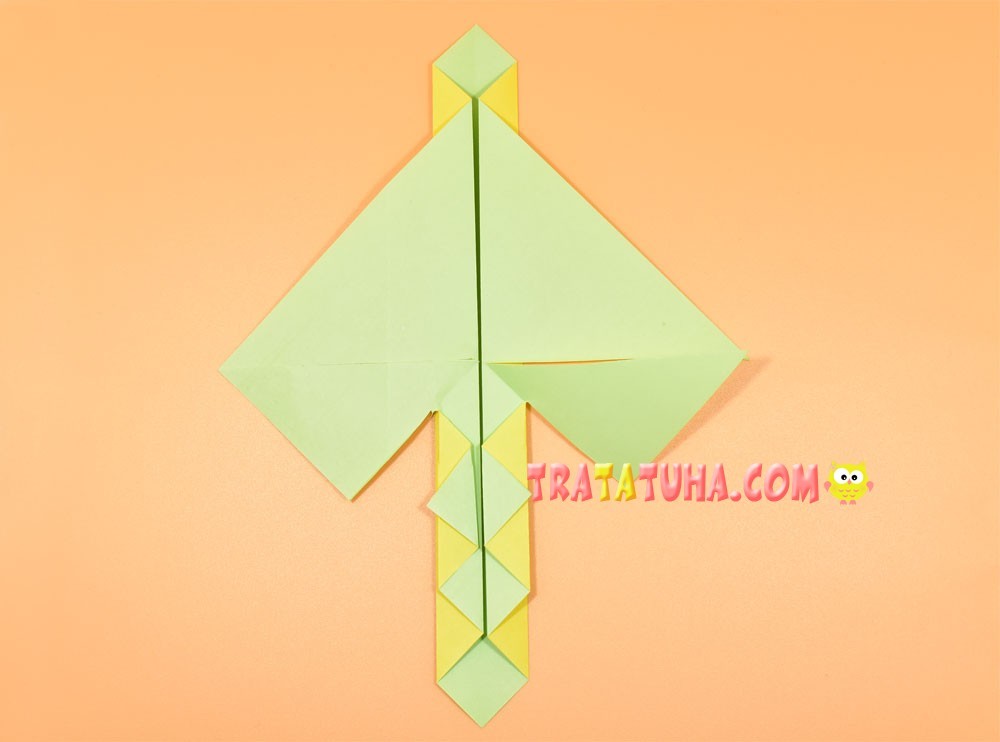
Fold down the top of the paper, approximately in the middle of the side.
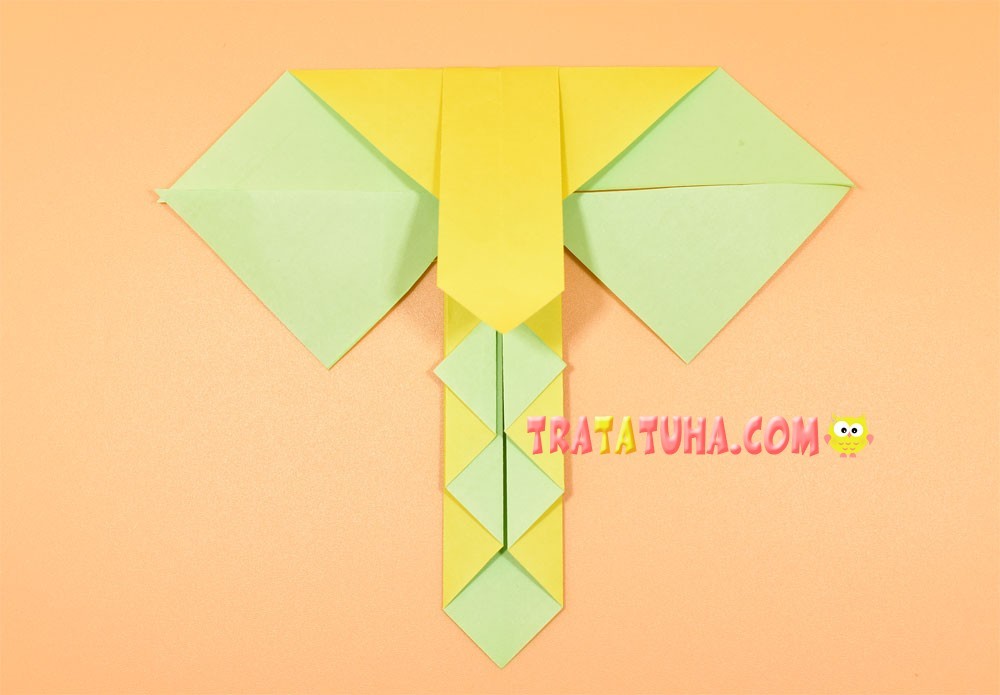
Bend up.
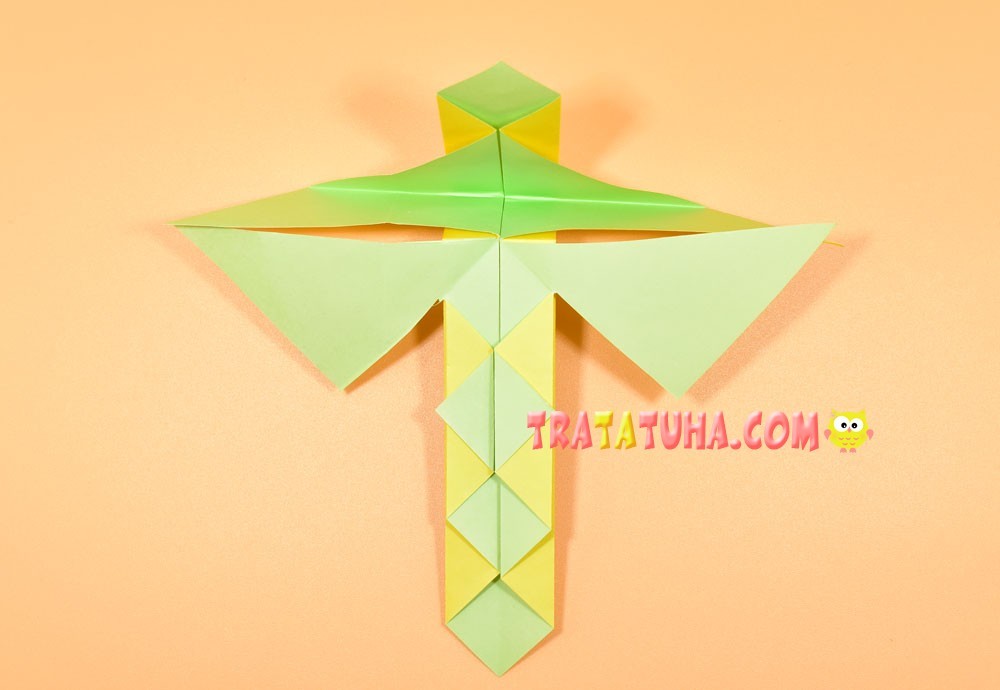
And then point back.
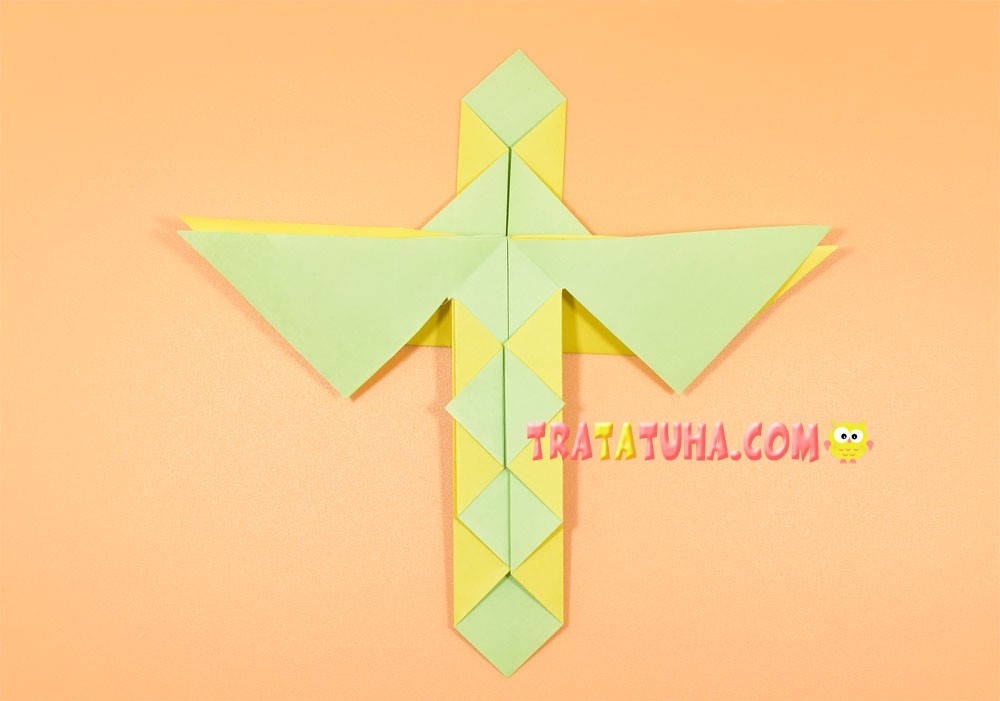
Point the right wing down.
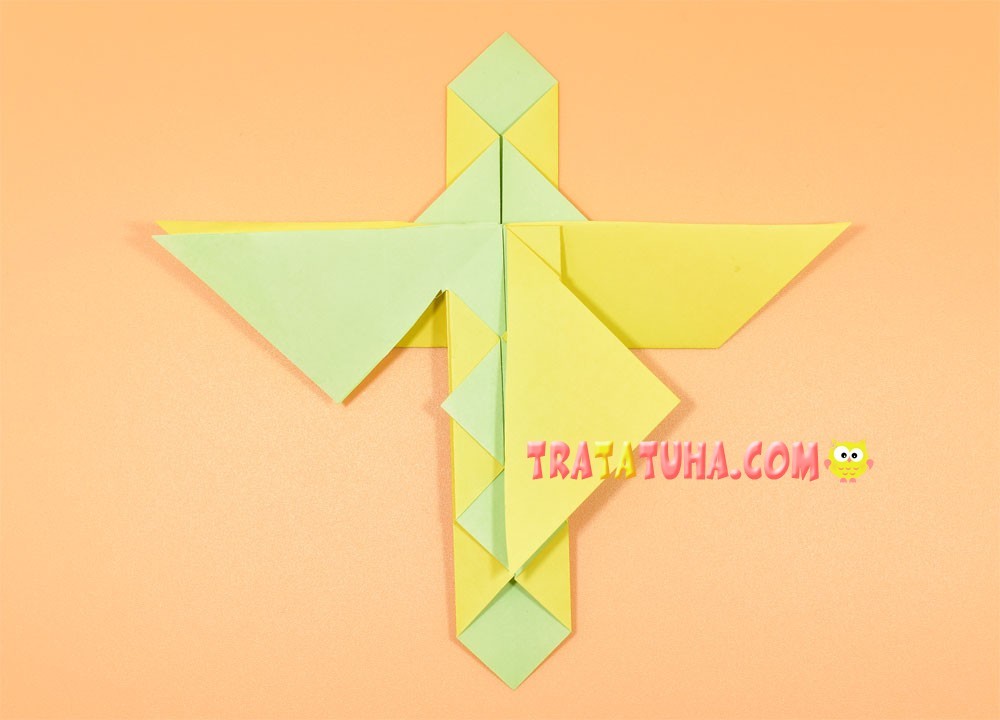
And then to the side, making a small crease.
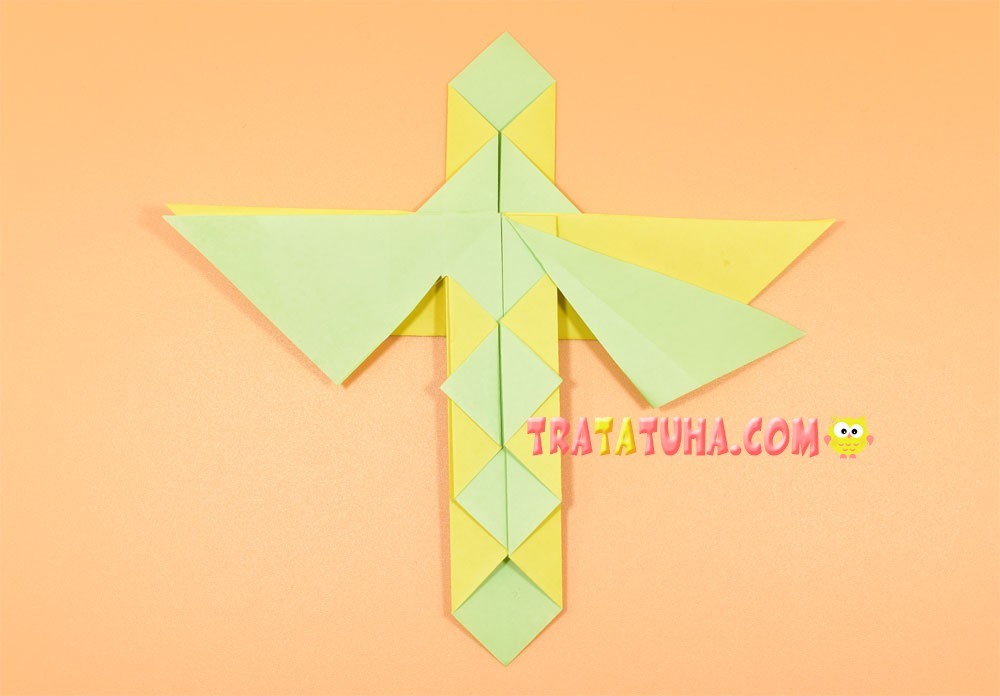
With the left, repeat all the same steps.
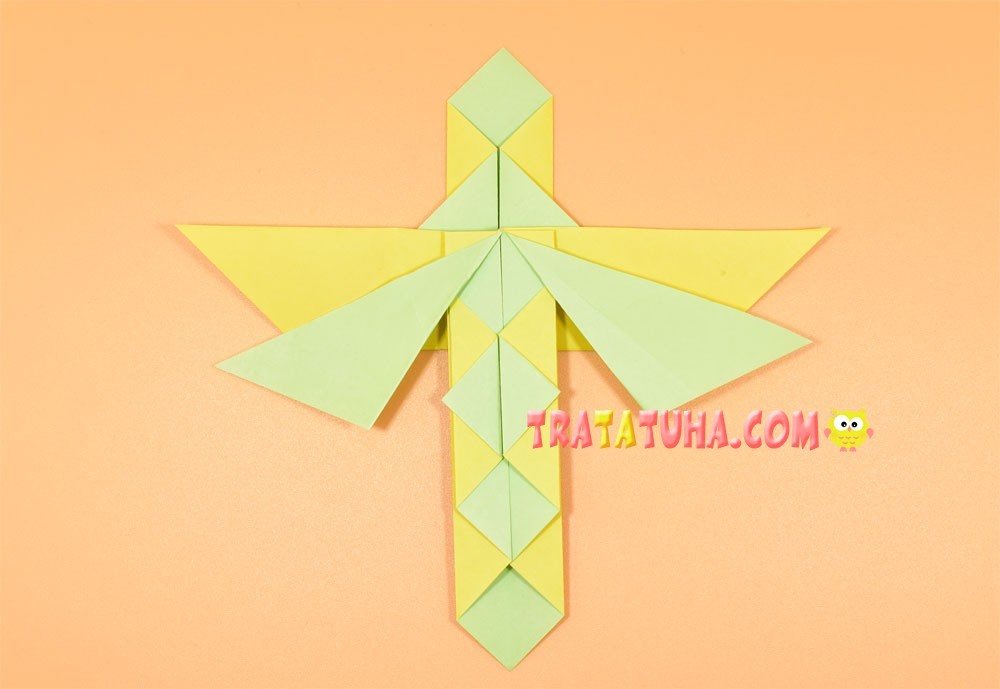
Flip over to the other side. Here you can better see how the lower wings are bent. Now bend the bottom of the top wing on the right.
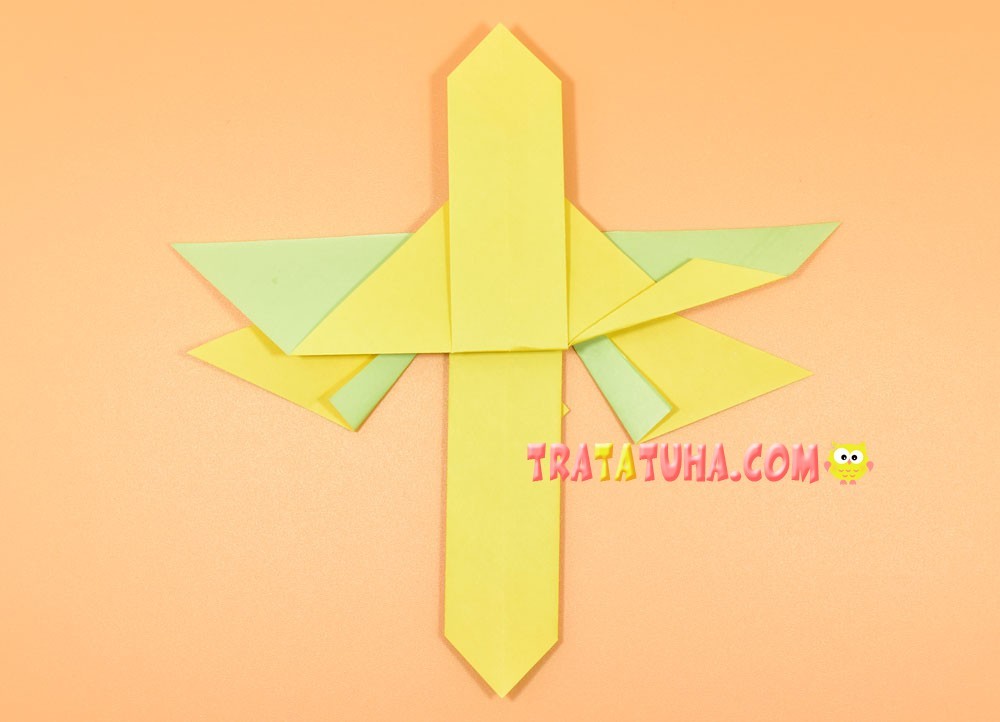
Then to the left.
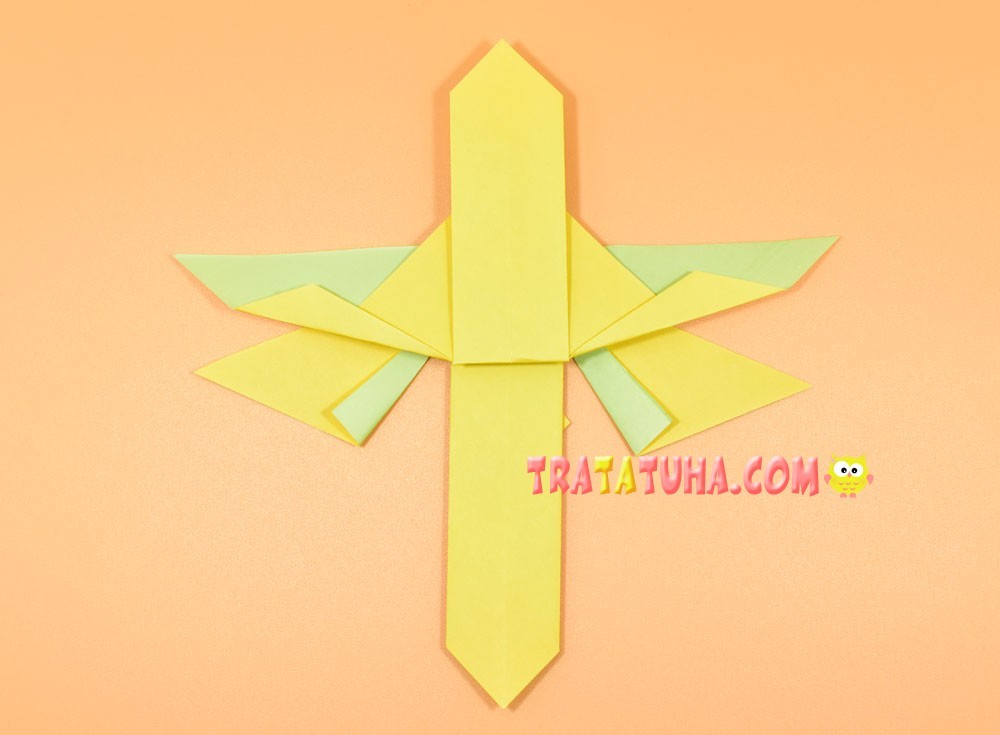
Bend the corners of the lower wings as shown in the photo.
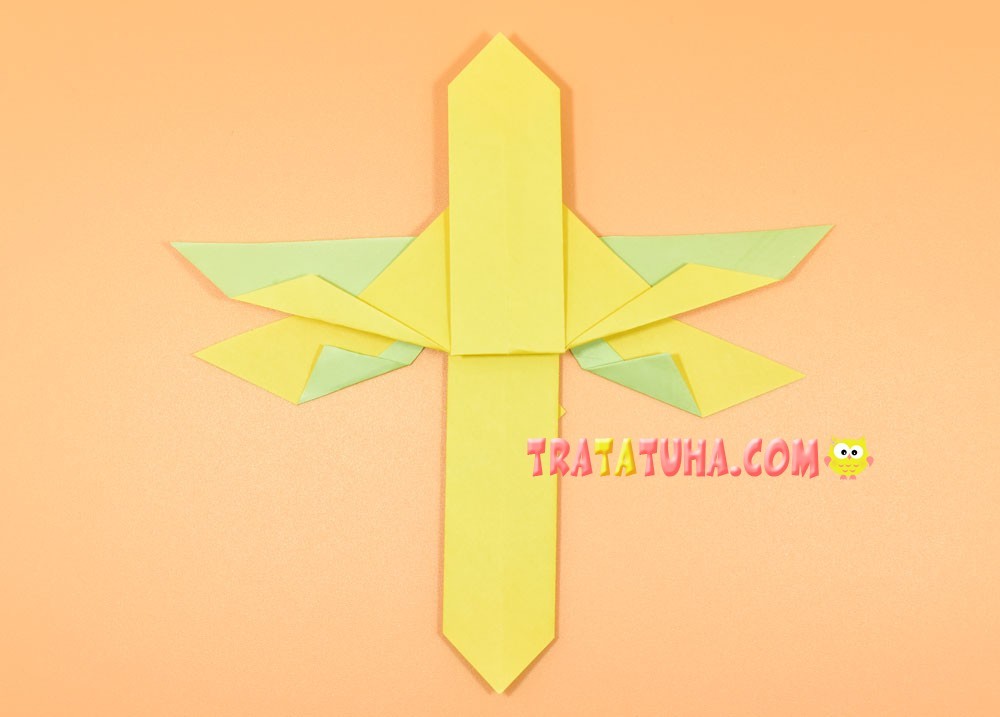
Flip over to the other side.
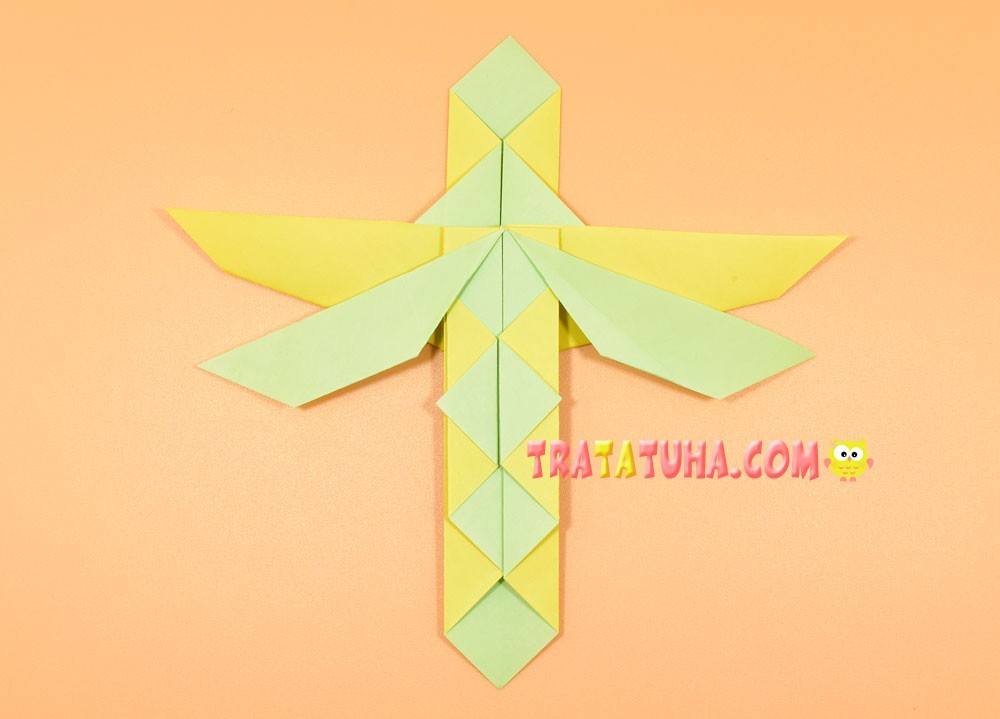
Fold down the top corner to make the insect’s head.
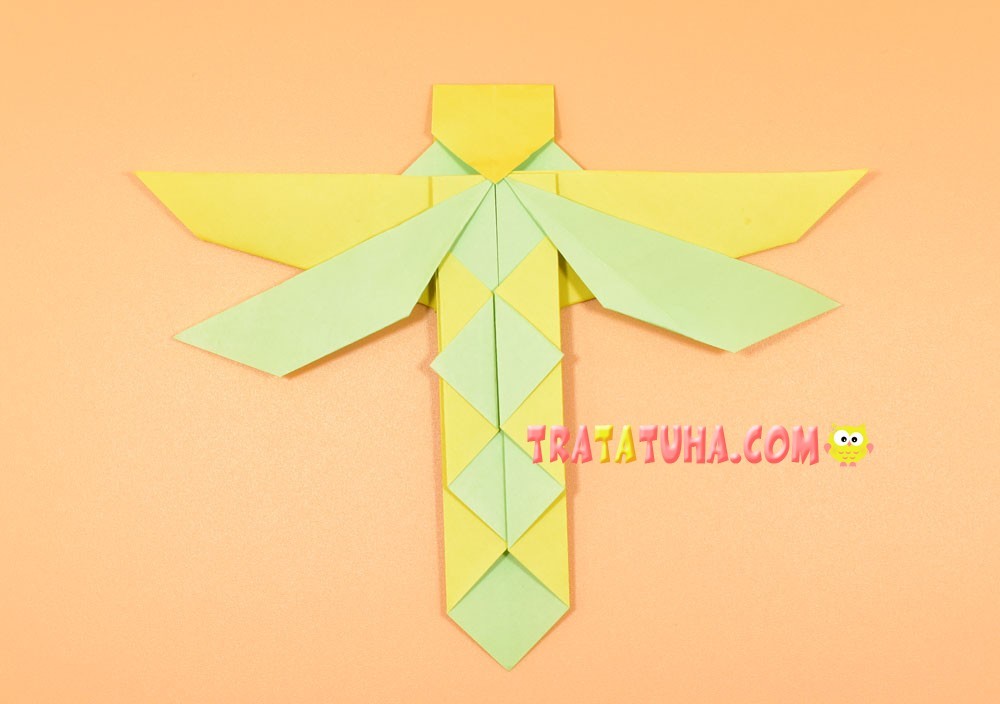
Tuck the corner under the wings.
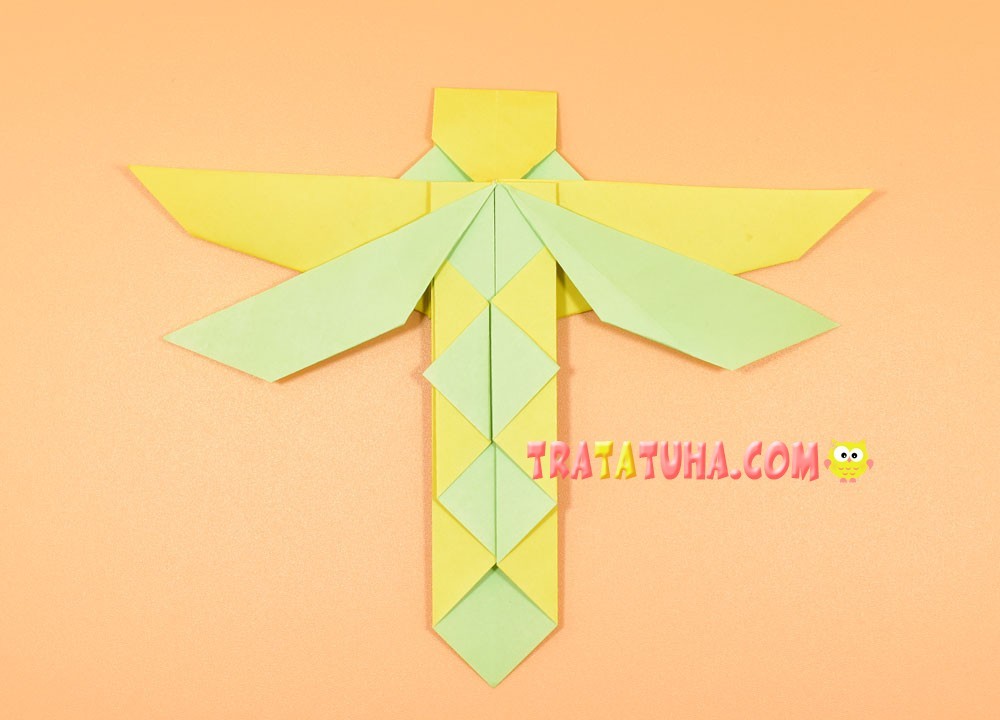
Glue your eyes. Origami dragonfly is ready.
