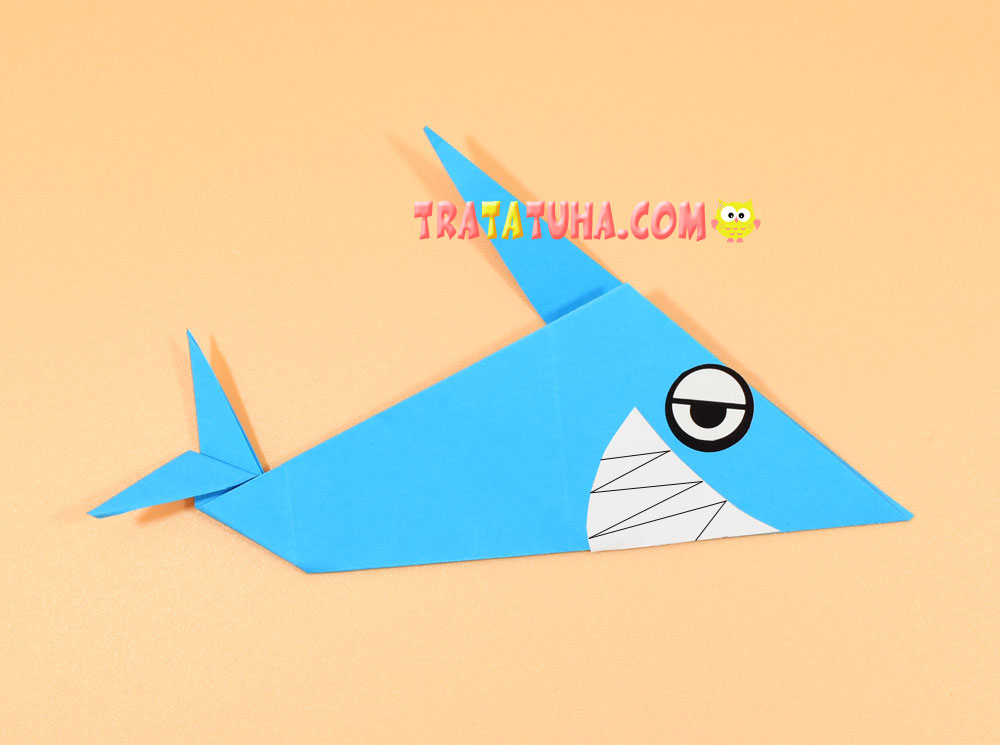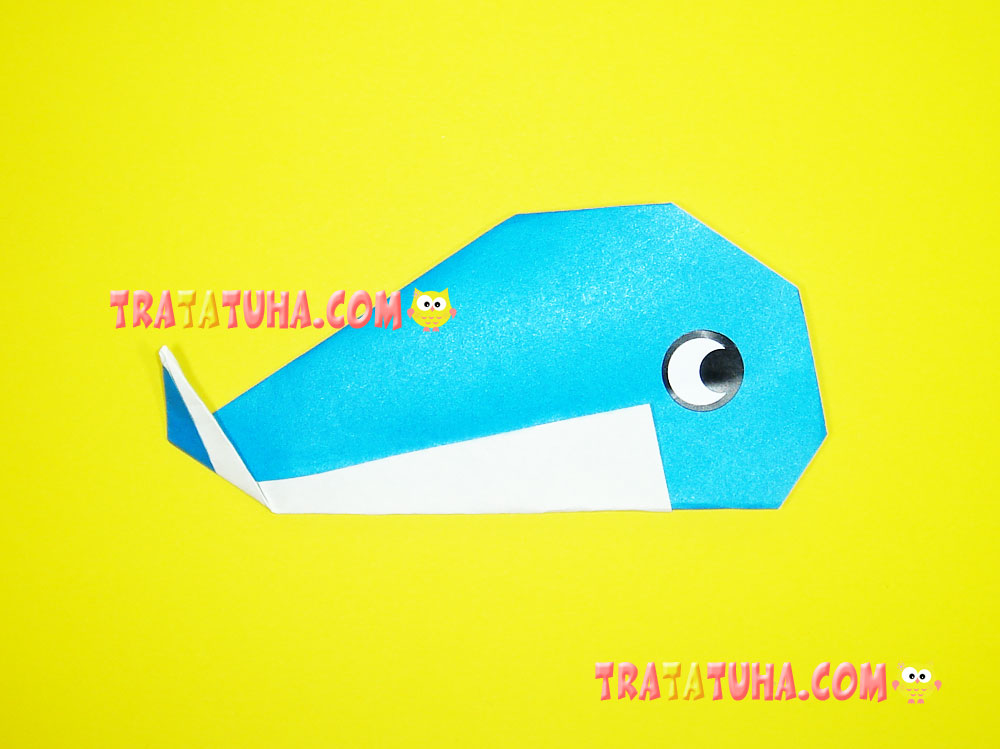
This is the easiest origami whale, you can fold it in 5 steps. Ideal for kid’s art, looks great in compositions with ponds, any aquatic inhabitants.
Materials:
- Single-sided colored paper;
- Sticky eyes;
- Scissors.
Origami Whale Step by Step
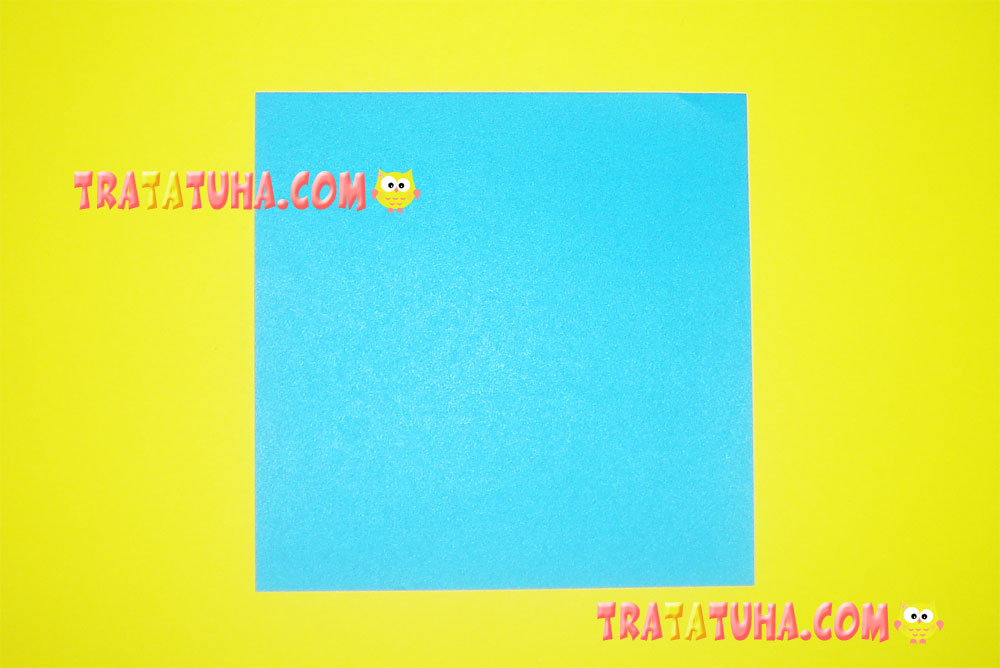
Prepare a square piece of paper. A beautiful whale is obtained from one-sided colored paper. In this version, one side is blue and the other is white. As a result, the whale turns out to be two-colored, blue with a white tummy. You can also use double-sided paper, just the character will be all in one color.
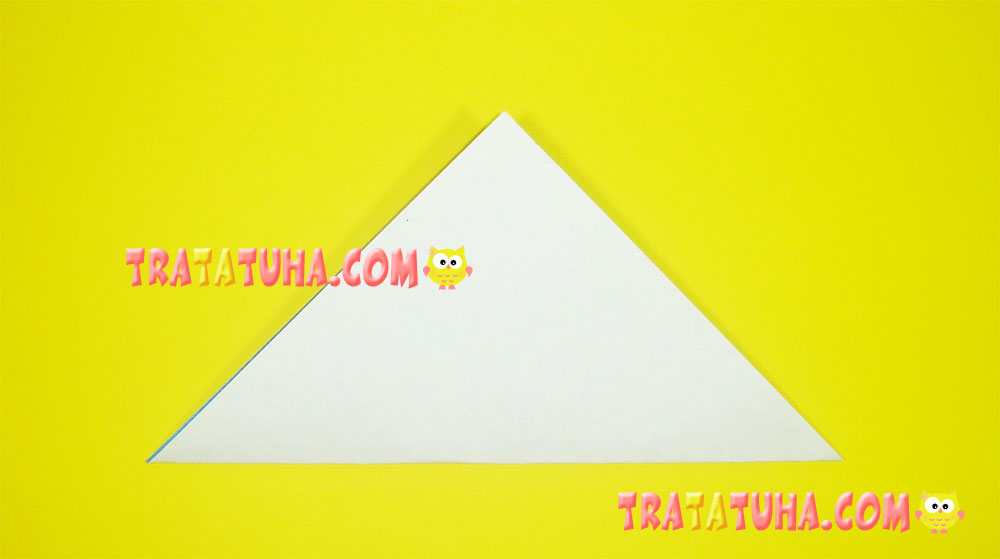
Fold the square to make a triangle. That is, connect the opposite corners.
Open the paper and fold the bottom side, aligning it with the fold in the center. The paper is specially placed in a horizontal position so that further actions are clear and consistent.
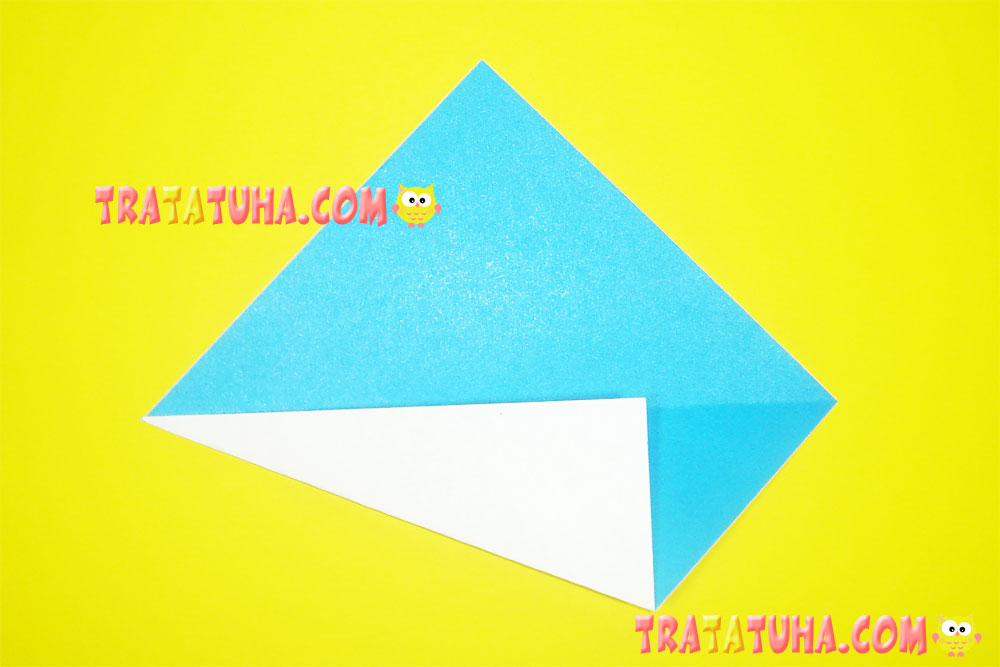
Flip over to the other side and fold in the bottom edges, aligning it with the bottom of the origami part.
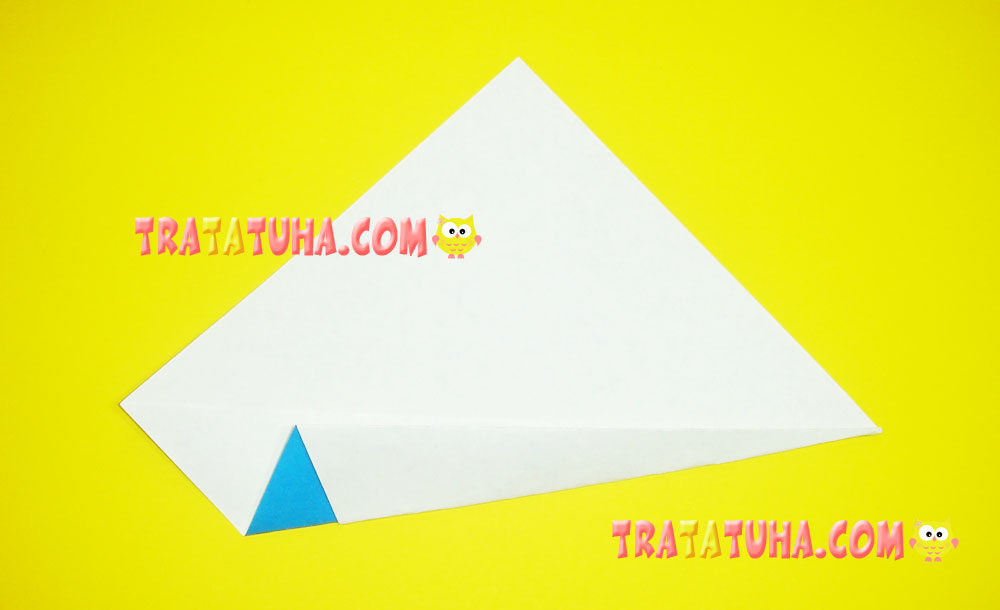
Now center the top side by folding it down.

Make small folds of the corners: top, left.

Turn the paper over, fold up the tail, glue or draw on the eye. Everything, the origami whale in the kid’s version is ready. It can be part of a collage on a water theme, a bright, interesting craft. An interesting motif is a combination of a drawing in the form of water and a fountain on top and a paper character.
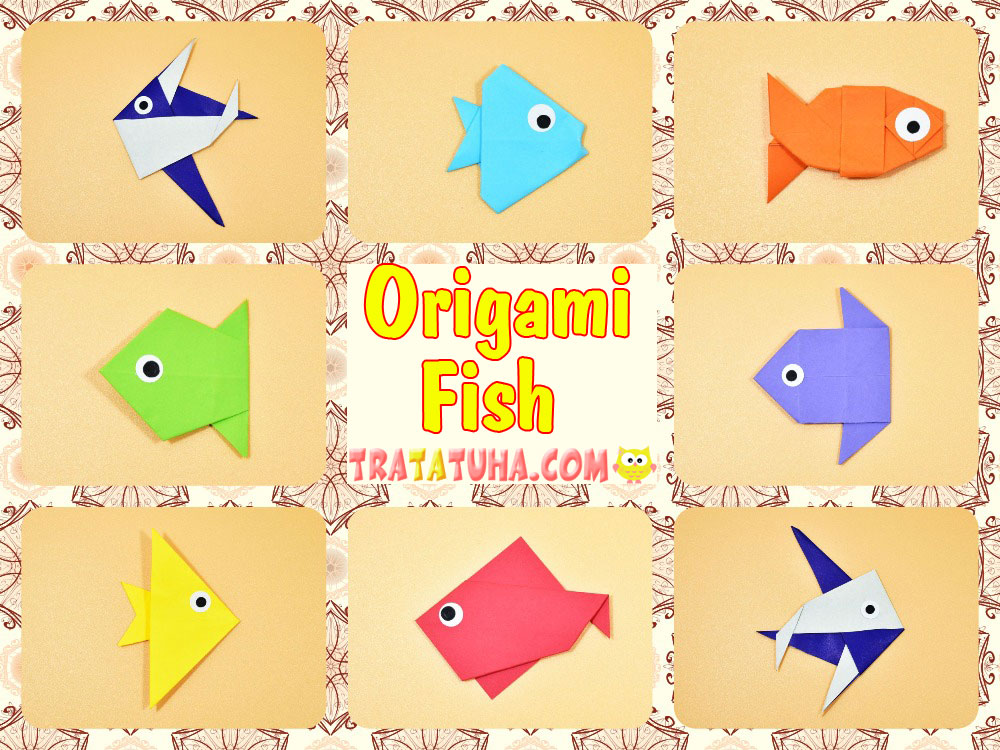
See also other tutorial of Origami Animals.
Many other ideas in the collection of Paper Animals Craft.
Crafts for Kids – learn how to make craft at home! Super cute crafts for all age groups!
Related Post: