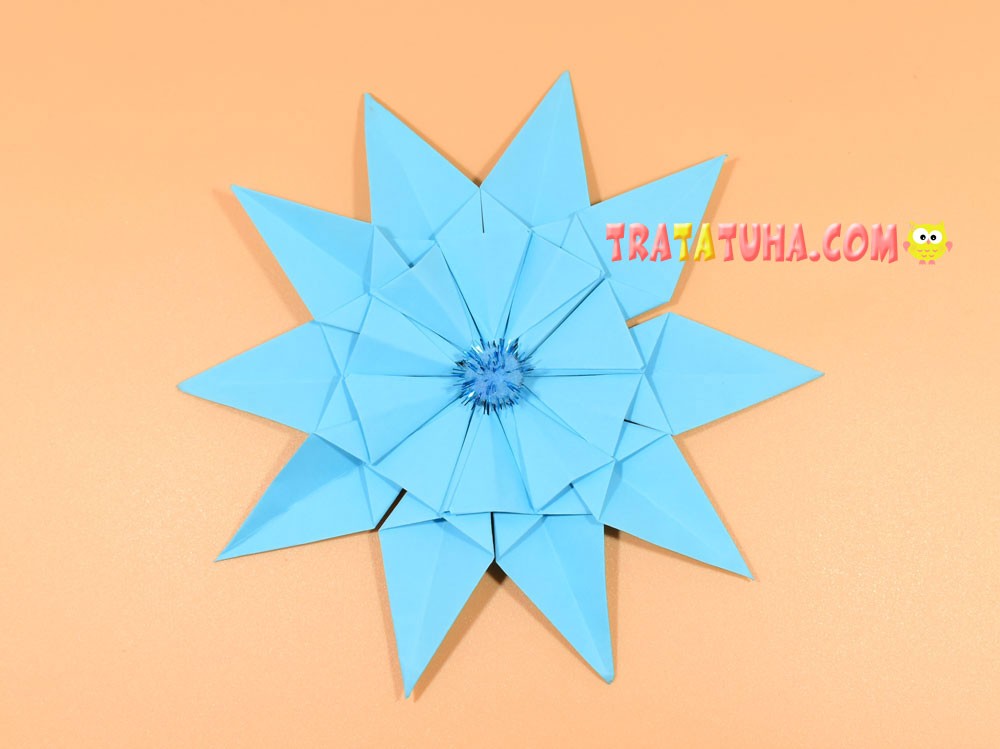
Origami snowflake, consisting of several modular connected in a circle. Step by step review with photo.
Materials:
- Colored paper;
- A small pom-pom;
- Glue.
Origami Snowflake Step by Step
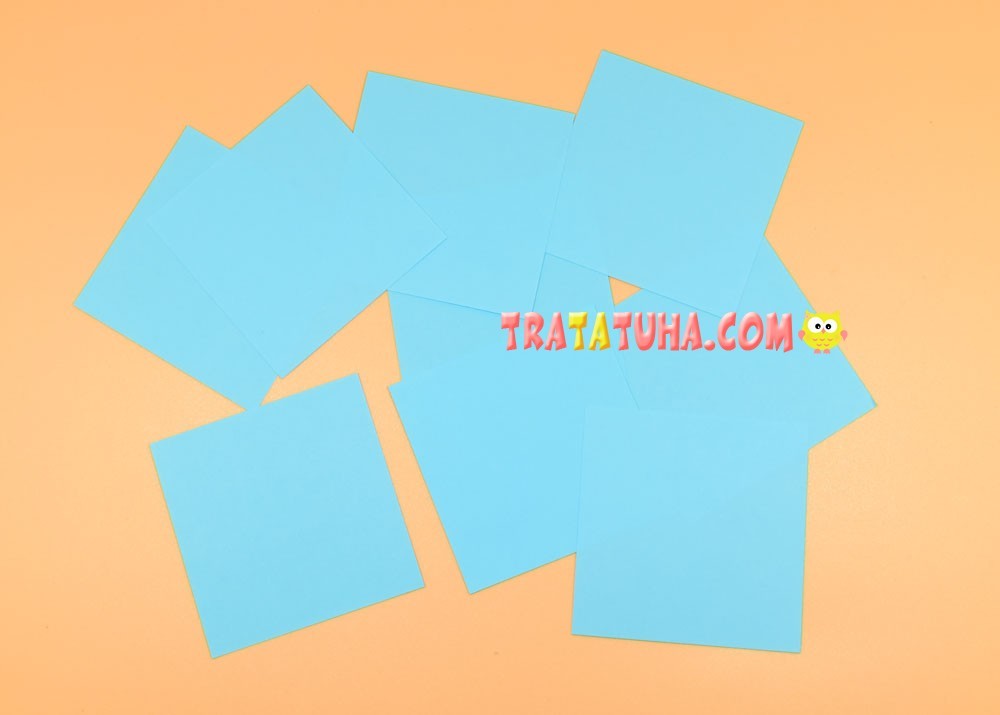
Prepare paper of the appropriate color and desired size. For one snowflake, you will need 10 square segments.
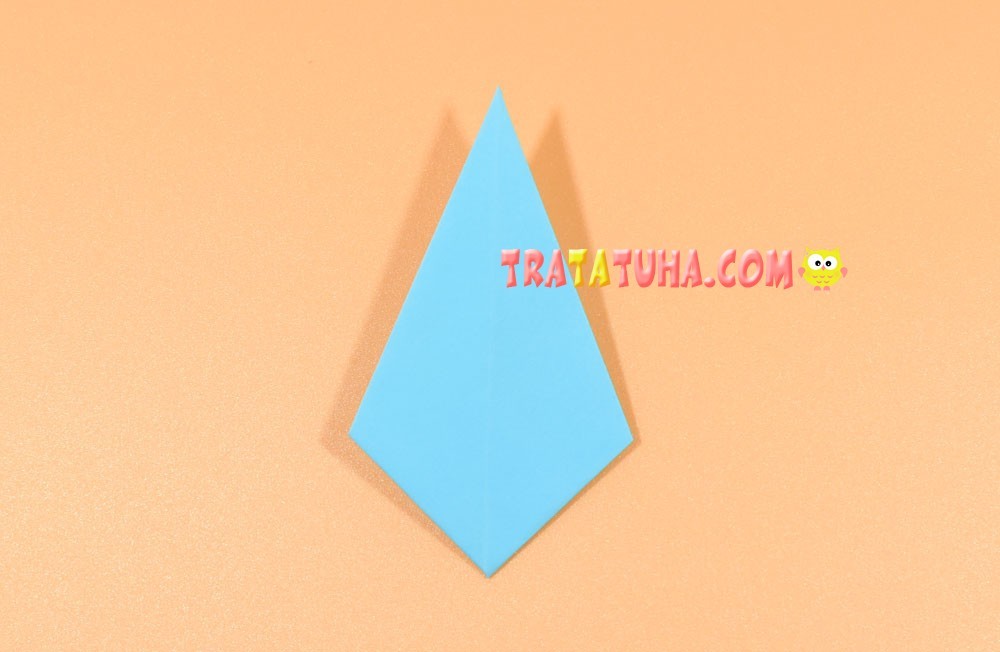
Let’s start folding the first origami snowflake, for which we will use one of the squares.

Fold the square into a triangle to mark the fold in the center.

Open and fold the right side to the middle.
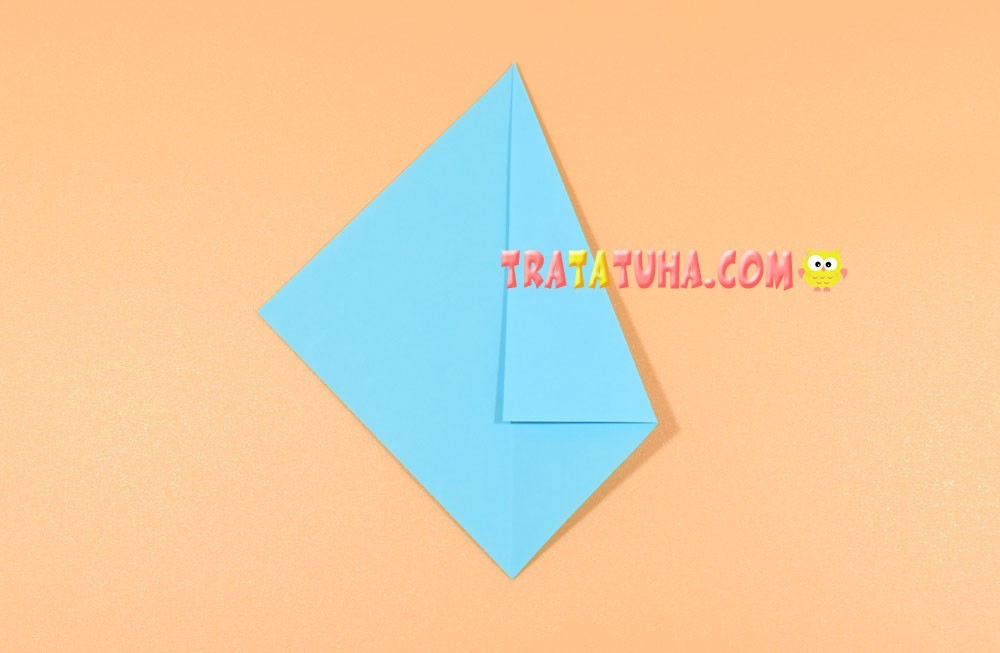
Then left.
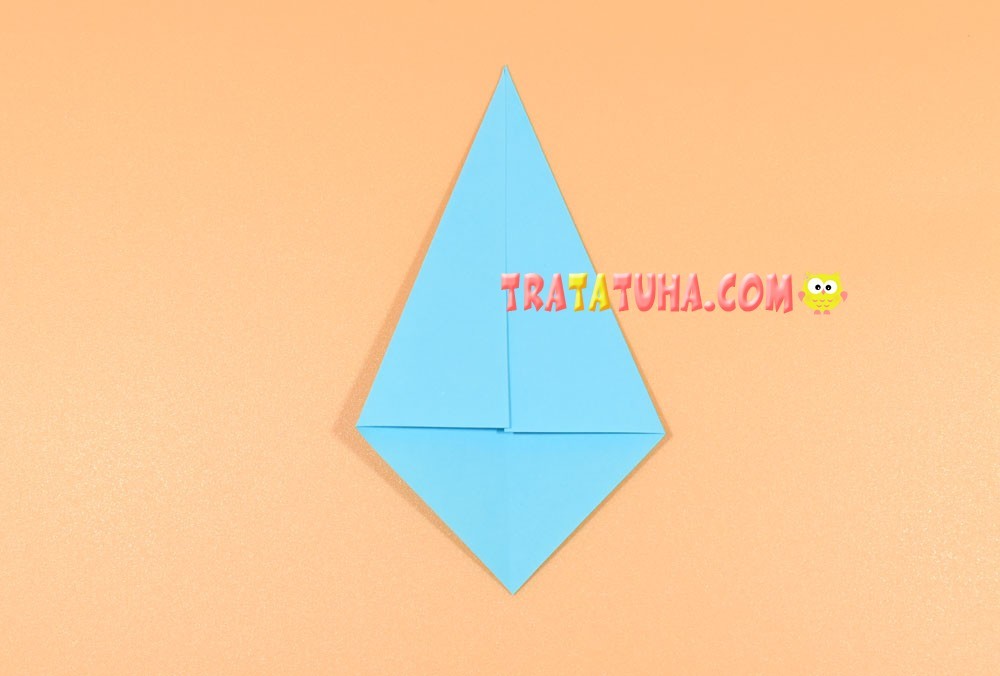
Bend the bottom corner up.
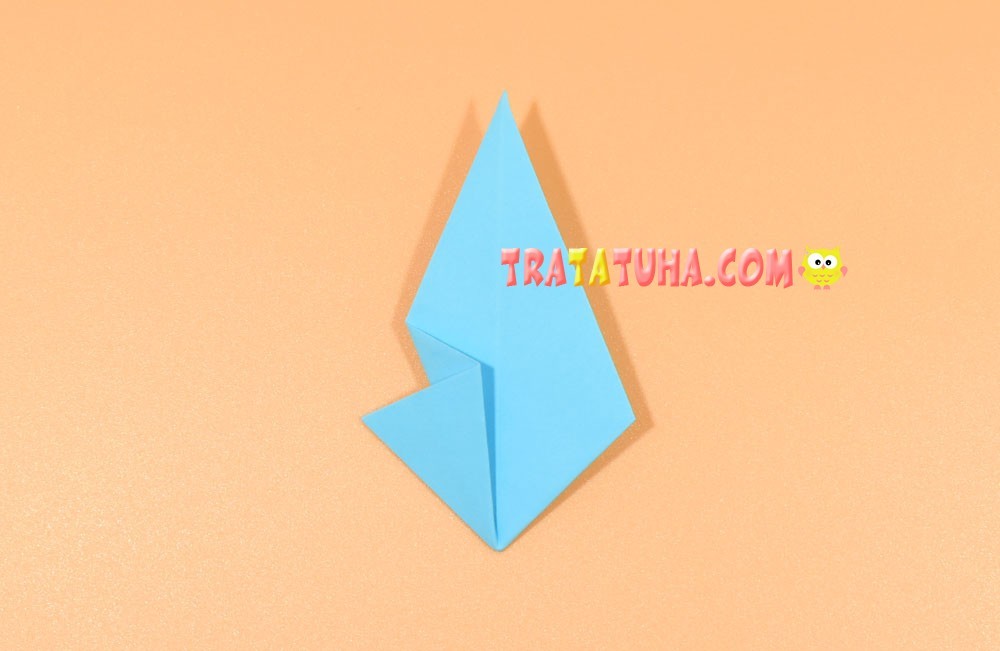
Now open up all the folded parts.
Point the bottom corner inward.

Close the sides.

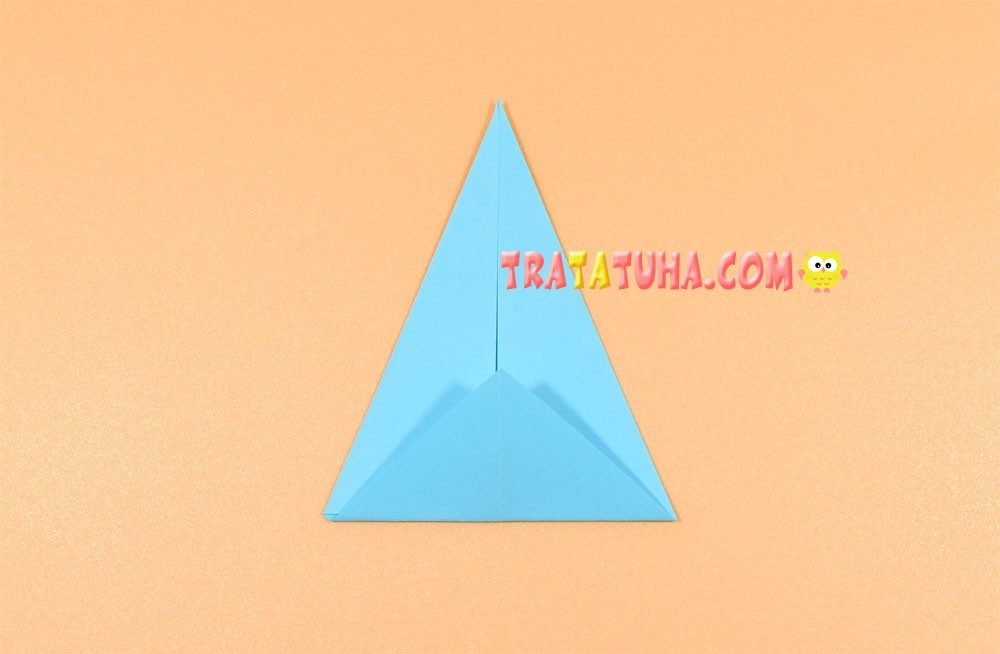
In the resulting triangle, bend the lower right corner to the middle.

Then arrange the lower left corner symmetrically to it.
Flip over to the other side.
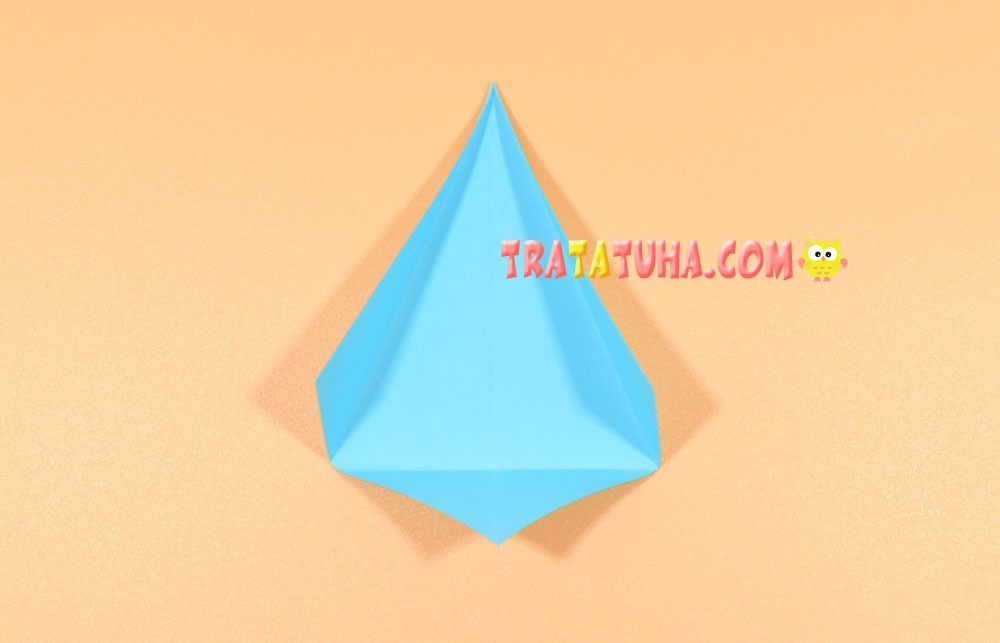
Bend the lower left side of the resulting rhombus to the right, aligning it in the center. In the process of bending, the corner will stretch on the back side.
On the right, do the same steps, setting the corners on the sides.
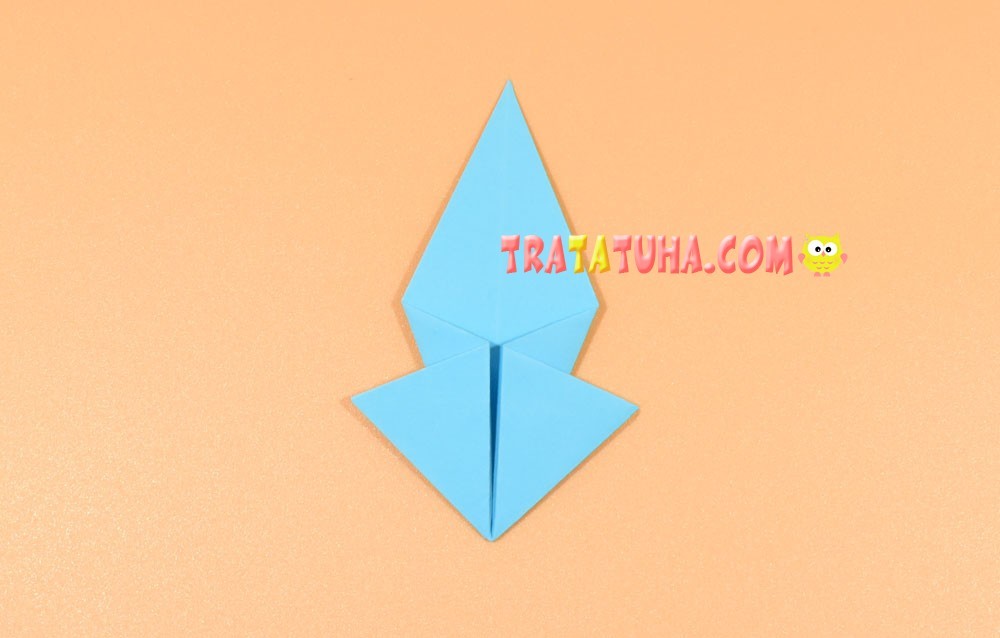
Fold in half.

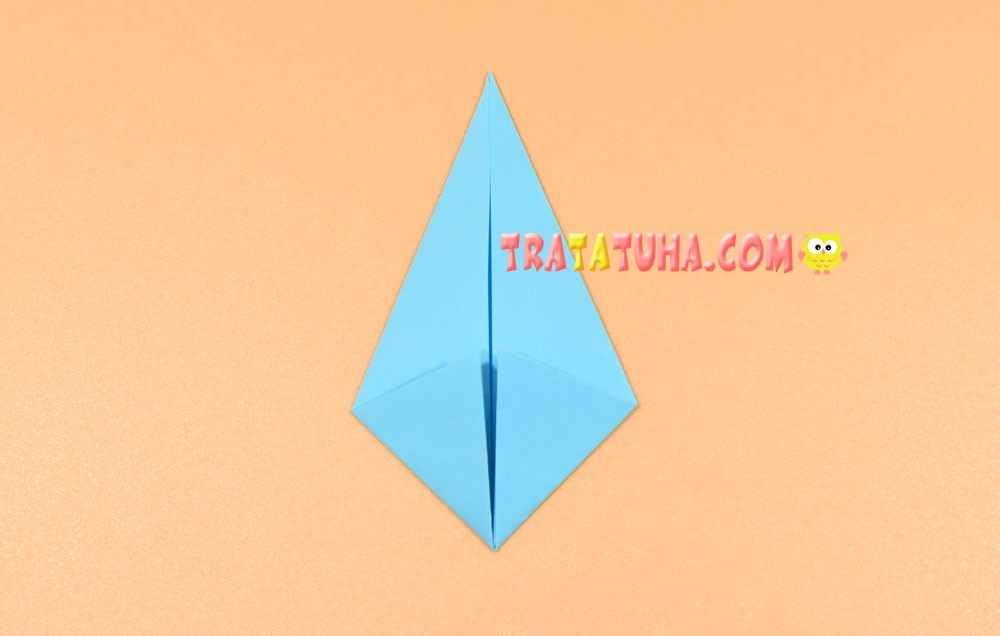
Press the protruding bottom corners on both sides.

Slightly open in the center, the first modular is ready.

Do 9 more. This is not long at all, the first time is enough to understand and remember all the actions, and then the work will move forward at a pace.
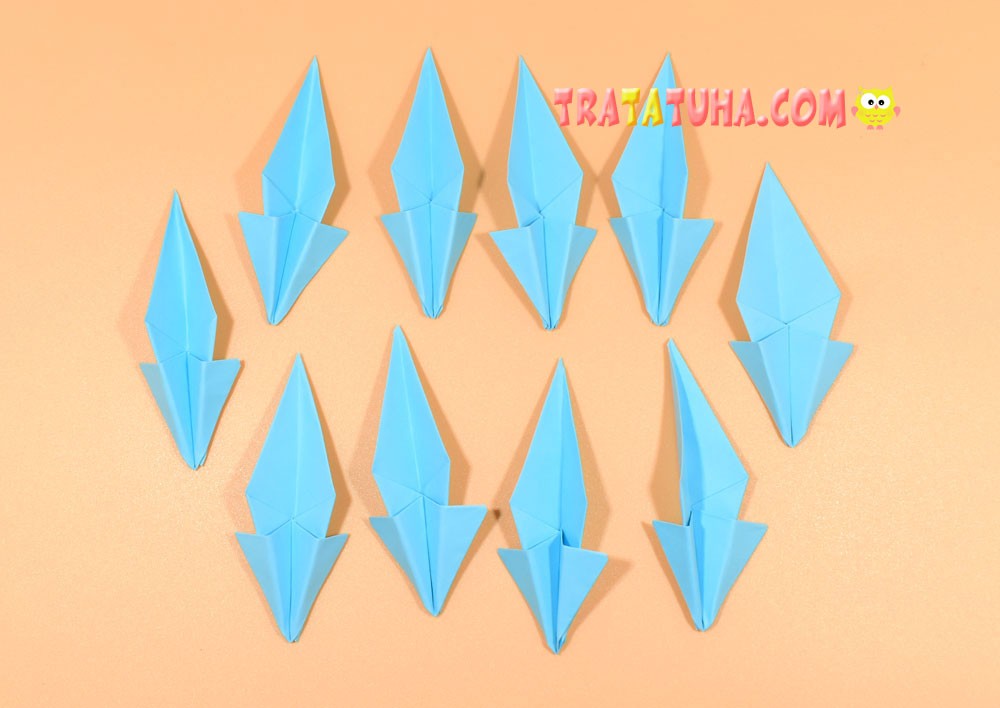
Alternatively, a snowflake can be a team effort, where each modular can be done by an individual. This option is especially suitable for creating a large snowflake.
Now we should make a single whole from all parts, that is, a snowflake. To do this, take two modular, one slightly open the cavity in the area of the corner.
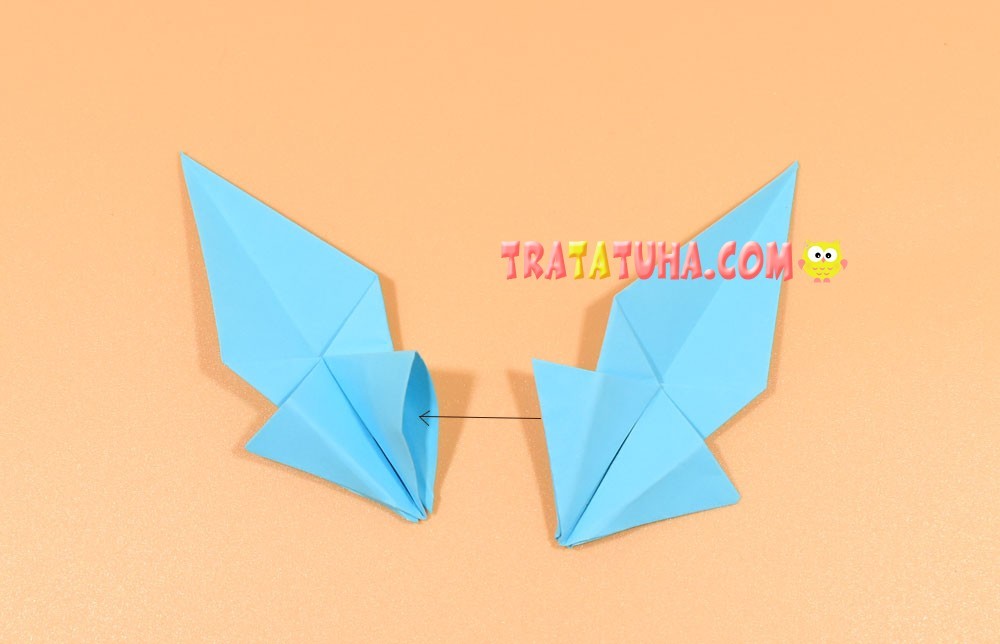
Place the corner of the second module there.

Please note that it needs to be stretched to the very middle.
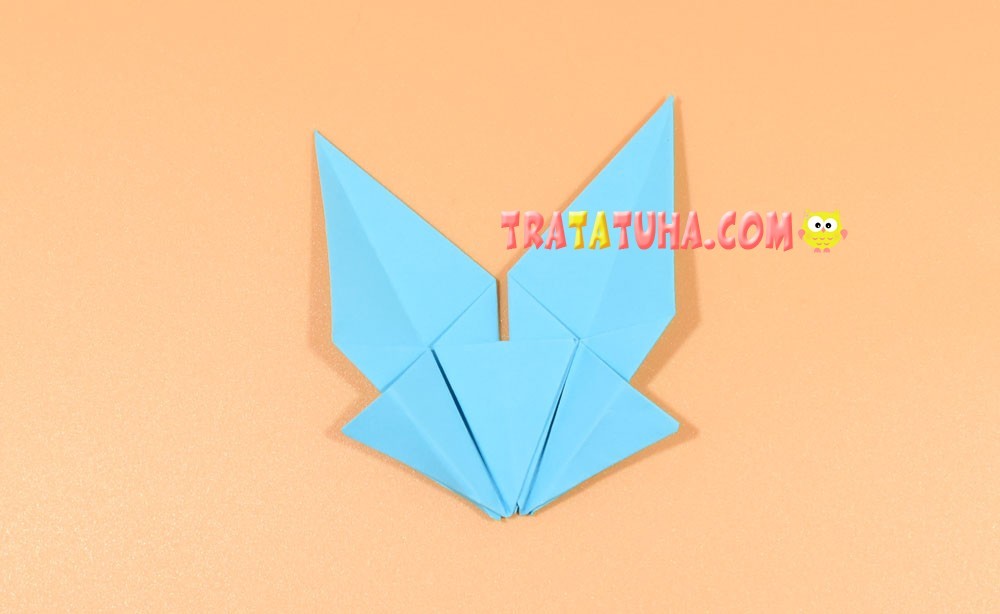
And then, in the same way, you need to fasten all the modular together, placing them in a circle. Sometimes it happens that the bond is not strong enough, so I advise you to use glue. It must first be applied to the corner placed inside.
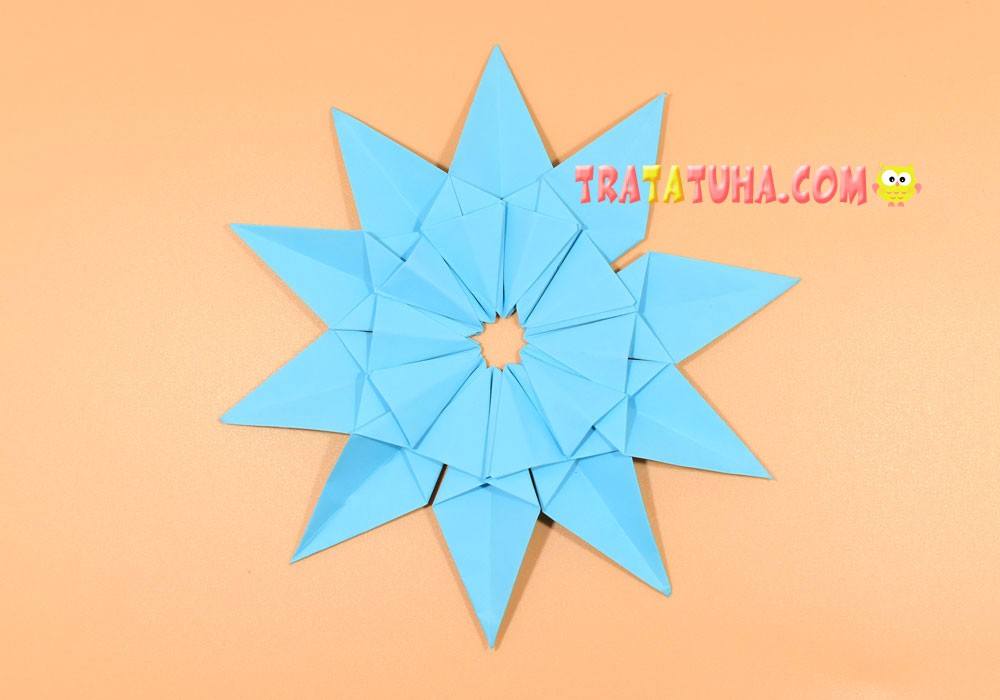
Origami snowflake is almost ready. By the way, on the reverse side is also a good option for a snowflake.
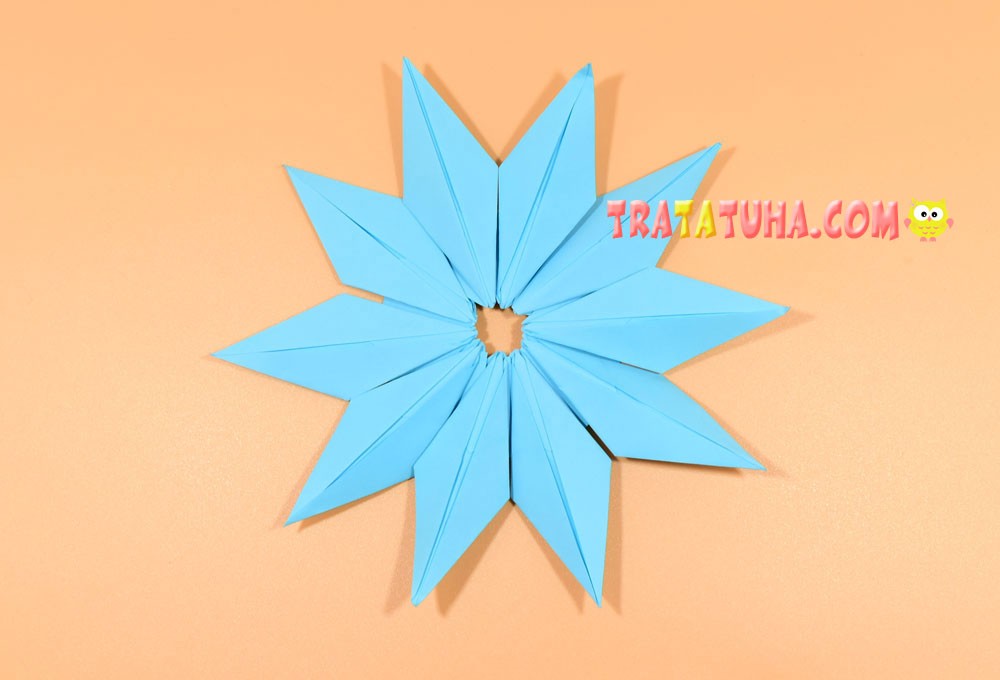
A hole is formed in the center, if desired, it can be hidden. For example, glue a pompom, decorative details (beads, rhinestones). Simply cut out any shape from paper (a star, a circle, a circle with a wavy edge).
Related Post: