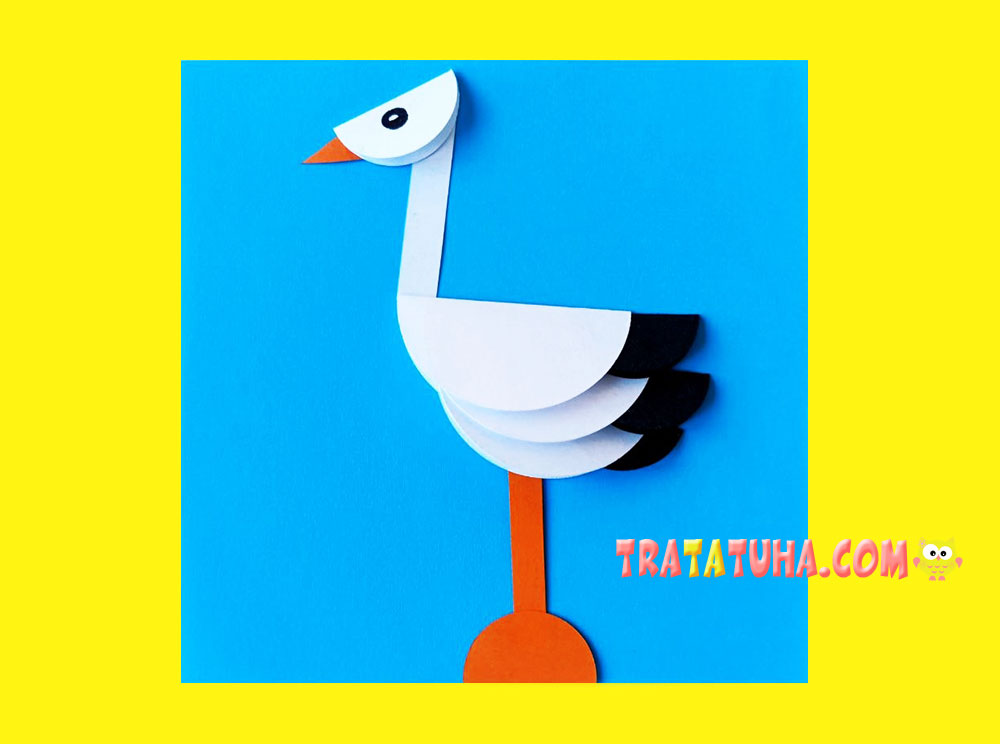
This paper circle stork craft is a fun and easy activity for children. All the pieces are made from simple paper circles folded in half, making it a great project even for young kids with a little help from an adult.
Materials:
- White, black, and orange paper;
- Colored cardstock or paper for the background;
- A black marker, felt-tip pen, or pencil;
- A compass, ruler, and pencil (optional);
- Scissors;
- Glue.
How to Make a Paper Circle Stork
Start by preparing all the paper pieces.
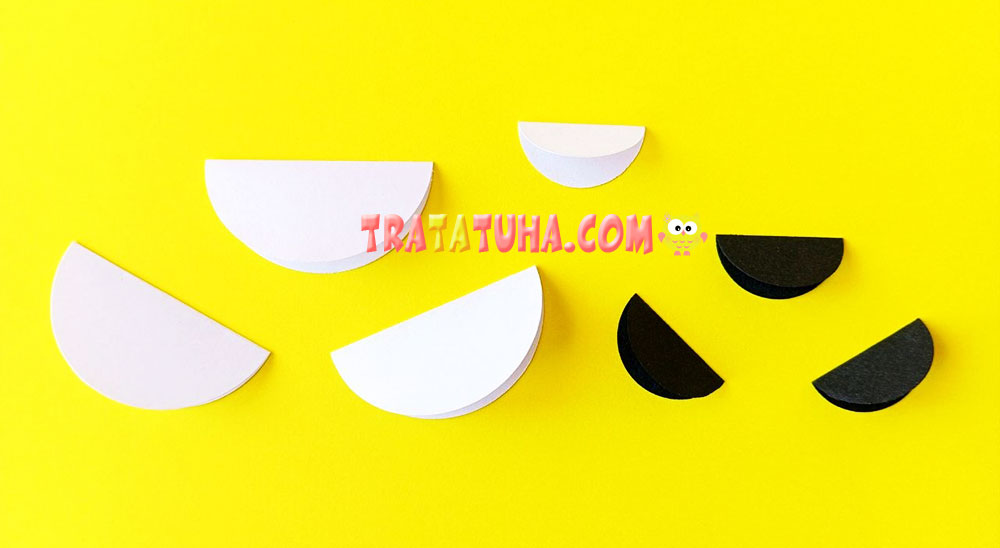
- Cut three large circles, one smaller circle, and one long, narrow strip from white paper.
- Cut three black circles about the same size as the small white circle.
- From orange paper, cut a small triangle, a semicircle, and one long, narrow strip about the same width as the white one.
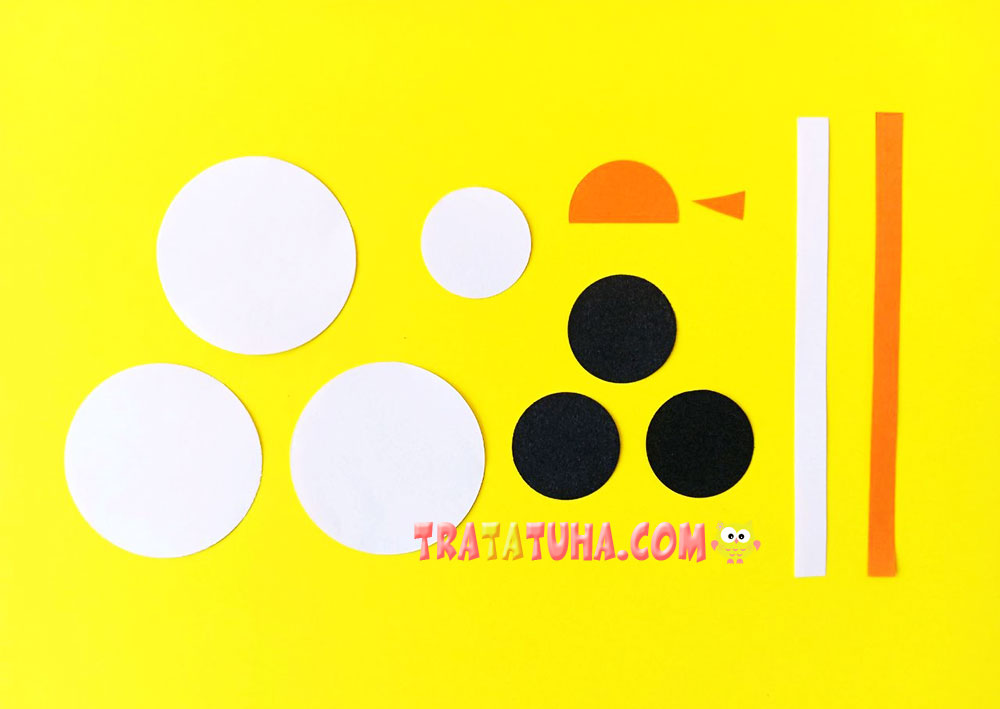
Fold all the circles in half. These folded circles will form the stork.
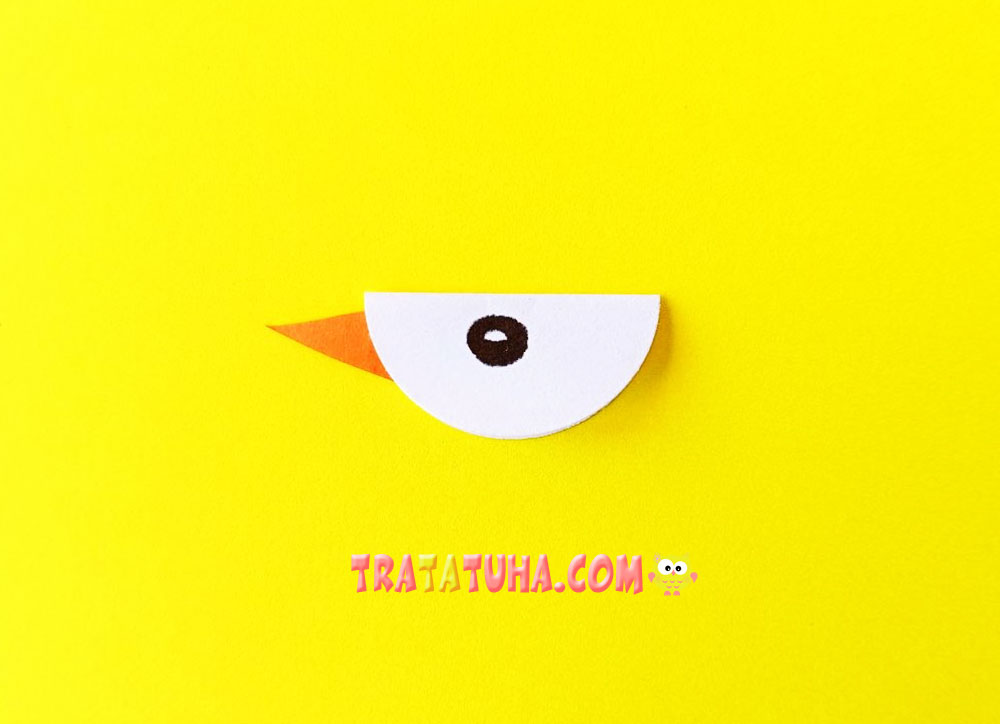
Take the small white folded circle and glue the orange triangle to it to make the beak. Draw the stork’s eye with a small dot or add a tiny highlight for extra detail.
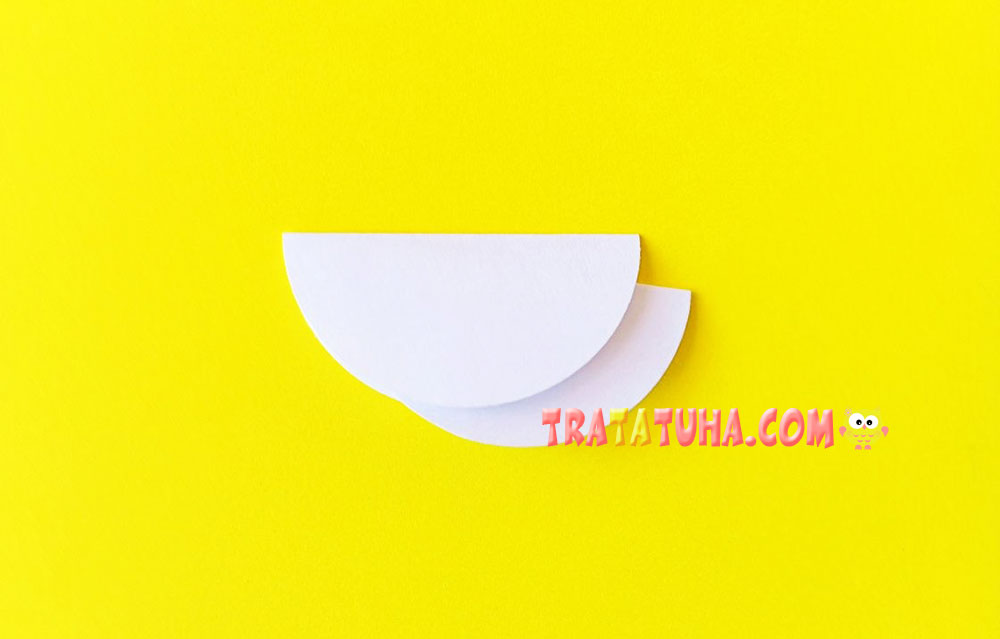
Now assemble the body. Place one large white folded circle inside another and glue them together. The second circle should extend slightly forward.
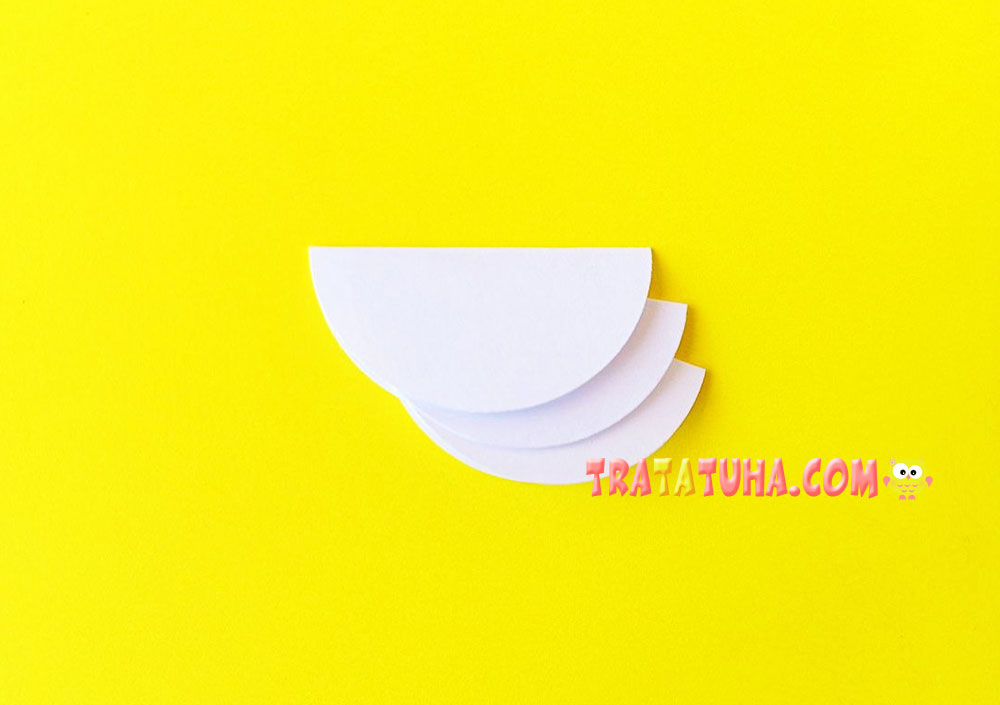
Insert the third large white folded circle in the same way.
Find even more fun craft ideas in our collection of paper birds.
Next, add the black circles. They will create the stork’s distinctive black wing feathers.
Place one black folded circle inside one of the white circles. You can position it straight or angle it slightly upward—either option looks great.
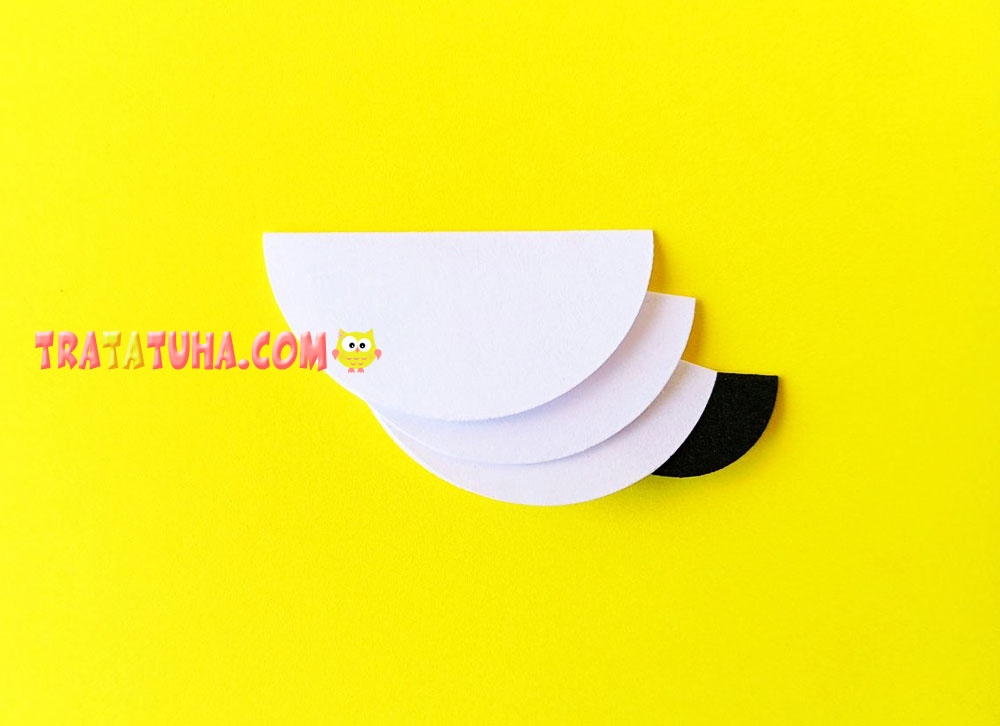
Repeat with the remaining two black circles.
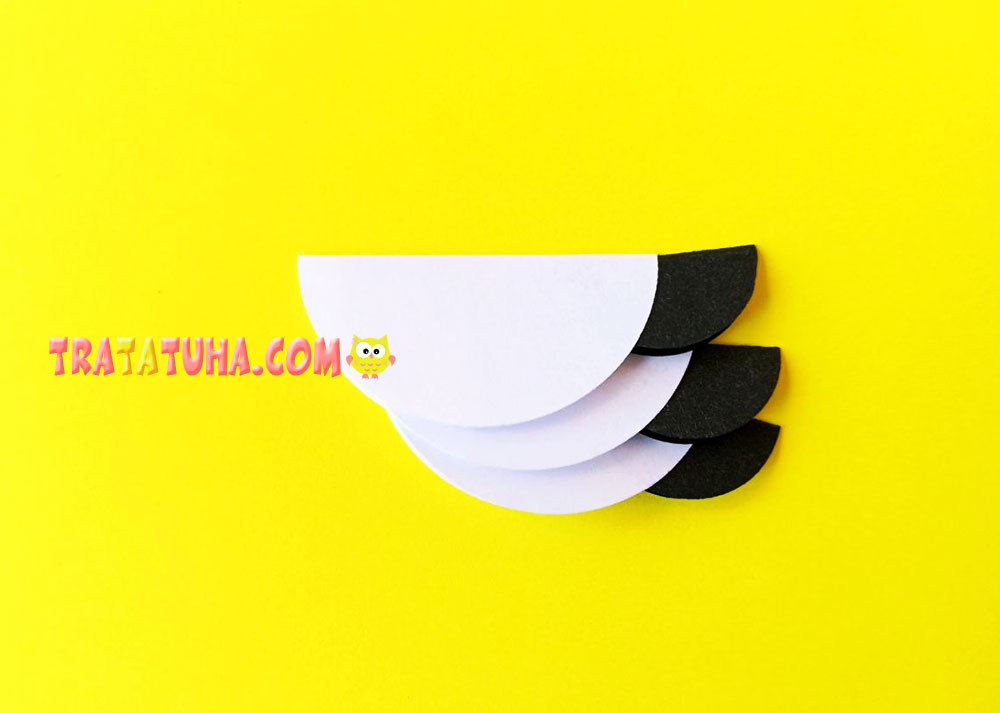
Final Steps
Choose a background for your craft. Blue works perfectly to represent the sky, but green or yellow backgrounds also look beautiful.
- Place the stork’s body on the background with a slight downward tilt, but don’t glue it down just yet.
- Slide the two strips underneath the body. The white strip will become the neck, so position it at the top with a slight angle to the right. The orange strip will be the legs, so place it vertically at the bottom.
- Glue all the pieces to the background.
- Trim the strips to the desired length. The neck should stop just short of the top edge of the background, while the legs should reach the bottom edge.
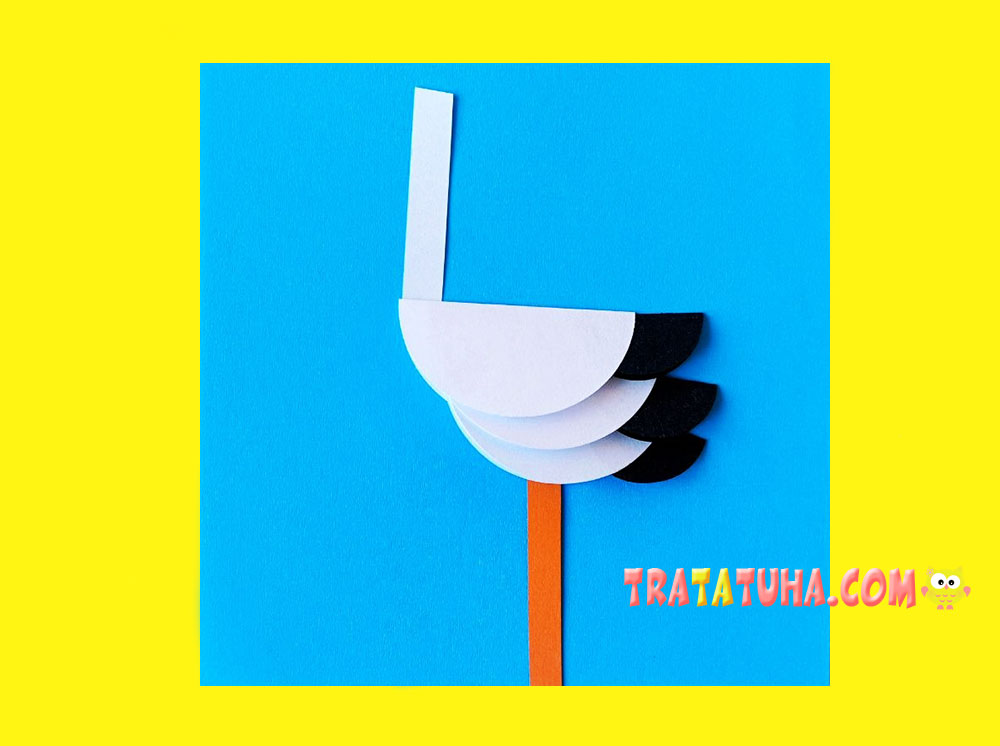
Finally, glue the head to the neck and attach the orange semicircle to the bottom of the legs to create the stork’s feet.
This paper circle stork craft is simple to make, slightly three-dimensional, and full of charm. It’s a wonderful spring craft for kids, a perfect classroom activity when learning about birds, or a fun project to make at home. Display the finished craft on a wall, bulletin board, or as part of a seasonal collection of children’s artwork.
Related Post: