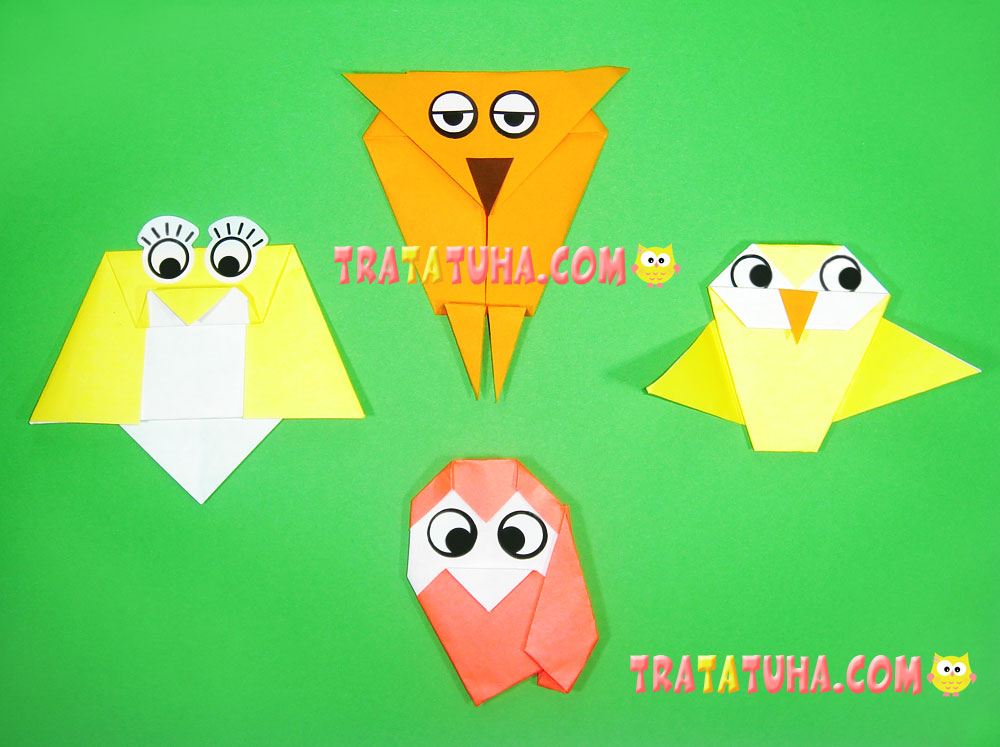
Here you will find out how to make a basic origami owl by four different ways. From simple to a bit more complicated.
Materials:
- single-sided and double-sided colored paper;
- scissors, glue;
- stickers for eyes (or a bit of paper)
How to Make a Origami Owl?
There is a Step-by-Step Guide that shows four different ways of making your first Owl.
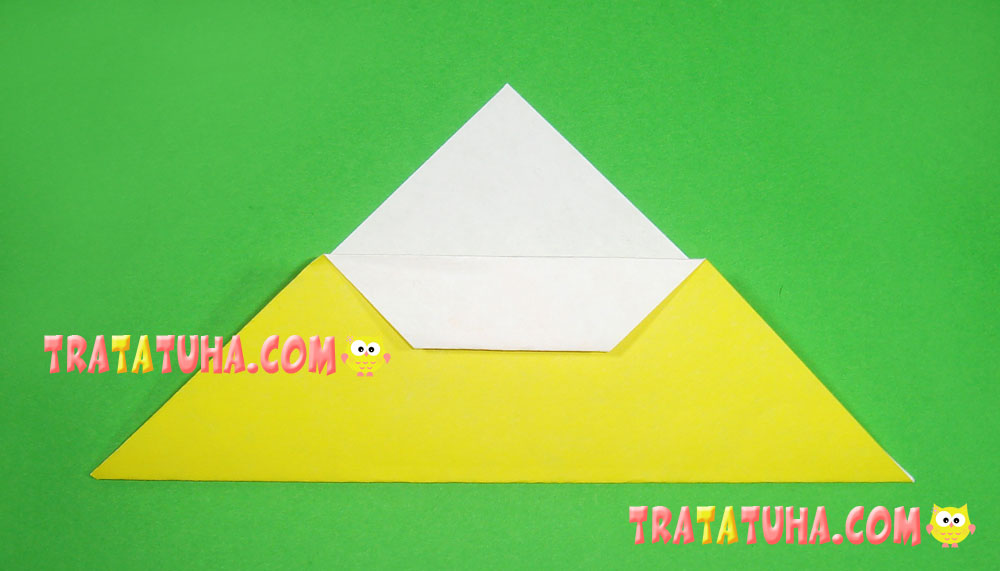
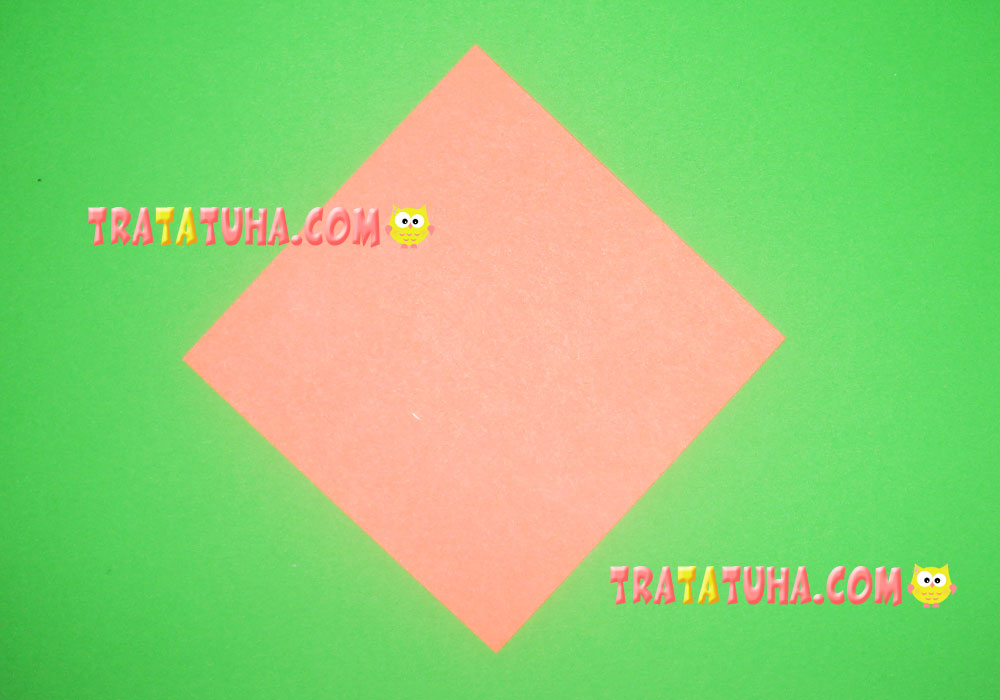
Paper Owl – Technique 1:
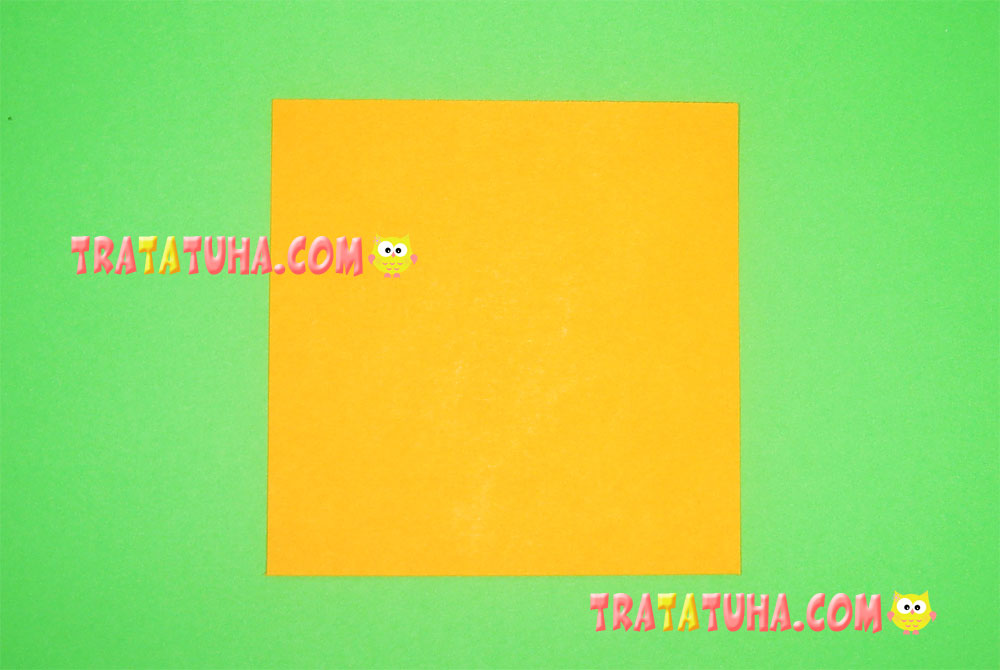
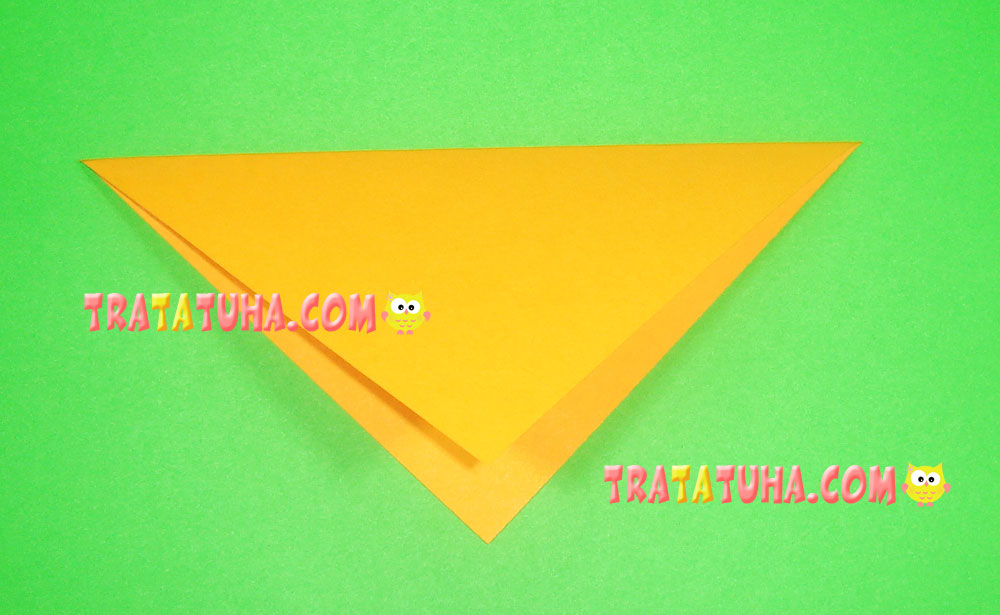
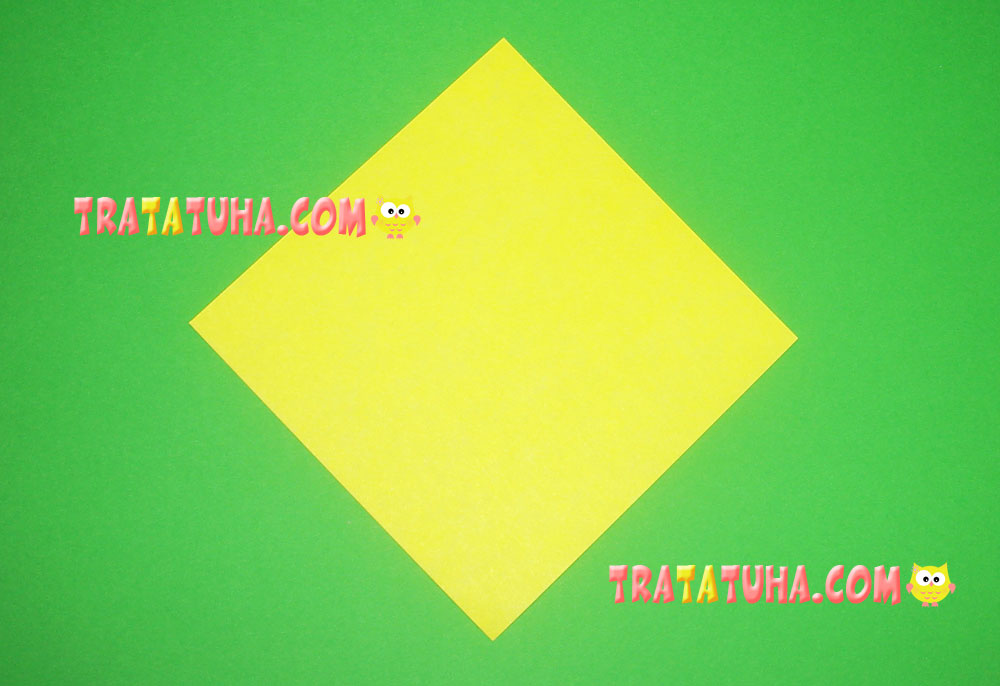
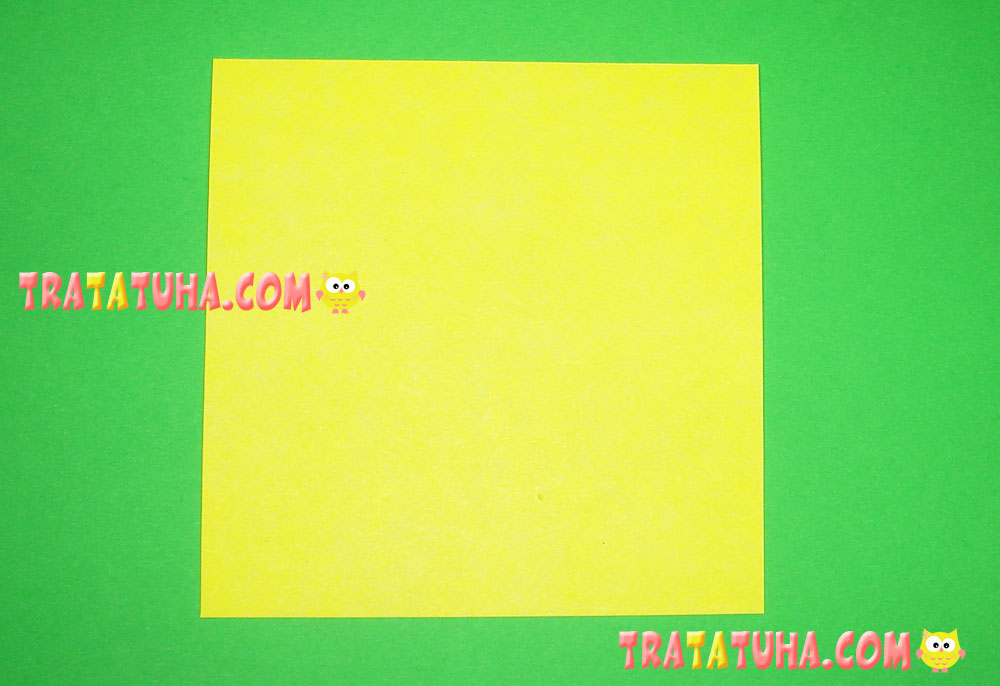
Take a double-sided square paper of any size.
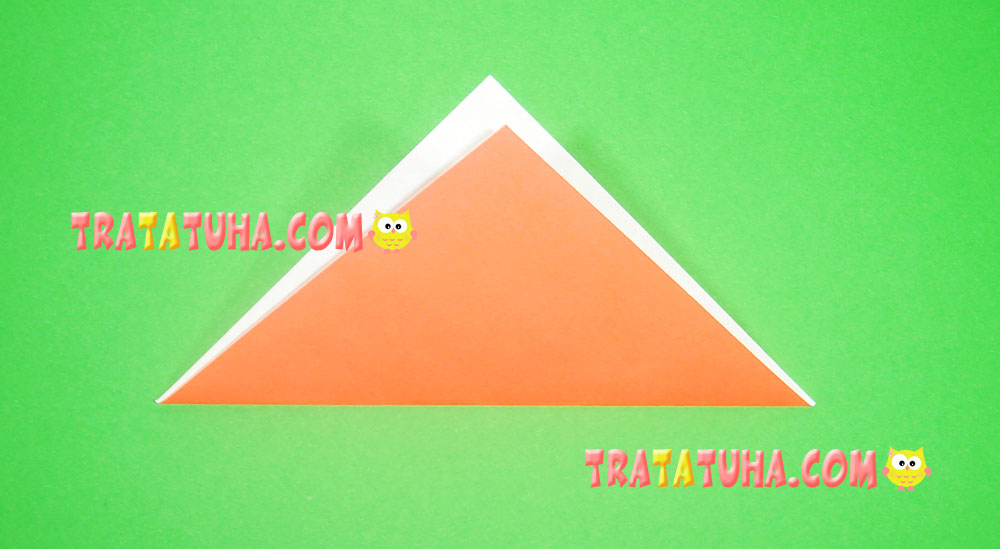
Fold it in half connecting the opposite corners. The crease will show you the centre.
Fold its right and left sides aligning them with your centre crease. First – the right one.
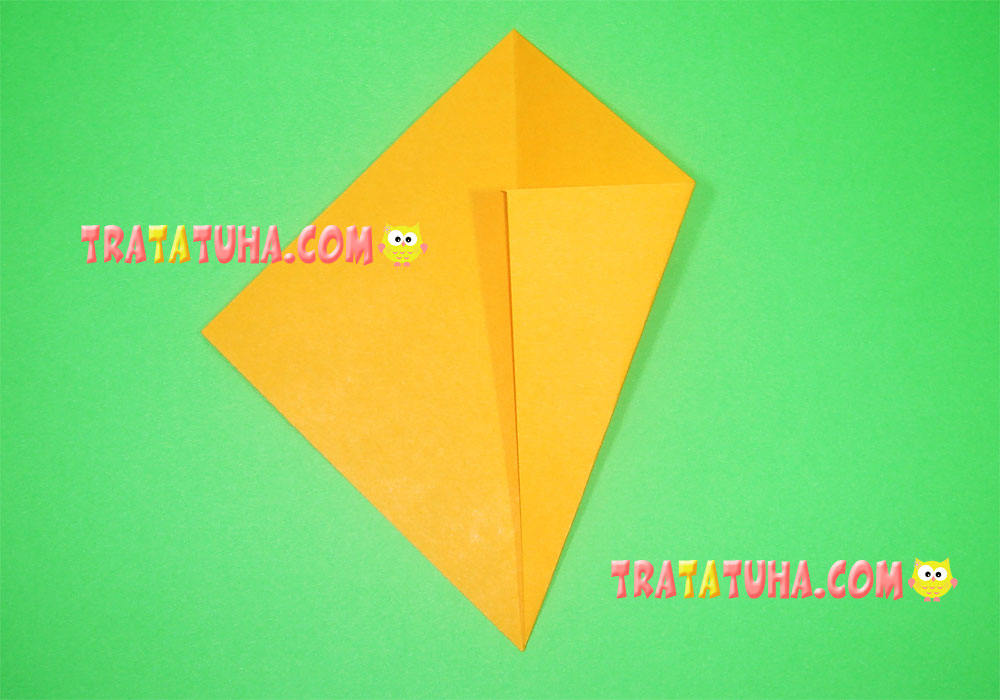
Then – the left one.
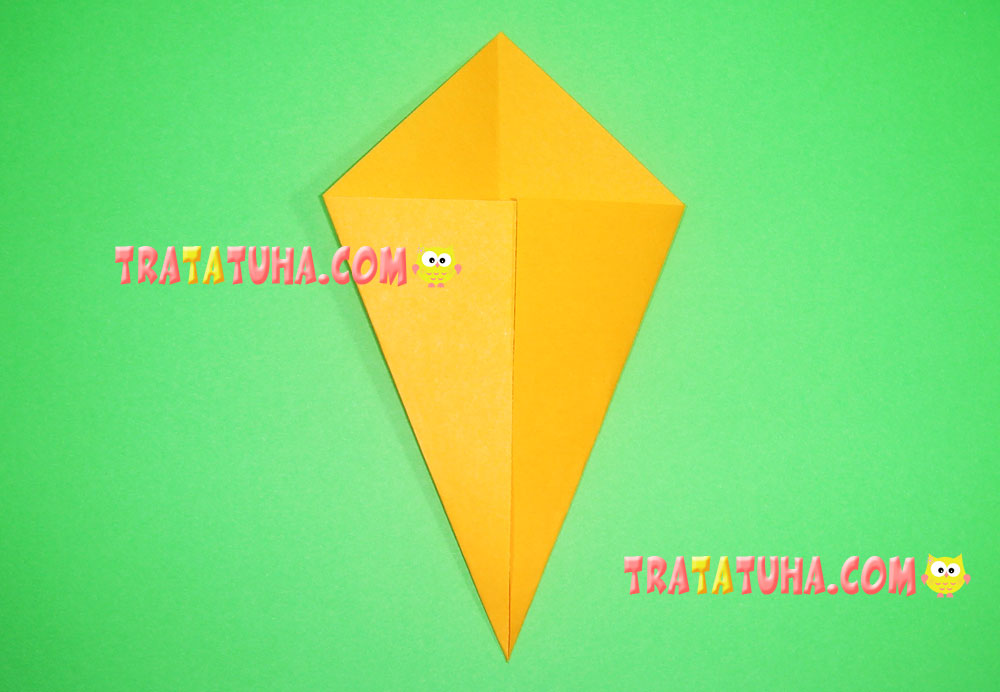
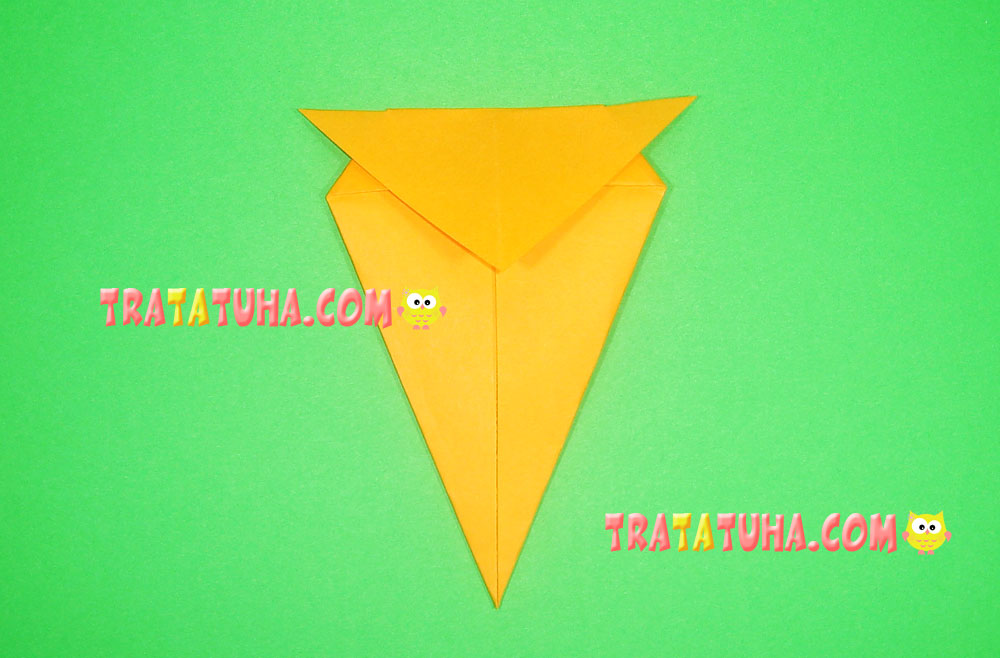
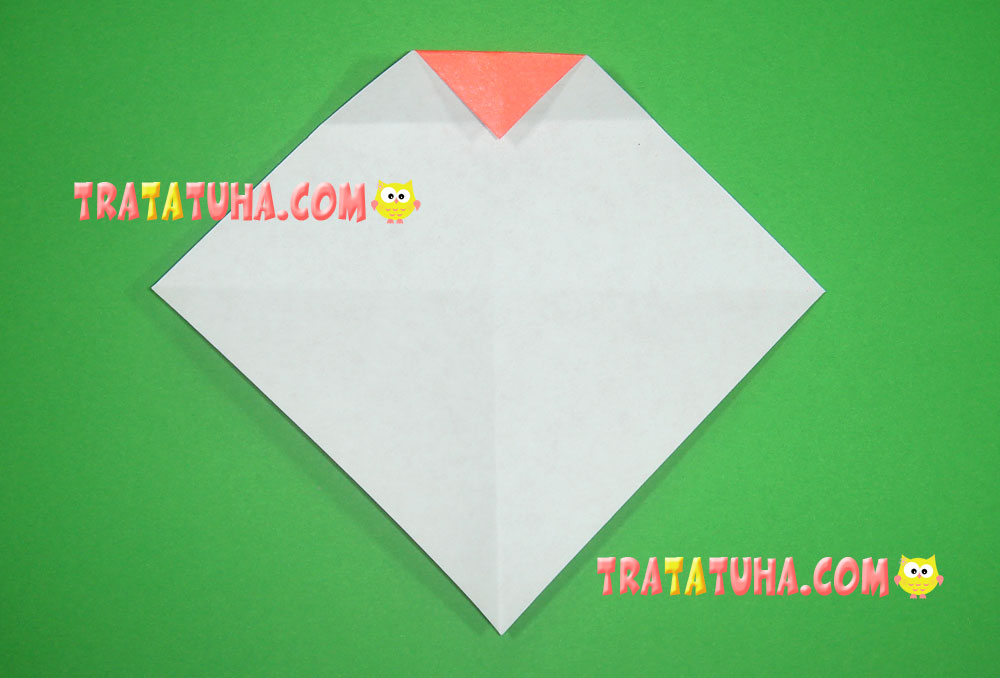
Now pull the top corner of paper down covering with it the folded sides. Make a firm crease.
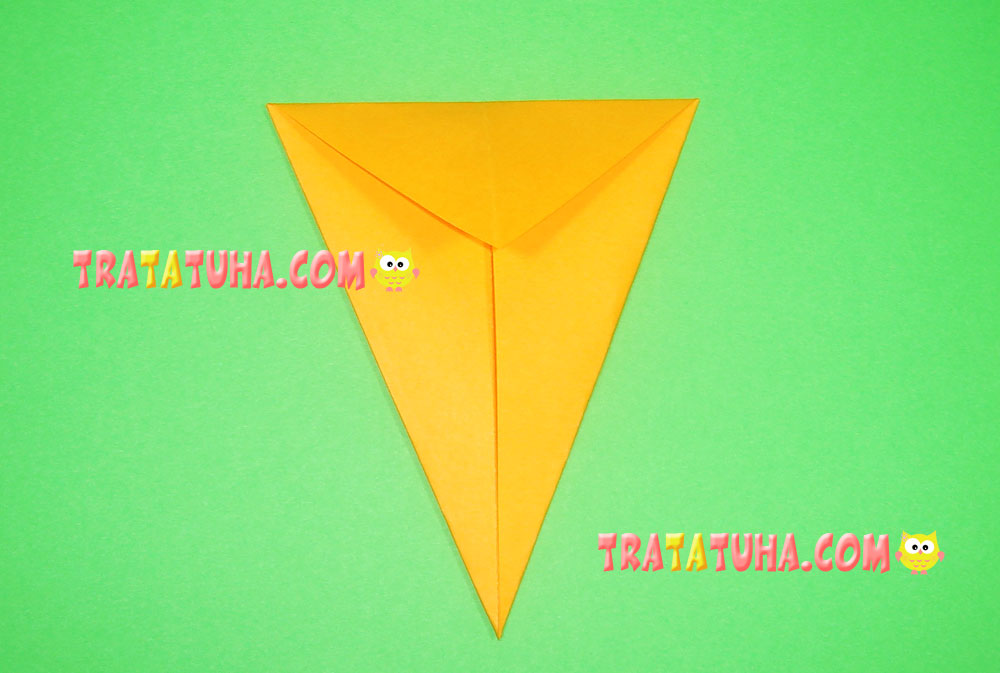
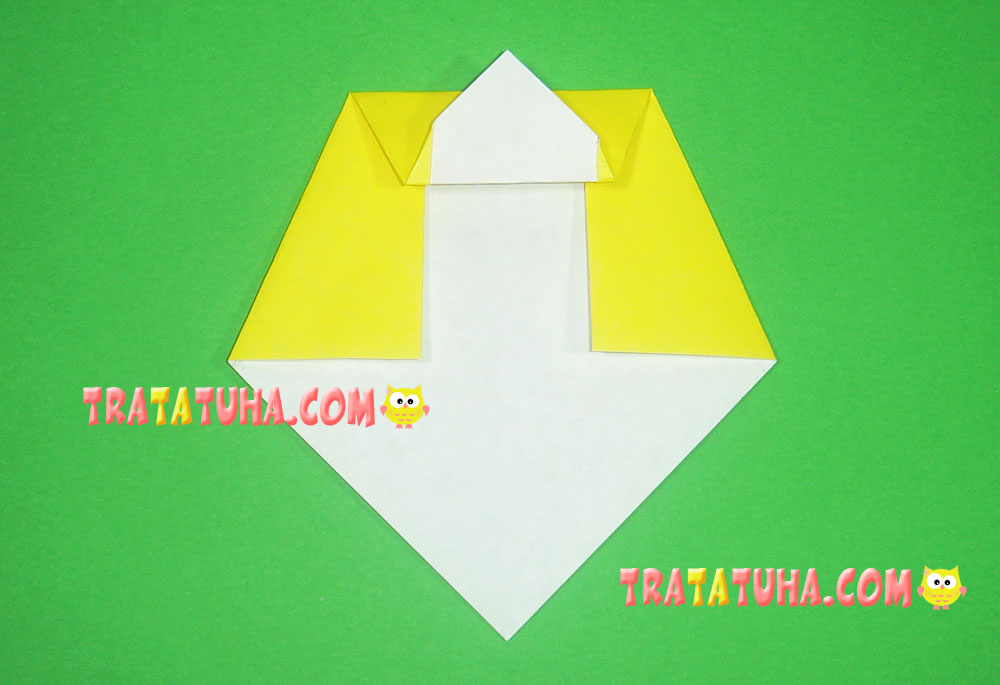
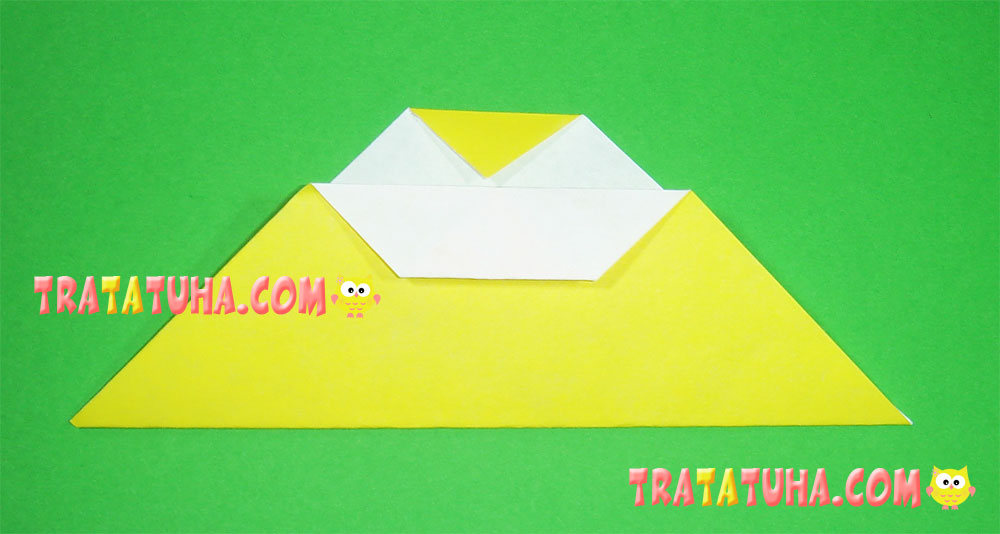
Return the upper part of paper back, and you will see a fresh crease made by it. Make small cuts aligned with this crease and pull side tips inward and down.

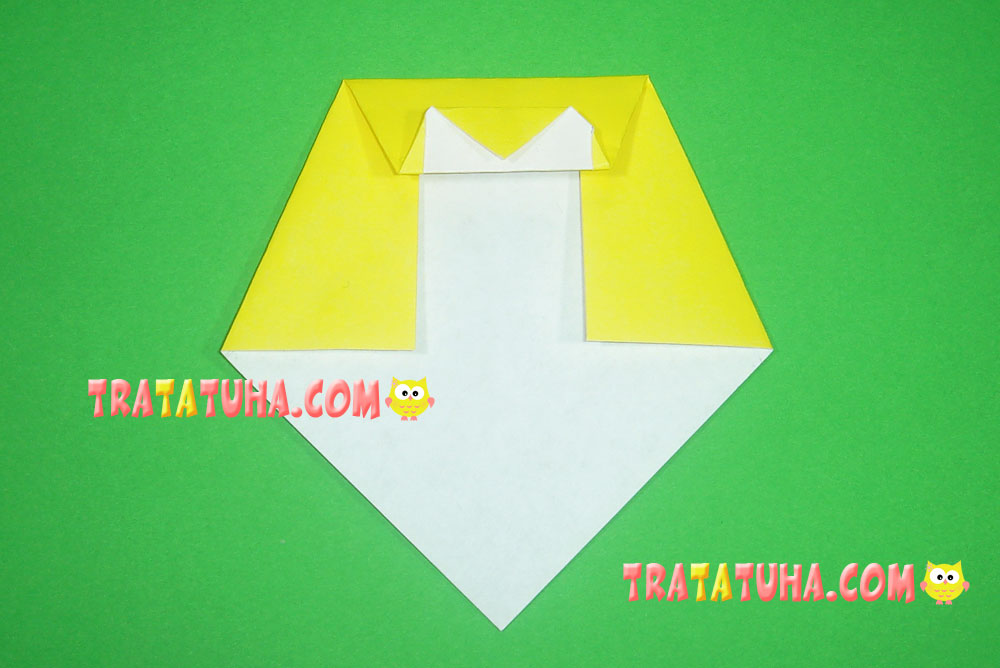
After that pull the upper corner of model down again, and you will see that it reminds you a head of your future Owl.
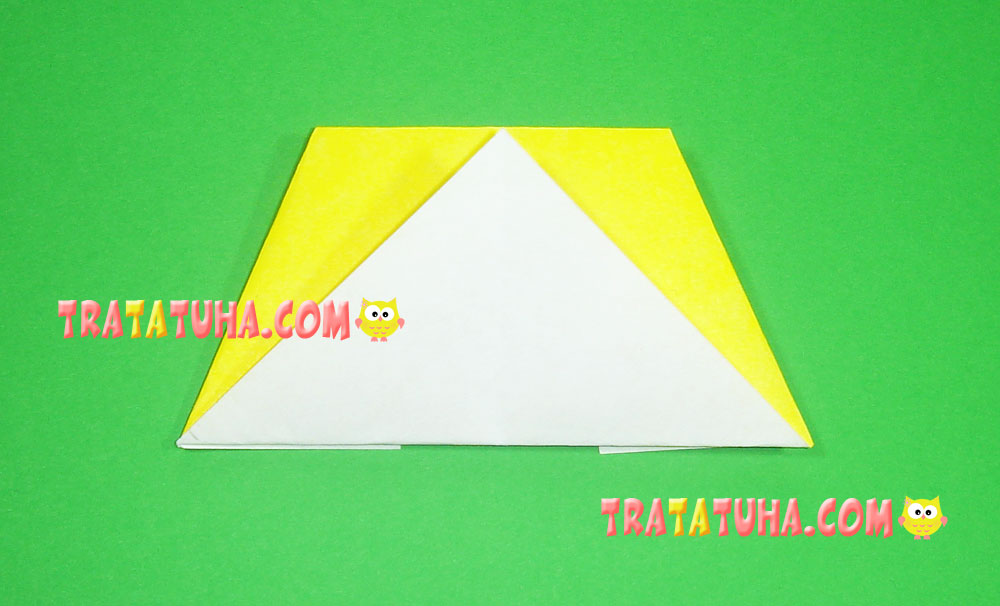
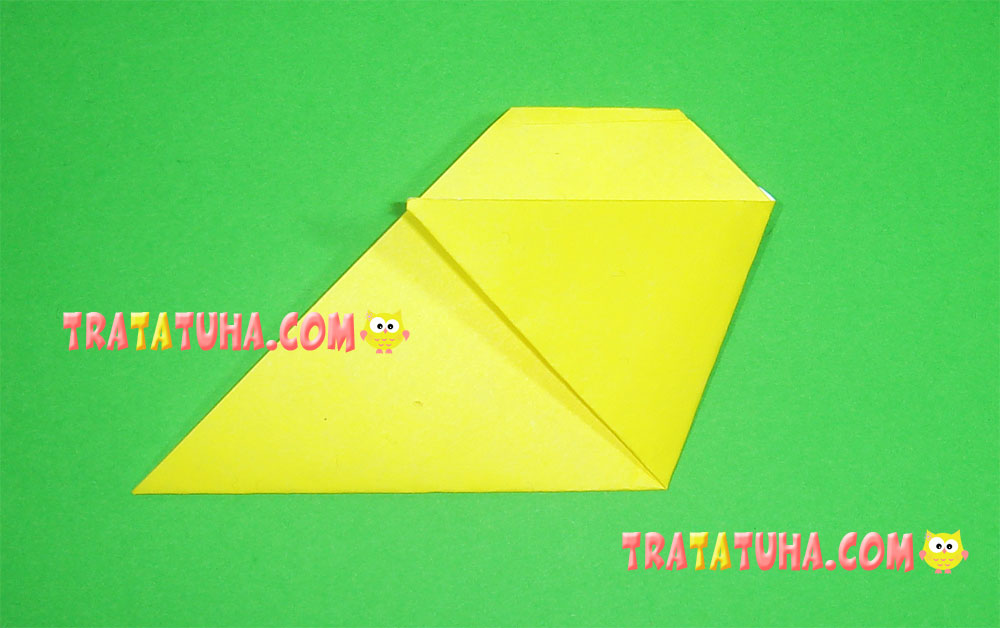
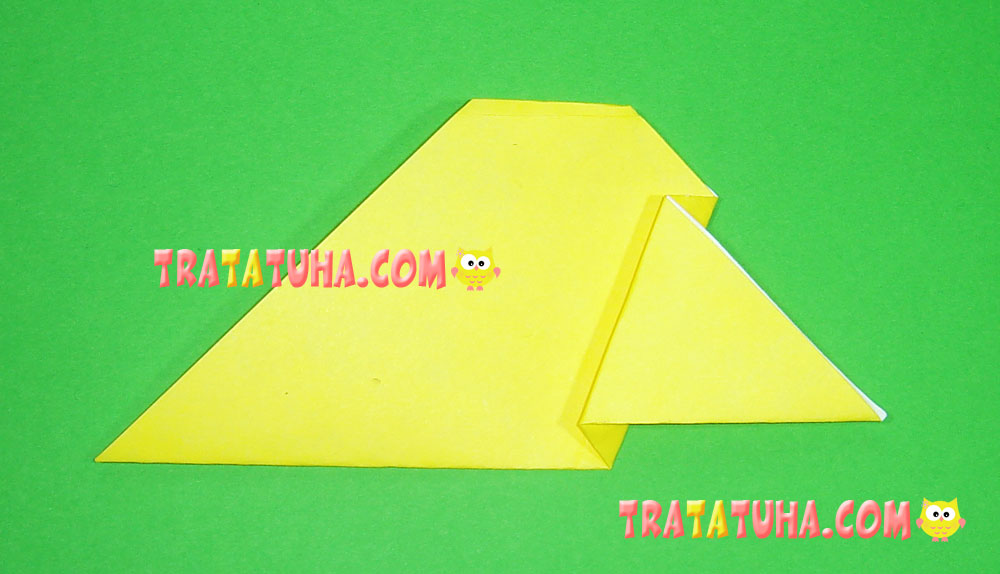
Finally, make a slight cut along the vertical crease at the bottom of your craft, and bend a tip of each bottom corner up, and then down – forming a narrow fold. You have just made the owl legs. The main part of your work is completed.
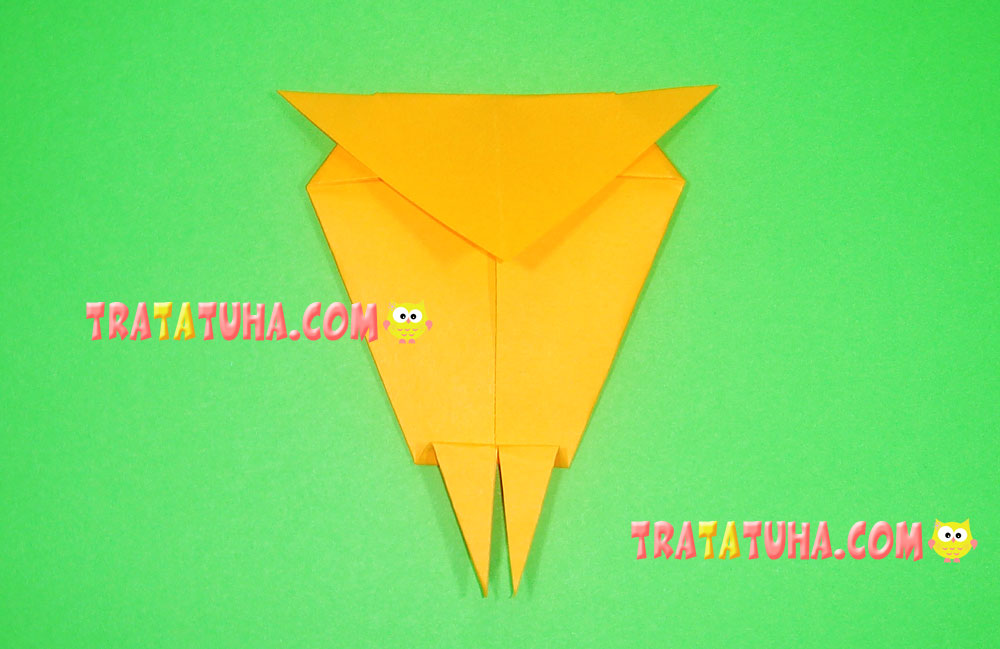
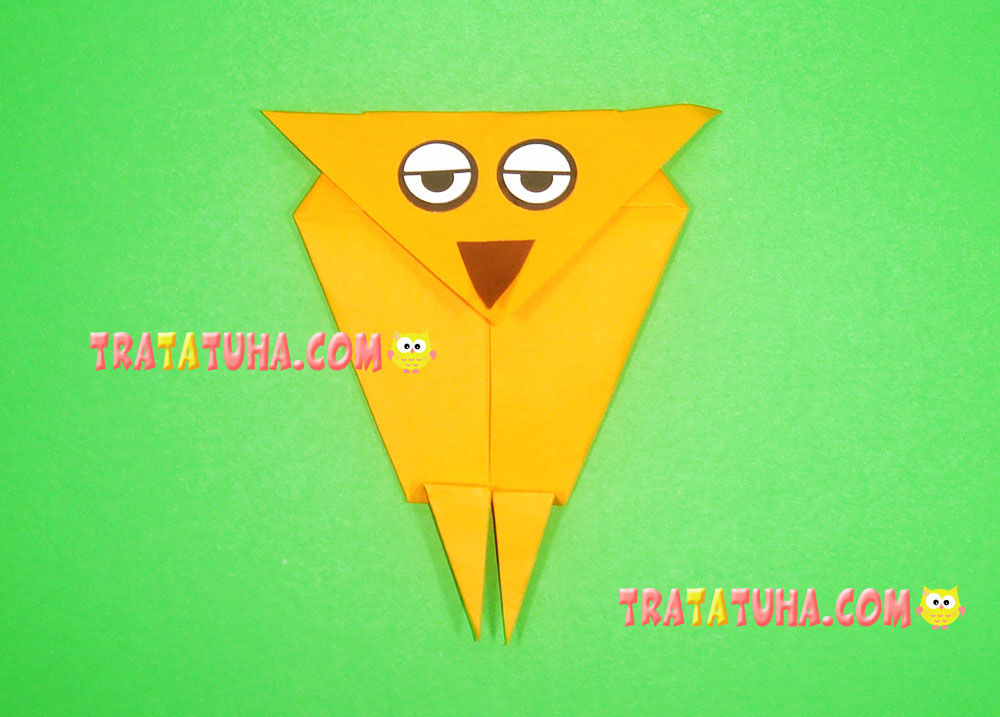
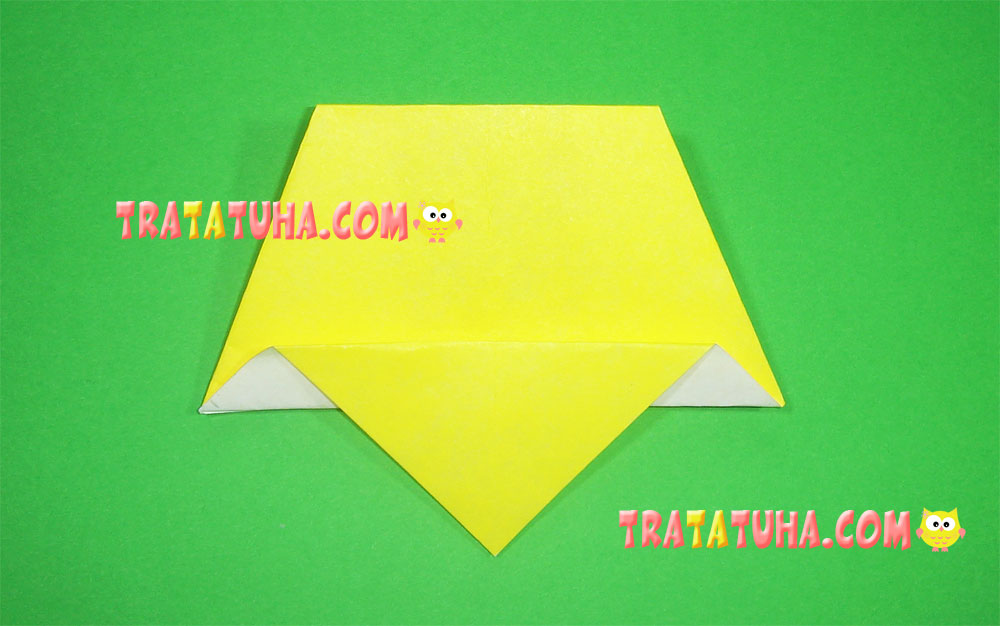
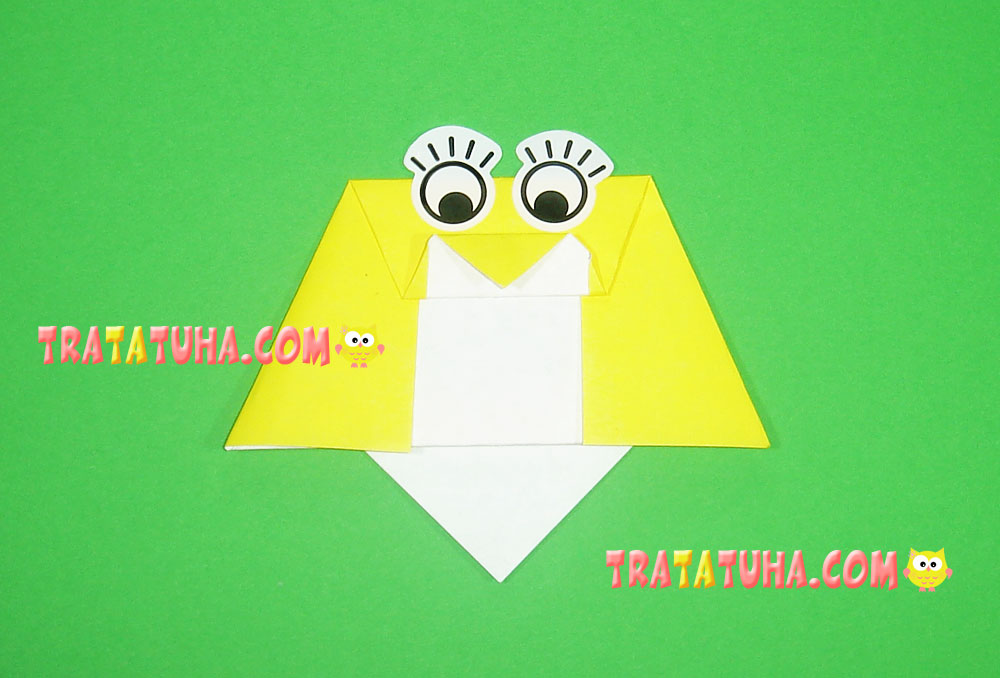
It remains only to glue a small triangle – the Owl’s beak, and then – the eyes. And you are done; your first Owl is ready!
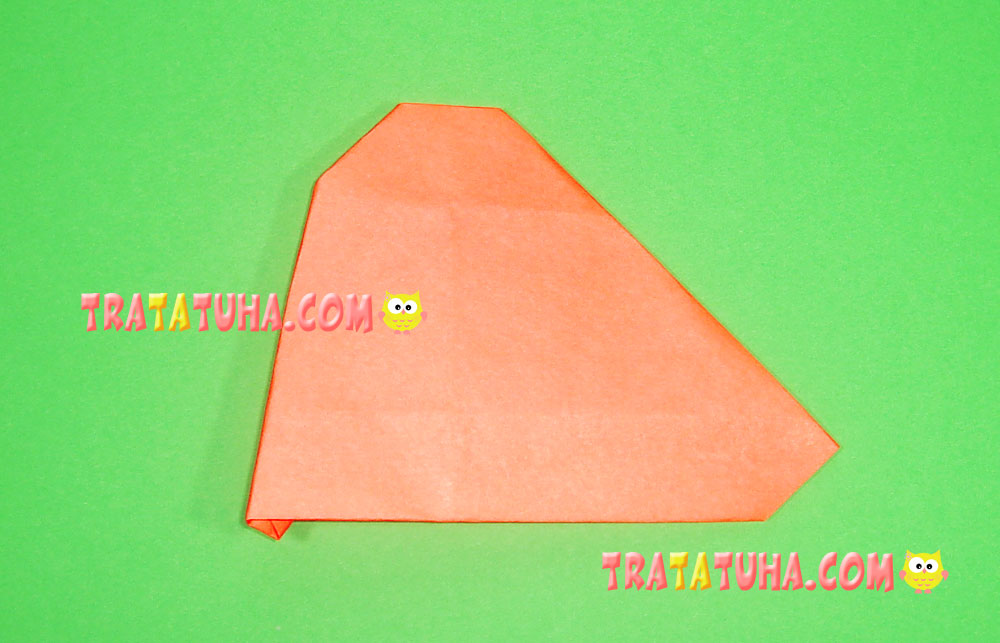
Origami Owl – Technique 2:
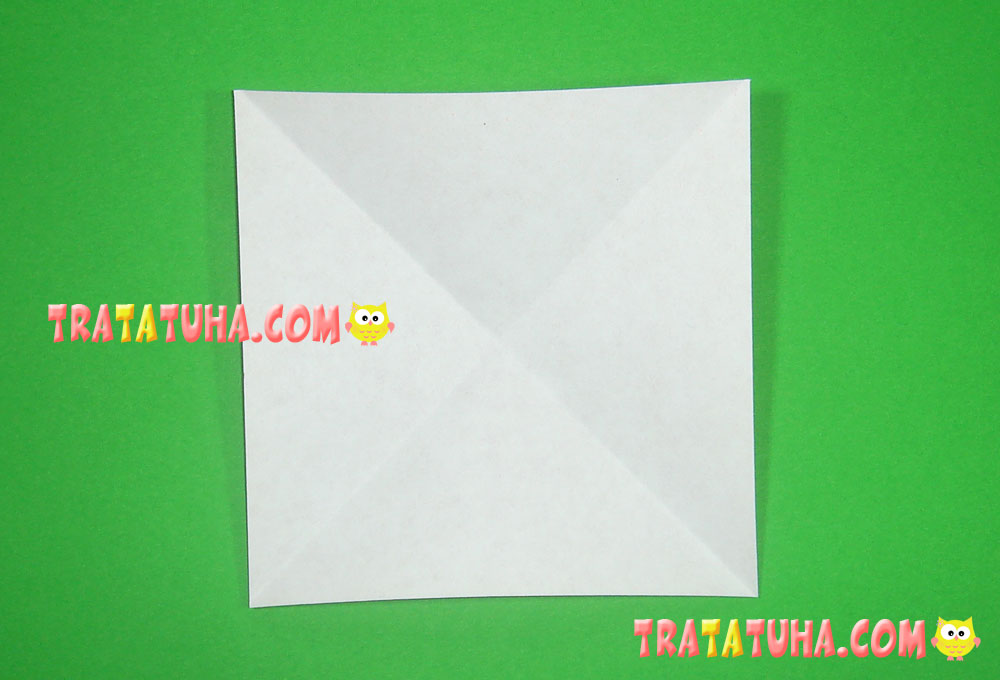
Take a single-sided square paper (colored from one side, and white – from another).
Fold the square in half (the white color on the inside) and then open it.
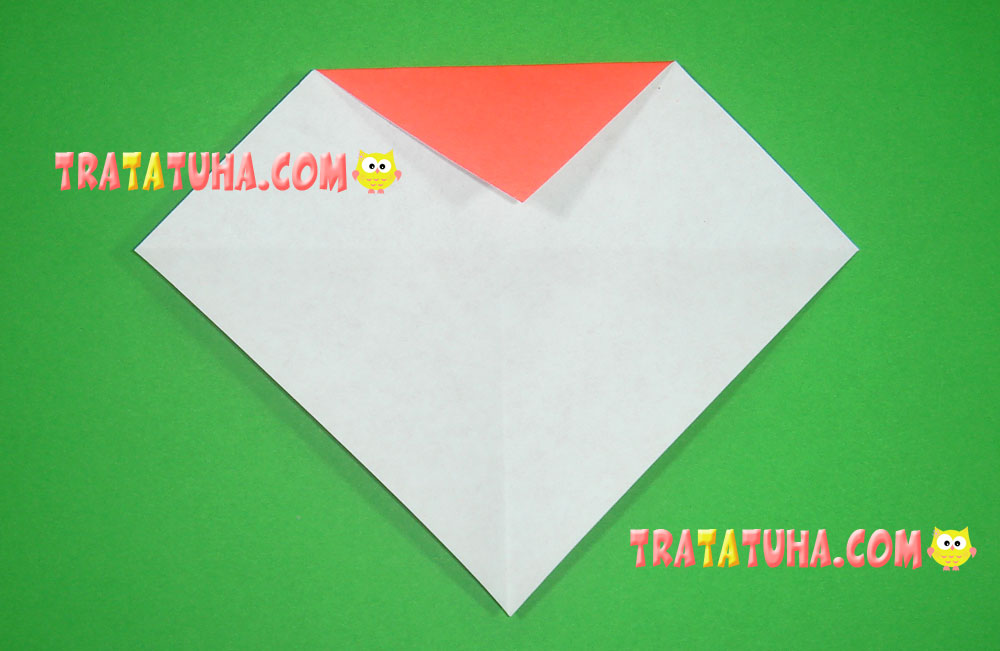
Fold its sides, but do not align them with the centre crease, leaving a small gap between folded sides. Fold first the right side.
And then – the left side.
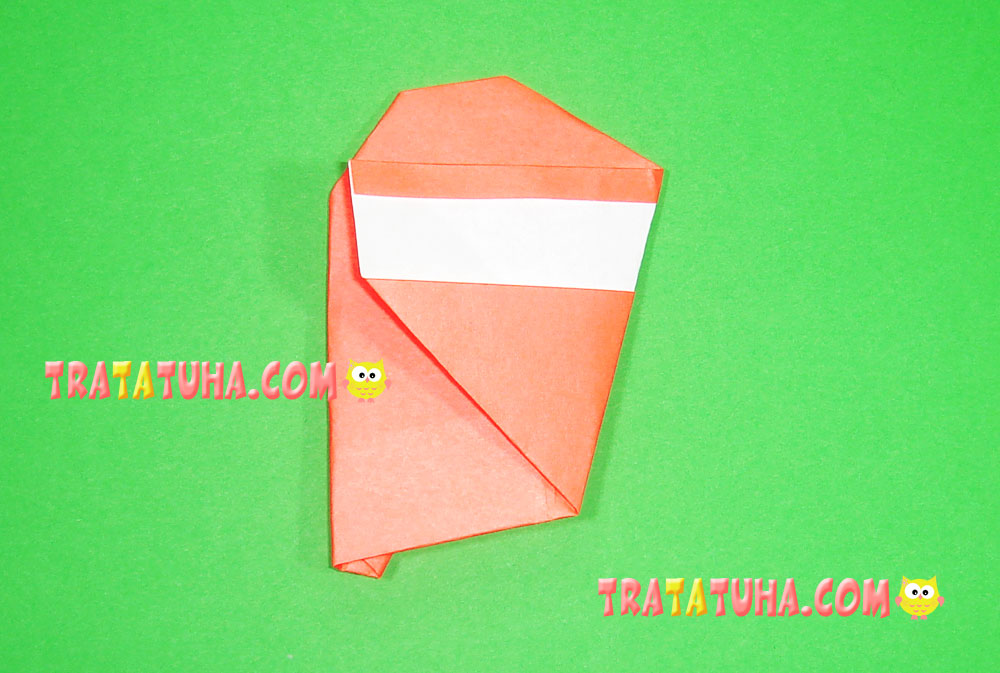
Now bend the upper part of your new model downwards…
…and then upwards, making firm creases. There are no exact dimensions, so you should be guided by pictures.
Keep on working with the upper part: now you should bend its tip down.
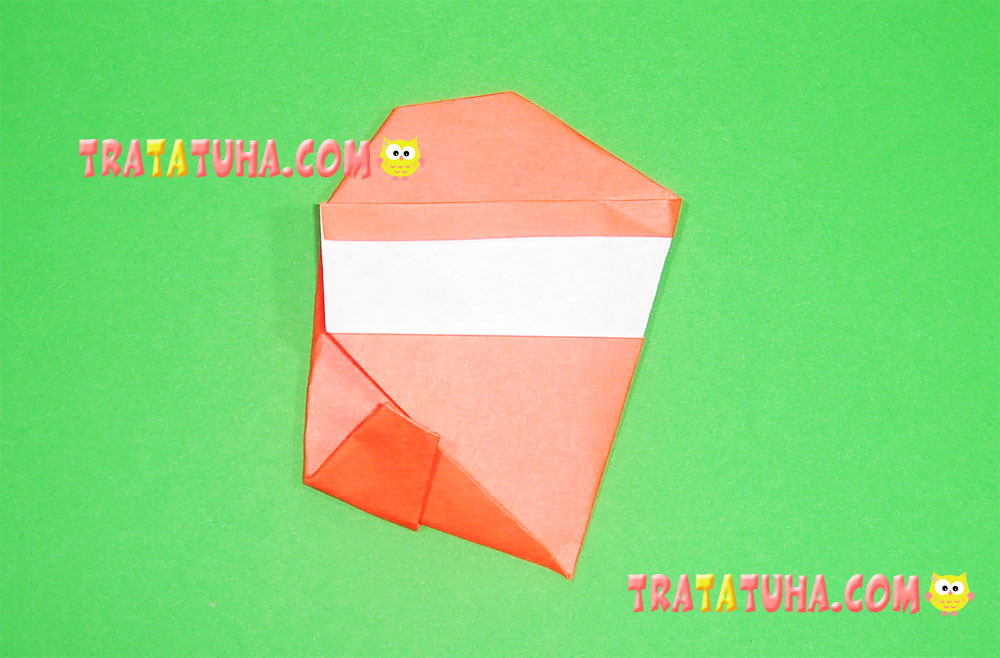
Now turn the craft backside and pull the bottom corner upwards, reaching the top edge of the model.
And then bend the tip of this part down making a small crease that looks somewhat like this.
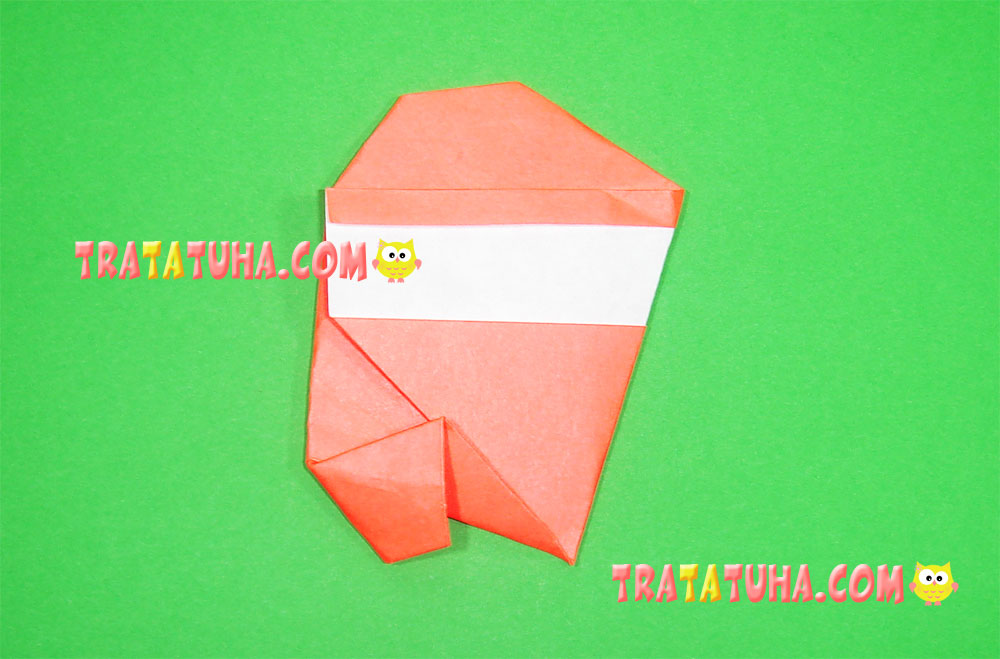
Turn the model face up again, and you will see the Owl’s beak. Now you should glue the eyes, and your nice little Owl is ready!
Origami Owl – Technique 3:
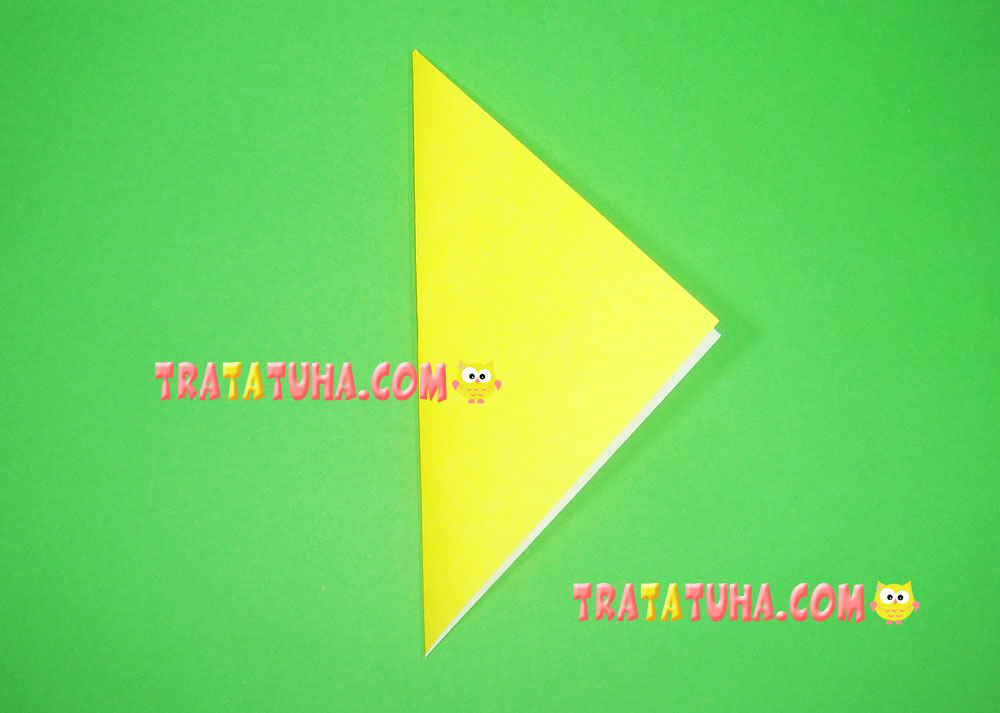
Here again you need a single-sided square paper: one side of it will be yellow, and the other one – white.
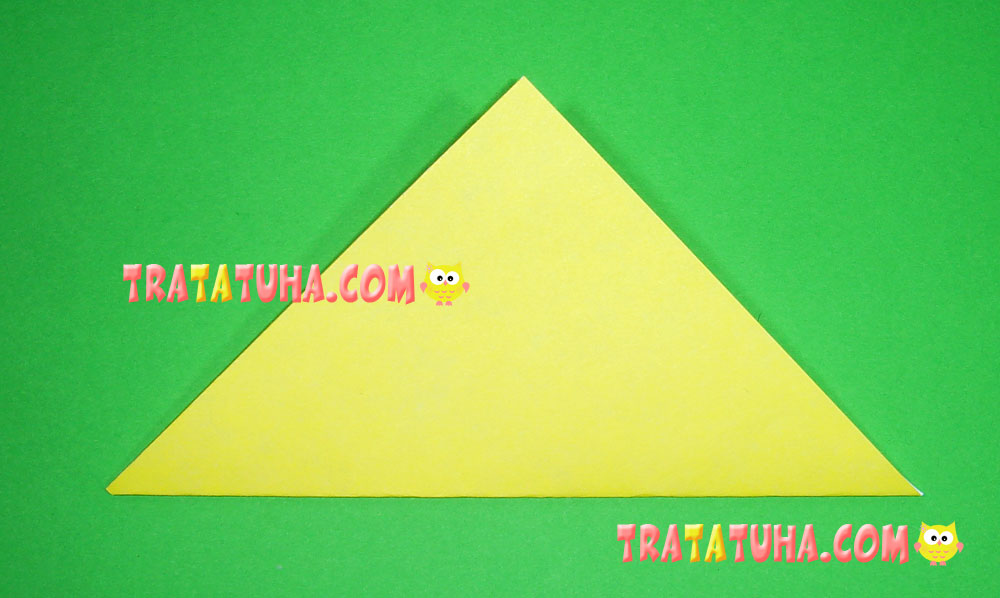
Fold the paper in half, connecting its opposite corners. You will get a yellow triangle.
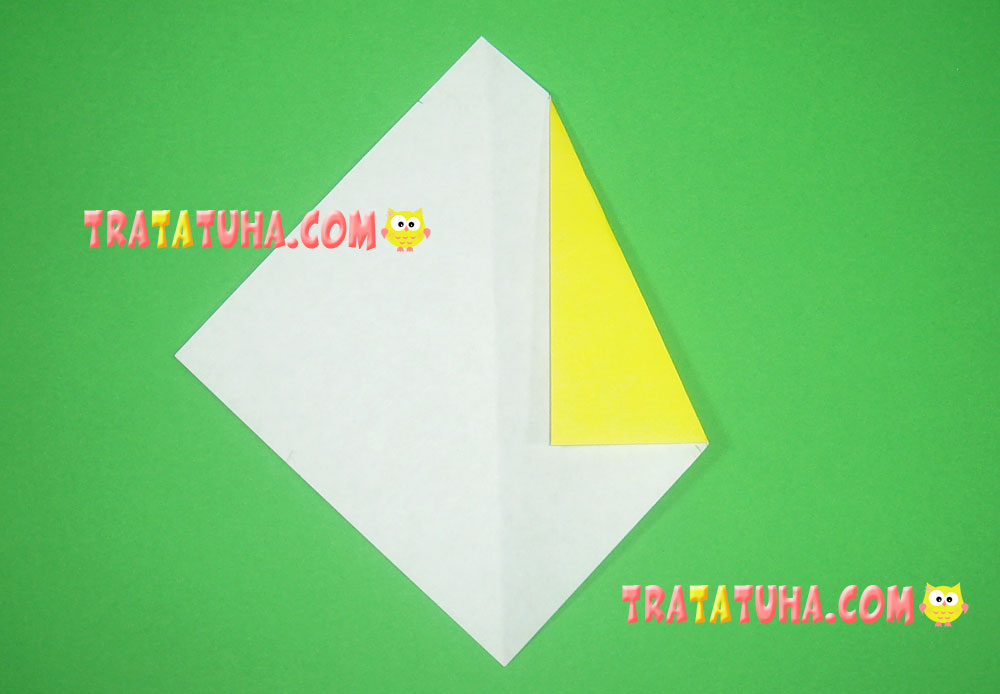
Align the long edge of the triangle with a table, and bend its front tip downwards.
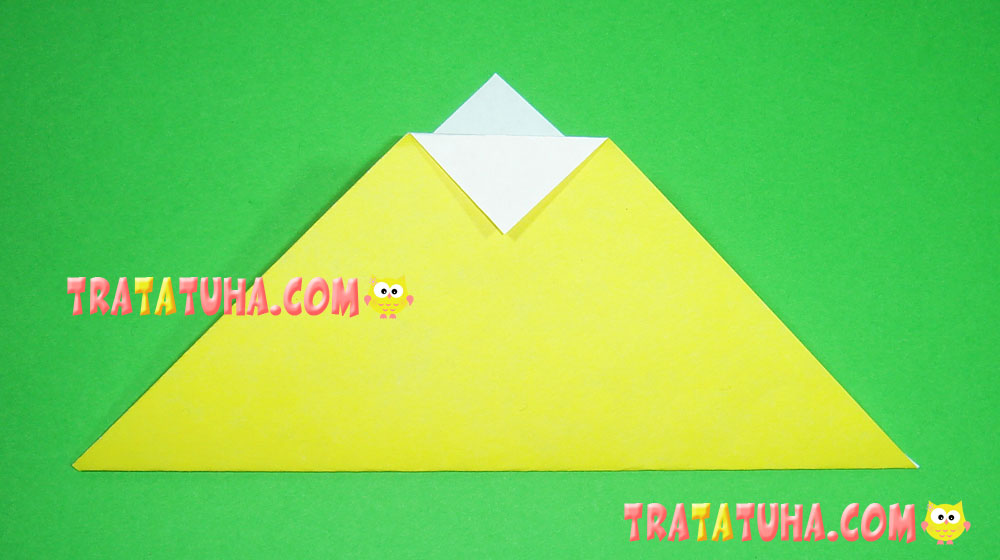
Fold in the protruding tip of this part– like it is shown on the picture.
Behind the folded corner you can see the white inside of the second triangle. You should pull down its tip reaching the bent front edge.
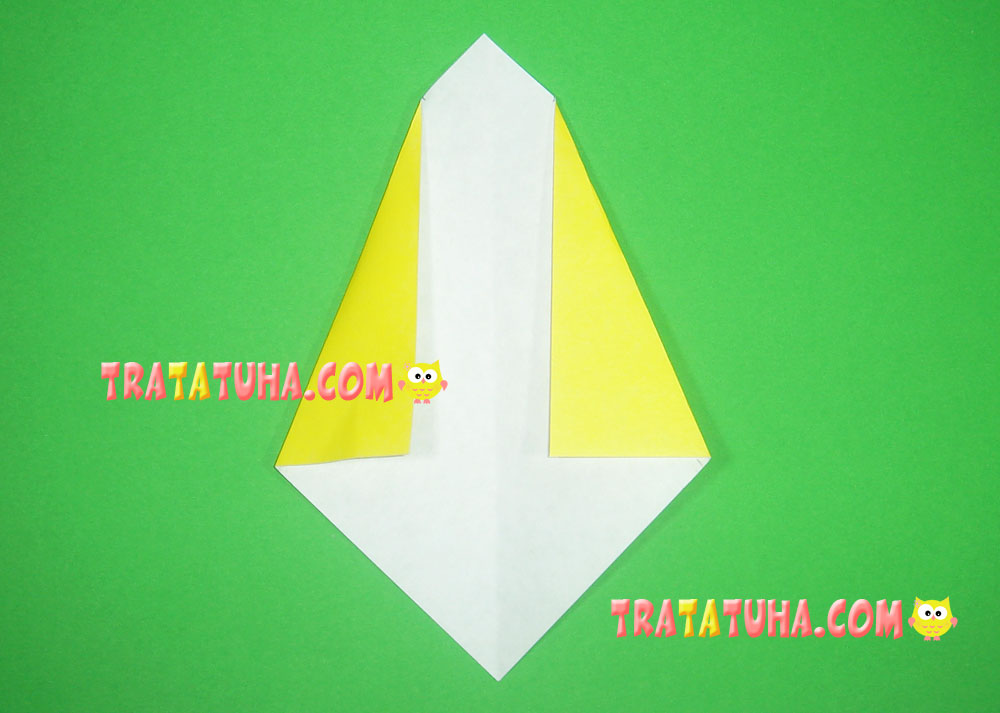
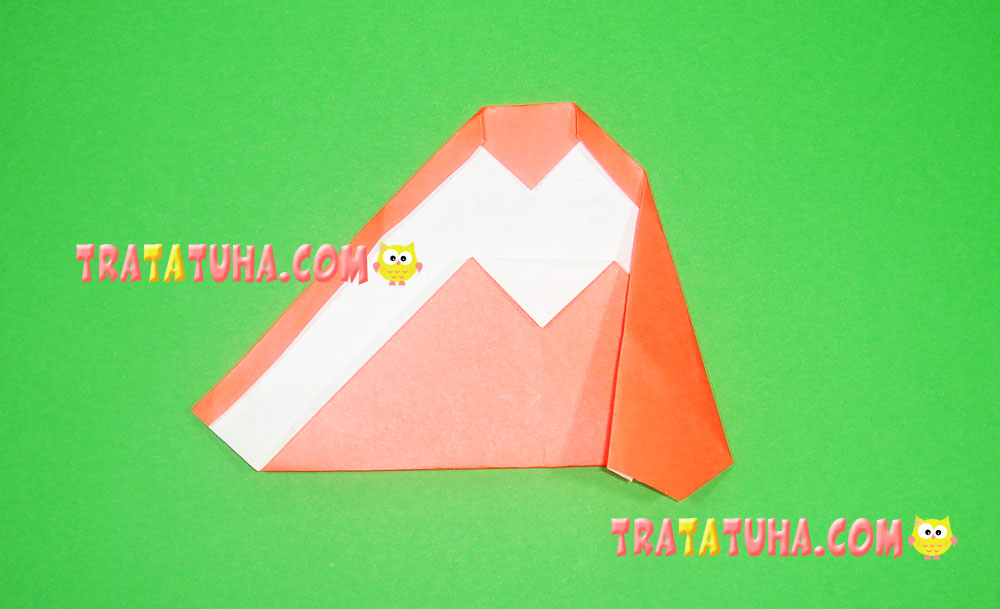
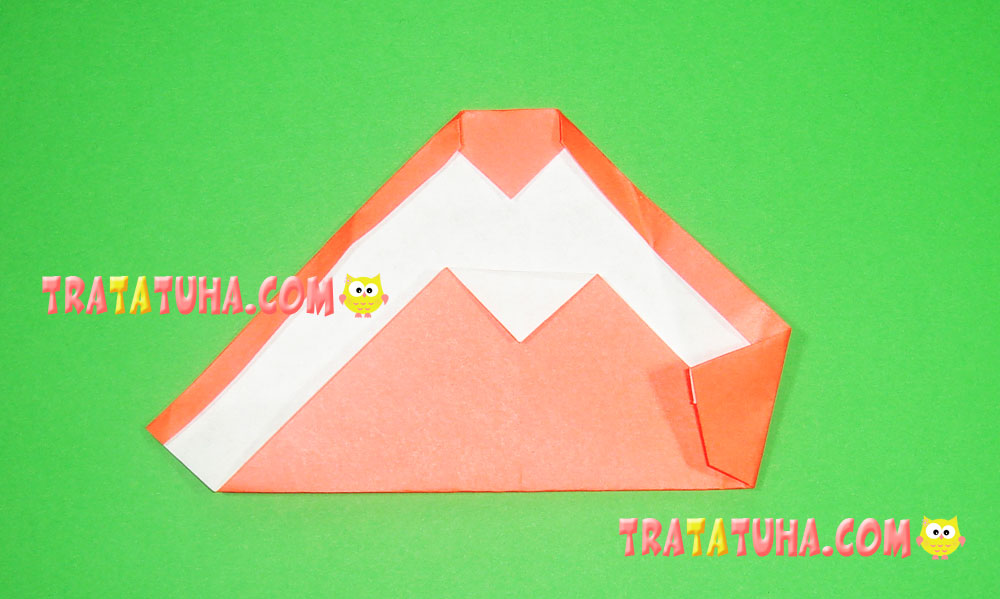
Next, you should turn your model backside, and then bend its right side to the left.
And then – bend the same part immediately to the right, forming a small fold.
Do the same with the left side – and the Owl’s wings are done.
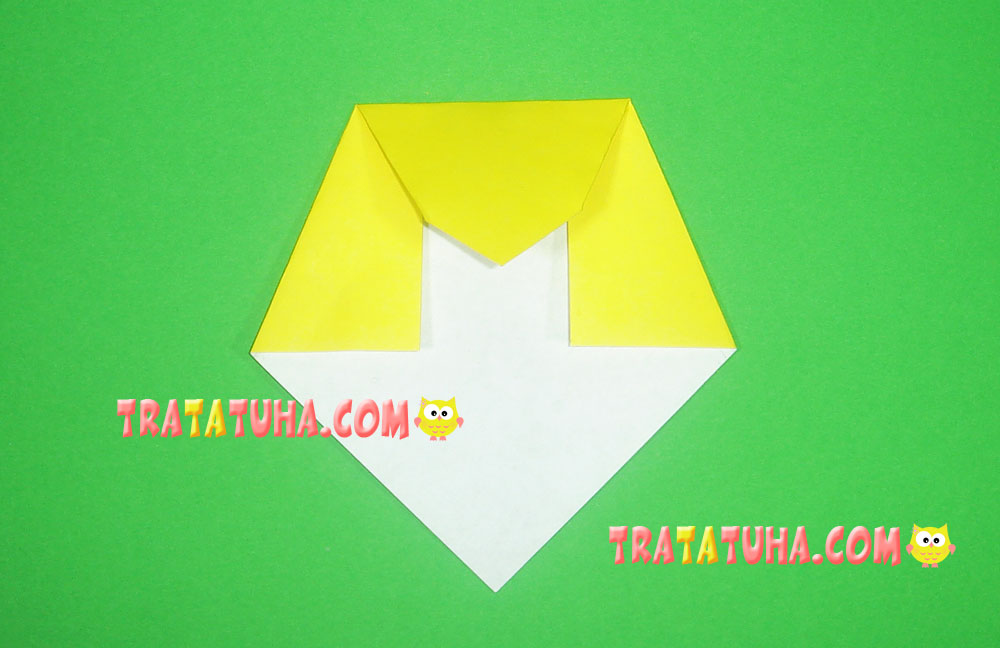
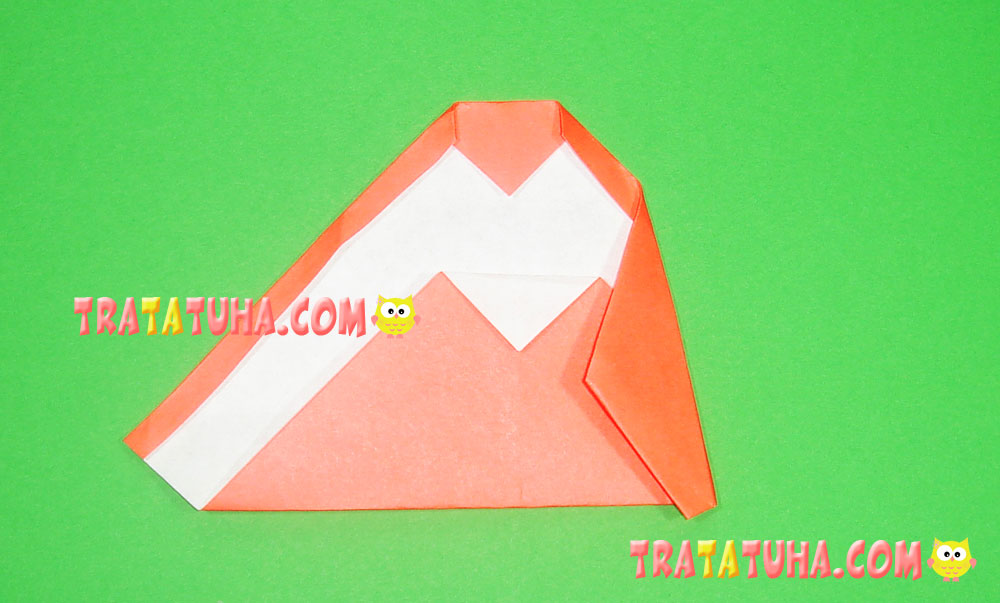
But they are on the Owl’s back, so turn the craft face up to finish your work with gluing the eyes and a triangle beak.
We got this one done!
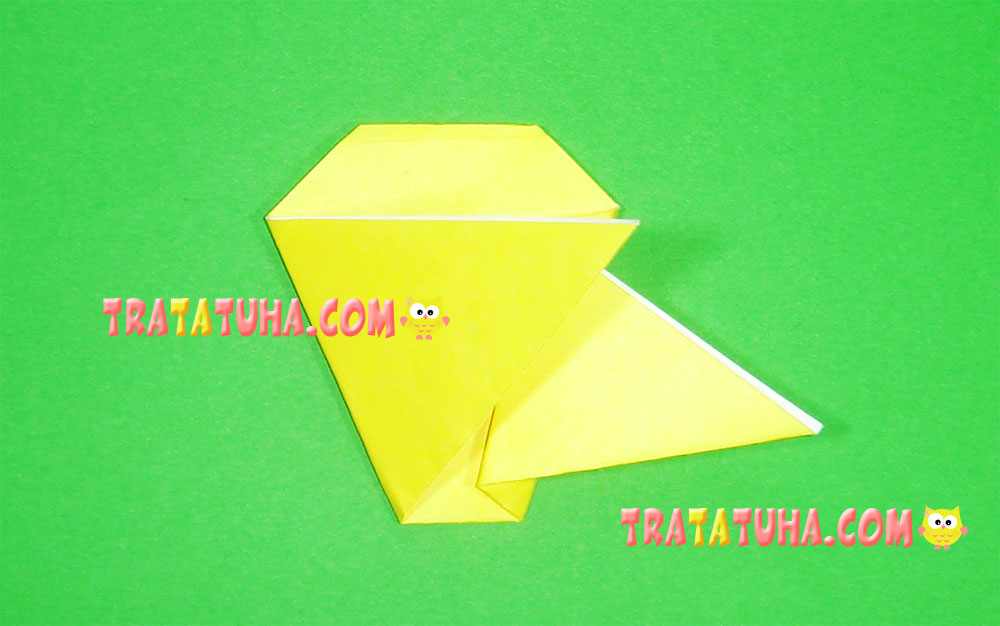
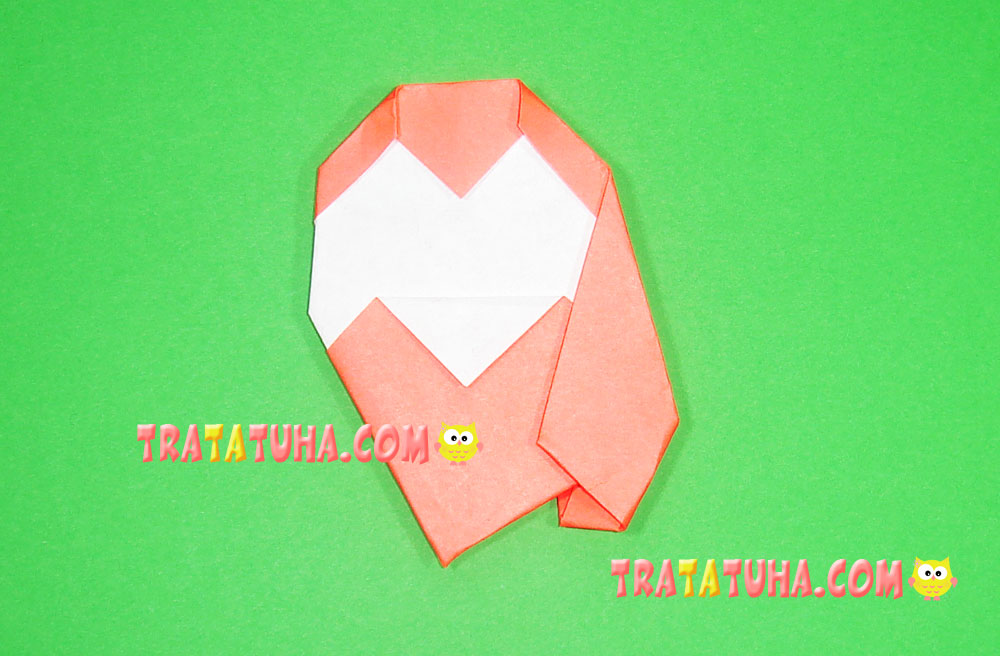
Paper Owl – Technique 4:
Now we are ready for crafting one more friend of our Owls, for which we use a single-sided rose paper.
As always, we start with folding paper in half to get a triangle.
Now you should open it, and do the same with another pair of diagonal corners: fold them the same way, and then open. This marks your paper with creases that are crossed in the centre.
Place the paper on the table diagonally in front of yourself. Now fold its upper corner reaching its marked centre.
Open it, and pull its tip downwards reaching the crease that has been just made.
Form a narrow turndown along two top sides of the paper – by bending its edges inside.
Pull upwards the bottom corner of paper until it connects with the bent upper tip pointed down.

Now pull the tip of this part down.

Now you should bend the right side of the model inwards, but slightly diagonally.
Open this part, and pull a tip of right corner to the left – until it reaches the fresh crease.
Now fold the paper inwards again using the former crease one more time.
The next step will be turning your craft backside.
After that, pull the right side of the model to the left, and make a flat crease.
Take the bottom left corner of model and pull it upwards…
…and then, immediately – downwards. The picture will guide you.
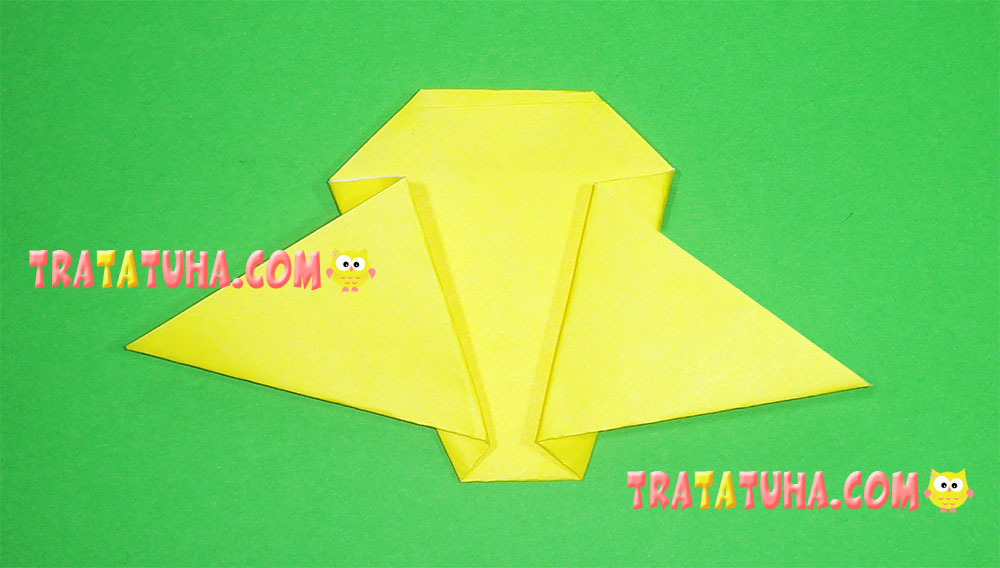
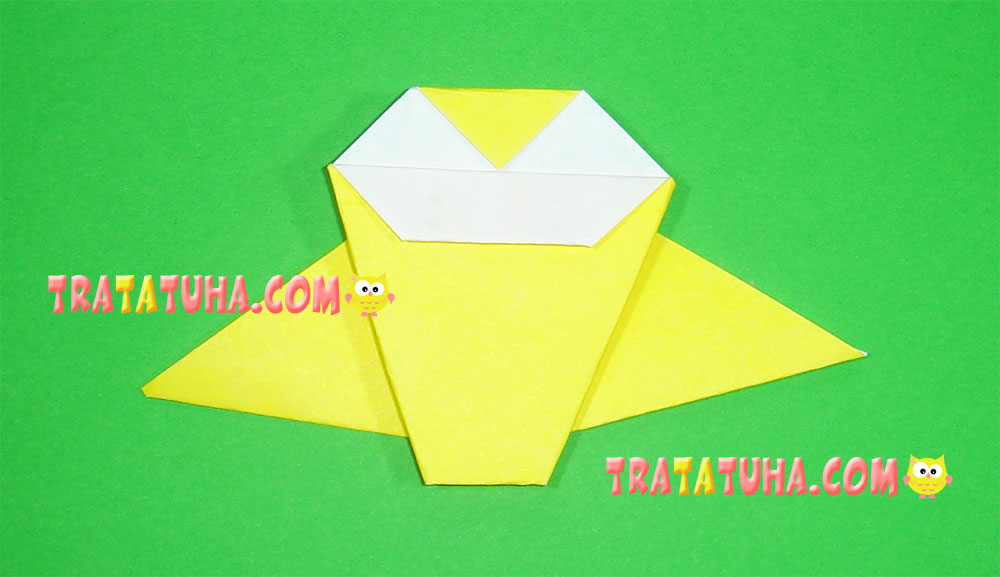
Your fourth Owl is nearly finished. You just have to turn the model face up for a few final touches.
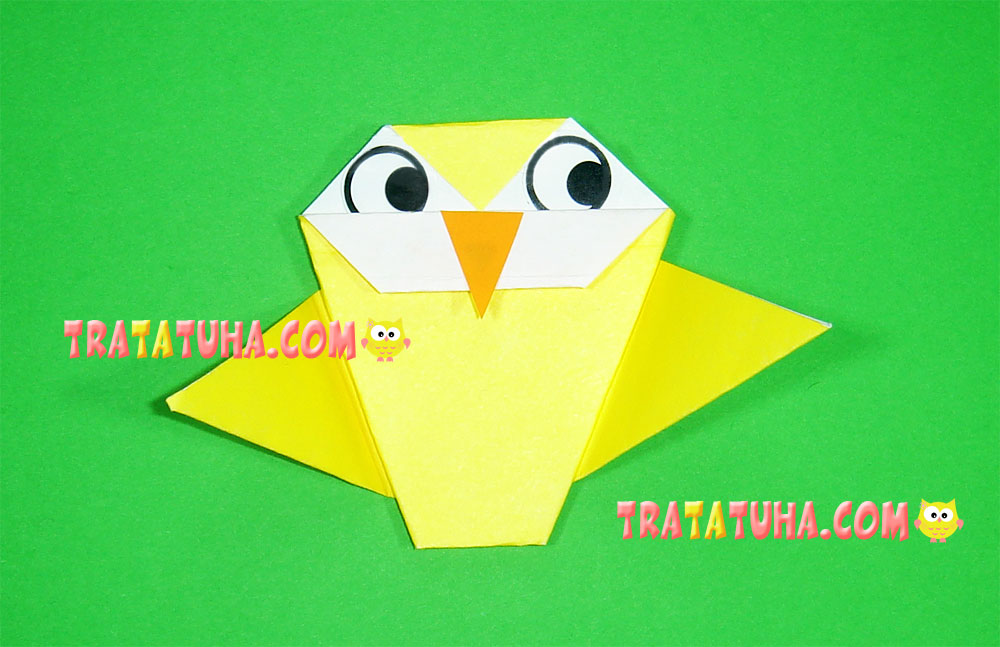
Use the stickers for eyes that you have purchased or cut them yourself. Now glue them, and that is all there is to it. That’s it, the origami owl is complete.
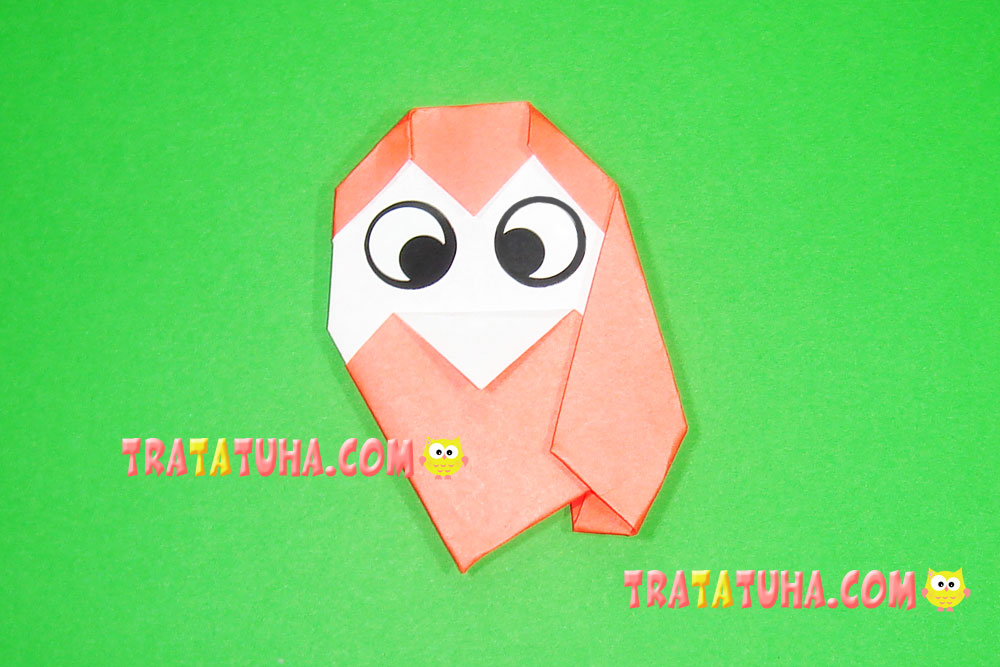
Now you have a whole flock of owls ready to fly!
Also see how to make a origami fish.
See more ideas about origami birds.
Birds Paper – art and craft ideas for all ages.
Crafts for Kids – learn how to make craft at home! Super cute crafts for all age groups!
Related Post: