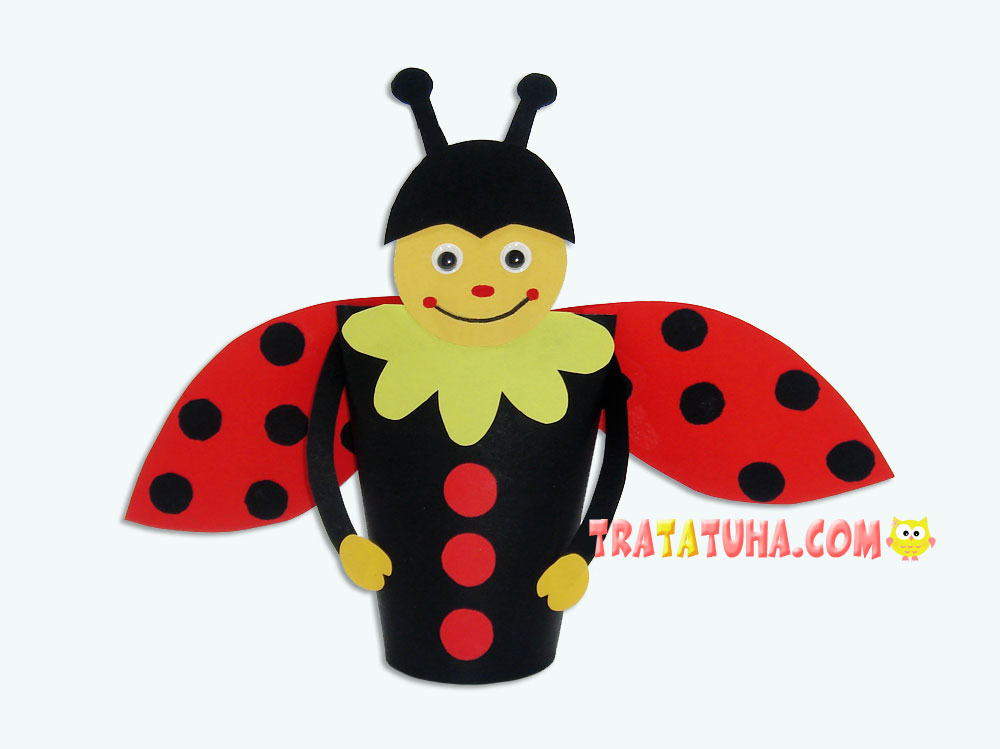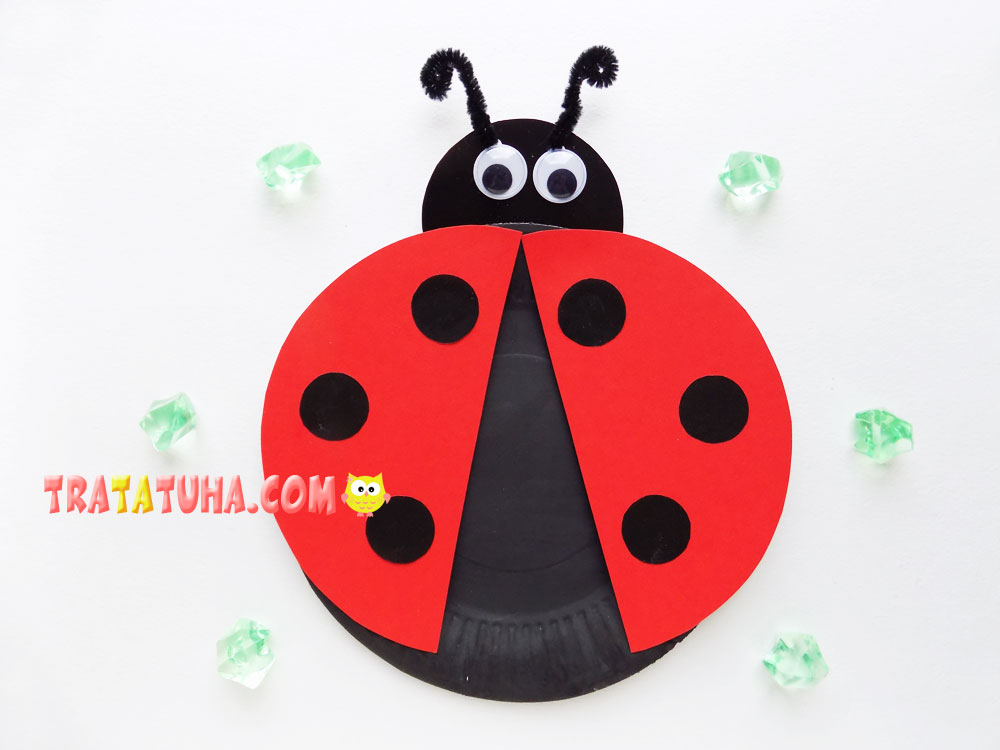
This tutorial is a paper plate ladybug craft. To create this children’s craft, we will use not quite familiar materials. As a basis, we will take a disposable paper plate, which will become a blank for a ladybug.
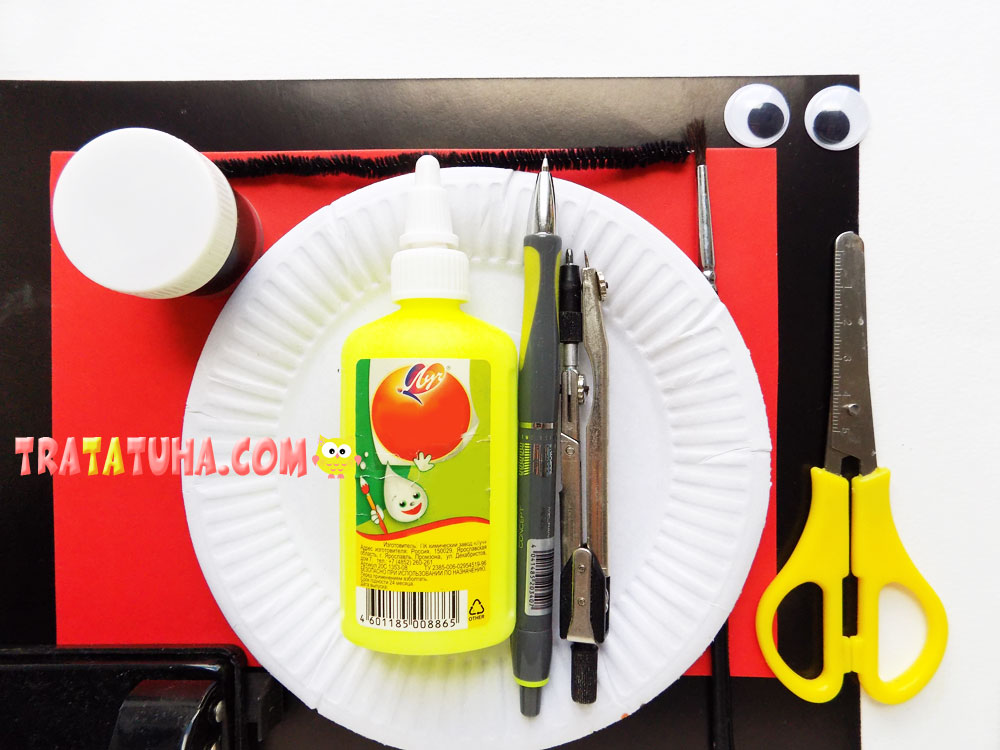
For the manufacture of such crafts, we will take:
- cardboard red and black;
- compasses;
- paper plate;
- black gouache with a brush;
- scissors;
- hole punch with a piece of black pipe cleaner;
- a simple pencil with white glue.
Paper Plate Ladybug Craft Step by Step
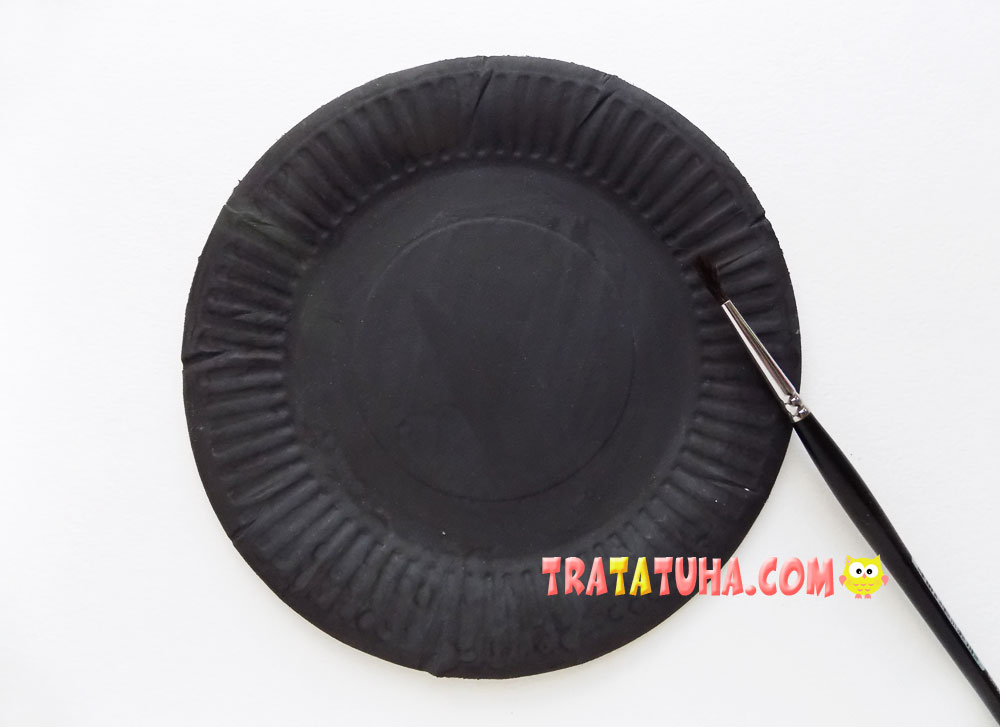
First we need to paint the paper plate with black gouache. This will be the base for the ladybug.
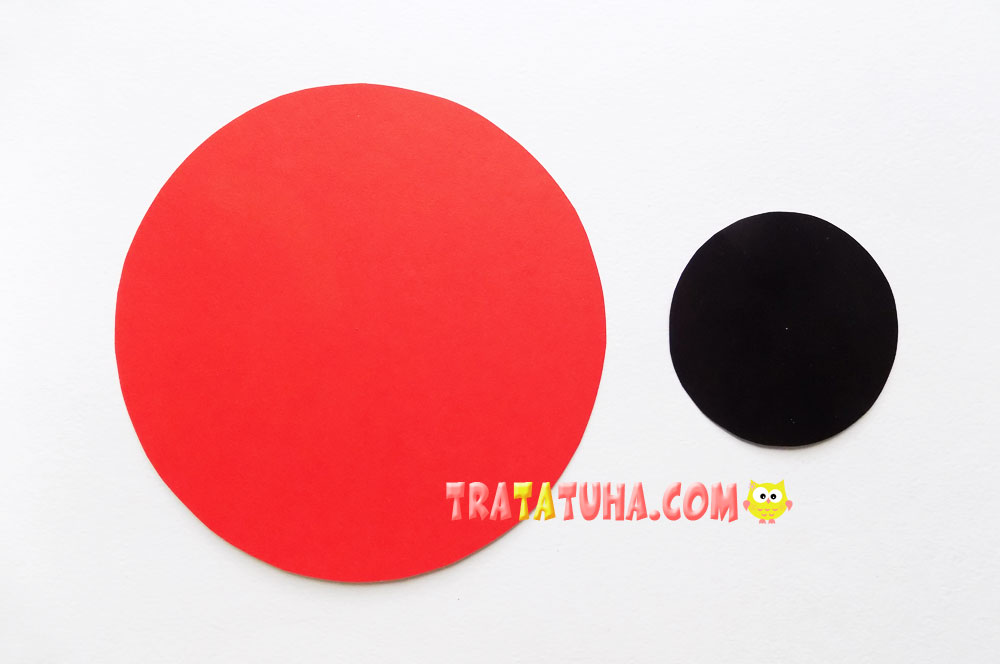
Next, we will use a circle. On red cardboard, draw a circle that roughly corresponds in size to the diameter of a paper plate. And on black cardboard we draw a circle of a smaller size. Then we cut out both blanks with scissors.
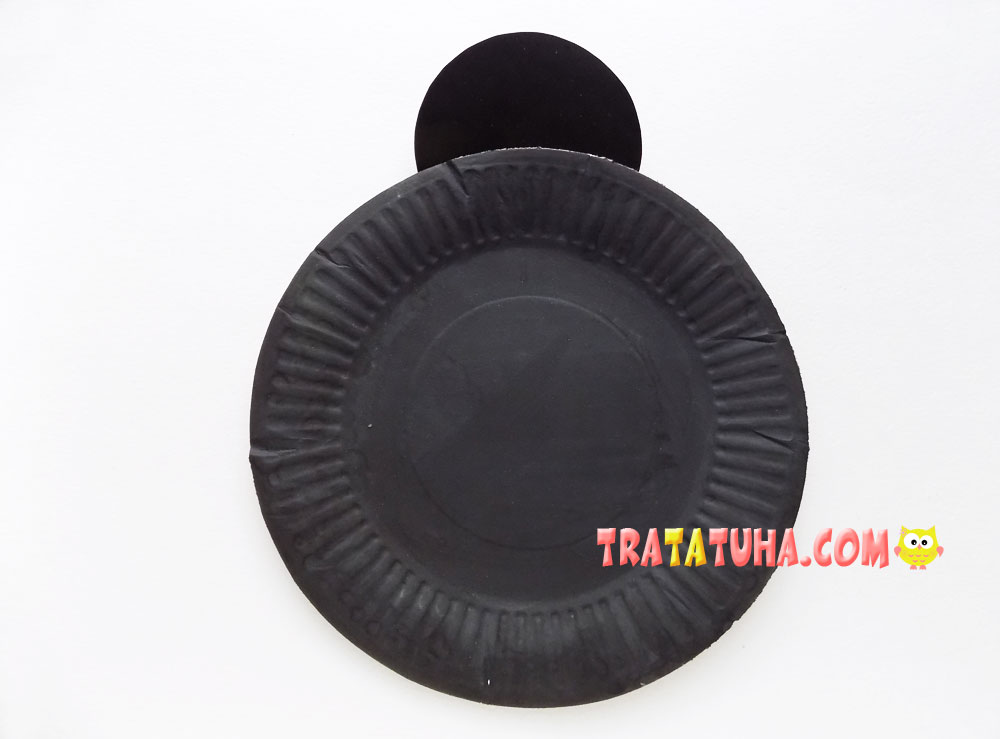
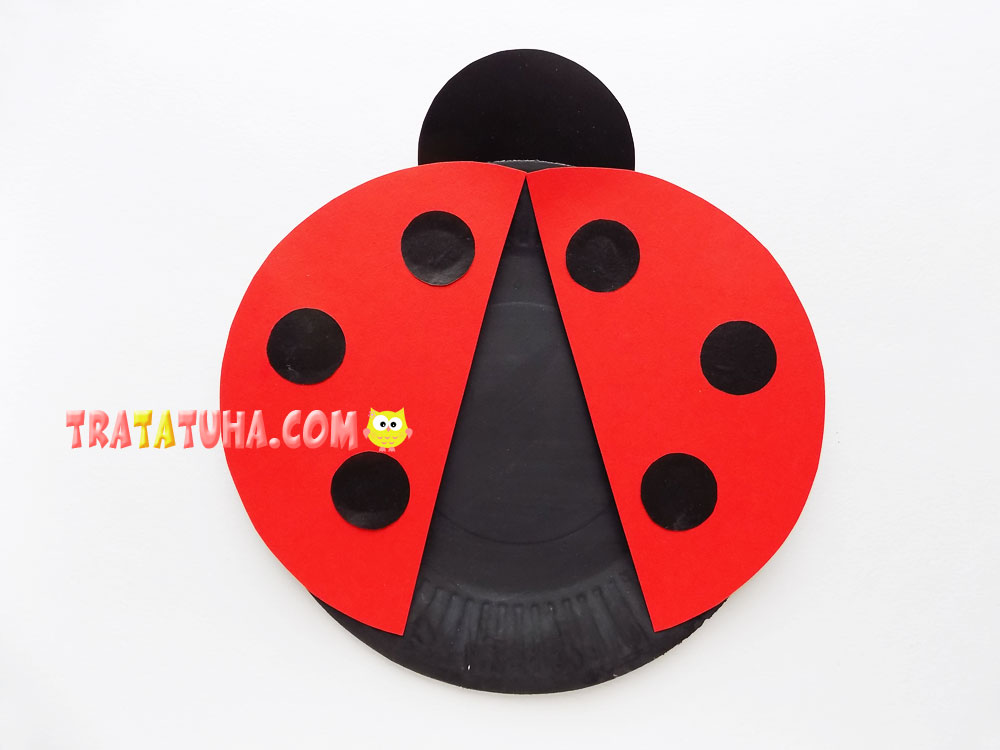
We connect the black circle with a plate painted black. So we made a head with a body for a ladybug.
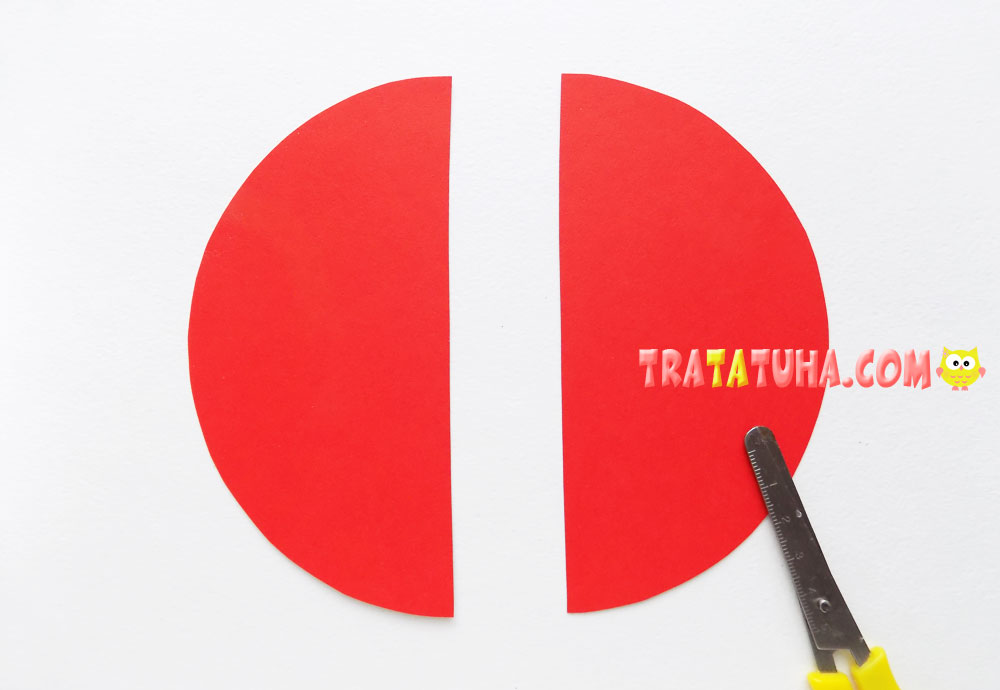
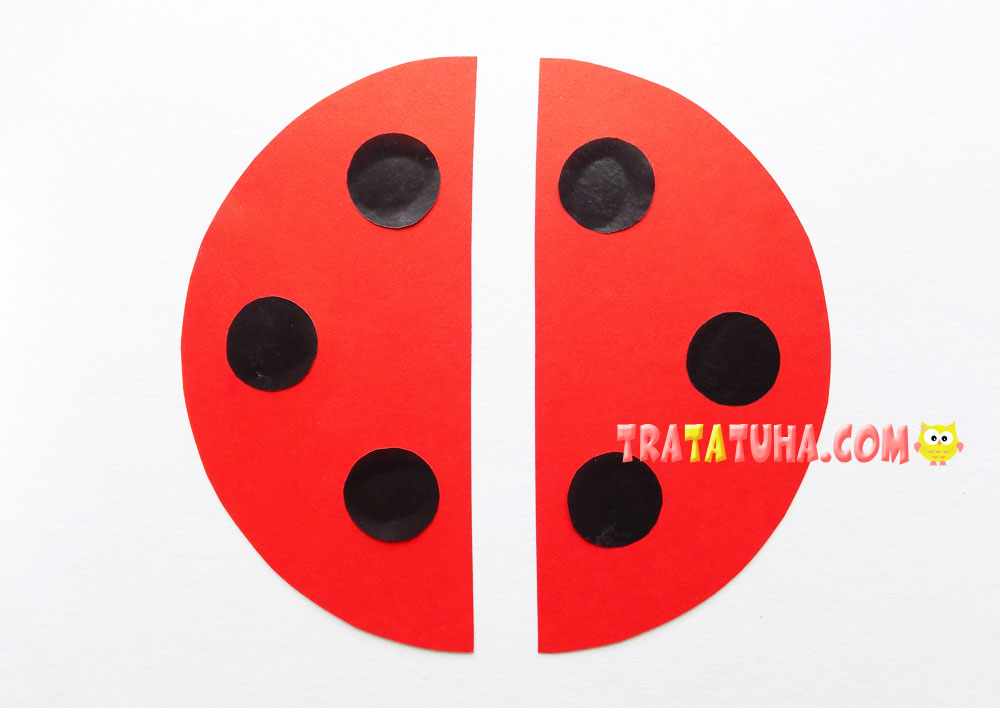
We cut the red circle in half, these will be the wings of our insect.
We glue on them small circles cut out of black paper.
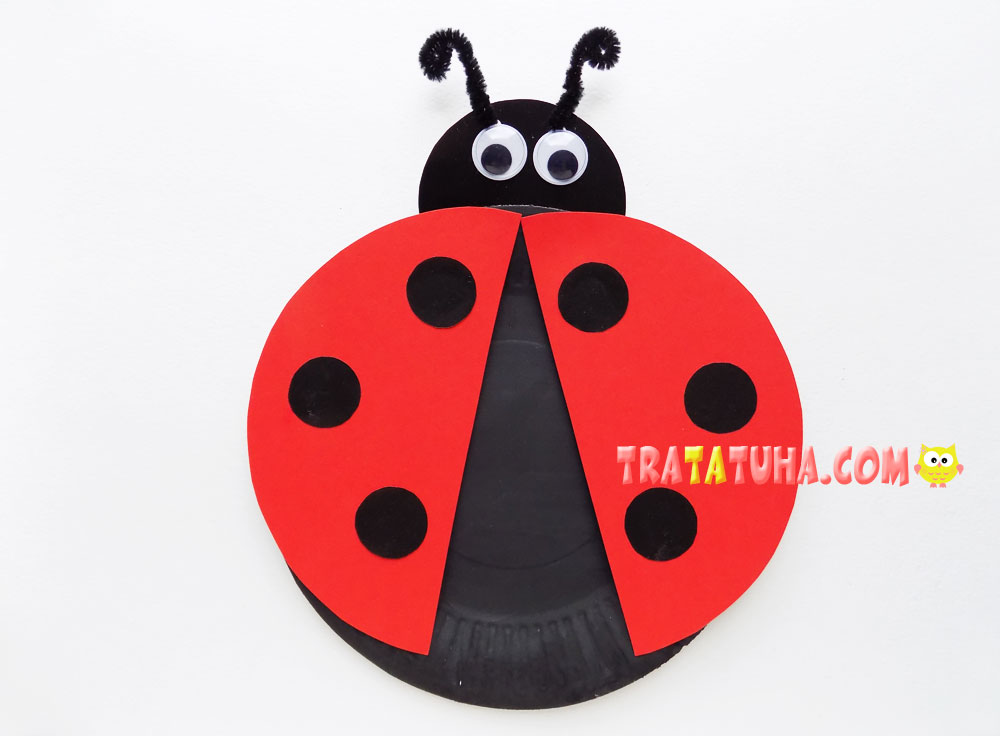
Now we fix the spotted wings on the body using white glue. At the same time, we lubricate only the upper corner of the wings with glue, and we place them at an angle.
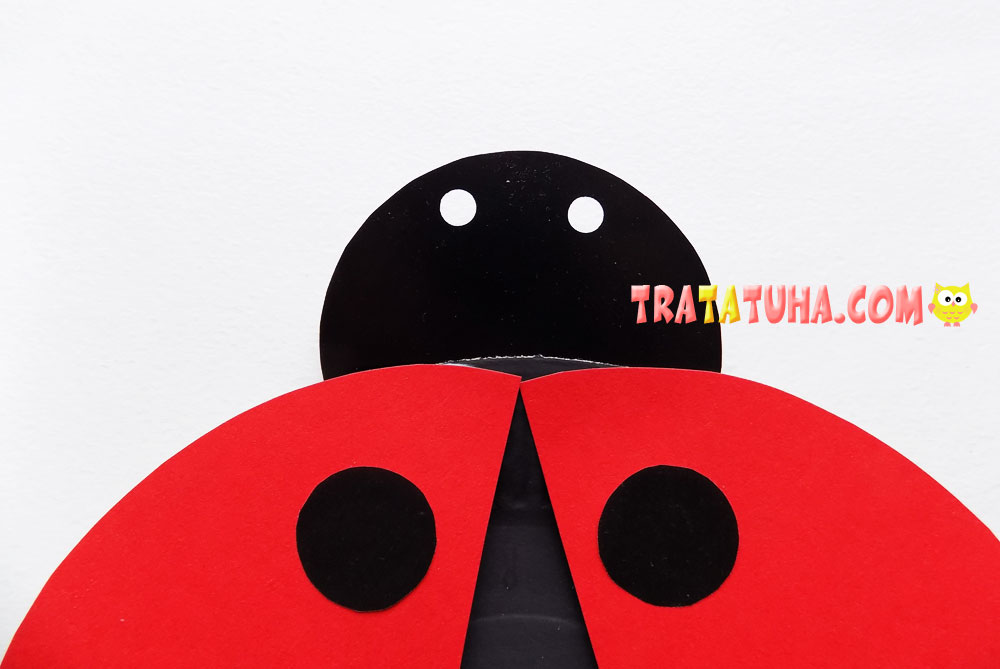
Next, let’s take care of the design of the ladybug’s head. Let’s make a couple of small holes with a hole punch.
We need them to attach the antennae, which we will make from pieces of black pipe cleaner.
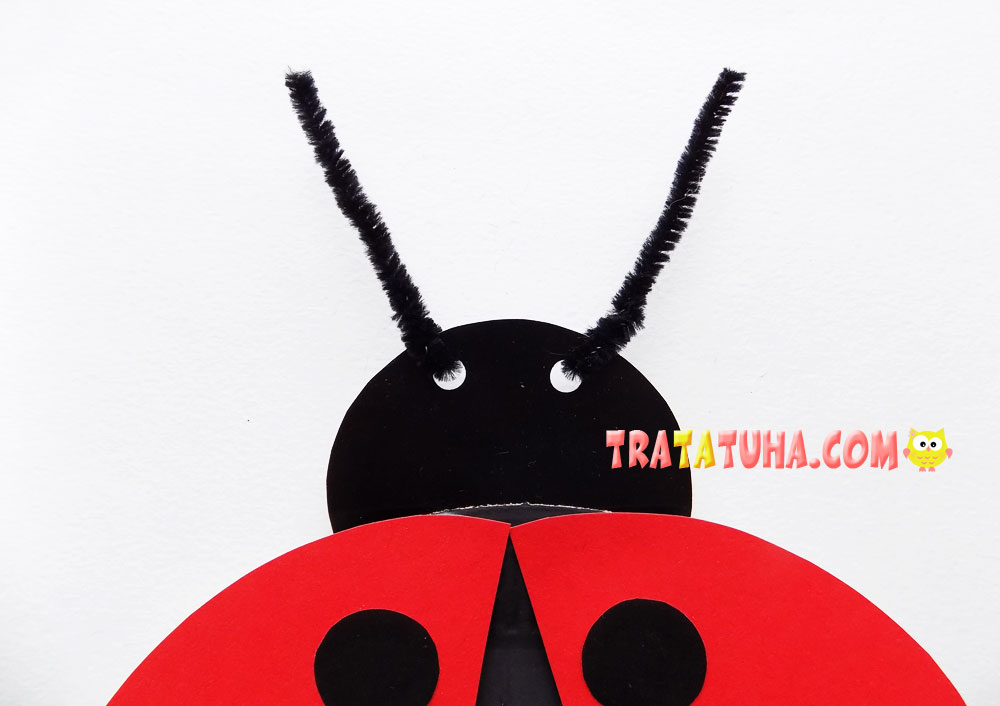
We twist the ends of the antennae.
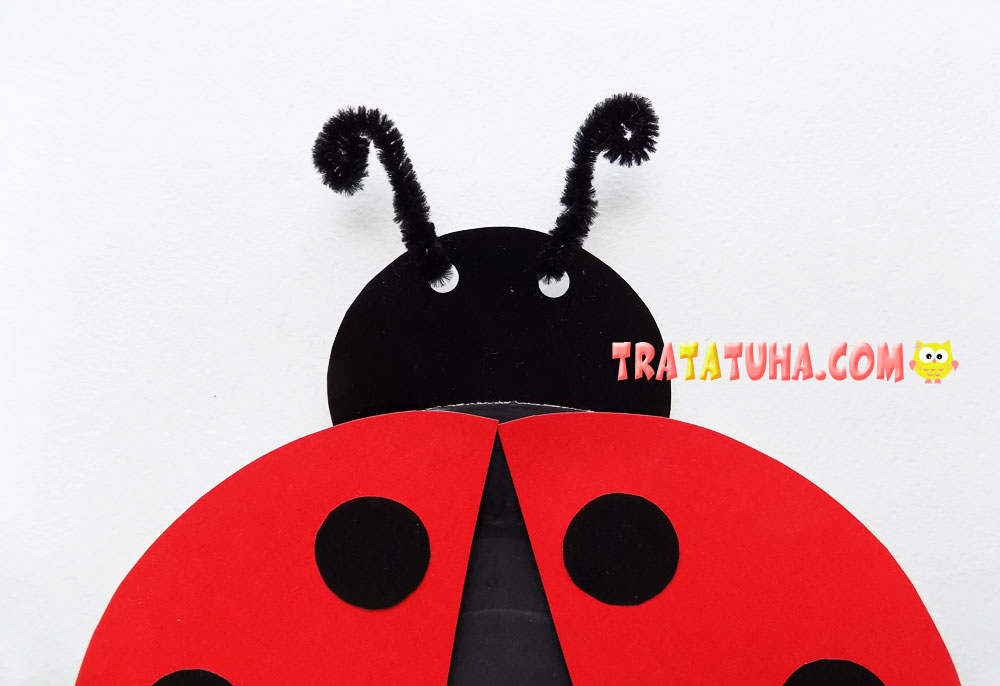
It remains to add plastic eyes. Paper plate ladybug is ready.
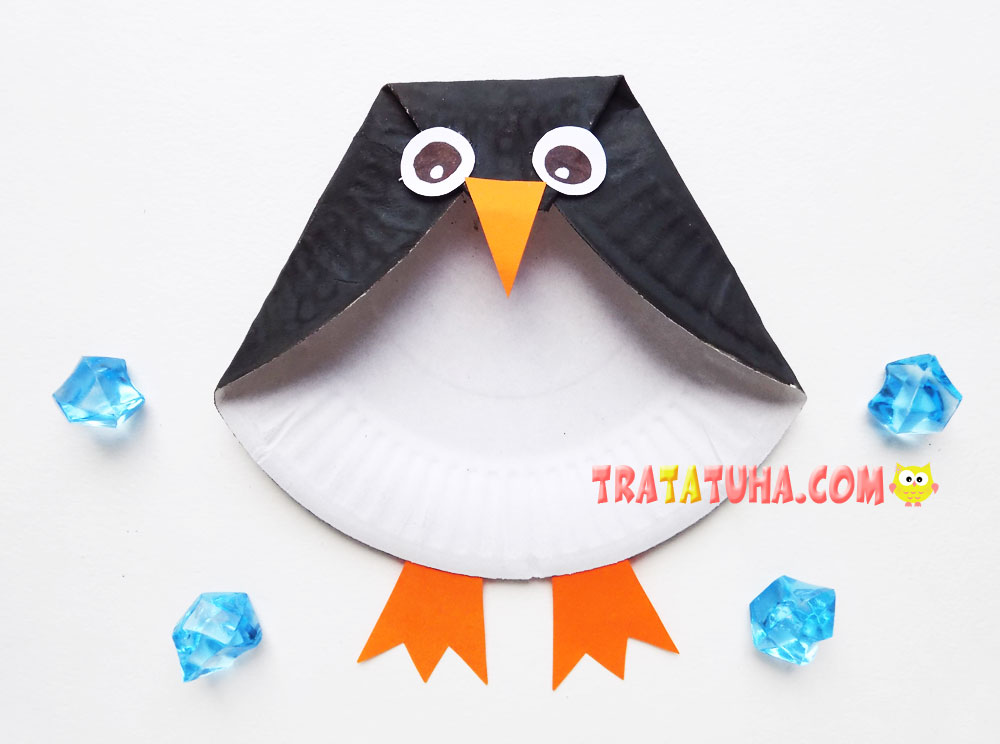
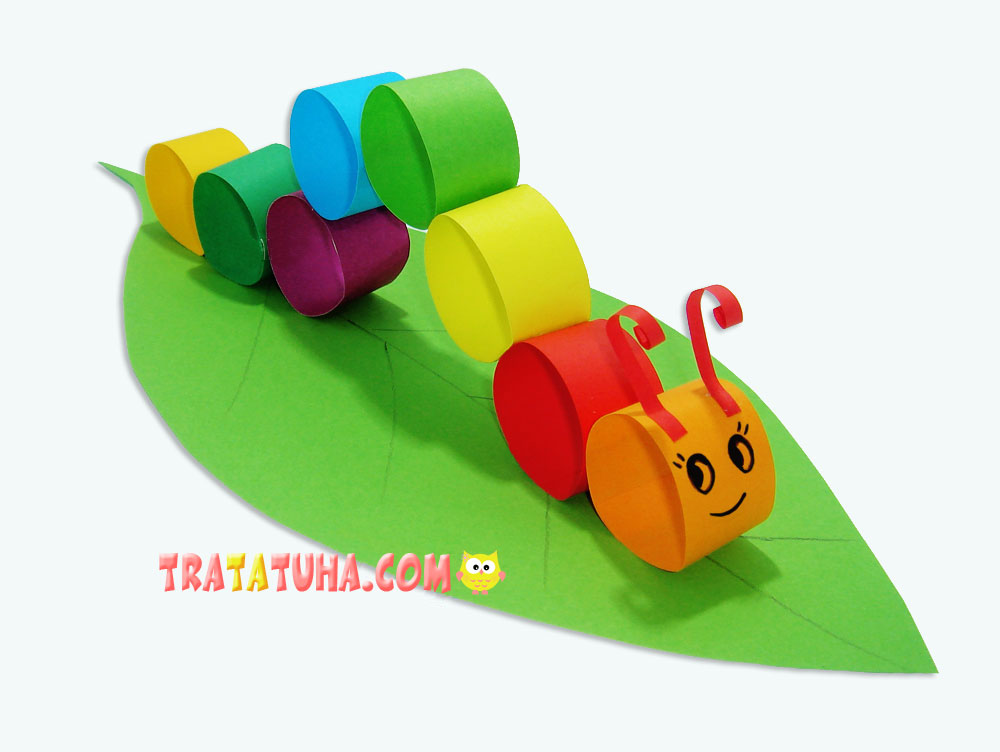
Many other Insects Crafts for kids.
Crafts for Kids – learn how to make craft at home! Super cute crafts for all age groups!
And in the collection of Paper Plate Crafts.
Related Post: