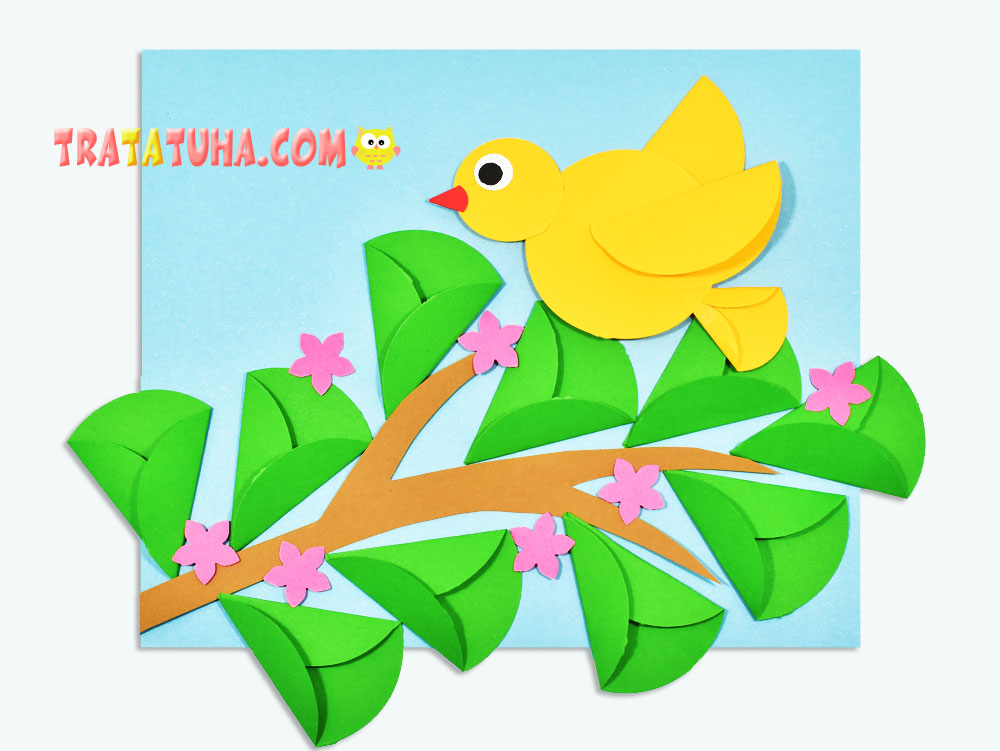
Spring bird on a branch craft for children’s creativity. Step by step craft from paper circles.
What you need for work:
- Blue cardboard;
- Yellow, green and pink paper;
- Some red, white and black paper;
- Scissors, glue, figured hole punch (if not, then compasses).
Spring Bird on a Branch Craft Step by Step
Prepare blue cardboard for the base. Give it the desired shape and decide on the size.

We Make a Branch
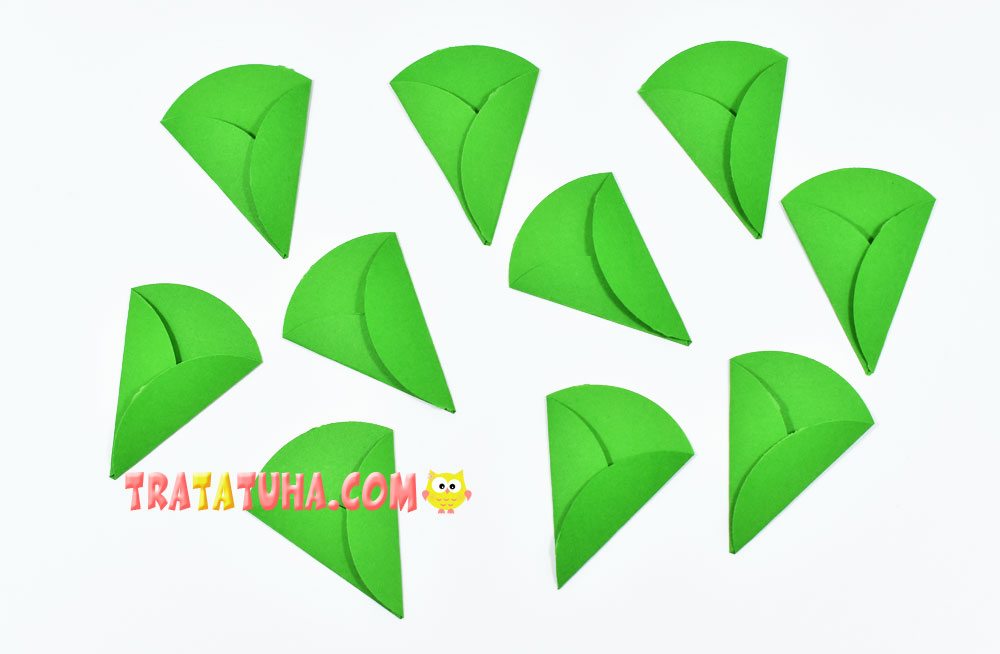
Using a figured hole punch, punch 10 circles from green paper.
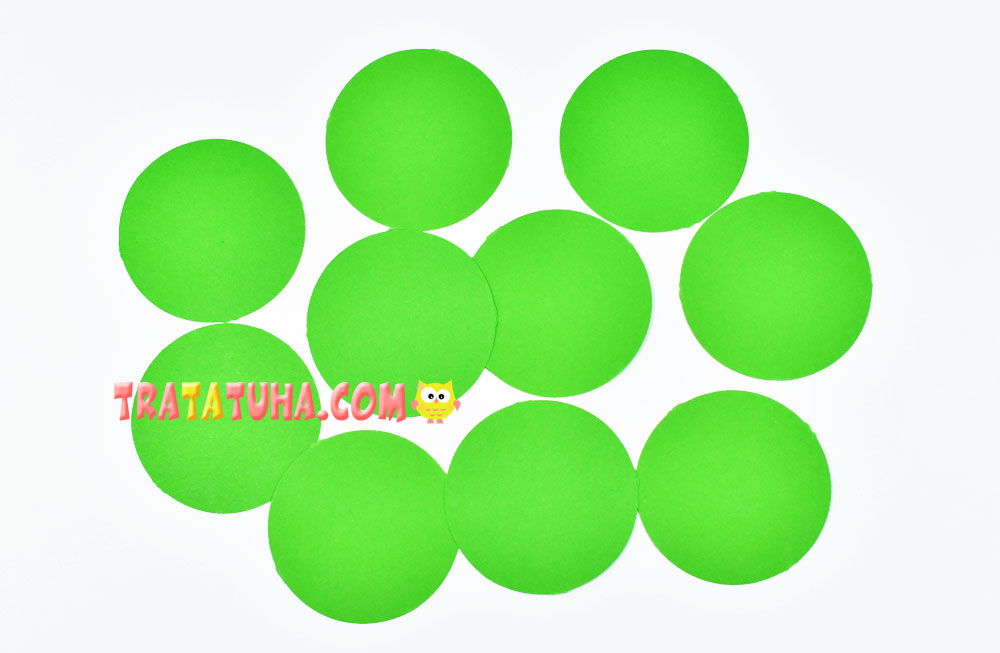
Bend two sides of each circle to make a sharp corner. Bend the folds, glue is not needed here.
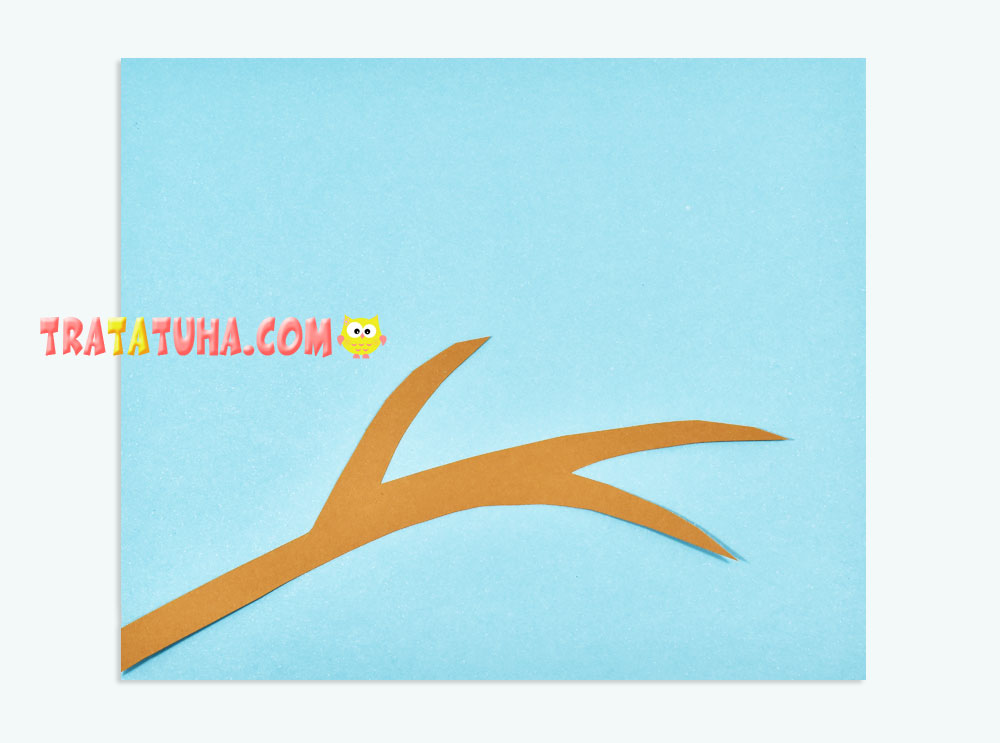
Cut out a branch from brown paper. Long enough to fit all the leaves and the bird. But the branch itself should fit on the blue cardboard base.

Glue the branch to the bottom of the cardboard.
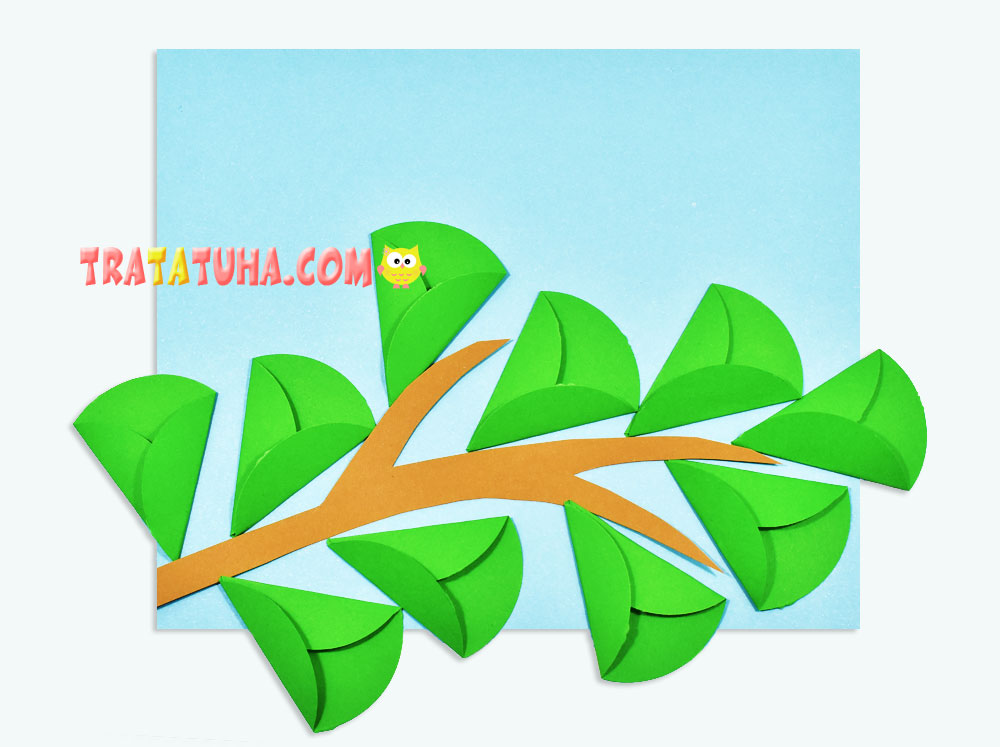
Glue all the leaves along the branch.
We make a bird from paper circles
For the bird, prepare:
- 3 yellow circles of the same size, they will be the body and wings of the bird;
- 2 smaller circles of the same color, from which we will make the head and tail;
- One small circle for the beak;
- White and black circles for the eyes.
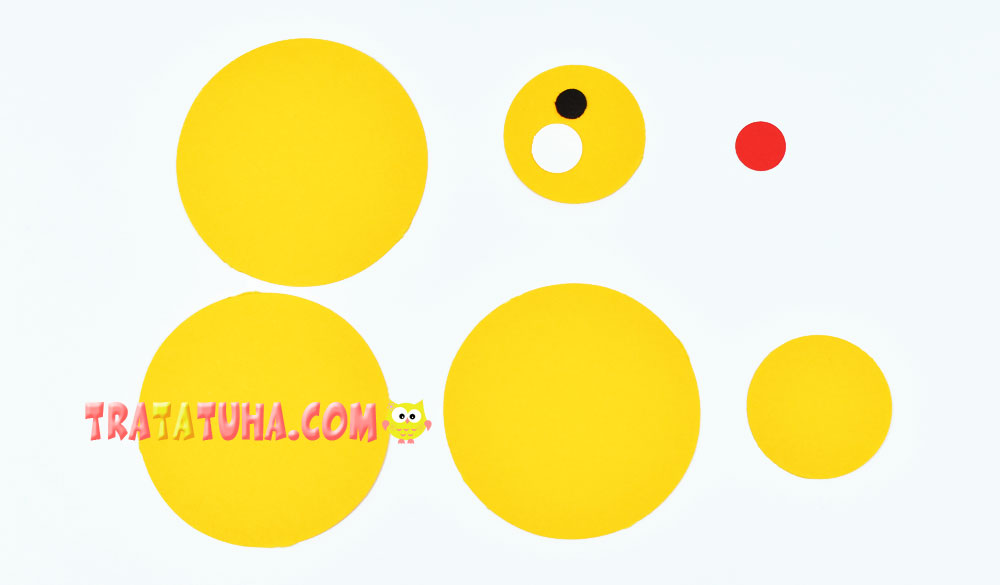
For the wings, fold the circles in half, for the tail, bend the edges, in exactly the same way as shown on the leaves. Glue all the components to make a bird.
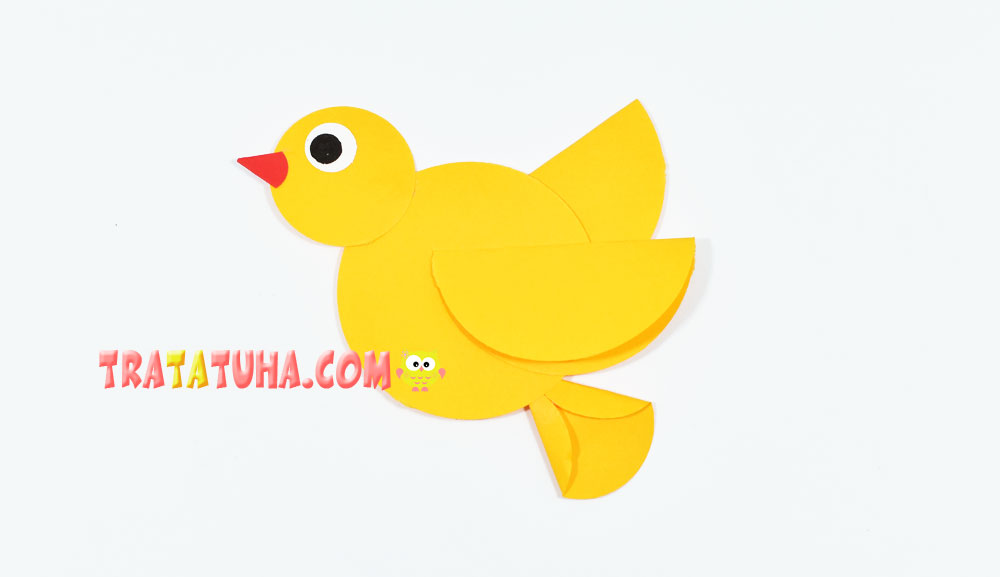
Put the bird on a branch.
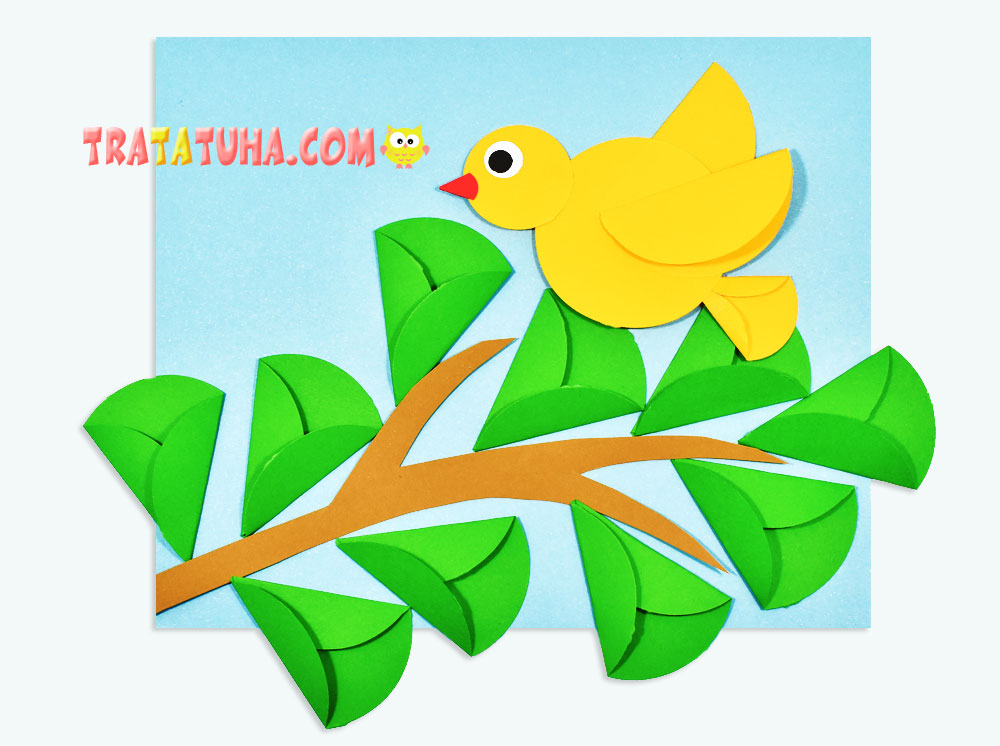
Optionally, complete the composition with pink flowers cut from a figured hole punch. Everything, spring bird on a branch craft is ready.

See more ideas about Birds Paper.
Crafts for Kids – learn how to make craft at home! Super cute crafts for all age groups!
