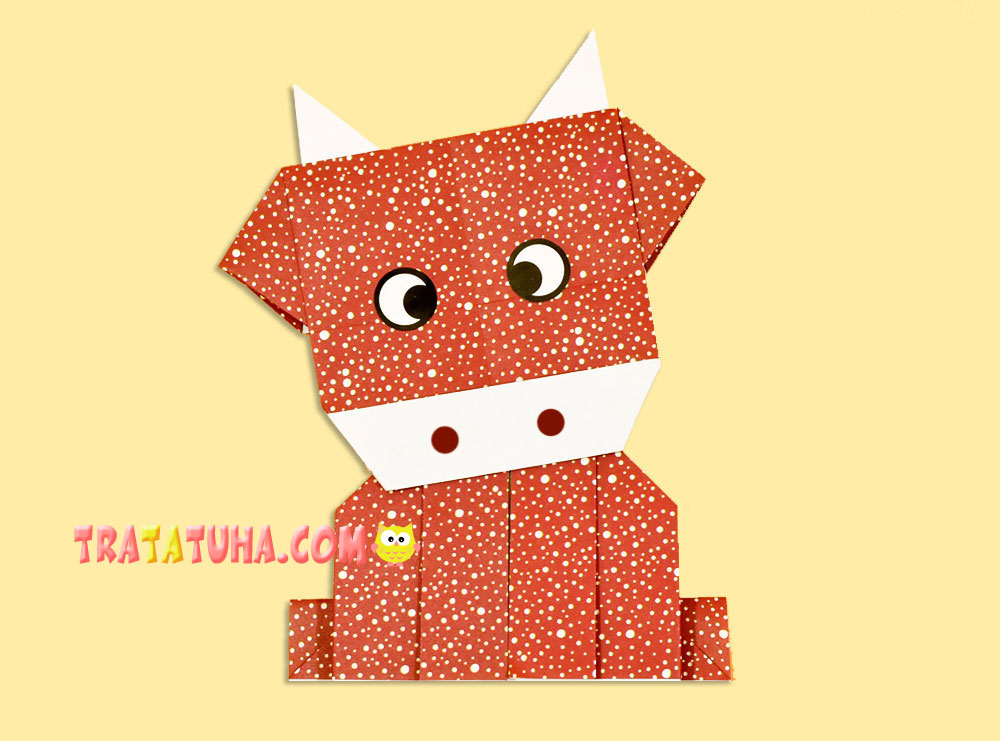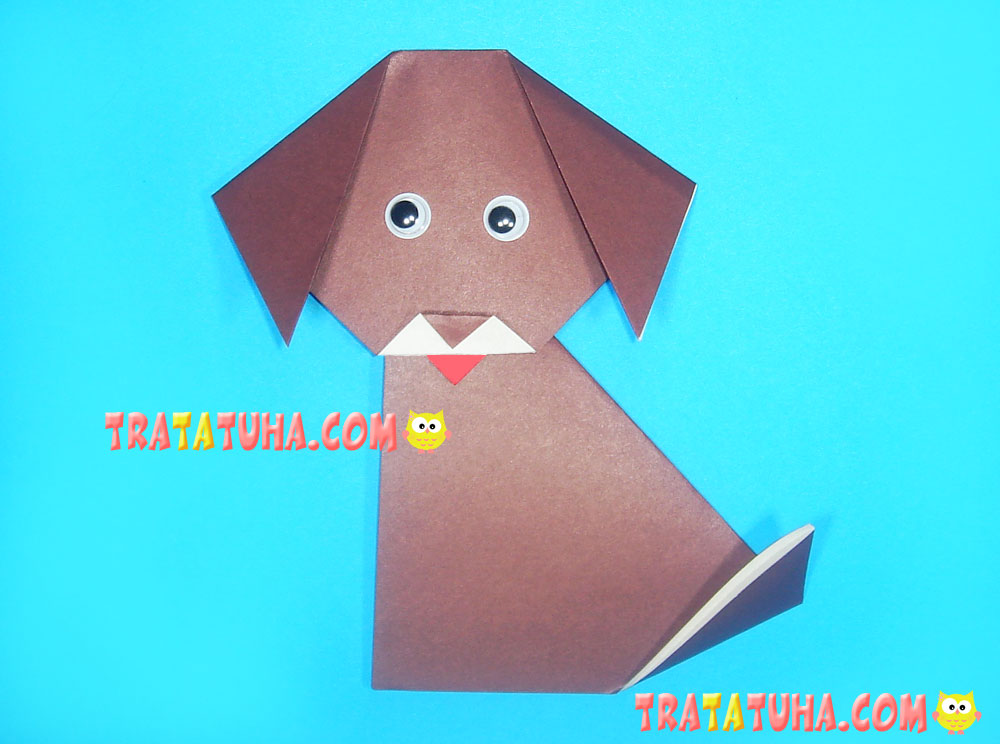
Easy origami puppy for kids step by step. Separately, the head and body are folded, but all actions are very simple.
Materials used:
- Single-sided colored paper (brown on one side and white on the other);
- Moving eyes (can be replaced with paper ones, draw with a felt-tip pen);
- Glue pencil, red felt-tip pen.
How to Make an Origami Puppy?
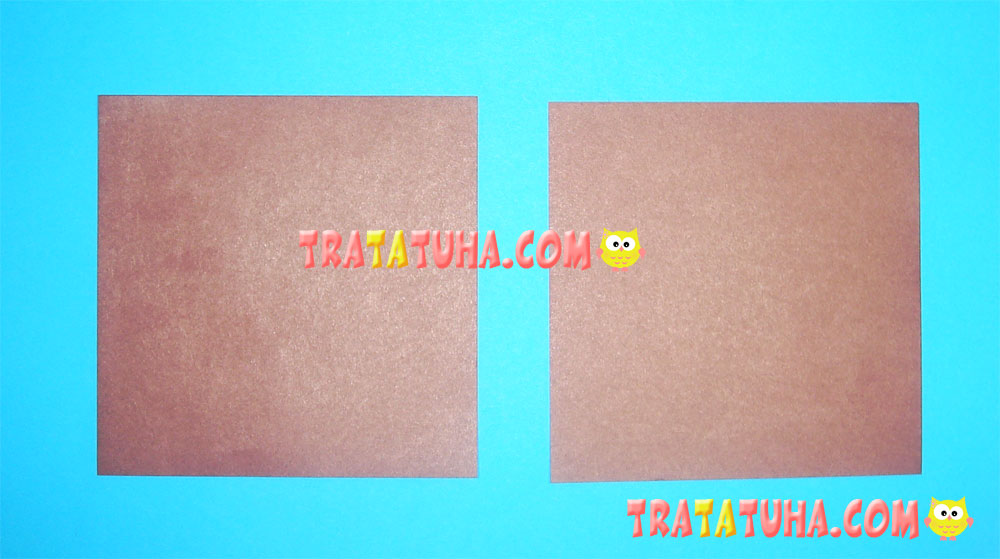
Prepare two square pieces of paper – for the body and head.
Folding our Heads
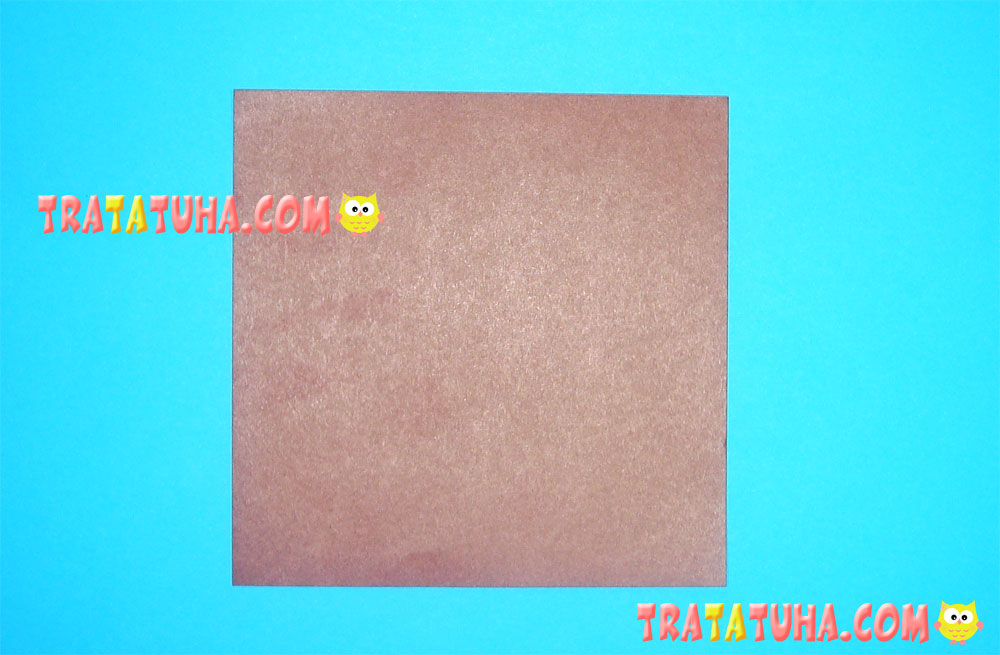
Place a one-sided paper square in front of you.
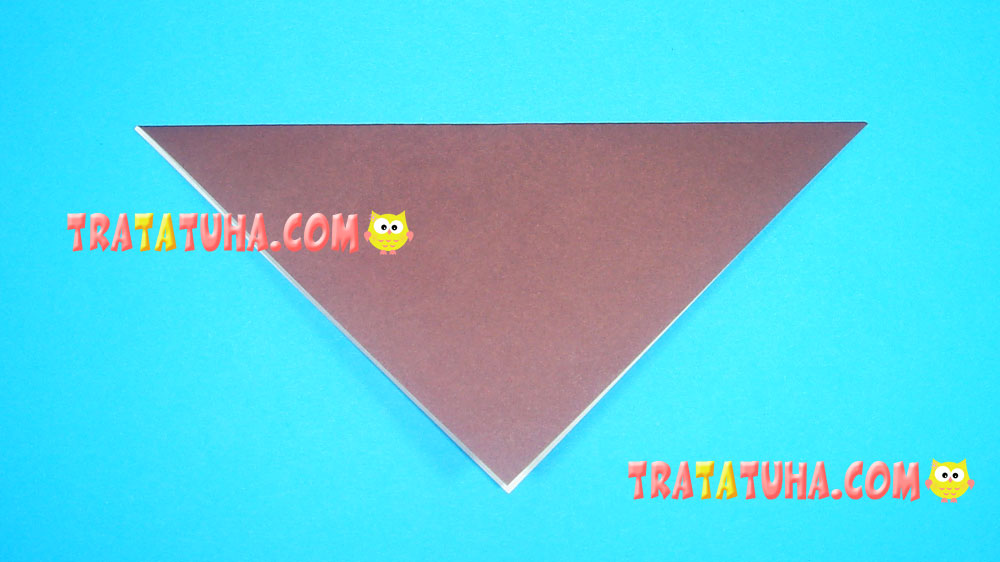
Fold it in half to make a triangle.
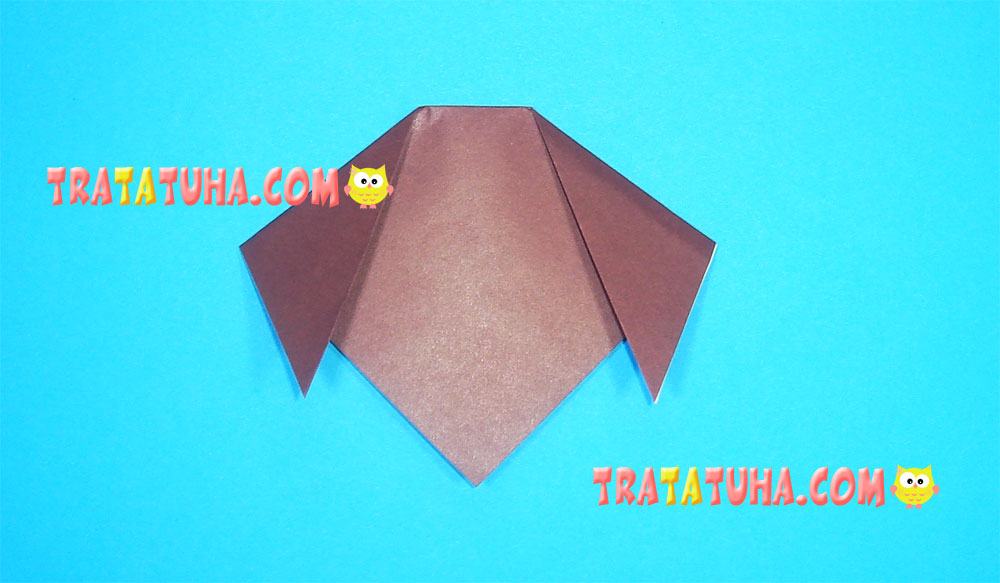
Fold the side corners down to make the ears.
The next steps are devoted to creating a muzzle. But little kids can miss a lot, for example, just bend the bottom corner back and up.
In the presence of one-sided paper, a pretty white muzzle with a nose and a tongue is obtained. To do this, fold the bottom corner up.
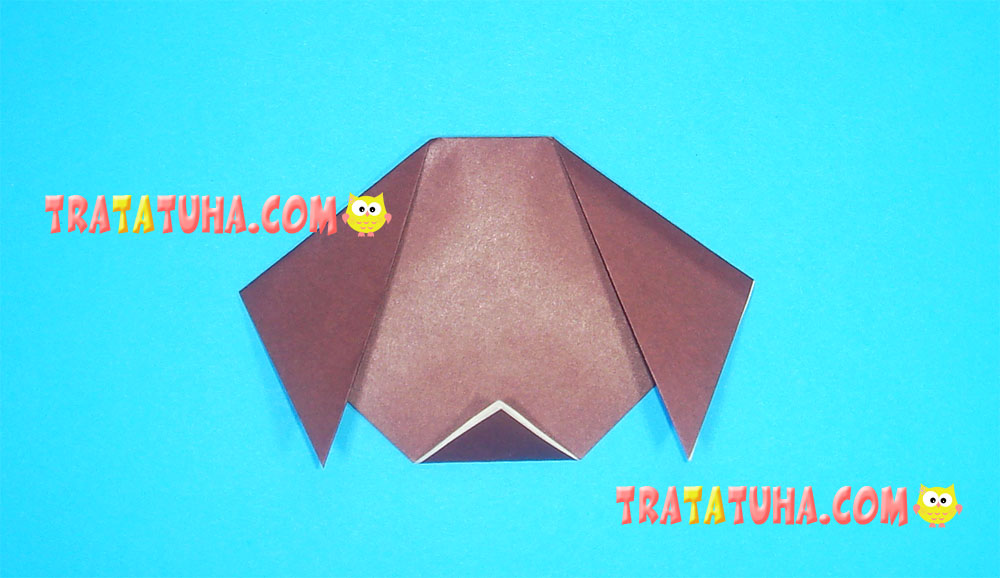
The corner consists of two parts, return the bottom back down.
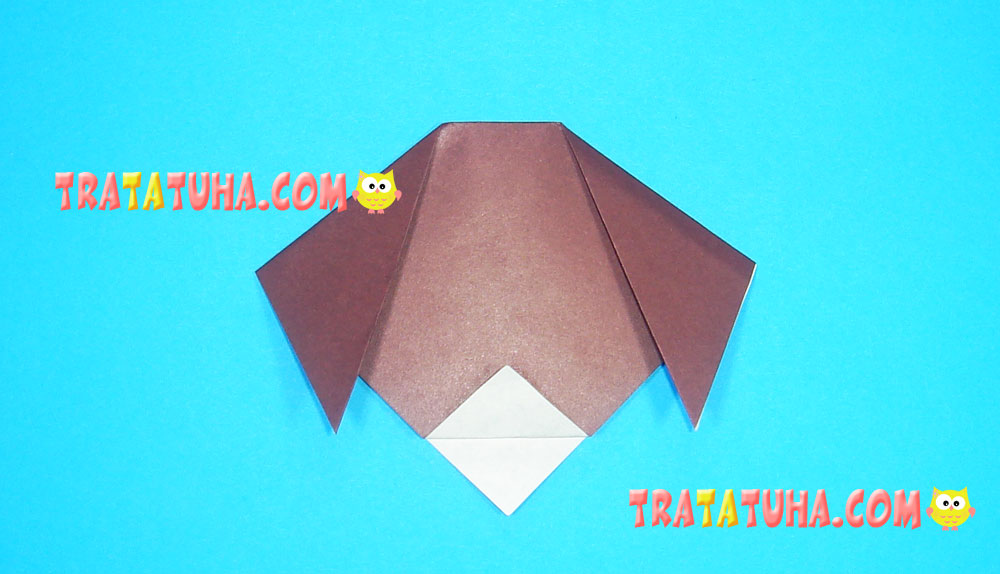
Make a nose by bending the top corner down on the muzzle.

Turn your head to the other side. Fold the bottom corner up.
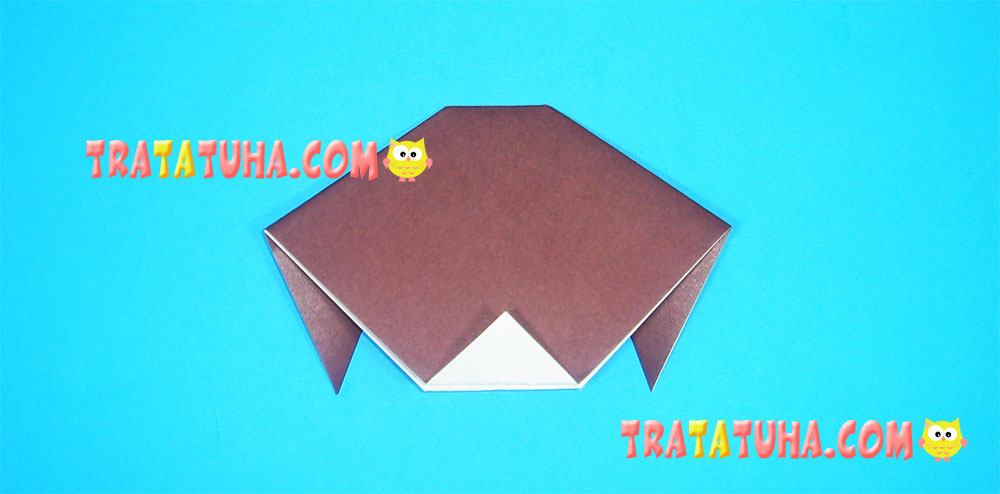
And then immediately down so that the small tip protrudes beyond the bottom. This will be the tongue of the origami puppy.
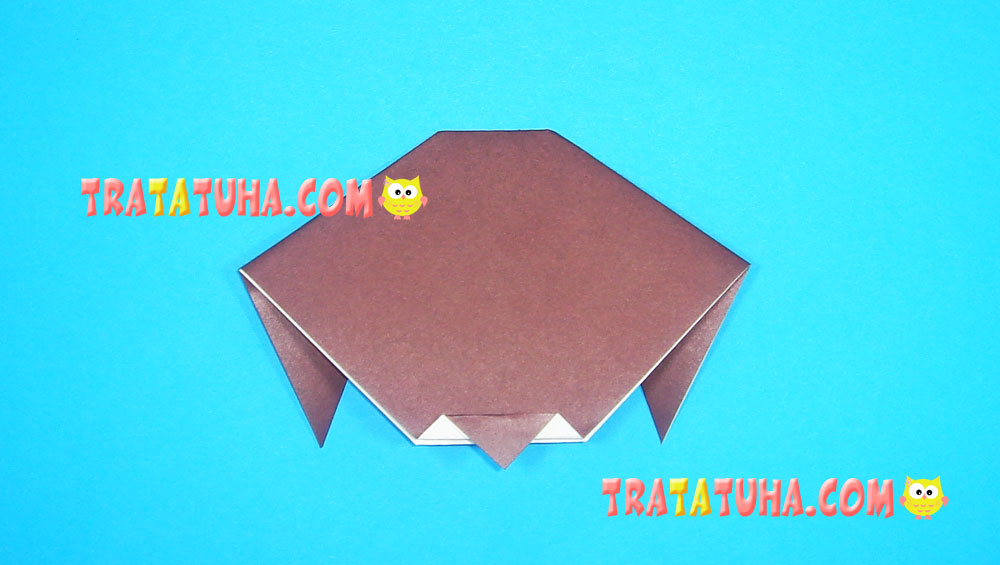
Turn your head forward towards you.
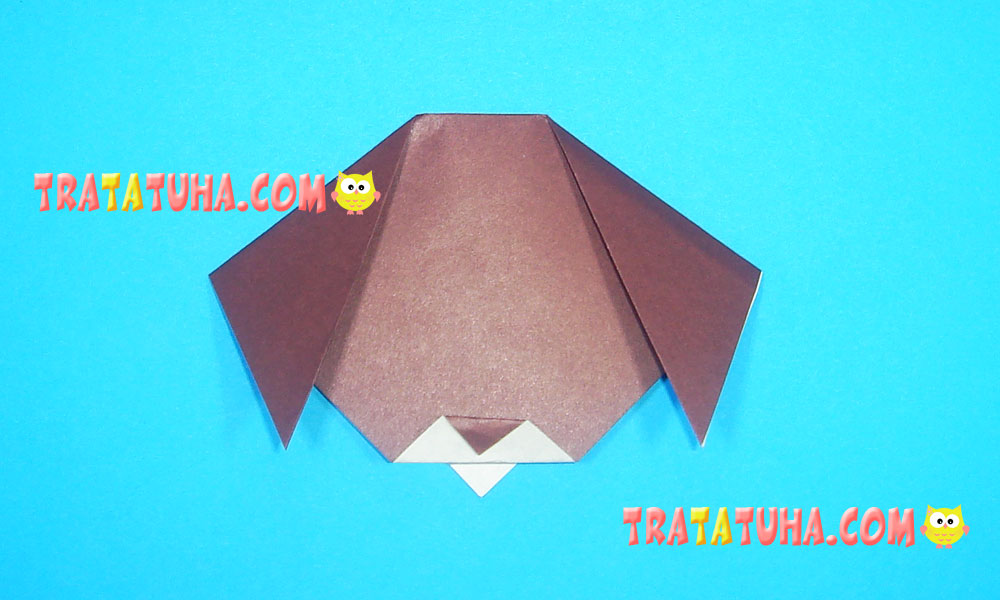
Glue or draw eyes, paint the tongue red or pink. Head completed.
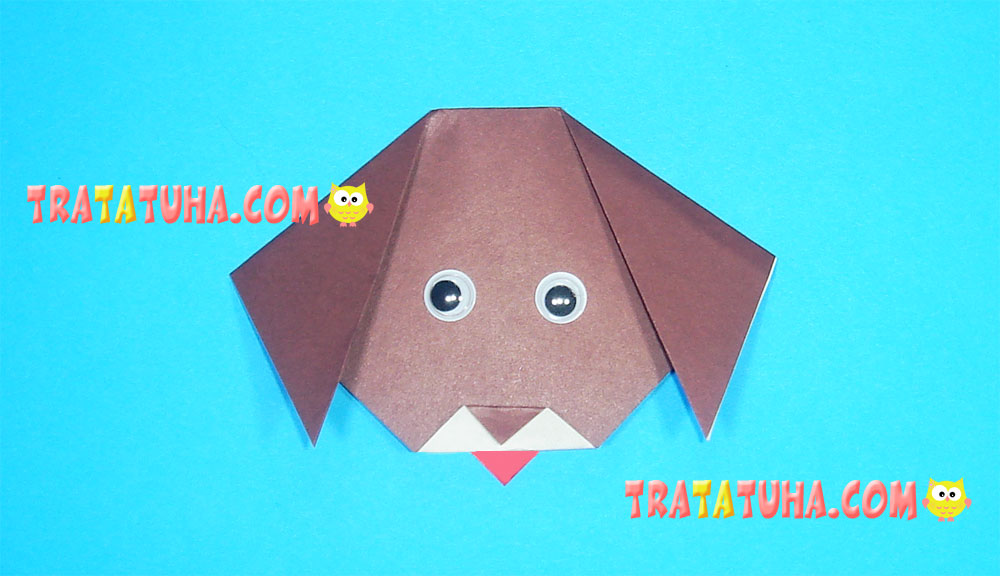
Origami Puppy Body
Extremely simple version of the body.
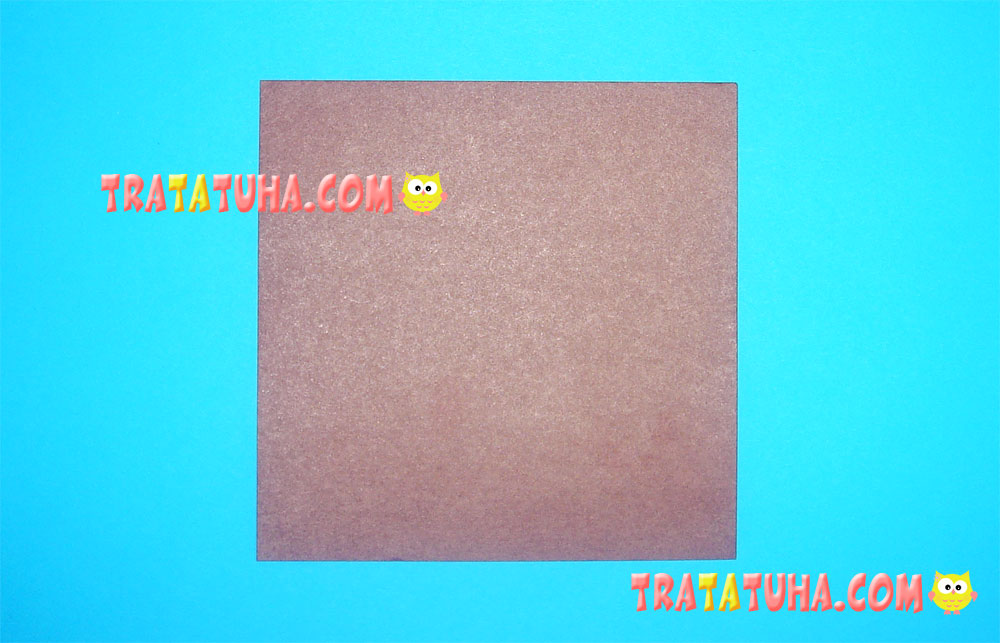
A square piece of paper, by the way, it can be either one-sided or two-sided, fold into a triangle. To do this, you need to connect the opposite corners and smooth the fold.
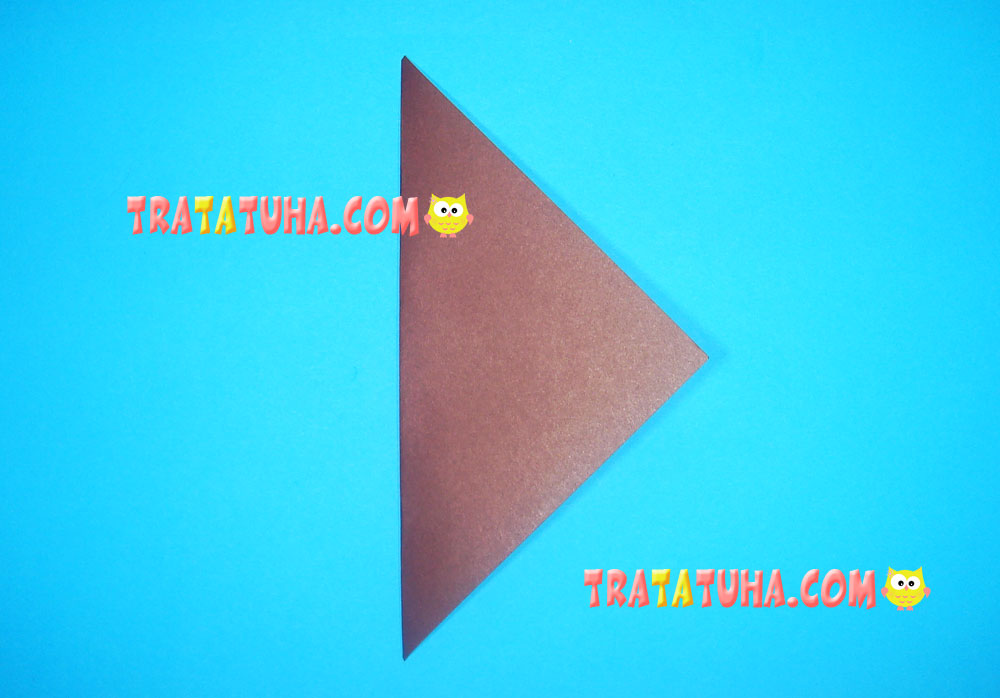
The fold in this case is on the left, turn the triangle over so that the fold is on the right. Fold up the right corner to make a ponytail. Everything, a simple body is ready.
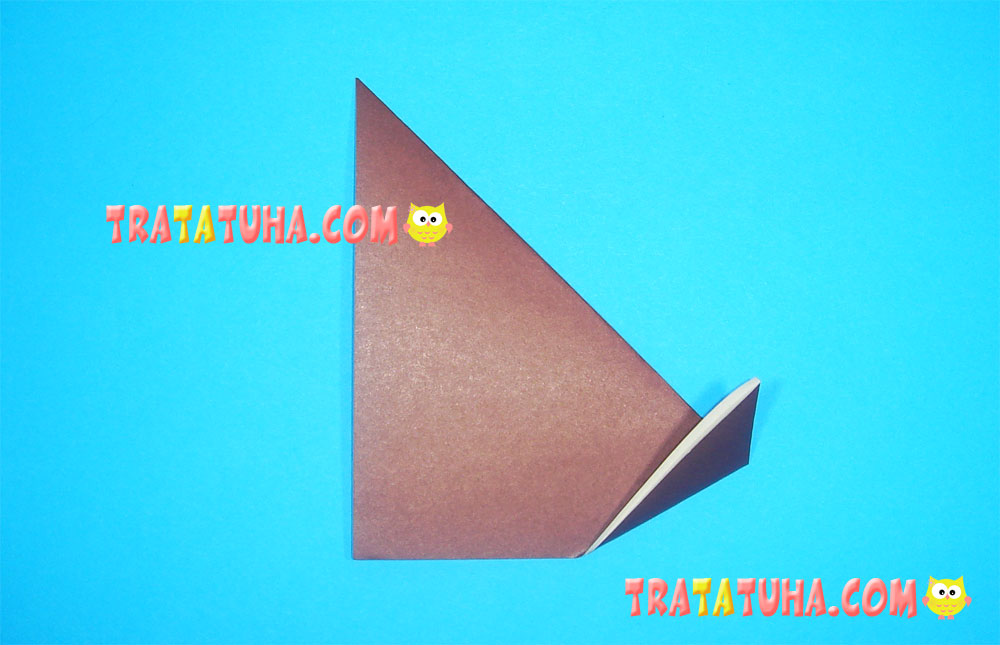
It remains only to glue the head to it to make such a cute origami puppy for kids.

See also other tutorial of Origami Animals.
Many other ideas in the collection of Paper Animals Craft.
Crafts for Kids – learn how to make craft at home! Super cute crafts for all age groups!
