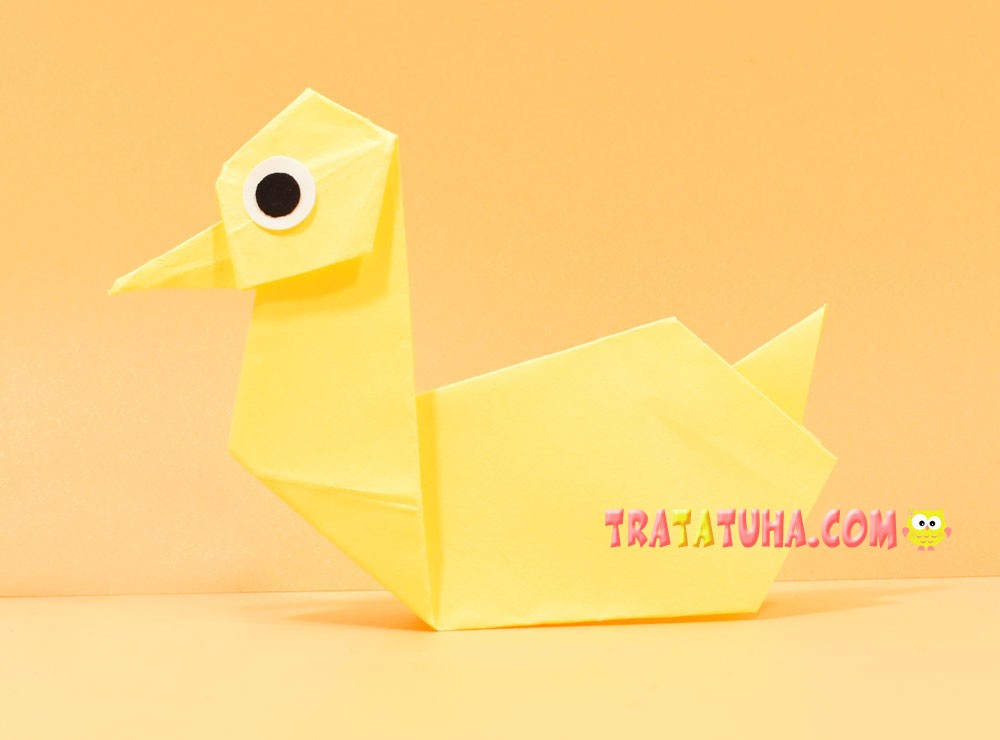
A very easy origami woodpecker. Easy step by step for kids. We replenish the collection of paper birds.
What materials will be needed:
- One-sided colored paper or special for origami, in which one side is white and the other, for example, gray;
- Sticky eyes. As an option, made of paper, drawn with a felt-tip pen.
Origami Woodpecker Step by Step
Prepare square paper.

Fold it in half, corner to corner, white inside. Bend the fold.

Then connect the other two corners to make intersecting folds.

Open the paper and place it in front of you, angle up. Align the sides along the fold at the bottom. That is, bend the sides, connecting them in the center of the figure.
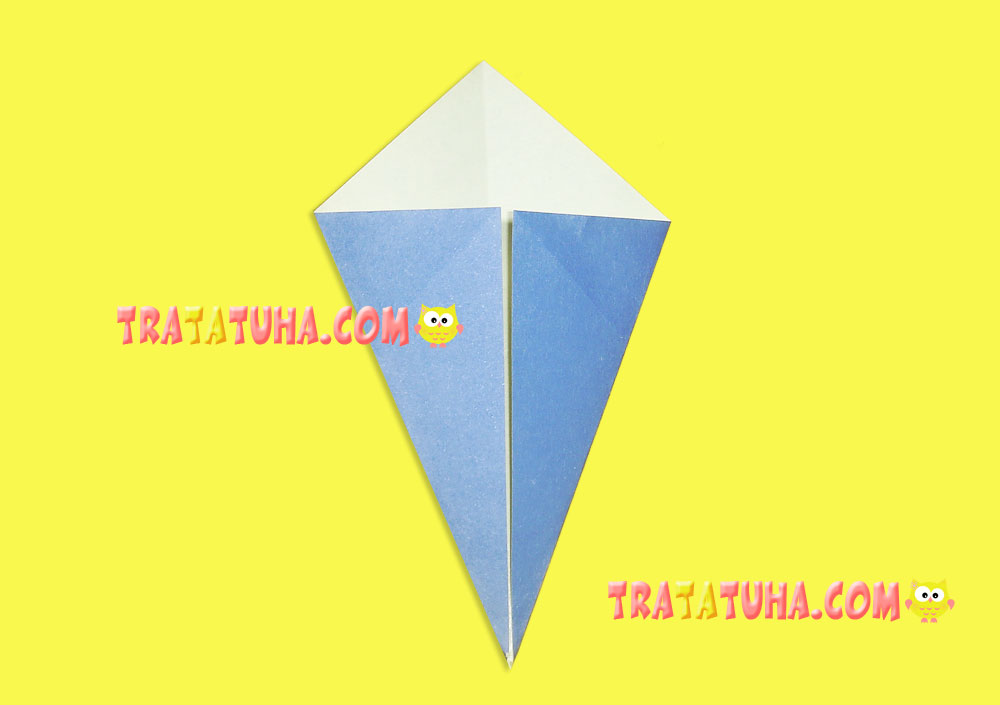
Flip the paper over and fold the sides along the inside fold at the top as well.

Flip the paper over to the other side again.

Turn the top white part to the left so that the corner is visible on the left side. This will be the origami woodpecker’s beak.

Lift the corner at the top of the first piece of folded paper.

Fold the body in half, glue the eye. Origami woodpecker for kids is ready.
Despite the long description, folding this paper bird is very easy, the process does not take much time. Woodpeckers can be planted on an origami tree, make an interesting composition.
See more ideas about origami birds.
Birds Paper – art and craft ideas for all ages.
Crafts for Kids – learn how to make craft at home! Super cute crafts for all age groups!
Related Post: