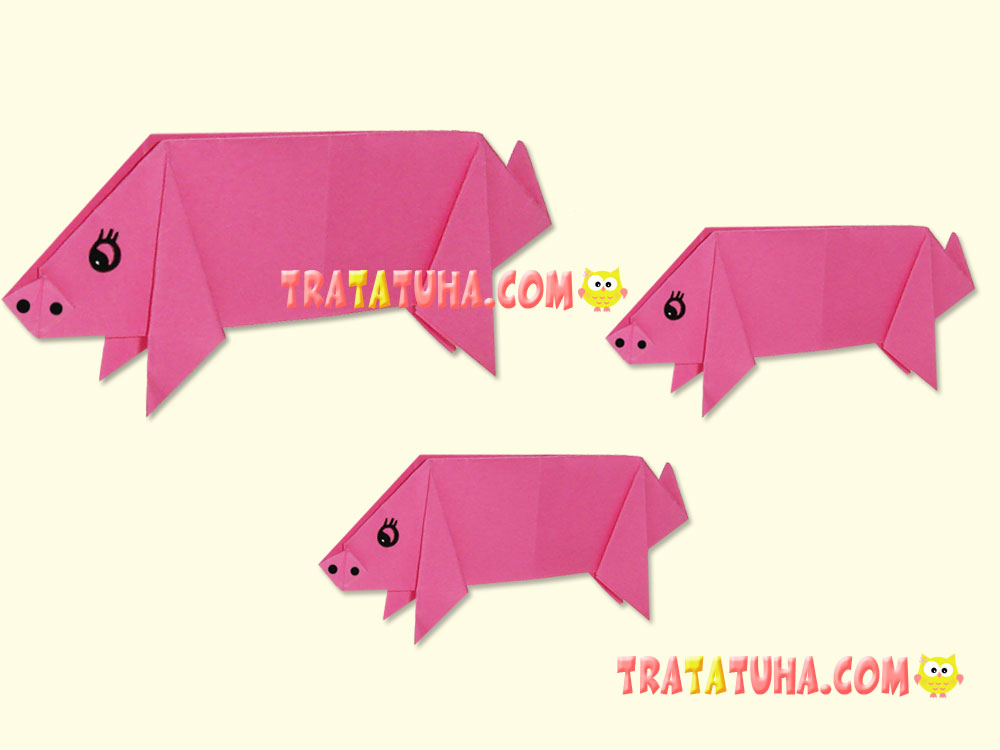
This cute origami bull just seems complicated. Although it consists of three parts, all actions are as simple and clear as possible. Thanks to this, the process itself will bring only pleasure.
What you need for work:
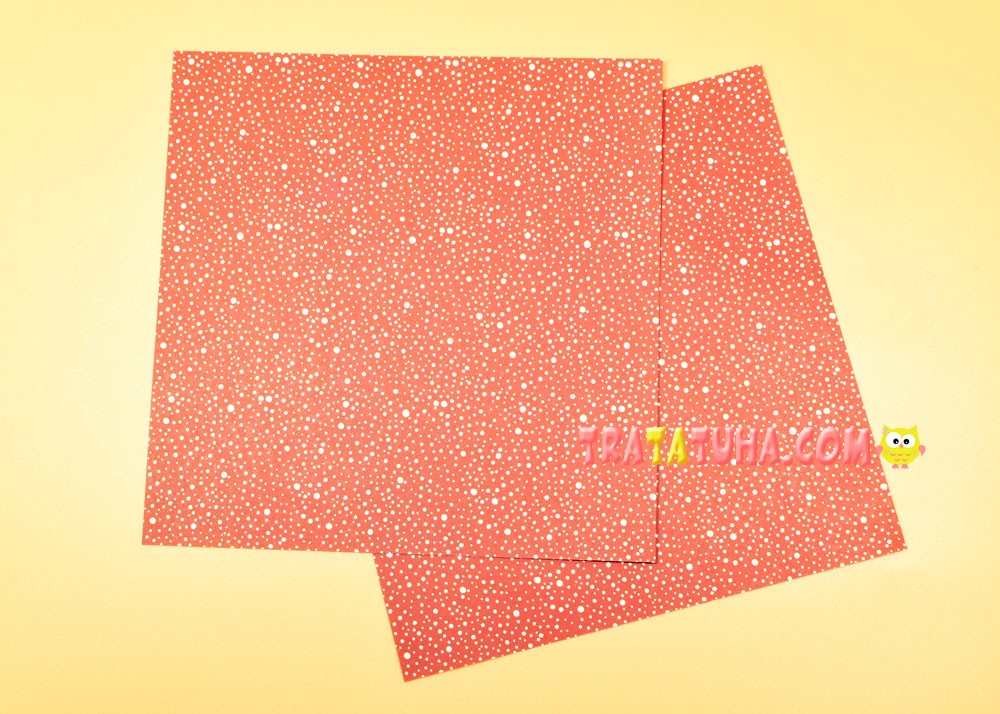
- Colored paper, preferably with multi-colored sides, to highlight the muzzle;
- Separate paper for horns;
- Eyes, glue, circles for the nostrils.
Paper Origami Bull Step by Step
The bull consists of three parts, which later will need to be glued together. We will fold the head, body and horns separately. Although, horns may not be made, because the bull is still small, perhaps it is hornless.
We Fold the Head of a Bull from Paper
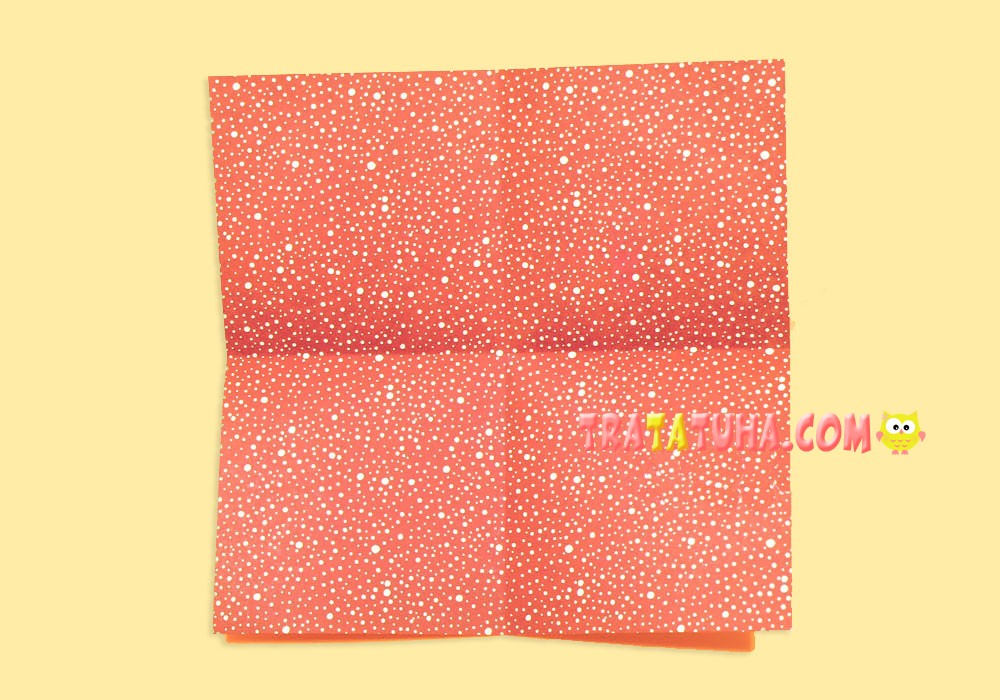
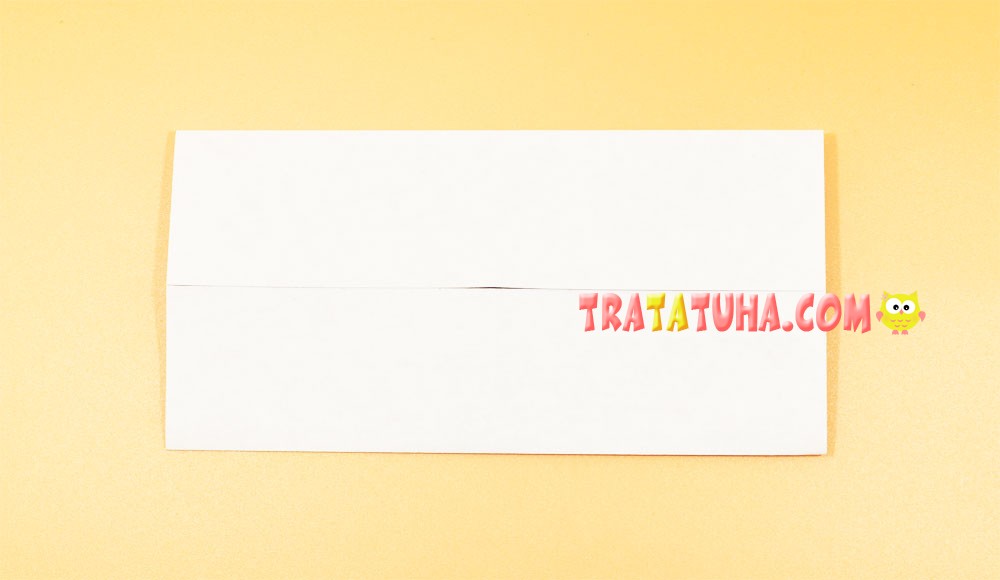
You will need a sheet of square paper. On its area, you need to make horizontal and vertical intersecting folds. To do this, fold the paper in half.

Then open and fold again into a rectangle, connecting the other two sides.
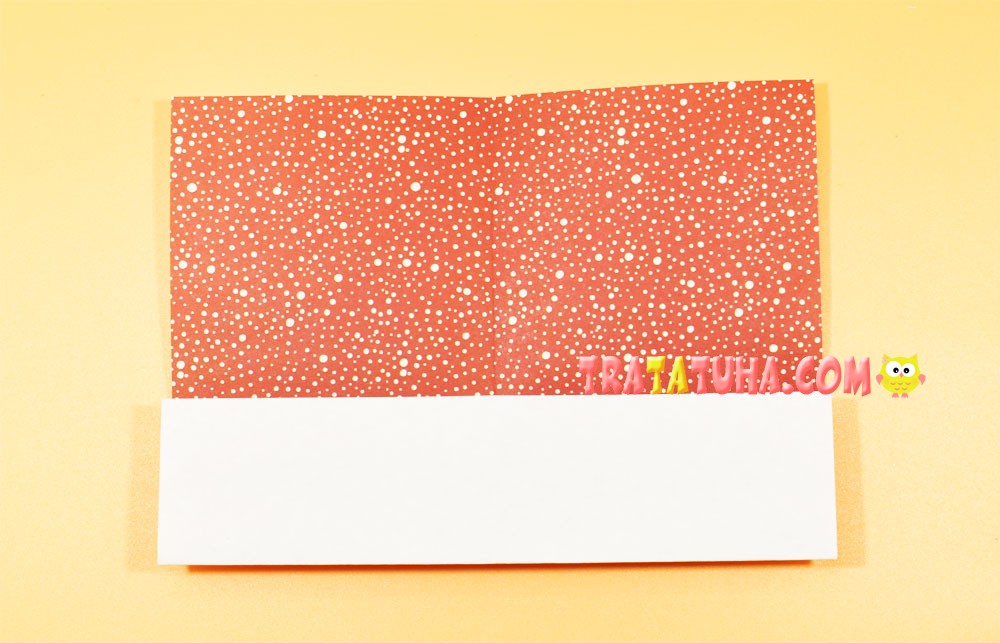
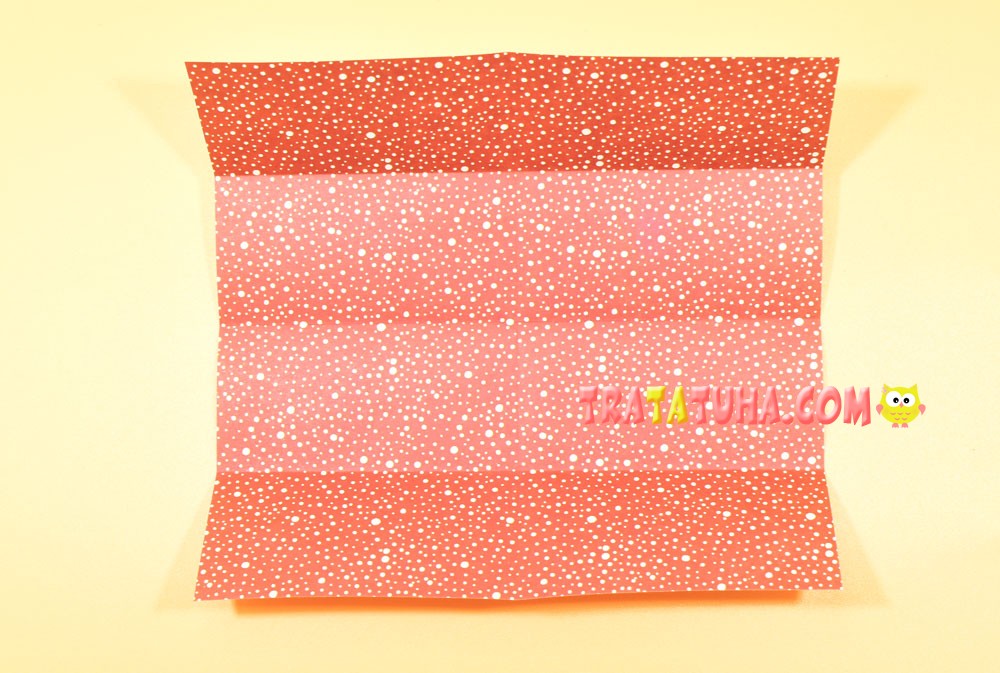
Bend the bottom, aligning with the fold in the middle.
Fold down the top.
Open the paper. Horizontal 3 folds are clearly visible.
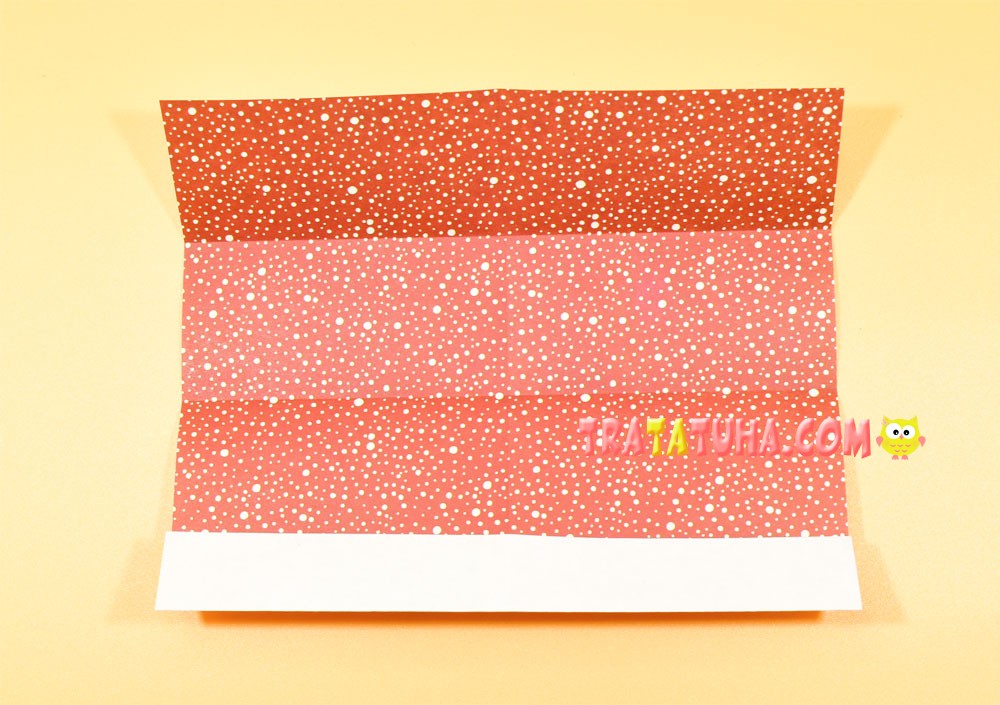
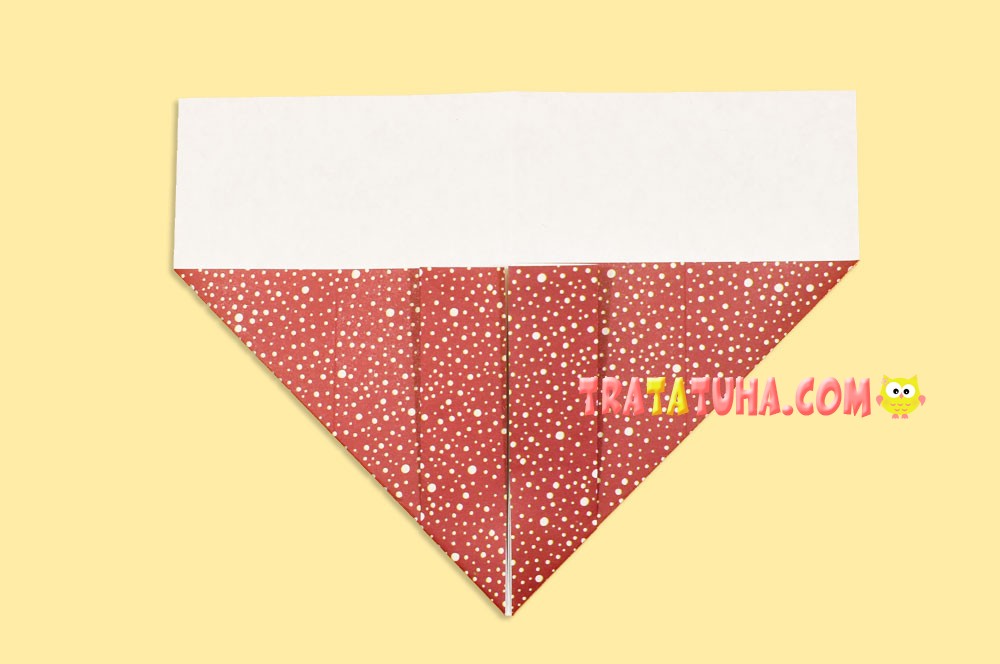
Bend the bottom to the first fold, not higher.
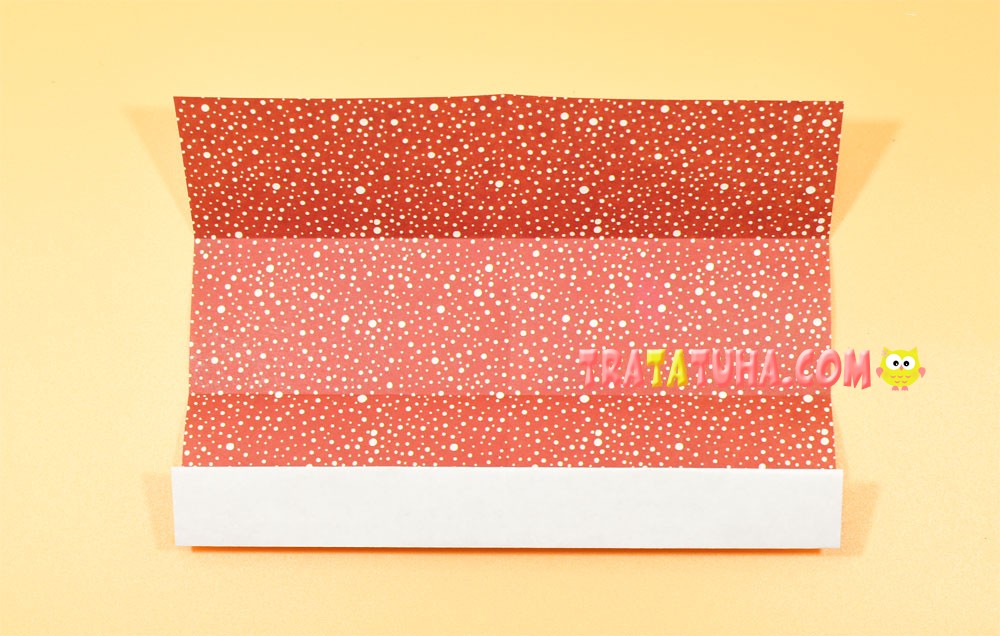
Then fold up again in the same way.
Flip over to the other side.
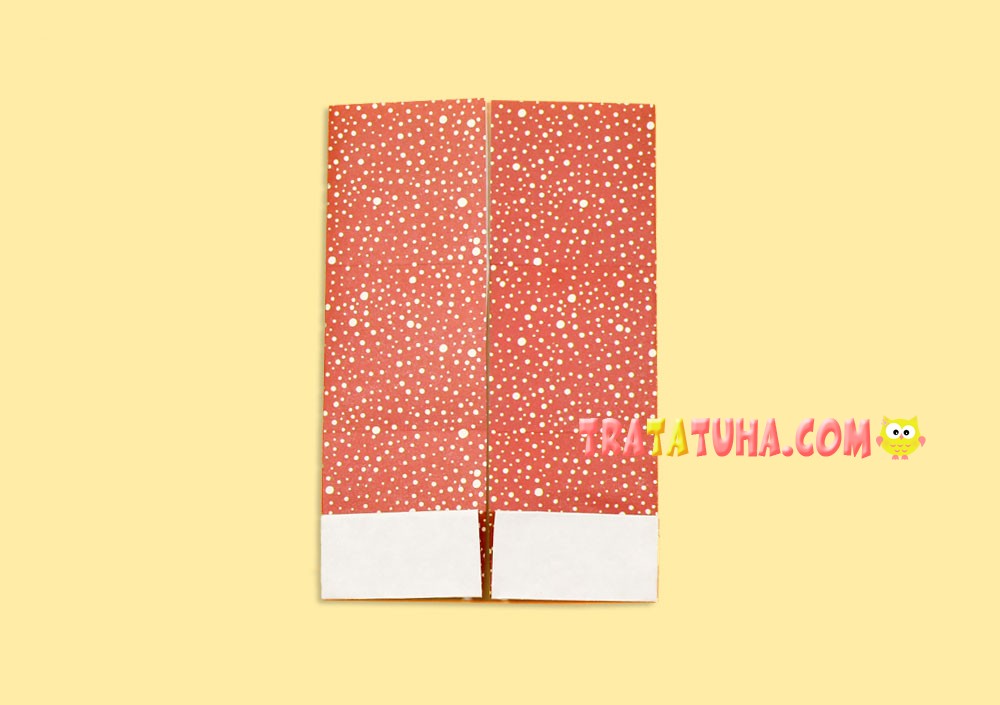
Fold the left side towards the middle.

Then the right one.
Now fold the top left corner down to the first fold.
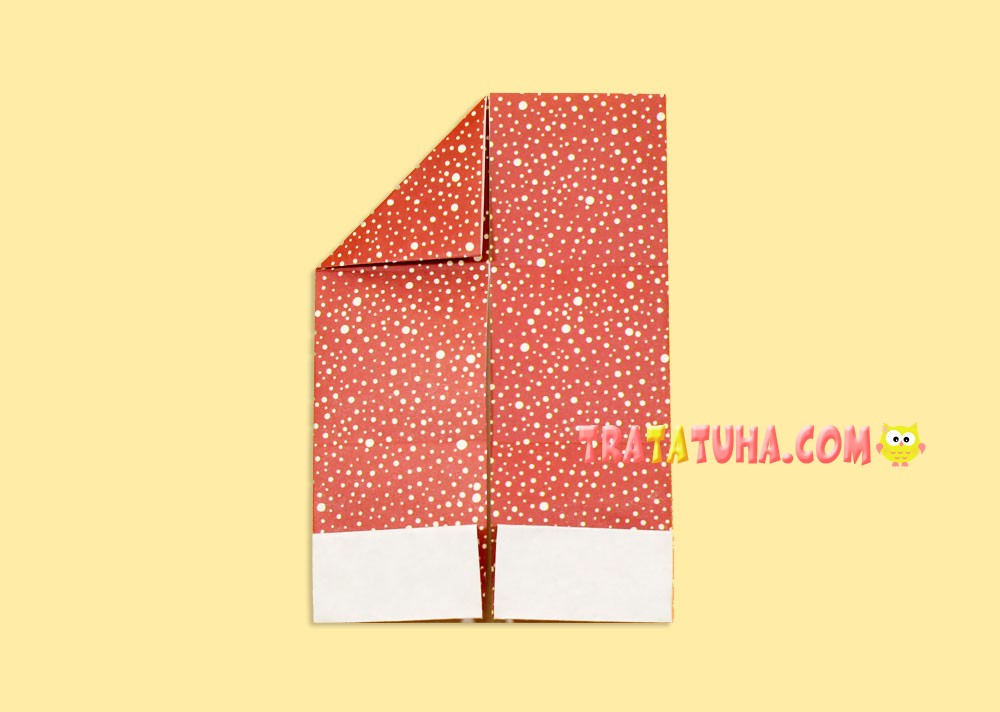
After him, the right one.
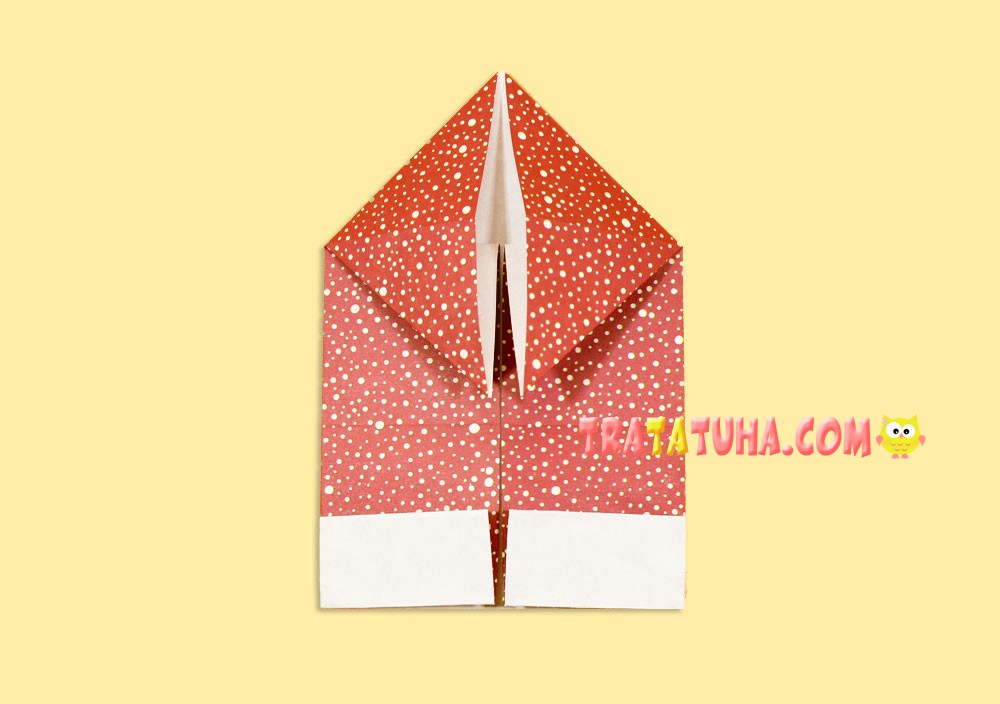
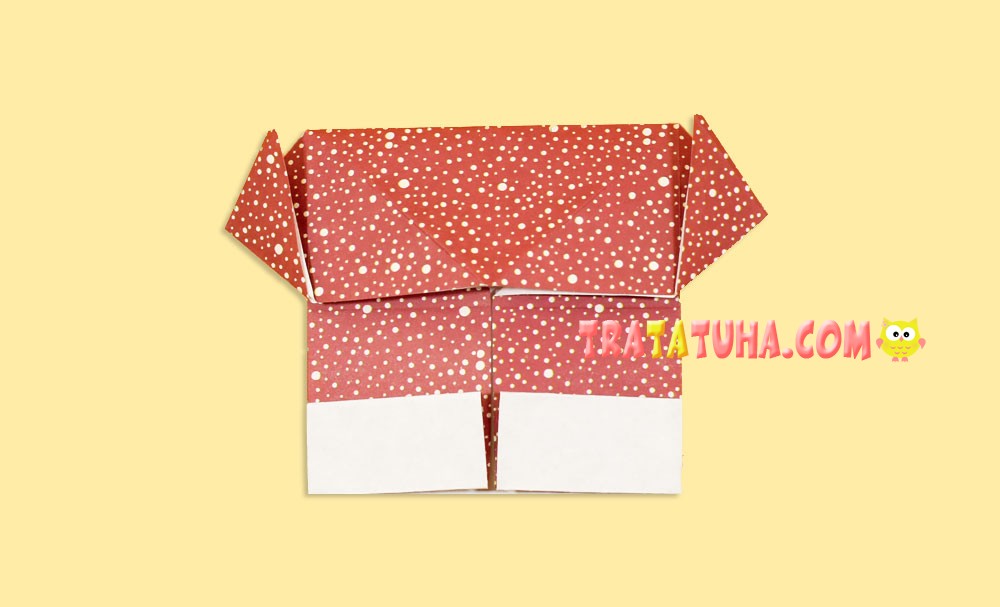
Slightly open the top and point the corner down to make a pocket.
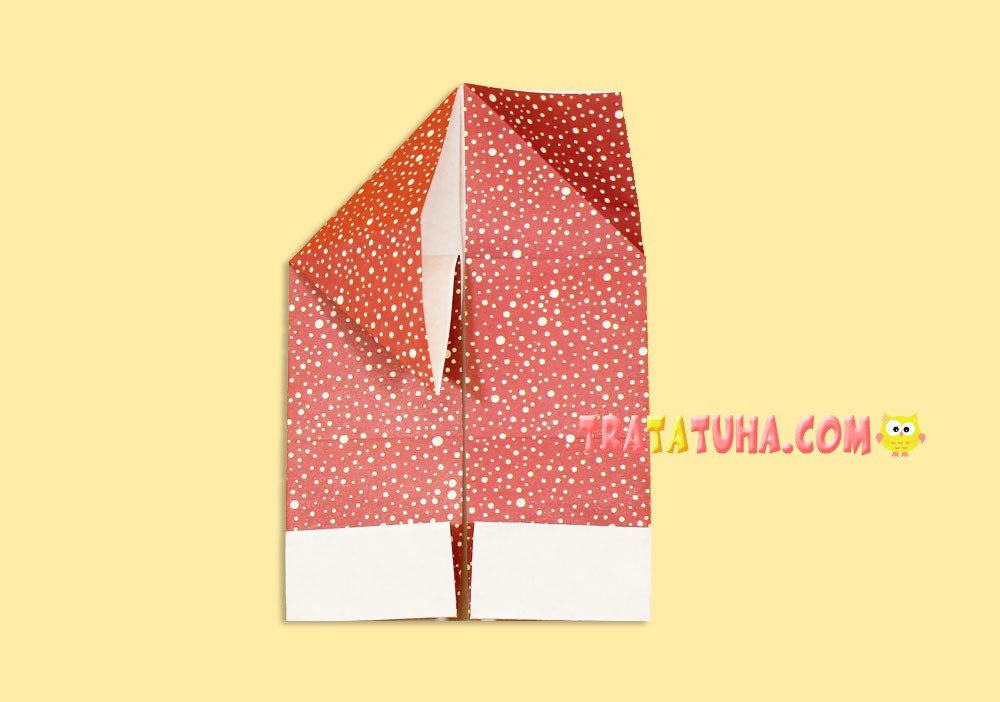
On the right side, repeat the steps.
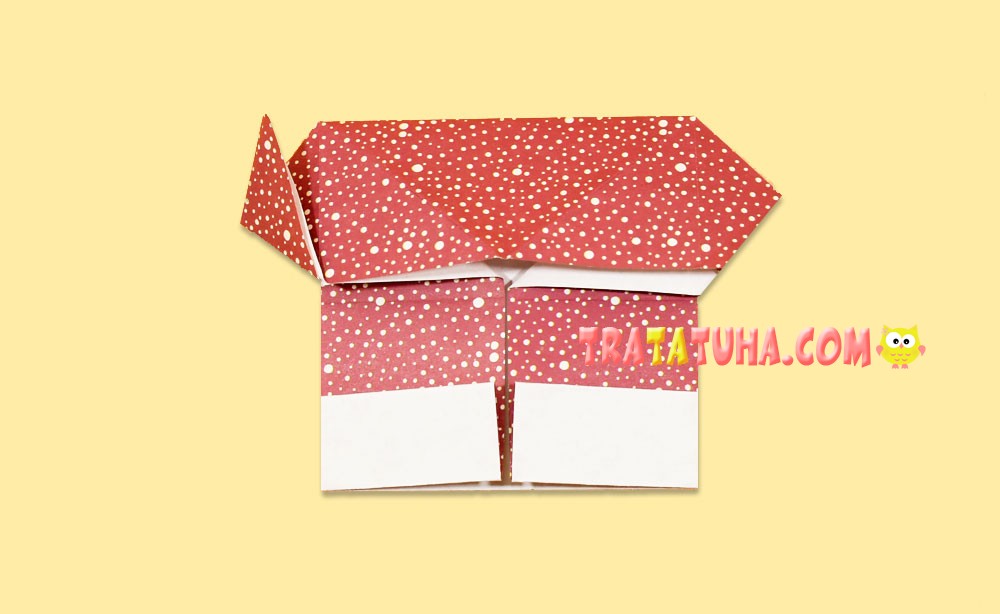
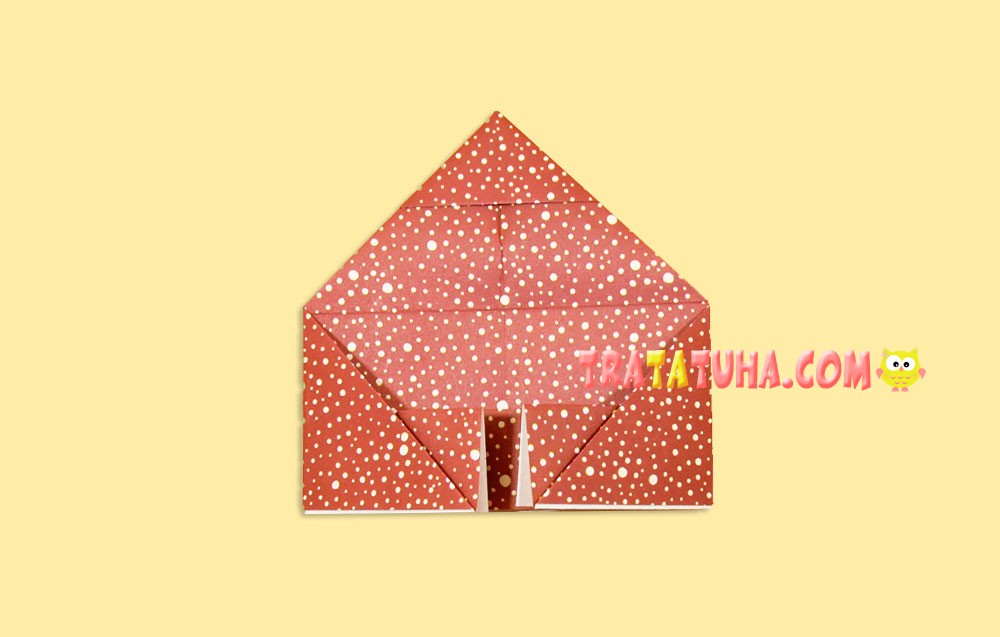
Now slightly open the pockets, directing the corners to the sides.
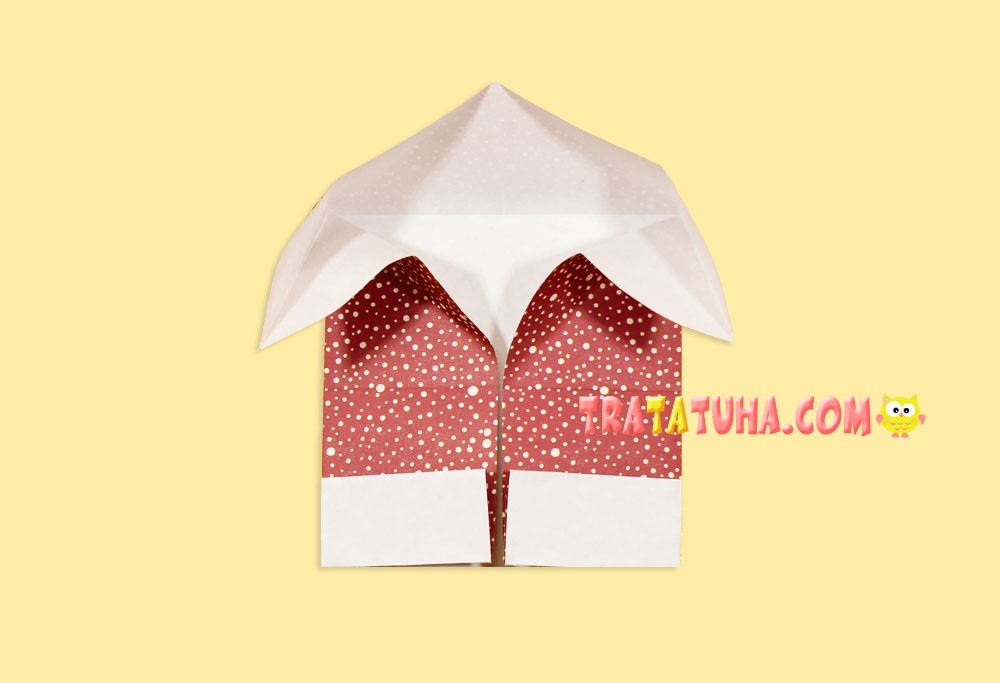
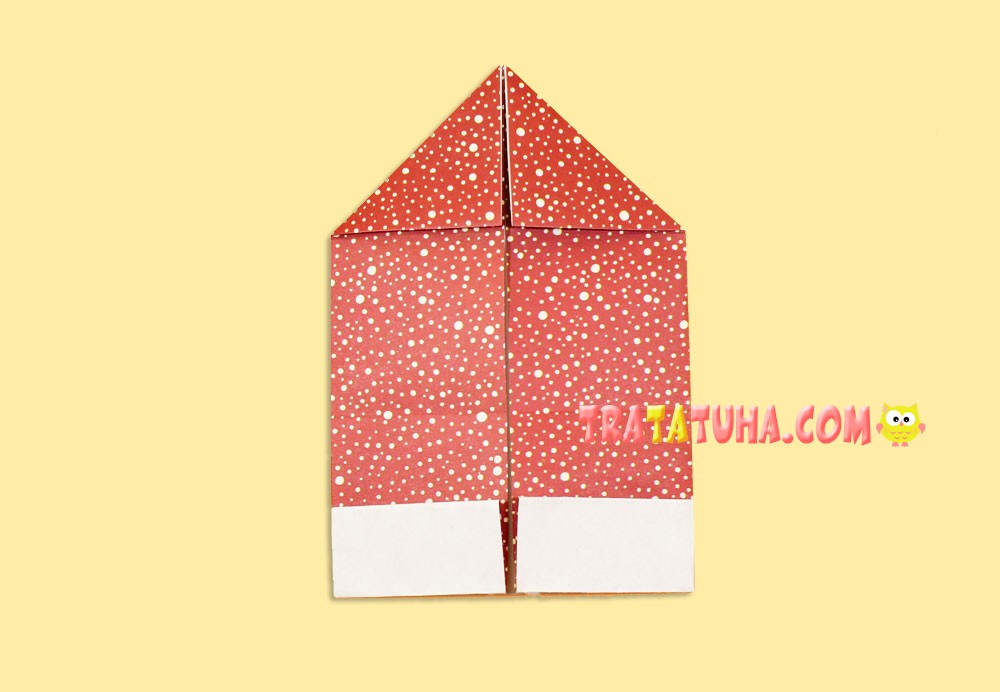
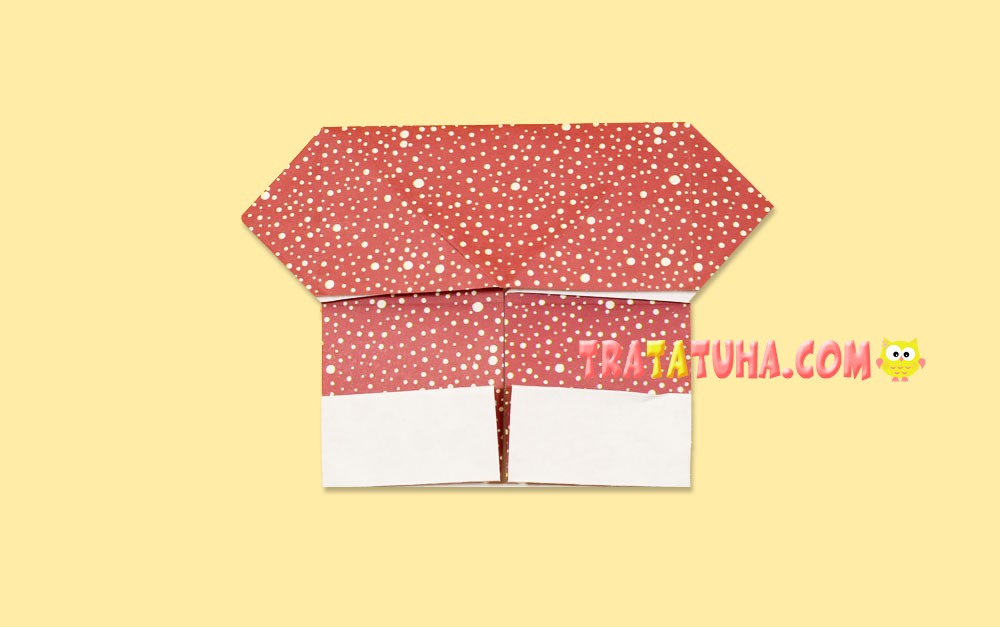
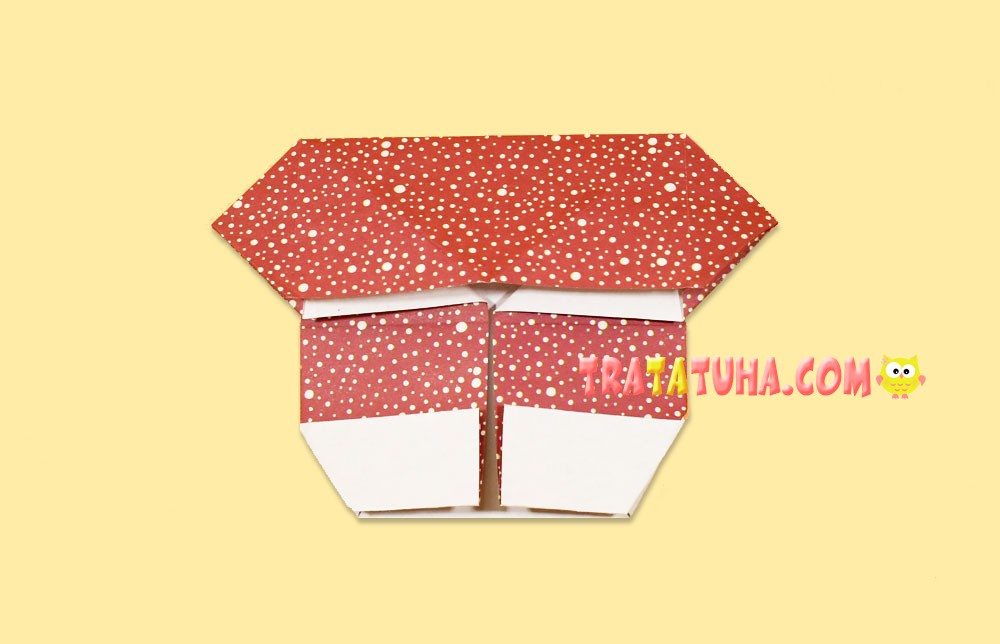
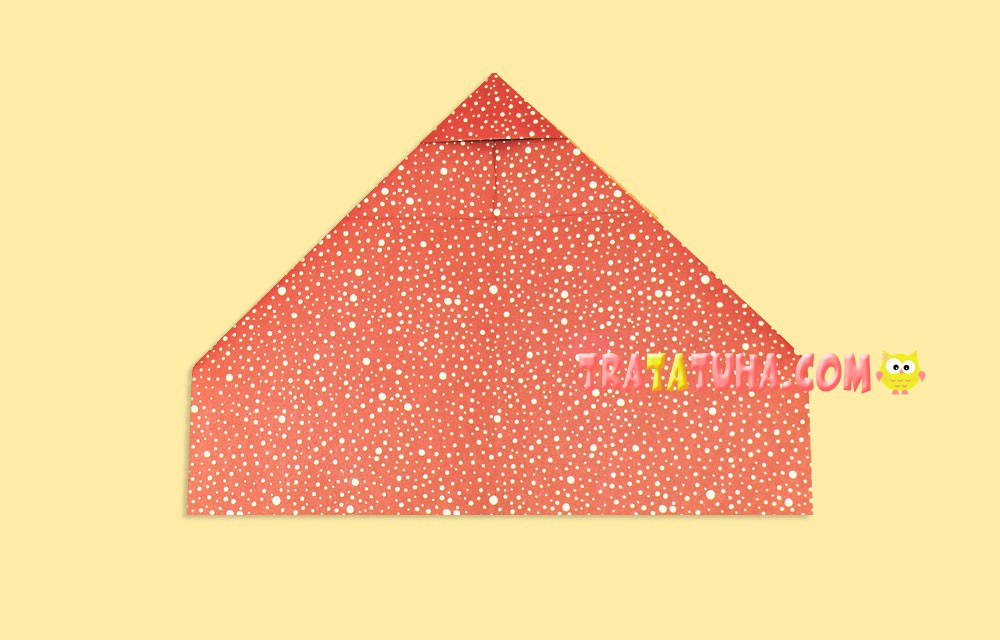
Lower the top side down and press. Get the shape of a house with a roof. In principle, one of the variants of the origami house is made using the same technique.
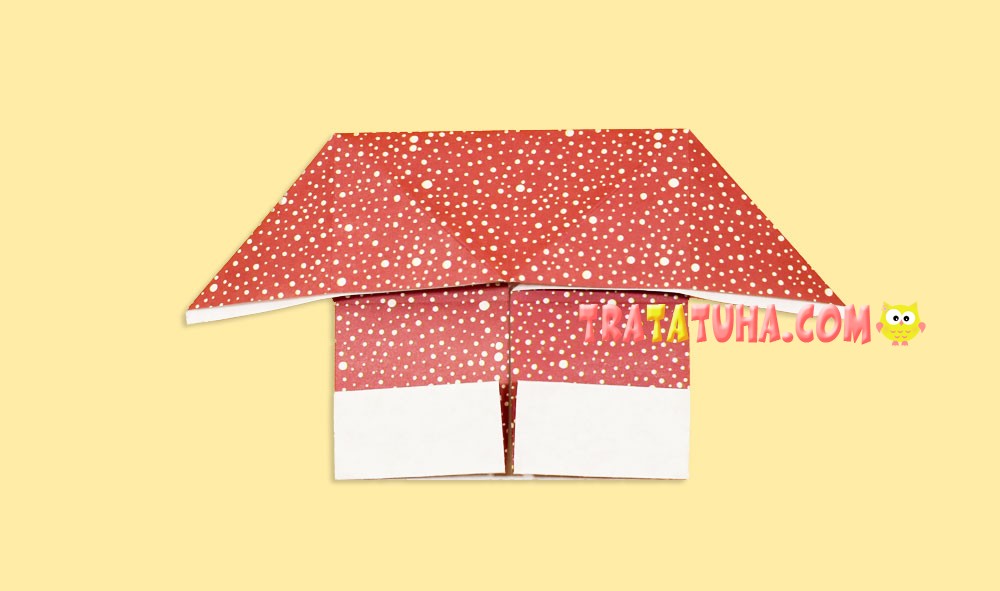
Lift the corners of the roof up to mark the folds.
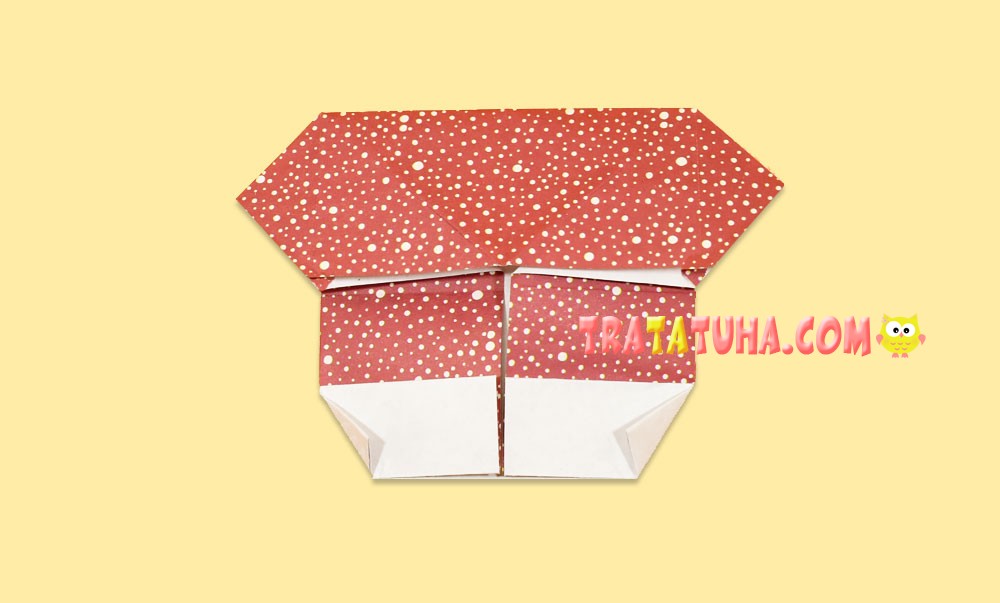
Thanks to these folds, it will be easier to redirect the corners to the middle. Open the corner, fold along the fold and hide inside.

Do the same with the left.
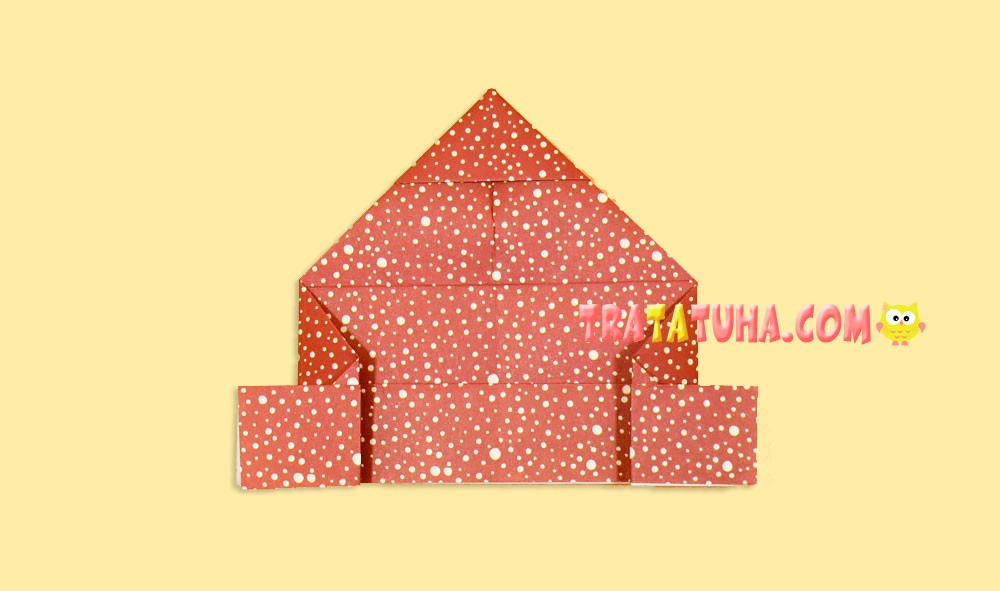
Now fold the two corners at the bottom.
And then also redirect them inside.
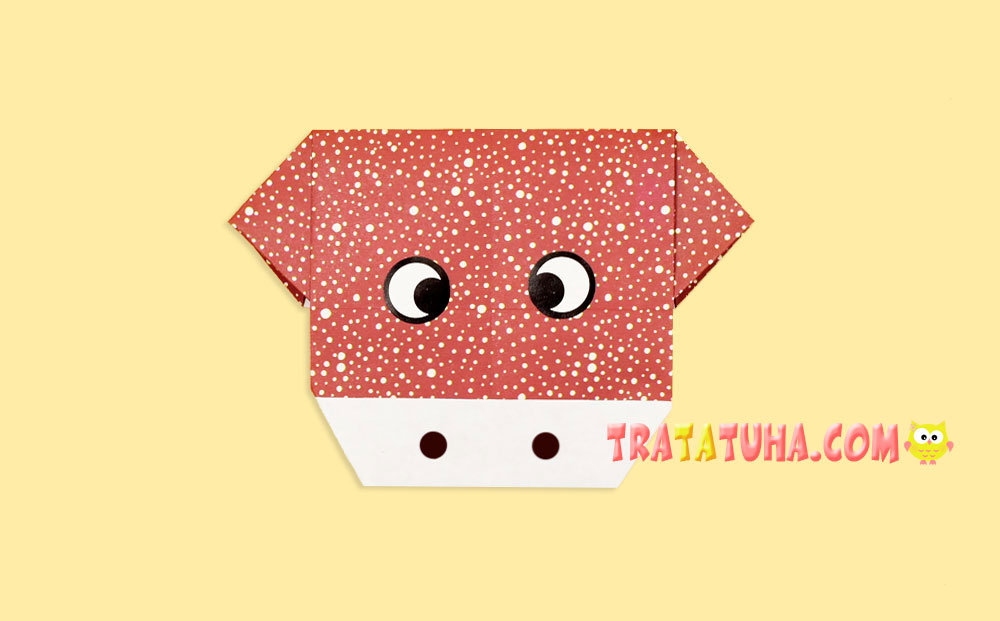
Turn over to the other side, glue the eyes, nostrils. The head is ready.
Body of Origami Bull
For him, we also need a square piece of paper, the same size as the one from which we folded the head.
The initial steps are also the same. Make intersecting folds on the square by folding the paper in half.
And then again in half, connecting the other two sides.
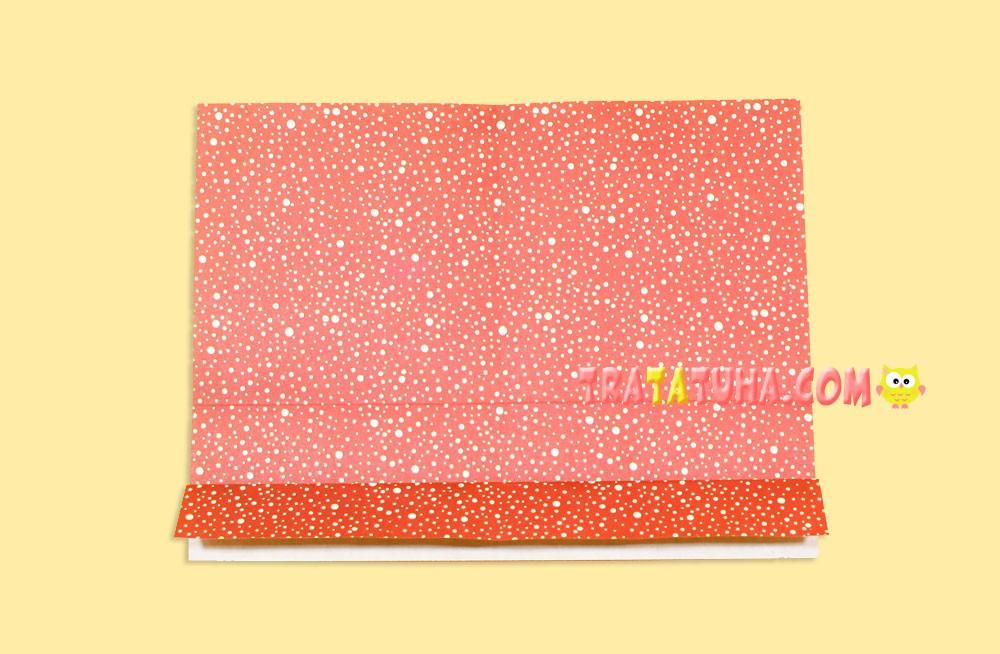
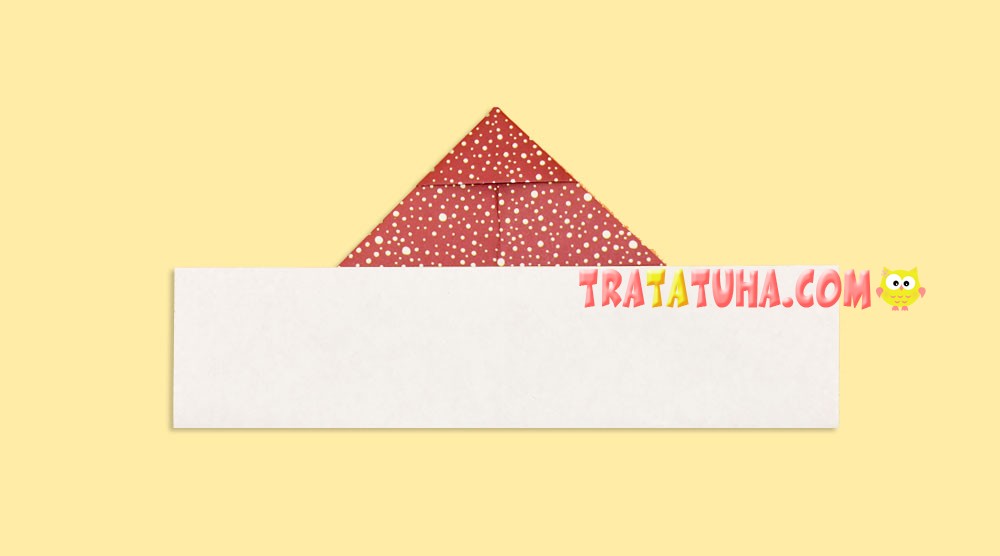
Fold the bottom of the paper up to the very middle.
And then fold back, making a fold.
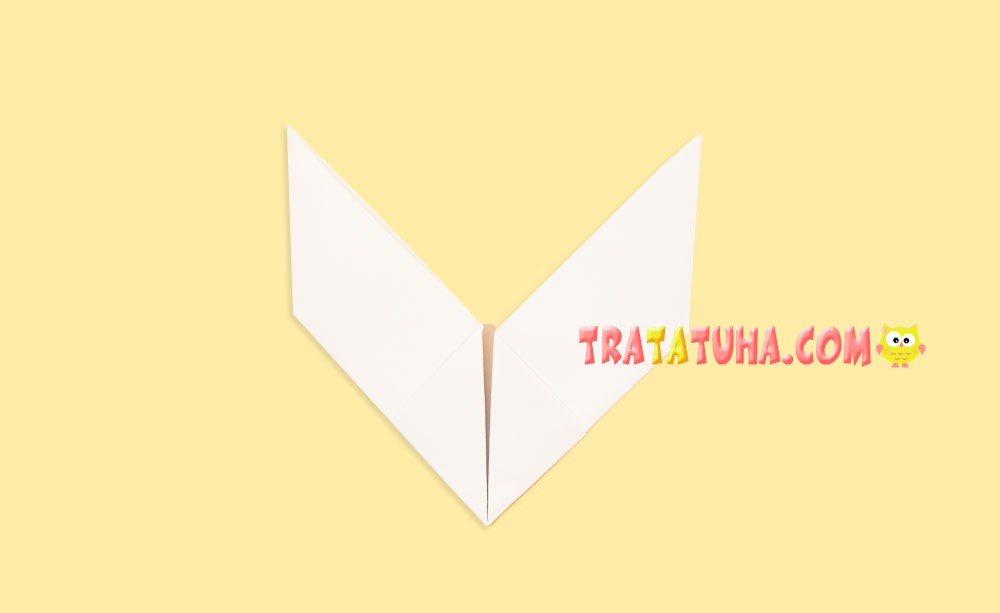
Flip over to the other side. We have a fold at the bottom.
Bend the lower left corner to the middle.
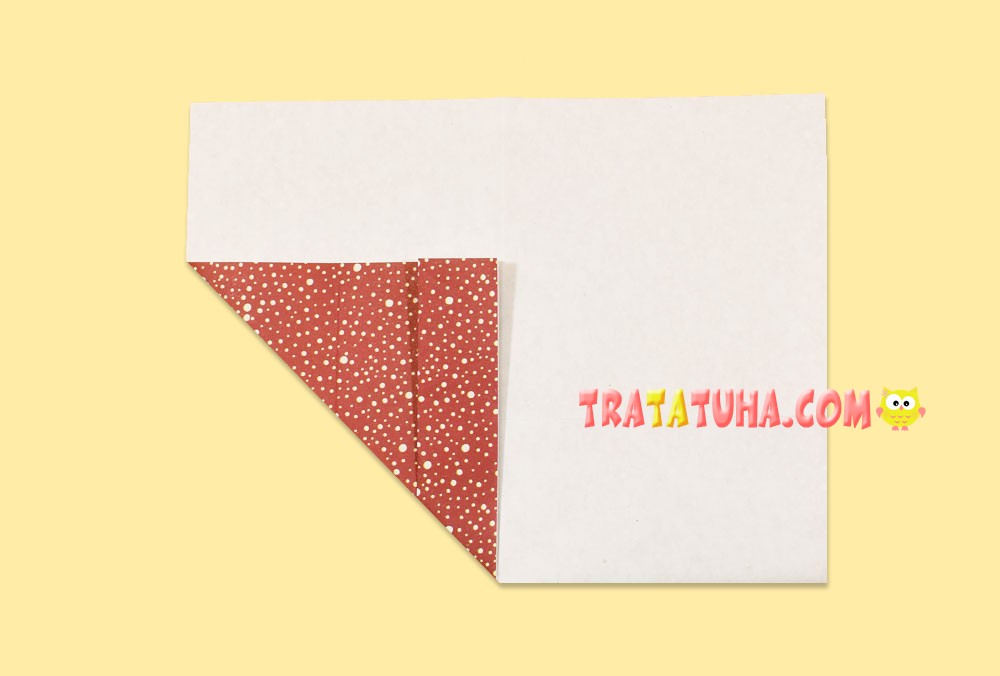
Then the right one.
Turn the paper upside down.
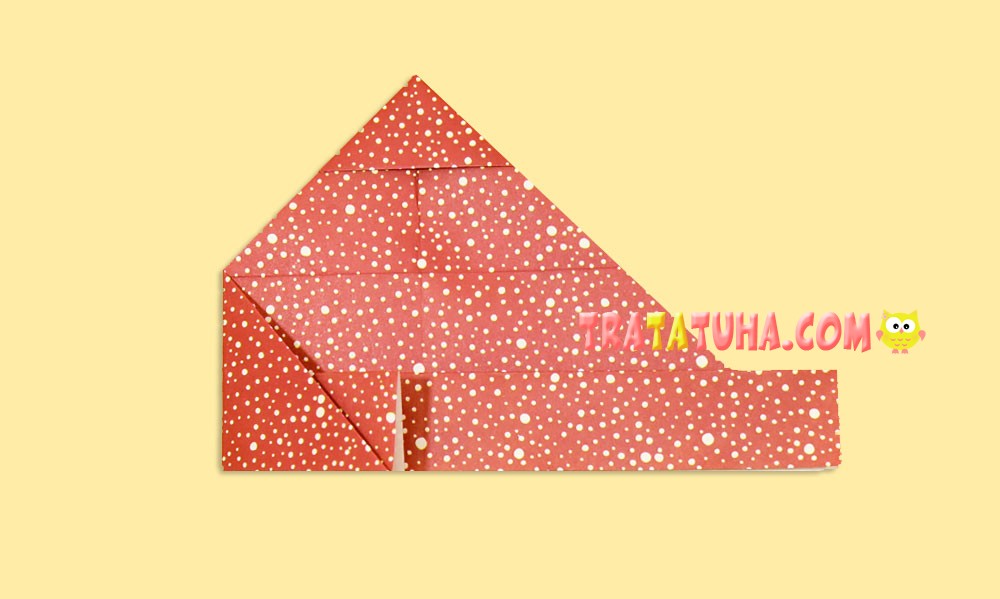
Fold the bottom up to the corners on the sides.
After that, bend the strip back in the same place.

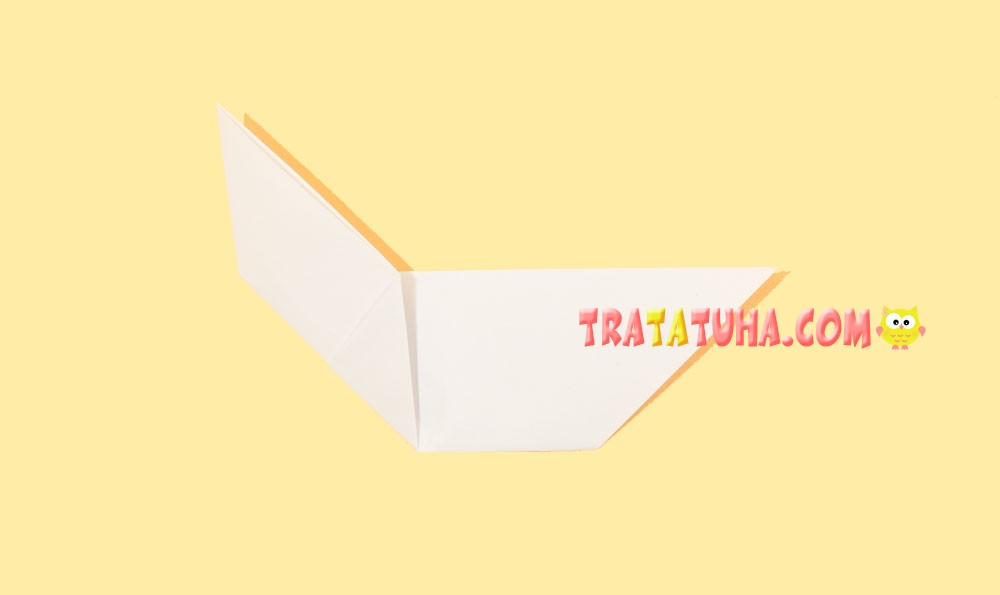
Point the left side to the center.
Then connect with her right.
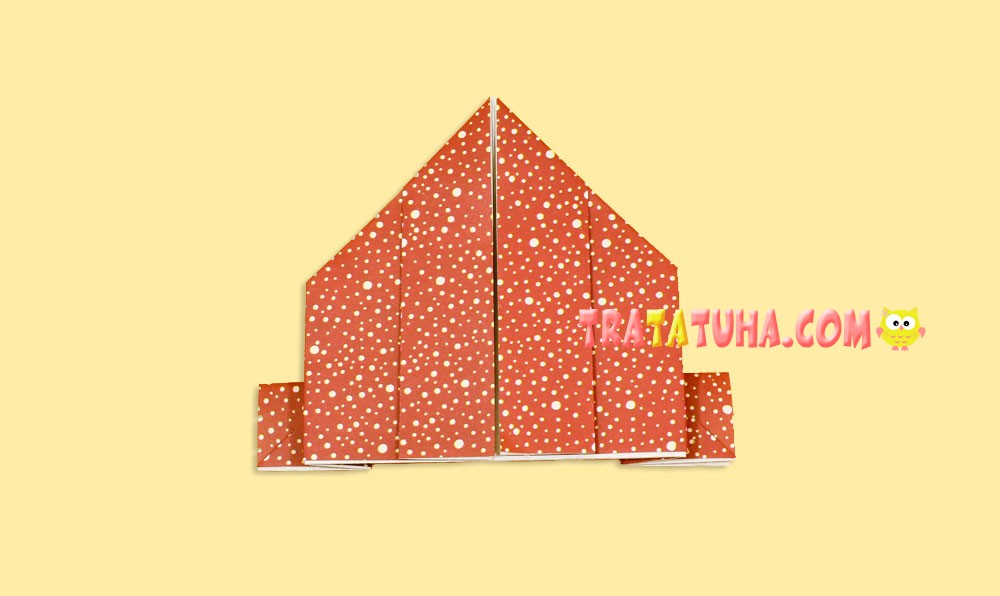
Bend the edges to the sides, making small folds.
Flip over to the other side. The body is ready.
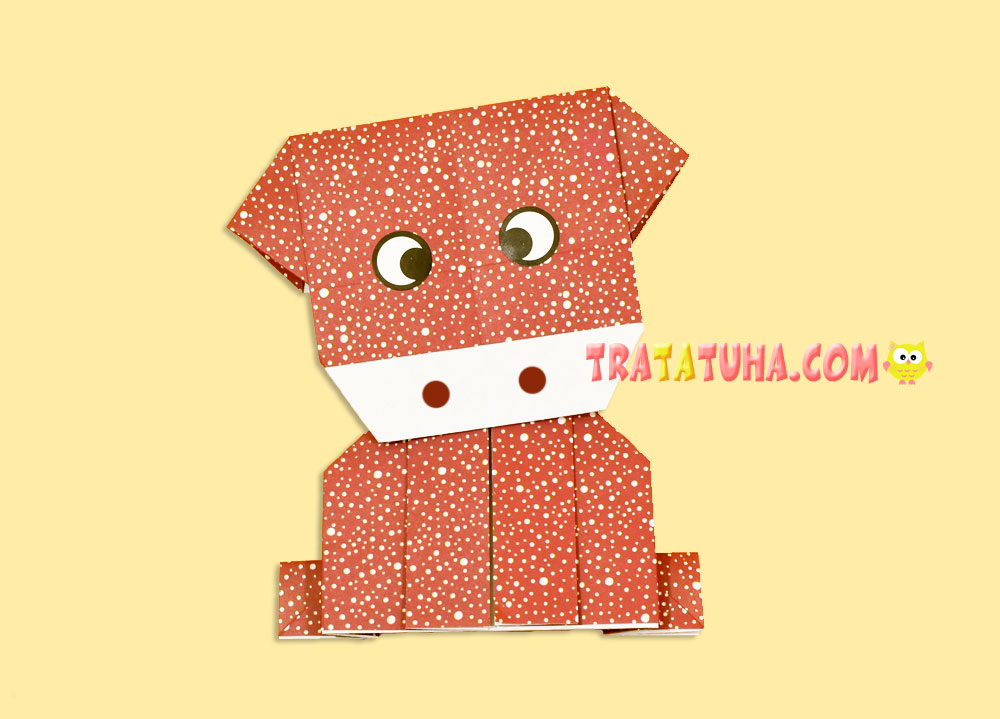
Glue the head to it, the origami bull is complete. Optionally, you can add horns.
Bull Horns
Take a piece of square paper. It can be half the size of those sheets from which the head and body were folded.
Fold the square into a triangle.
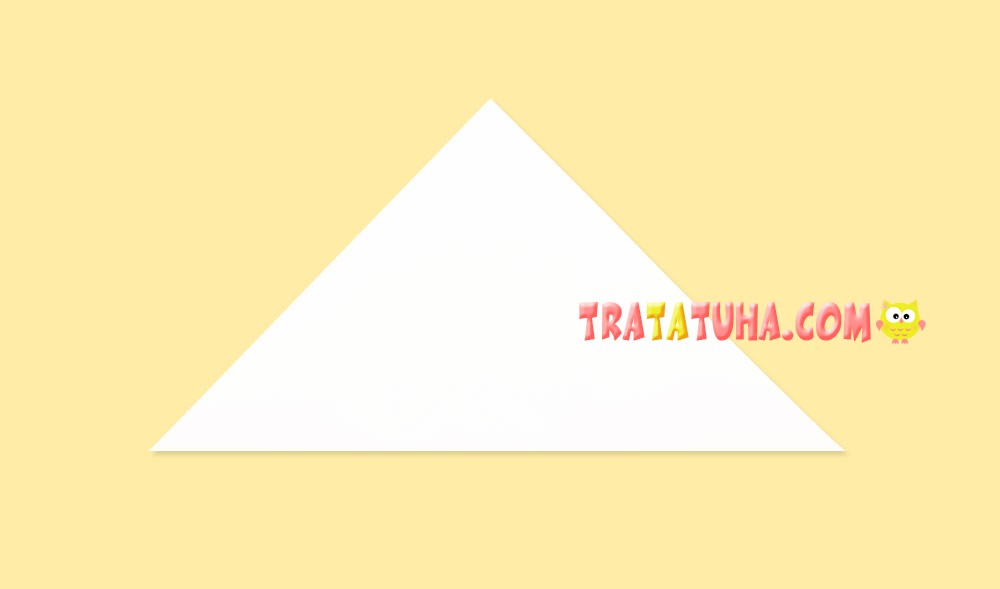
And then once again fold the triangle into its smaller counterpart. We did this in order to mark the middle of the larger triangle.
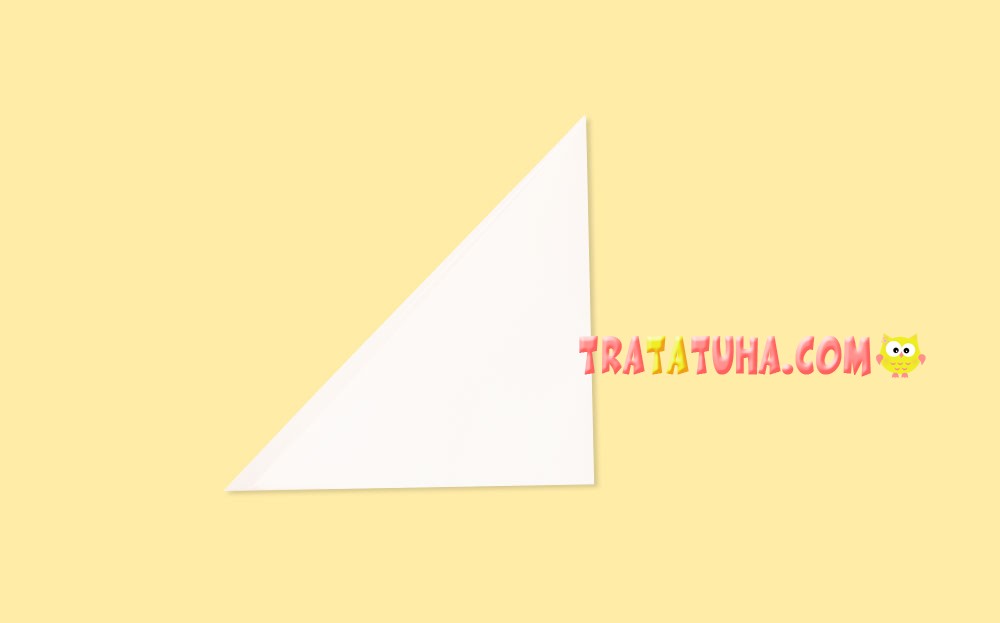
Open the paper and lower the top corner to the opposite side.

Flip over to the other side.
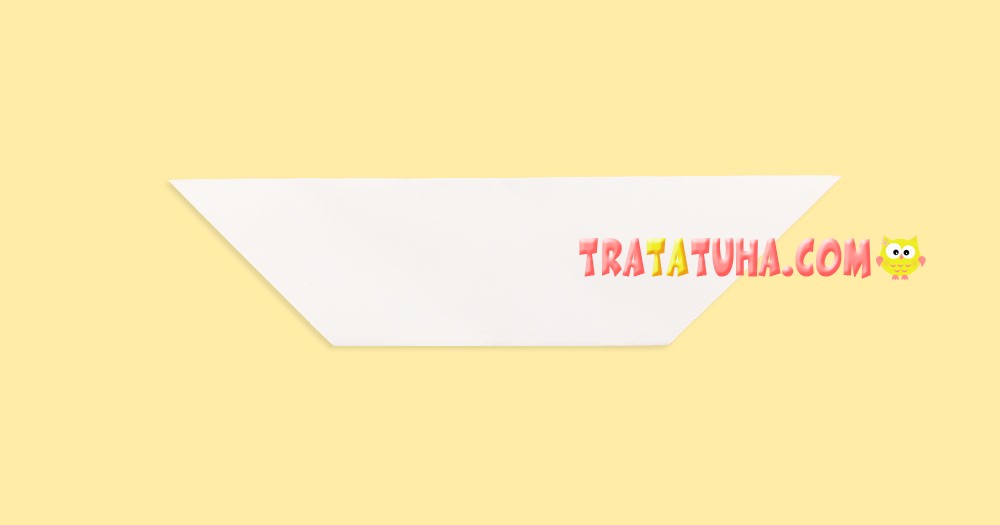
Fold up the left side, aligning it in the middle.
Then the right one. The horns are ready.
Glue them to the animal’s head. You get such a cute origami bull.
Even more ideas in the section — origami animals.
Related Post: