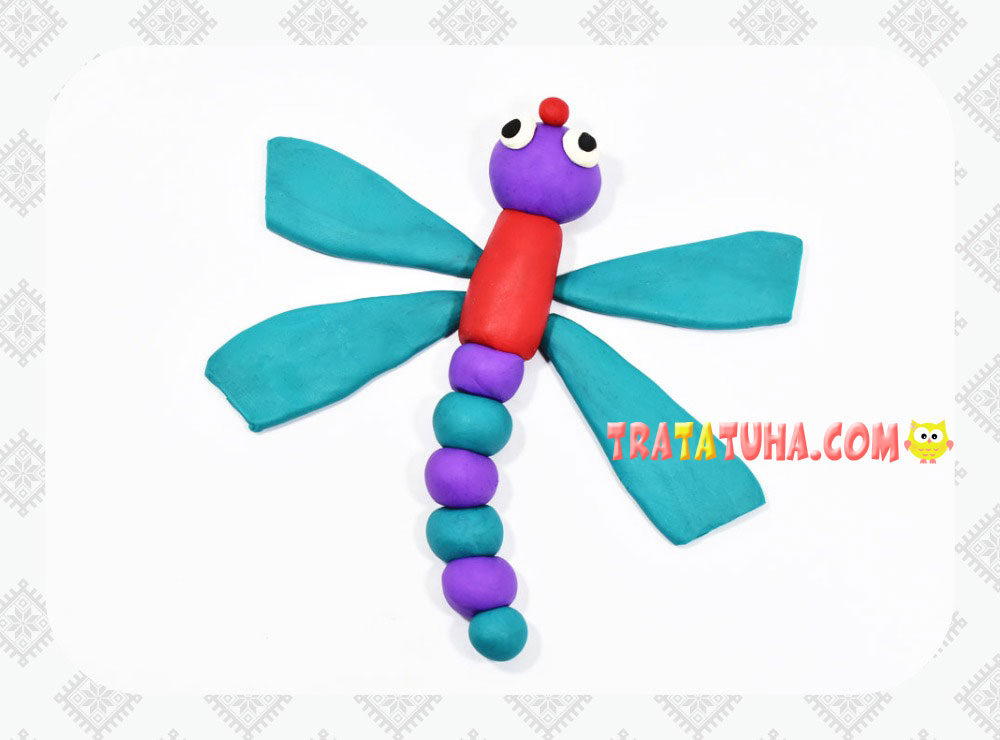
In this tutorial, we have a step-by-step clay dragonfly. Great crafting option for kids.
Thanks to the simple clay figures that make up the dragonfly, even preschool children can mold it. And the ability to choose the desired colors and brightness of crafts will only contribute to the desire to make the same insect.
Materials for creativity:
- Clay purple, green, red;
- A little white and black clay to blind the eyes;
- Stack, substrate for modeling.
Clay Dragonfly Step by Step
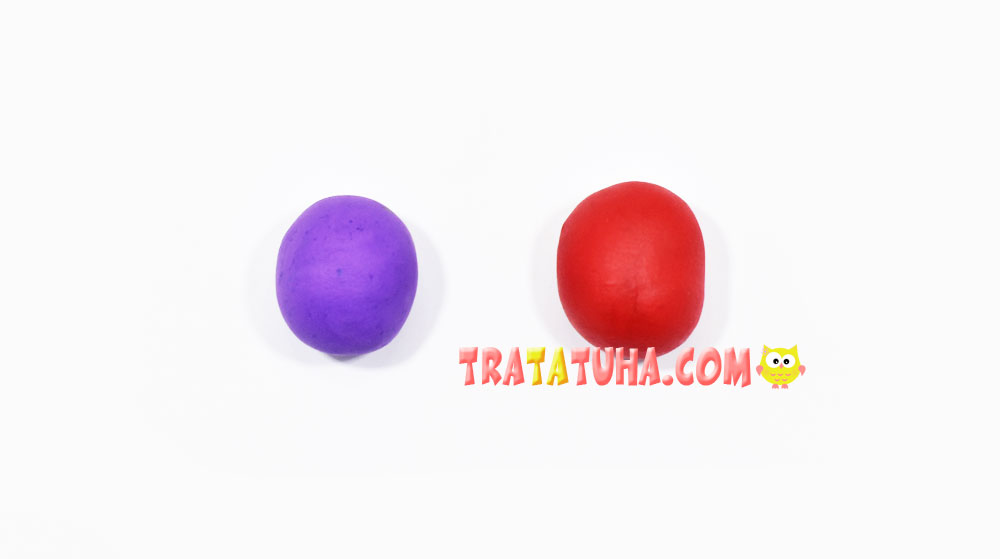
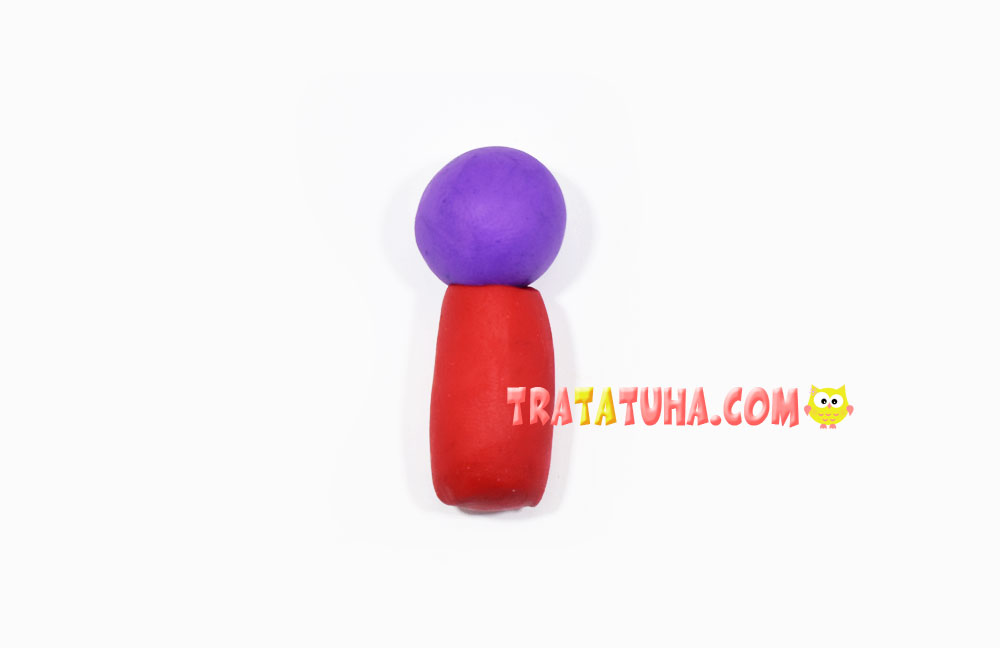
Based on the desired size, roll purple clay into a ball, which will be the head of the dragonfly, as well as red for the body. Red could be a little more.
Roll the red ball into a thick sausage, and then stick a purple head to it.
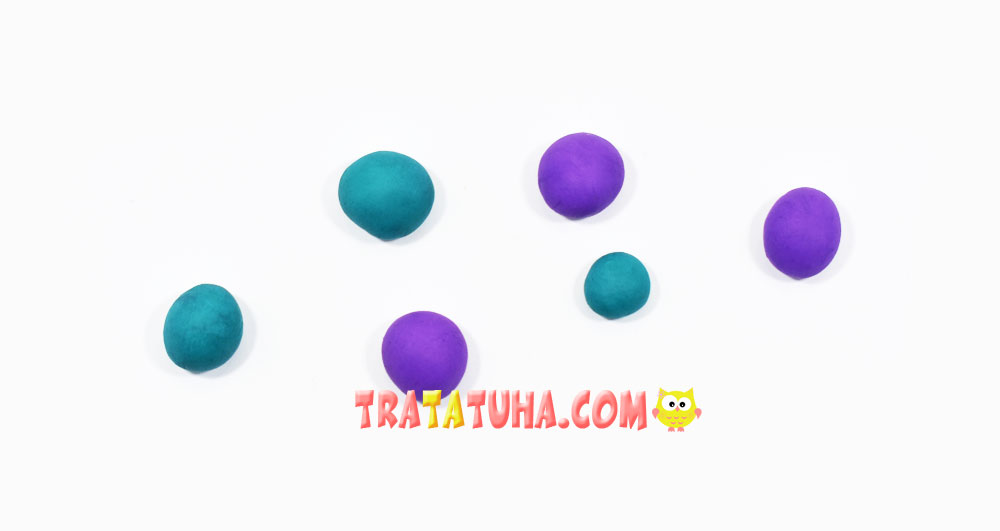
The rest of the body of the insect will consist of multi-colored balls of purple and green. They can be made the same size, or in descending order. Of course, each child can choose the colors at their own discretion.
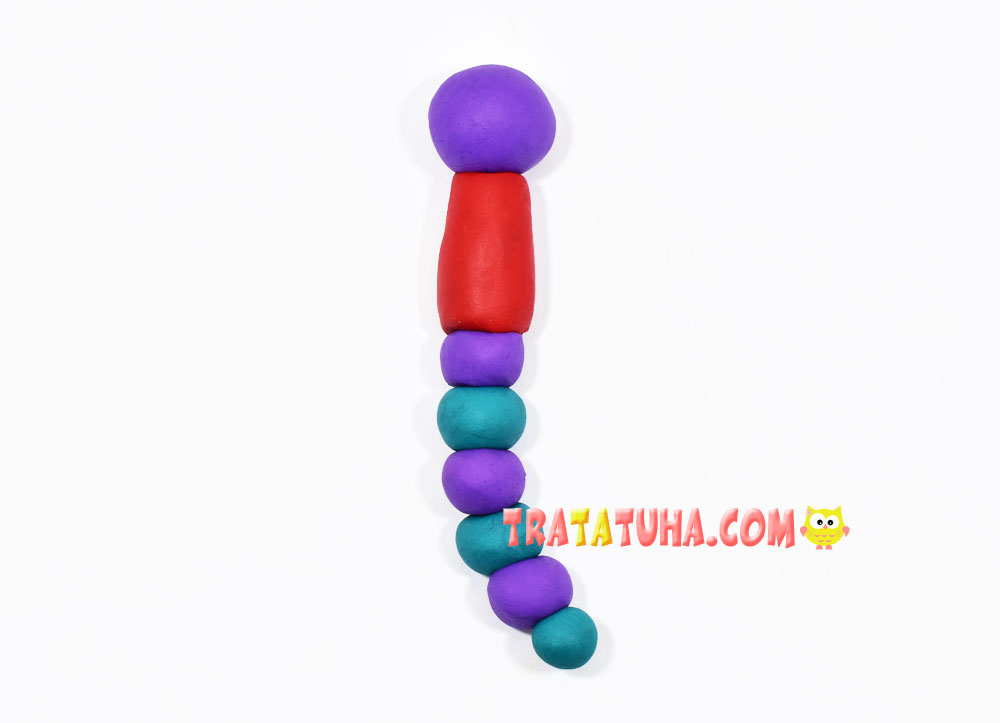
Stick one by one all the balls to the red body, starting with the largest and ending with the smallest. The chain of balls can be slightly bent to the side.
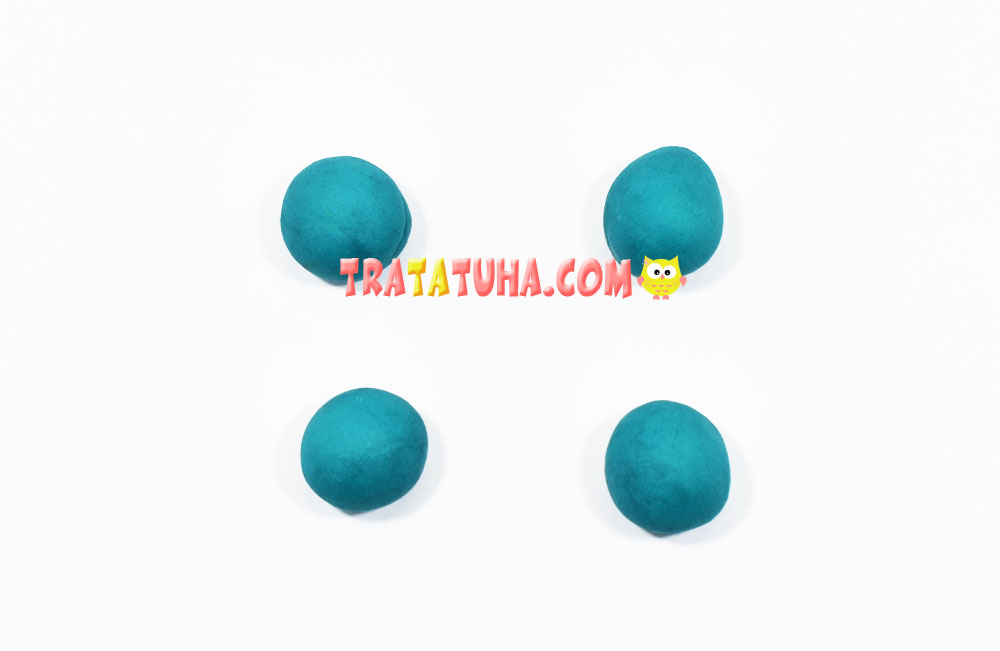
Now let’s move on to sculpting the wings. We will have 4 of them and make them in green.
Roll into 4 small balls.
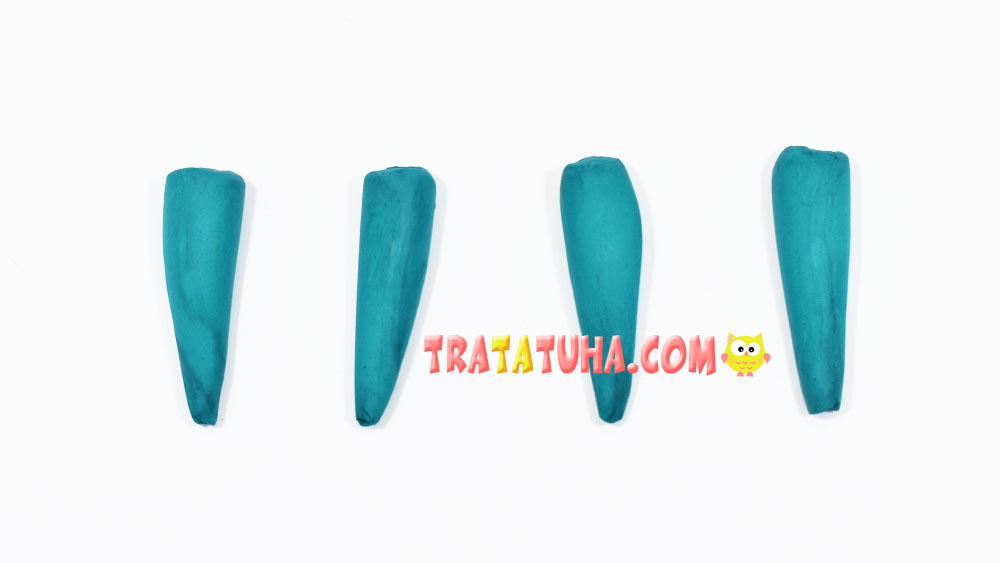
Give them the shape of a carrot by rolling with the palm of your hand or fingers on one side with great pressure.
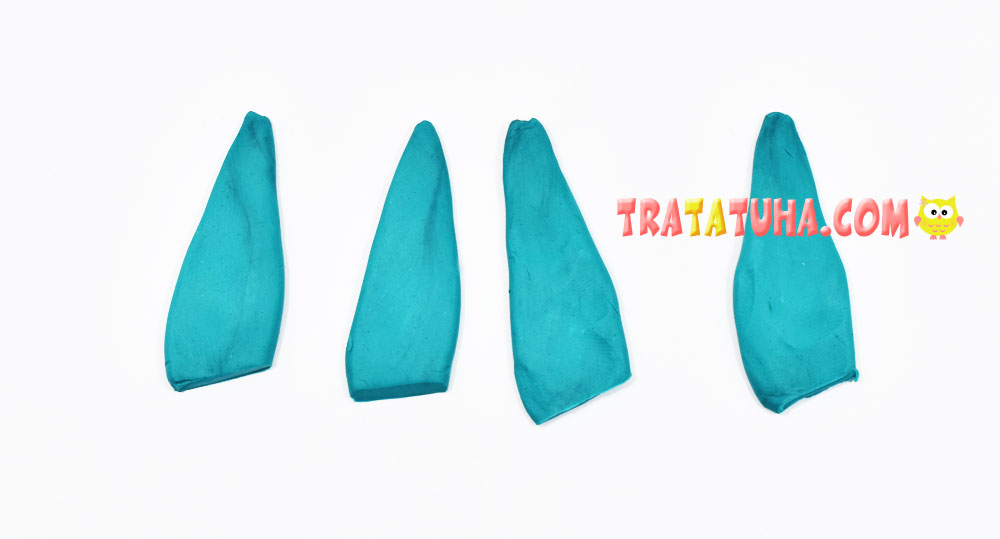
Now all the carrots should be flattened, giving them the desired shape. The shape can also be at your own discretion. Wings can be molded into round, oval, or cut off at the tips with a stack, giving the appearance, as shown in the photo.
Glue the wings to the red body.
Don’t forget to add round eyes made of white and black clay, as well as a round red nose.
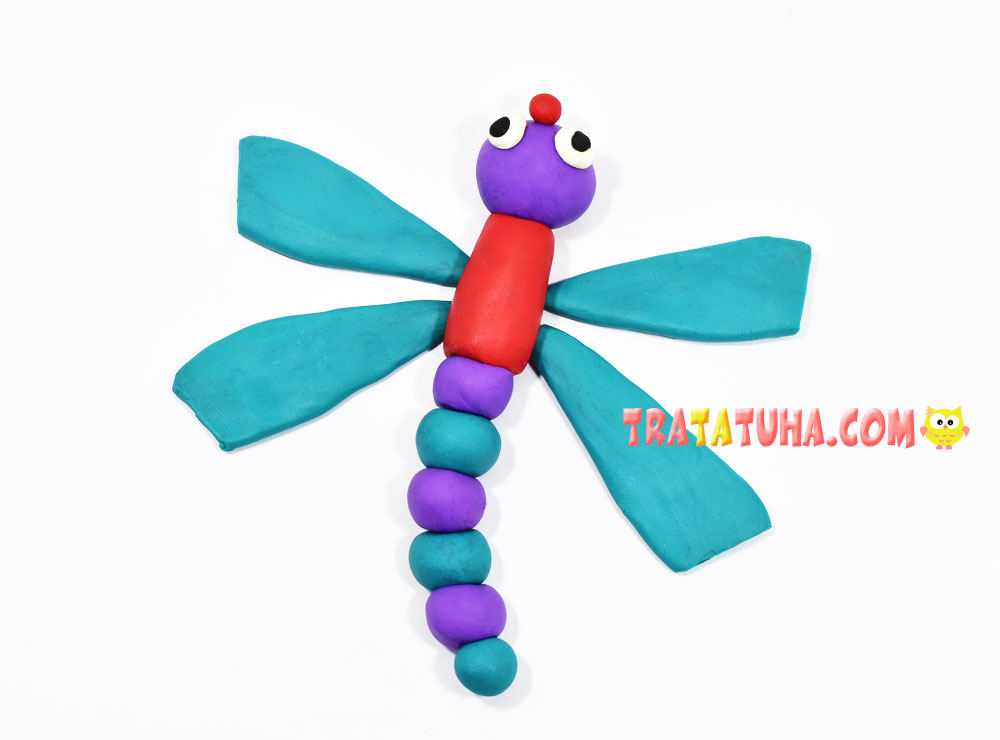
That’s it, the clay dragonfly is ready.
More collection ideas:
