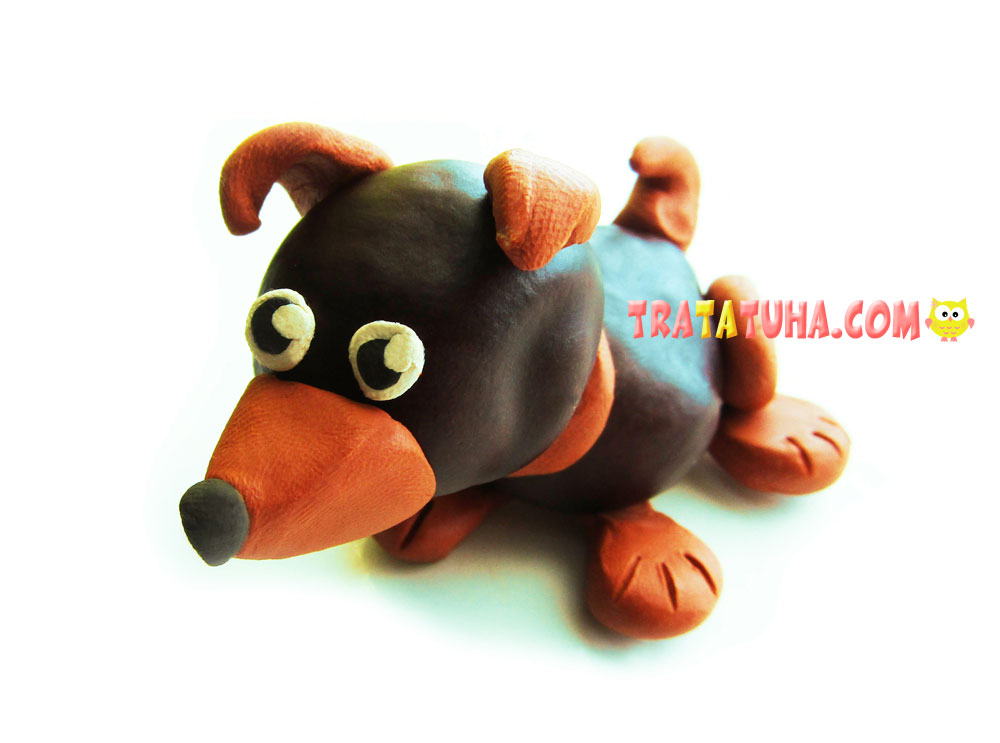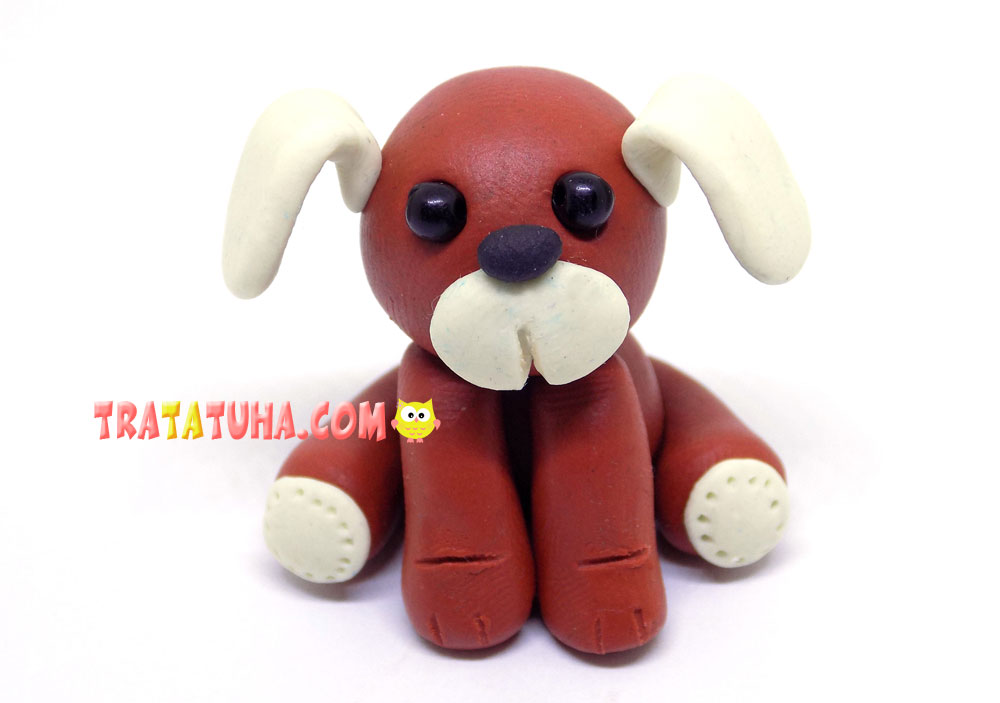
In this tutorial, a clay dog is presented. The whole process of creating such a clay craft is shown in step-by-step photographs.
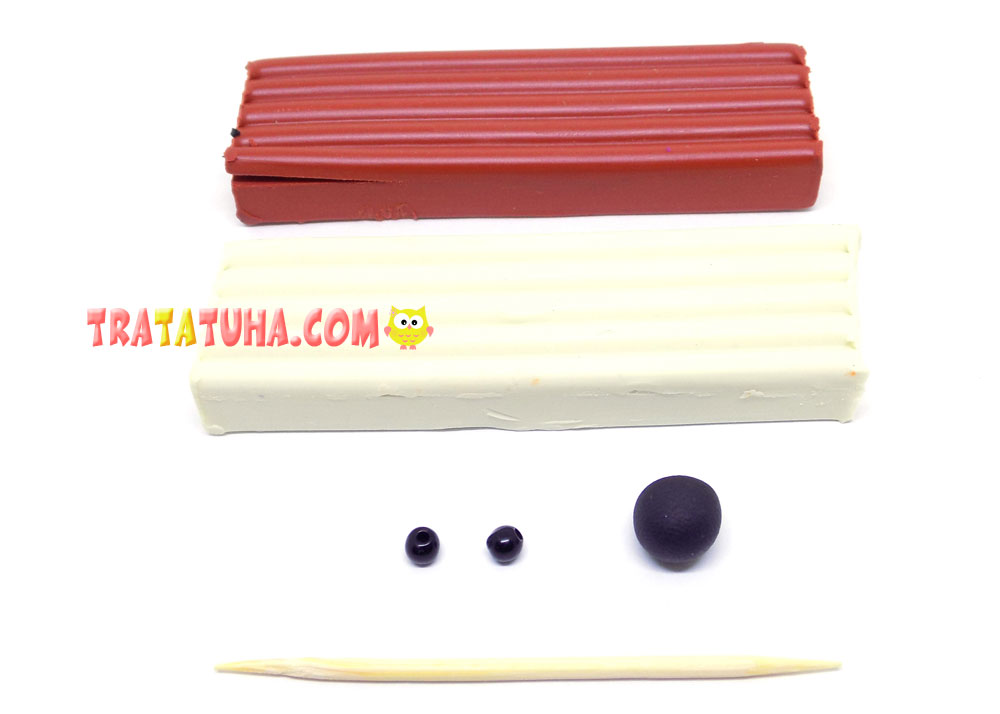
For modeling, we will take:
- brown and white clay;
- a couple of small black beads for the eyes, but you can make eyes from black clay;
- plastic stack;
- toothpick.
Clay Dog Step by Step
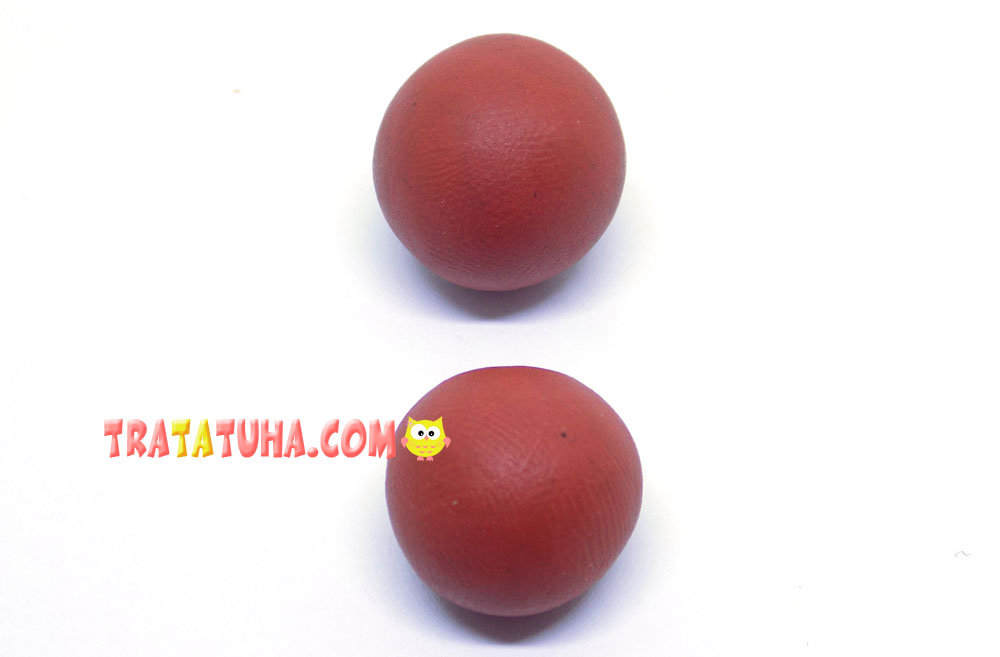
First, we make blanks for the future dog. For the head we roll up a larger ball, and for the body we need a smaller blank.
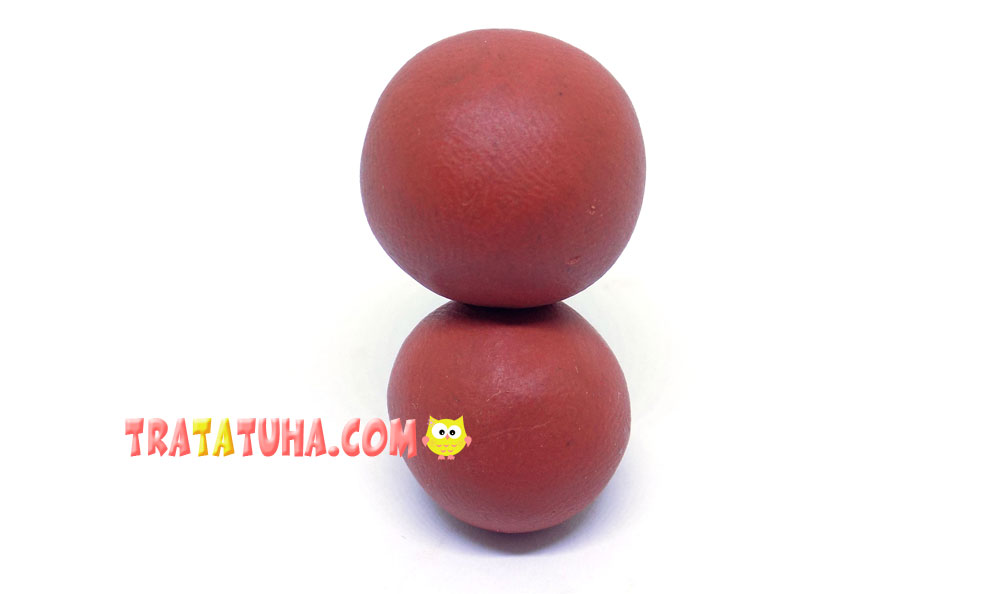
We connect them together. If desired, for greater reliability, you can fasten them with a toothpick.
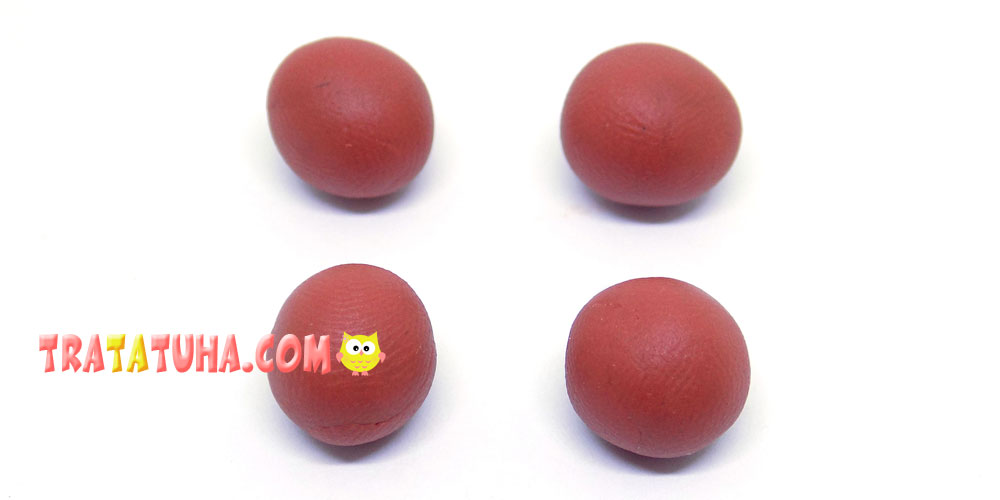
Then we prepare brown clay for the paws. Initially, we roll 4 balls from this clay.
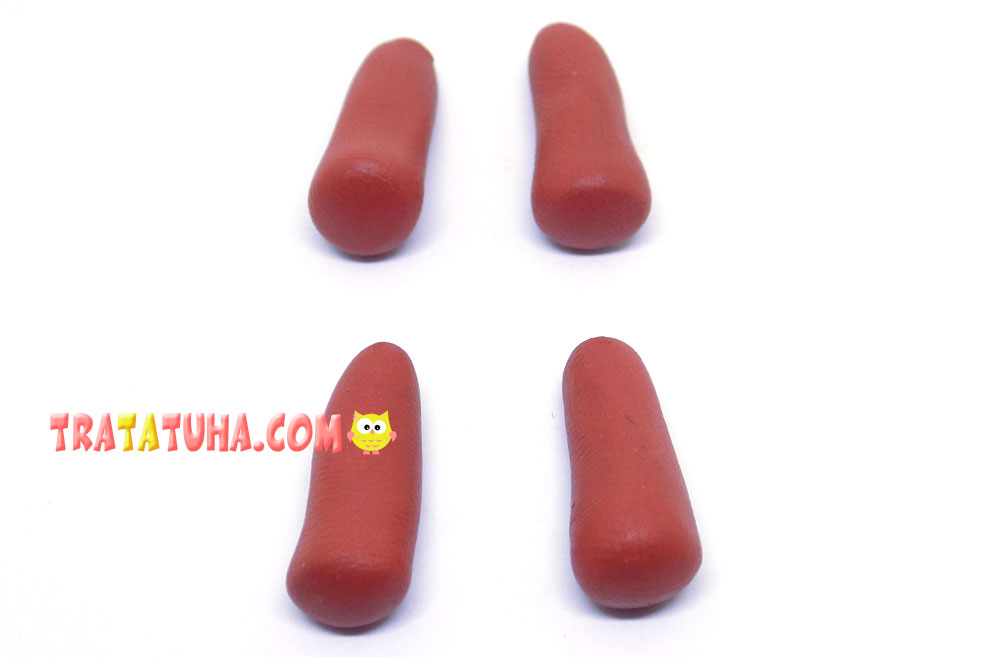
Further, from these balls we roll sausages, which should be slightly wider at one end.
We attach these paws to the body of the dog. The front legs will be placed vertically, and we will attach the back legs horizontally.
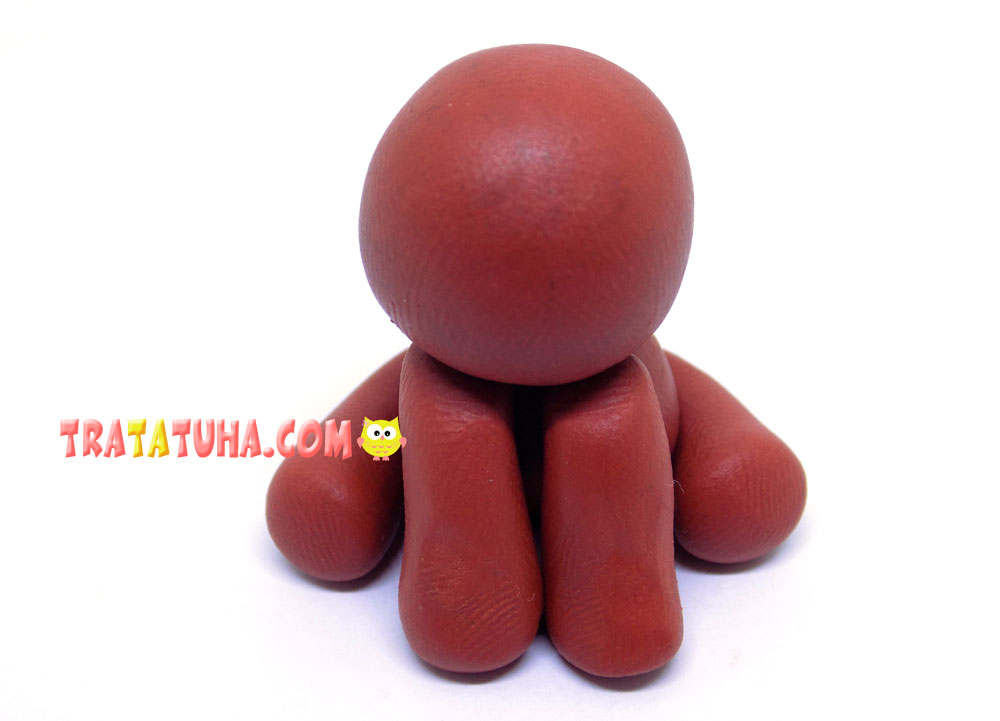
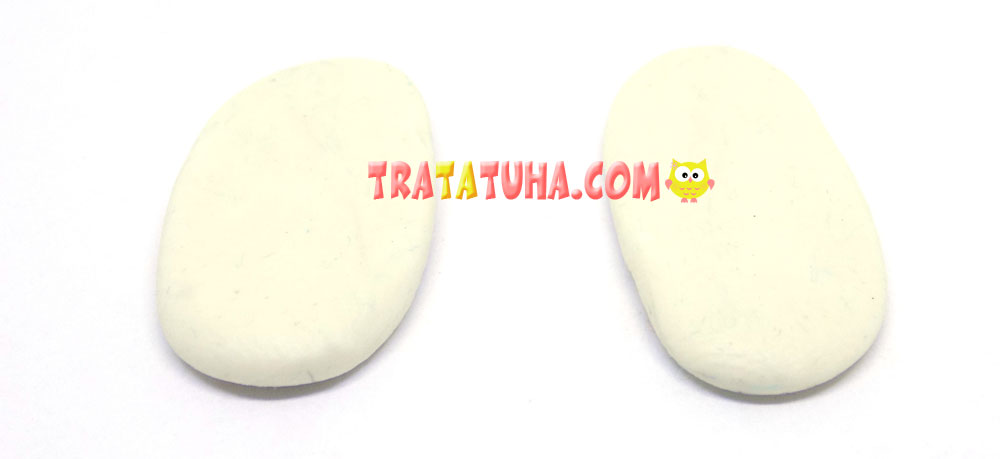
Now we need white clay. From it we prepare flat blanks for the ears of our dog.
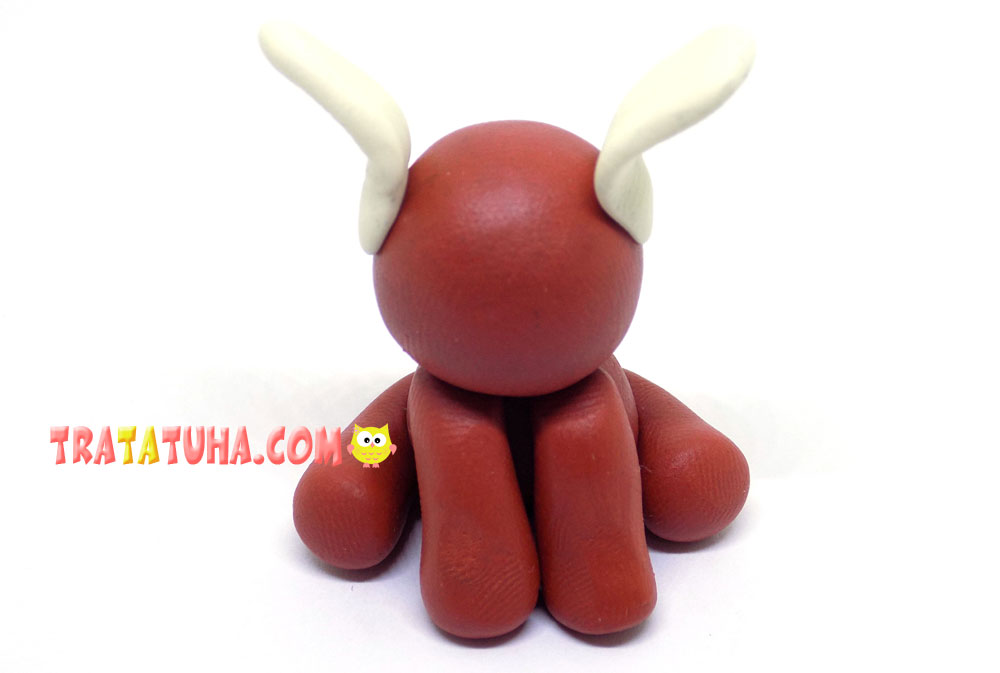
We fix them on the head as follows.
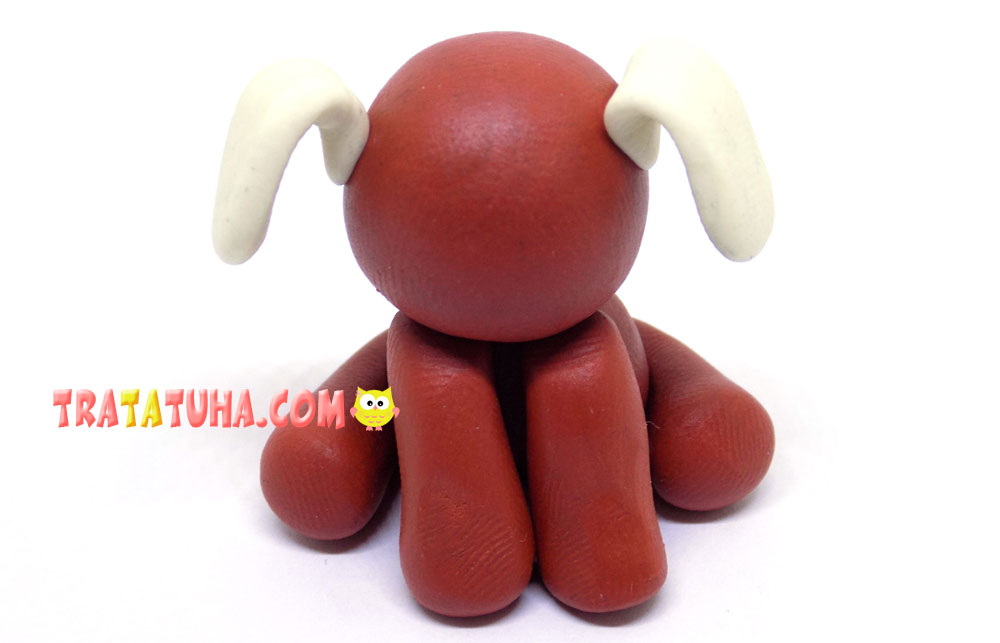
Then we bend the ears down.
From white clay, we need to make a couple more round blanks. We will decorate the lower part of the hind legs with them. Make small dots around the circumference with a toothpick.
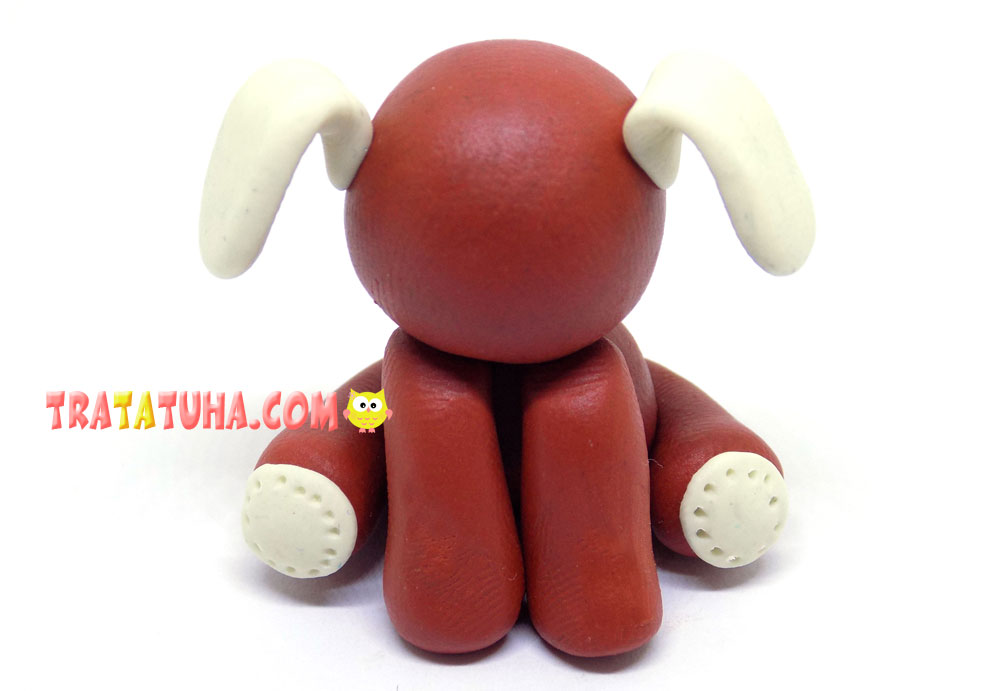
We sculpt a detail for a muzzle from white clay.
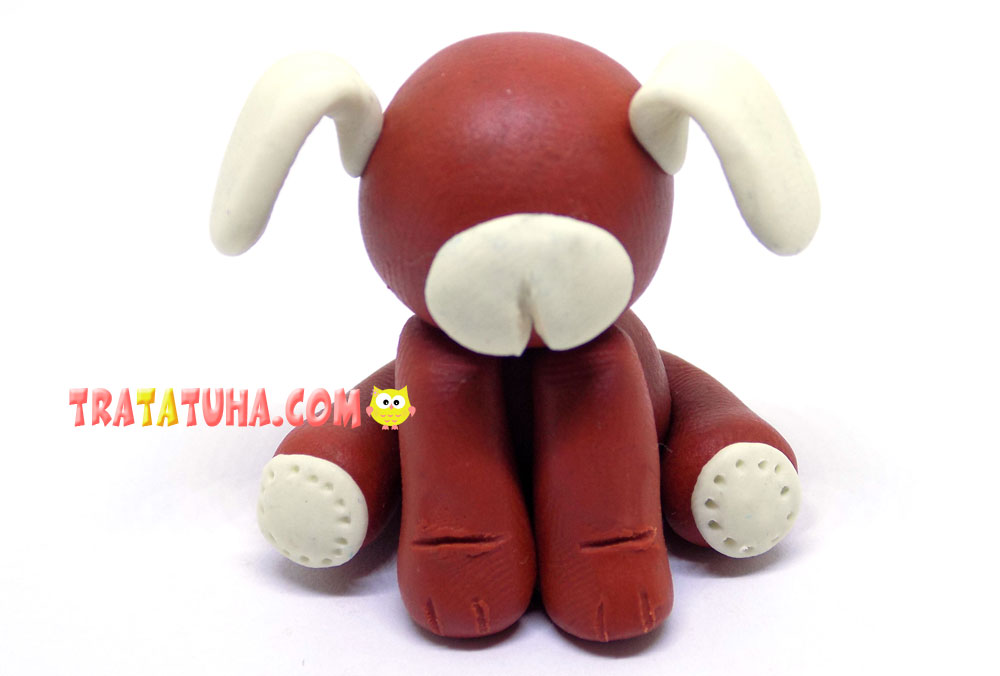
From beads we make eyes, and from a small piece of black clay we form a nose. Here we have such a funny clay dog.

See more ideas about Clay Crafts.
Clay Animals – art and craft ideas for all ages.
Crafts for Kids – learn how to make craft at home! Super cute crafts for all age groups!
