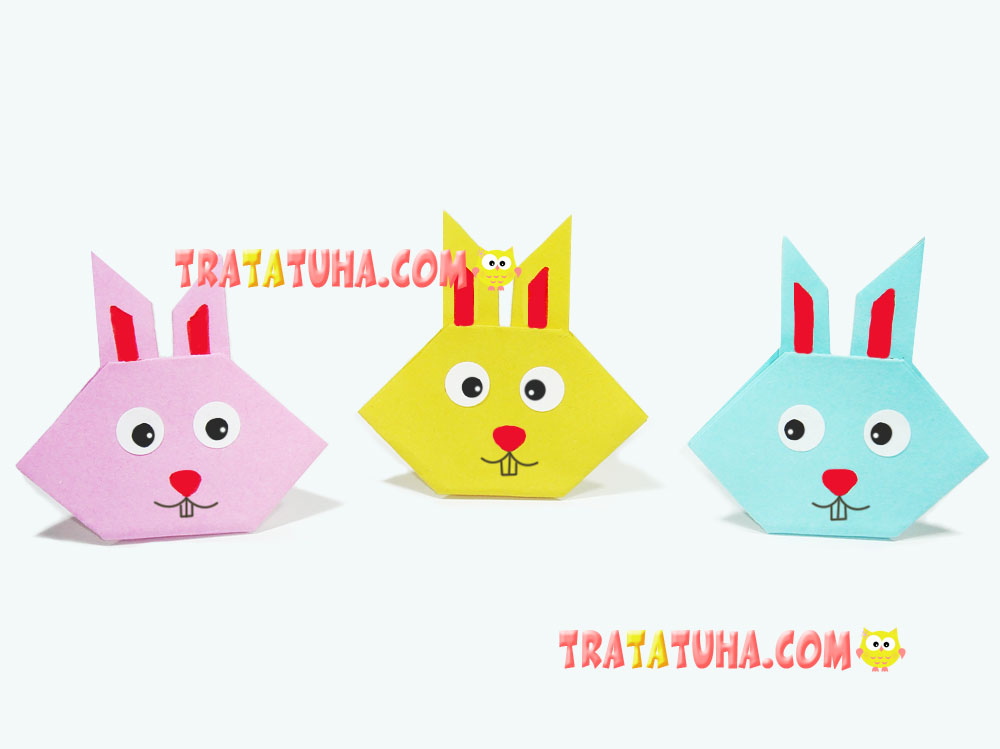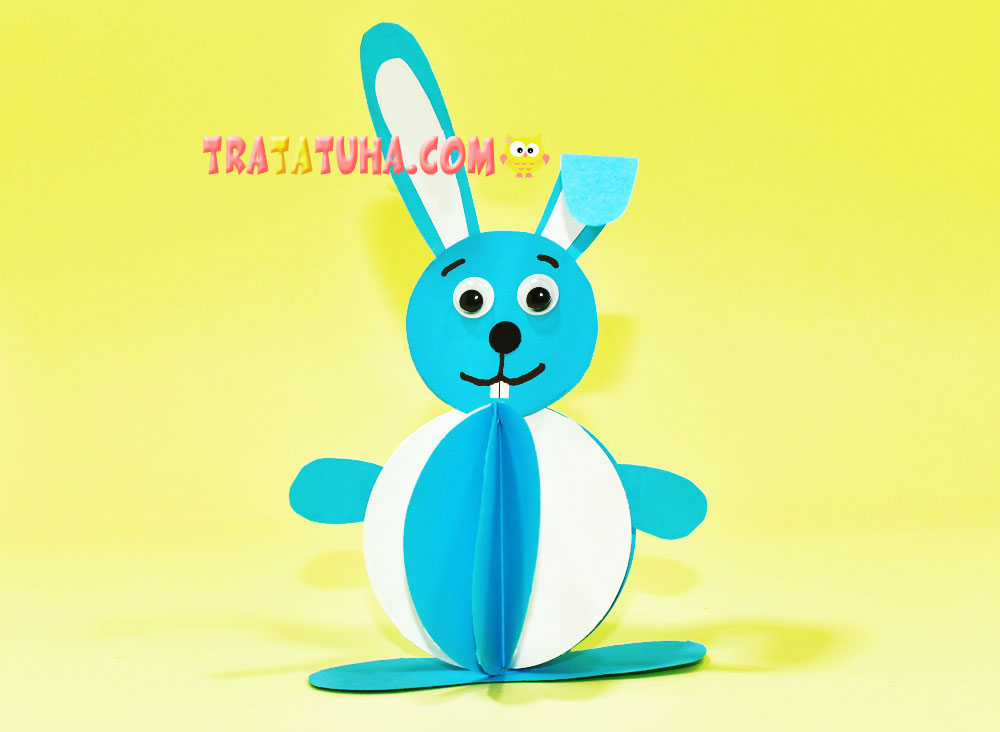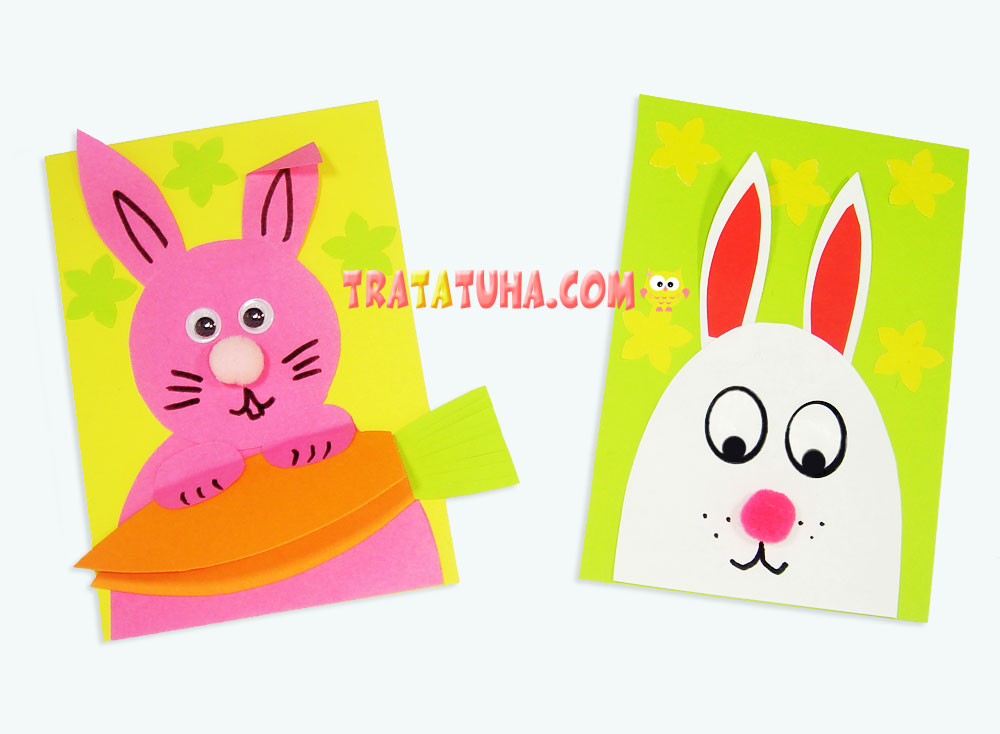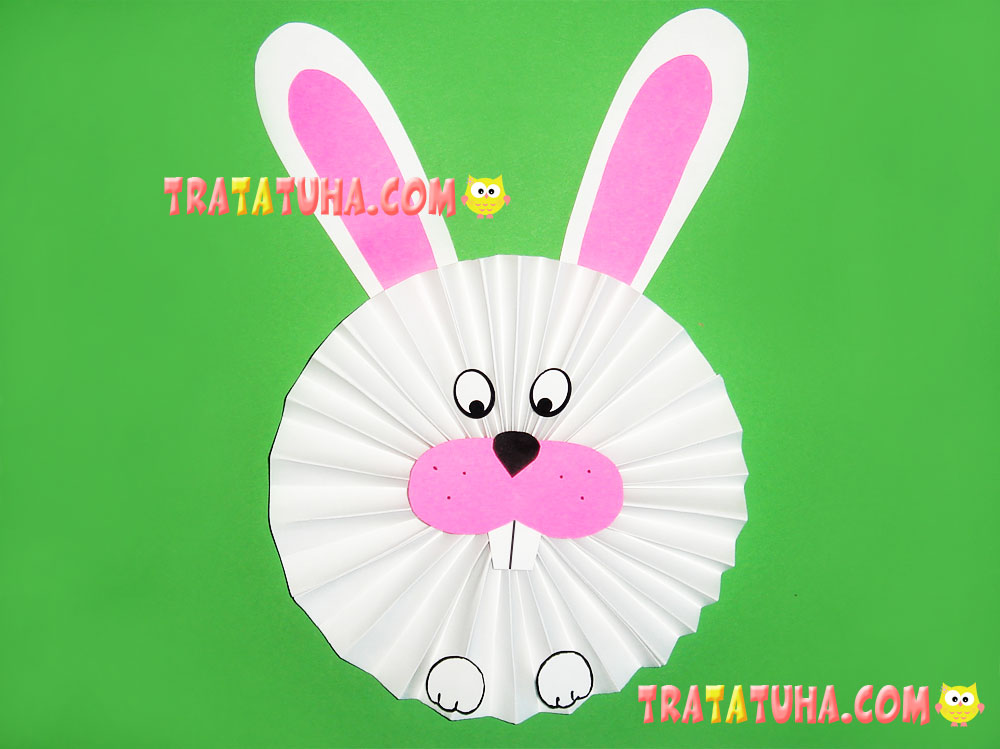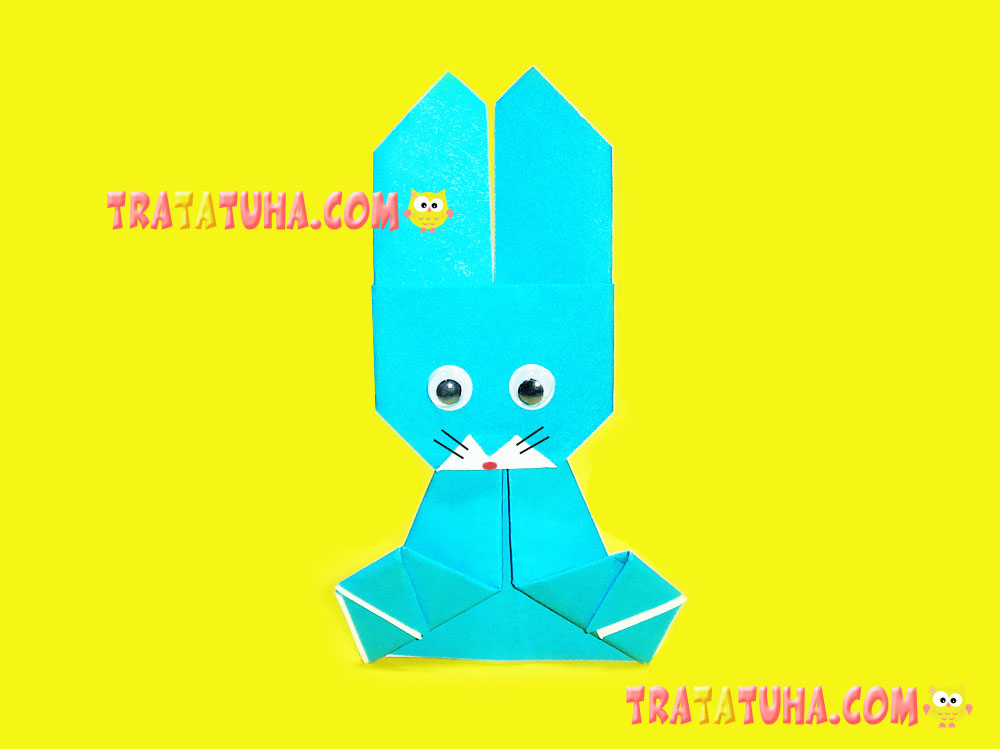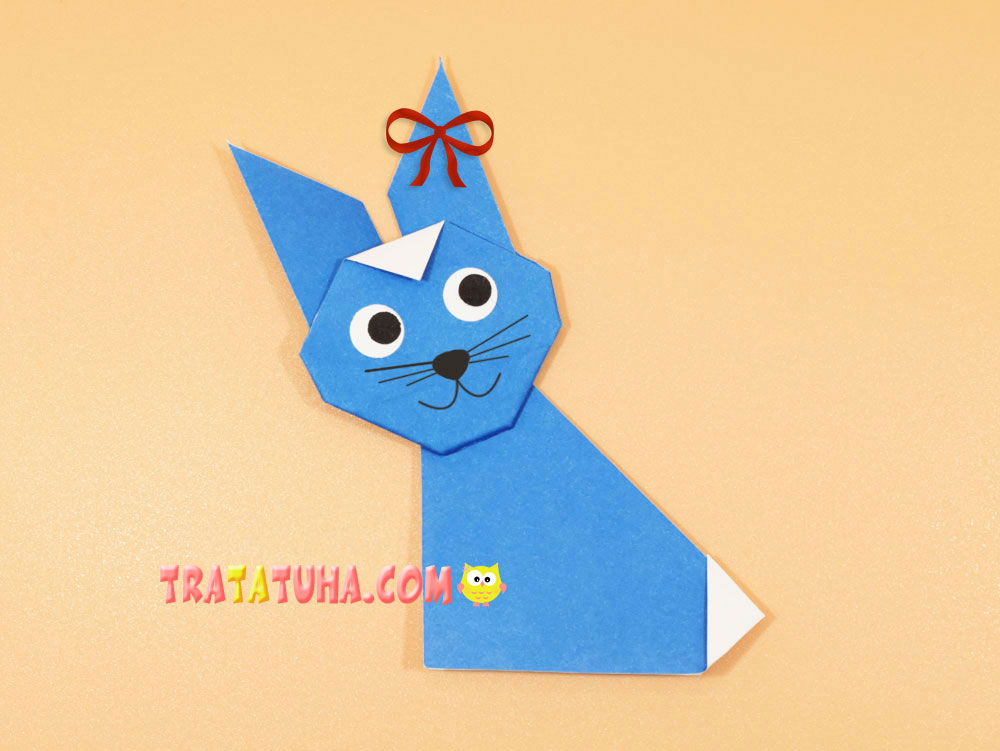
Easy origami rabbit for kids and beginners. Consists of very light two parts – head and body, which are created separately.
Materials:
- Colored paper. It is desirable that the other side be white to accentuate the ponytail and forelock;
- Homemade eyes made of white and black paper;
- Black marker;
- Glue, scissors.
Easy Origami Rabbit Step by Step
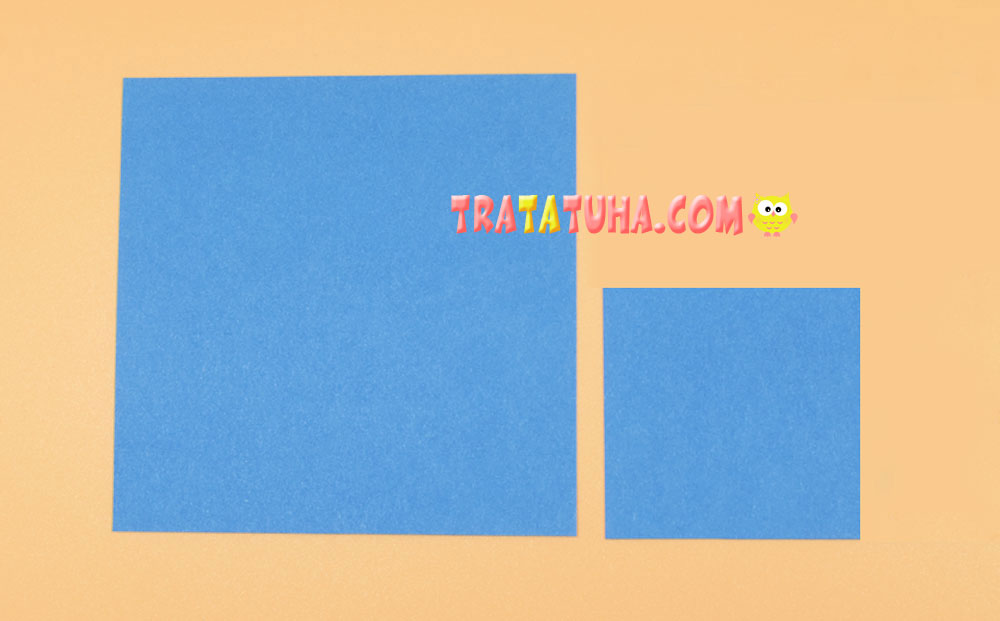
Prepare two square pieces. One of them is almost twice as large for the head, and the second, smaller, for the body. For example, the paper size for the head can be 10:10 cm. For the body, you need a square piece – 6:6 cm.
Folding our Heads
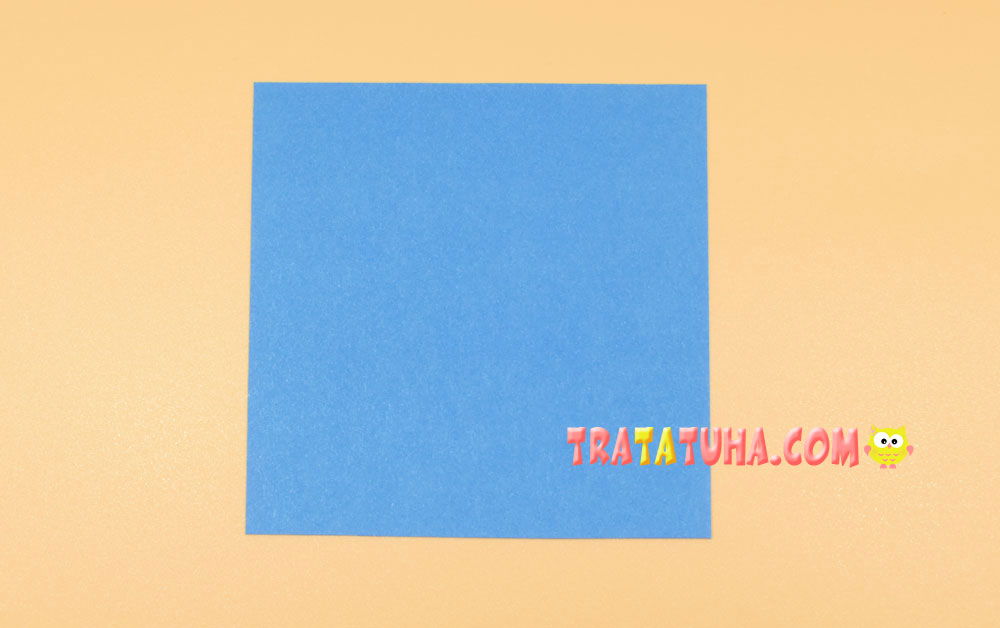
Put paper in front of you.
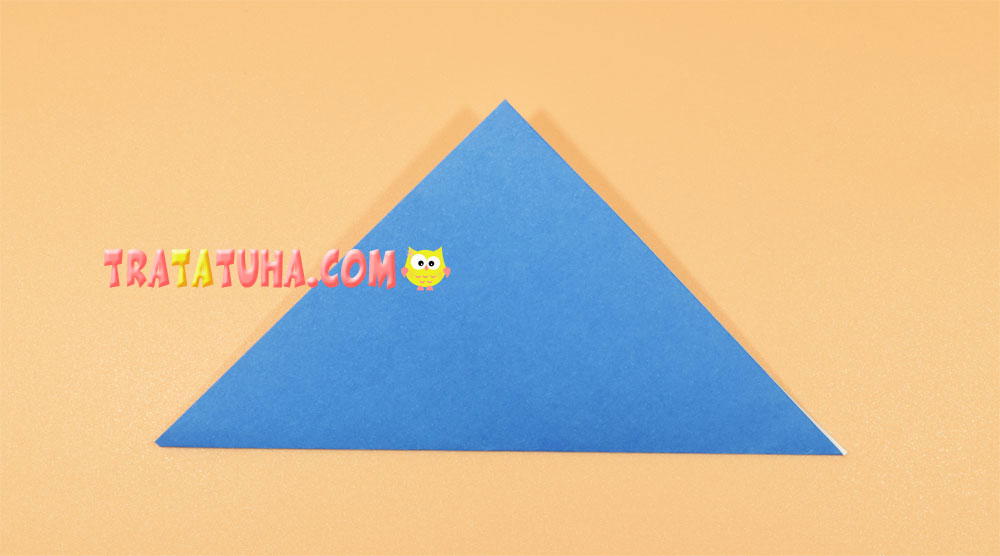
Fold it into a triangle so that the colored part is on the outside.
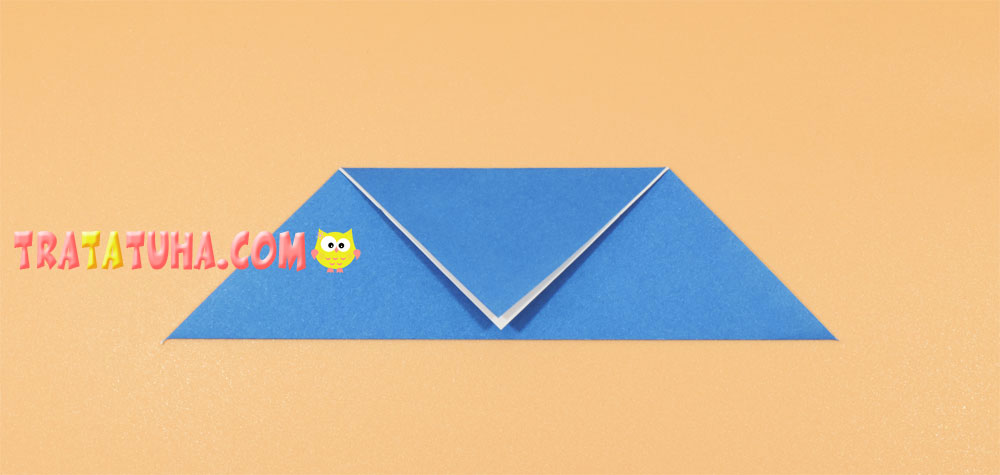
Bend the upper double corners to the lower side of the triangle to outline the horizontal fold we need.
Bring the corner up again.
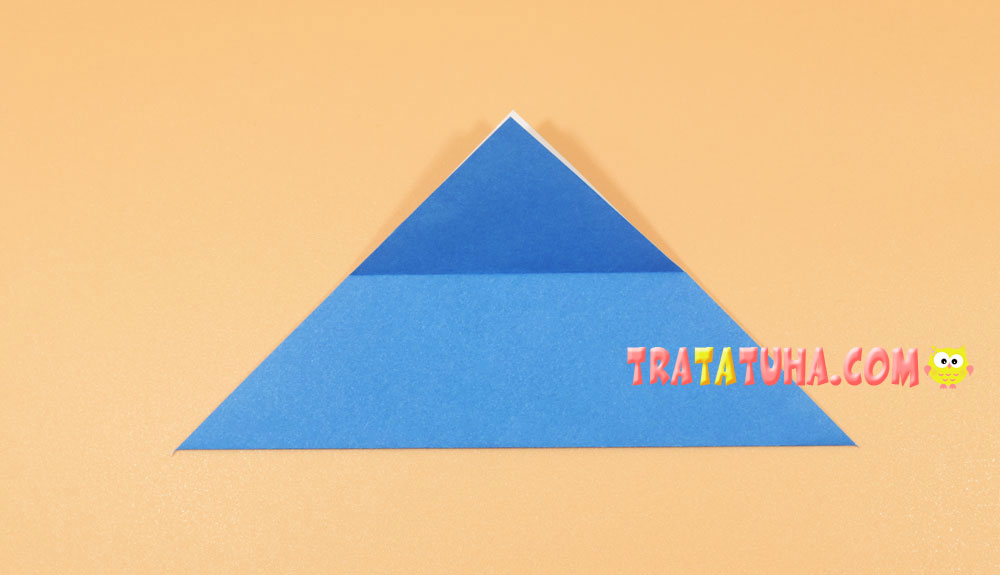
To the indicated fold, bend down the top layer of the corner.
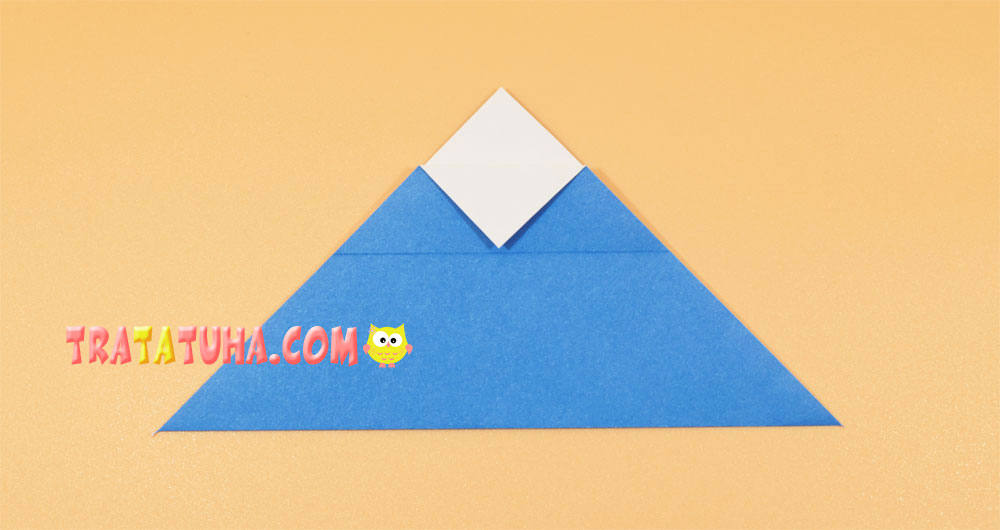
Bend the bottom side to the fold.

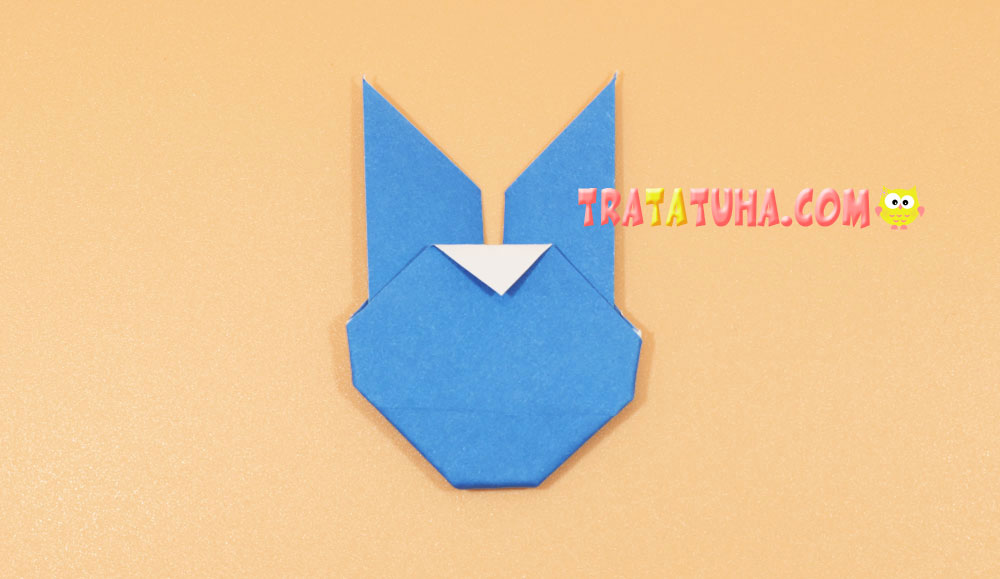
Lift the right and left parts up to make the ears of the hare.
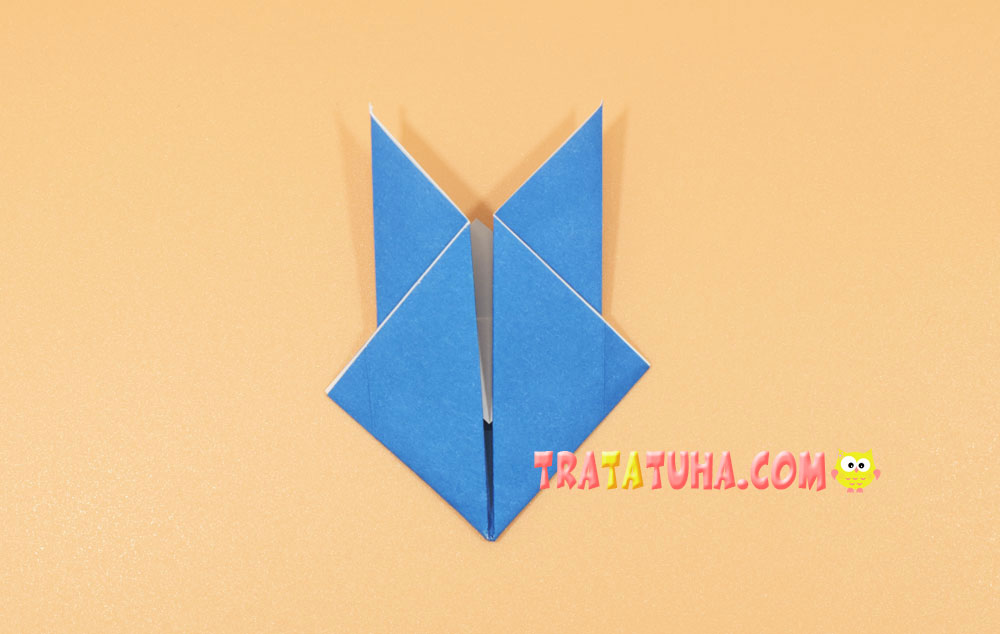
Round the muzzle by folding small corners on the sides and bottom.
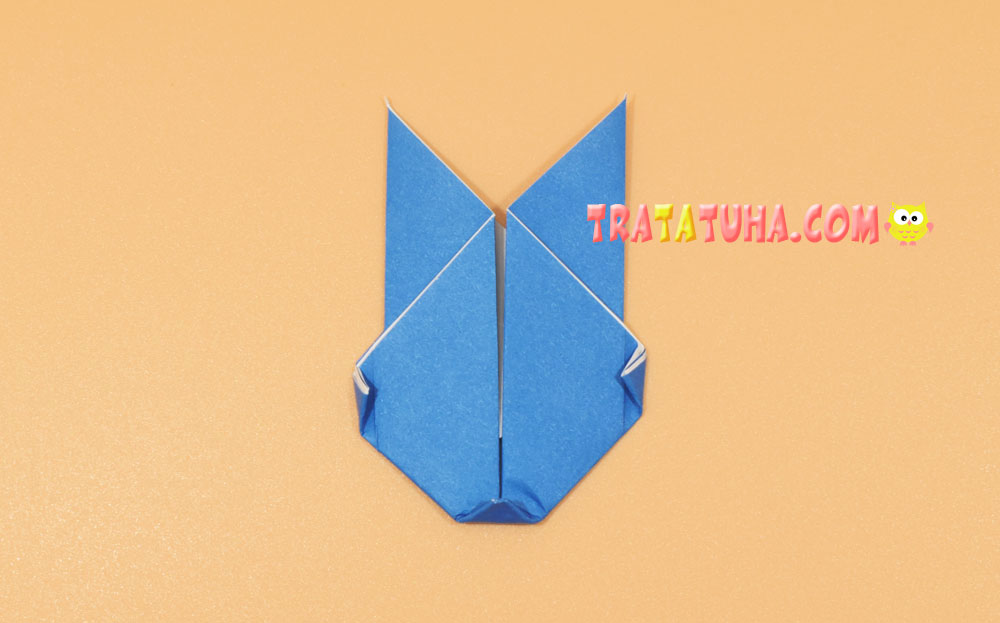
Flip over to the other side.
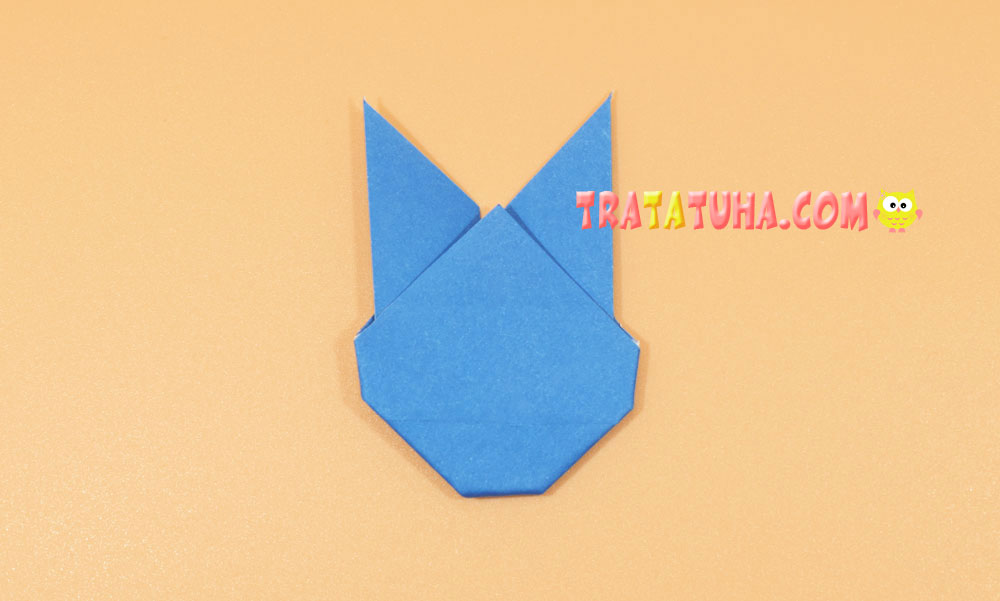
Lower the corner from top to bottom.
Folding the Body
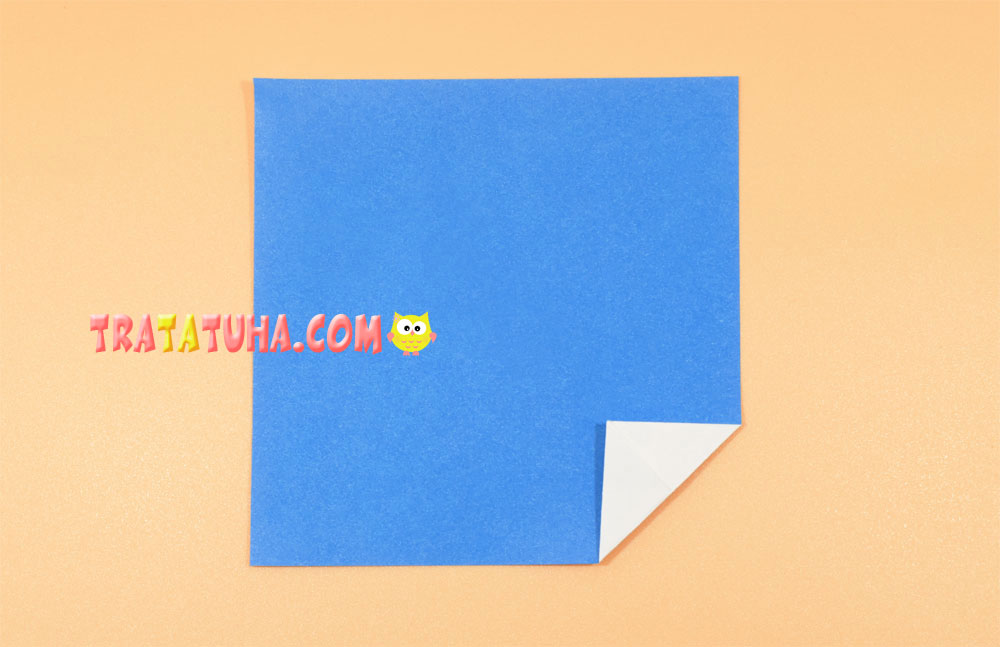
This part of the job is as simple as possible. Take the second piece of paper, the smaller one.

Bend a small corner on the side of the square, it will later be the white tail of the hare.
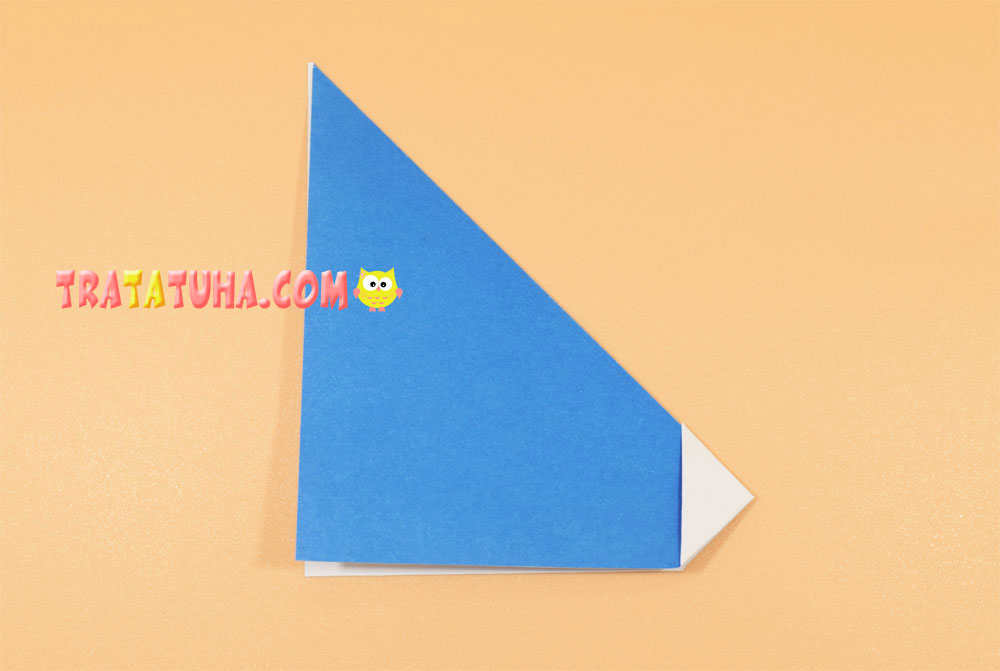
Fold the square into a triangle, the work on the body is completed.
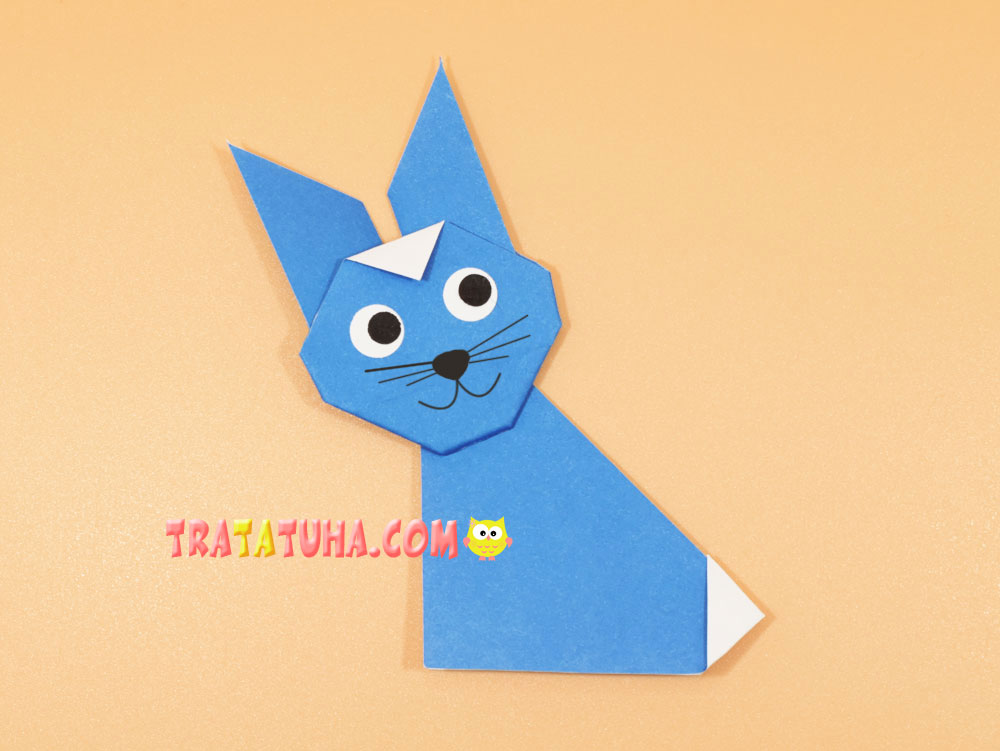
Glue a head to it, add eyes, draw a nose, a smile, a mustache. Everything, the easy origami rabbit for kids is ready.
See also other tutorial of Origami Animals.
Many other ideas in the collection of Paper Animals Craft.
Crafts for Kids – learn how to make craft at home! Super cute crafts for all age groups!
