
A very easy origami tiger face for kids in step-by-step execution with a photo. The scheme of which is quite simple.
The work uses:
- Origami paper, yellow on one side and white on the other;
- White and black paper from which the eyes are made;
- Black felt-tip pen, glue.
Easy Origami Tiger Face Step by Step
Prepare square paper.

Now we need to make folds intersecting on the area of the square. To do this, fold the square into a triangle, pointing the corner to the corner. Smooth out the fold.

Then do the same with the other two corners and also outline the fold, carefully smoothing it. As you can see, cross folds have formed on the area of the square.
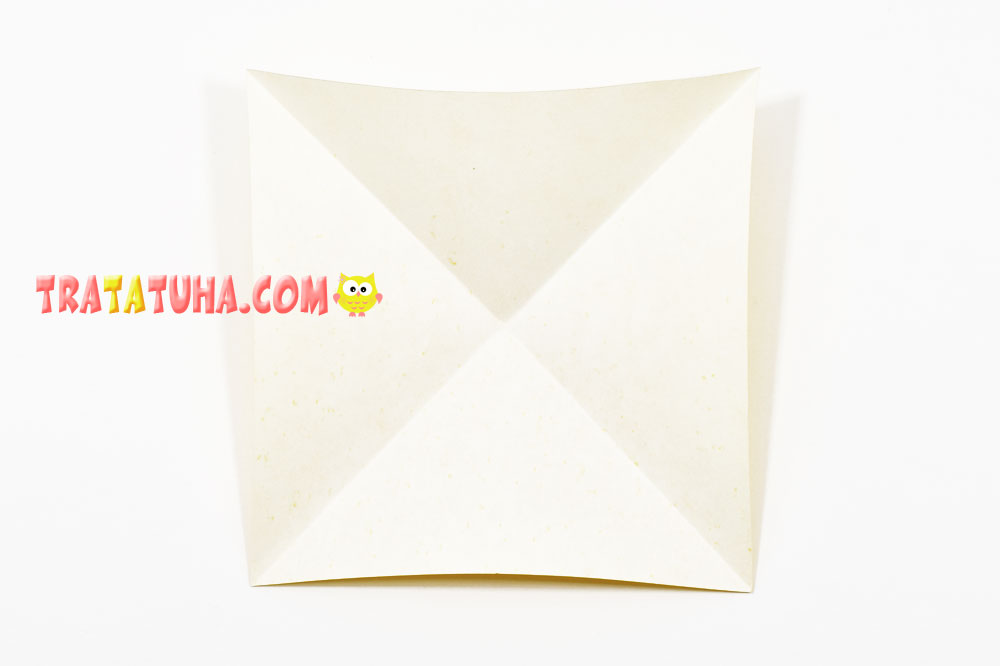
Fold the square back into a triangle.
Raise the right and left corners, connecting them with the corner from above.
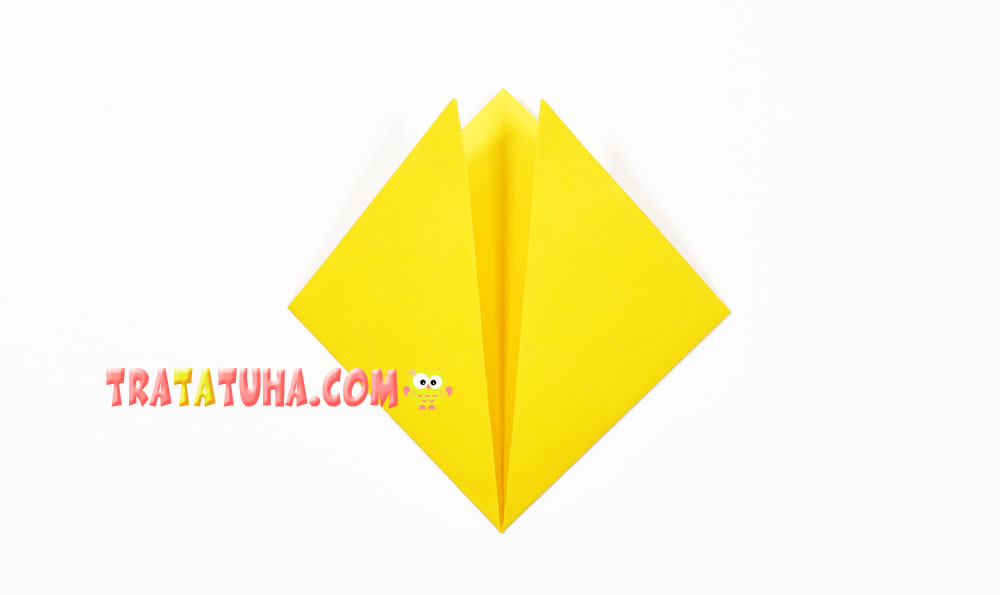
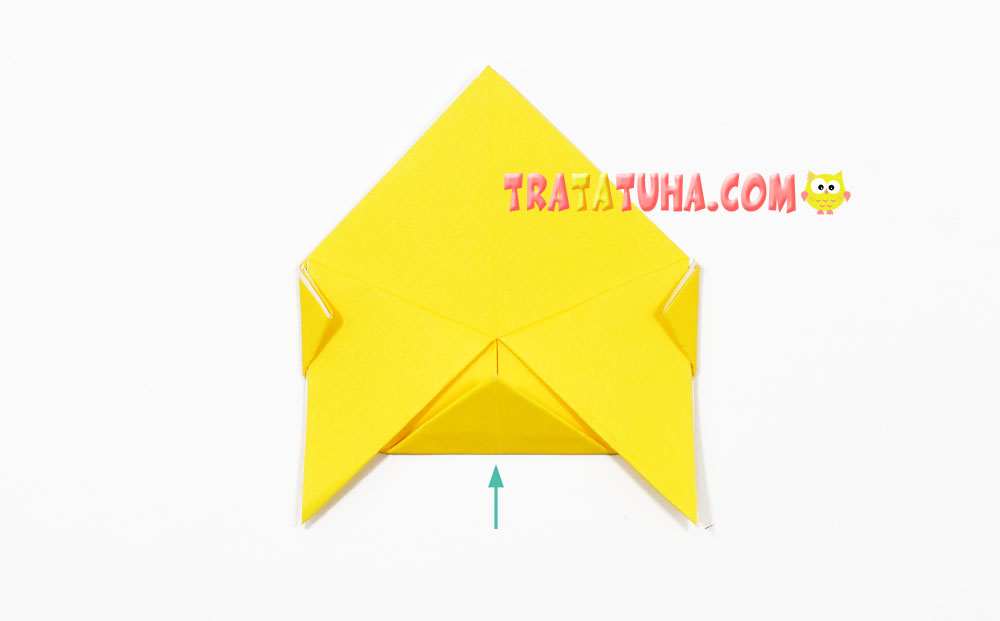
Now direct the same two corners to the bottom and slightly straighten to the sides.
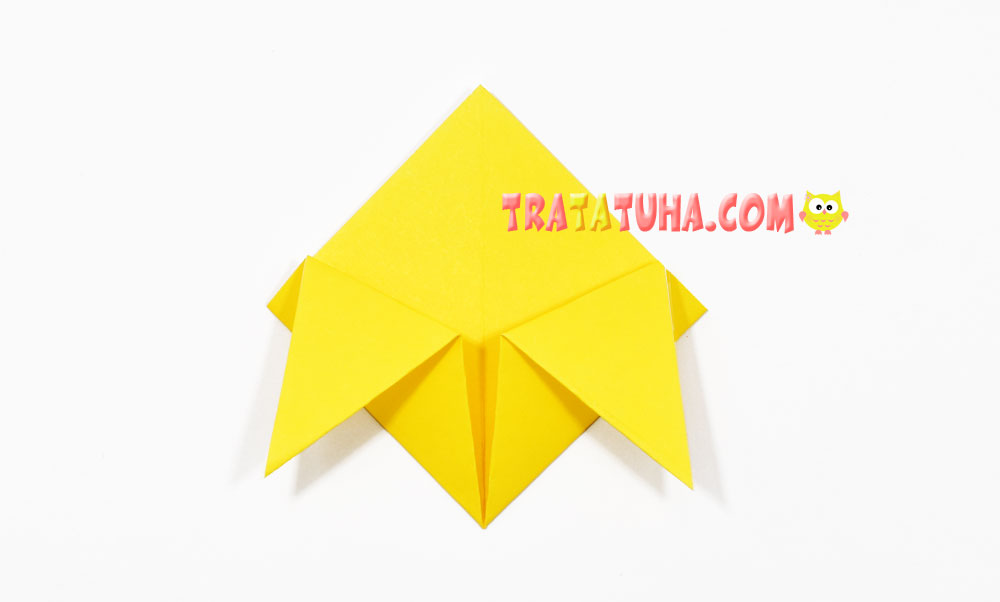
Bend the small corners-sides inward.
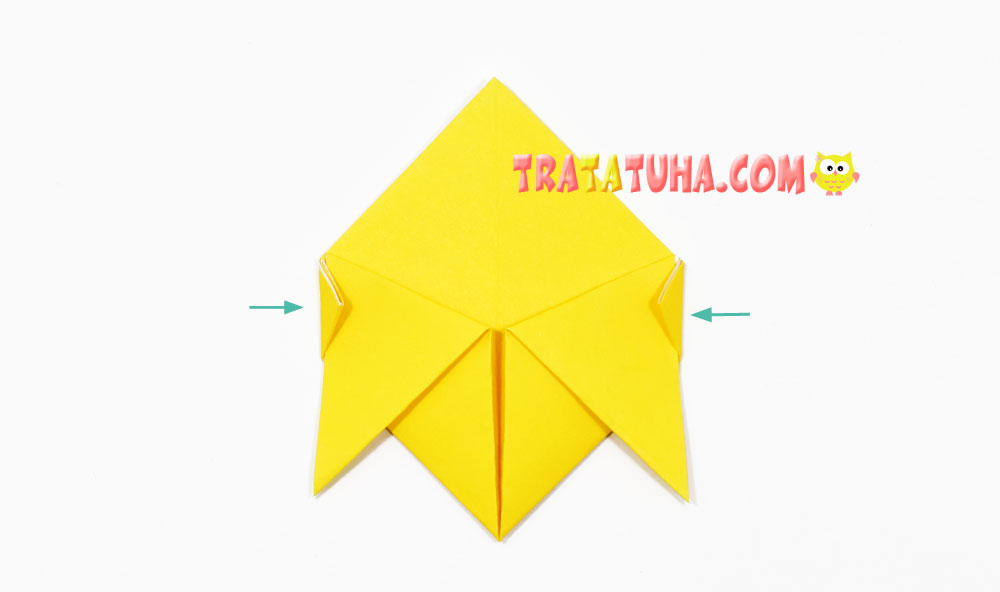
Point the bottom corner up and carefully smooth the fold. For reliability, all these three corners can also be fixed with glue.
Flip over to the other side. The muzzle of the animal is already quite looming.
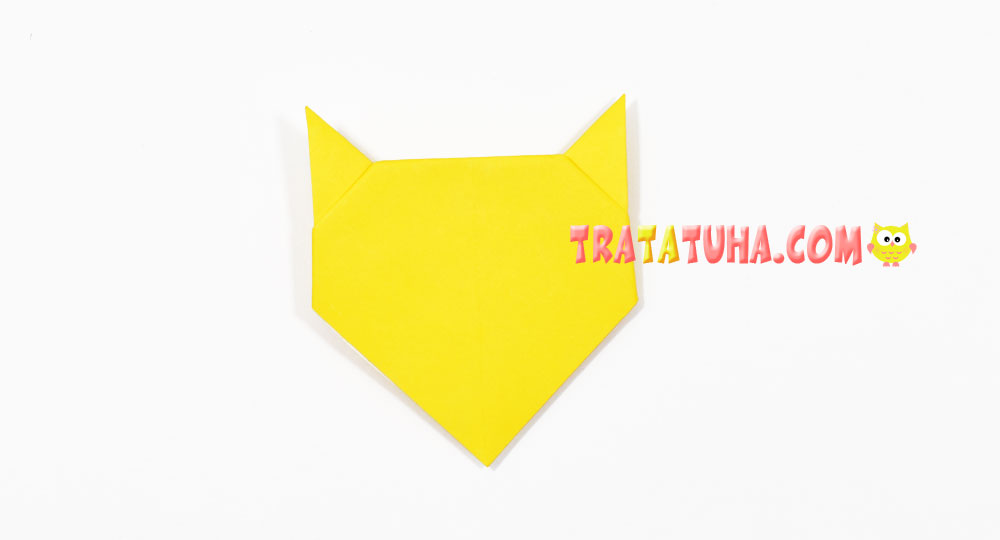
Fold the top of the bottom corner up.
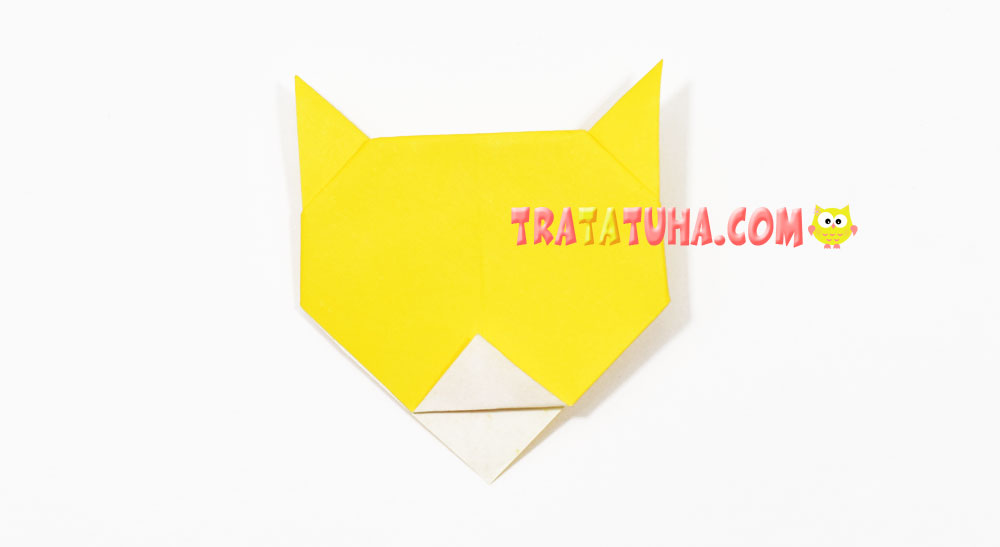
Bottom – back.
Now in the same place, bend a tiny corner down, as a result of which a tiger’s nose is formed.
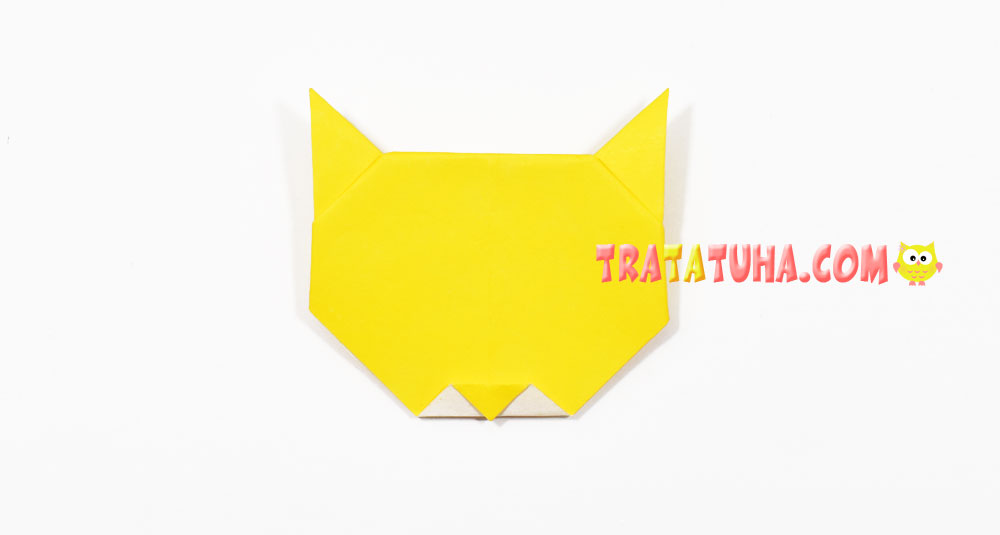
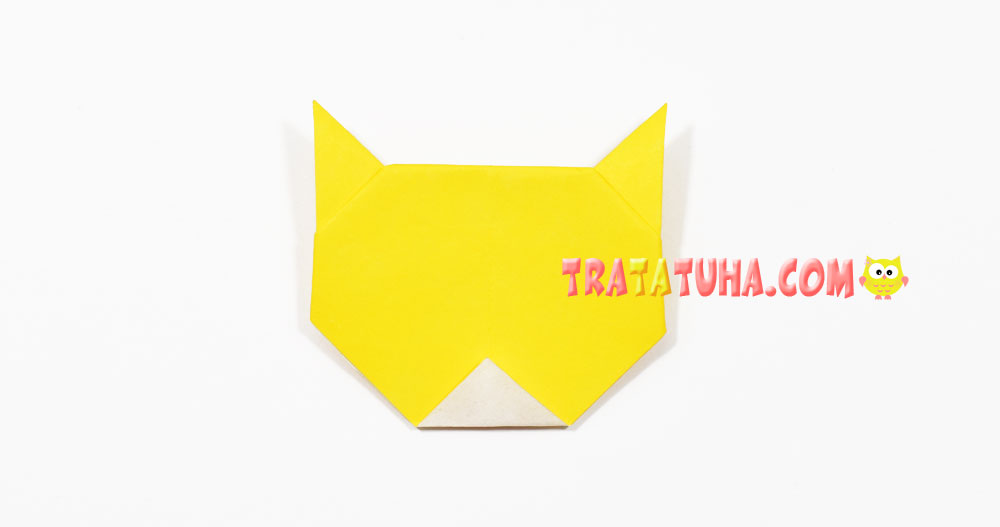
Glue or draw on the eyes. Draw characteristic stripes on the top and sides of the head with a felt-tip pen. Everything, the easy origami tiger face is ready.
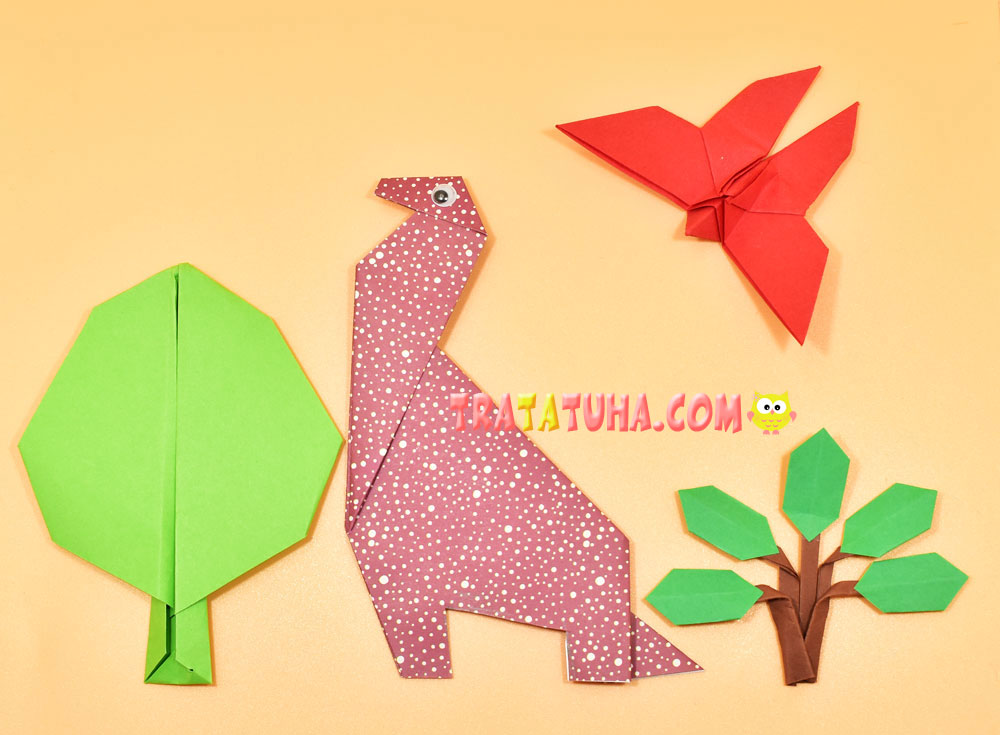
See also other tutorial of Origami Animals.
Many other ideas in the collection of Paper Animals Craft.
Crafts for Kids – learn how to make craft at home! Super cute crafts for all age groups!
Related Post:
This was very helpful for my 12-year old brother’s project. THANKS!!!