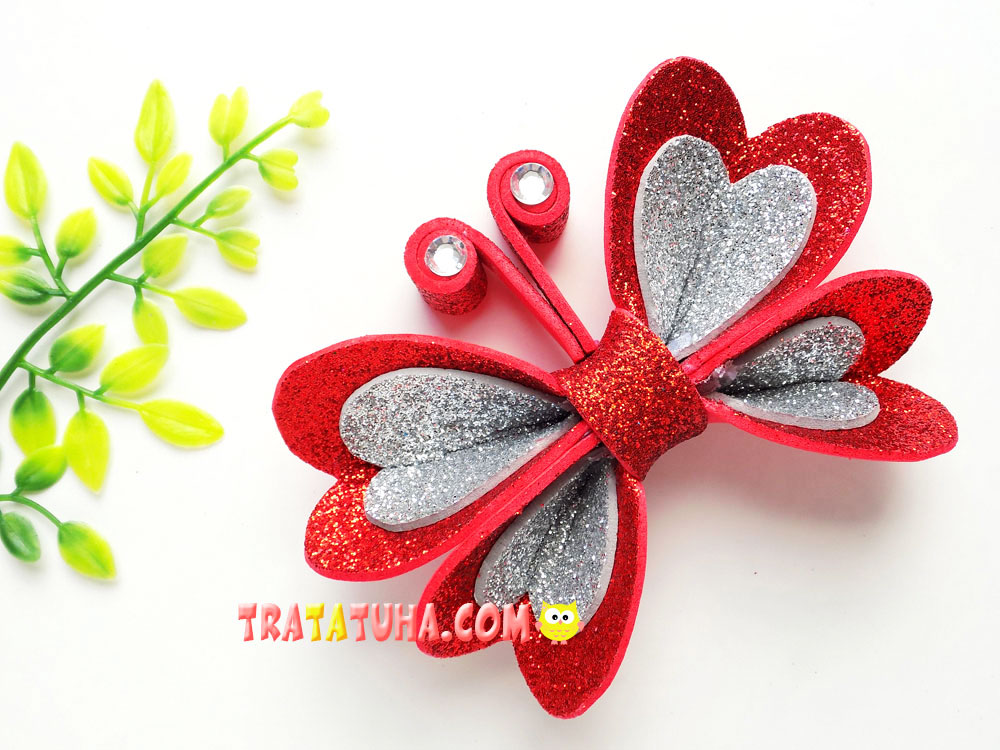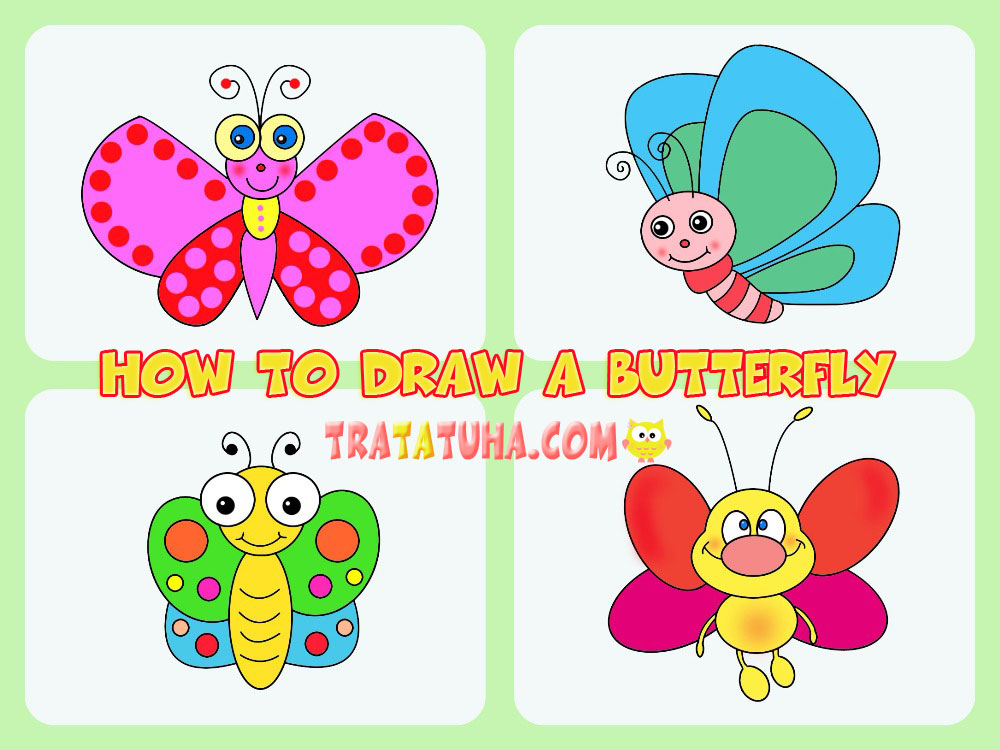
Interested in the question of how to draw a butterfly? Check out 4 different ideas featuring step-by-step colorful and simple butterflies.
Children can draw this wonderful insect starting from preschool age. And by changing the shape, size and color of the wings, the butterfly can be different and original every time.
For work, prepare:
- A sheet of white paper;
- Eraser and simple pencil;
- To choose from: colored pencils, felt-tip pens, wax crayons.
How to Draw a Butterfly— 1 Way
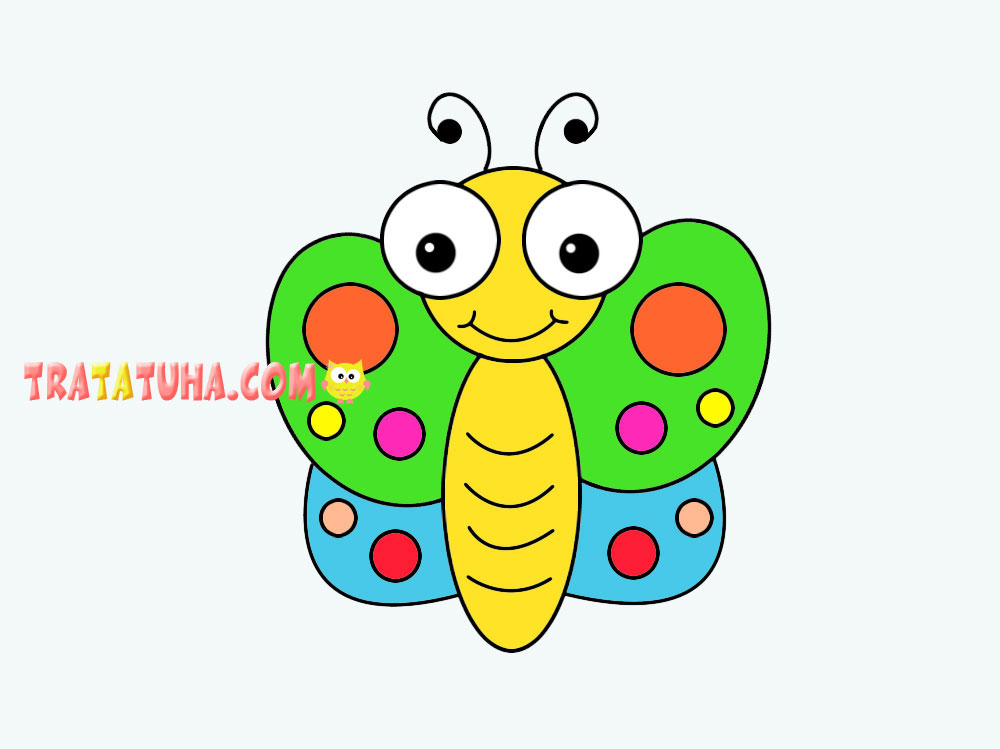
A simple drawing based on circles and ovals. In the process of creative work, you will need to remove intersecting lines with an eraser or adjust the drawing, so initially the pressure of a simple pencil should be light. So that later the lines can be removed simply and without consequences in the form of potholes on the paper or smearing.
Draw a circle at the top of the paper. This will be the head of the butterfly.

Draw the body in the form of a long oval.
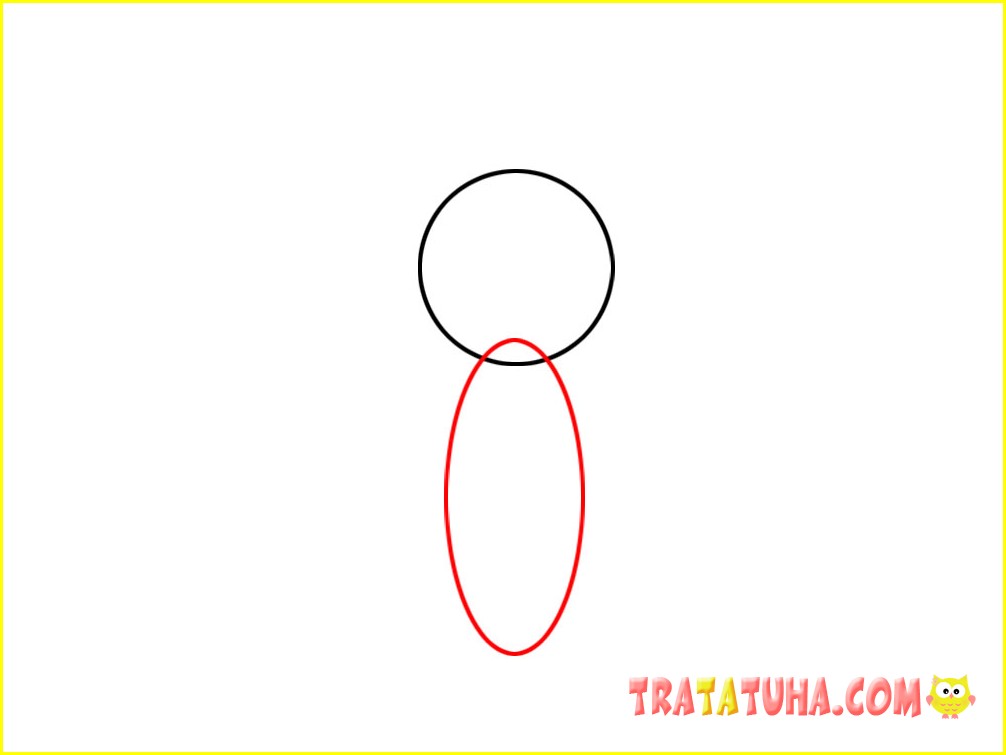
Erase the unnecessary line in the head area and draw two round eyes.
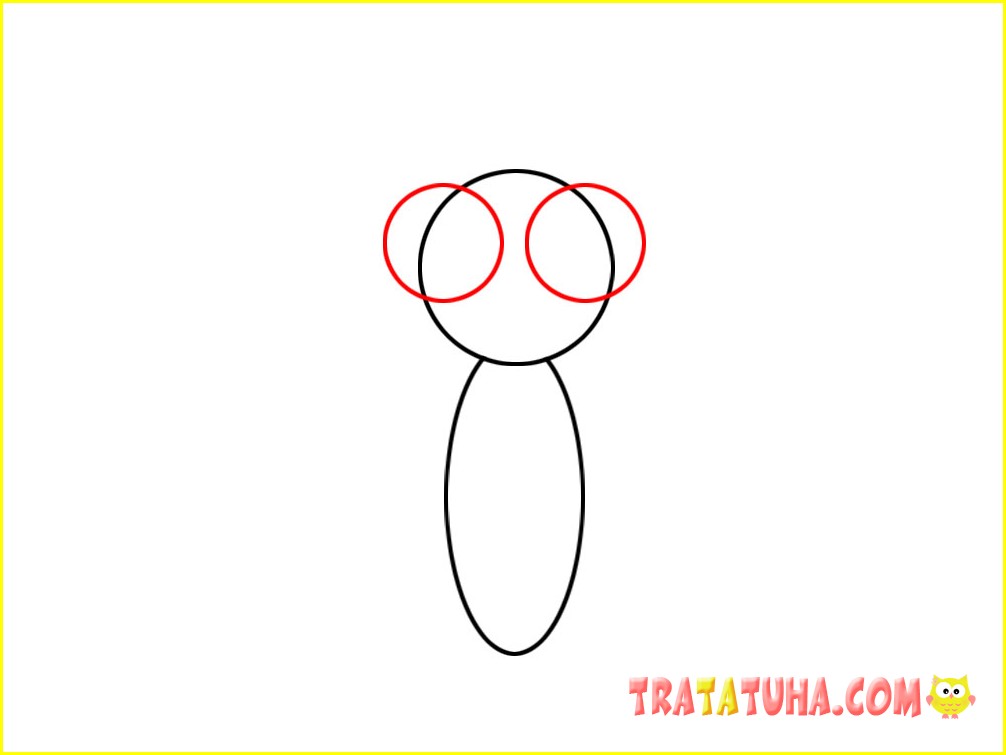
Erase the lines inside the eyes and complete the head. Draw the pupils, smile and mustache.
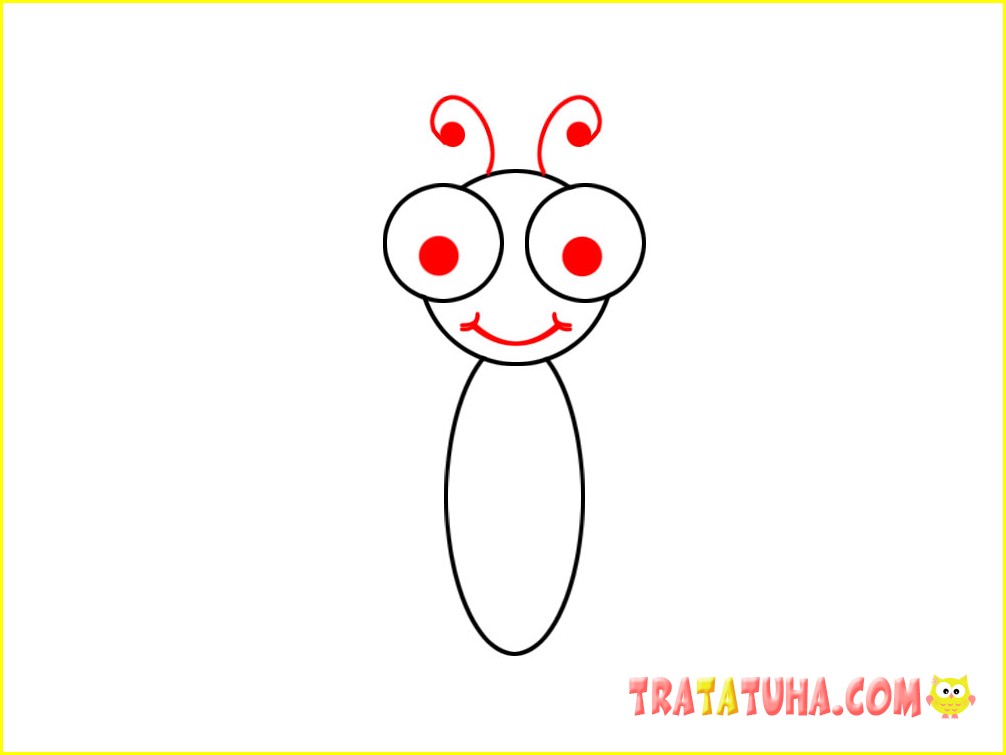
Add two top wings. Here the shape is oval, but round wings, with wavy tips and other options look quite good.
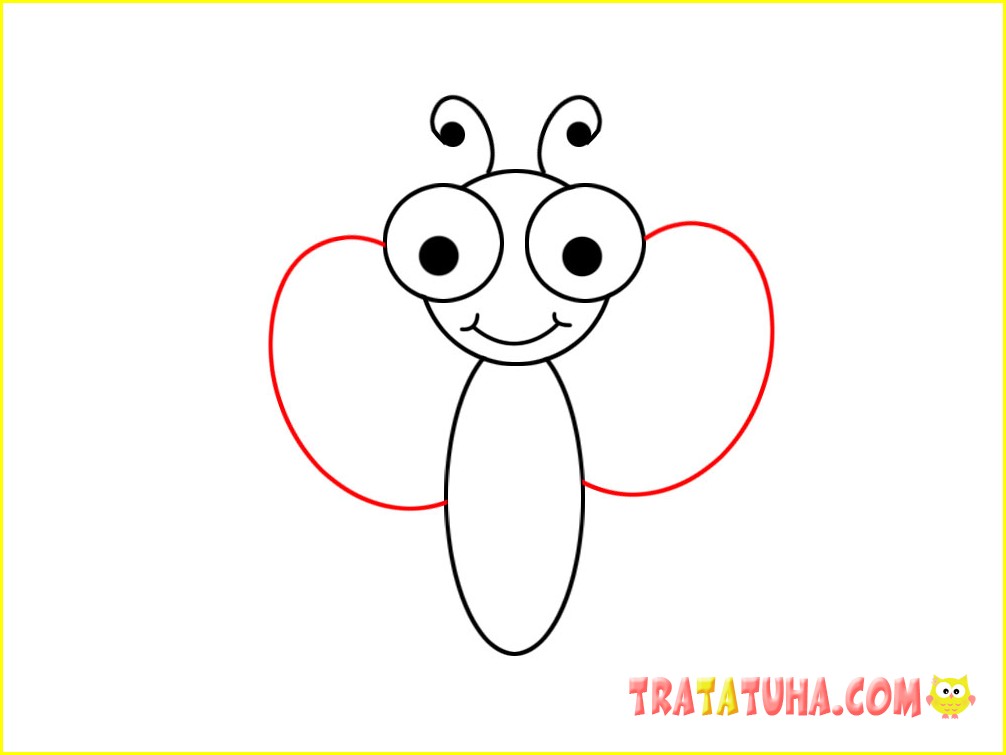
From below draw two more wings.
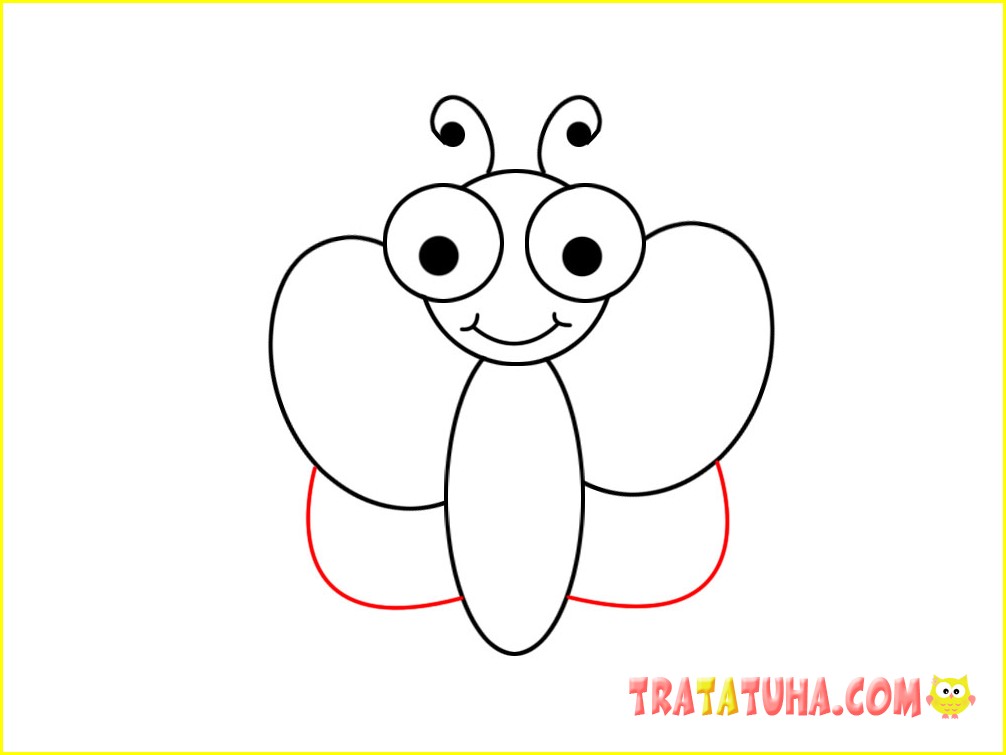
Add decorations to the wings in the form of circles of different sizes.
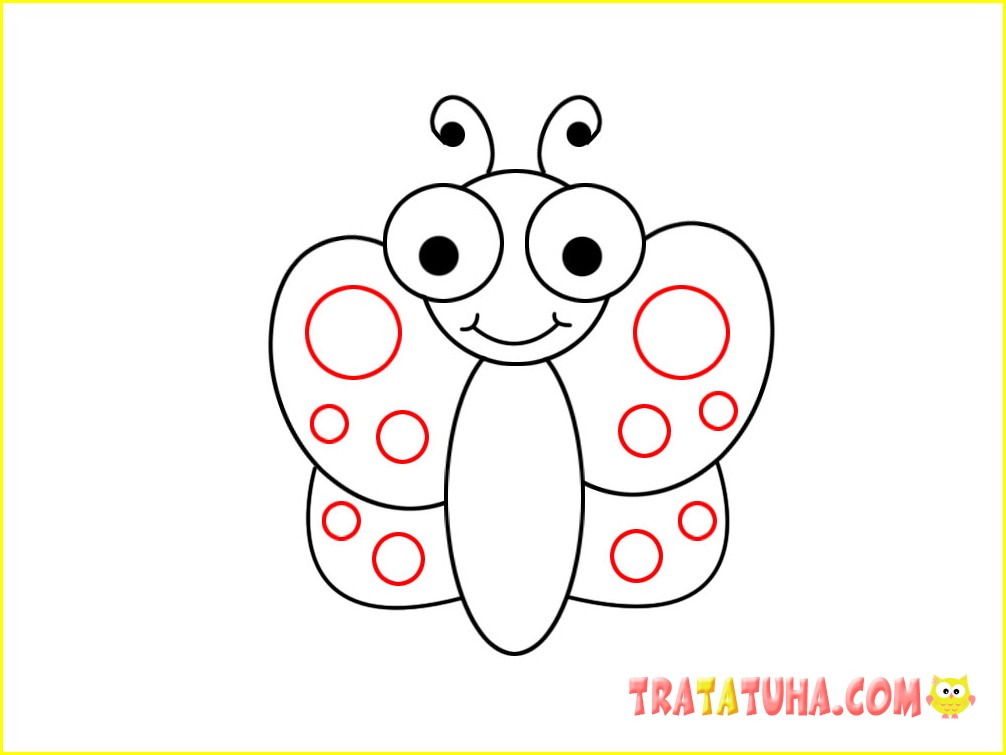
Also add several arches to the body.
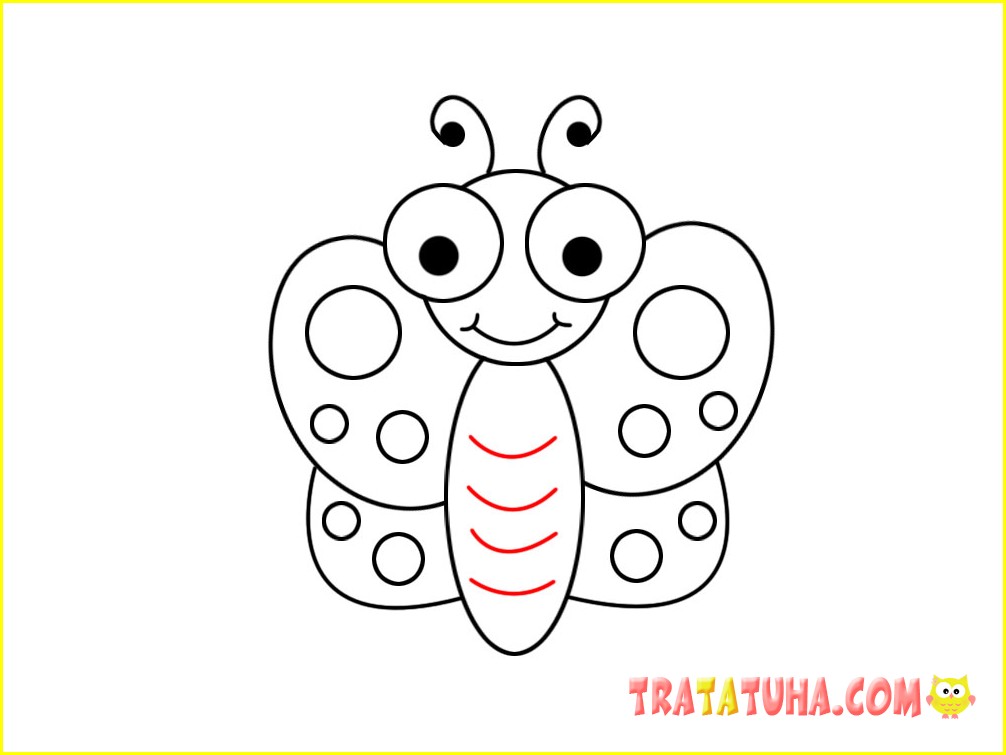
The butterfly drawing is ready.
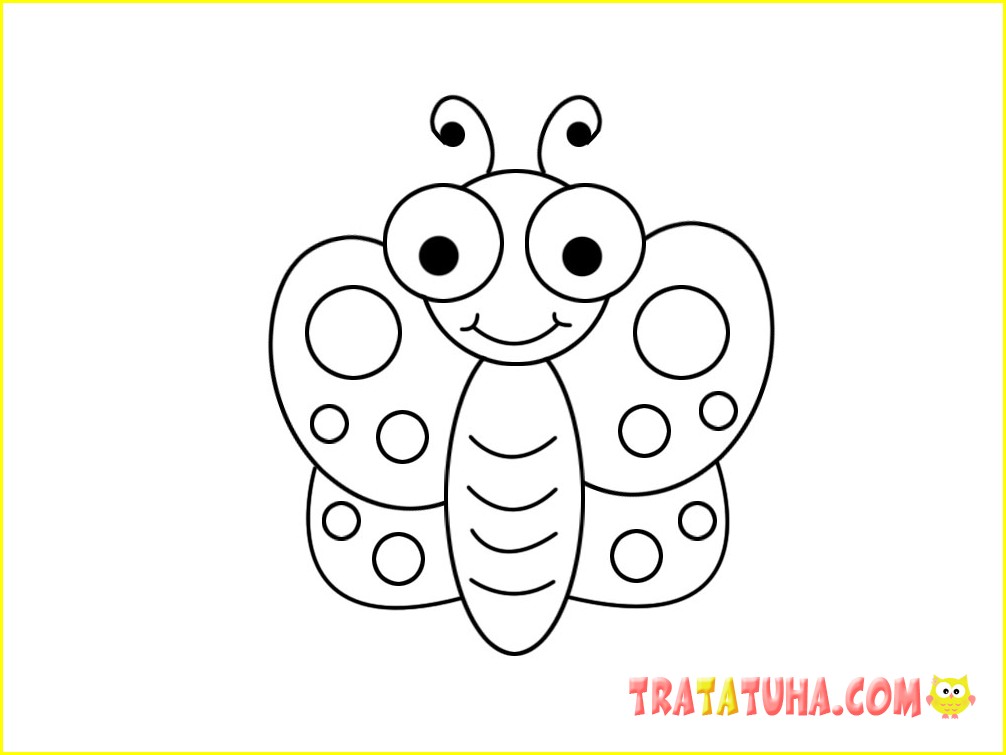
Color it at your own discretion, where the choice of color may depend on personal fantasies.

How to Draw a Butterfly — Method 2
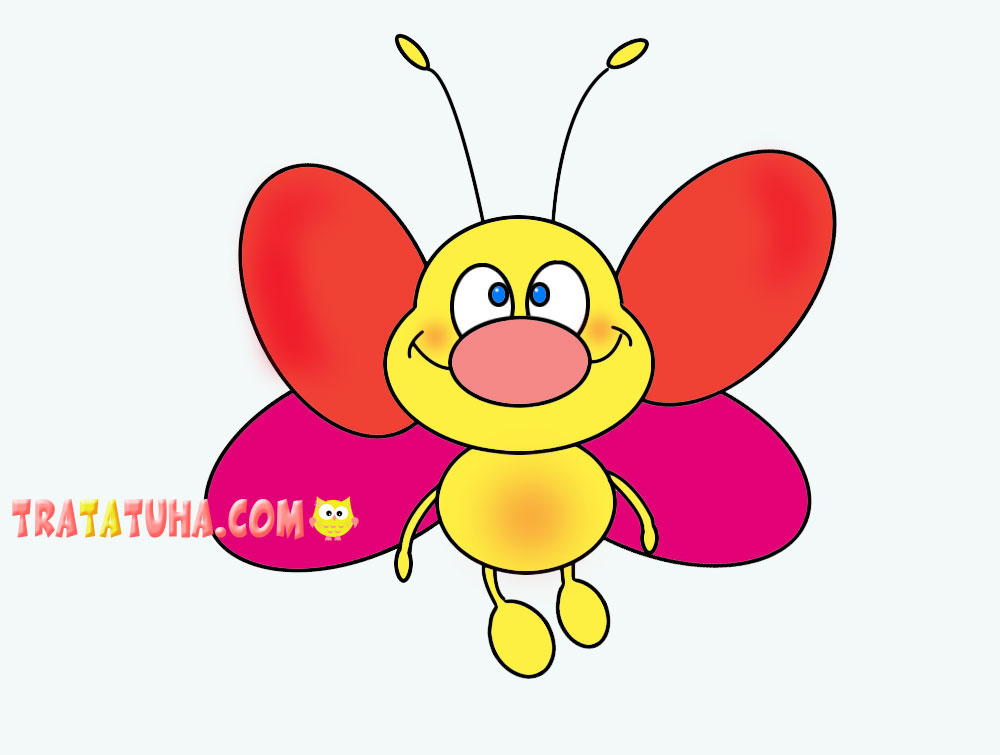
Our second butterfly is also bright with a funny and cheerful appearance. Consists of simple parts in the form of ovals and circles. The only minor difficulty is the shape of the head. But, if children cannot display something like this, they can easily make it round.
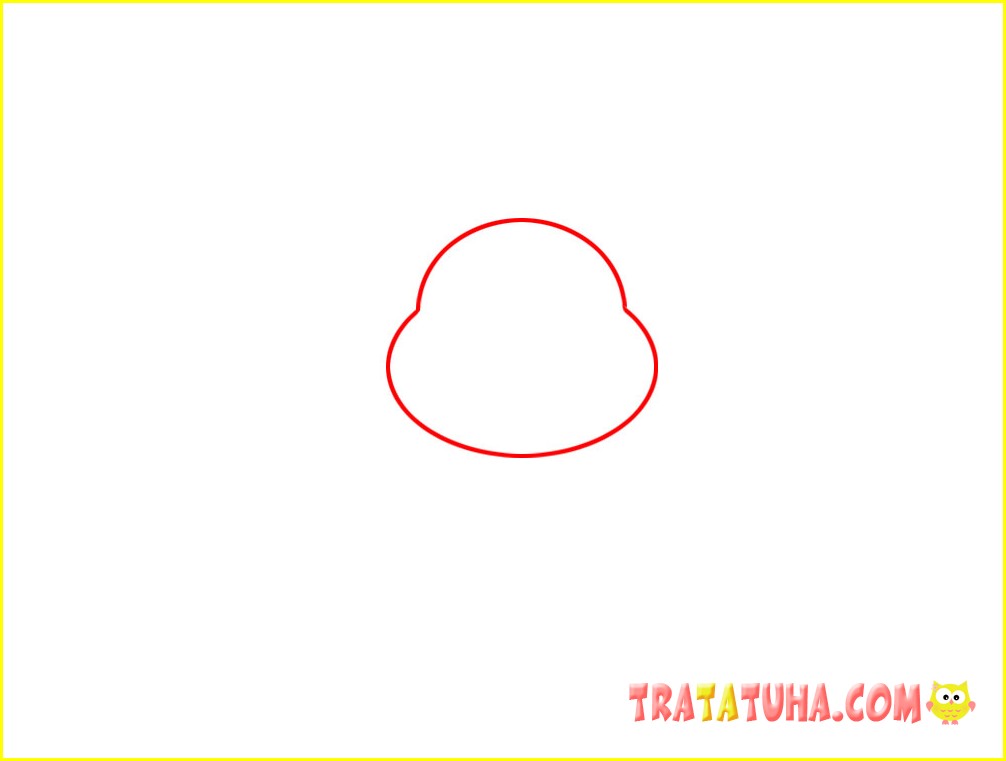
Draw the butterfly’s head, where the top part is slightly narrower than the bottom.
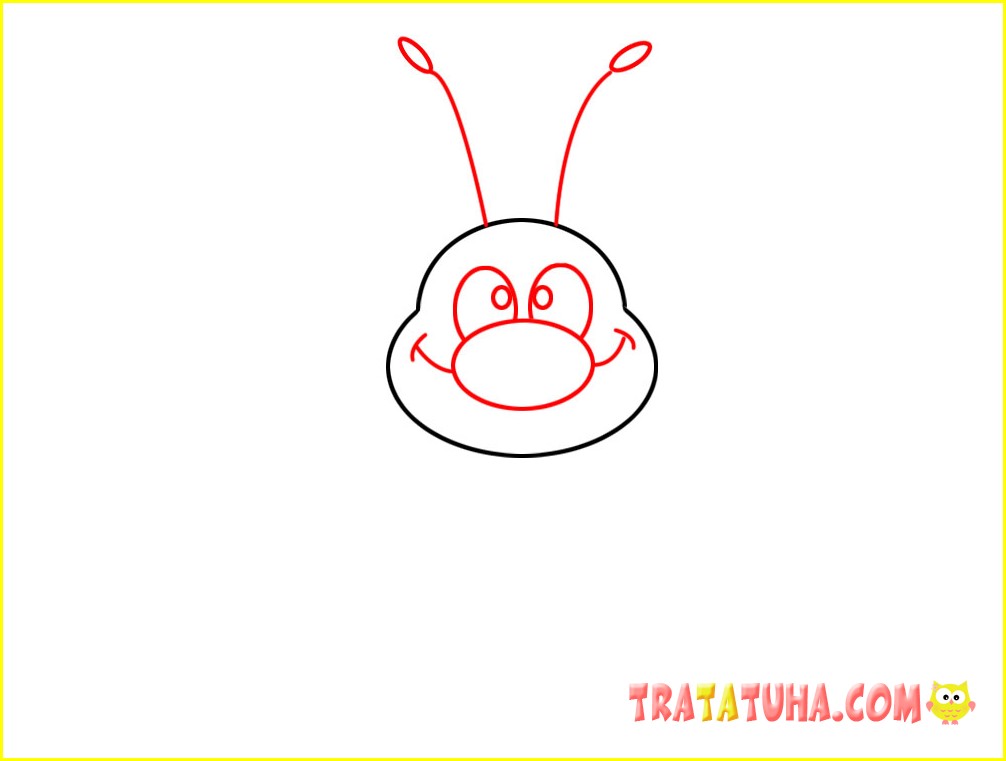
Add an impressive nose, playful eyes, a smile and two long mustaches.
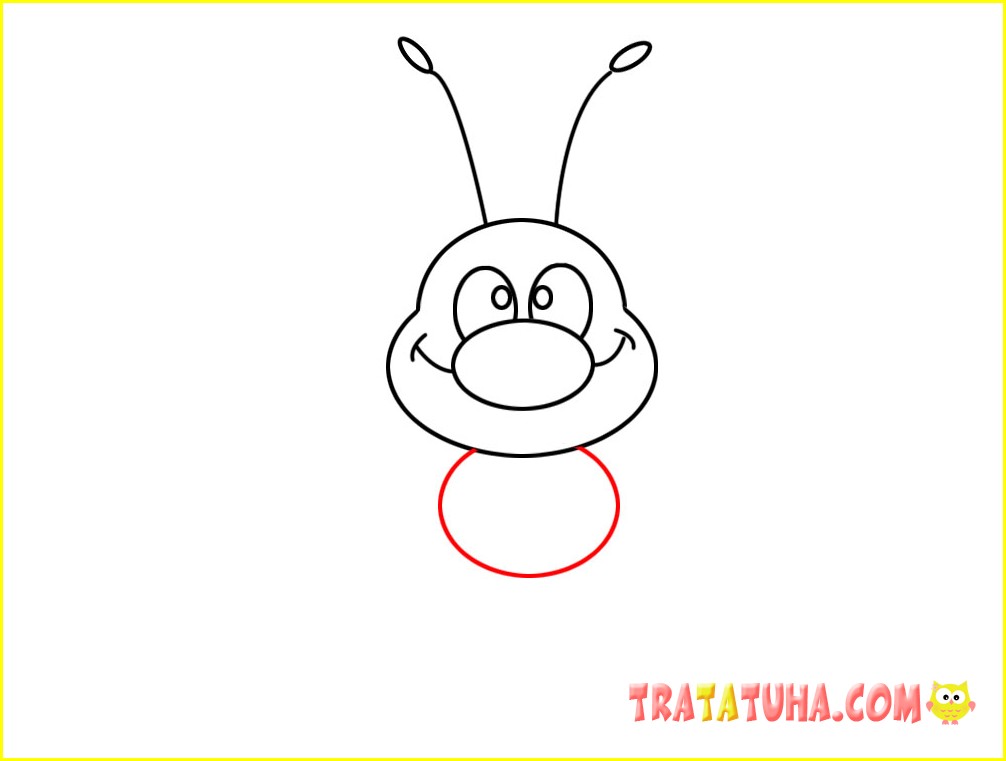
Draw a small circle around the body.
Draw the paws at the bottom.
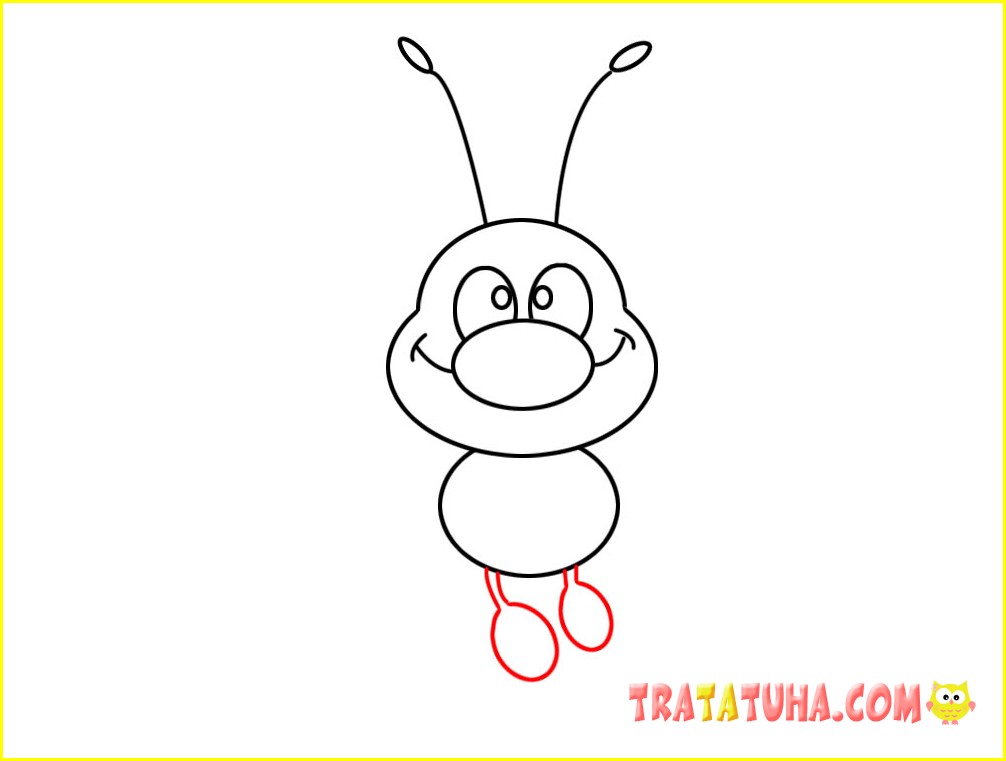
Add two more legs on the sides of the body.
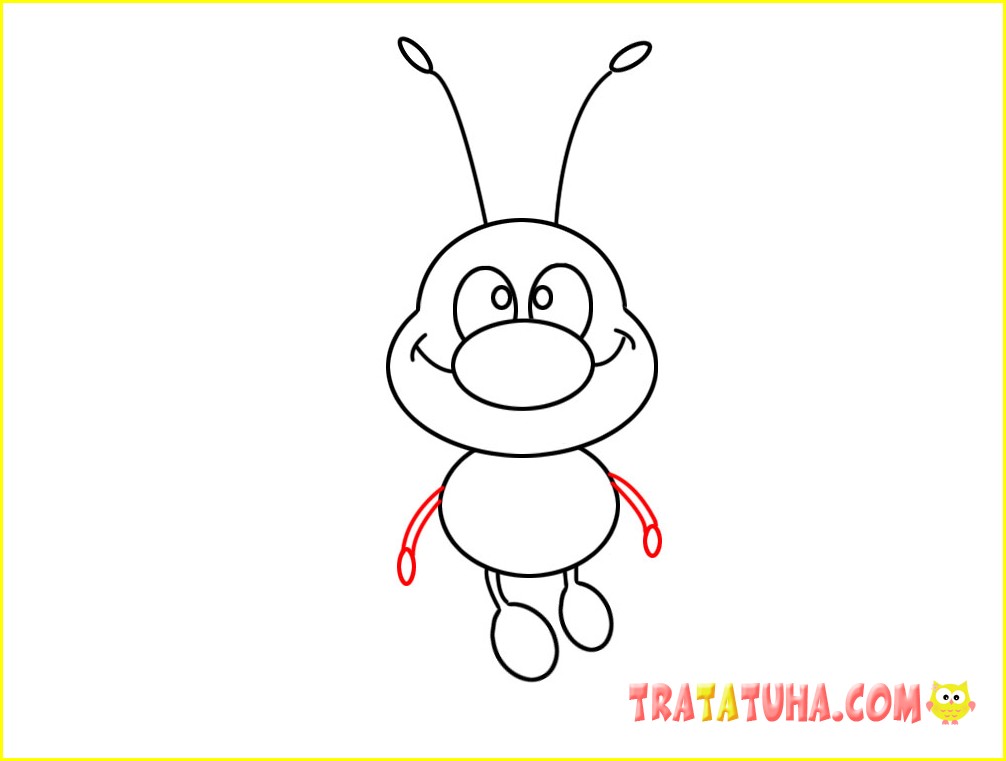
As usual, the final part of the work is the wings. Draw two oval wings on top.
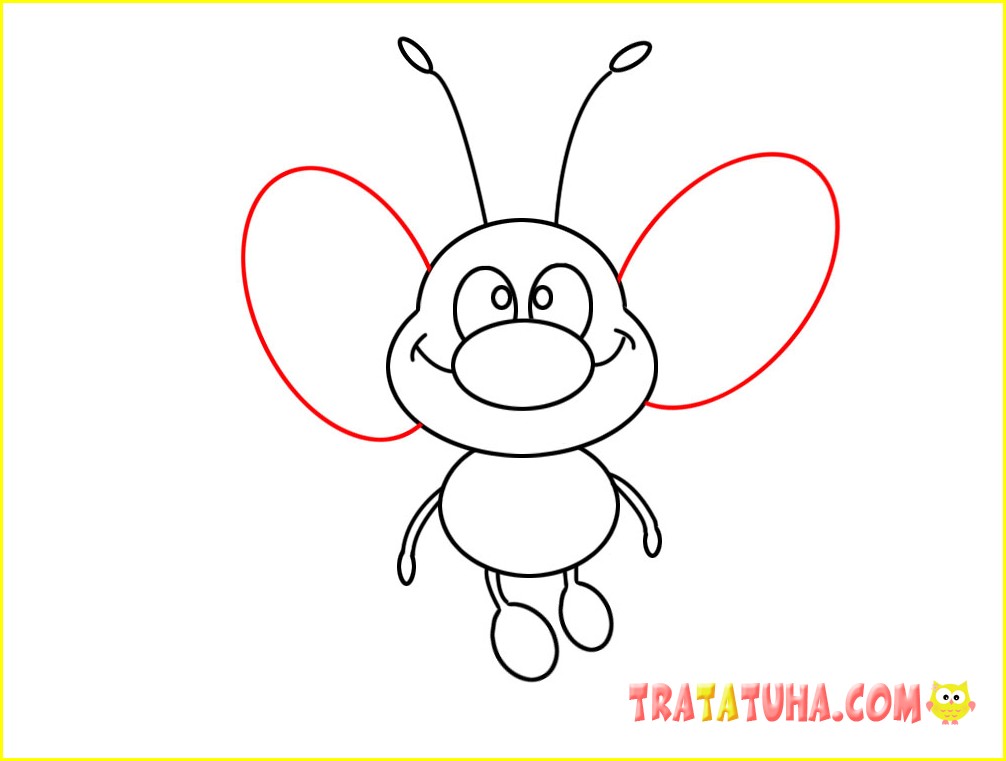
Add two more from below. Do not forget to erase unnecessary crossing lines in a timely manner.
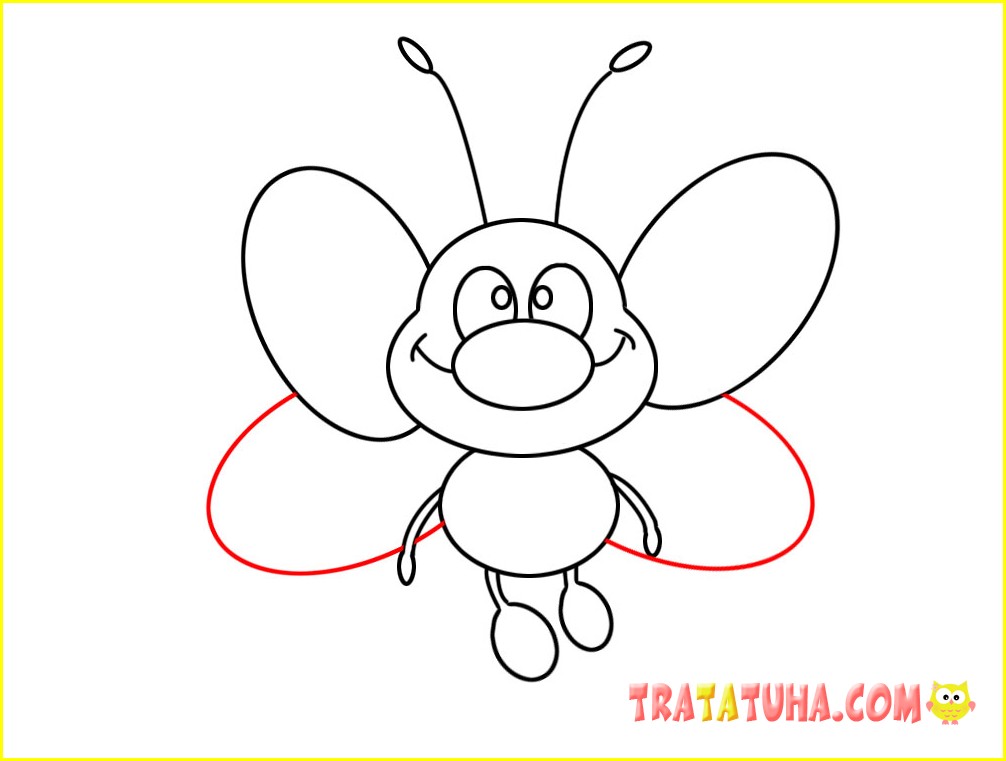
The butterfly outline is ready.
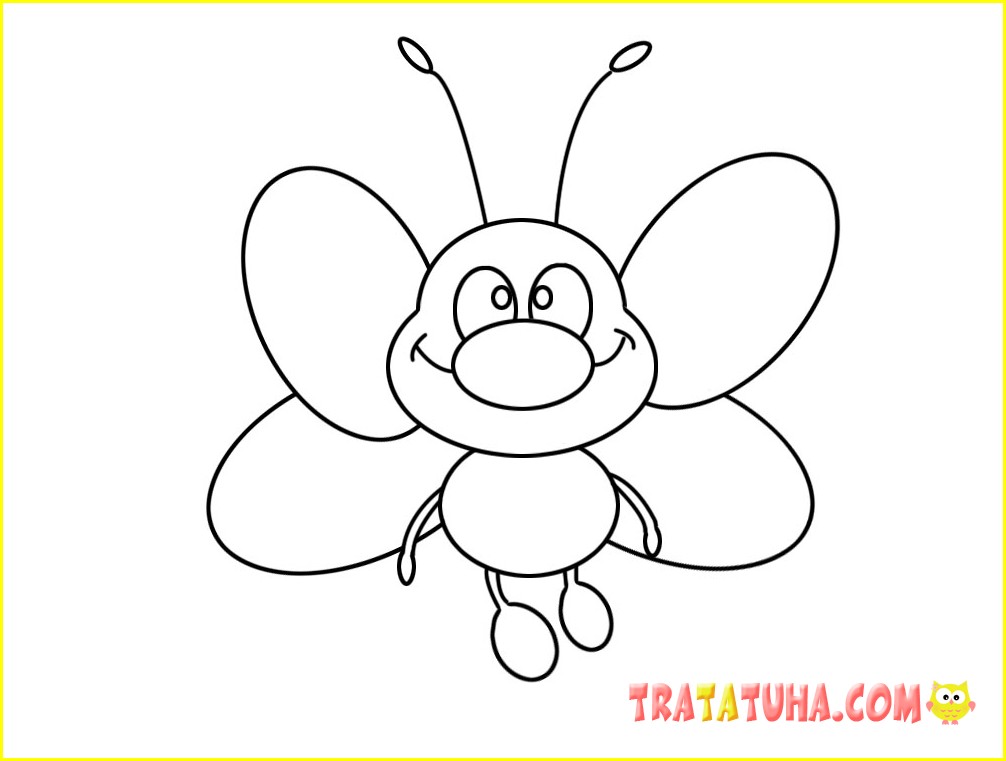
Color it in the colors you want.

Drawing a Butterfly — Method 3
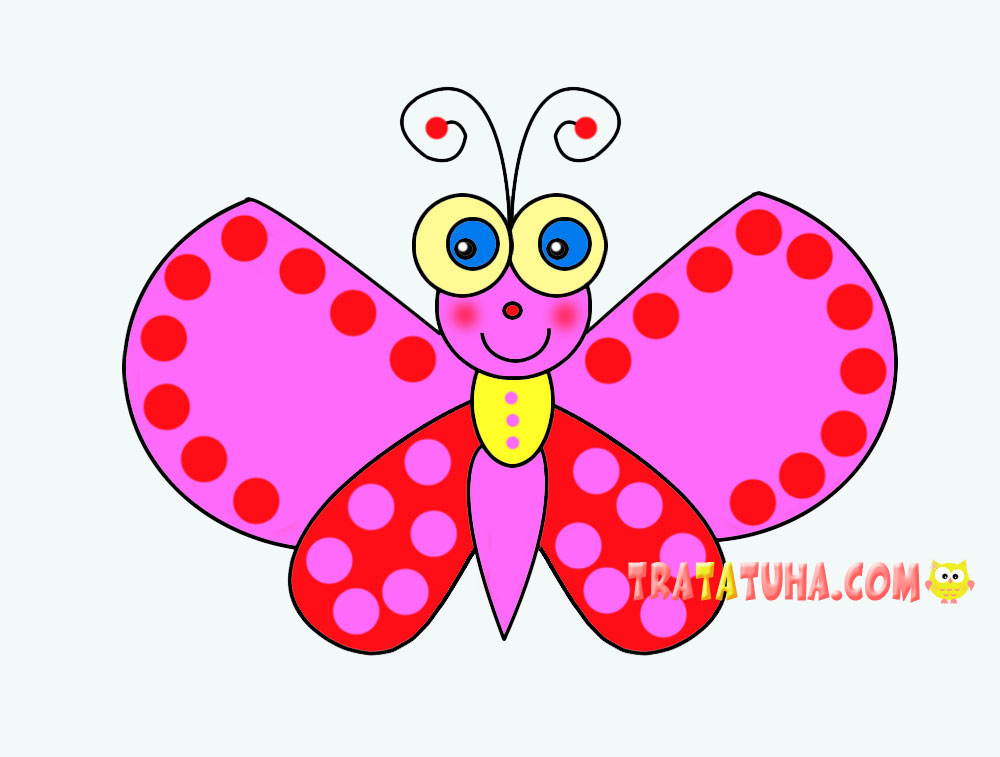
Another simple drawing that kids will love.
Start as usual with the head in a small circle.

Add two round eyes.
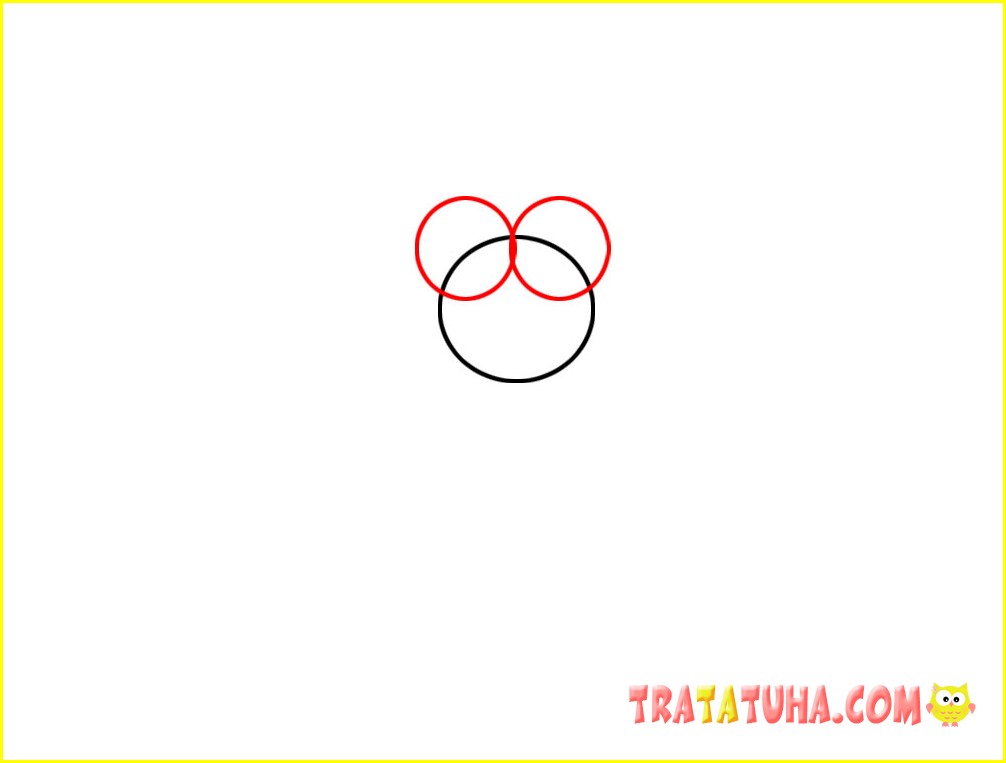
Erase unnecessary lines inside the eyes.
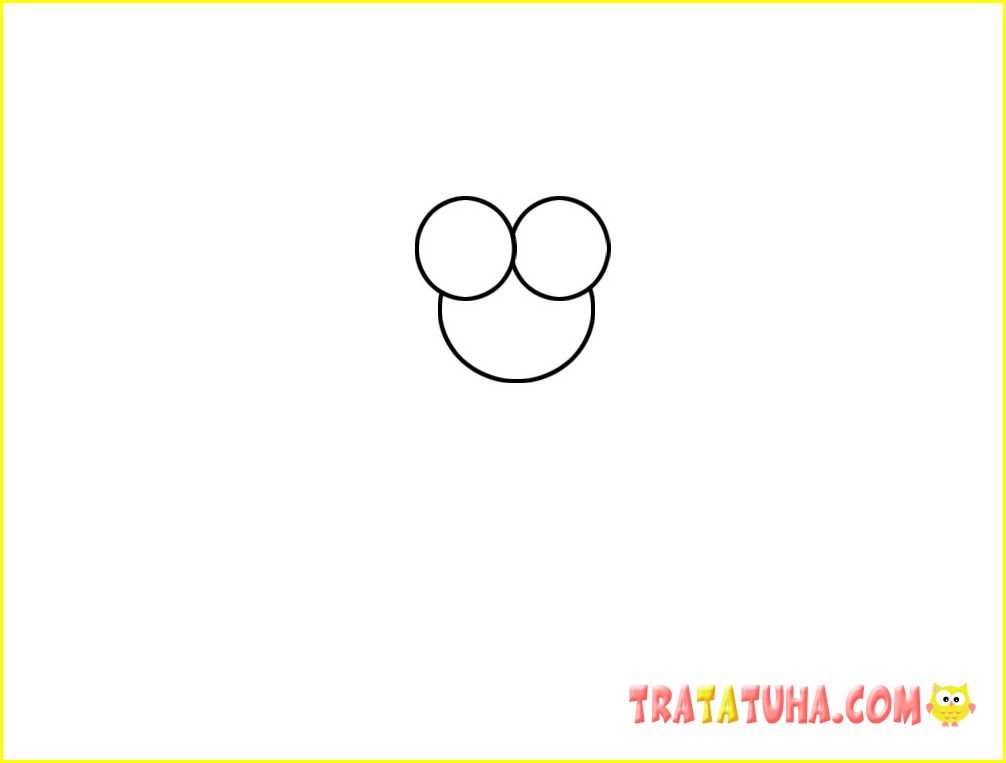
Complete the insect’s head with eyes, nose, smile and antennae.
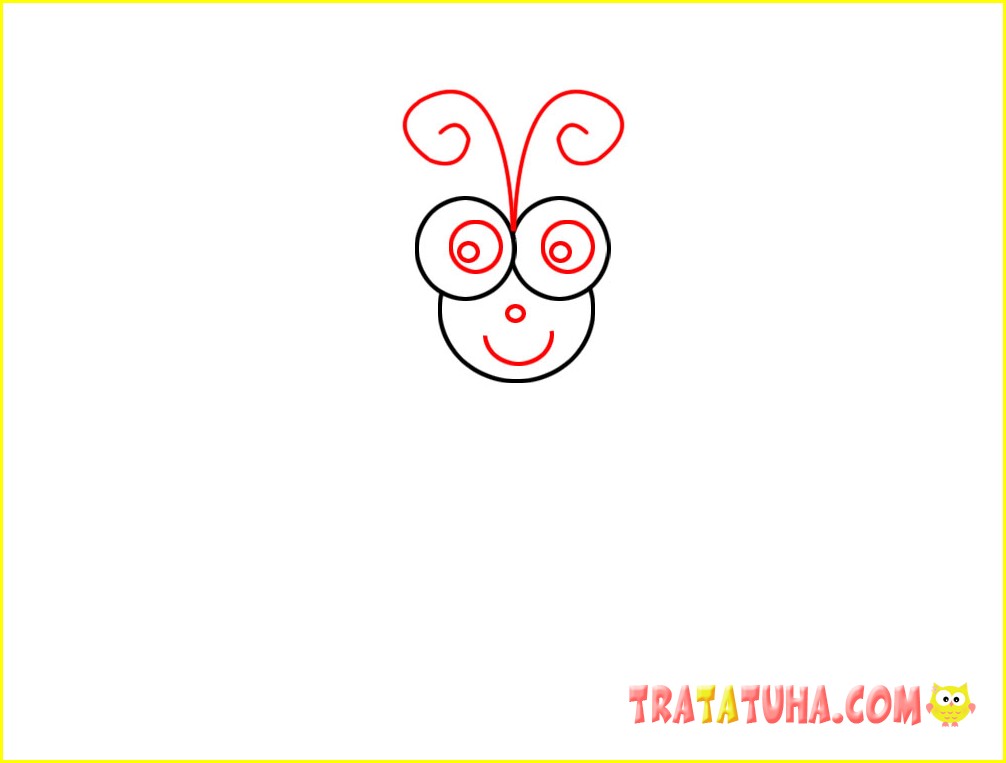
The body will consist of several parts. In the first step, draw a small oval.
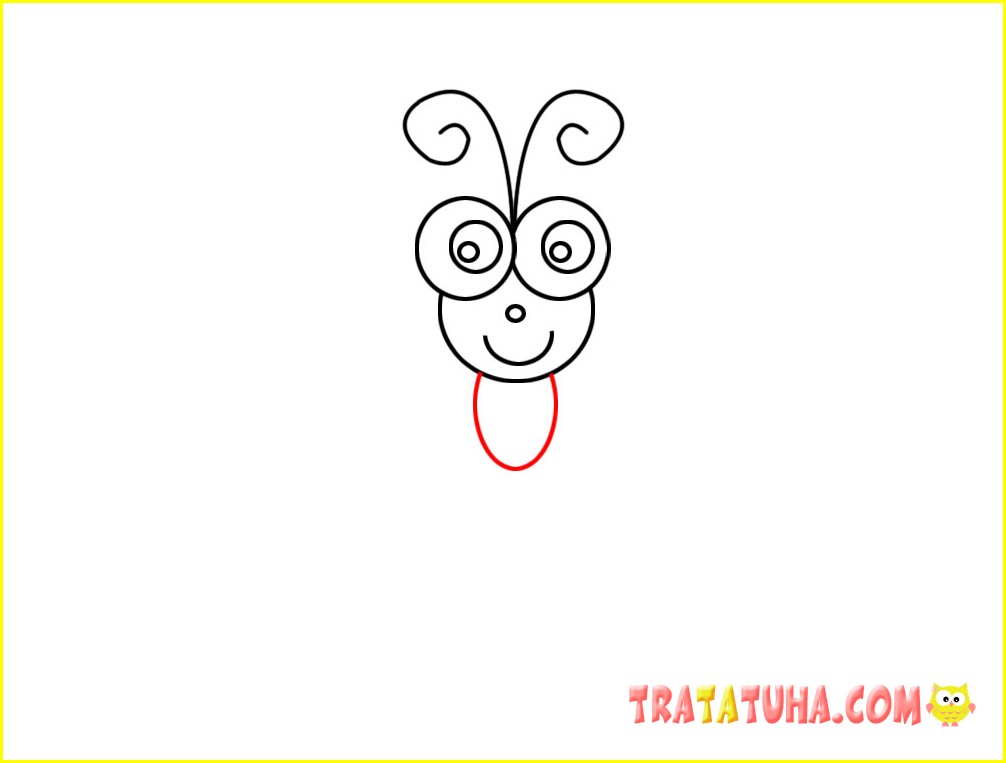
Add an elongated shape similar to a carrot. The body is ready.
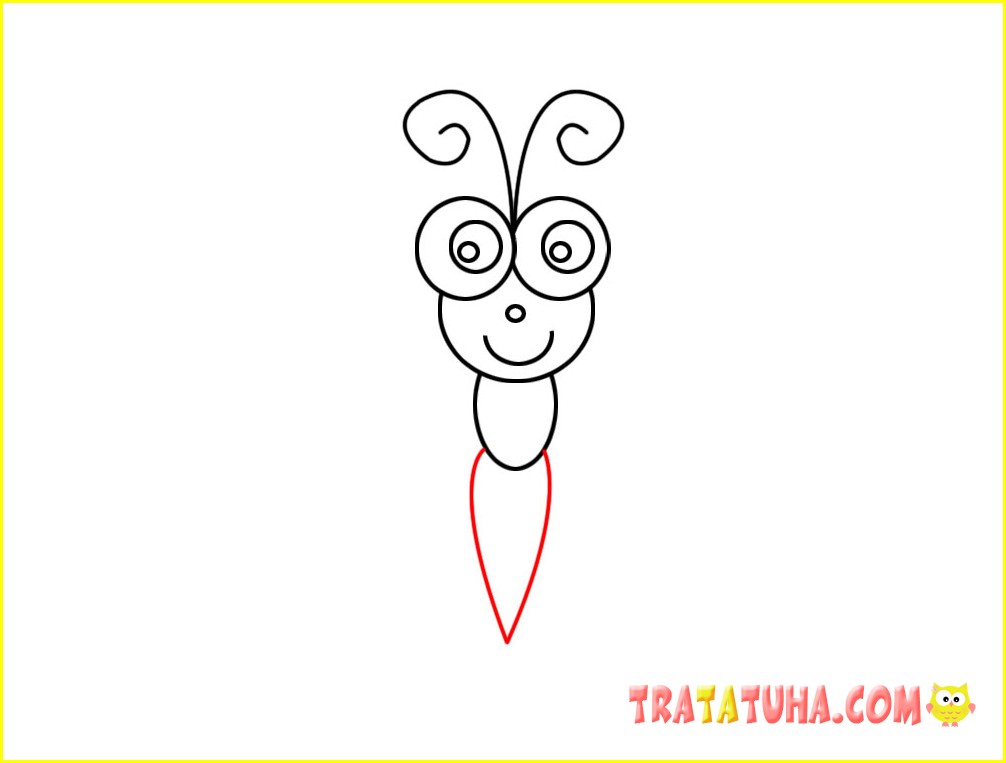
Let’s move on to the wings. First draw the top two wings.
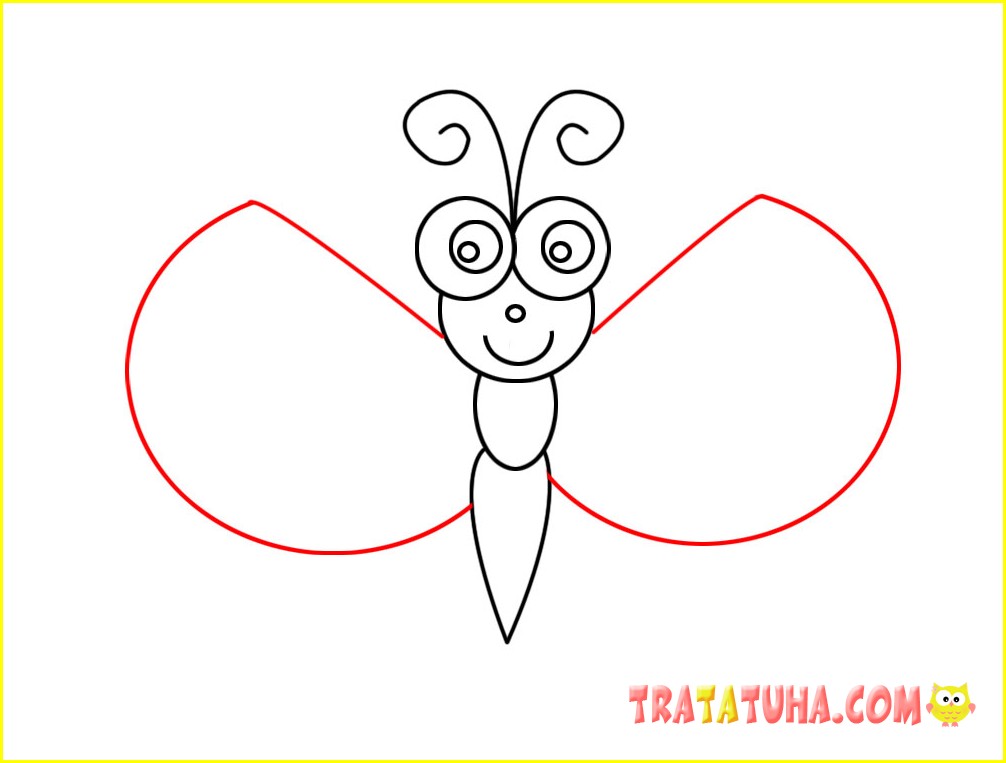
And then add the bottom two.
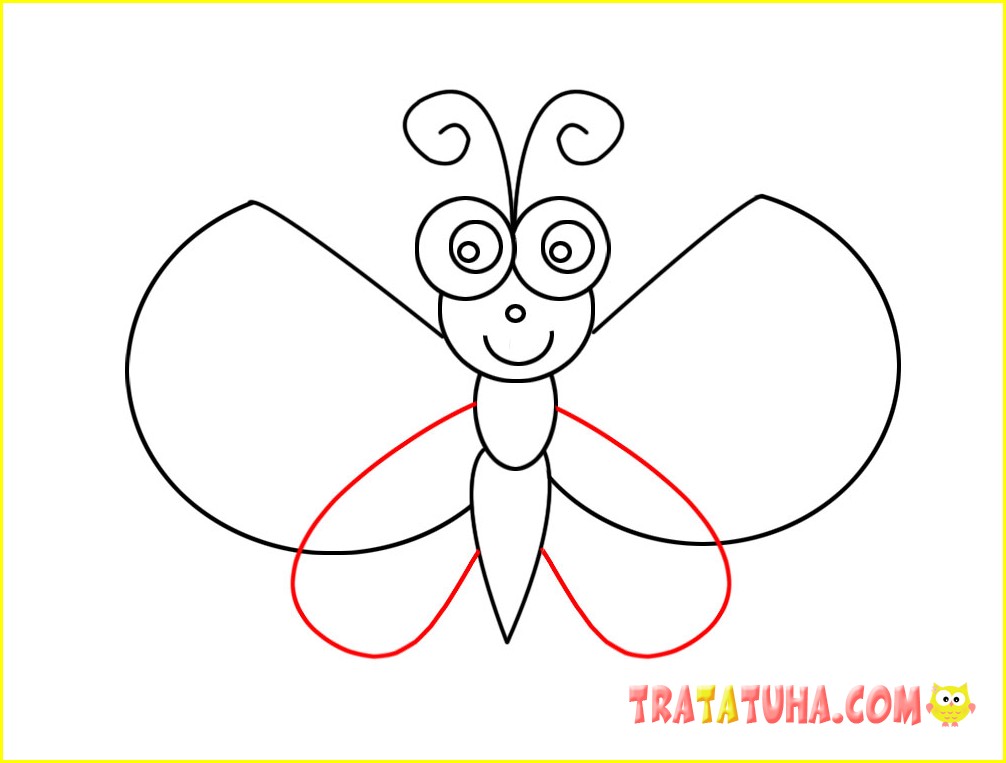
Erase unnecessary lines, the drawing is ready.
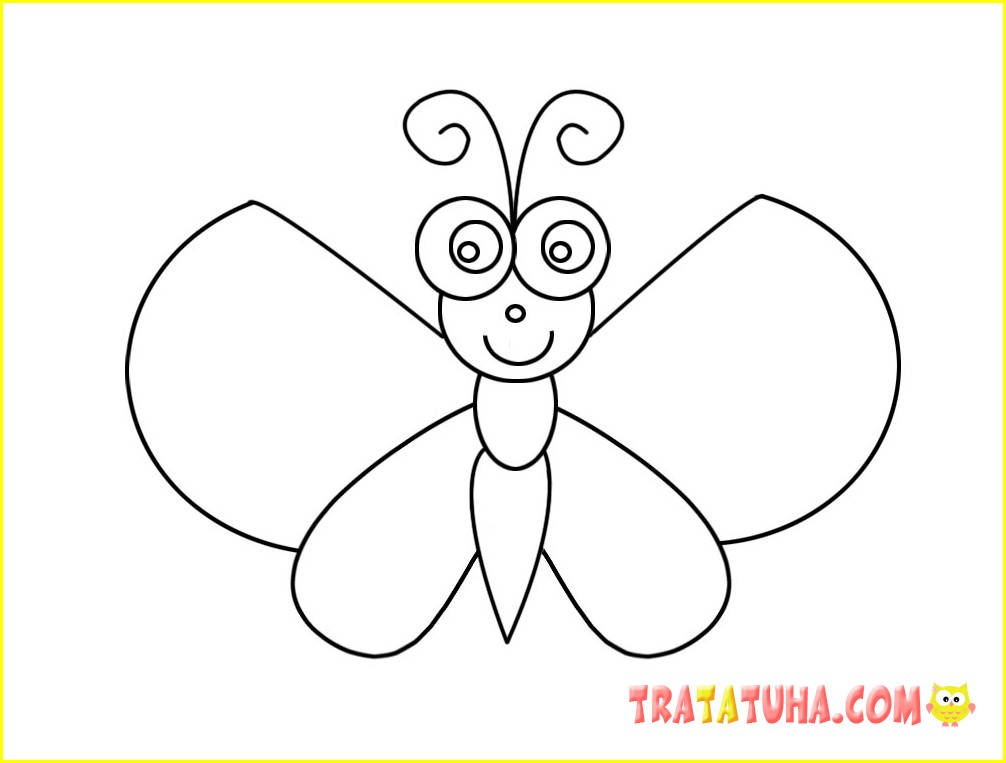
Paint in any colors, if desired, decorate the wings with circles.

How to Draw a Butterfly — 4th Method
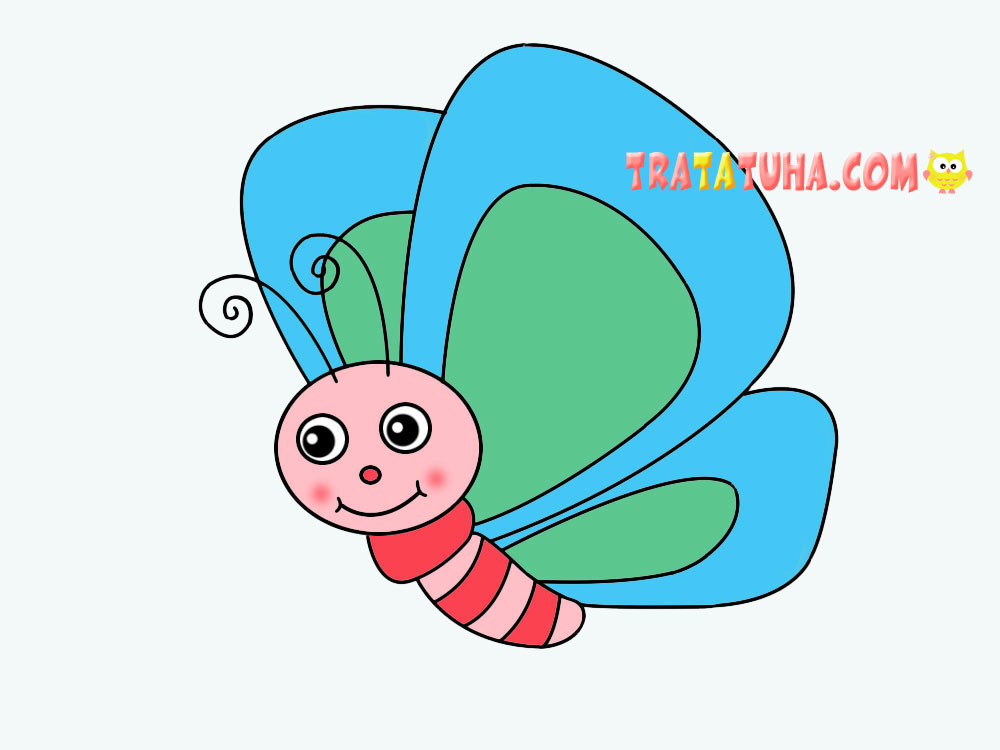
We will have this butterfly in the process of flight, as if in a side view.
Draw a round head with a simple pencil. Please note that the wings will protrude from above, so you should mark the placement of the butterfly on paper in advance so that all its component parts can fit.

We draw the body. First a small figure near the head.
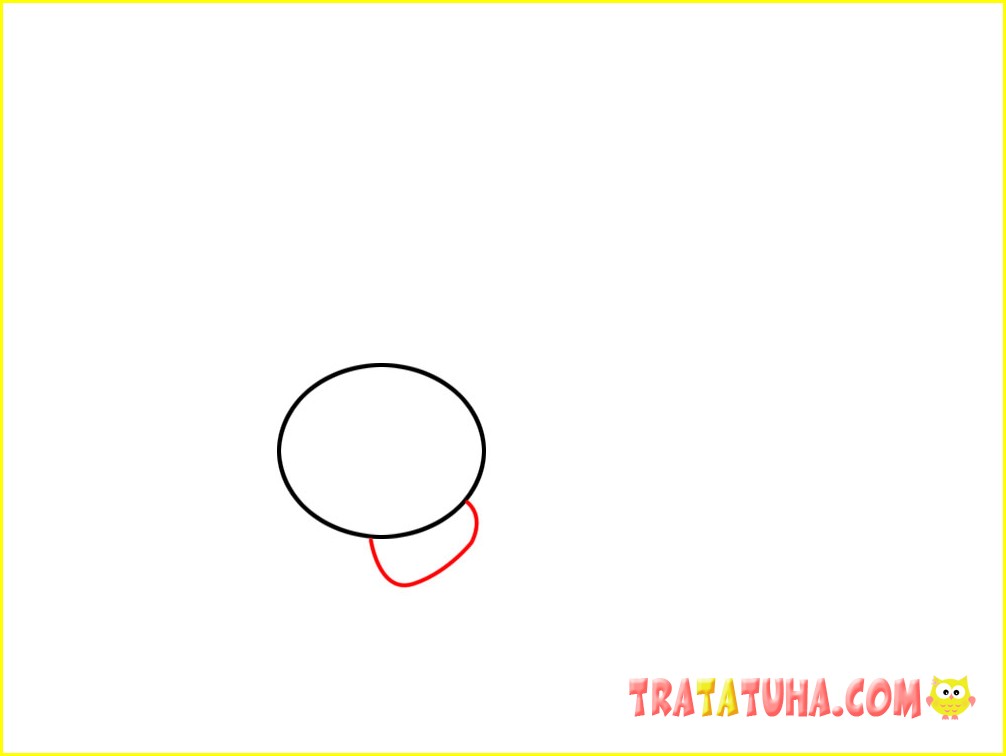
Then add a slightly elongated body base from below.
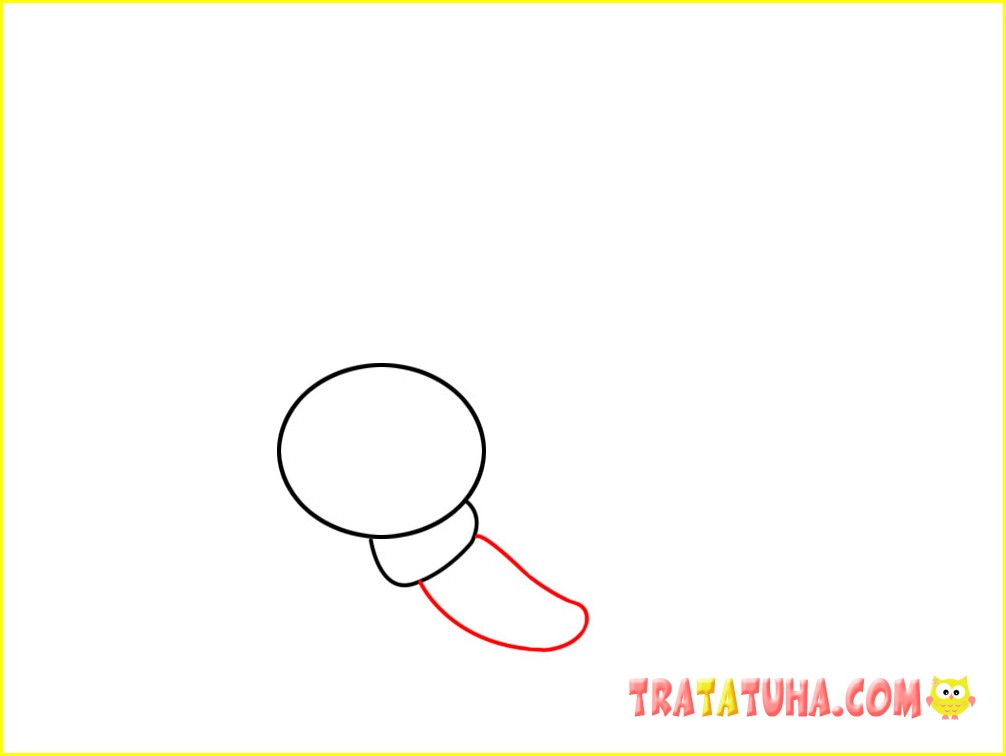
Draw the first wing.
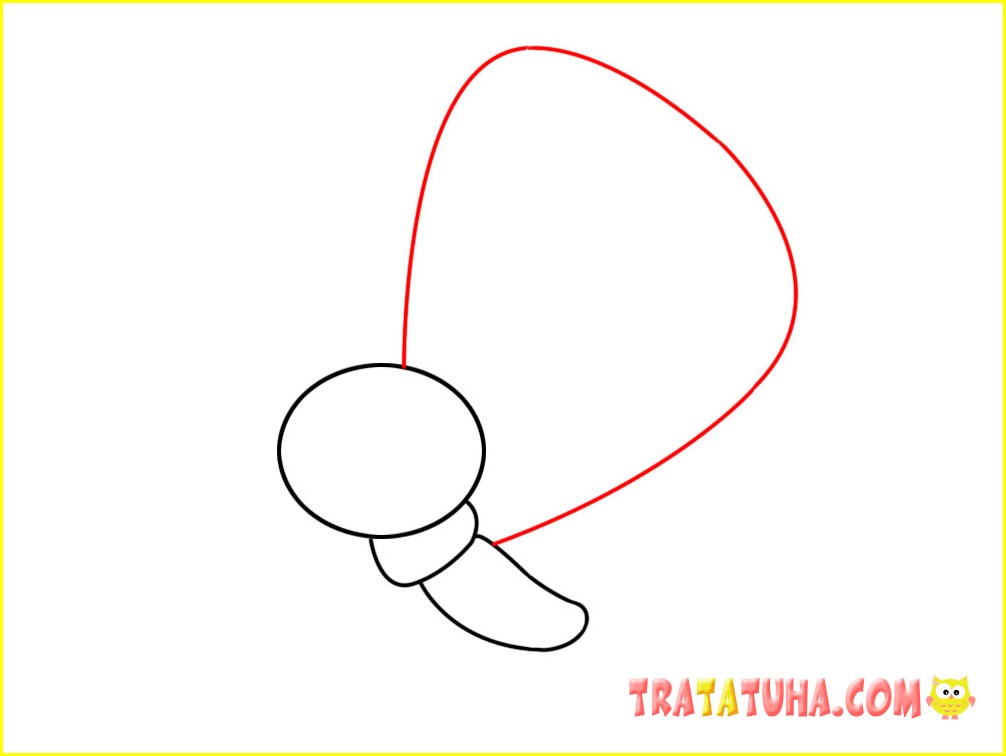
Add another one to the background.
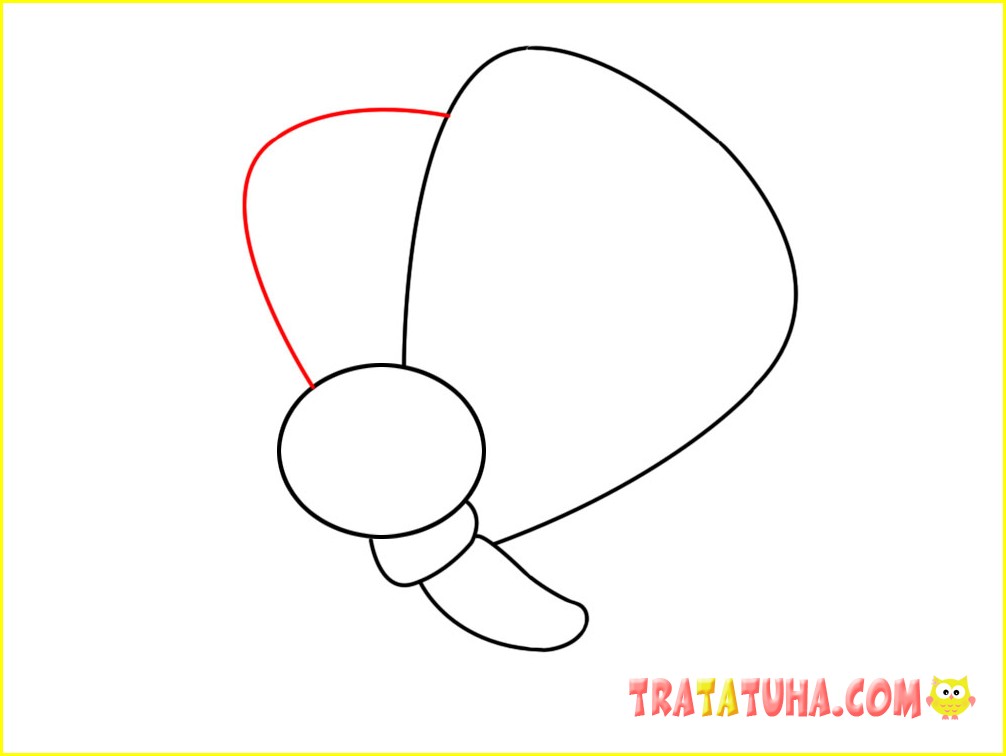
Finish with the bottom.
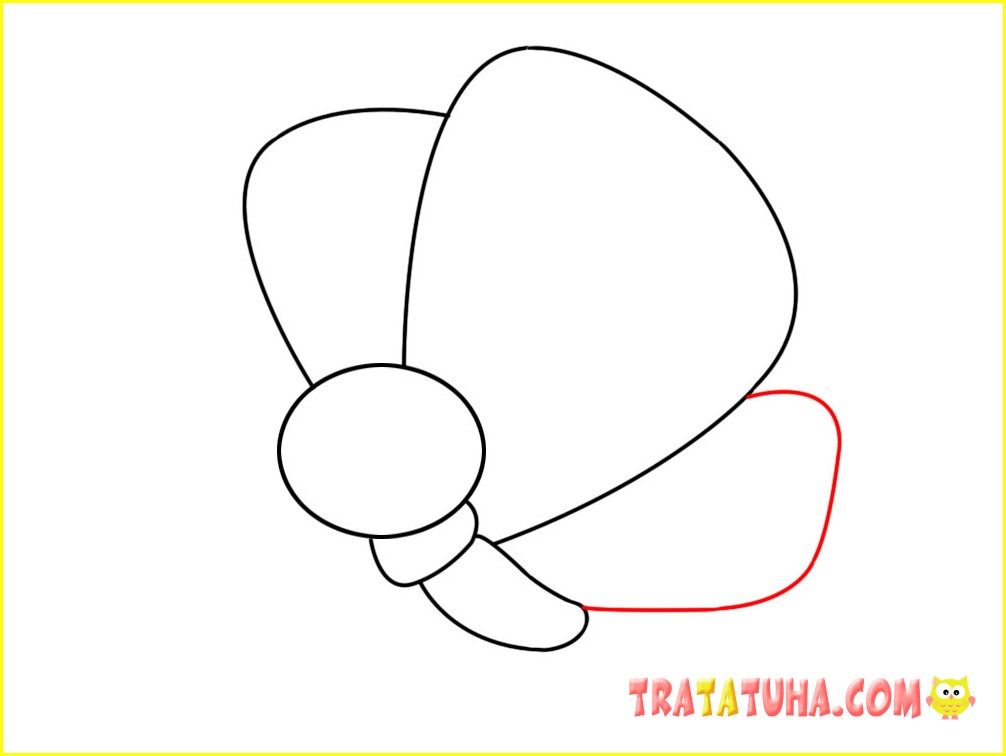
Let’s go back to the head and draw the eyes, nose, smile, mustache.
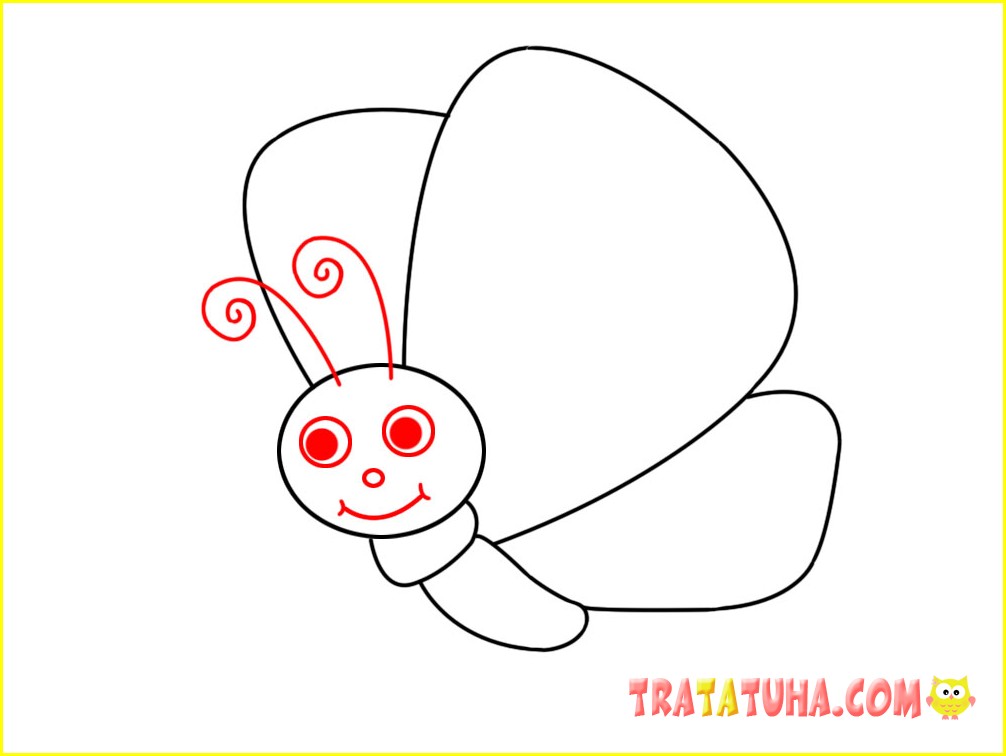
If desired, we will improve the body and wings a little.
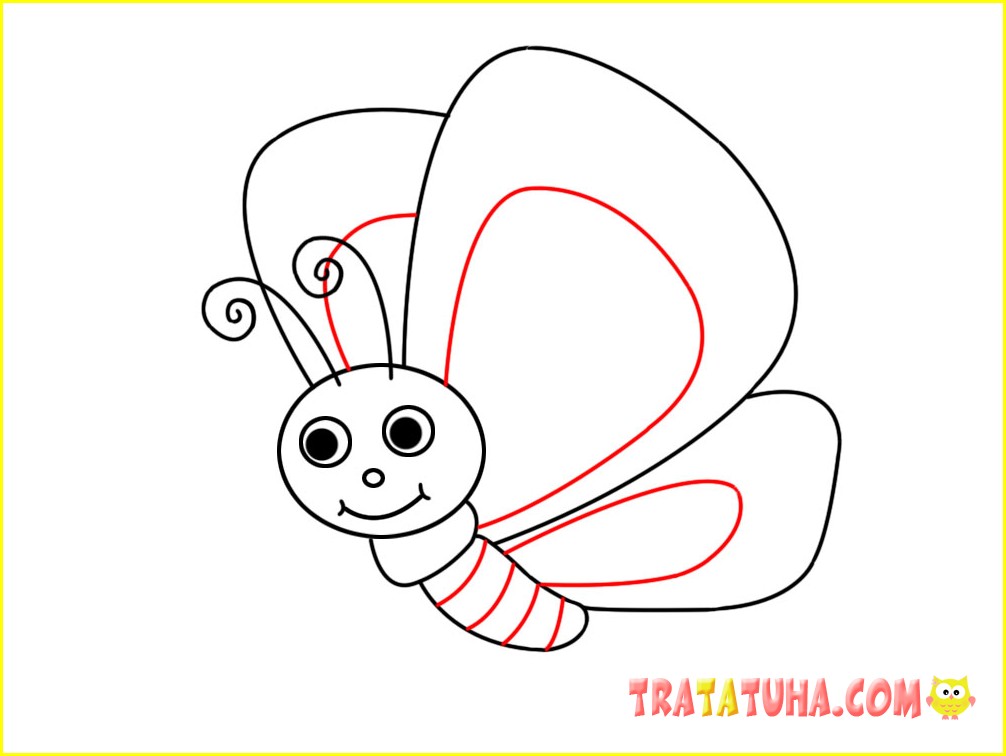
The butterfly drawing is ready.
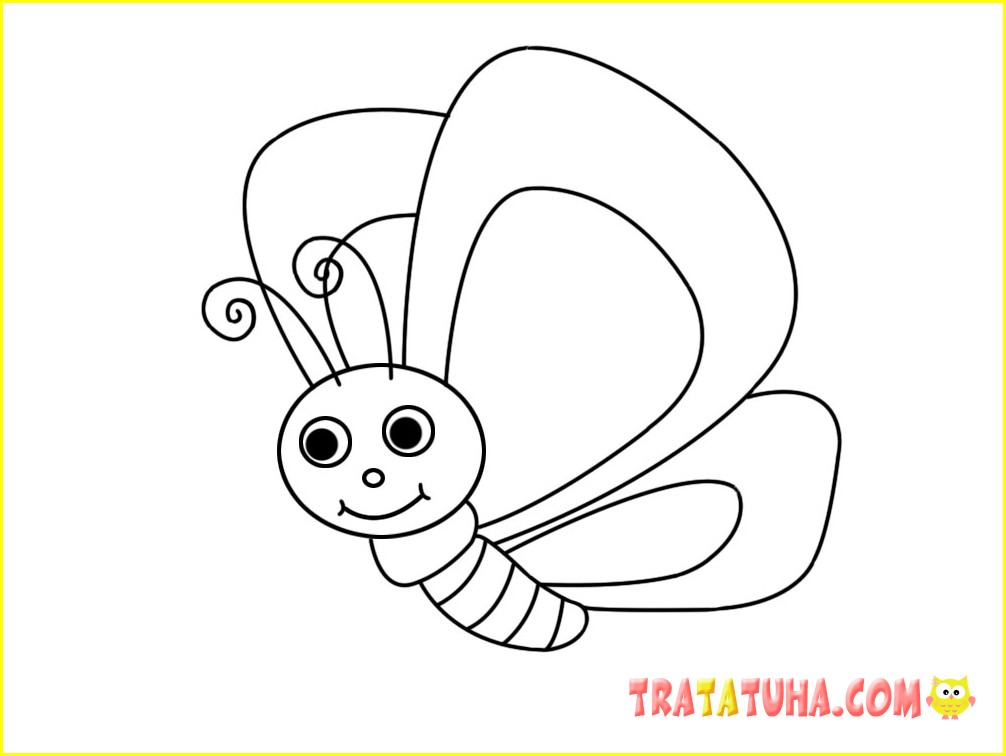
Color it in your favorite colors.

A step-by-step lesson on the topic — how to draw a butterfly, let’s finish here. Although there are still a lot of different ways, complex, almost realistic and simple, for children’s creativity.
There are many other ideas in the section — how to draw.
