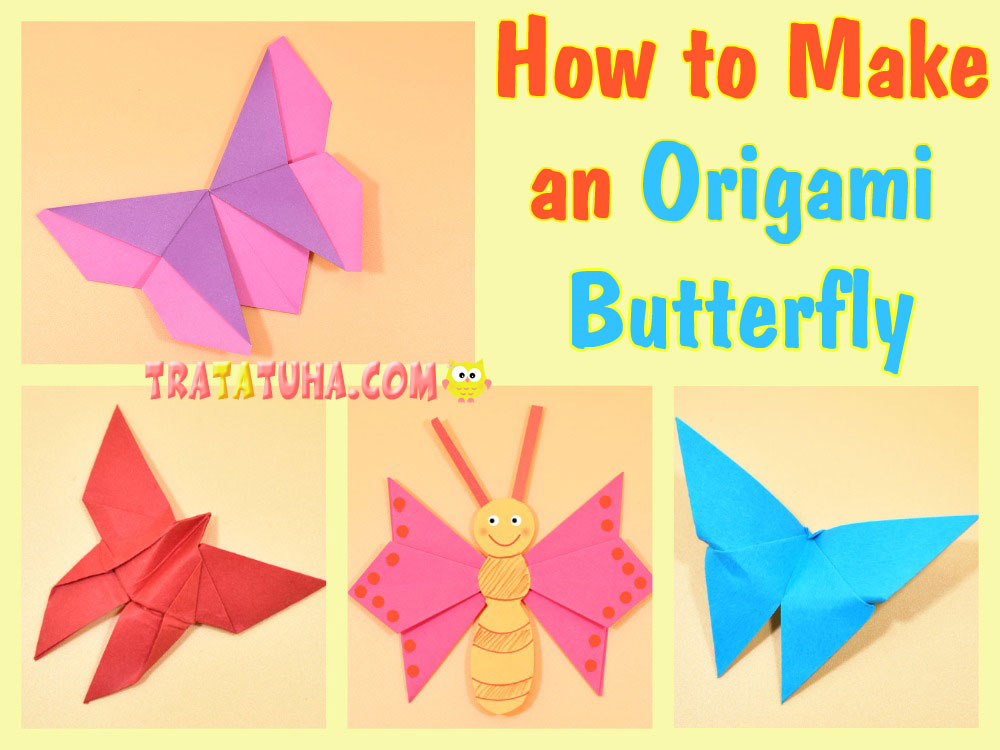
Interested in how to make an origami butterfly. To your attention 4 options for creative work, ranging from simple forms to more complex ones.
For work, prepare colored paper of any color. As usual, the segment should be square. You may also need scissors and glue.
Origami Butterfly Step by Step: 1 Way
Prepare paper of any desired size.

Make 3 folds: connecting the corners and sides.
Connect the corners to make a triangle.
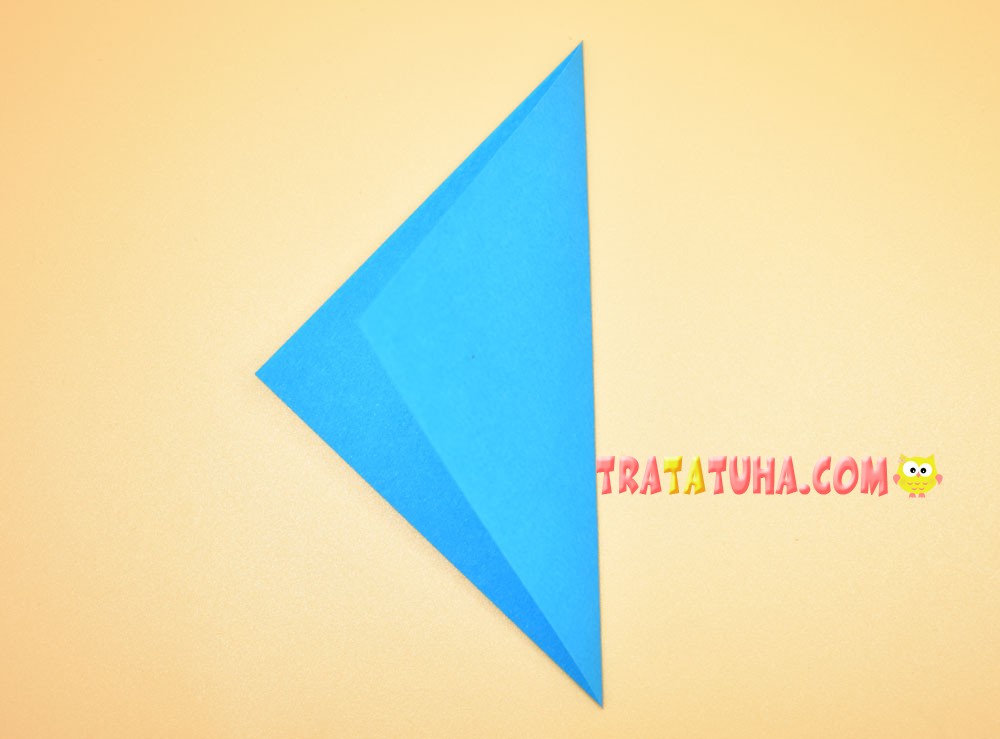
Next, connect the other two corners again, and then the sides.

Direct the horizontal fold inward and make a double triangle. You can see the process of folding it in more detail in the section — basic origami forms.

On one side of the double triangle, lift the side corners up.
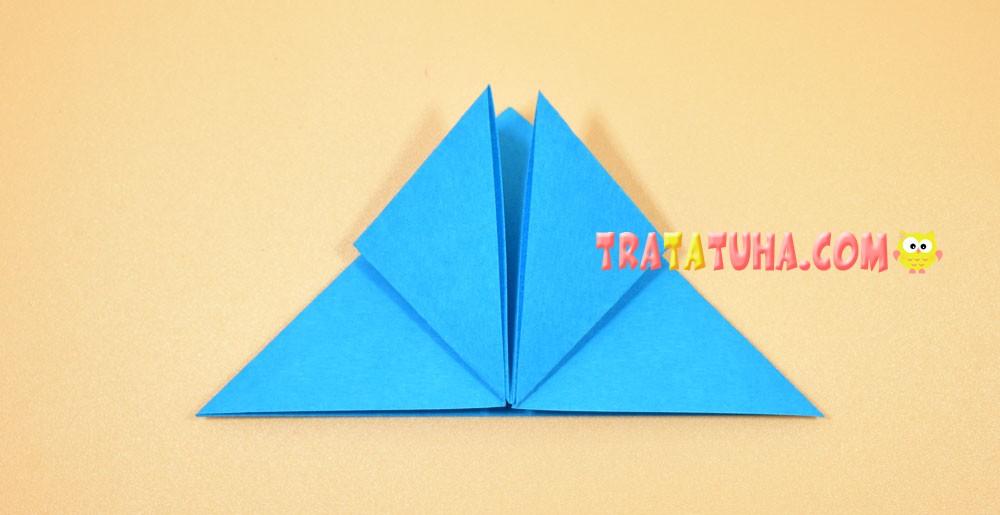
Flip over to the other side. Fold up the corner.

Pull it so that the tip extends slightly beyond the top side. As a result of this action, the paper at the bottom of the part will be pulled after the corner.
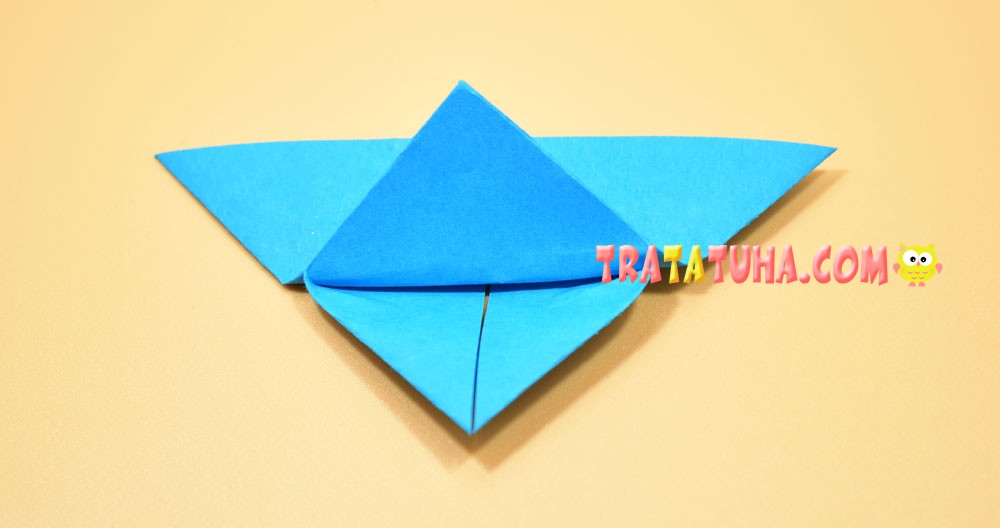
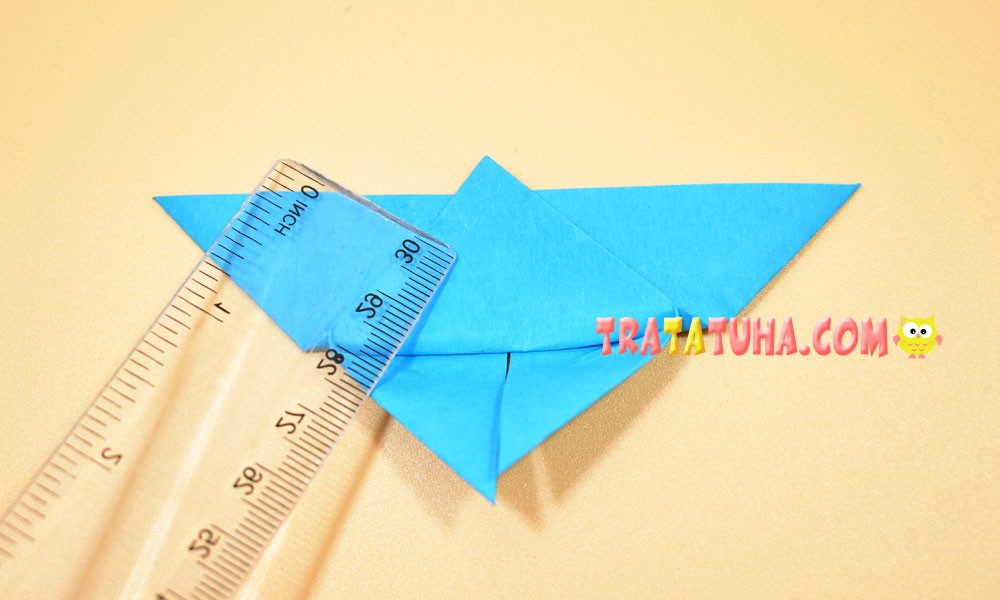
Bend the tip back and press firmly to keep it there.
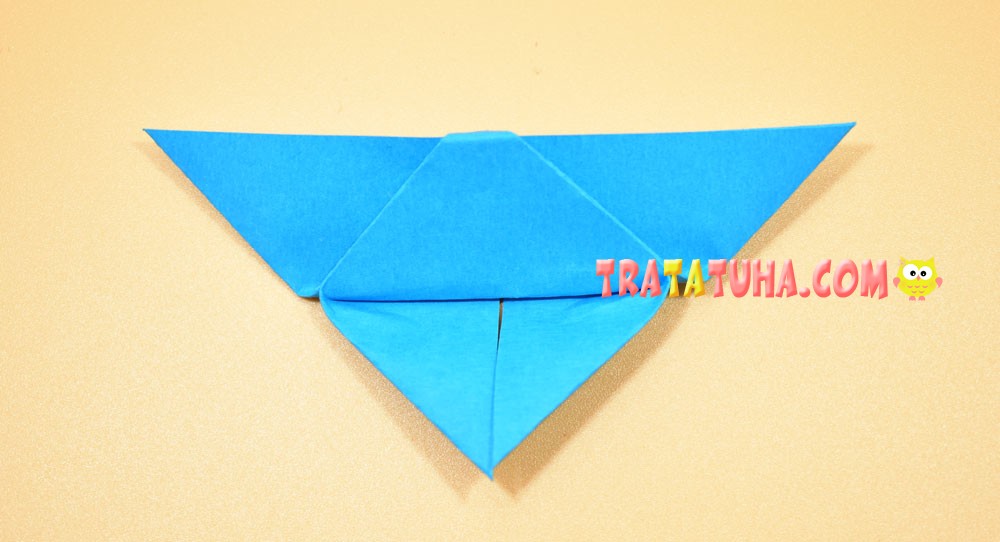
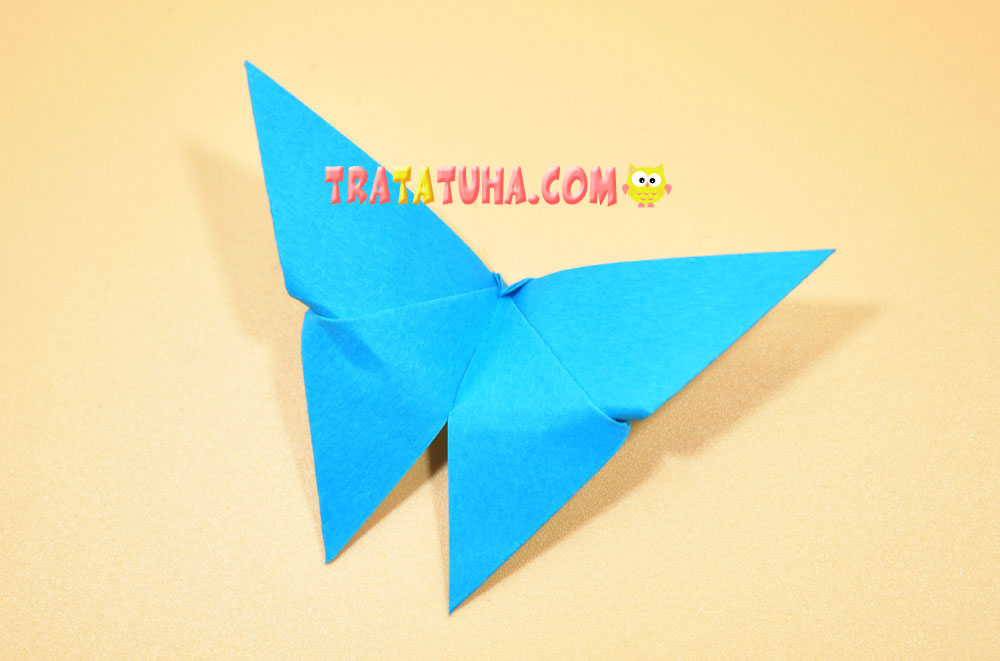
Holding the tip, fold the resulting butterfly in half a little.
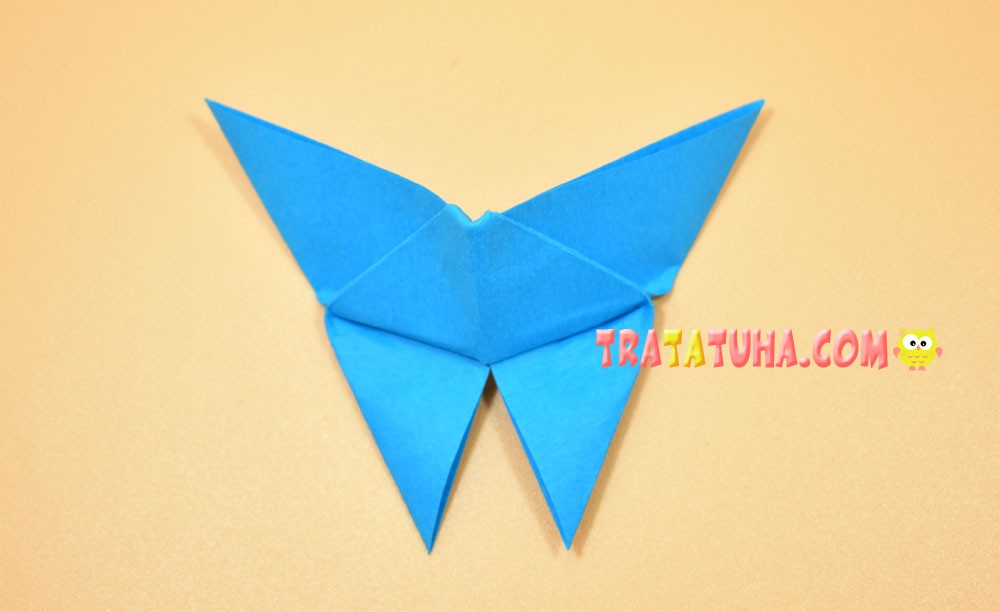
All work completed.

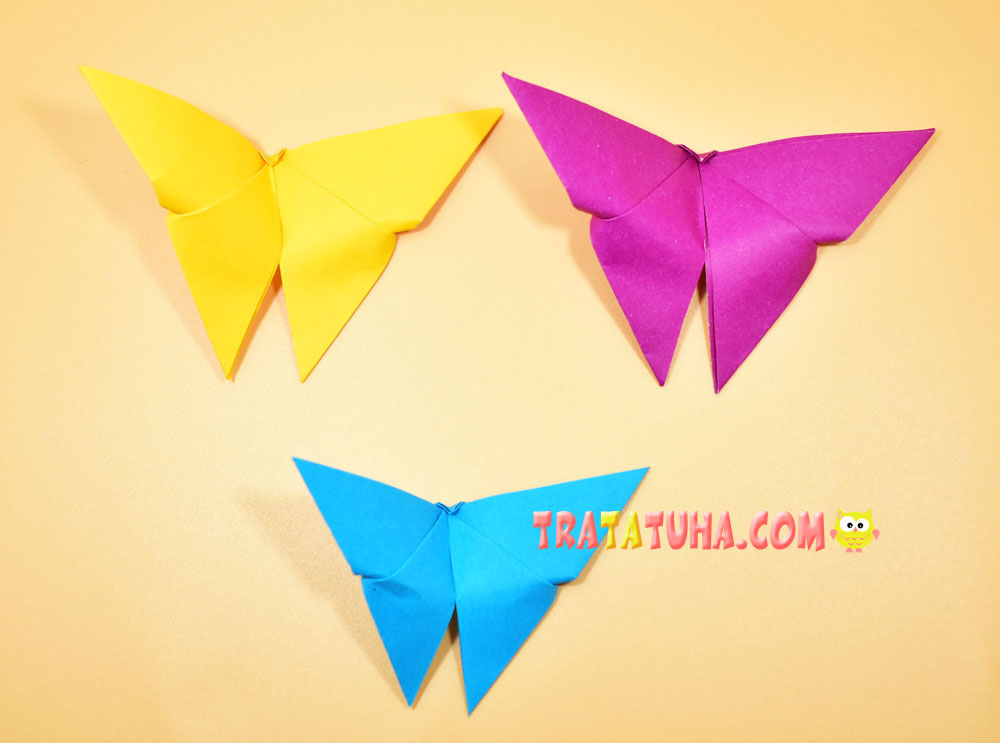
Origami Butterfly: 2 Way

You will also need a square of paper. Any desired color and size. But, you should always keep in mind that the smaller the size, the more difficult it is to fold origami. The middle option is 15:15 cm.

The initial steps completely repeat the previous ones. That is, you need to make a double triangle. First make the folds connecting the corners.

And then connect the sides.


Point the sides inward.


Bend up the side corners, aligning the tips with the top corner of the triangle.
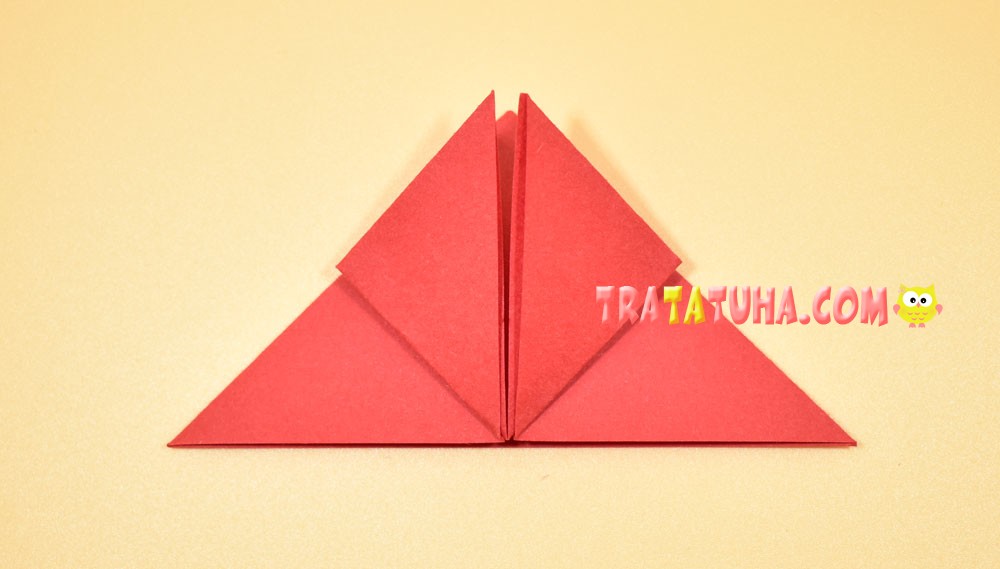
Turn over to the other side and fold down the top corner, it should extend beyond the bottom side. Roughly bend in half.

Lift up the corners.

For convenience, turn over so as to change the bottom with the top, the tips of the corners will now be pointing down. Fold the sides in.
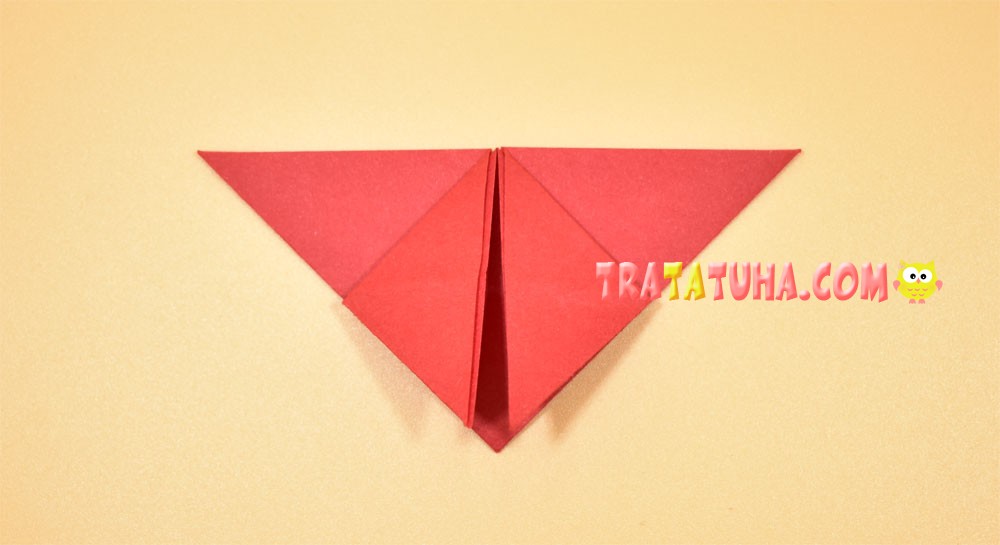
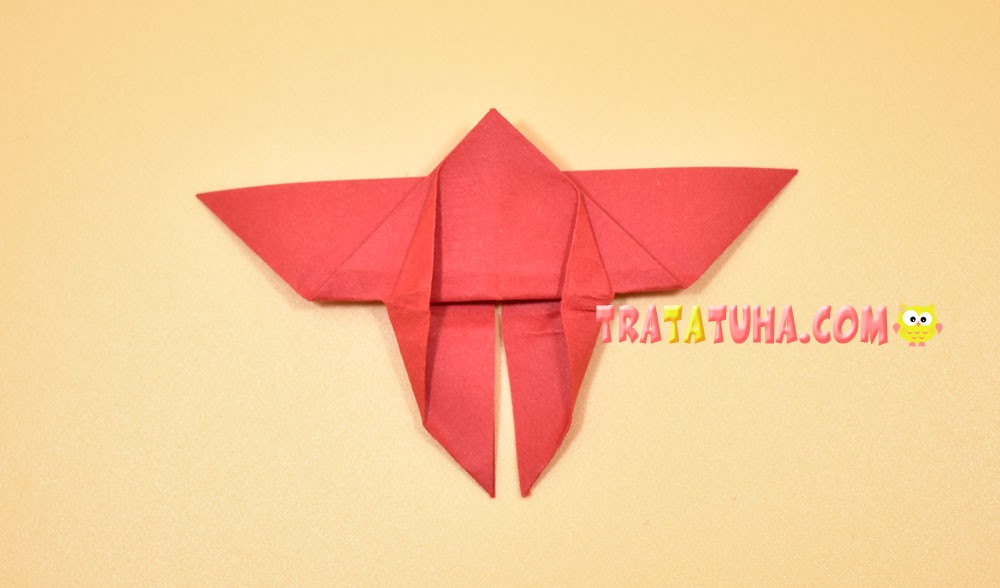
Flip the piece upside down.

Fold in half.

Spread your wings apart. The origami butterfly is ready.

Simple Origami Butterfly: Method 3
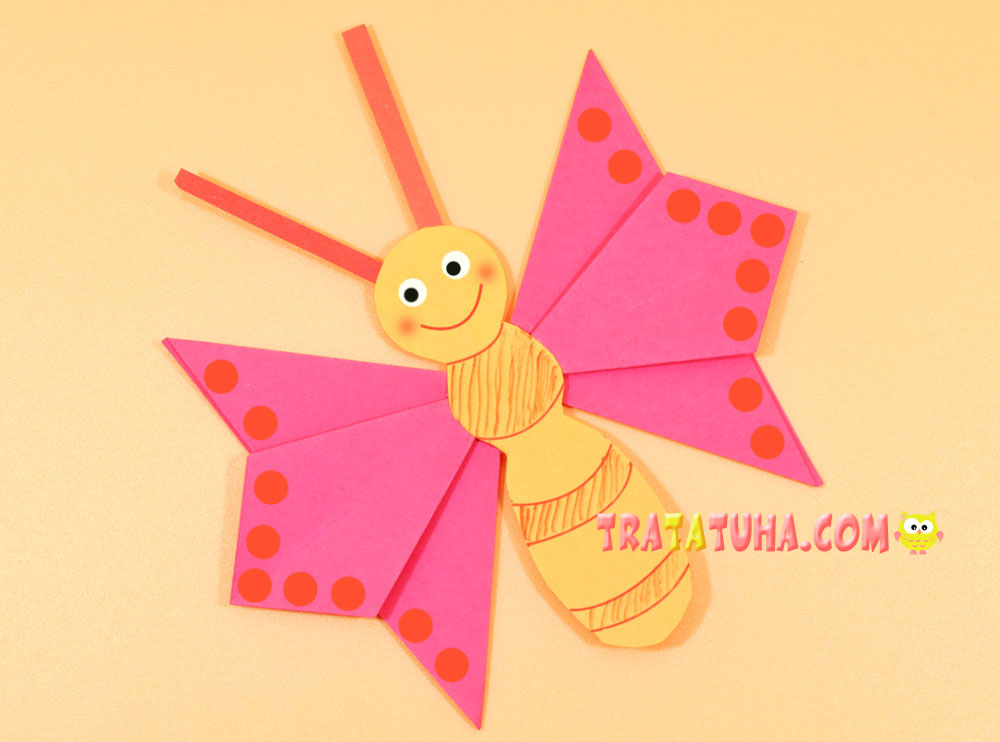
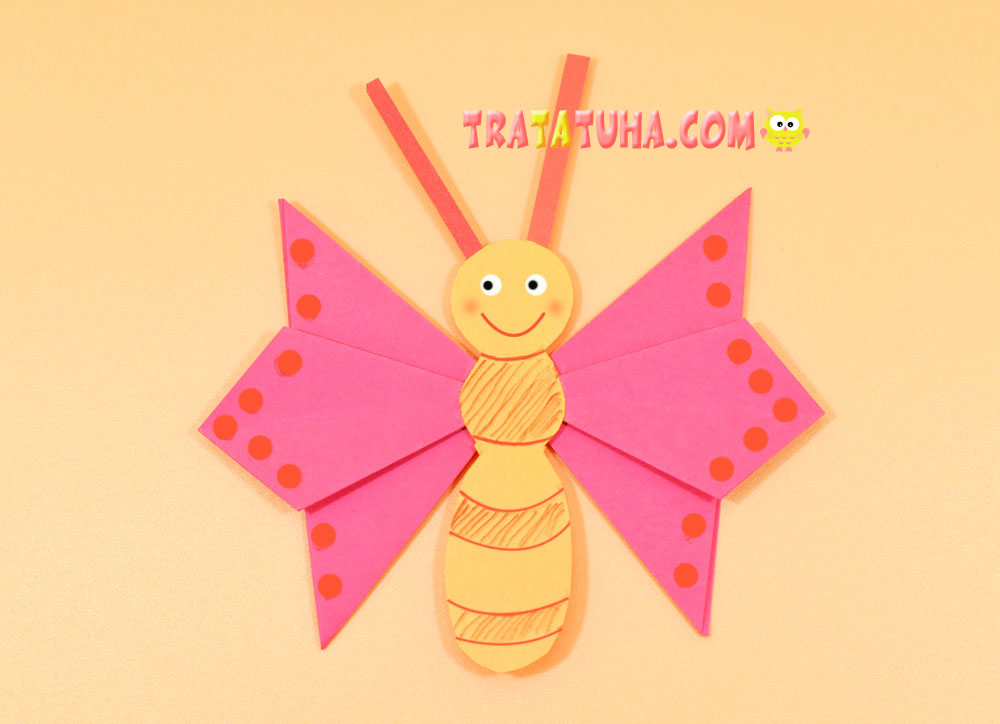
Here, only the wings are made in the origami technique. The body is simply cut out of paper.
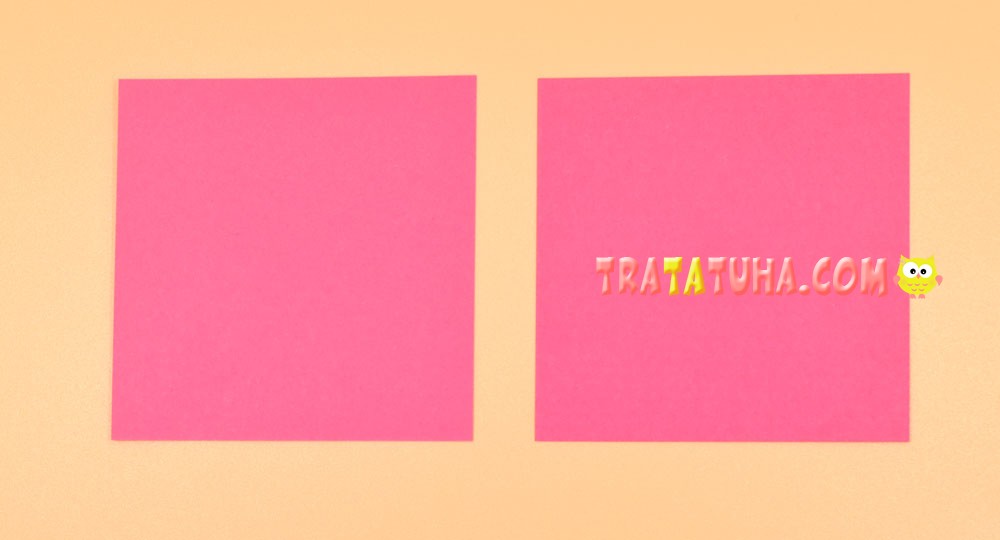
But the wings themselves are very simple. For them, you will need two pieces of paper in the shape of a square.
Fold the square in half to make a triangle.
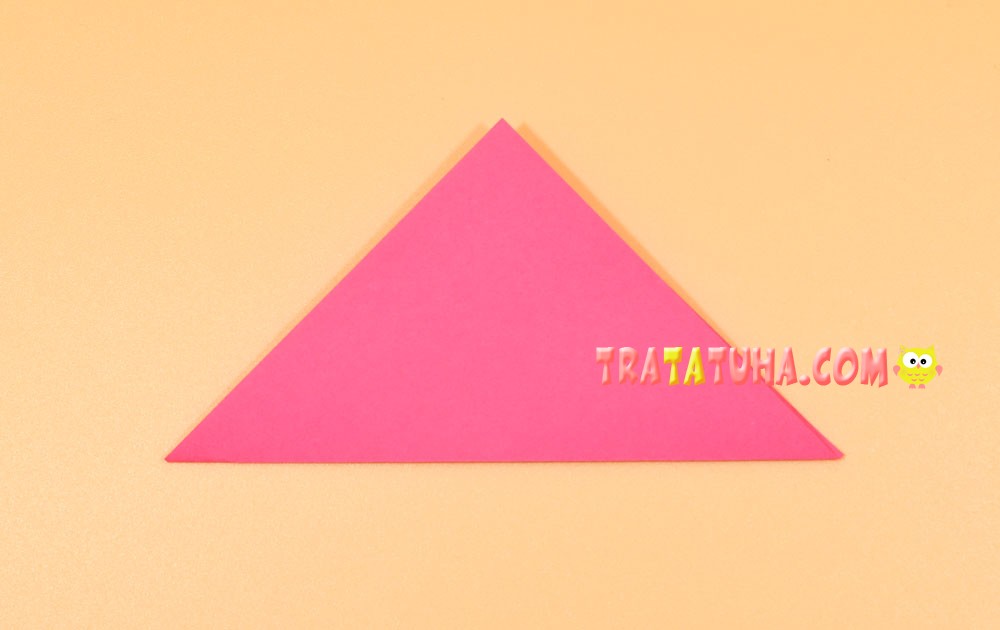
And then fold the triangle in half to determine the middle.
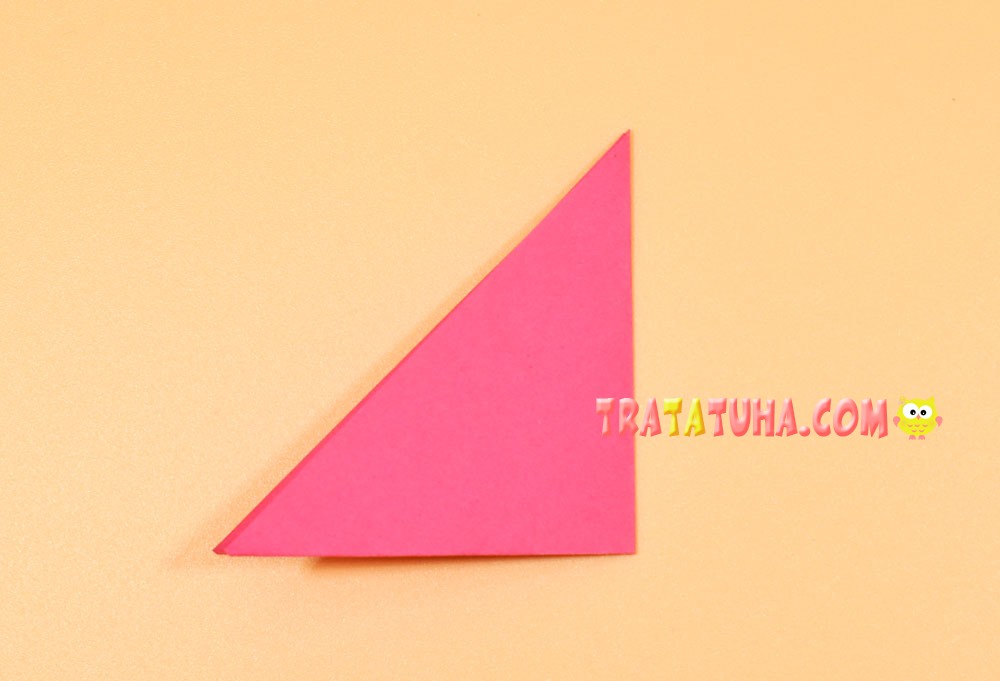
Open, fold the right side to the middle.
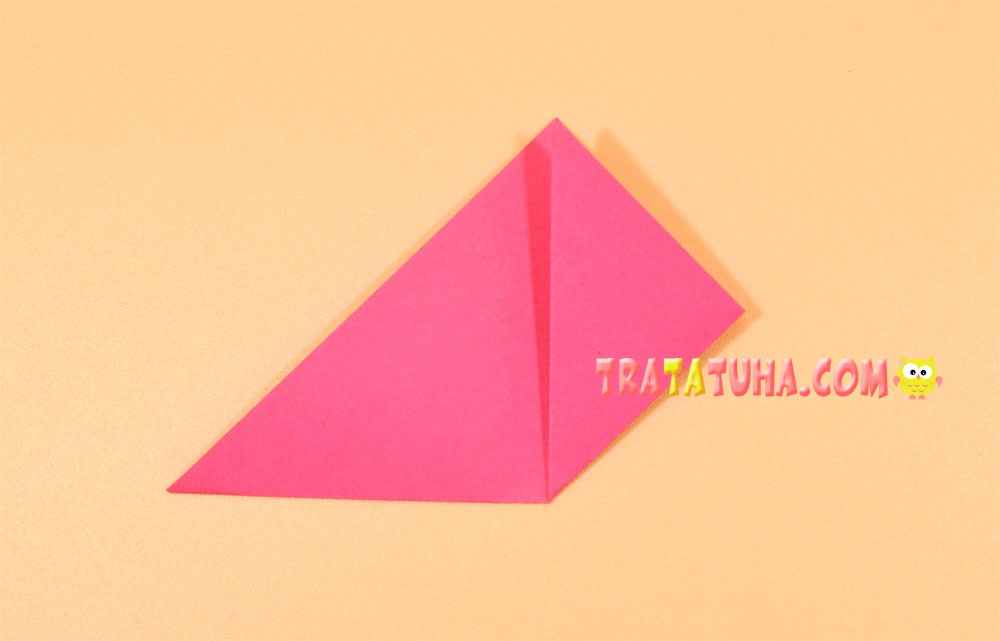
And then the left.
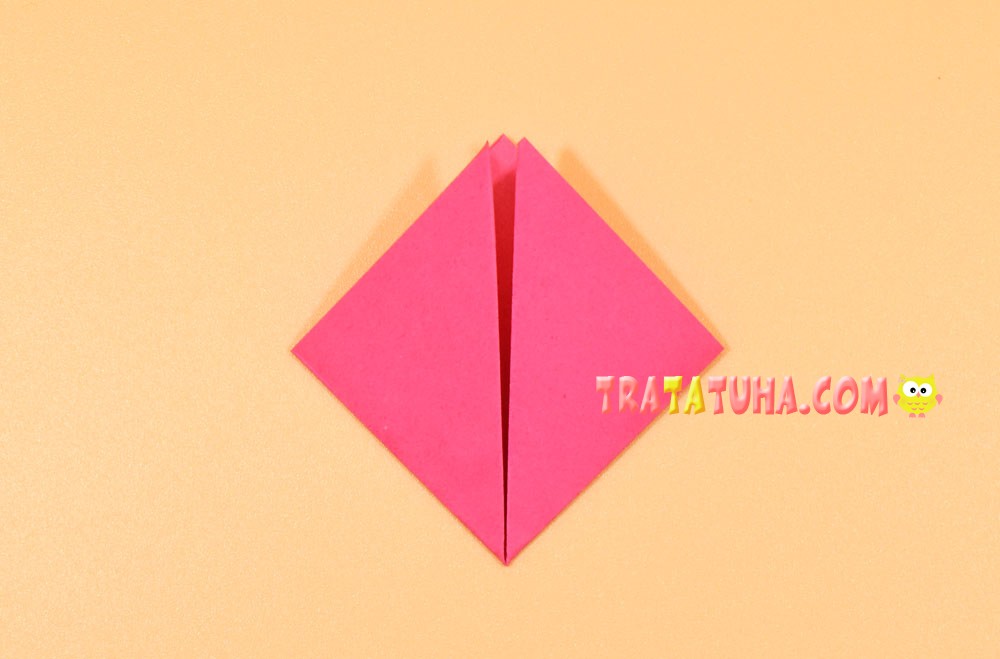
Flip over to the other side.
Align the right outer side in the center, while pulling out the bottom corner.
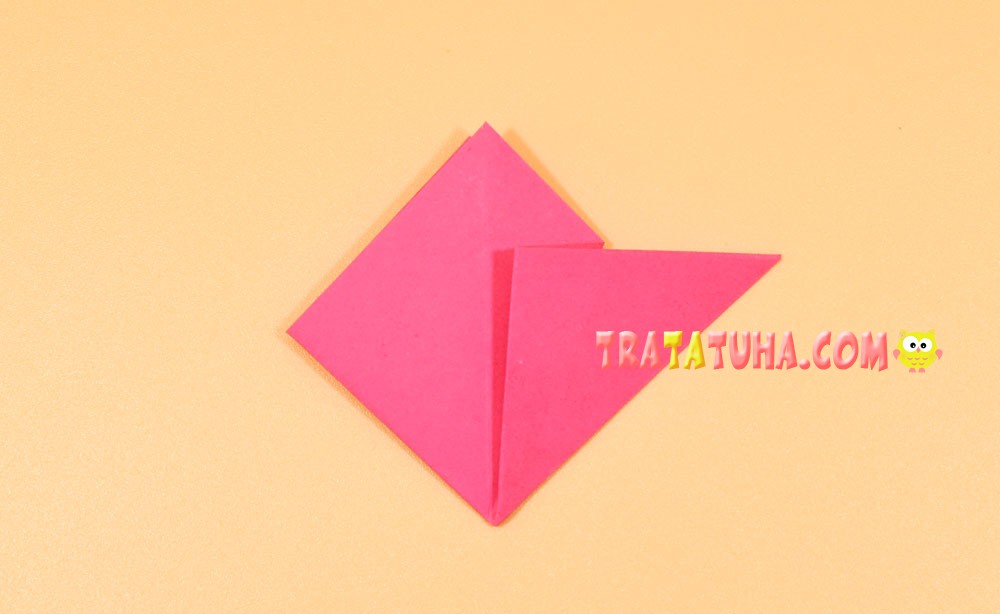
Do the same with the left. The wing is ready.
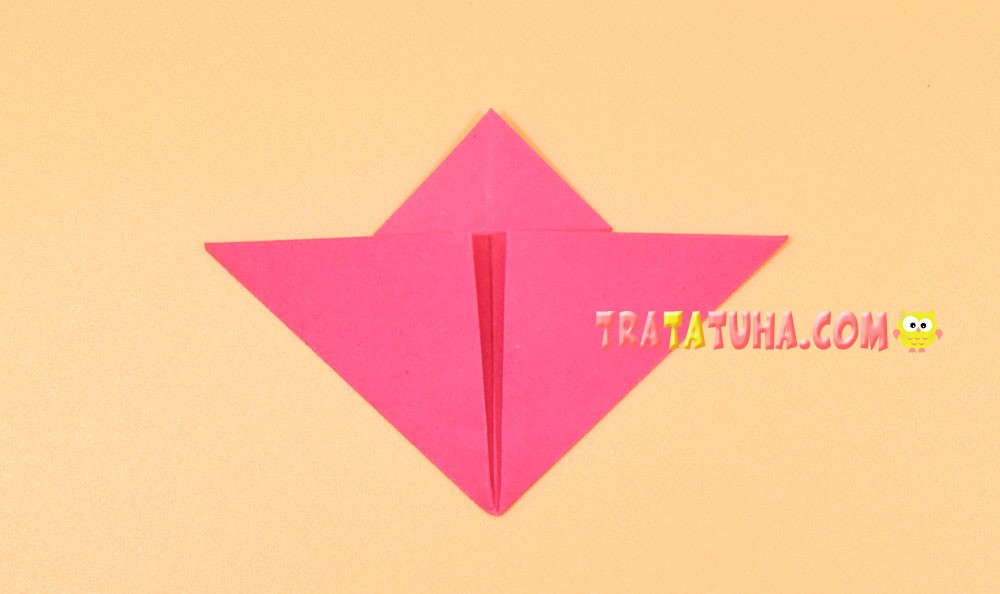
Do one more.

Cut out the body of a butterfly from colored cardboard. It can be of any shape, up to an elongated oval. Glue the mustache, draw eyes, smile. Glue the body to the wings, color as desired. Origami butterfly is ready.
Butterfly Bookmark: 4 Way
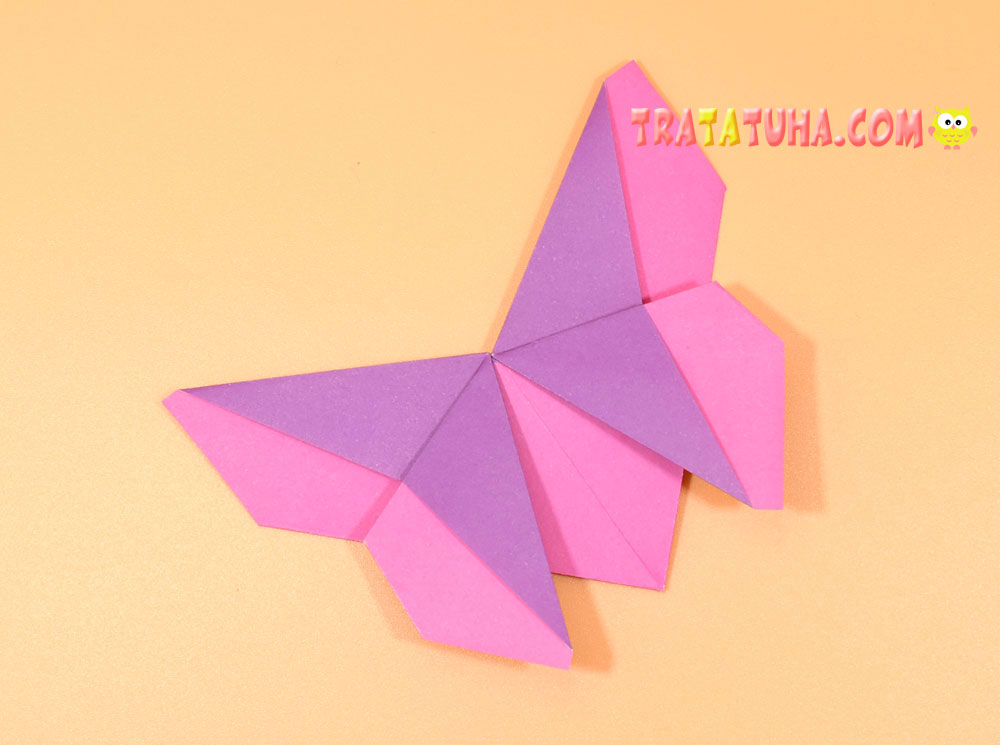
This option is not only a bright insect, but also a practical item – a bookmark for books. Simple origami work, interesting and practical. A great option for girls, flirtatious and glamorous.
Step-by-step process according to the link — origami butterfly bookmark.
Now you know how to make an origami butterfly. Successful creativity!
