Lesson on the topic — how to draw a penguin in an easy way. Four different methods are presented with step-by-step photos.
Drawing is always interesting and fun, and for children it is also important that it be easy. After all, you want to be happy with your own creation and proudly present it to your loved ones.
How to Draw a Penguin: 1 Way
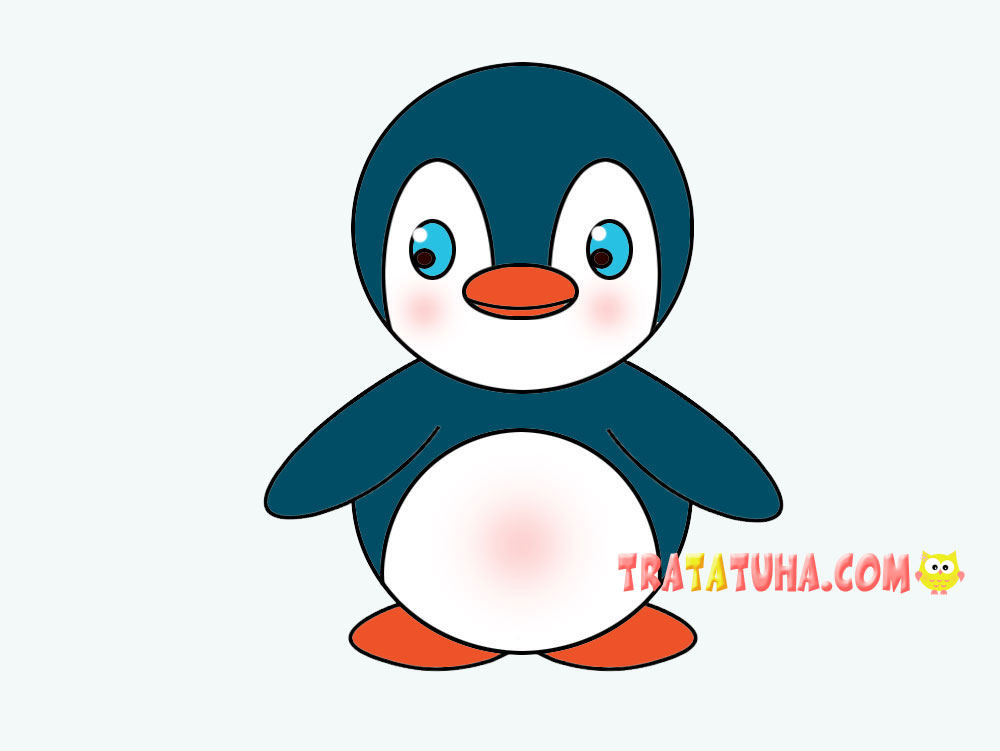
For drawing you may need:
- Paper;
- Simple pencil;
- Eraser;
- Compass;
- Colored pencils, crayons or markers.
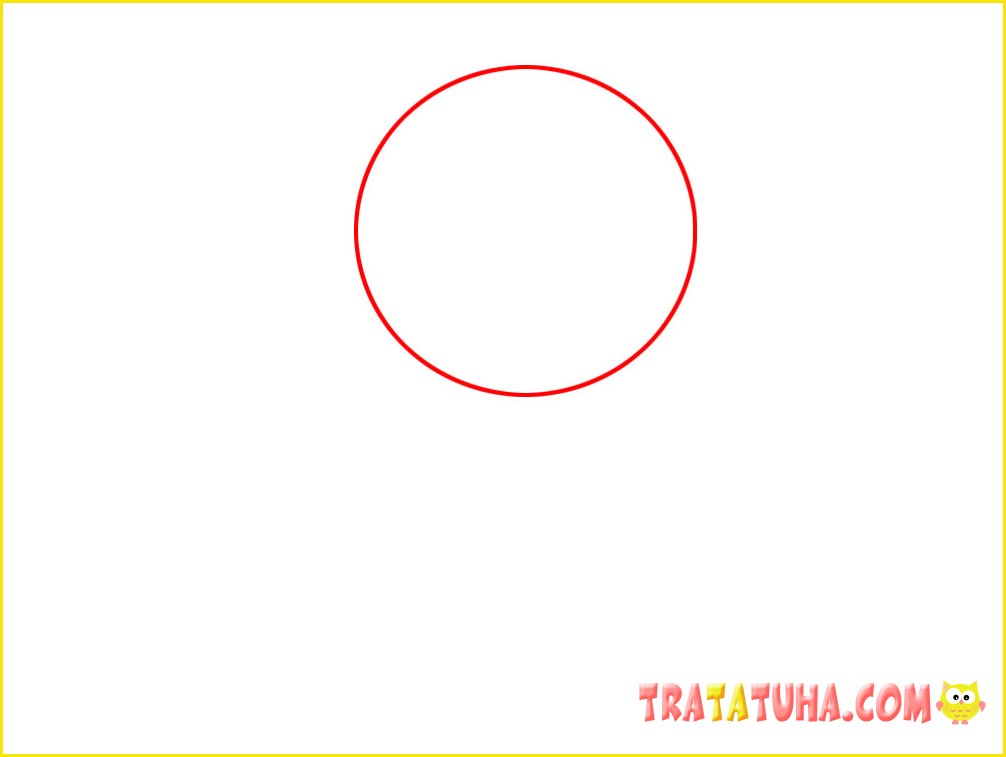
Draw a circle at the top of a piece of paper. It can be drawn using a compass or simply by hand. This is the head of the future penguin.
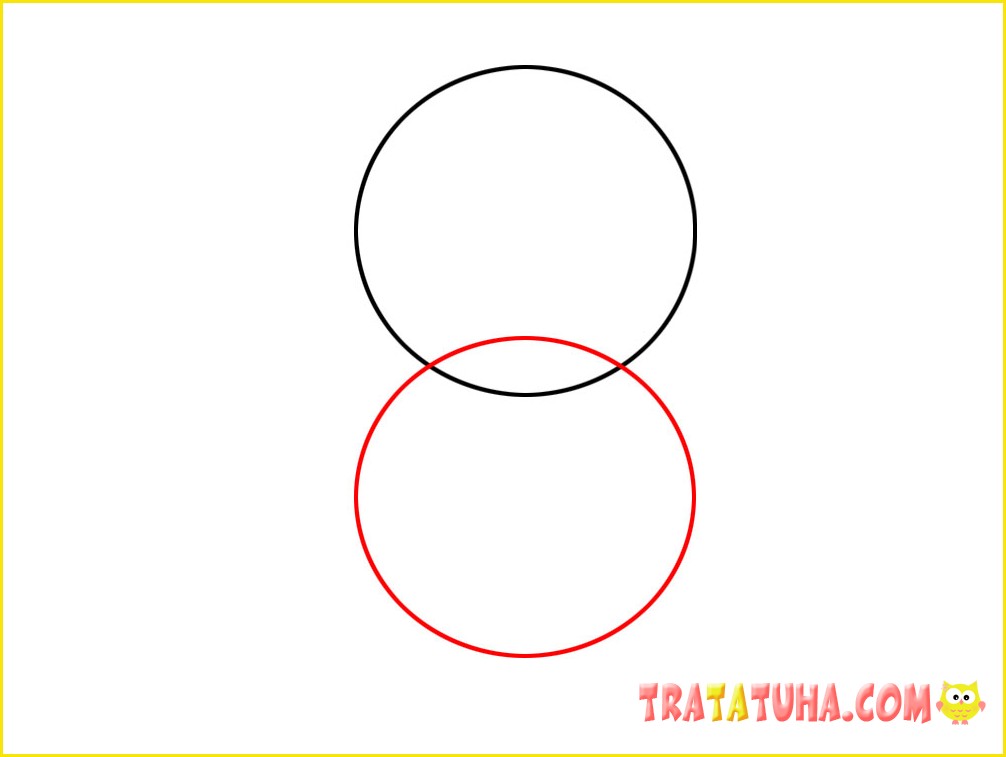
Draw another circle at the bottom of the head, which will be the body of the bird.
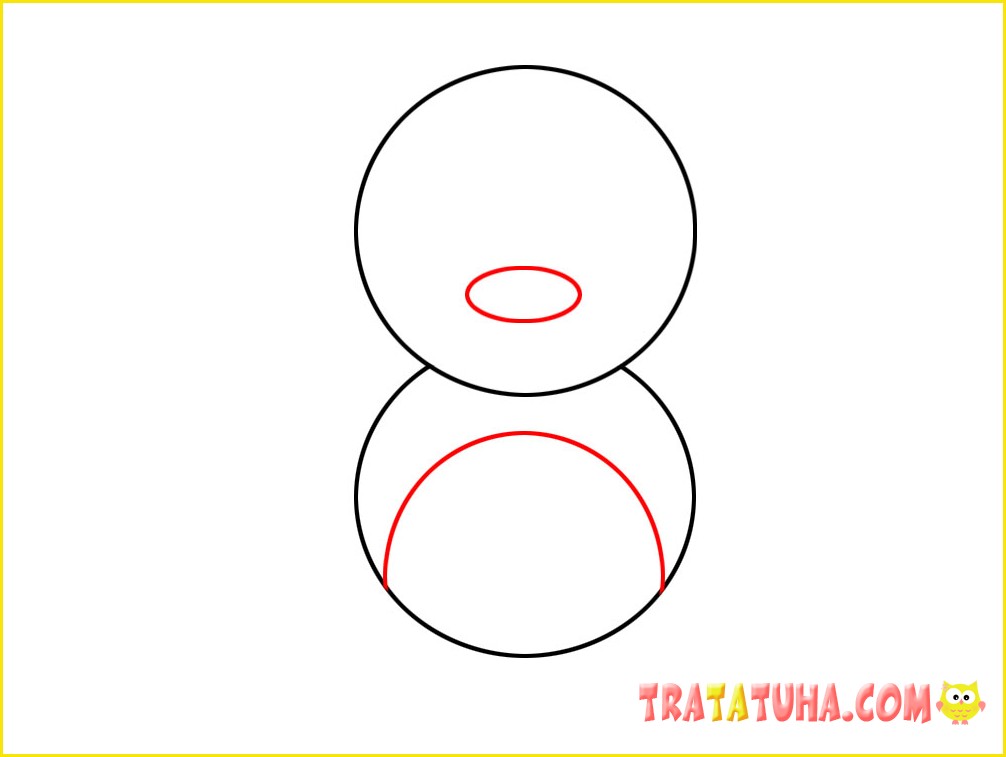
In the head area, draw a small horizontal oval-beak. And on the body, mark a semicircle to highlight the tummy.
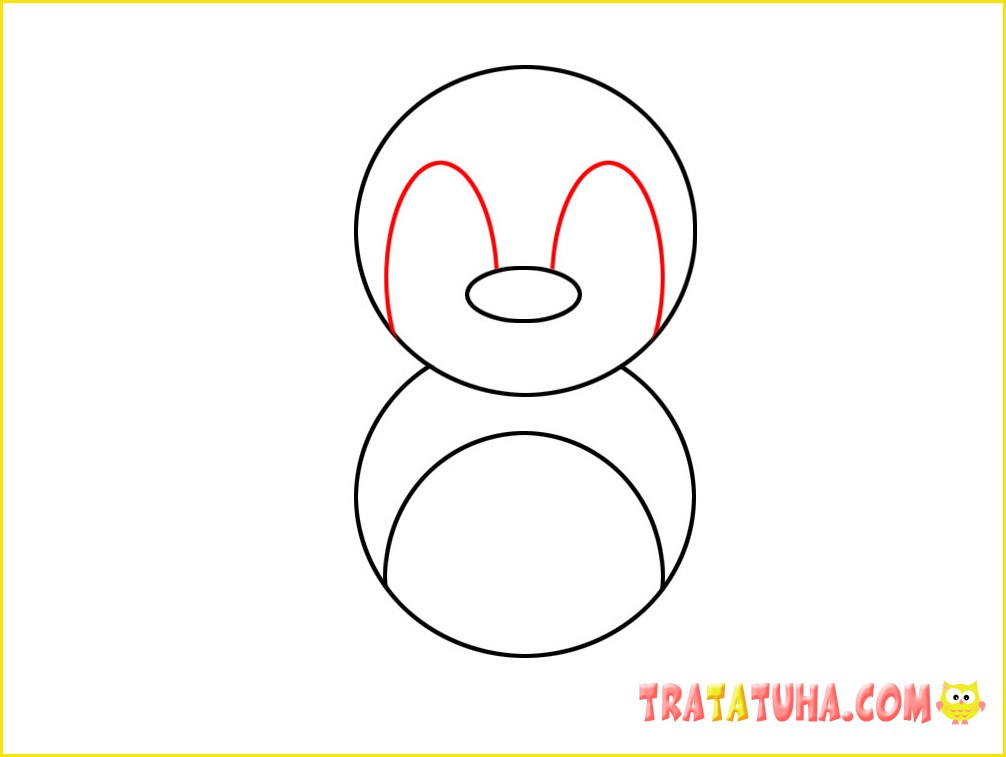
From the beak to the sides of the circle on the head, draw two arcs.
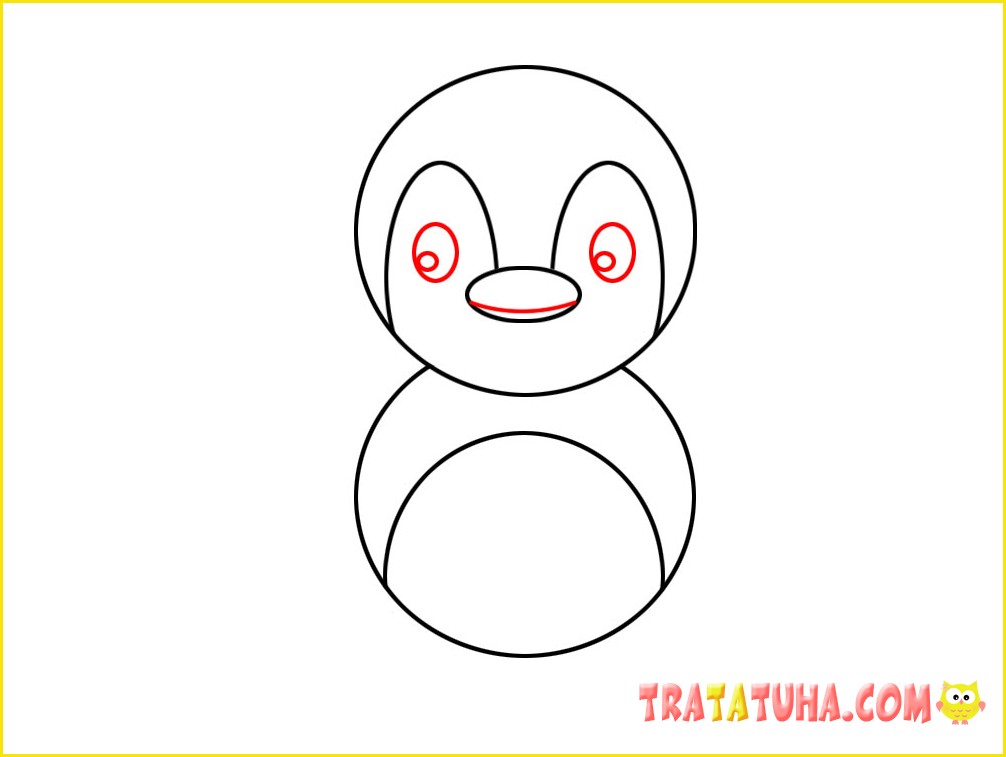
Add two eyes and a slightly curved line in the beak area.
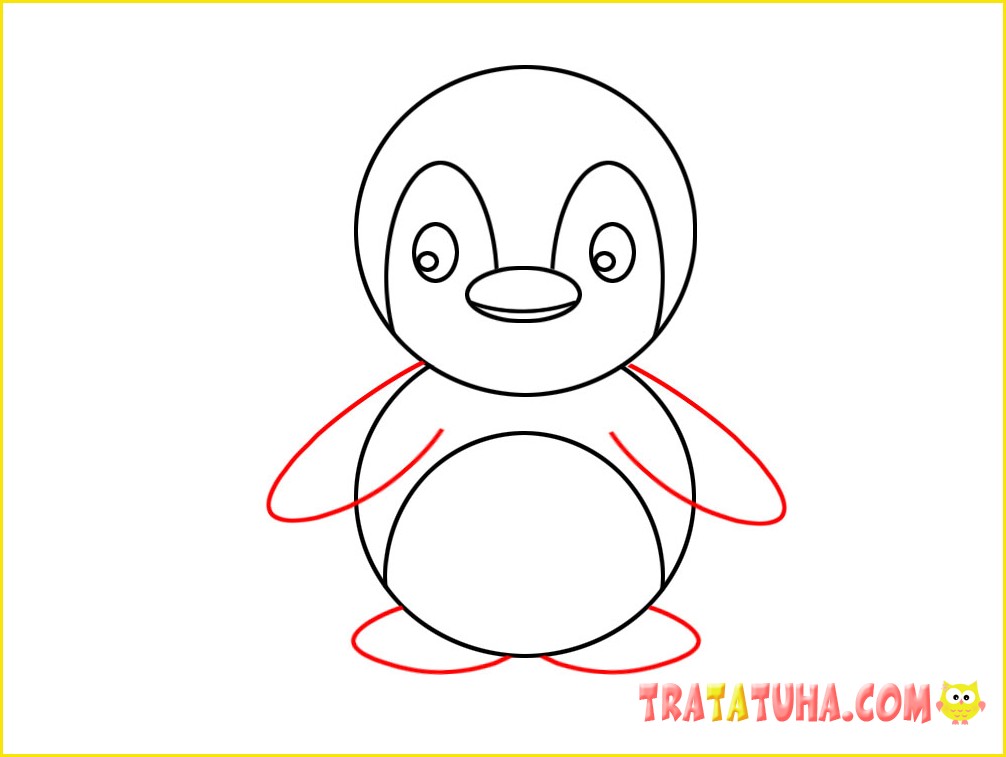
The final stage is two wings and two legs in the body area in its upper and lower parts.
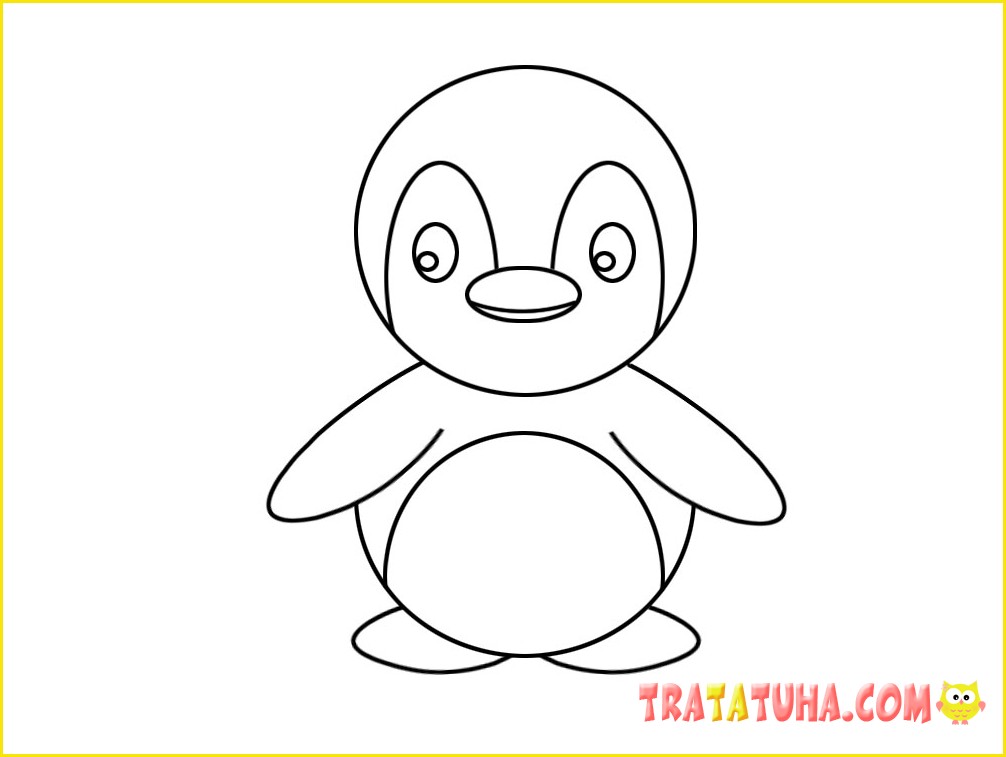
Use an eraser to erase unnecessary lines in the area of the wings. The outline of the drawing is ready, all that remains is to paint it in the appropriate colors.
Highlight part of the head and body with a dark color, which will contrast perfectly with the white muzzle and belly. The beak and paws can be painted orange.

Penguin Drawing: Method 2
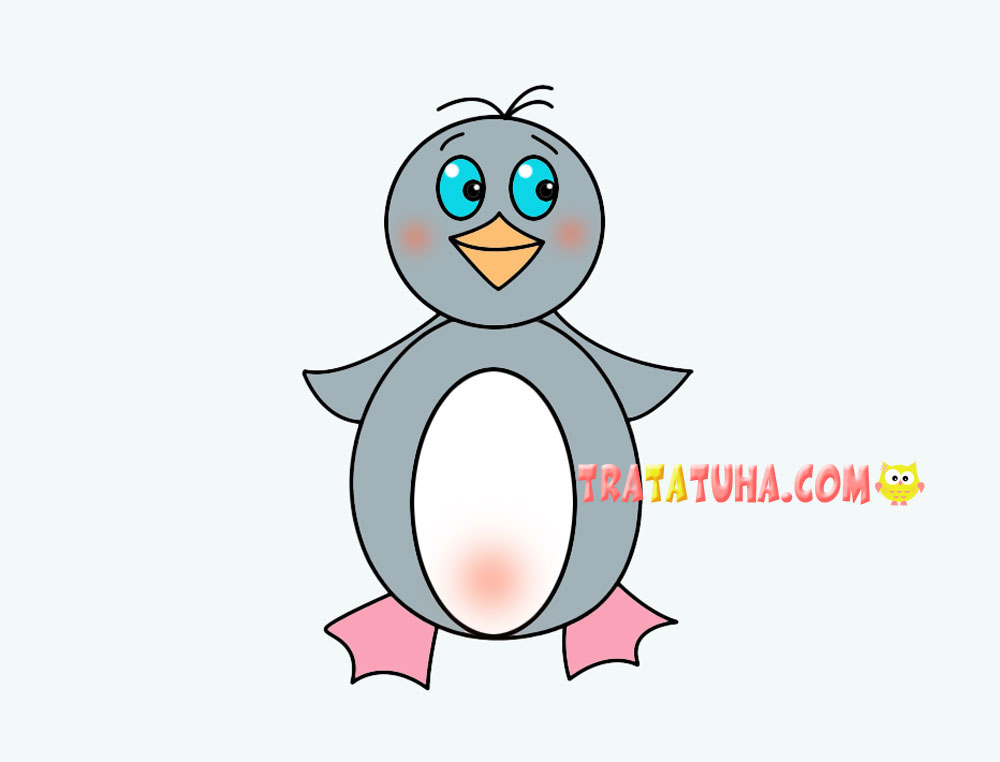
Here, at the first stage, we will completely complete the head and only then will we proceed to the rest of the penguin’s body.
Draw a circle for the bird’s head.

Start drawing the beak, first a semblance of a smile.

And then there are small triangles from it.
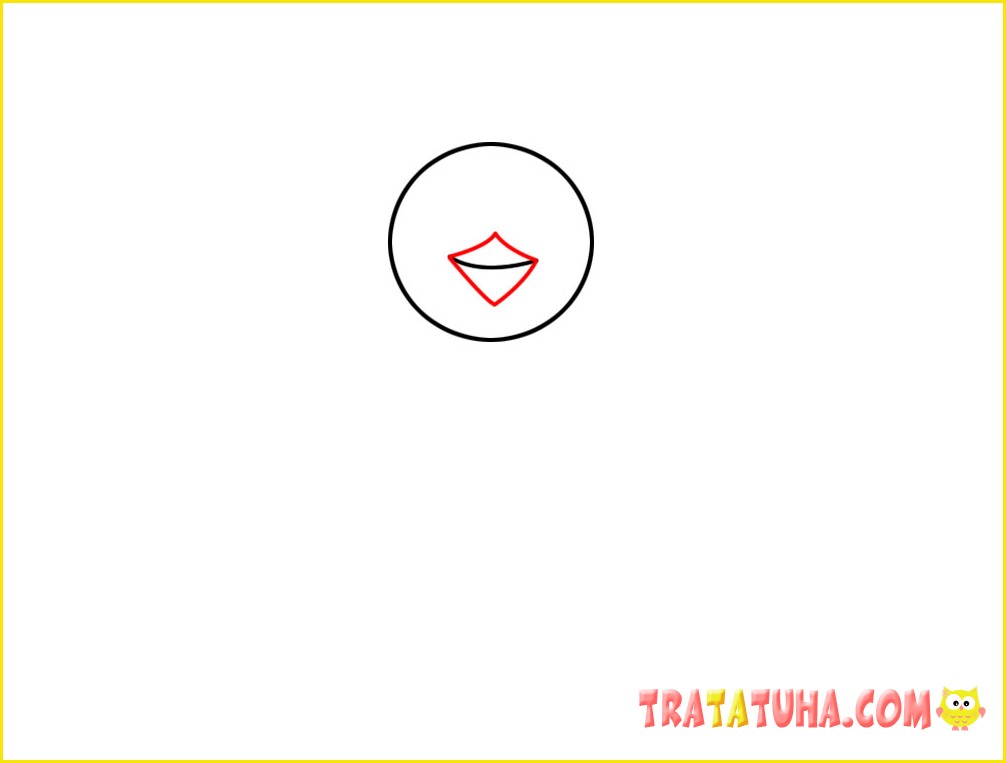
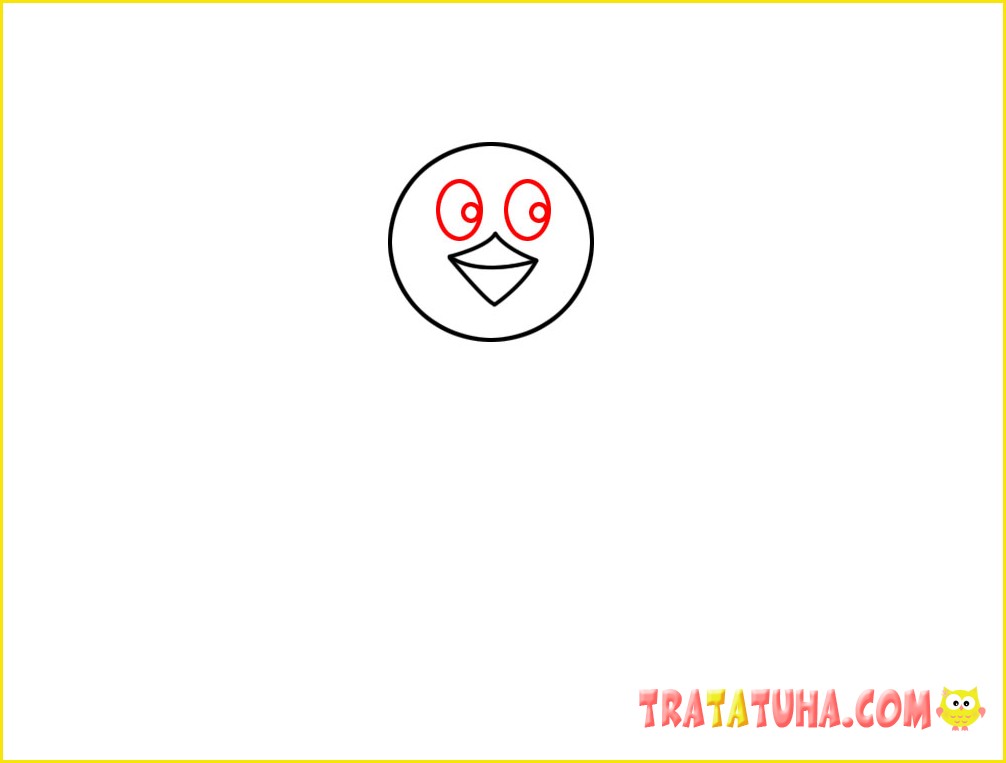
Add oval, perky eyes.
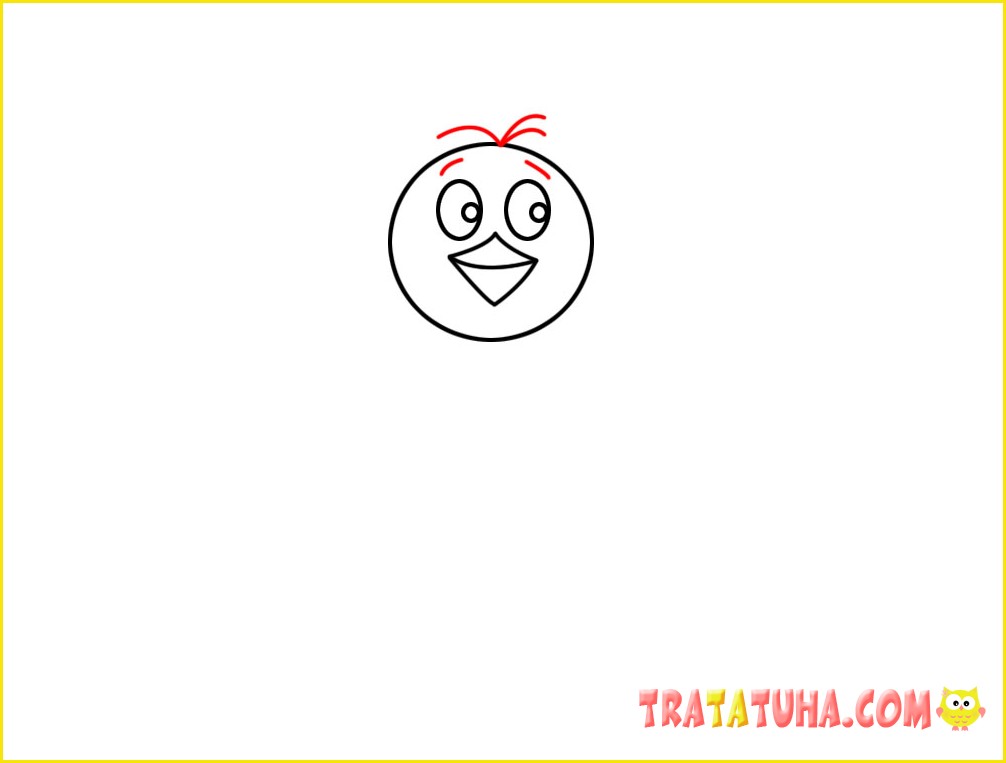
Finish your head with a forelock.
At the bottom of the head, draw an oval or circle to indicate the penguin’s body.
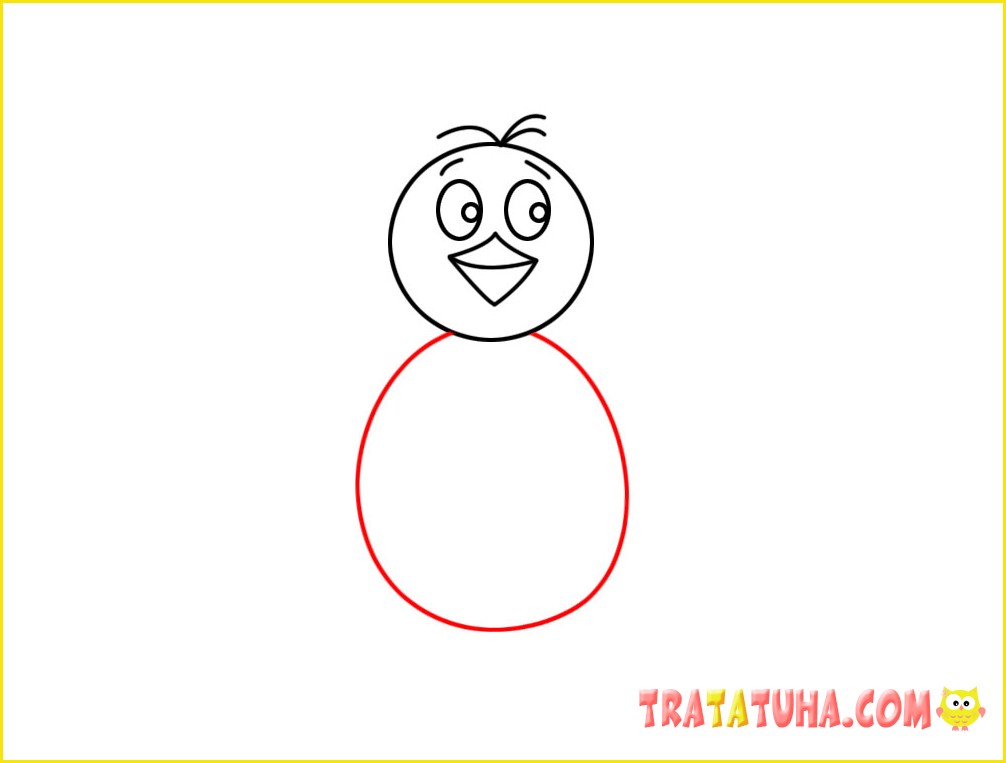
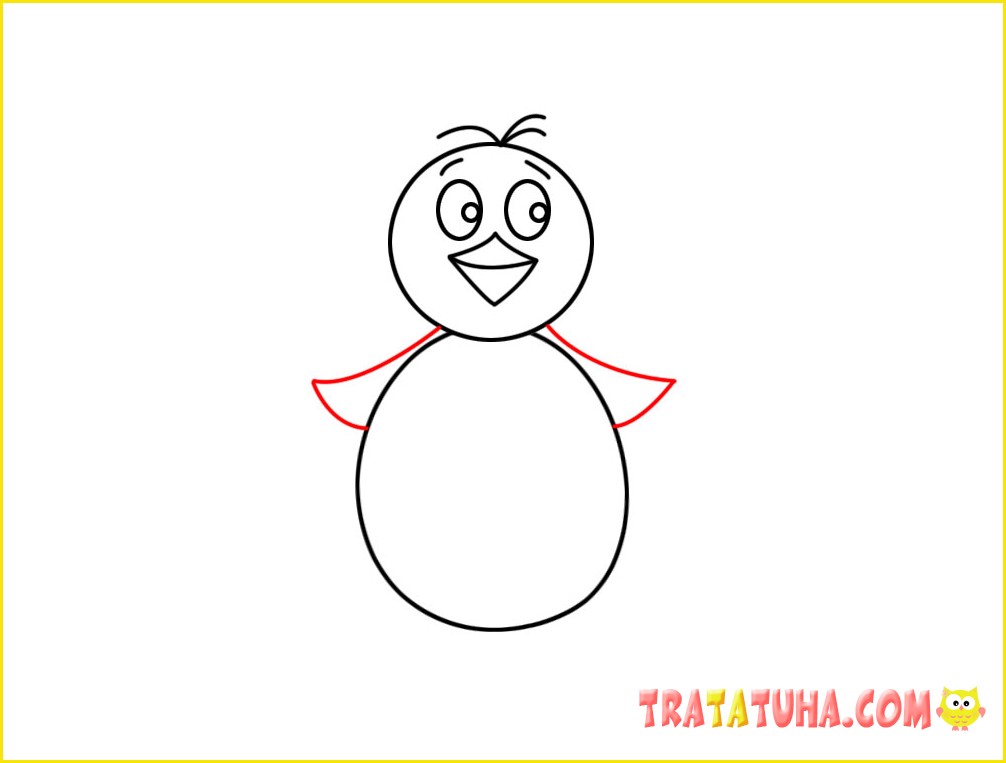
At the top of the body add two wings.
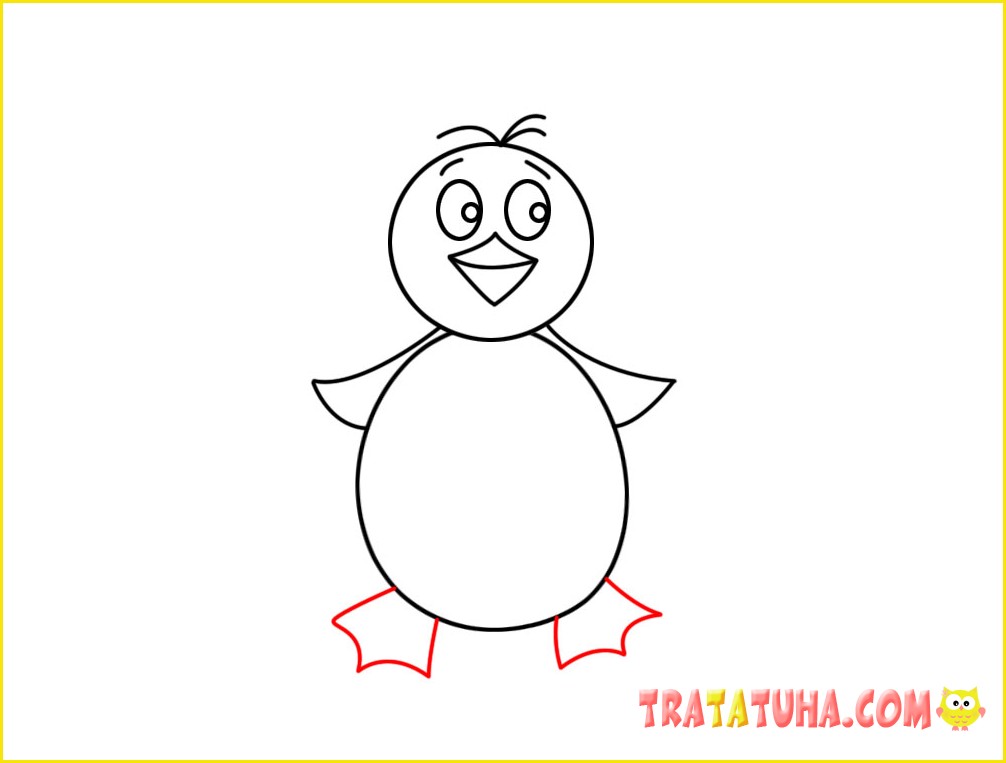
Draw the paws on the bottom.
Outline the belly using an oval.
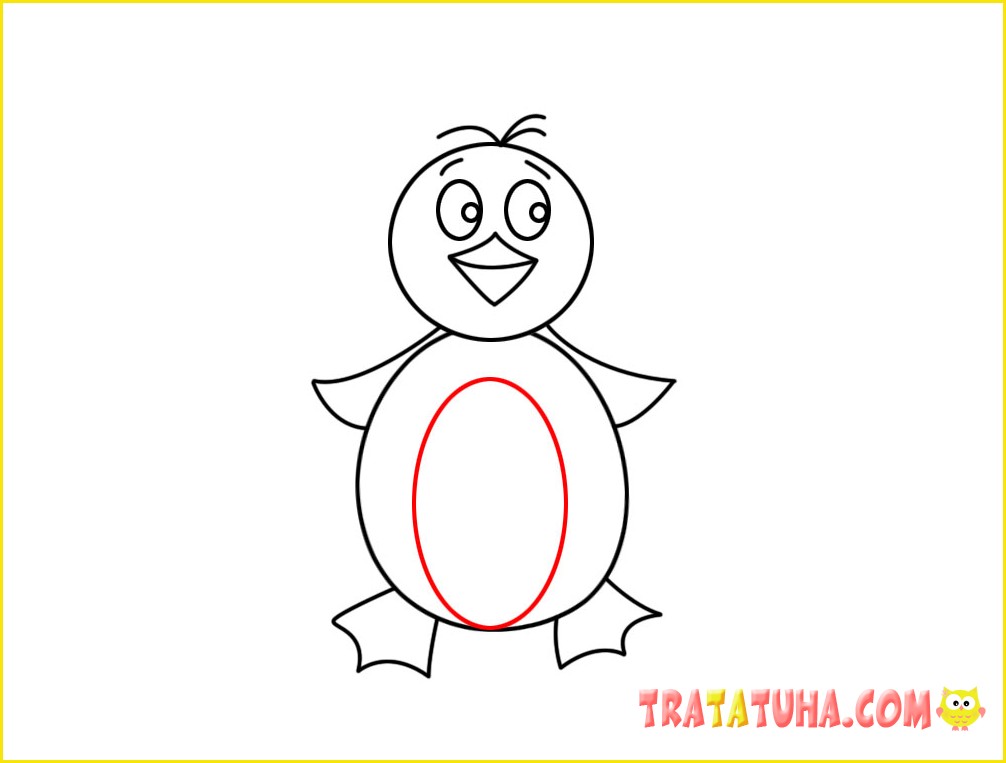
The outline of a simple penguin is ready.
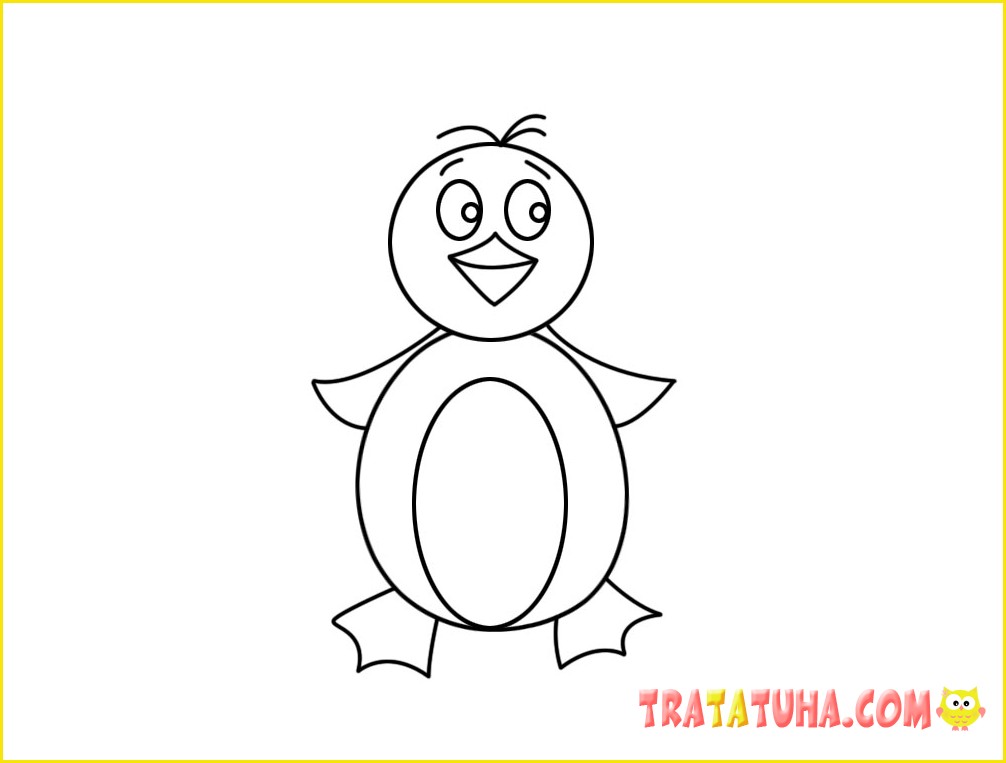
Paint in the desired colors, highlighting the belly, beak, eyes and paws.

How to Draw a Penguin: 3 Way
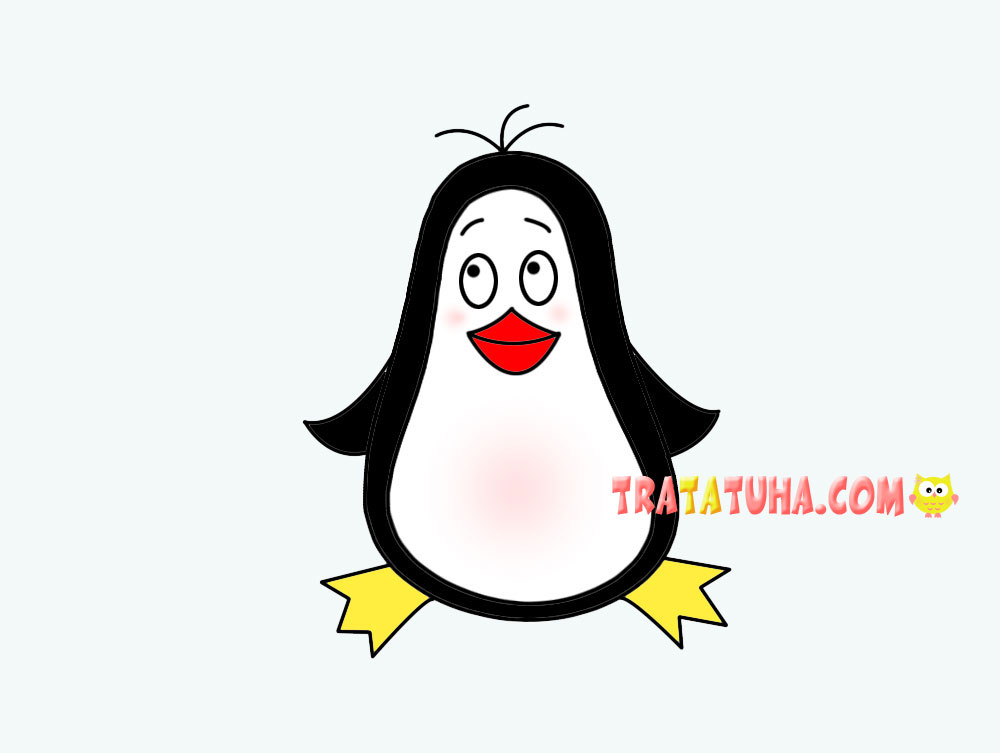
This is a funny little penguin that kids can draw quickly and easily. The drawing does not differentiate between the head and the body, and this is where its originality lies.
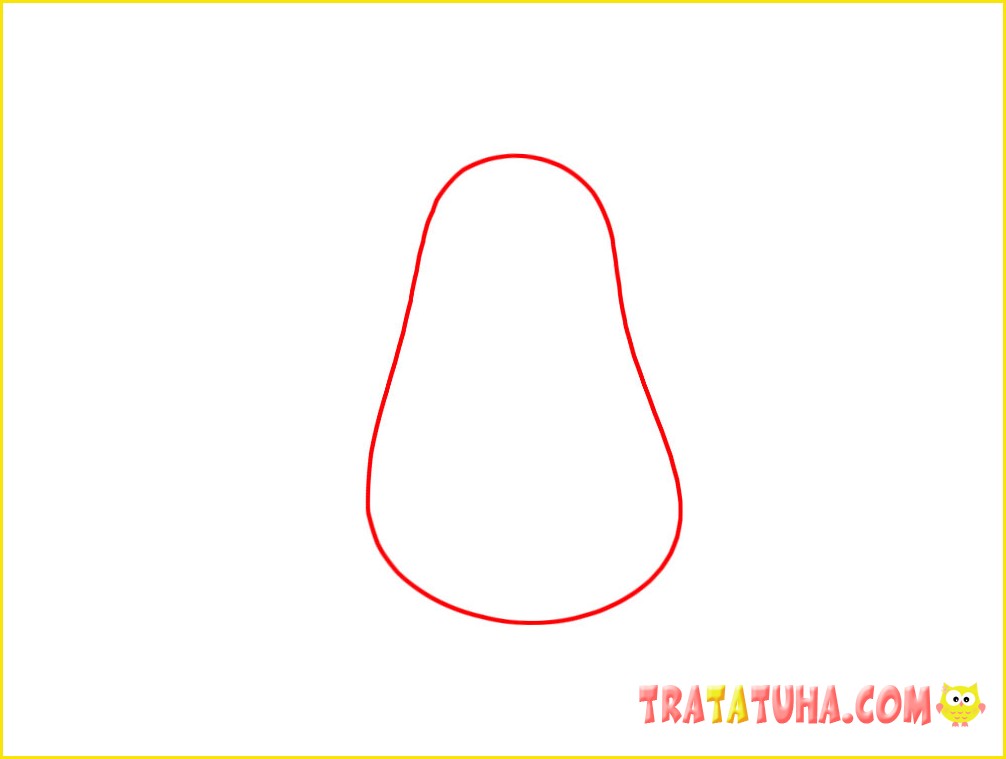
Draw a large pear-shaped figure. Its sides may not be identical; it is not necessary to adhere to strict symmetry.
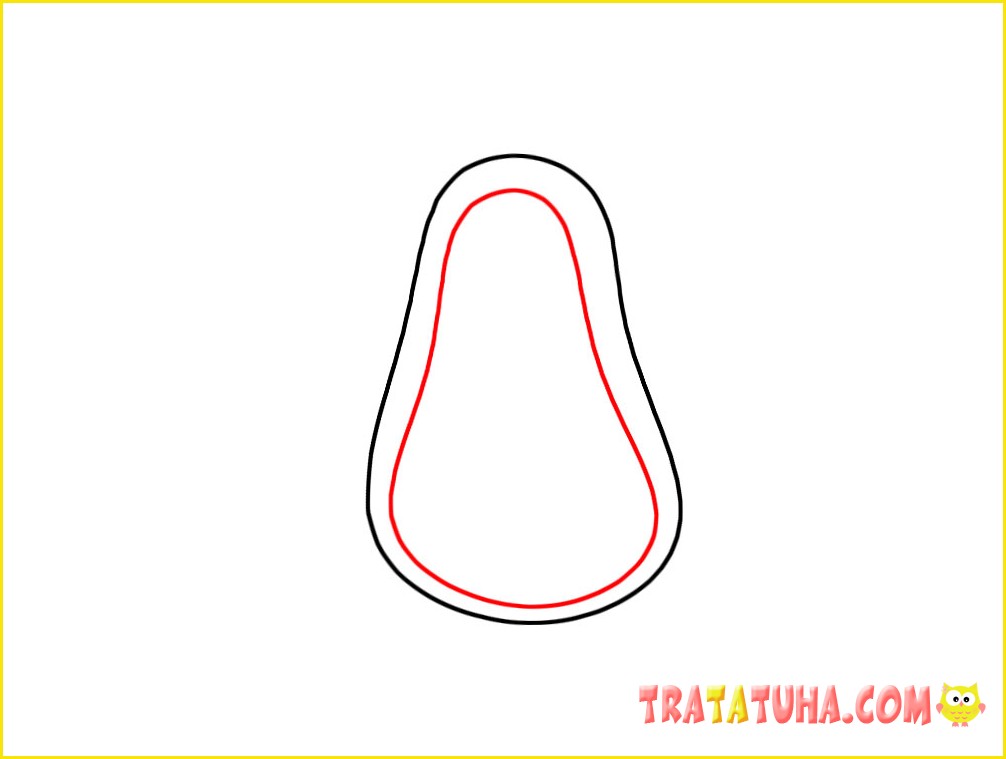
Inside the figure, draw a similar one, only slightly smaller.
Add a beak.
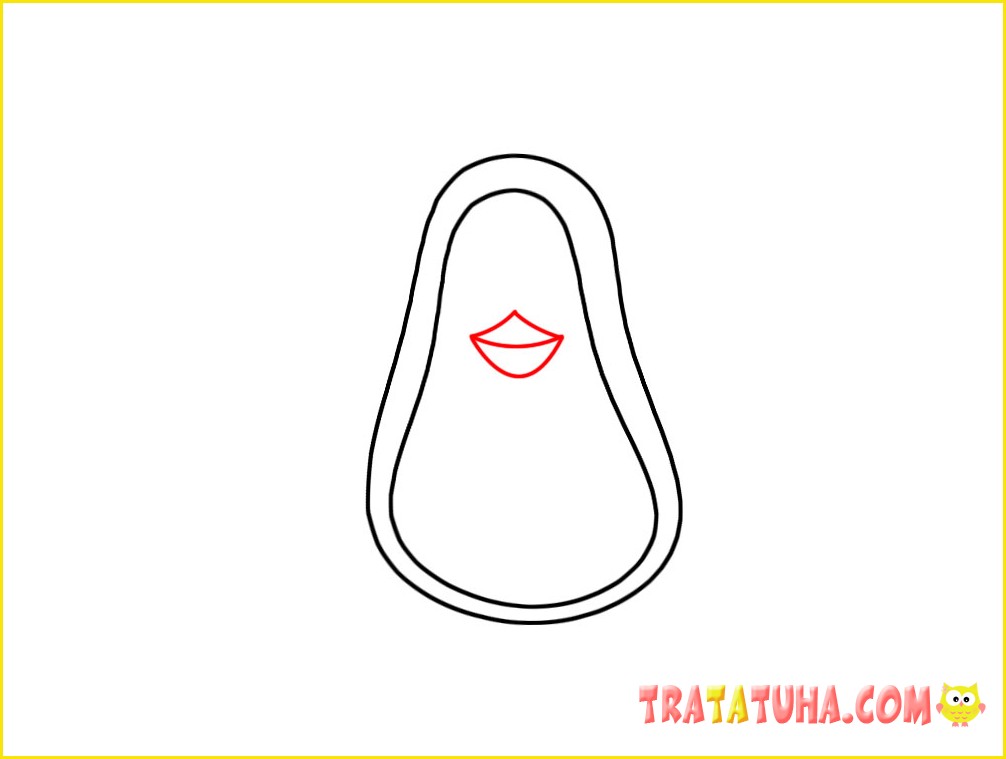
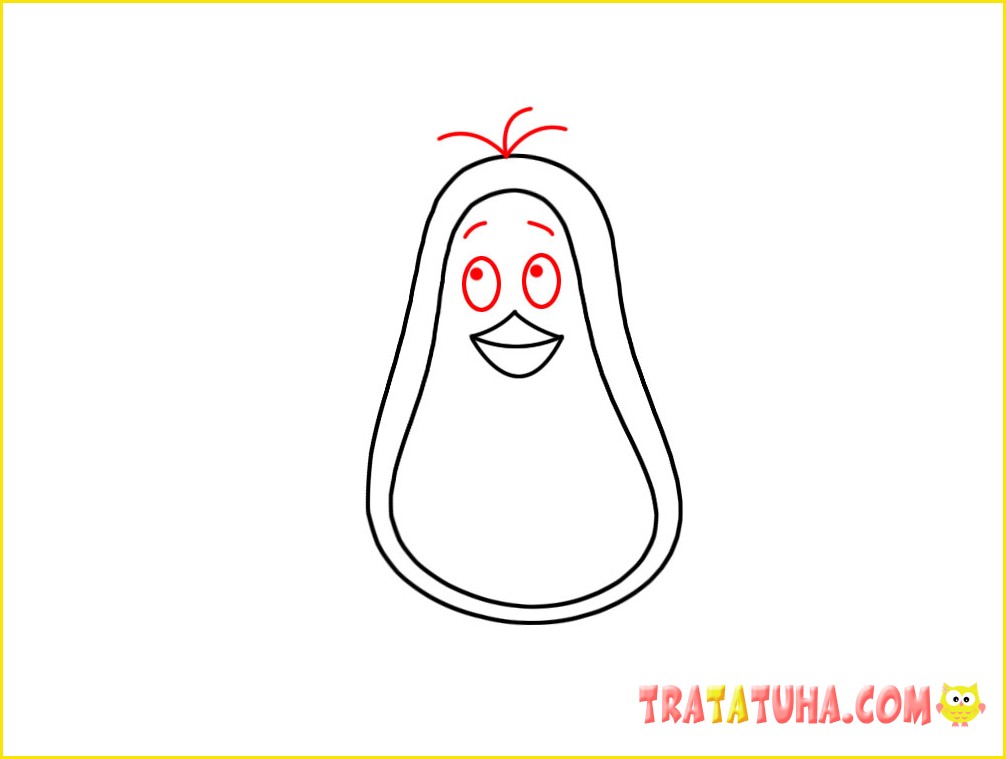
Draw eyes, eyebrows, forelock.
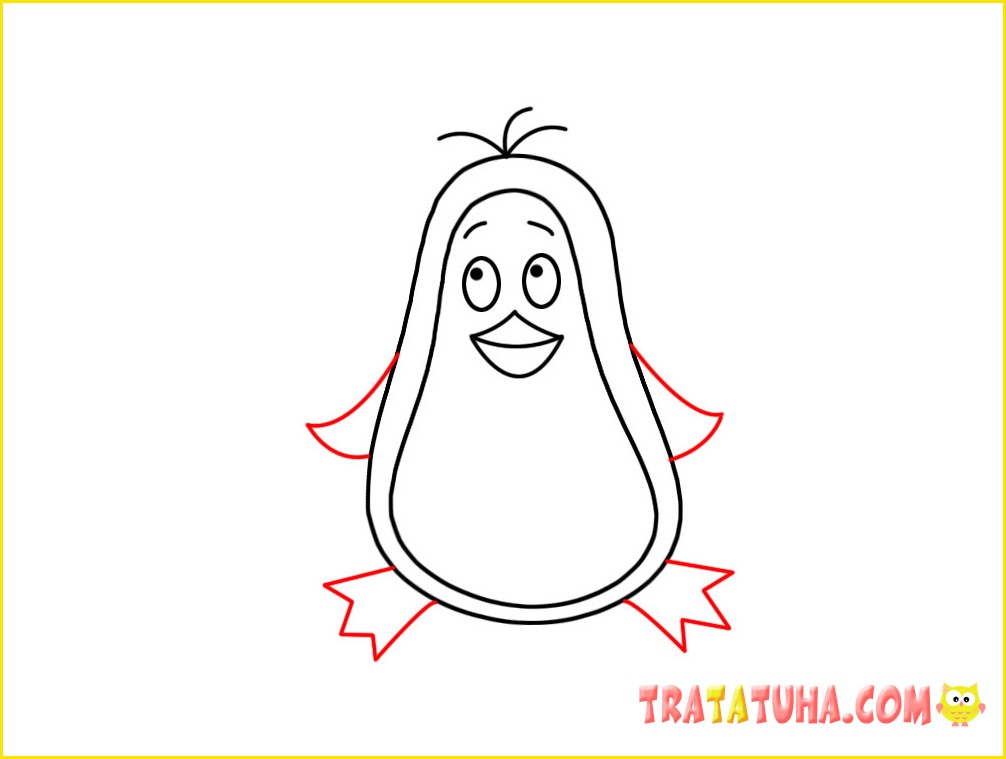
Finish with simple wings and feet.
Penguin is ready.
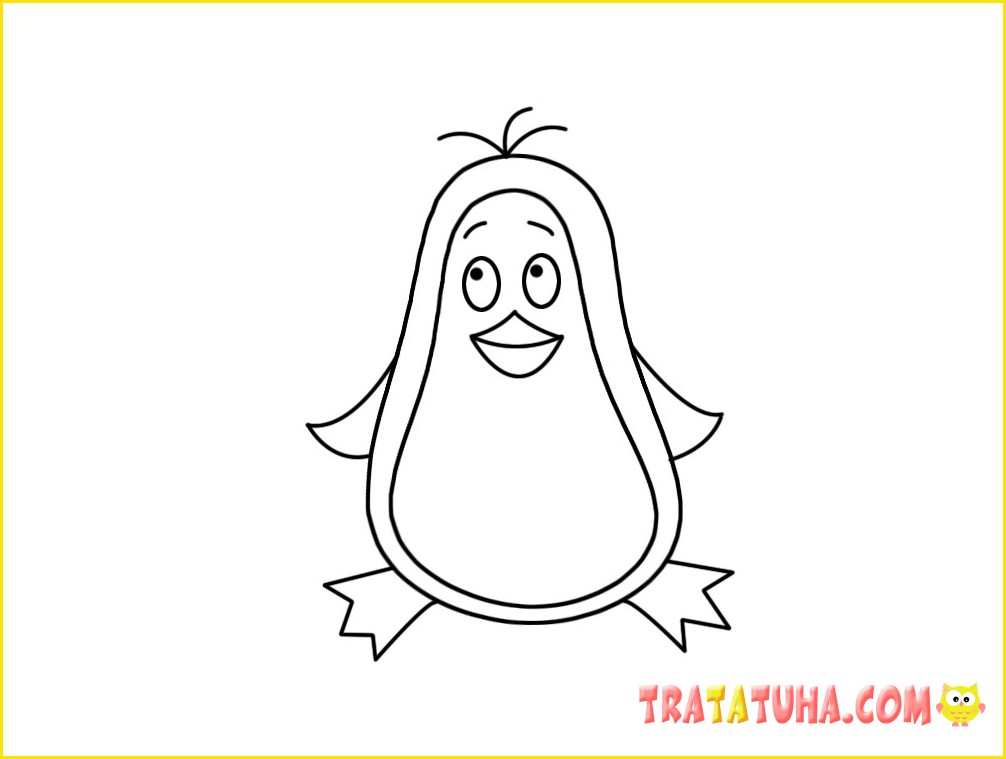
Color it, highlighting the pear-shaped center, beak and paws.

Drawing a Penguin: Method 4
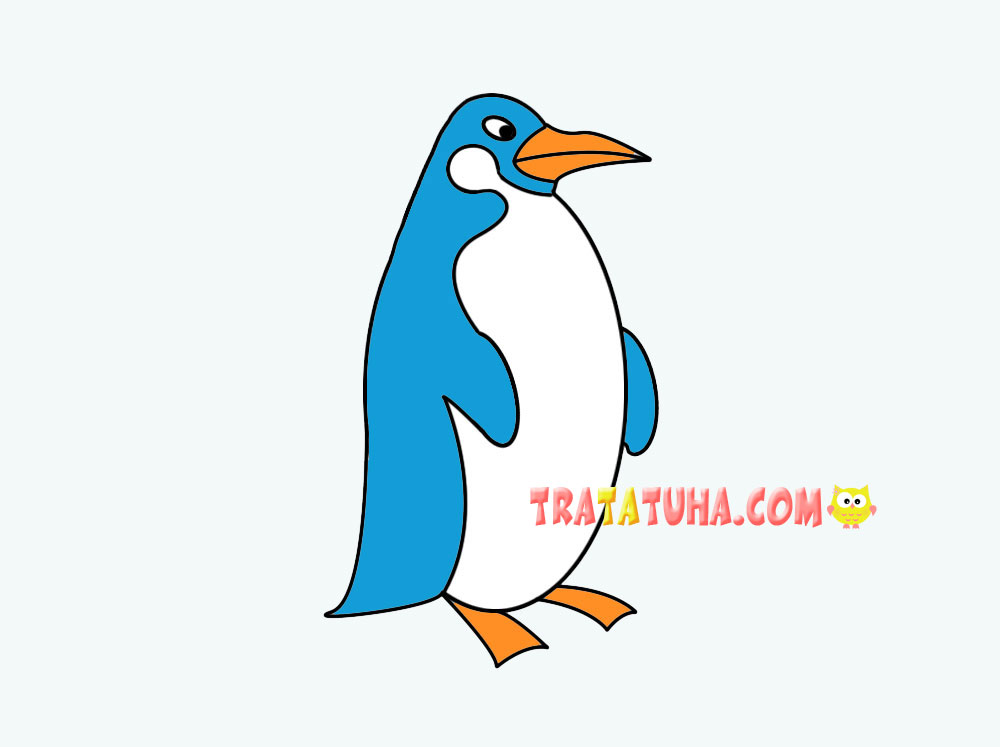
For children this is the most difficult method, and the penguin itself is closer to the real prototype. But, following the step-by-step photos, it is quite possible to complete the task.
Tip: Draw lightly with a simple pencil, as there are many lines that will need to be erased with an eraser.
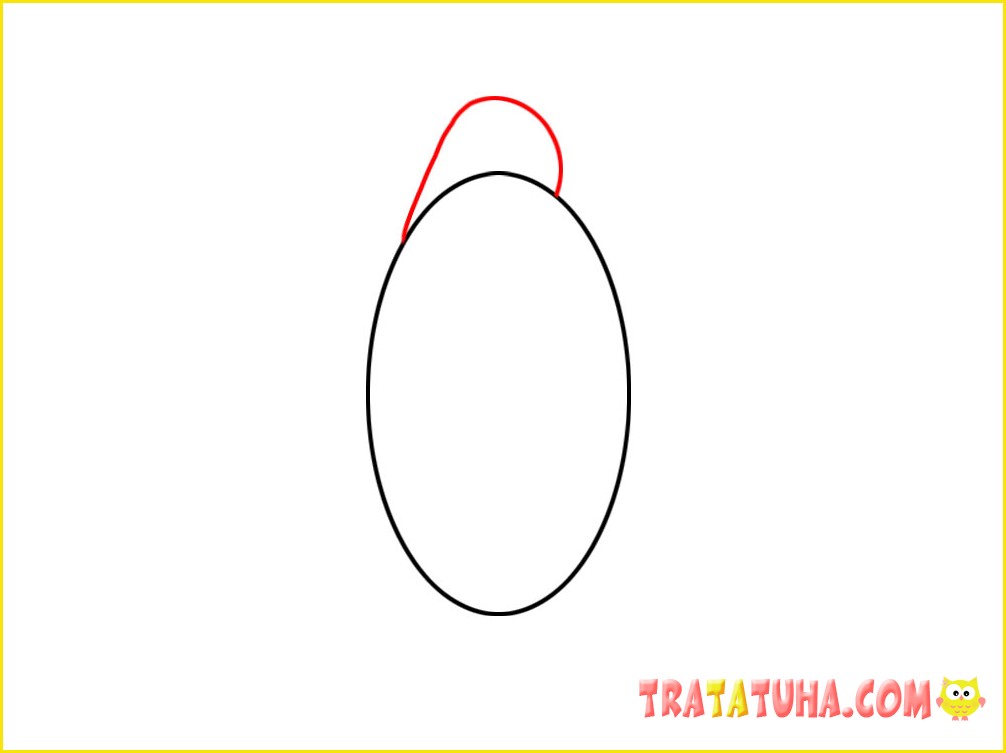
Draw a large oval in the center of a piece of paper.

Add an arc on top to define the head.
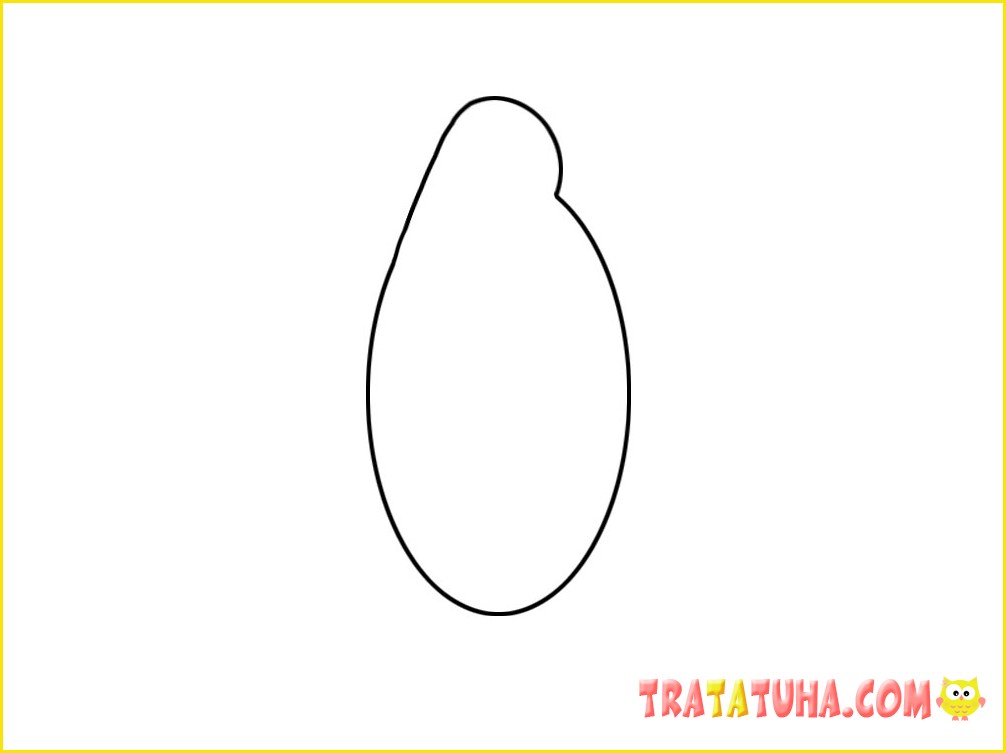
Use an eraser to erase the unnecessary line dividing the head from the body.
Draw a long beak.
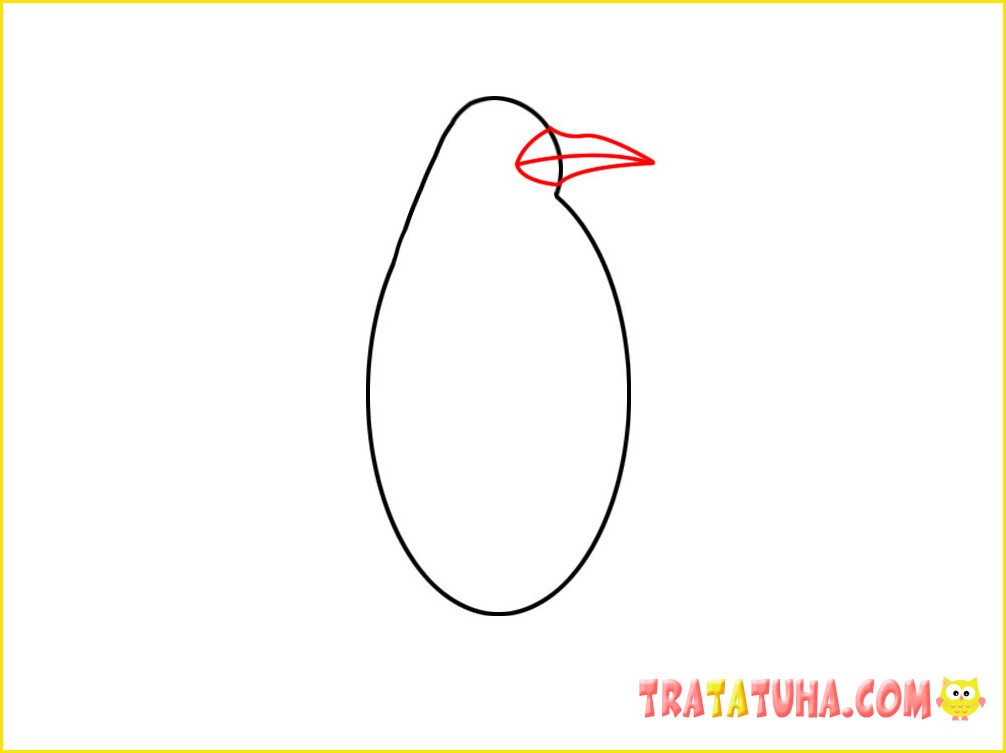
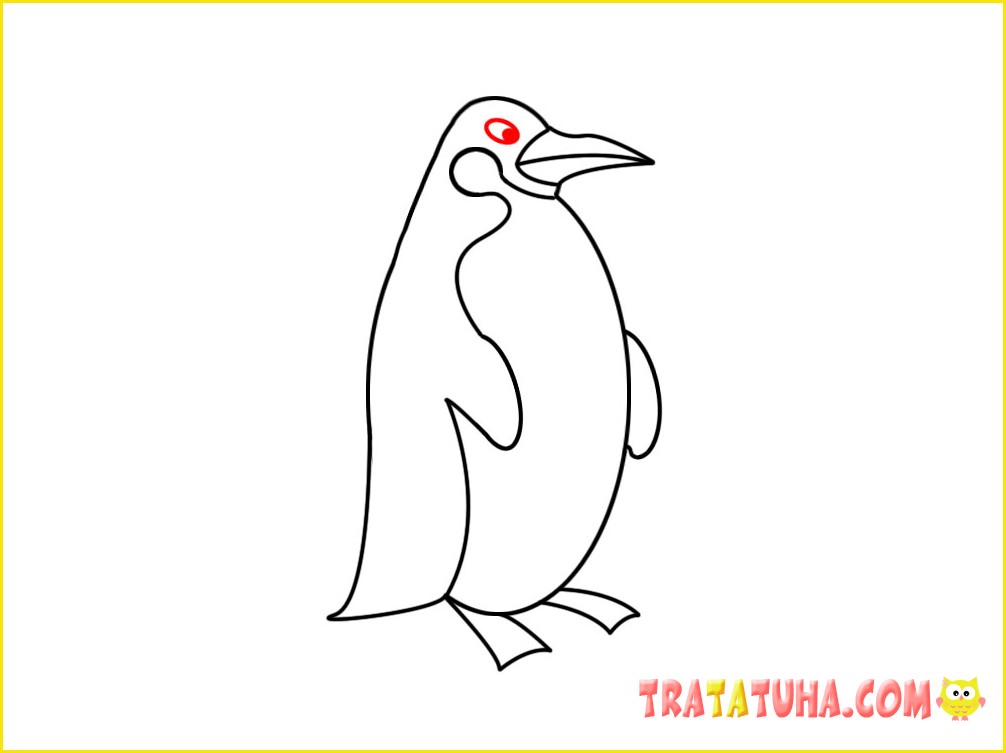
Carefully erase the unnecessary line that crosses the beak. In the head area, draw a small circle — a cheek. And on the body there are semi-ovals of future wings.
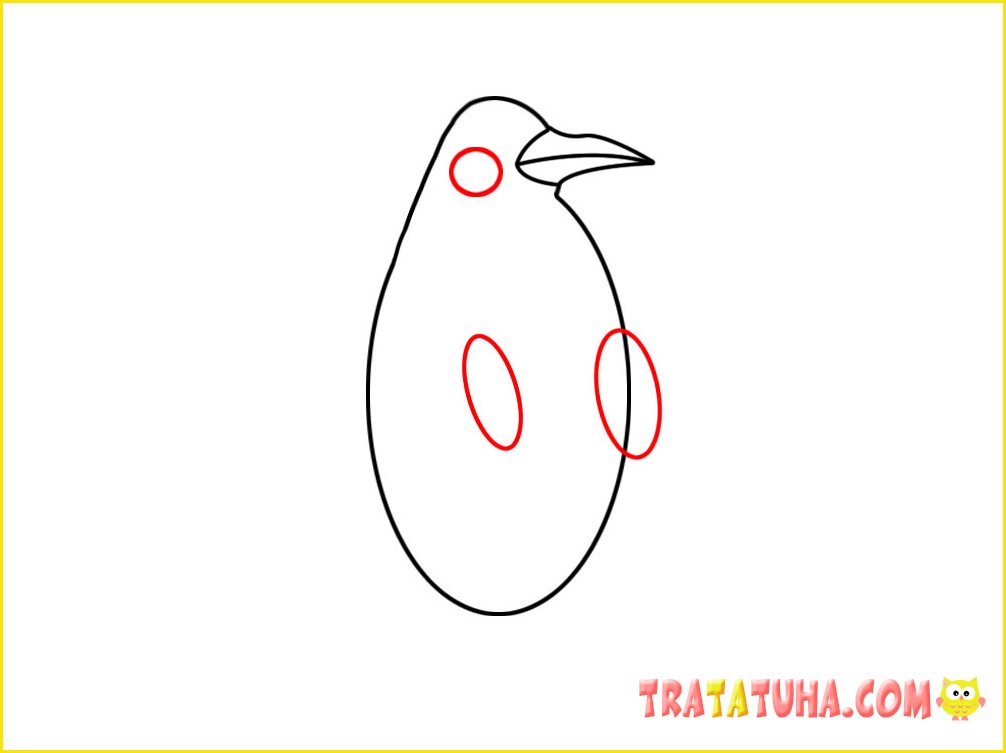
Draw a line starting from the cheek to the wing, and then lower it down.
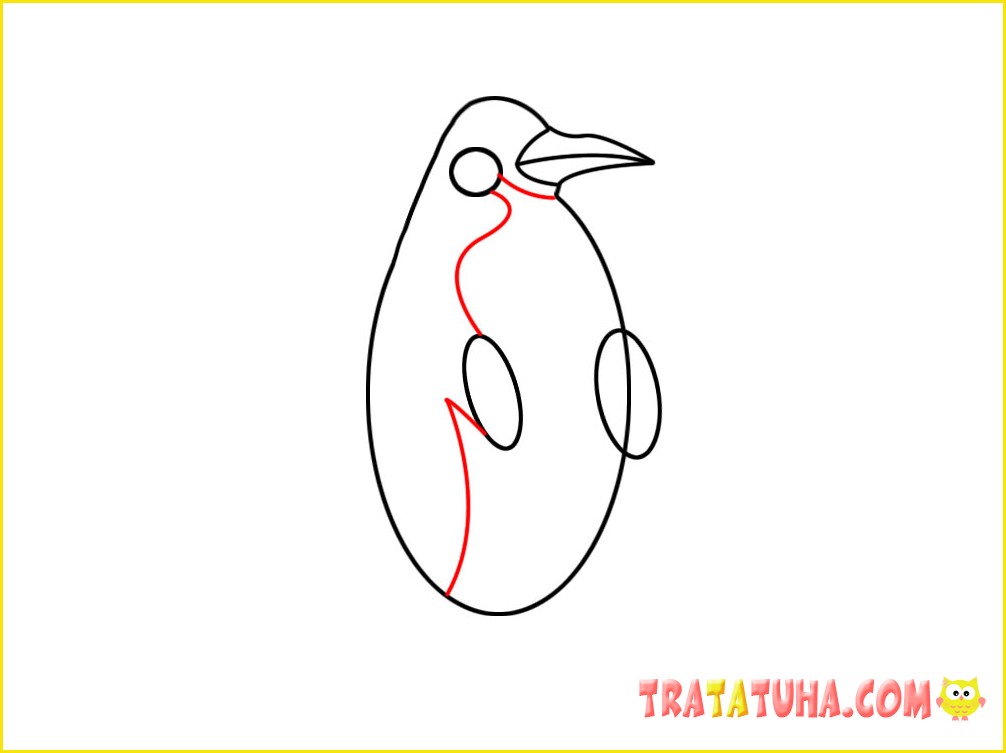
Erase unnecessary lines in the cheek area, wings, and slightly adjust the details.
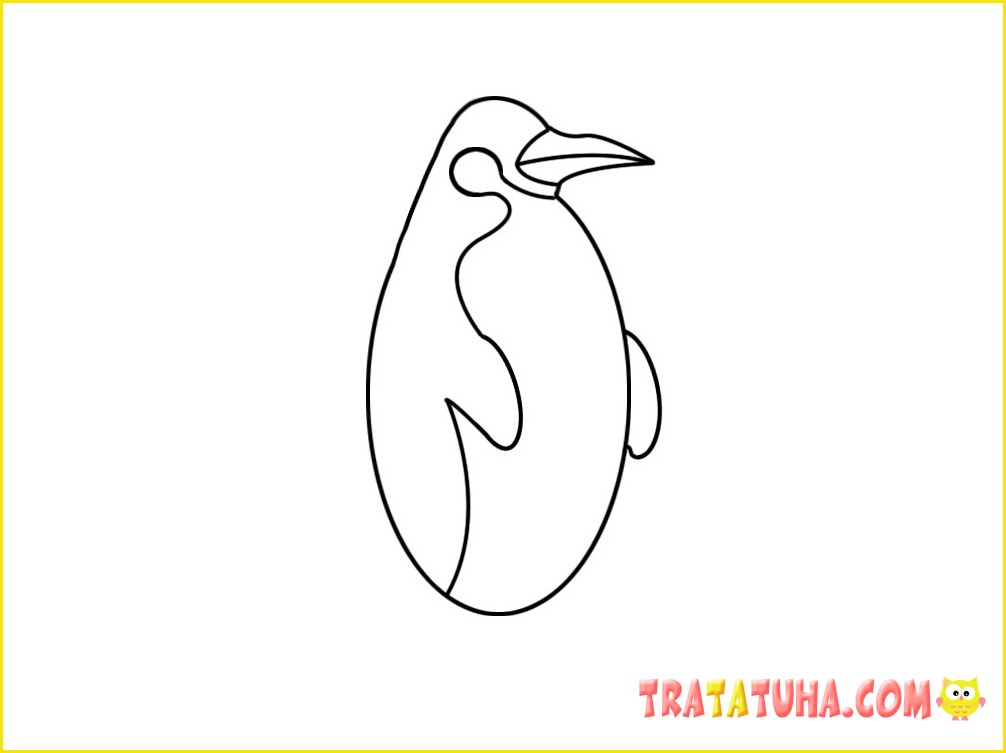
Draw the tail and paws.
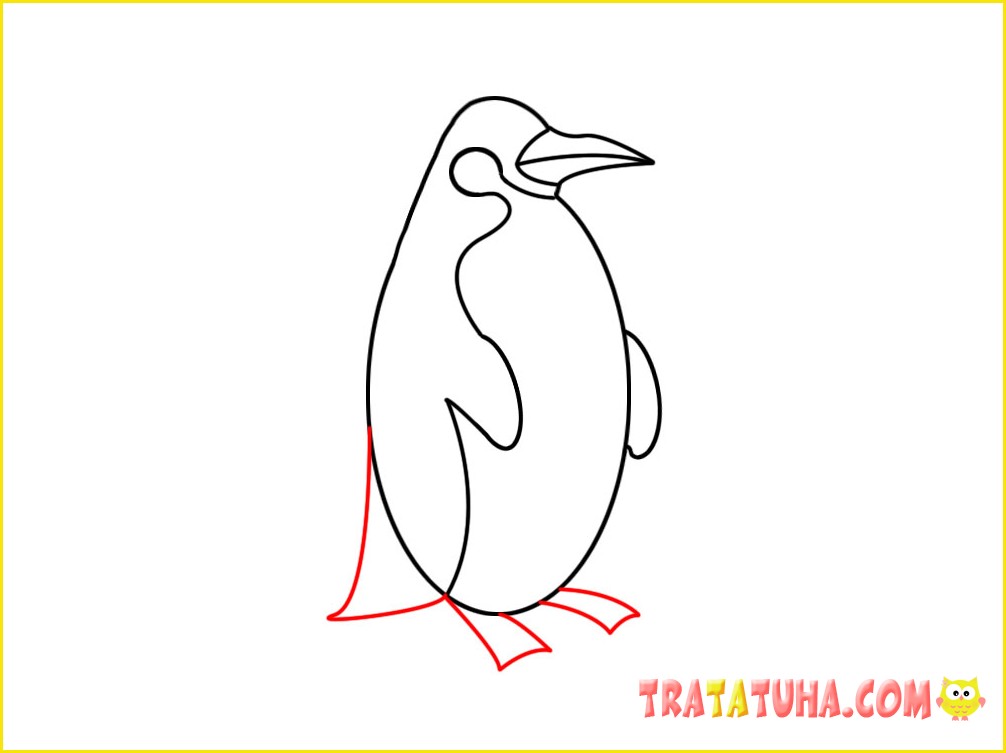
Erase the line in the tail area. Add an eye. The outline of the drawing is ready.
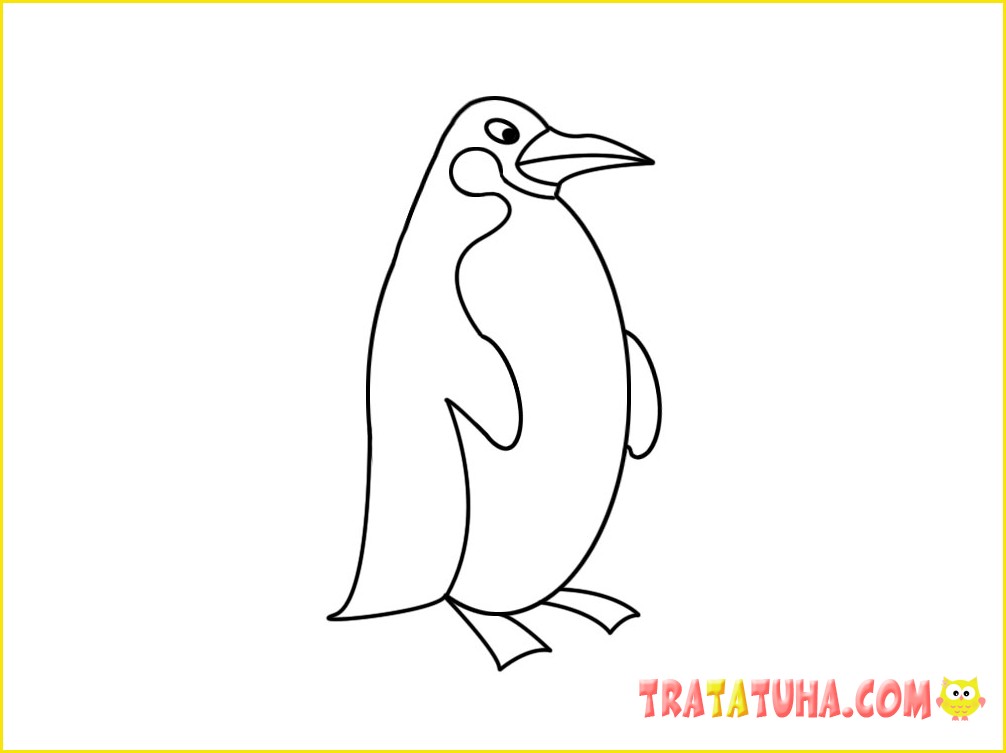
Color the bird in colors that suit it.

The lesson on the topic – how to draw a penguin is completed. Have fun and easy creativity!
Even more ideas in the section — how to draw.
