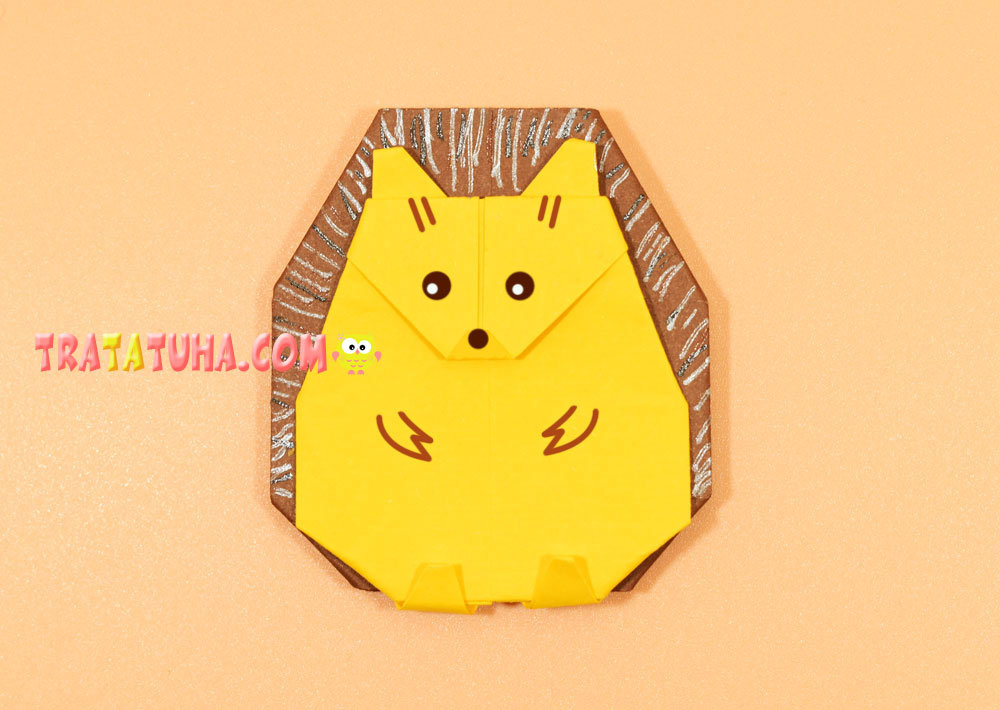
A cute origami hedgehog, which consists of two parts, folded separately – the body and the area of the needles.
The first option is how to make an origami hedgehog we made from one piece of paper, for this you need two.
Materials for work:
- Paper of a square shape, different in color, to highlight the body of the hedgehog and the area of the needles;
- Felt pens, glitter pens;
- Glue.
Origami Hedgehog Step by Step
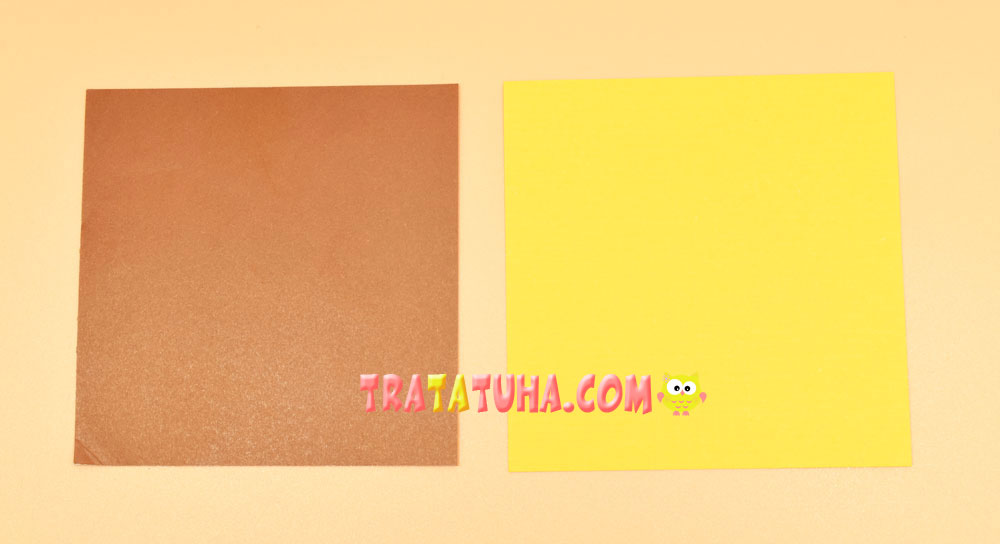
For work, we prepared yellow and brown paper in the shape of a square, the dimensions of which are 12:12 cm. But the shades, like the dimensions, can be taken at your own discretion and creative vision of the final result.
We Fold the Needle Area
We have brown paper for them.
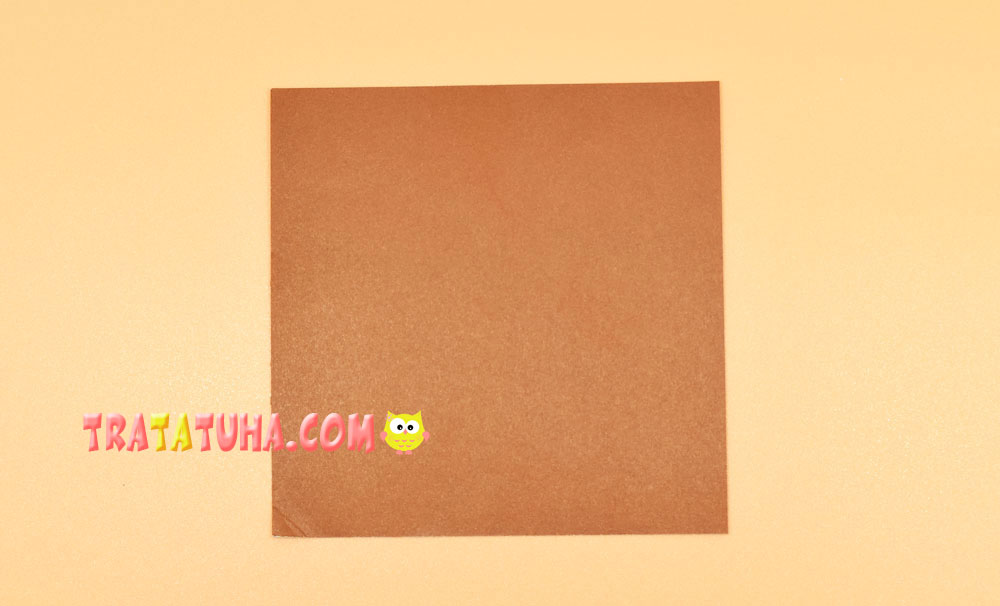
Fold it in half to make a horizontal fold.
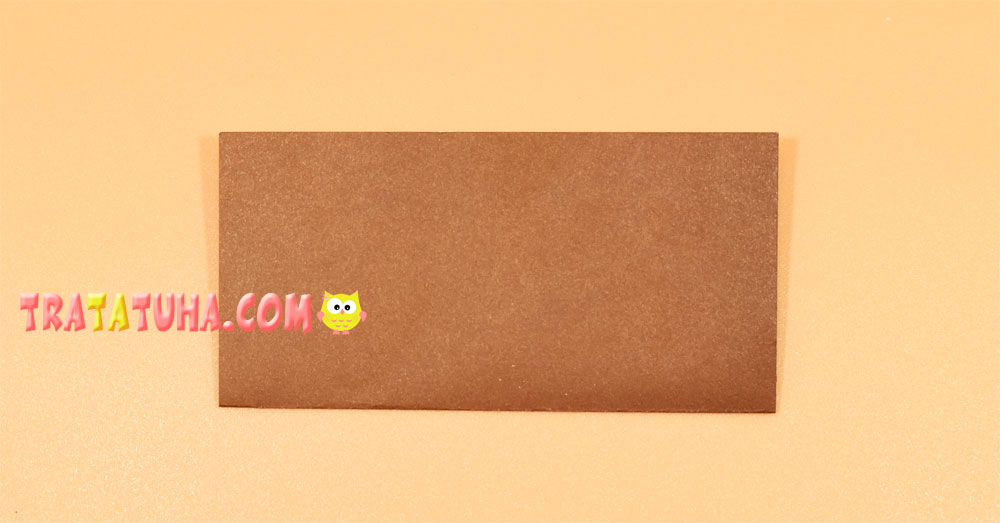
Open and fold the top and bottom to the center fold.
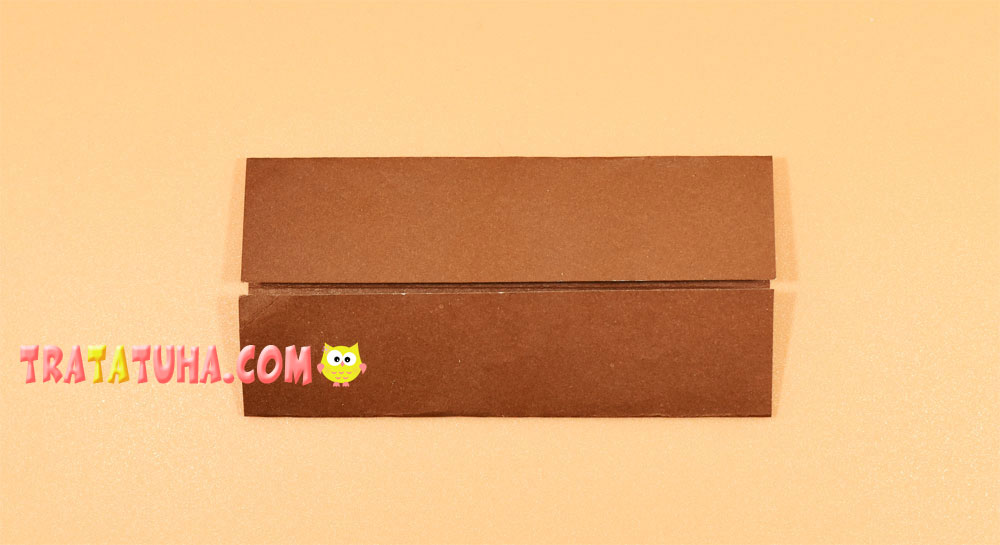
Open the bottom section and fold to the first fold.
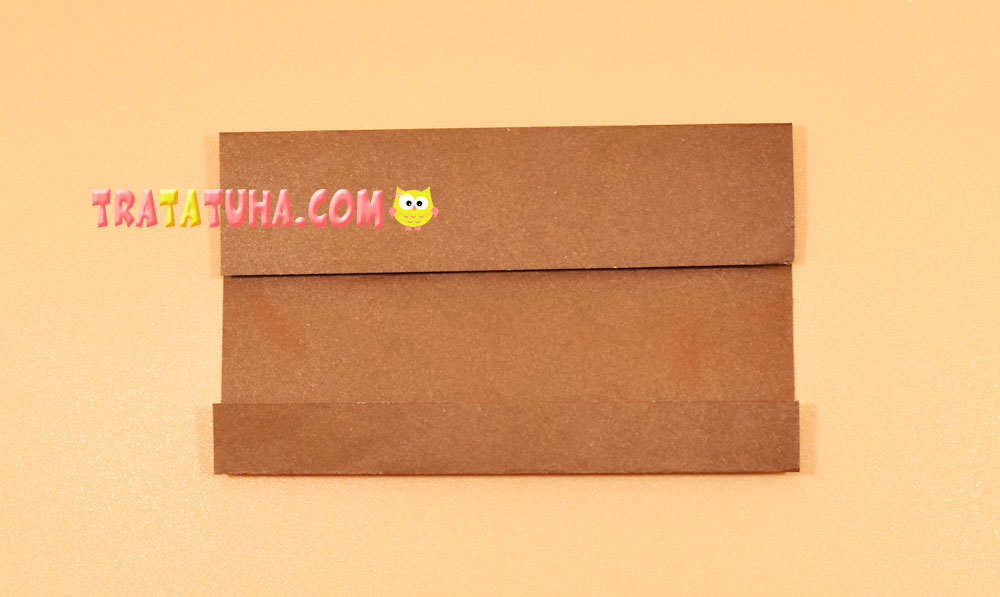
Fold in half from left to right to indicate the middle.
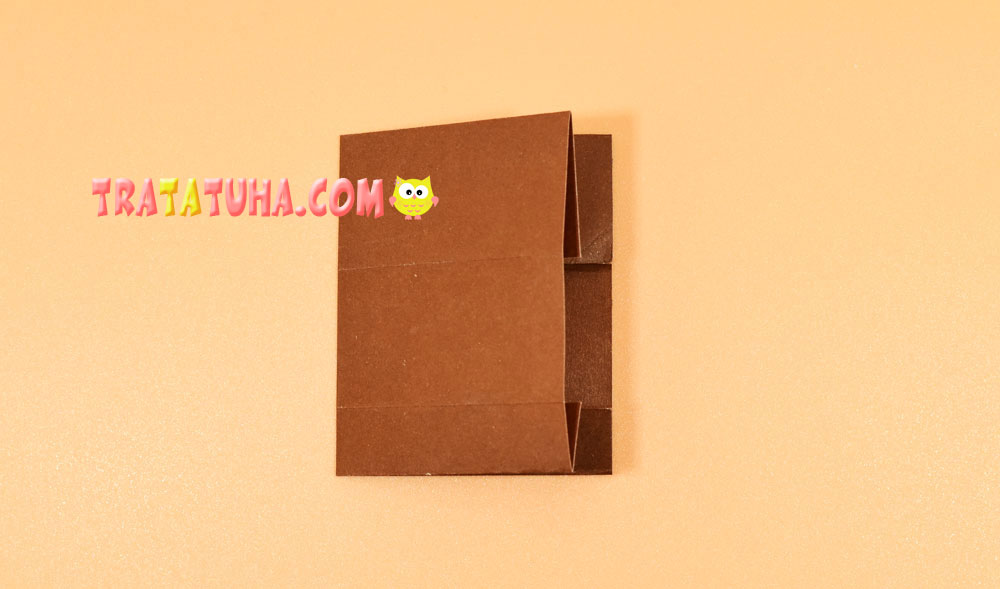
Bend the right side to the left, a little short of the middle.
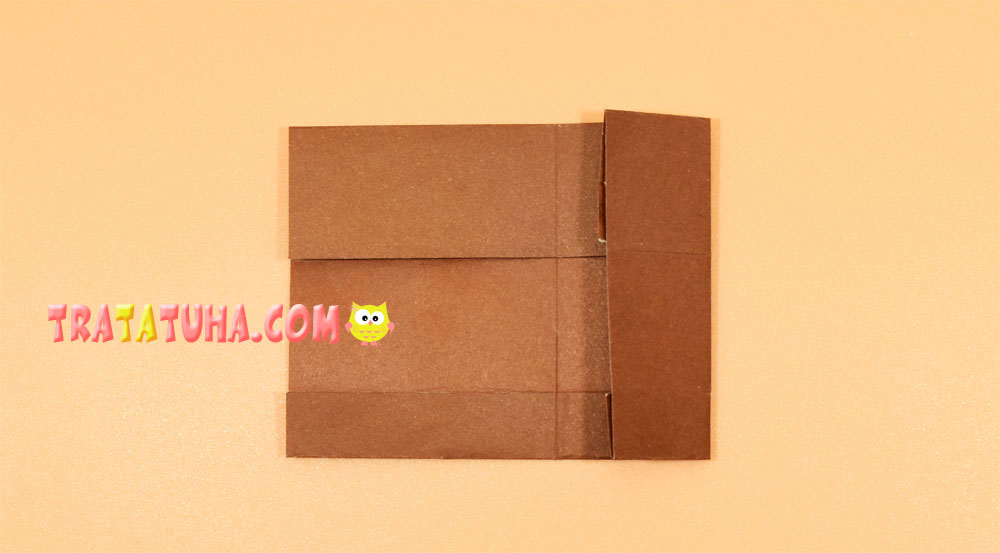
Then the left side.
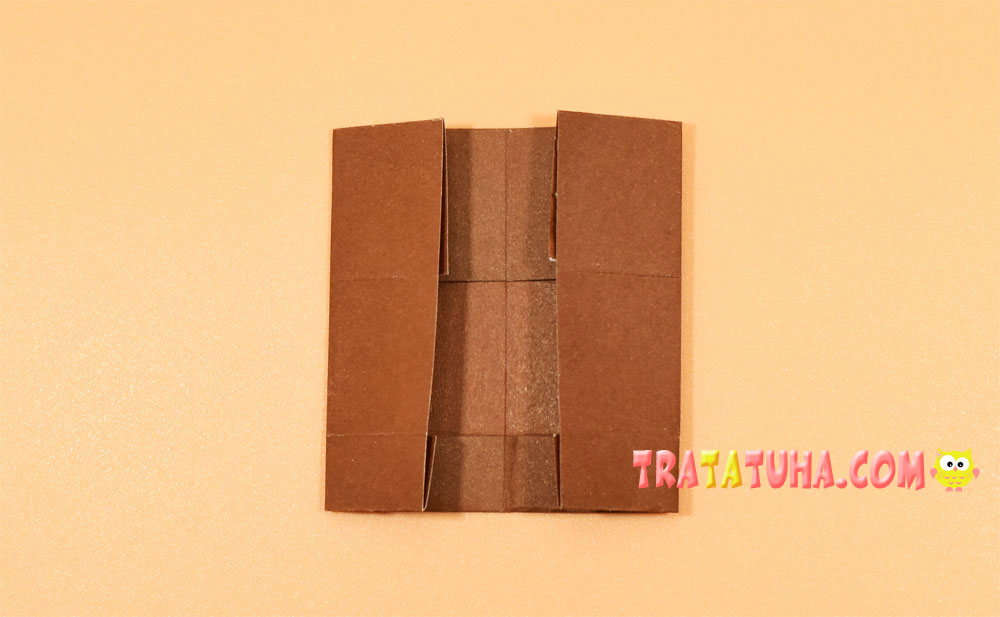
Fold down the top side corners.
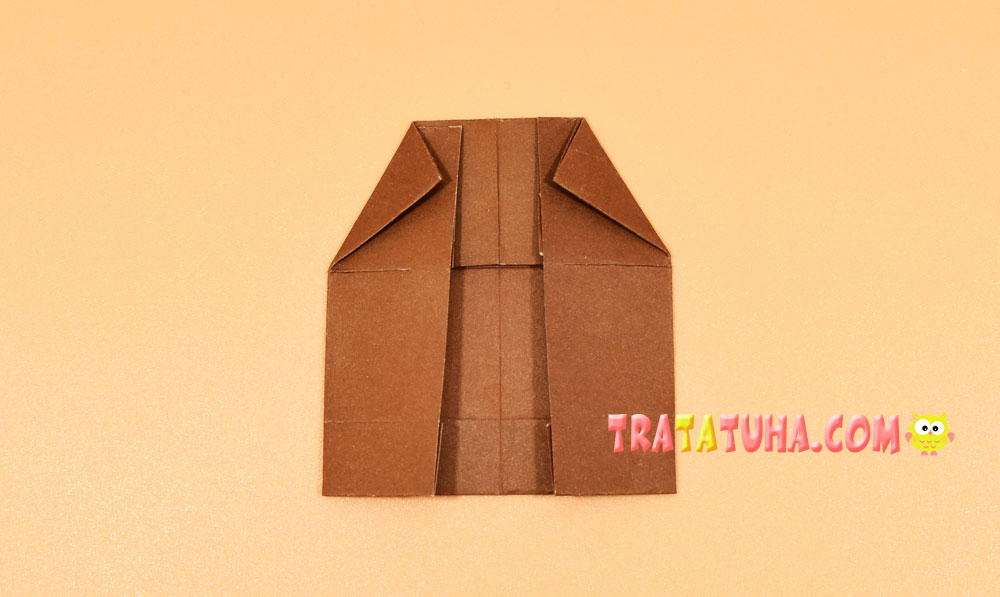
And from the bottom, bend up the small corners.
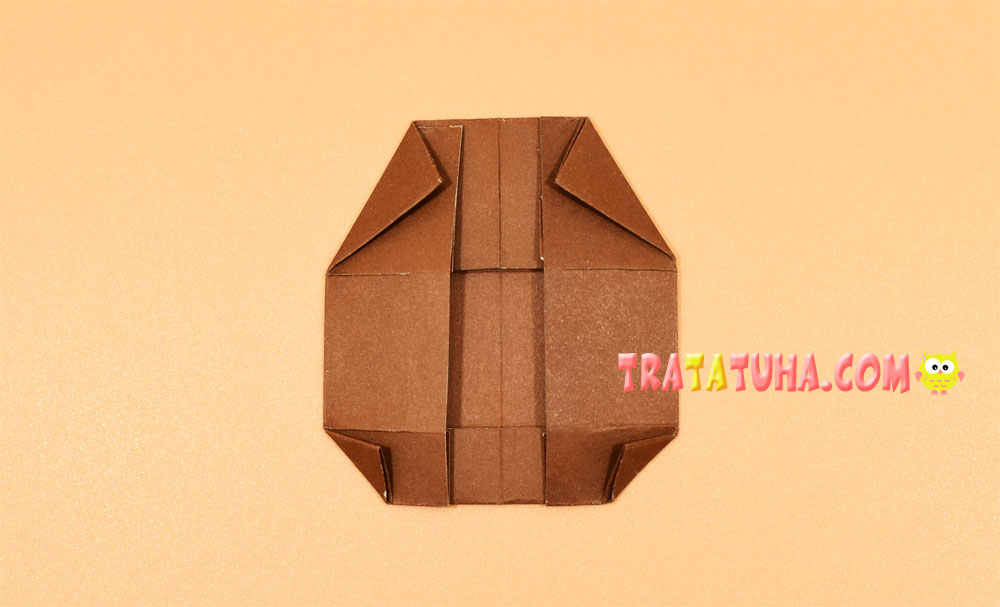
Flip over to the other side. The first part of the hedgehog is completed.
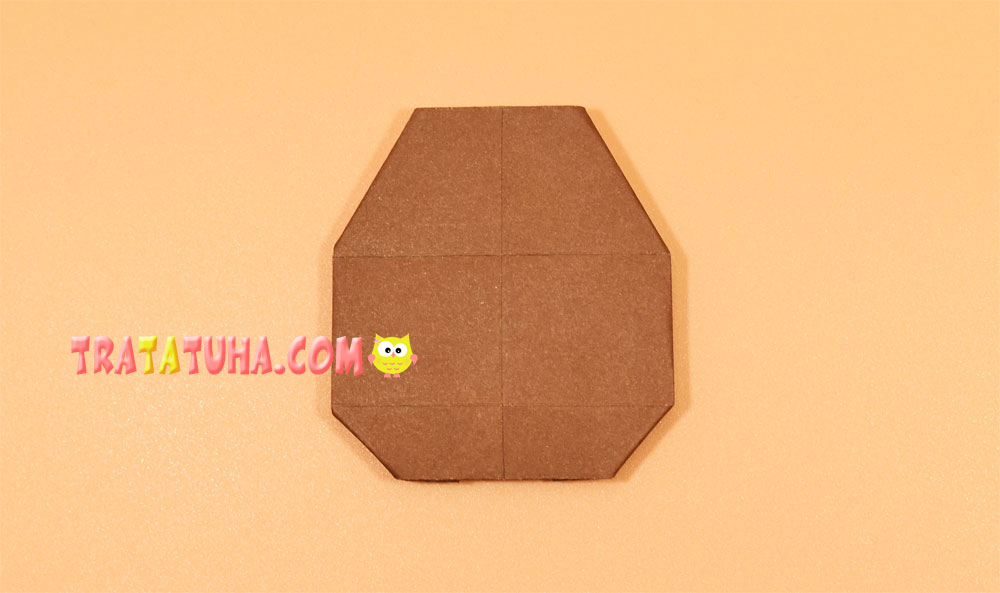
Folding the Body
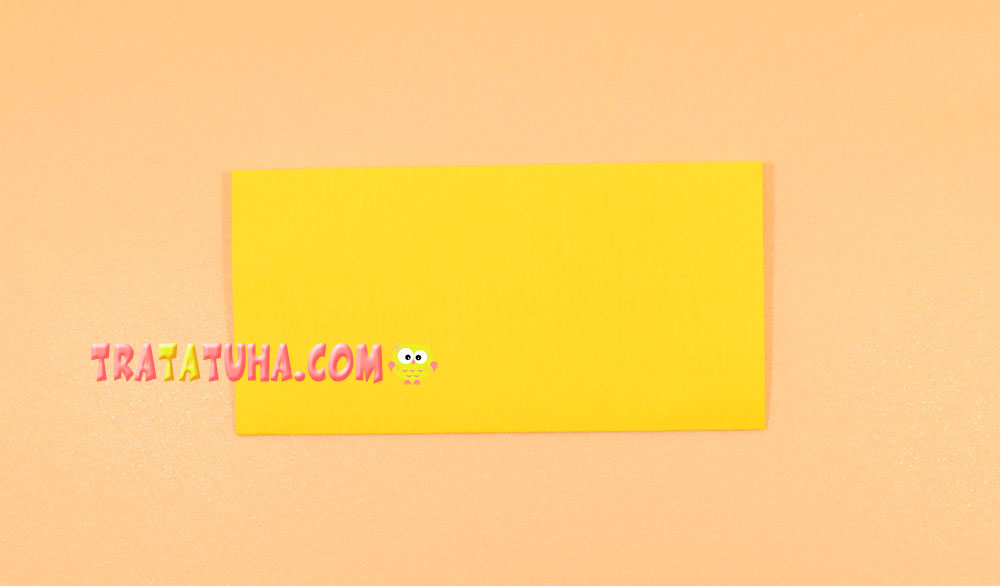
For him, we have yellow square origami paper.

Fold the square into a rectangle, that is, in half.
Open and align the top and bottom of the paper with the horizontal fold.

Fold in half from left to right.
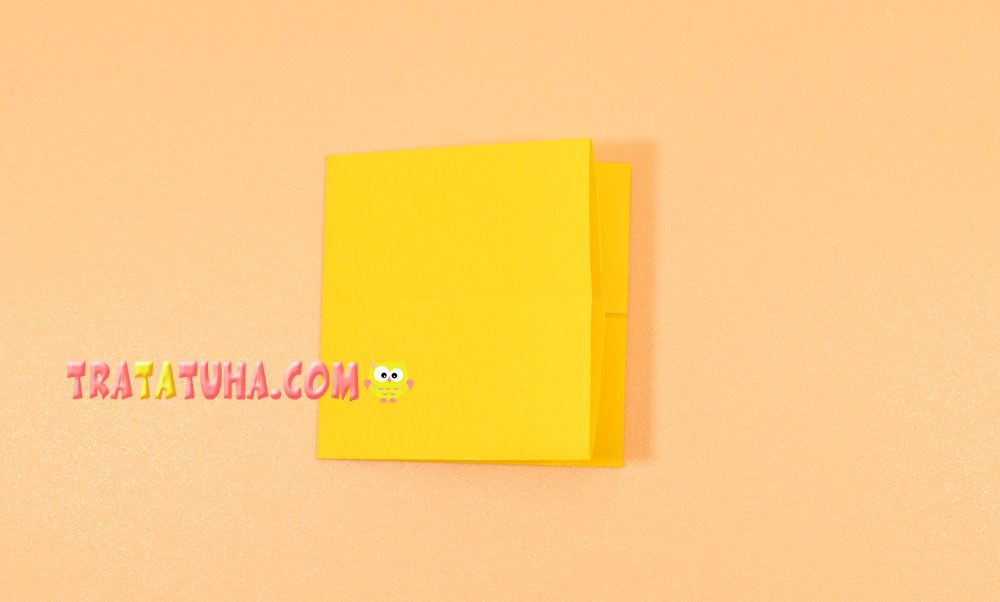
Open and fold both sides to the center fold.

For convenience, flip clockwise to the right and open the top of the paper.
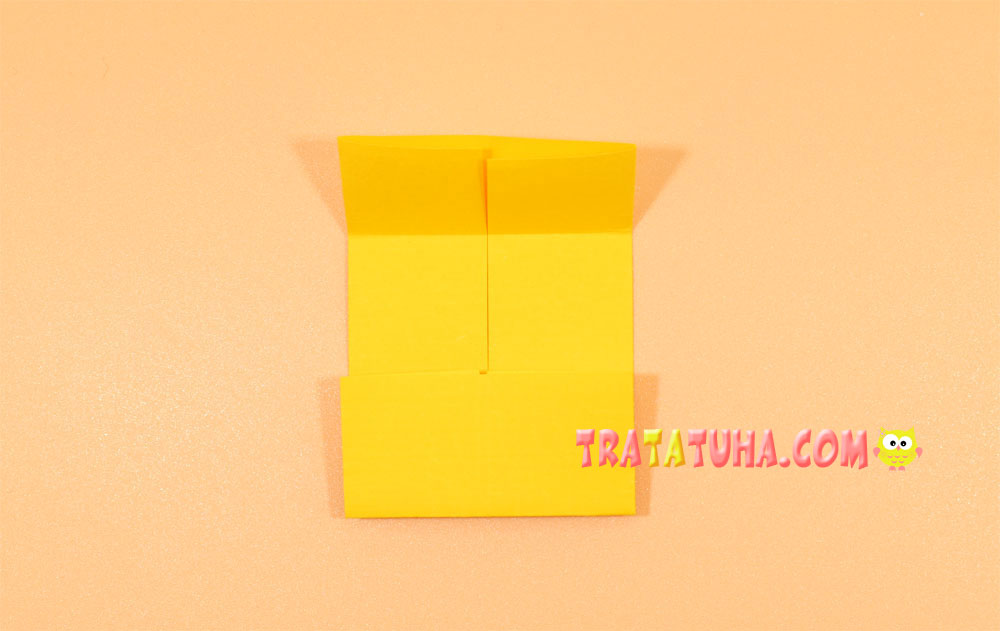
Open the pocket and point the corner down.
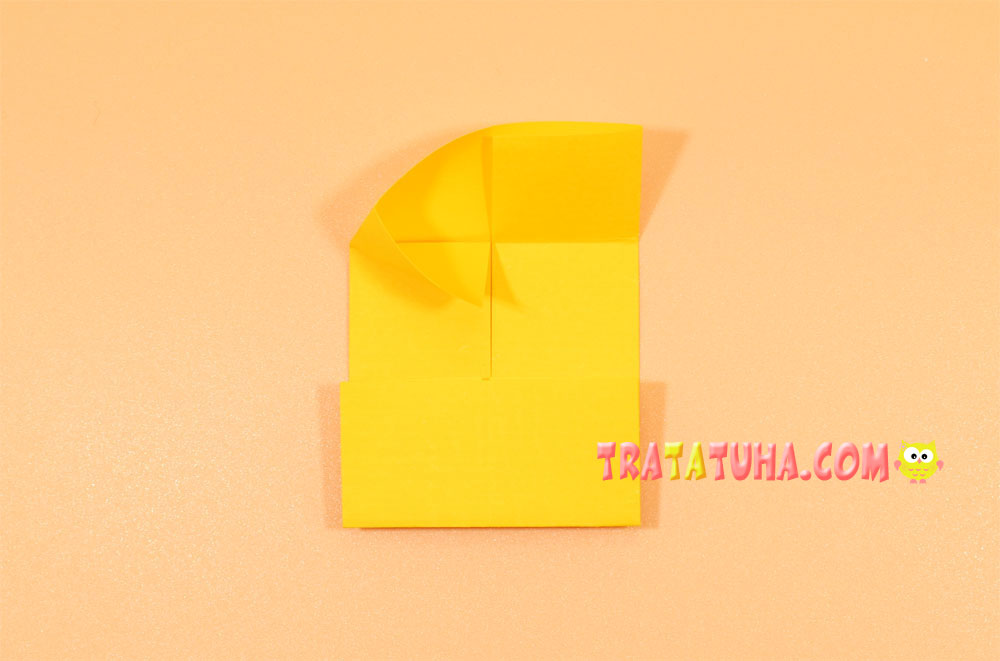
Set the middle to the center and press.

Repeat the steps on the right side.
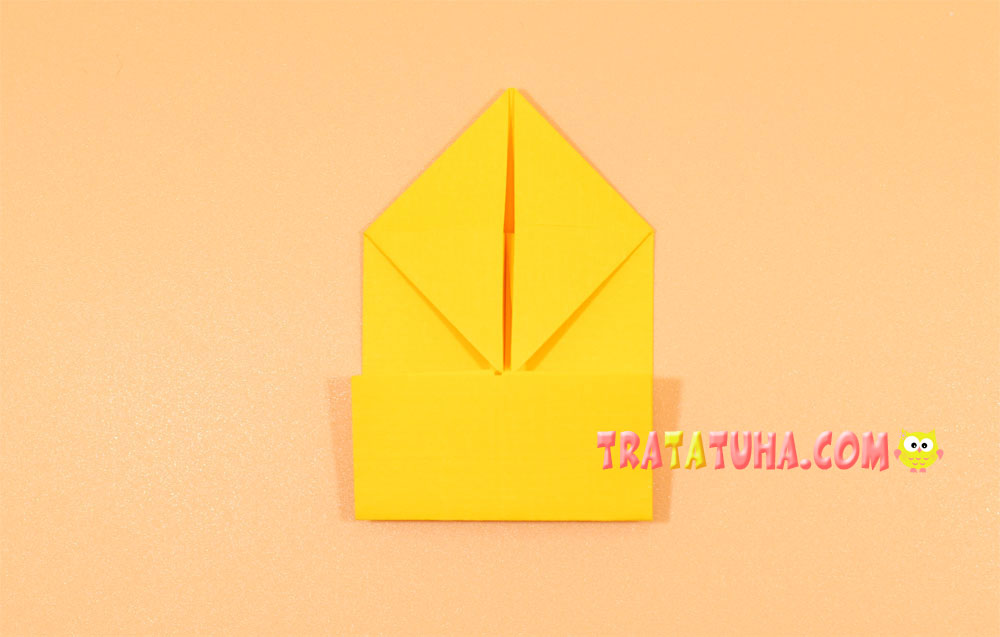
Fold the top corner back.
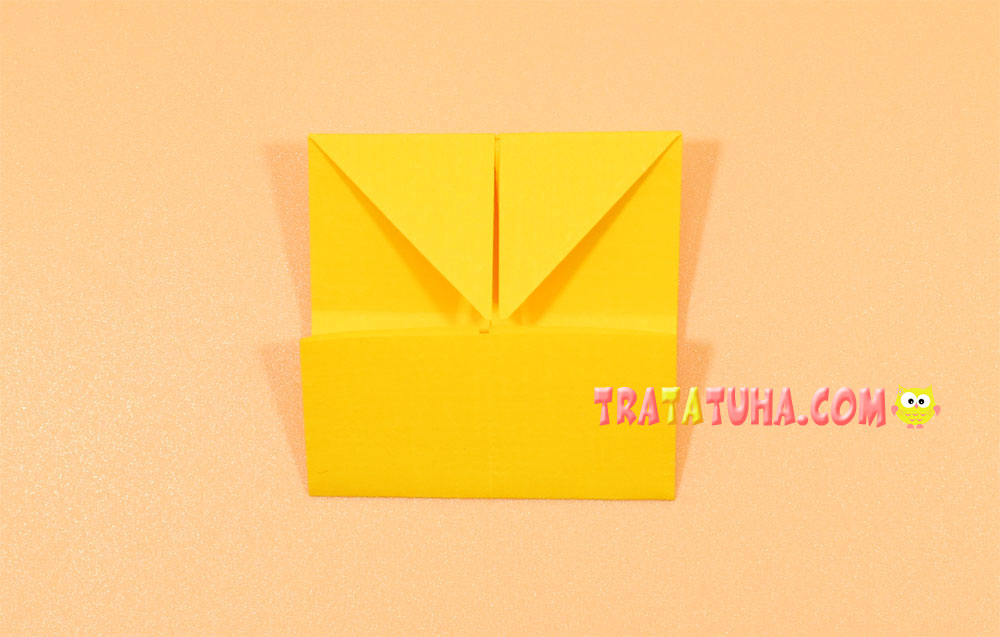
Lift the two corners from the bottom up to make the ears of a hedgehog.
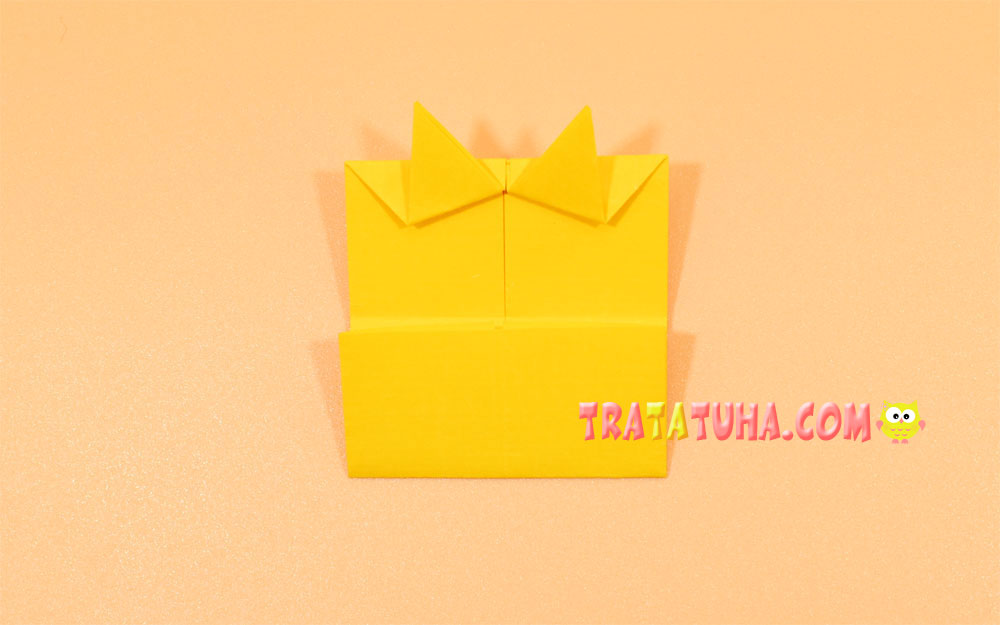
Bend the paper at the very tips of the ears.
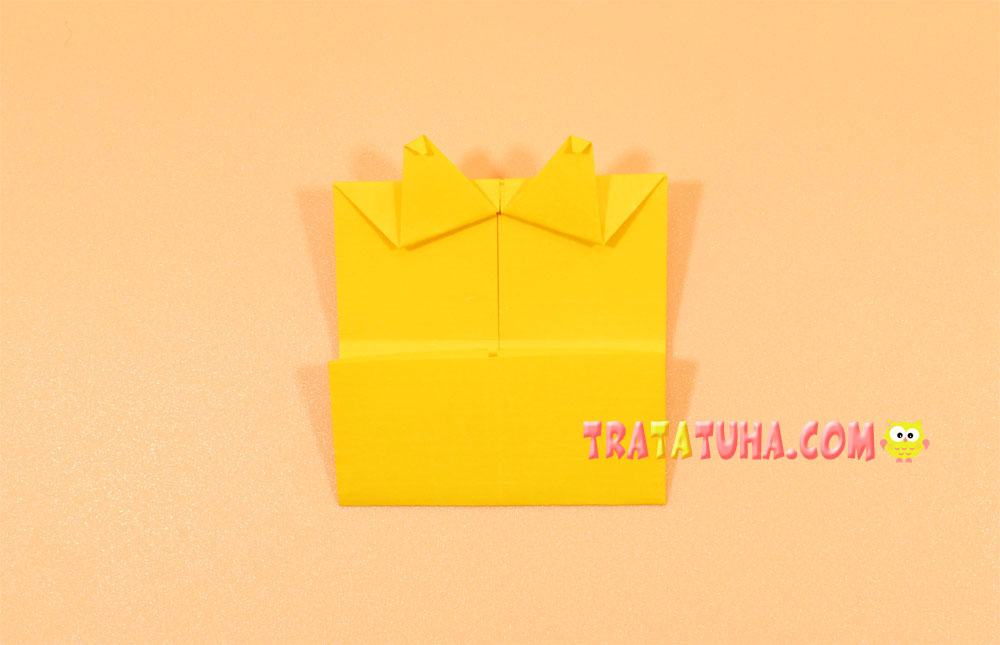
Fold the corners on the sides at the top into the middle.
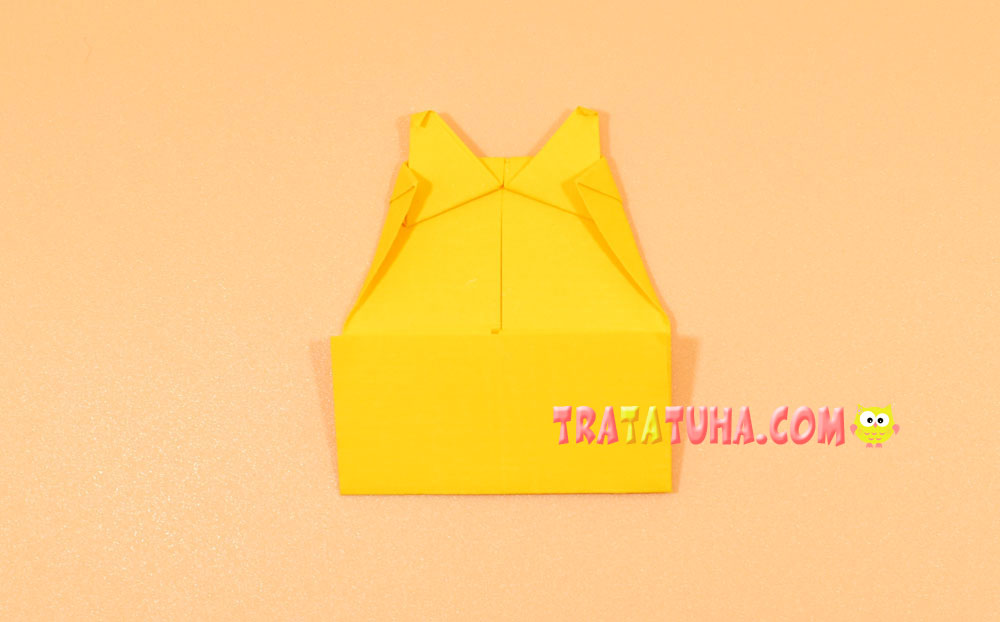
Flip over to the other side.
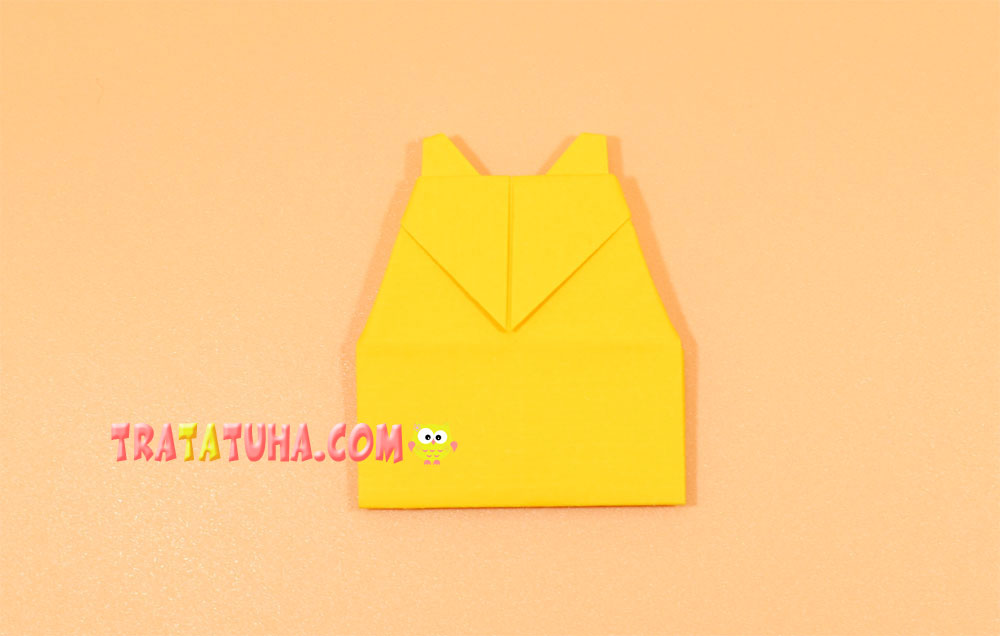
Fold up the corner of your nose.
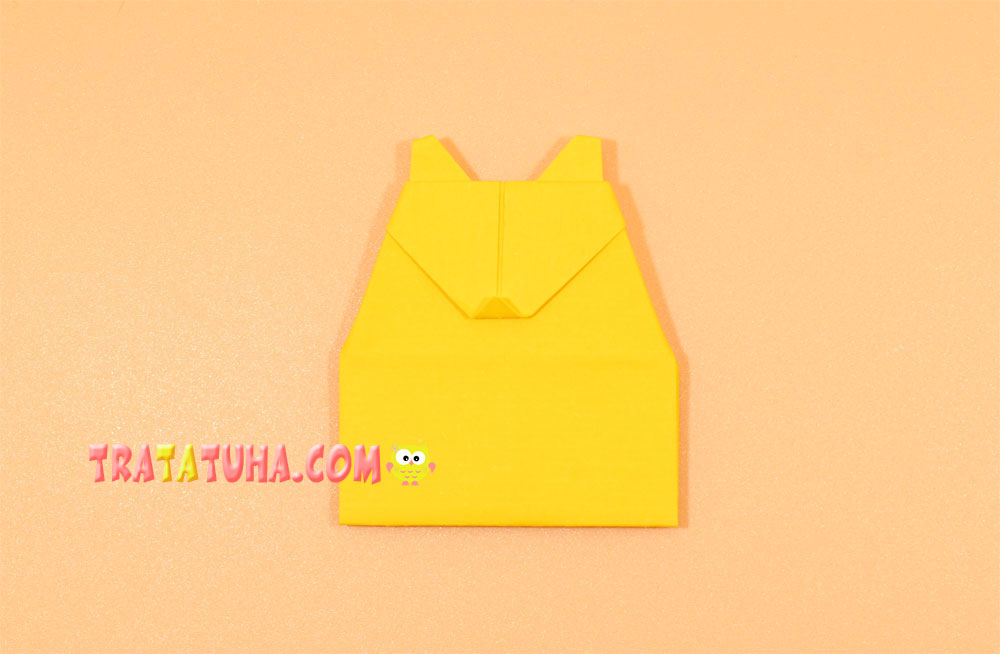
Flip over to the other side again. Pull down the folded paper at the bottom.
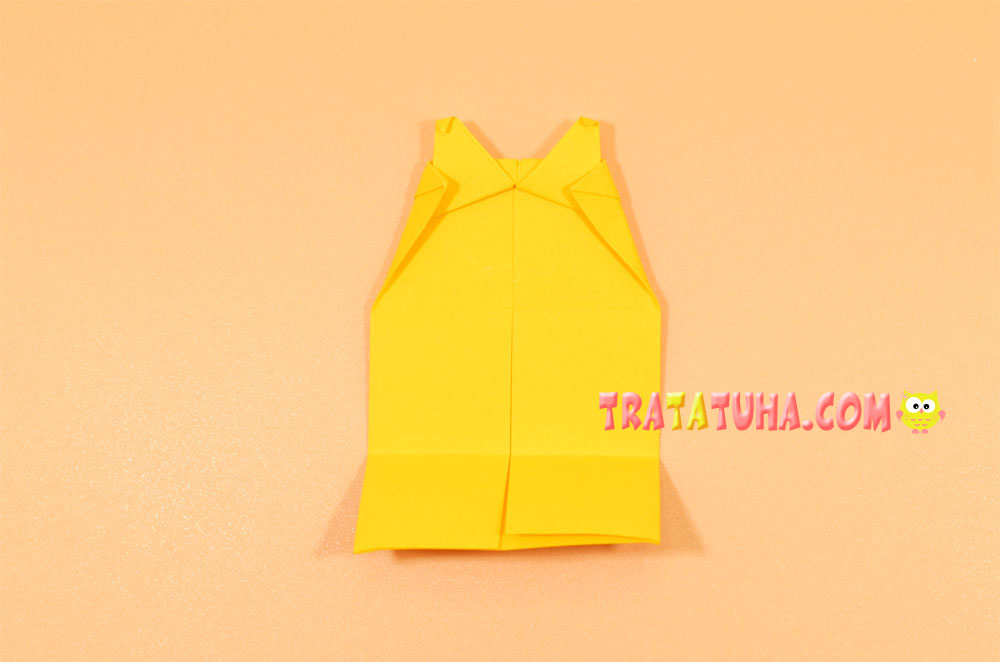
Open from the inside and set the corners to the sides, aligning the edge of the paper in a straight line.
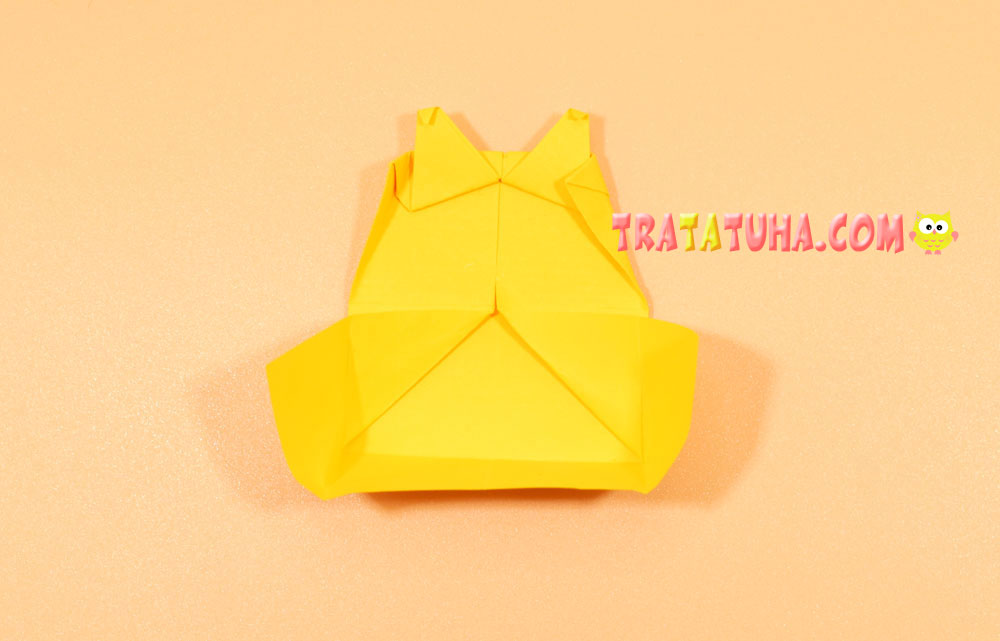
Point the bottom up and press down.
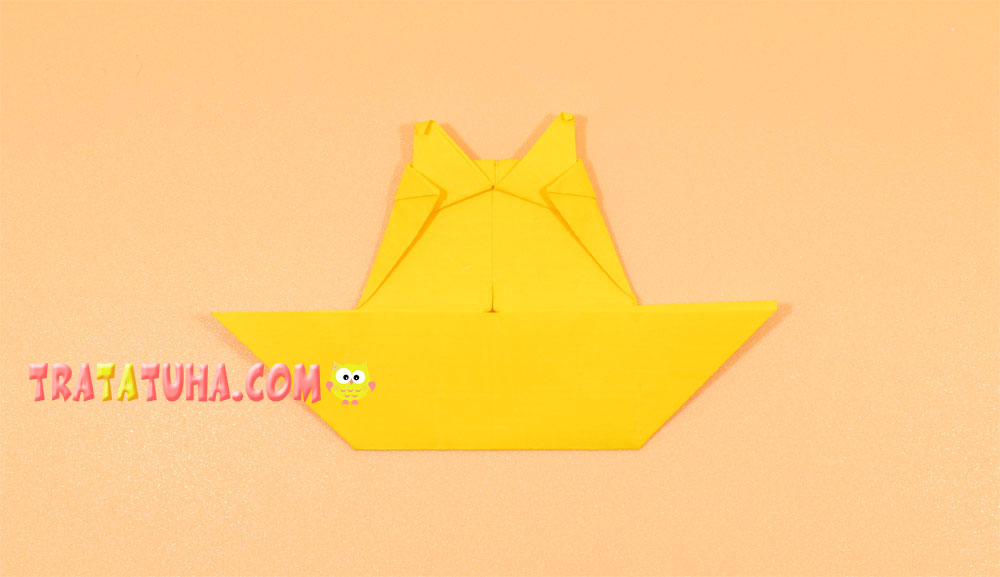
Lower the right and left corner down.
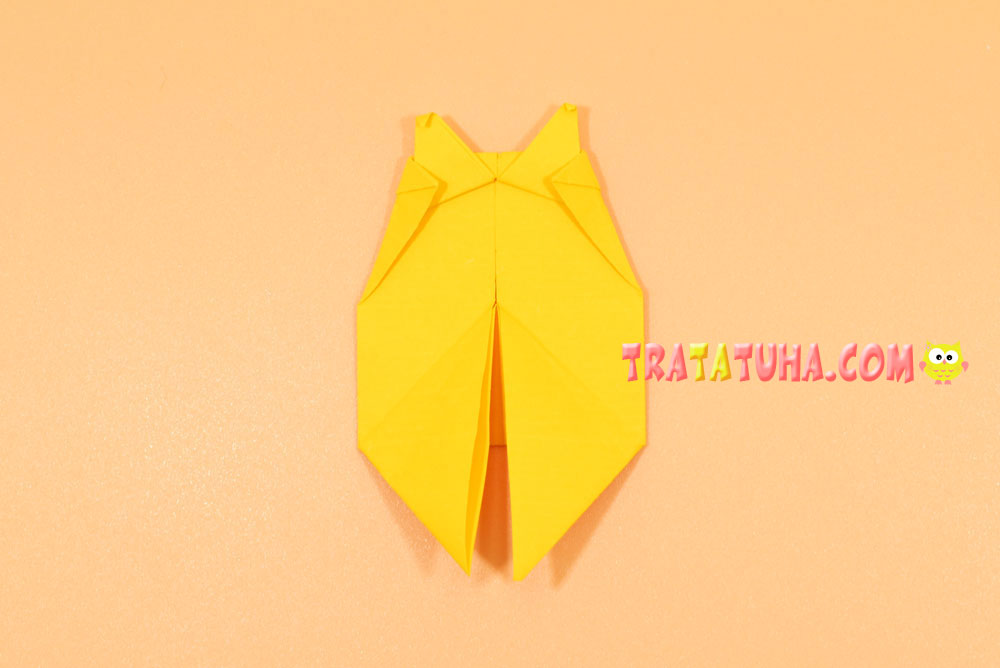
Then fold these same corners up.
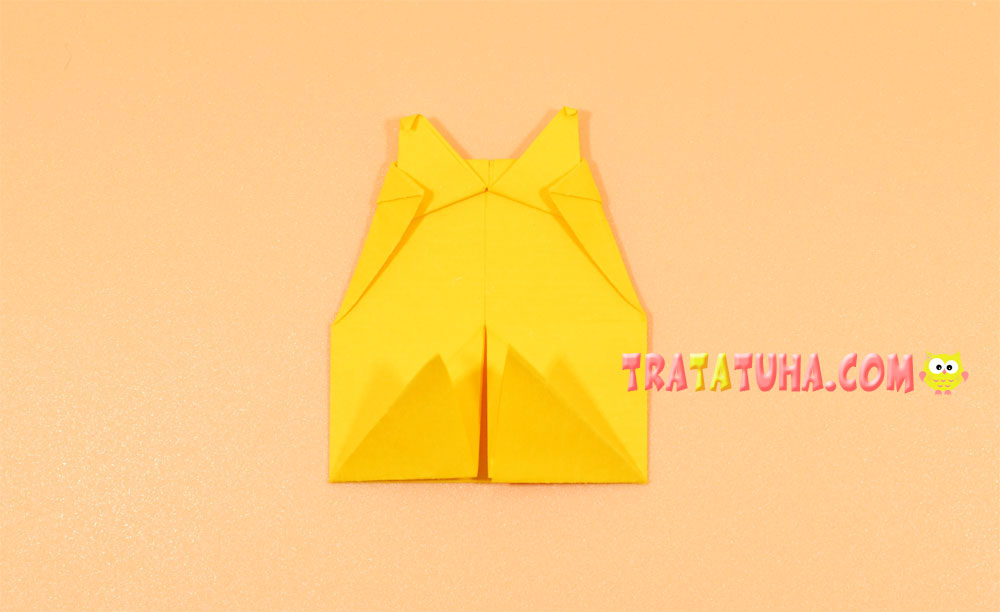
Making a small crease, lower down.
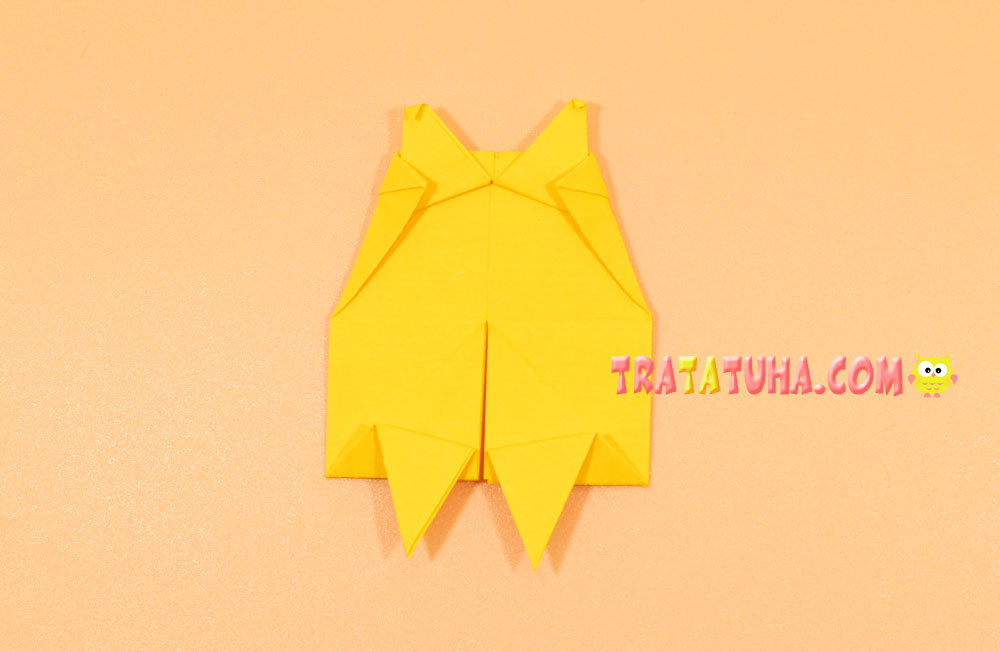
Bend the side lower corners, aligning them with the side of the legs.
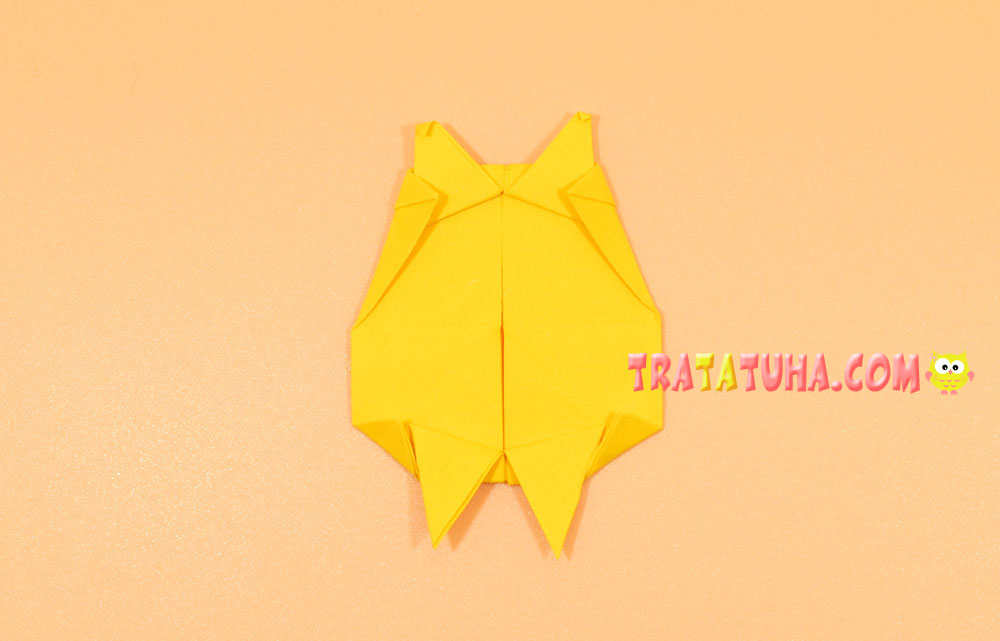
Flip over to the other side.
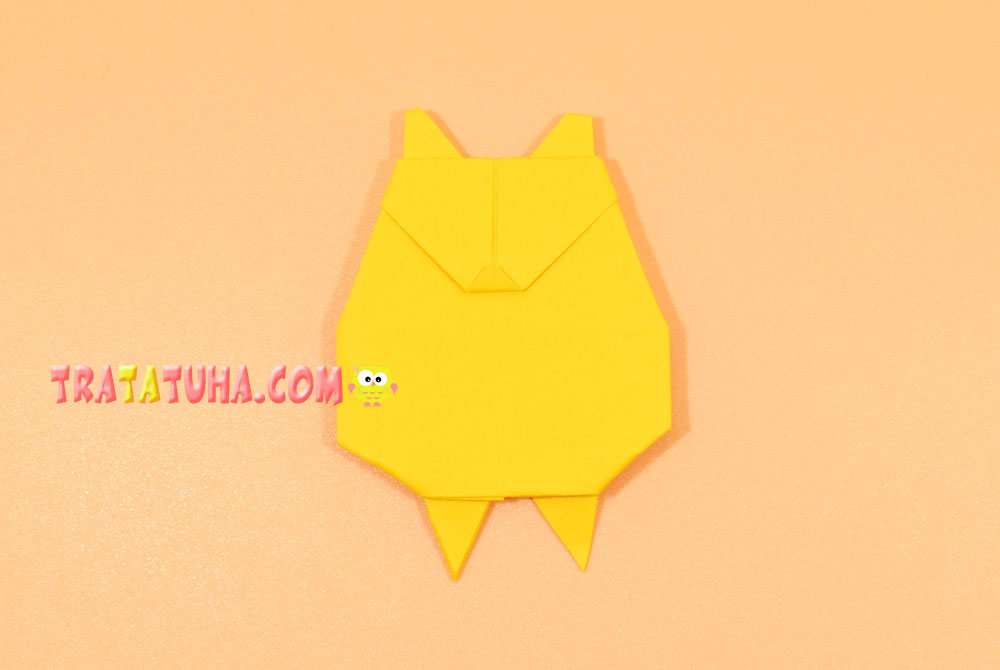
Bend your paws up.
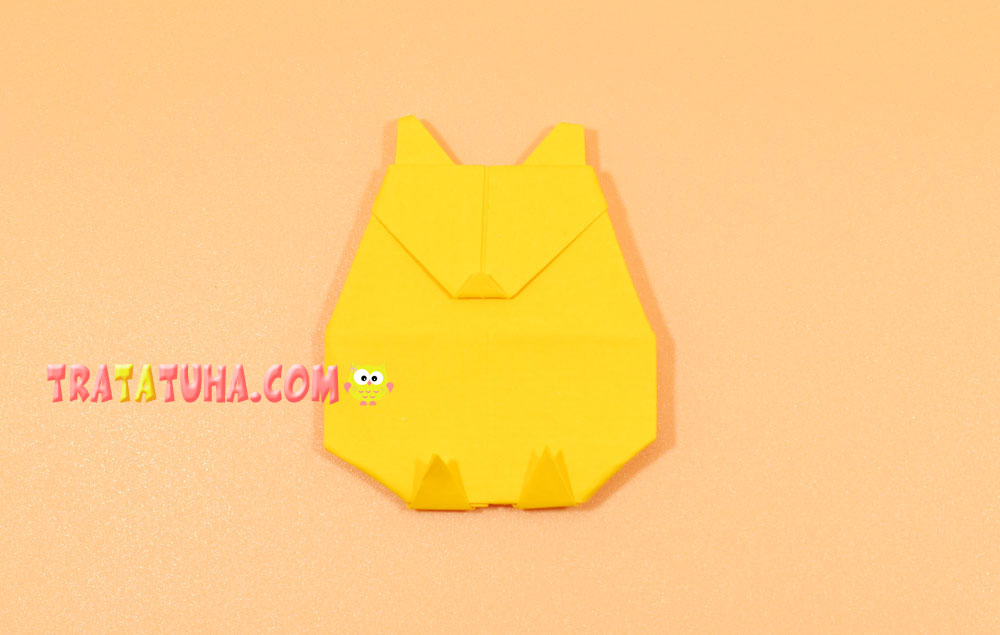
And bend the very ends again.
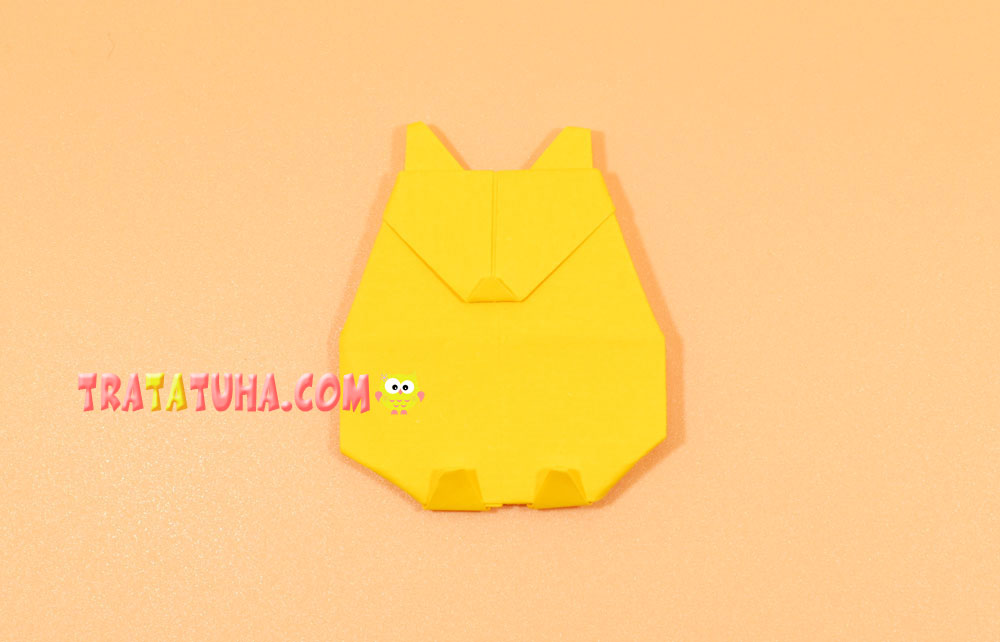
Draw a hedgehog muzzle, paws.
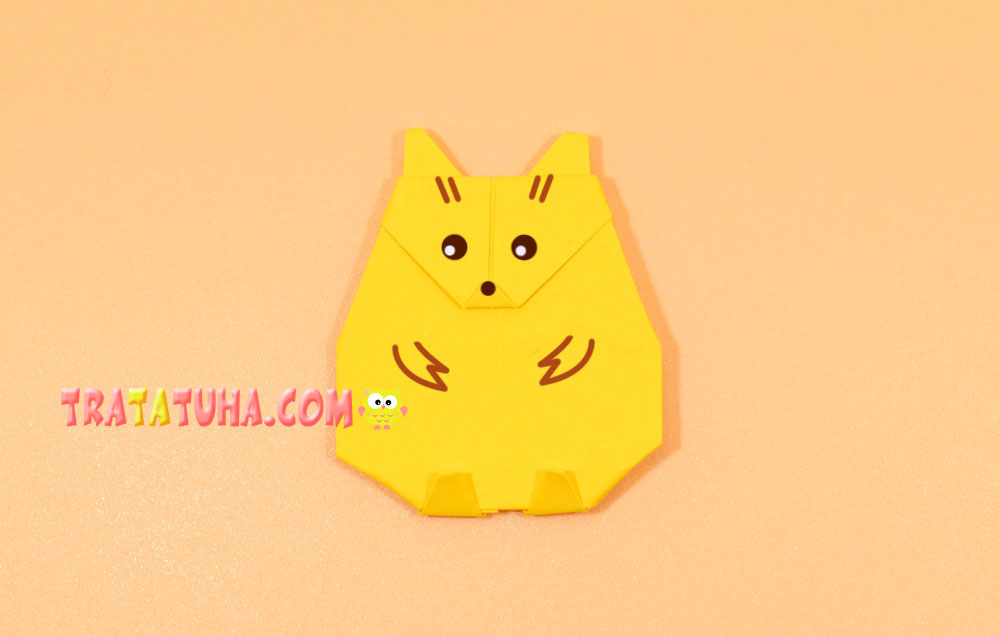
Glue on the needles.
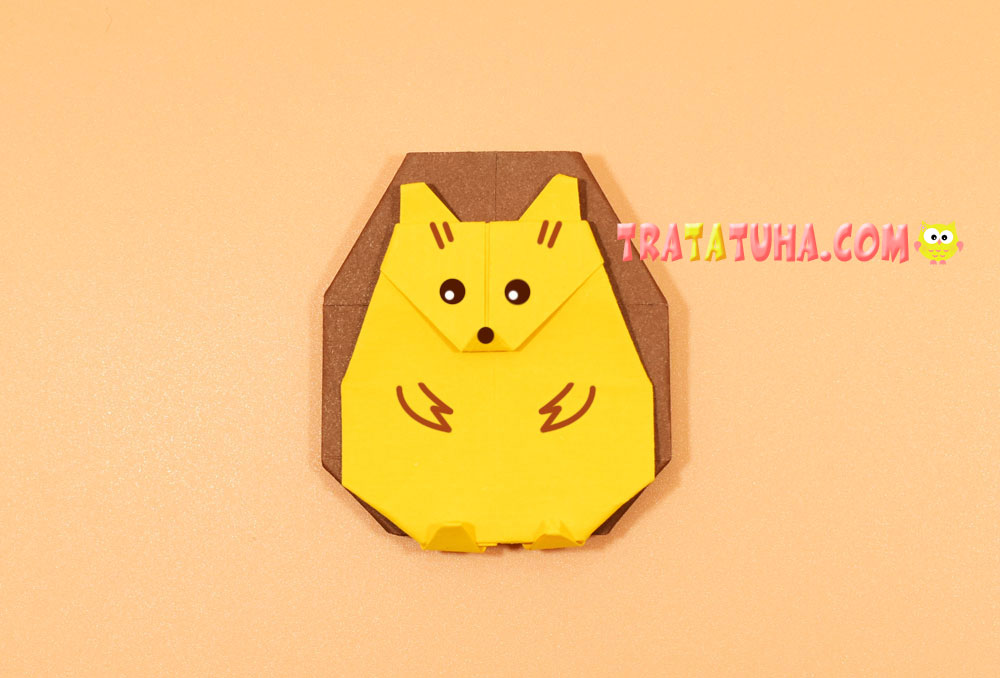
If desired, complete the work by drawing lines on brown paper with shiny pens. Origami hedgehog is ready.

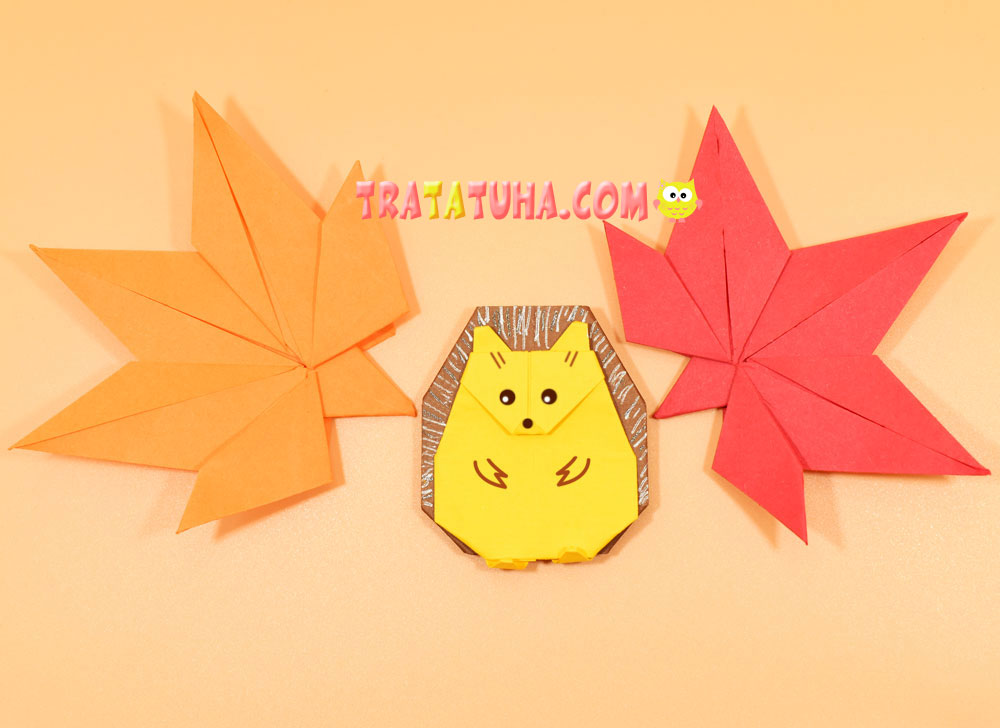
See also other tutorial of Origami Animals.
Many other ideas in the collection of Paper Animals Craft.
Crafts for Kids – learn how to make craft at home! Super cute crafts for all age groups!
