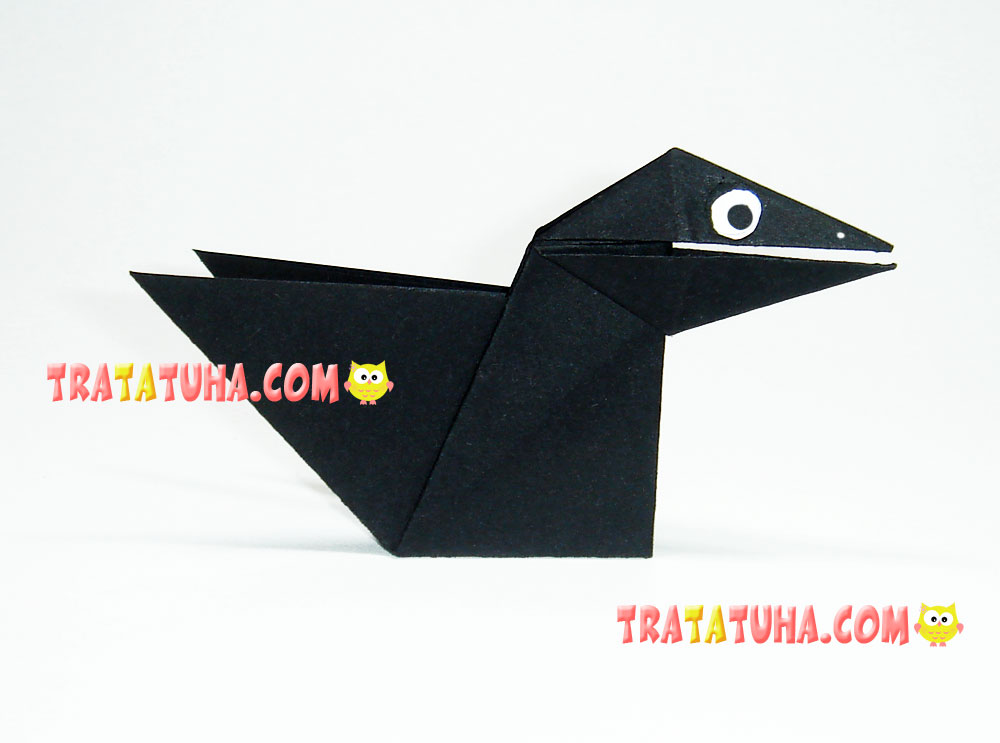
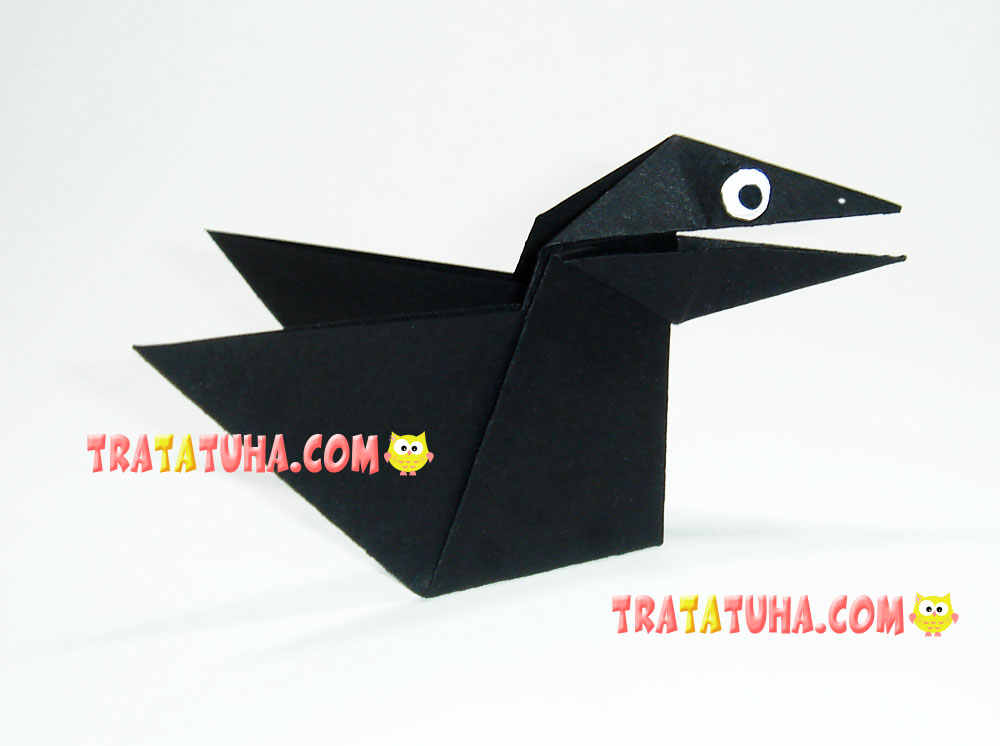
This origami crow is not simple, but talking. But the main thing is that even kids can cope with the work. Follow the step by step photo instructions and everything will work out.
Materials:
- Black paper;
- White marker with black, or any eyes, homemade or purchased.
Origami Crow Step by Step
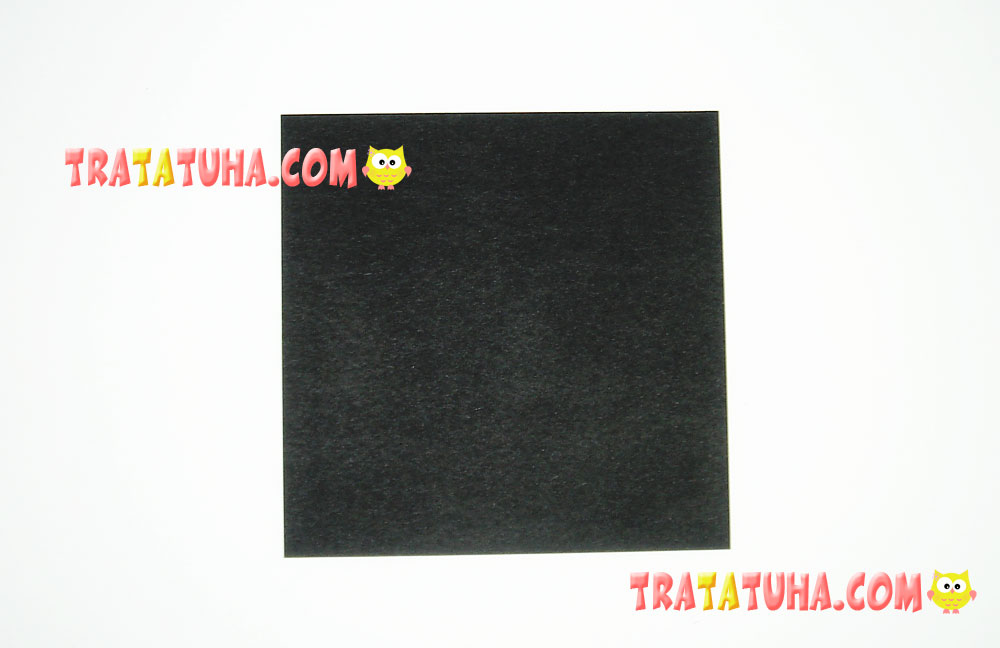
Prepare a square piece of paper of any desired size.
Fold it in half, for example, the bottom corner to the top. Get a triangle.
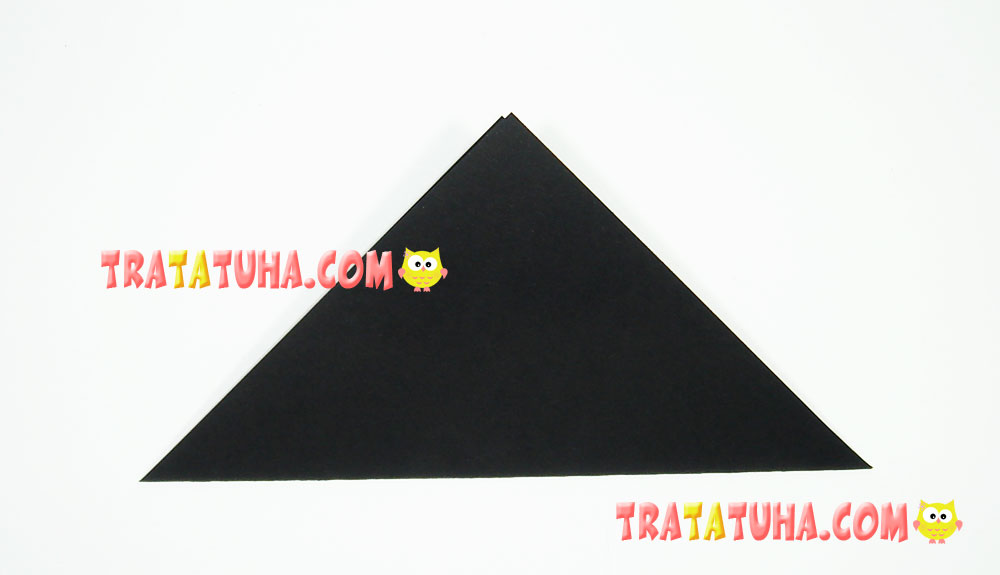
Fold again, corner left to right to mark the fold.
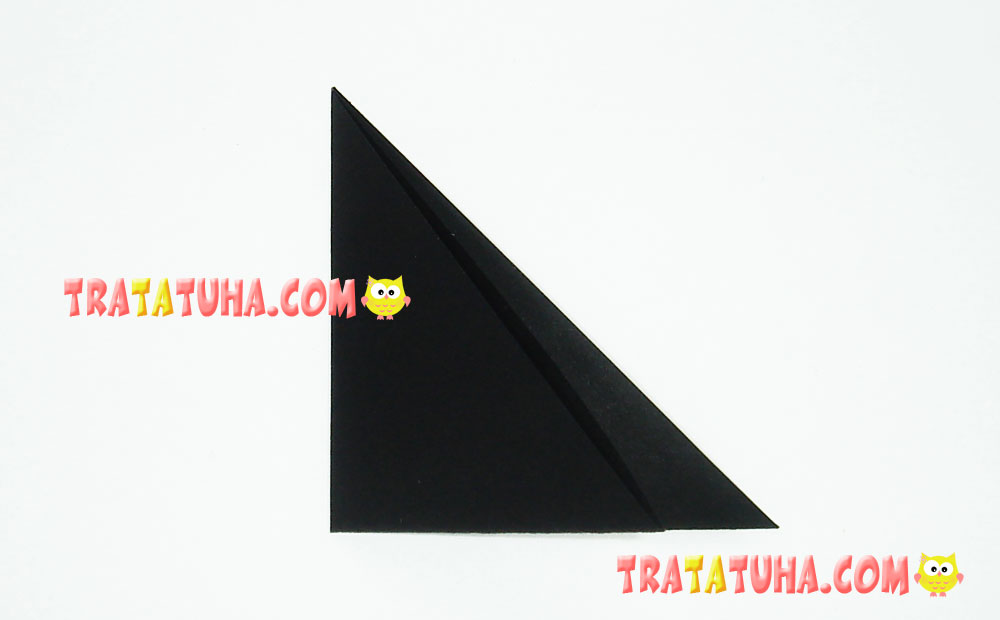
Open the triangle, pull the right corner and guide it down, aligning with the center fold made in the previous step.
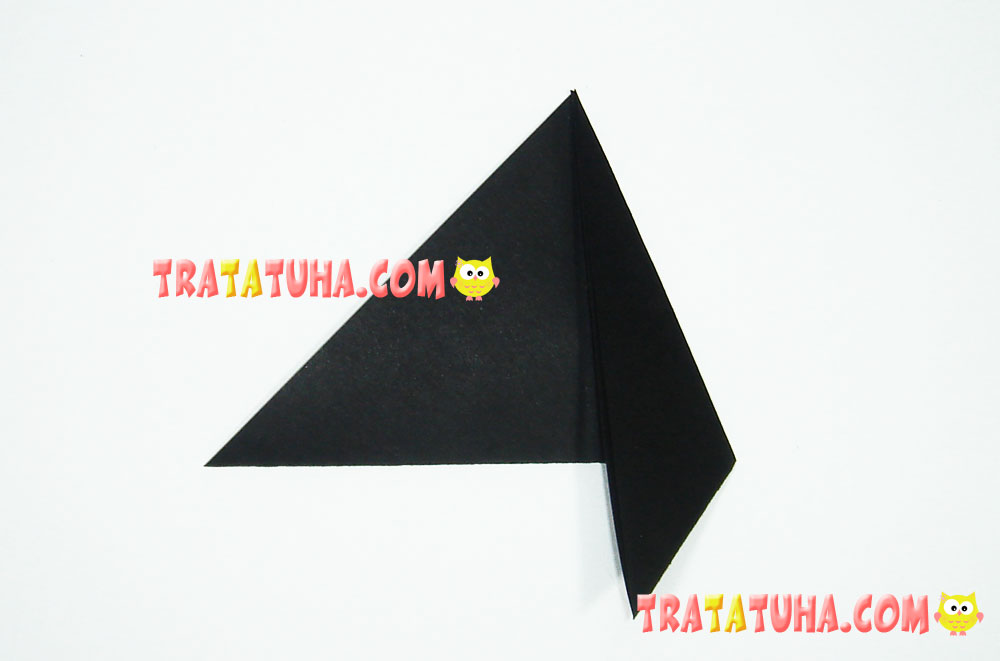
Do exactly the same with the left corner.
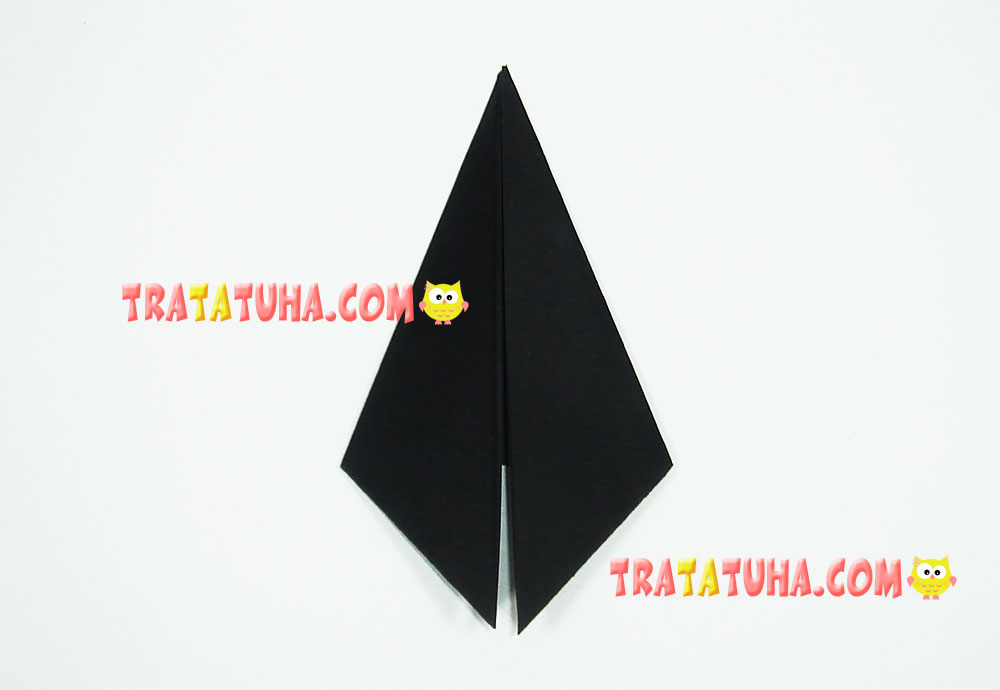
Now alternately bend the right corner to the side.
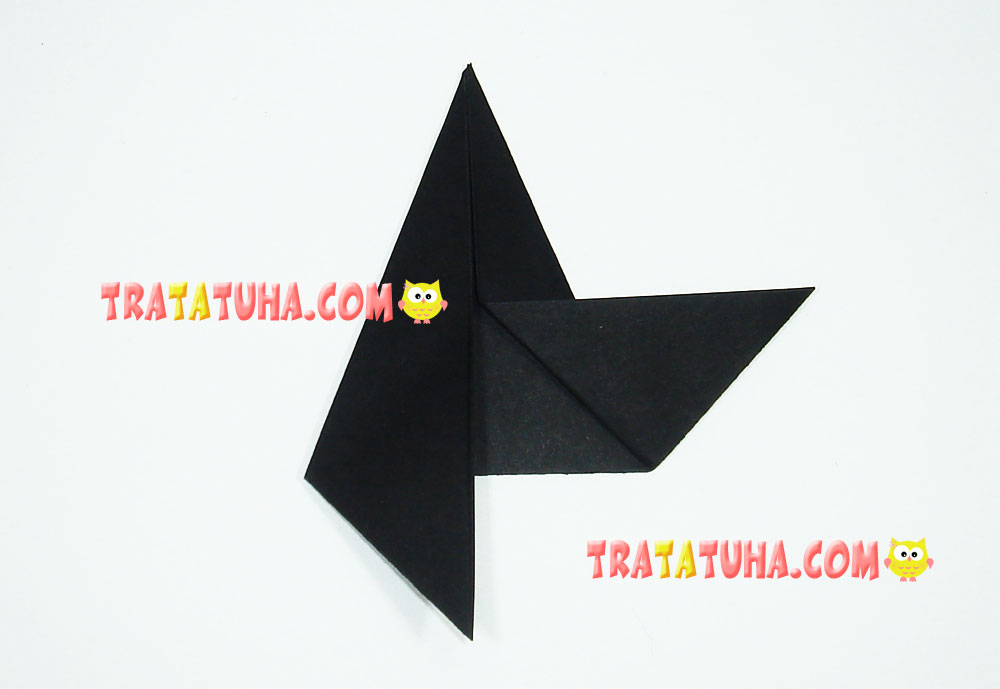
Then the left.
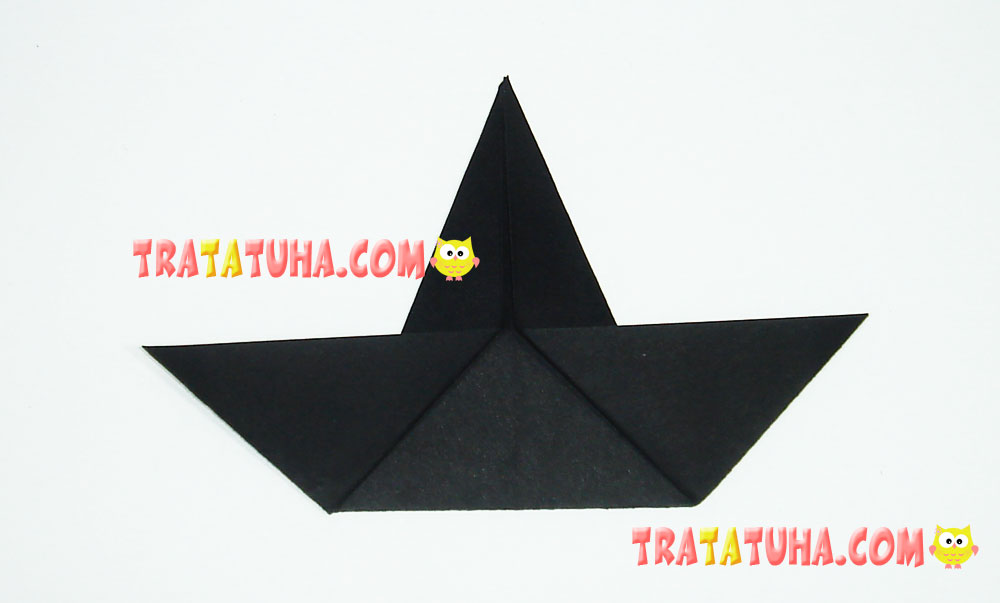
It turned out like a ship. Now you need to redirect its inner part to the outside. To do this, open the folded paper, especially at the top.
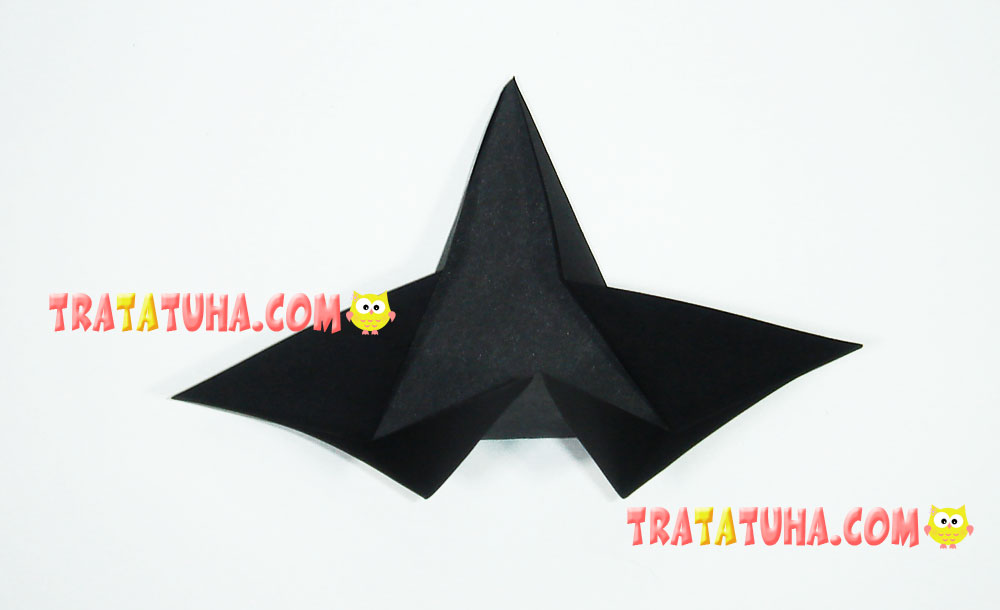
And then return it to its original position, but not with the sides inward, but simply place it on top. It turns out that the upper protruding part is, as it were, in a double form.
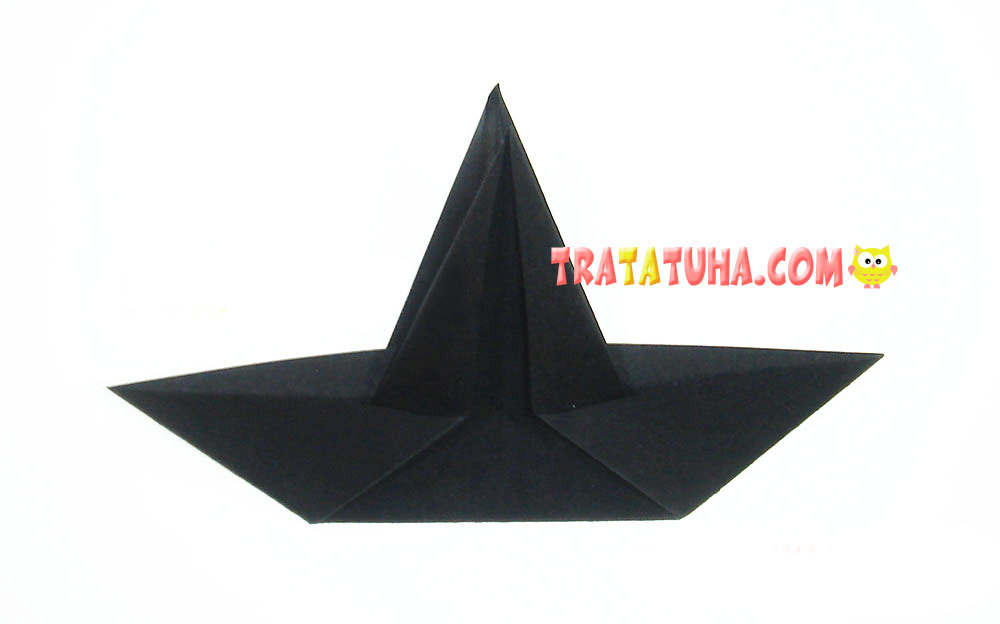
One corner of it, the one closer to you, pull and bend down.
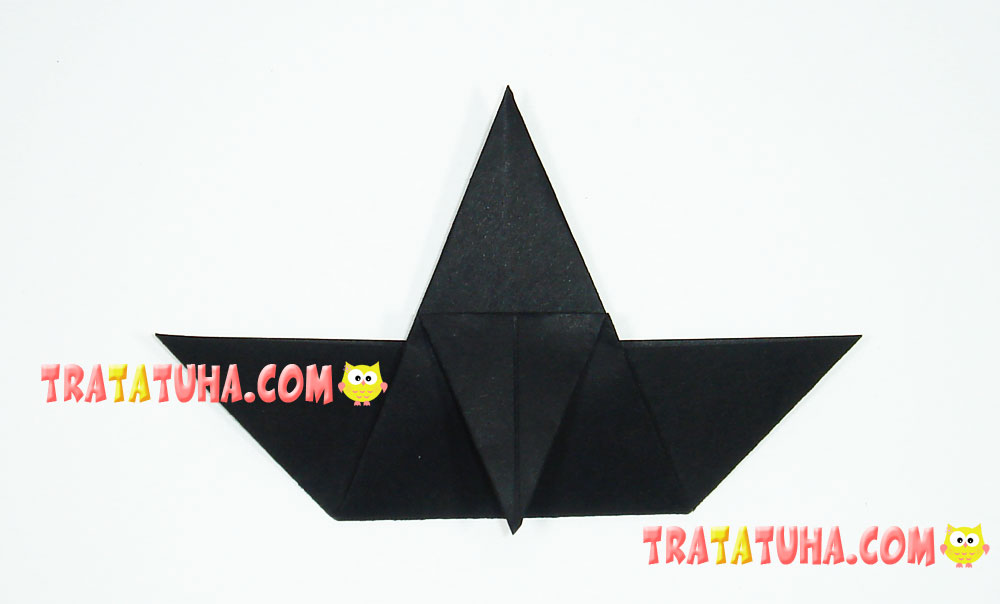
And then immediately to the right, aligning with the fold.
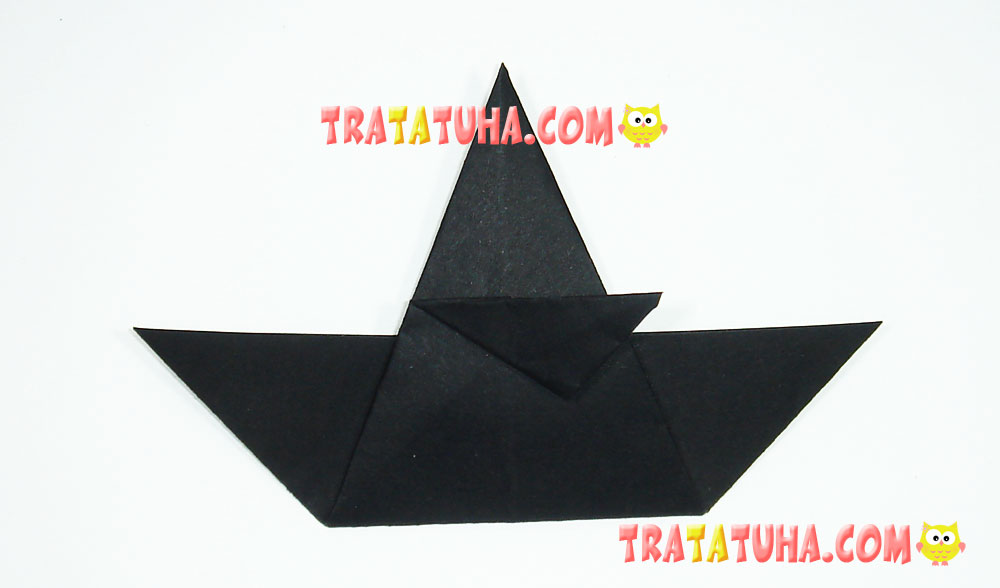
The second back corner of the origami part, which is also the top, immediately bend to the right side, aligning with the bottom.

Open the same corners and redirect the bottom one to the left side.
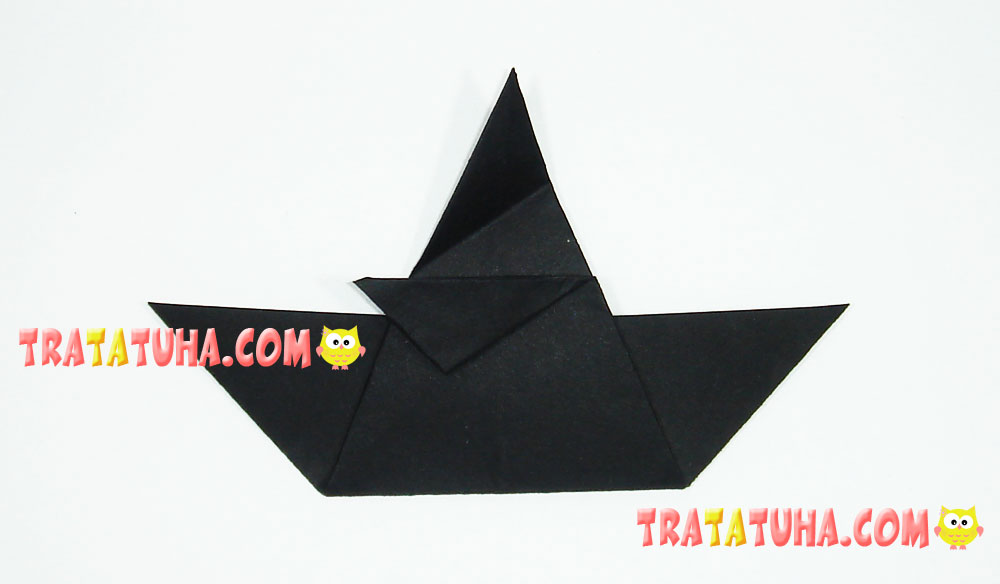
Point there and bend the top corner, aligning it with the bottom.
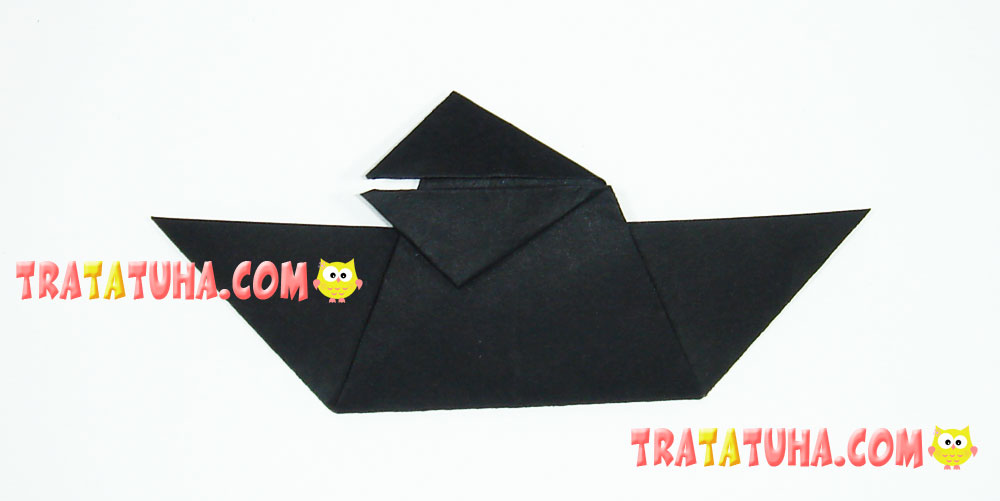
Fold the part in half, immediately both the body and the head with the beak.
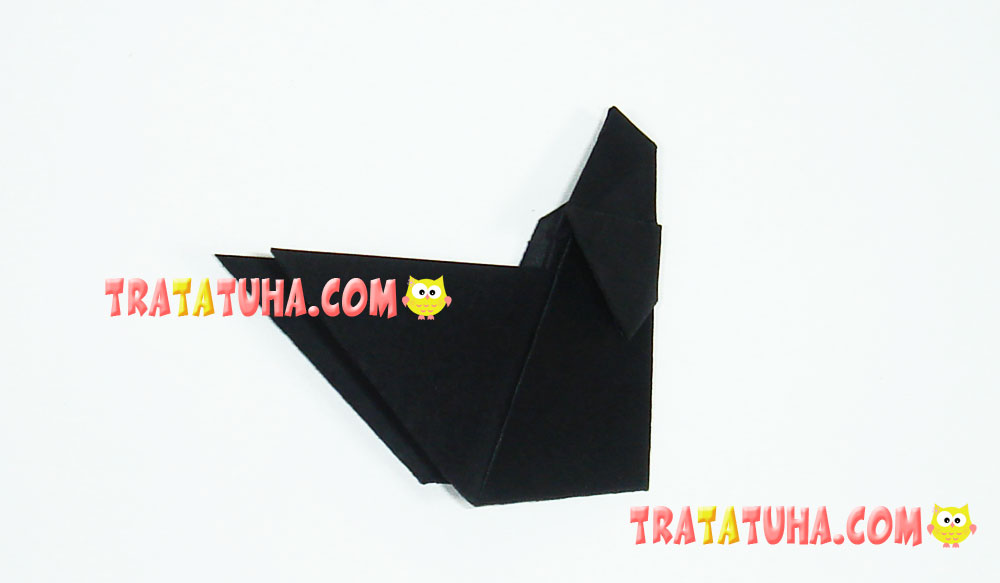
In the head area, the future beak is directed to the left. Open its top and turn to the right.
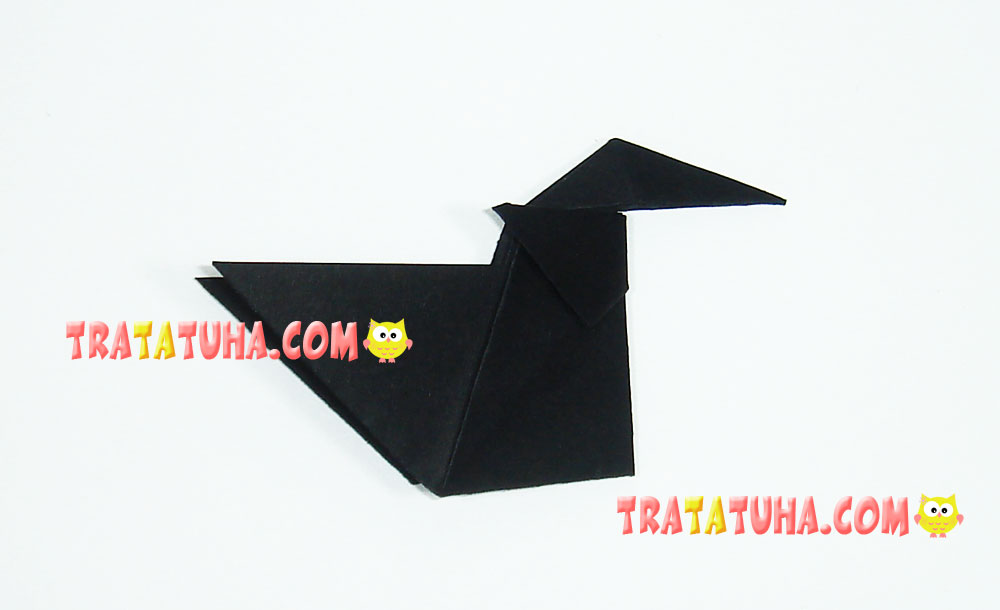
Then the bottom.
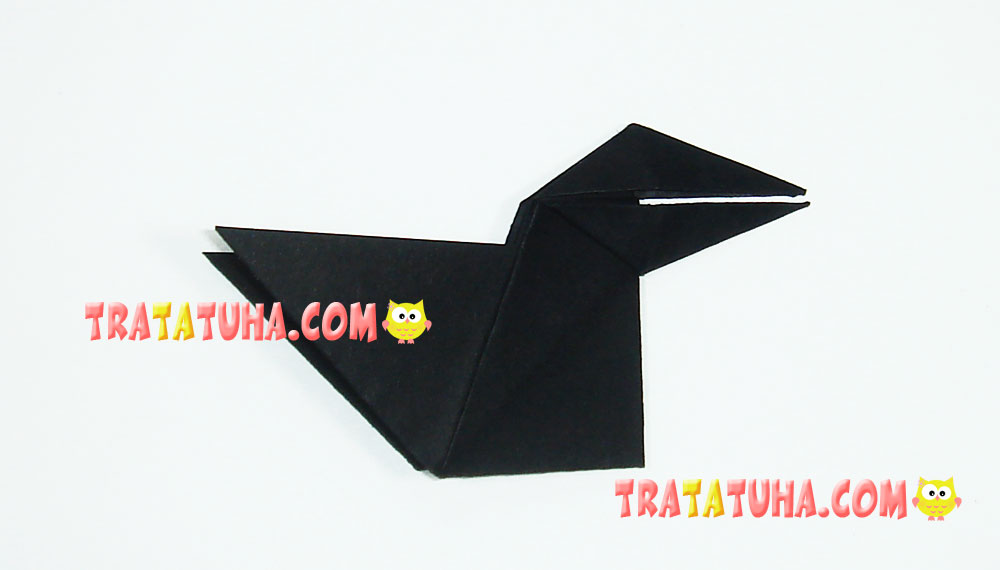
The paper crow is almost ready, draw or glue her eyes, nostrils.
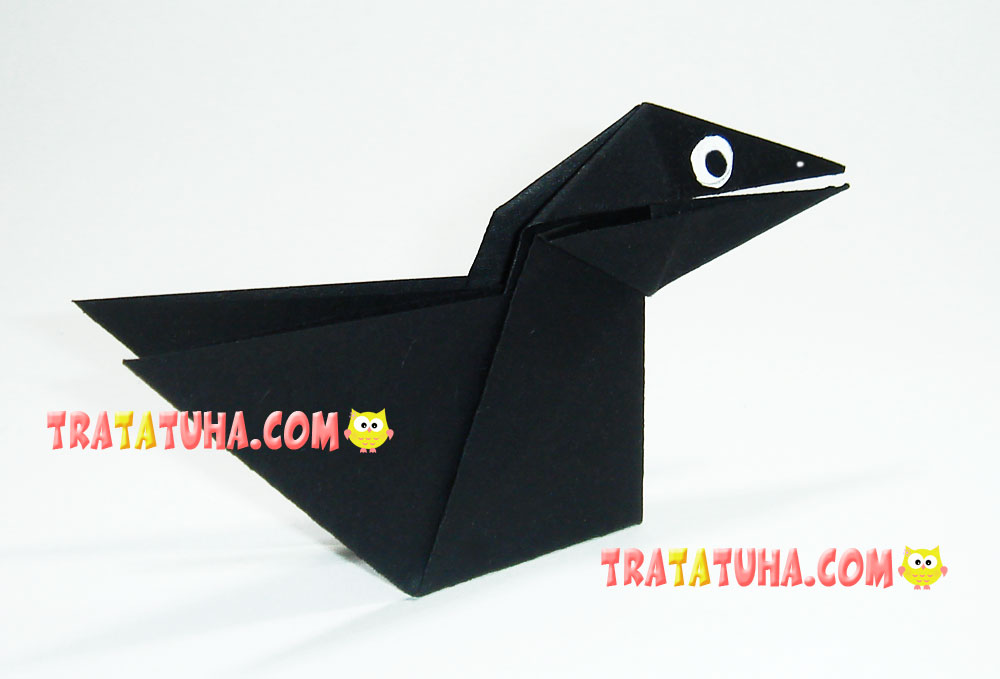
If you spread the wings to the sides, at the same time it opens and closes its beak in a funny way.
You can see interesting ideas on the topic in such lessons as:
