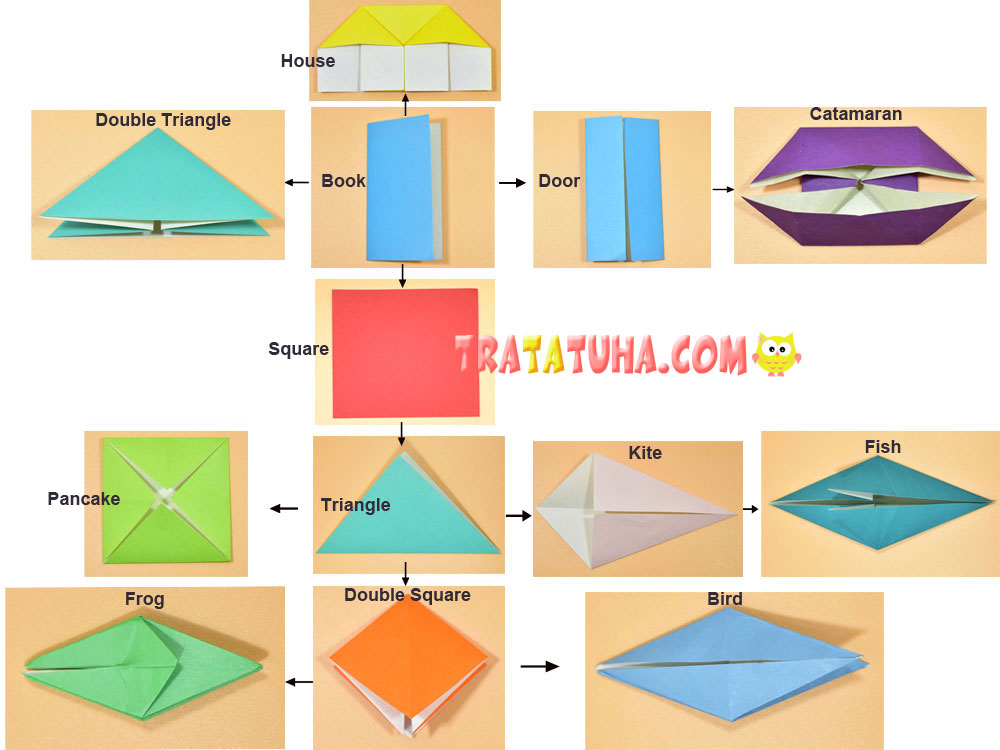
The basic origami shapes from which various objects, animals, birds, plants are subsequently added. This is the basis of the basics, the first steps in the knowledge of origami.
Many origami start with these shapes, often the first steps are skipped in the descriptions, it is enough to indicate the basic shape. For example, a triangle, and then it is already clear what will be the beginning of the folding of a certain subject.
Basic Origami Shapes: Square

This is a regular sheet of square paper, of any size.
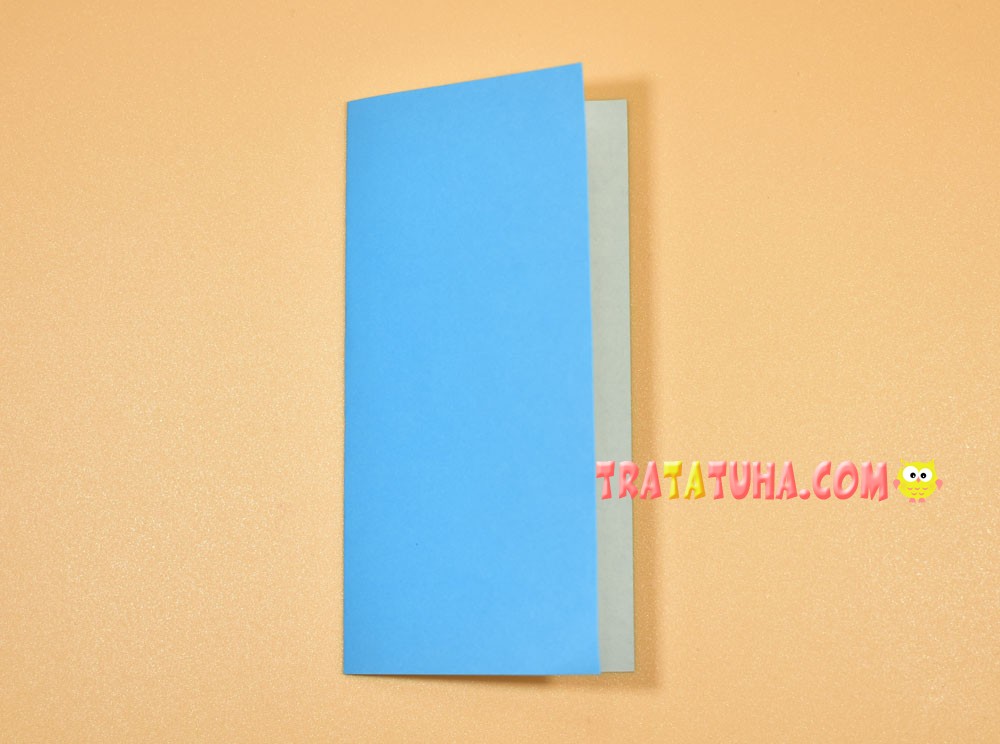
Basic Origami Forms: Book
We fold an ordinary square sheet of paper in half, we get a book.
Basic Origami Shapes: Door
We fold a sheet of square-shaped paper into a book to indicate a fold in the center. And then open and fold the right and left sides inward, aligning them with the fold in the center.

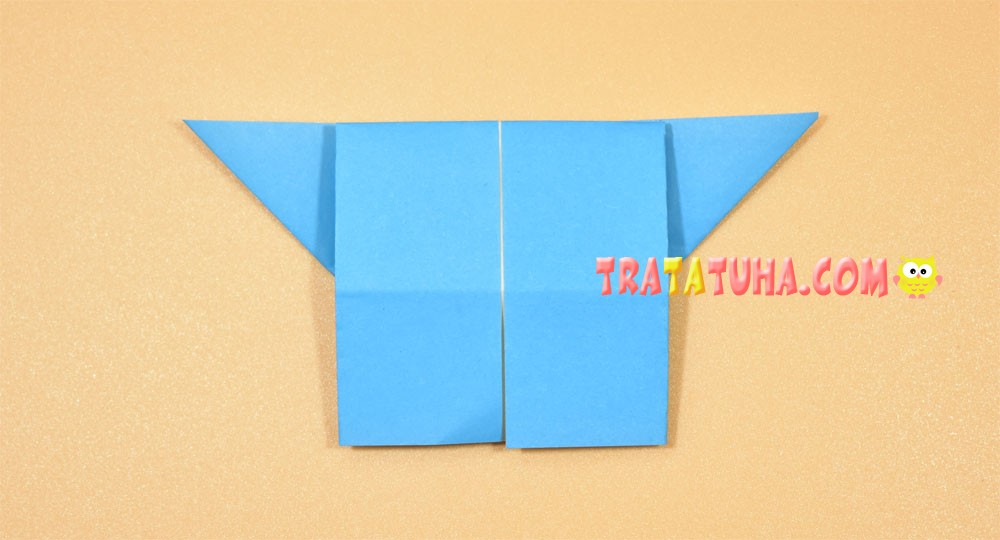
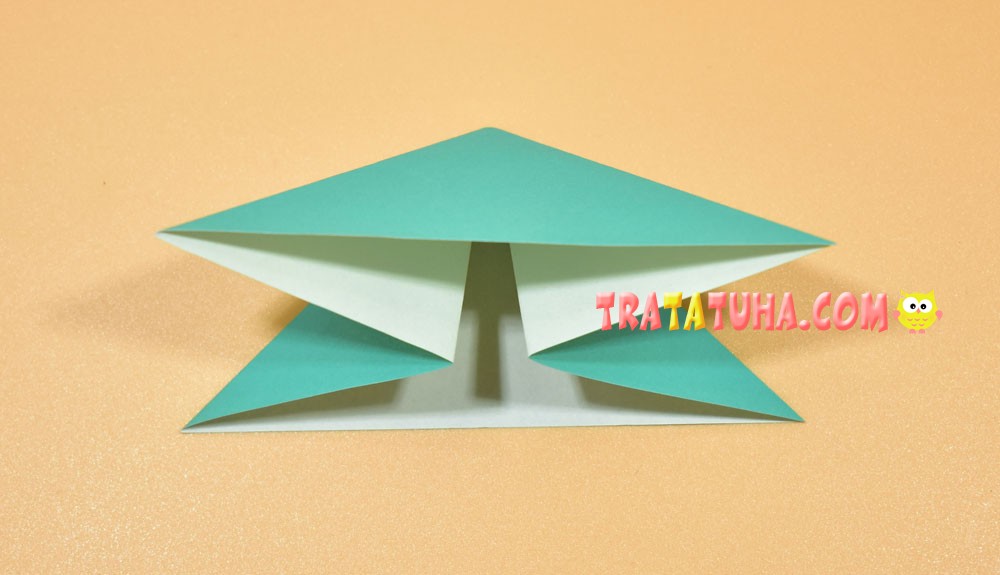
Basic Origami Shapes: Catamaran
A catamaran can be made in two ways.
The first way to fold the catamaran
We start with a square piece of paper, we reach the shape of the previous one, that is, “Door”. Flip over to the other side.

Fold in half.

Fold up the bottom edge of the paper, front and back, to make the fold we need in the middle.

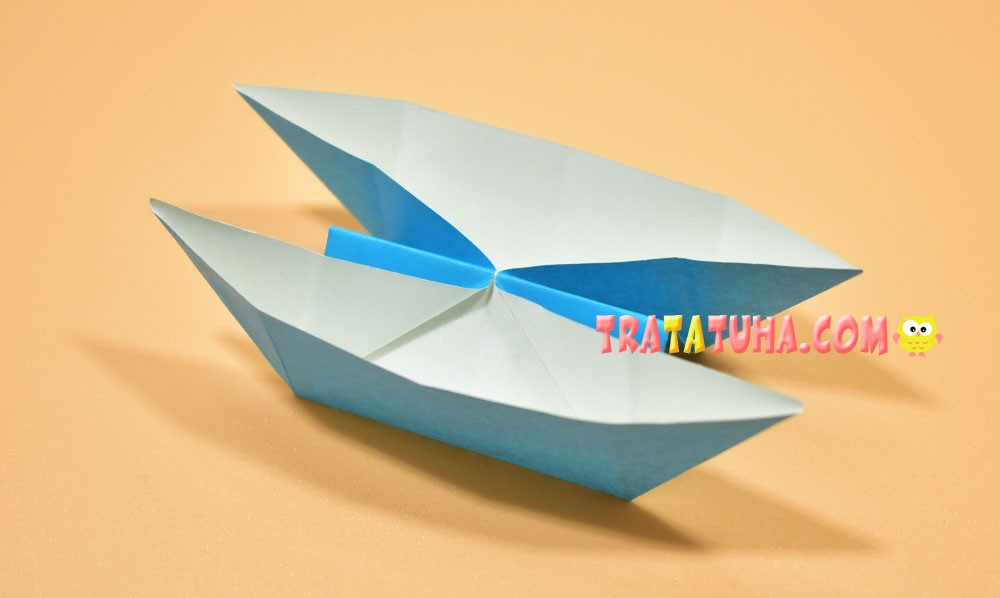
Open the paper.

Open up the corners.

Bend the straight bottom side up, simultaneously directing the corners to the sides.

One part of the catamaran is ready.
Flip over to the other side and follow the same steps.
Open the corners and guide them to the sides, lifting the paper up.


The origami catamaran shape is ready.

2 way to fold the catamaran
Prepare a square piece of paper.

Fold the sheet in half, connecting the two opposite corners, straighten it, and then fold it in half again, this time connecting the other two corners.

This will outline two intersecting folds needed for further work.

But we need two more folds. Fold the paper in half, side to side. Straighten with connect the other two sides.

On the paper area, 4 folds-folds intersecting in the center will remain.

Bend all corners in the center.

Open the paper and make an origami “door” shape. That is, bend the sides inward towards the center.

Now fold the top and bottom sides inward.

In the upper part, straighten the corners closed in the middle to the sides, simultaneously directing the top edge of the paper down.


Now do the same for the bottom of the paper.
The origami catamaran shape is ready.
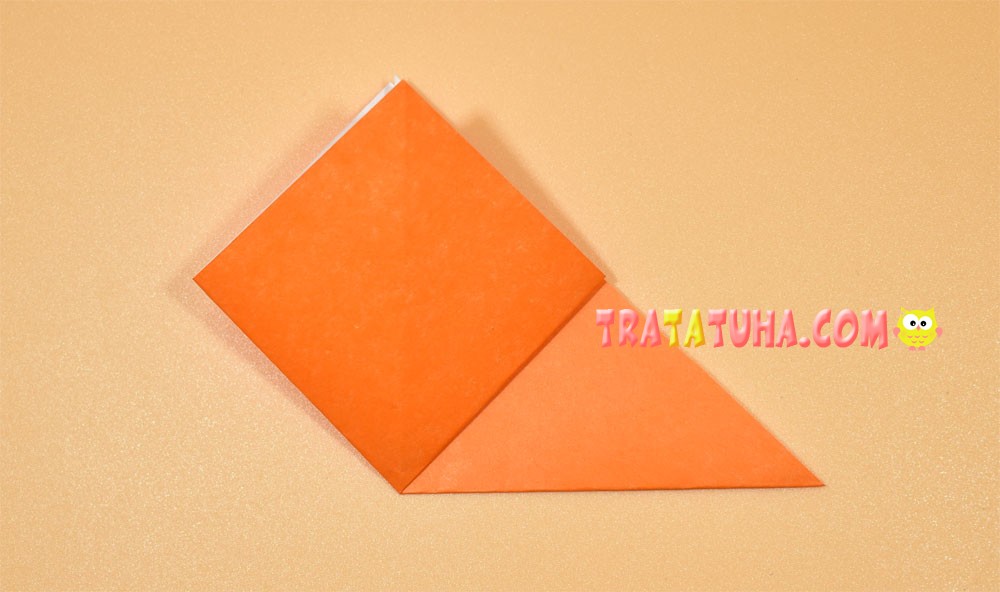
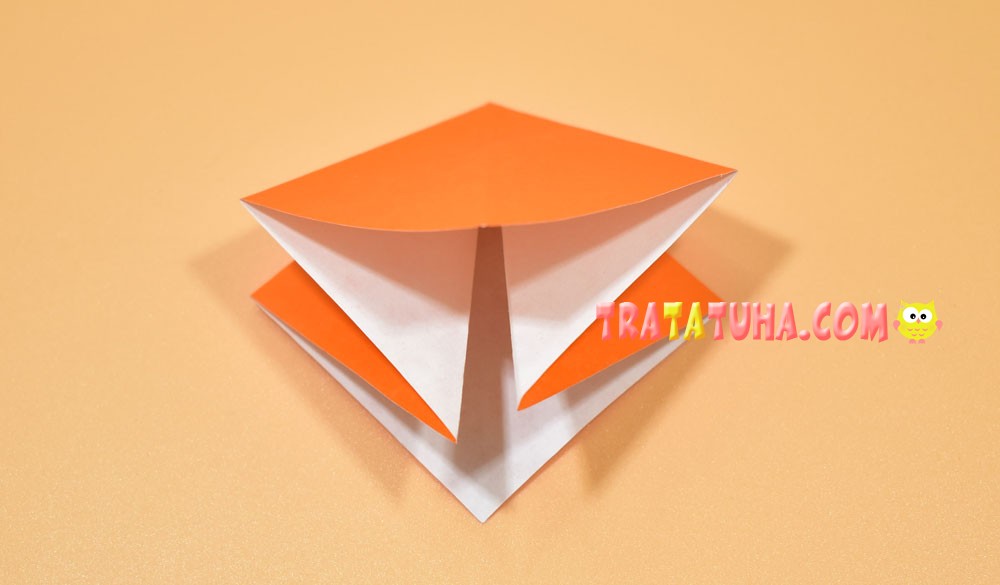
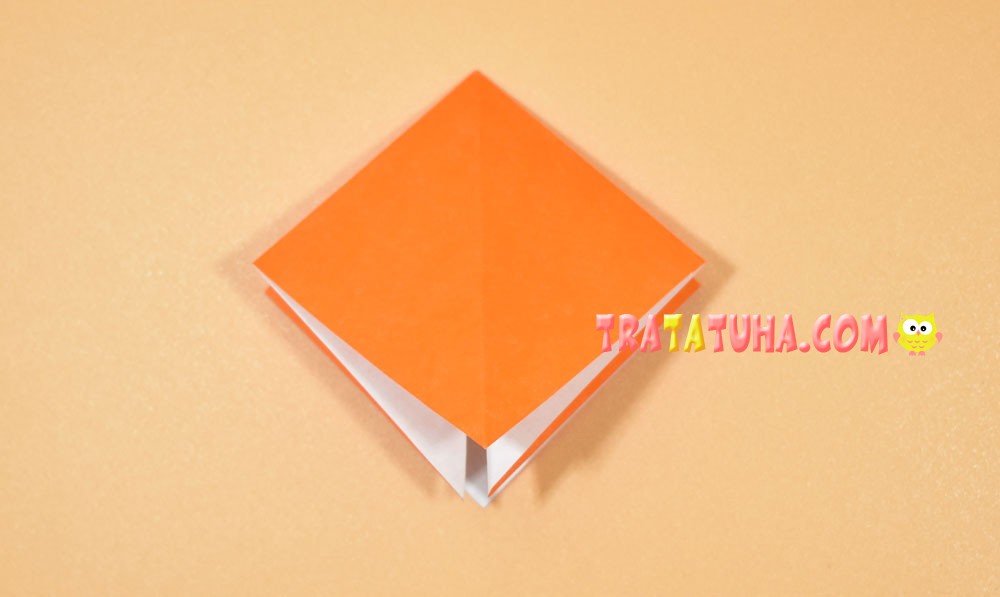
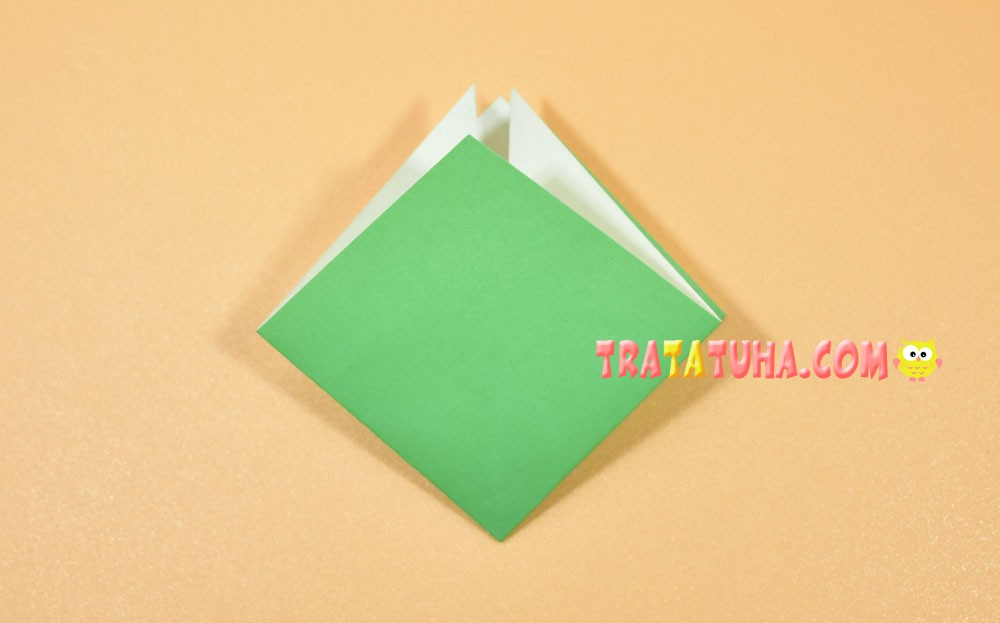
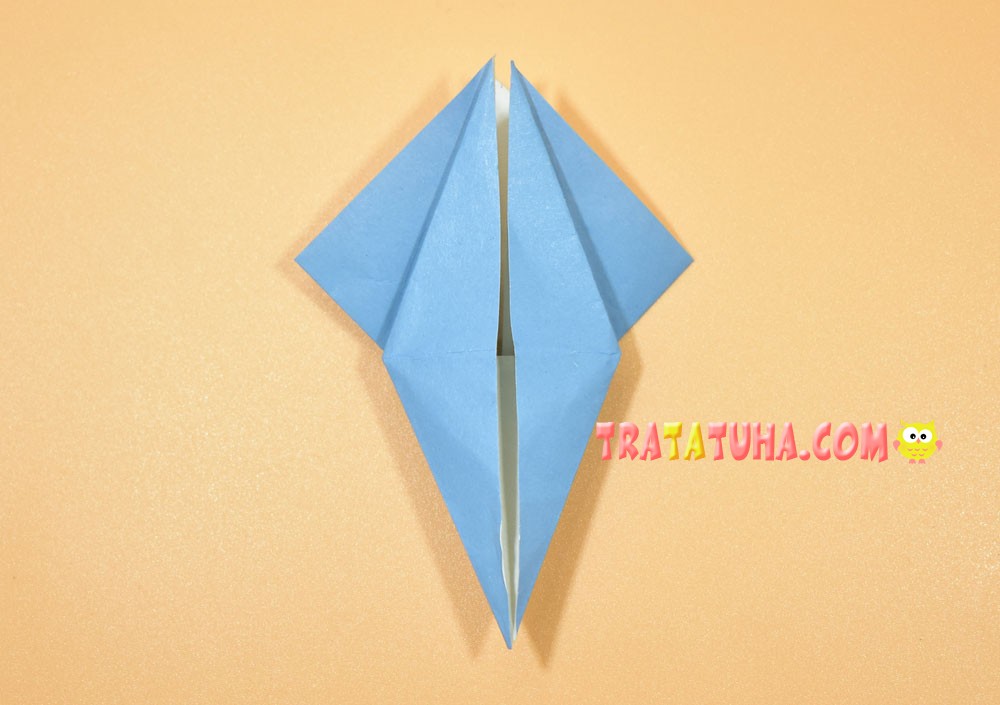
Basic Origami Shapes: Double Triangle
As usual, we start with a square sheet of paper.

Fold it into a triangle. And then we connect the other two corners again.

There are intersecting folds.

Flip over to the other side.

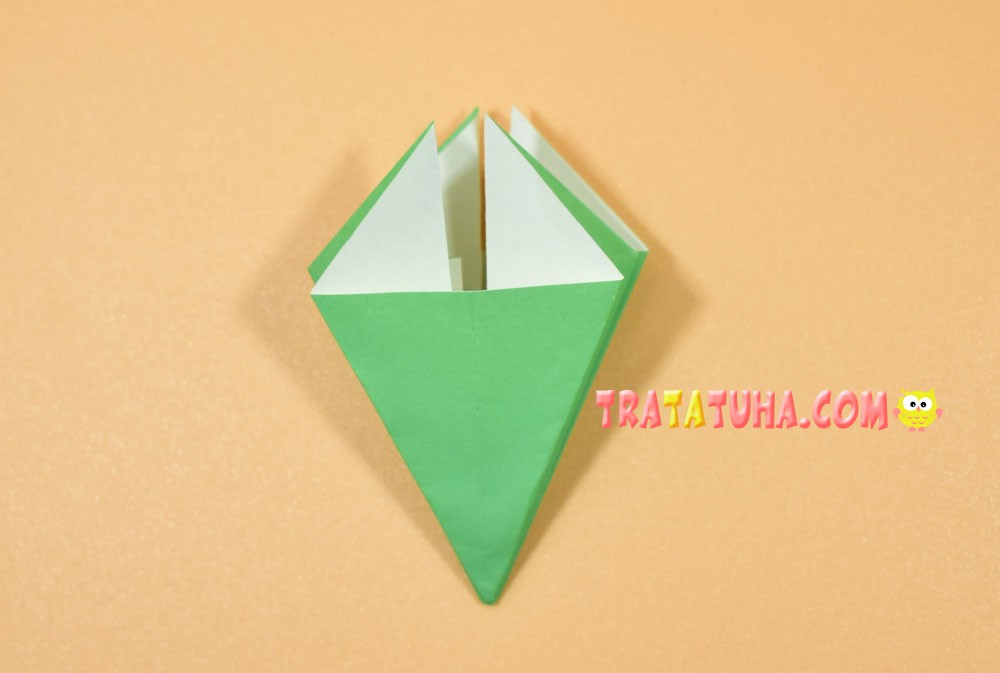
Fold in half horizontally.

We open the paper. As you can see, 3 folds have formed on its area, thanks to them it will be easy for us to make the next figure. Direct the sides with a fold to the middle, connecting the two upper and two lower corners along the way.

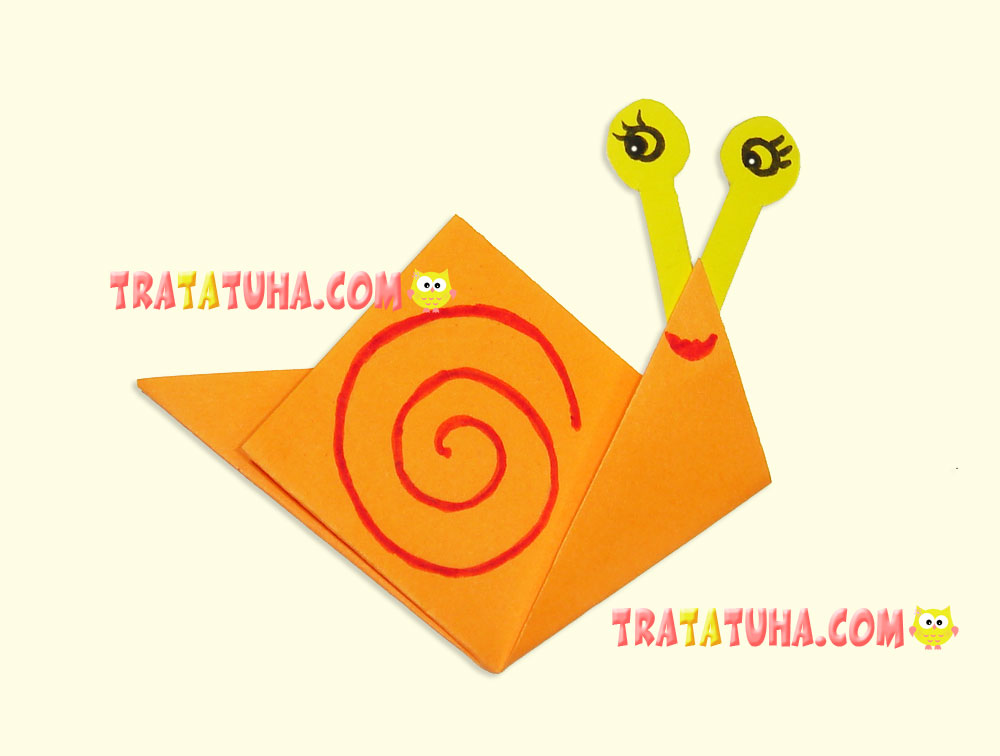
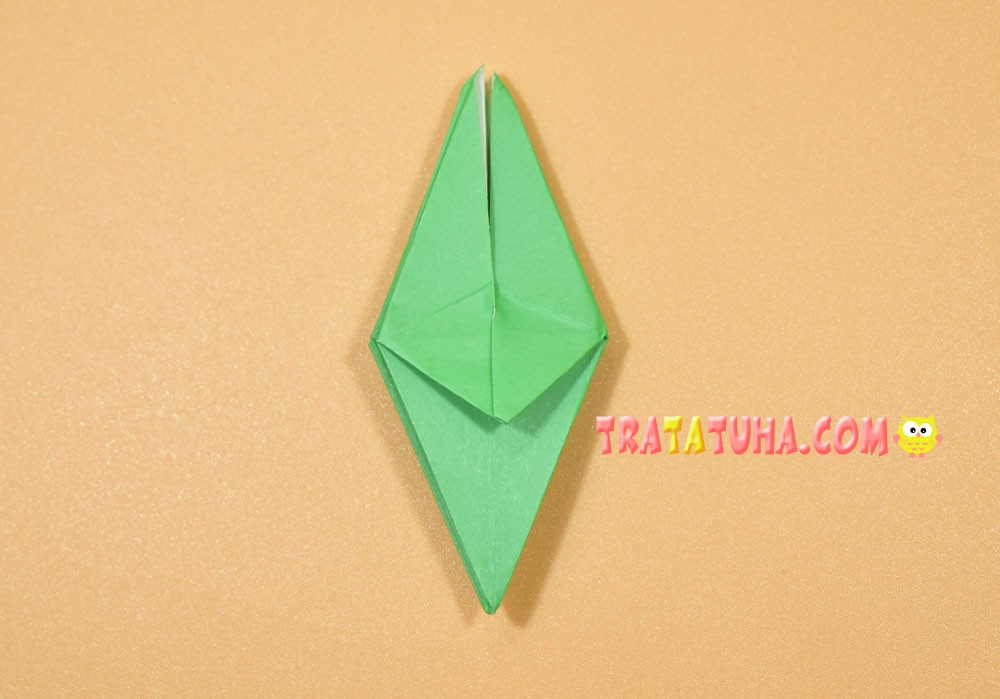
The result is an origami “double triangle” shape. It is the basis of so many origami. This is the beginning of folding a tulip, a frog, a Christmas tree, an origami crab.

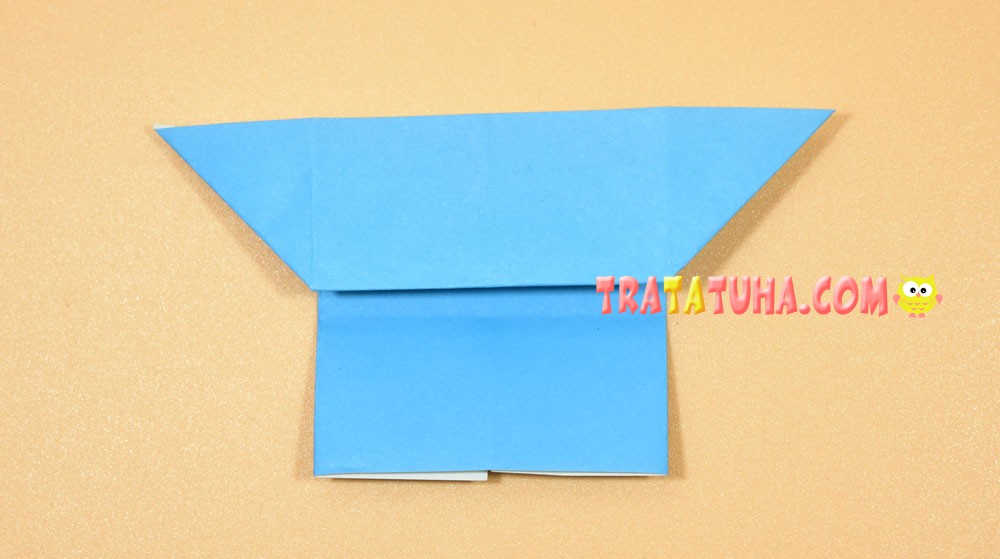
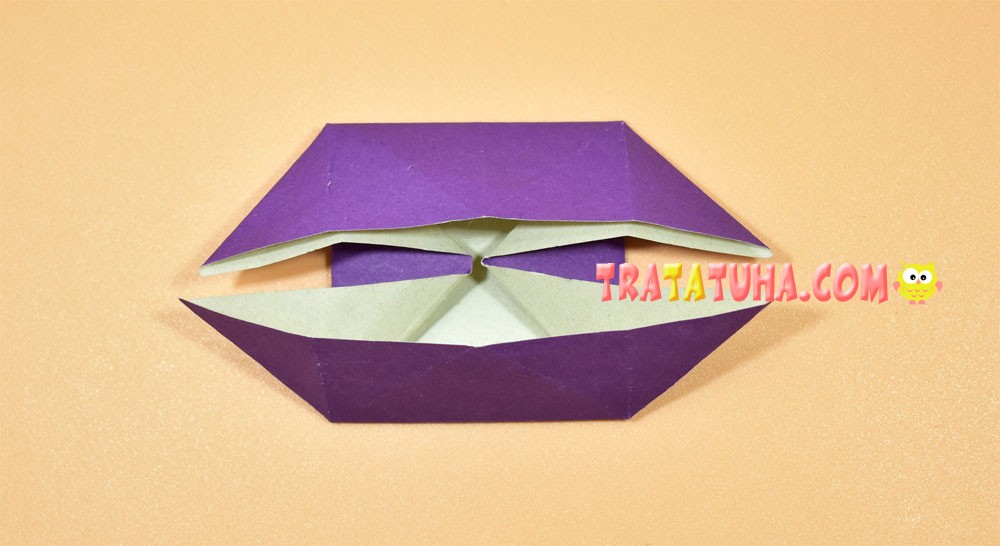
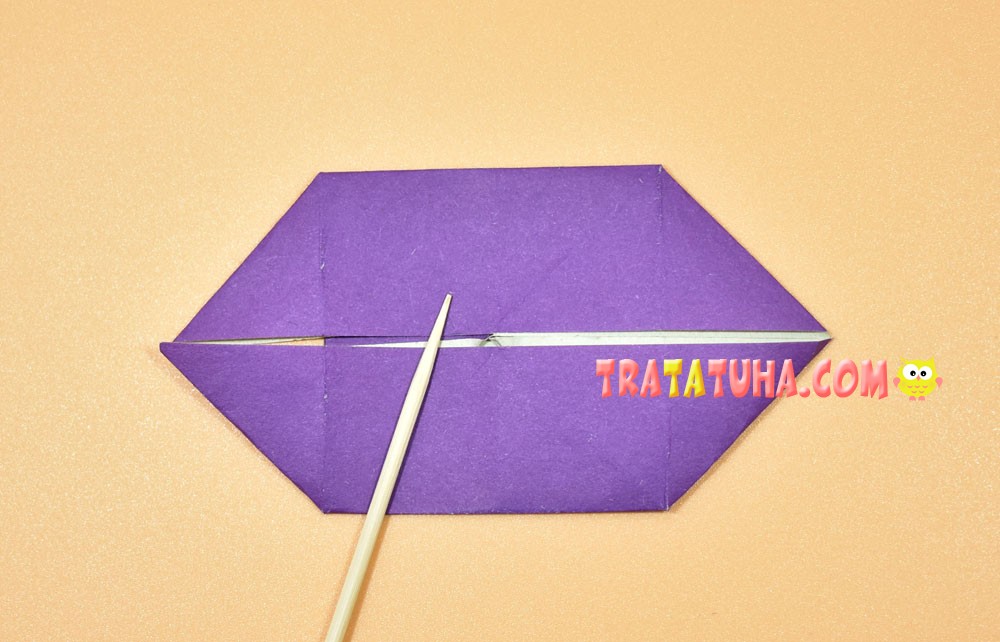
Basic Origami Shapes: House
Prepare a square piece of paper.

Fold it in half, open it and fold it again, connecting the other two sides.

Open, cross folds are visible on the square.

Fold in half again, and then fold the right side to the center.

Now the left side.

Open the pocket on the right and flatten it in the upper part, the lower part will also open to the sides.

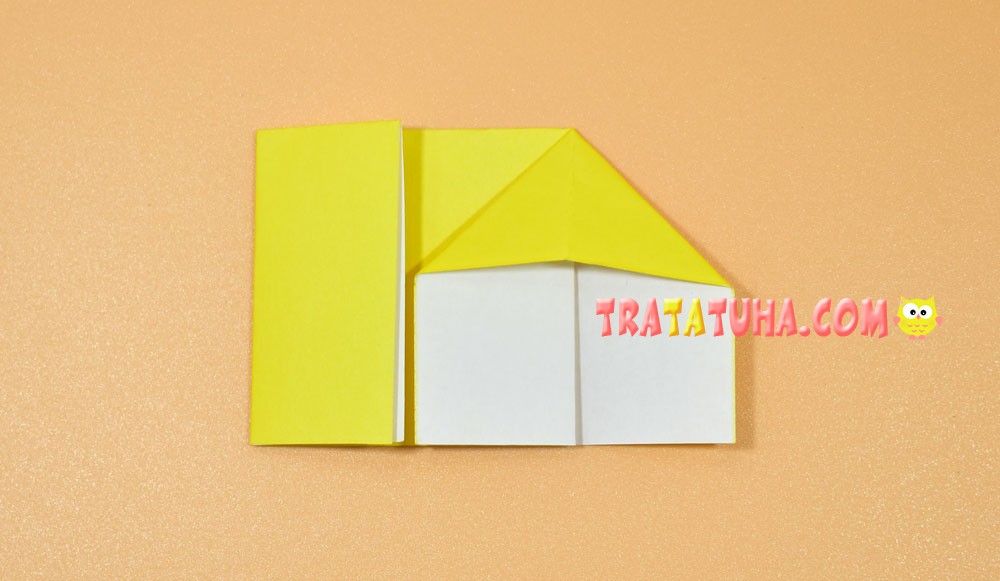
Now do the same on the left side. The house is ready.

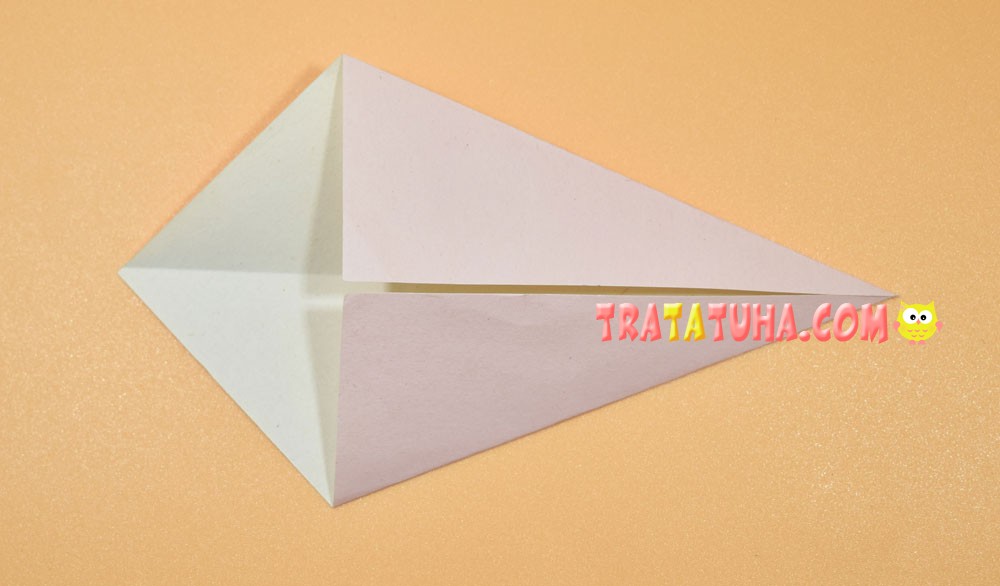
Basic Origami Shapes: Triangle
Take a square piece of paper of any size.

Fold it in half, corner to corner. The triangle is ready.

Basic Origami Shape: Pancake
Prepare a paper square.

Fold it into a triangle.

Then fold the triangle again, but connect the other two corners. You will get intersecting folds.

Bend all four corners to the center of the square. First corner.

Other. “Pancake” is ready.

Works based on it: origami doggy
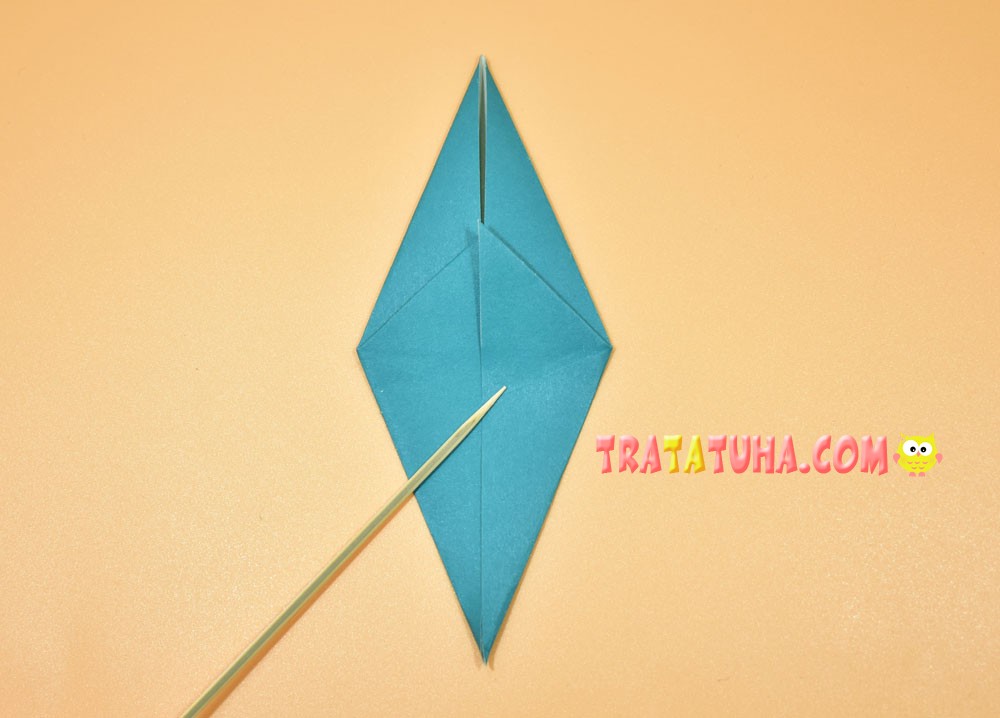
Basic Origami Shapes: Kite
Take a piece of square paper.

Fold it diagonally.

Open the folded sheet.

Bend the bottom corner to the marked line.

Then the top one. “Kite” is ready.
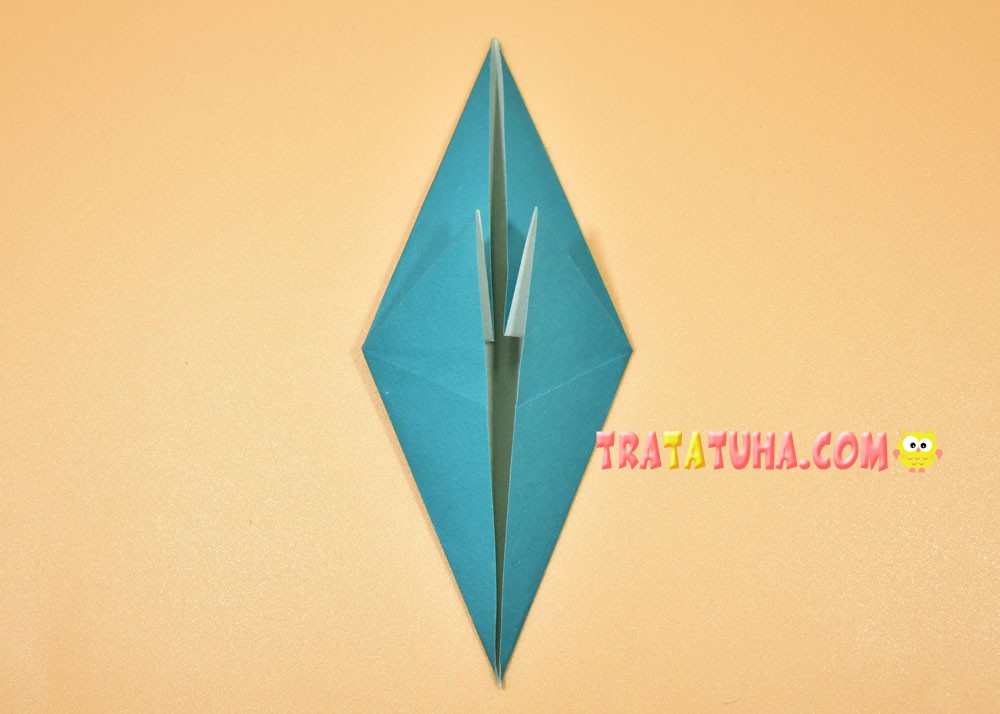
Basic Origami Shapes: Fish
Prepare a square piece of paper.

Fold it in half vertically.

Open the paper and align both sides along the line marked in the center.

Open the paper.

Again fold the side corners to the center, but now at the bottom.

Open the paper. On its area, the intended folds are visible, which will facilitate our further actions.

Fold the paper in half horizontally.

Open the paper and fold the sides into the middle along the folds. At the same time, point the right and left corners up. The photo shows the detailed stages of work.


Origami in the shape of a “fish” is ready.
Basic Origami Shapes: Double Square
Take a square sheet of paper.

Fold in half horizontally.

Then fold again from left to right.

Open the top half.

And flatten it by pointing the corner up.
Flip over to the other side.

Raise the right corner.

Open it and point the middle of the lower part up.

Flip vertically. The double square is ready.
Basic Origami: Frog
You will need a square piece of paper.
Fold it into a triangle.
Then again from left to right.

Open the corner and flatten.

Flip over to the other side.

Move the left corner to the right.

Then lift it up, open it and flatten it.

It will form a double square.
Fold the top of the folded paper over to center it.

Flip over to the other side.

And again bend the right corner.


Open it up and flatten it out.


Turn over and do the same with the second pocket.


And then with the rest.
Now fold the corners down.

Straighten back.

Open the pocket.

And point it down.

Alternately leafing through the sash parts, do this with all the parts.


The origami “frog” shape is ready.
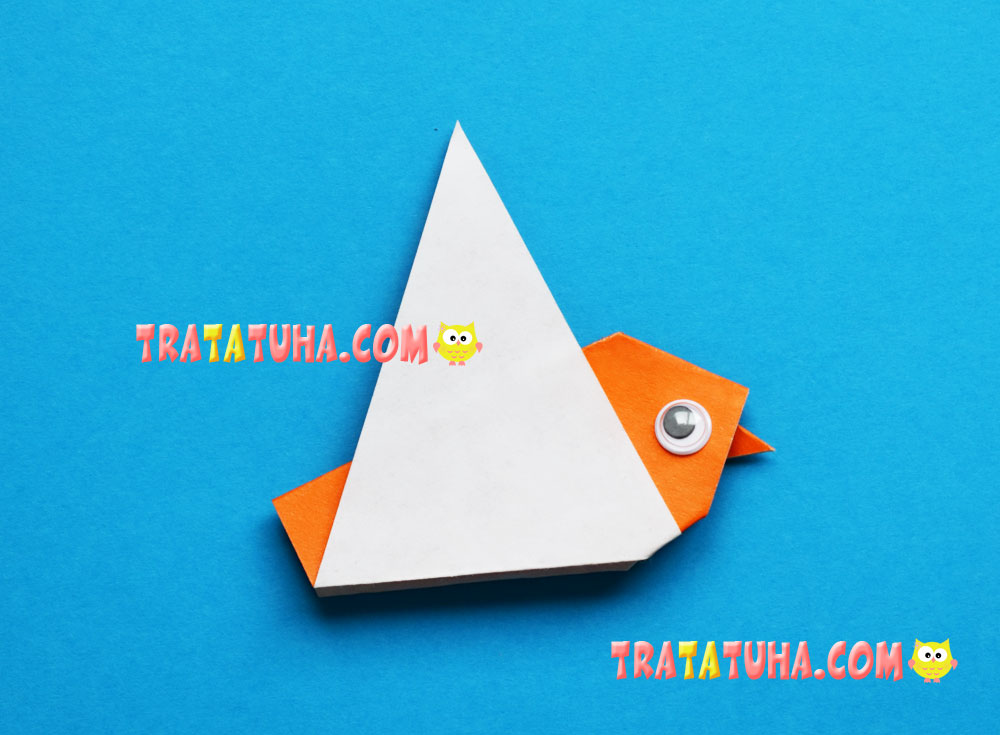
Basic Origami Shape: Bird
Prepare a square piece of paper.

Fold in half to make a triangle.

Then again, from left to right.

Flatten the pocket.


Flip over to the other side.

Flatten the second pocket. It turned out a “double square”.


Close the sides, dropping the corners down.

Open back pocket.

And then pull out the inner corner.

Drop it down.

Close the edges.
Flip over to the other side.

Do the same:
- close the edges
- open the sides of the part
- pull the corner and lower it down.


The origami “bird” shape is ready.

Related Post: