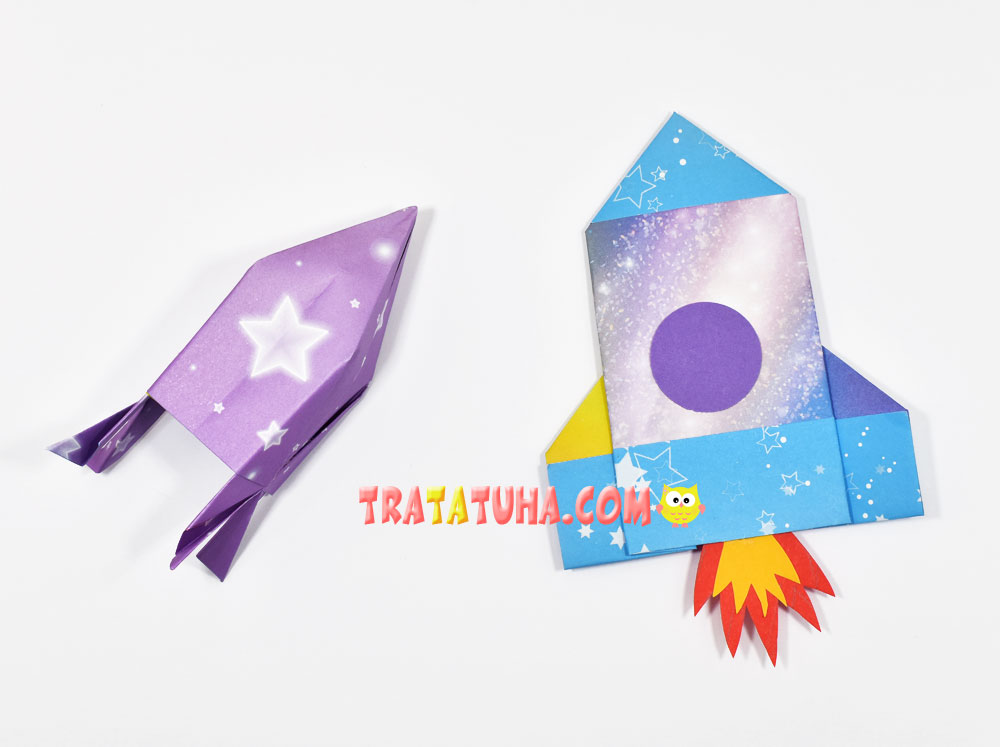
Origami rocket step by step for kids. Two simple ways to fold a paper rocket – flat and voluminous.
Materials for creative work:
- Colored paper of any desired color;
- Scissors, glue.
Origami Rocket Step by Step
1 Rocket Option – Flat and Very Simple
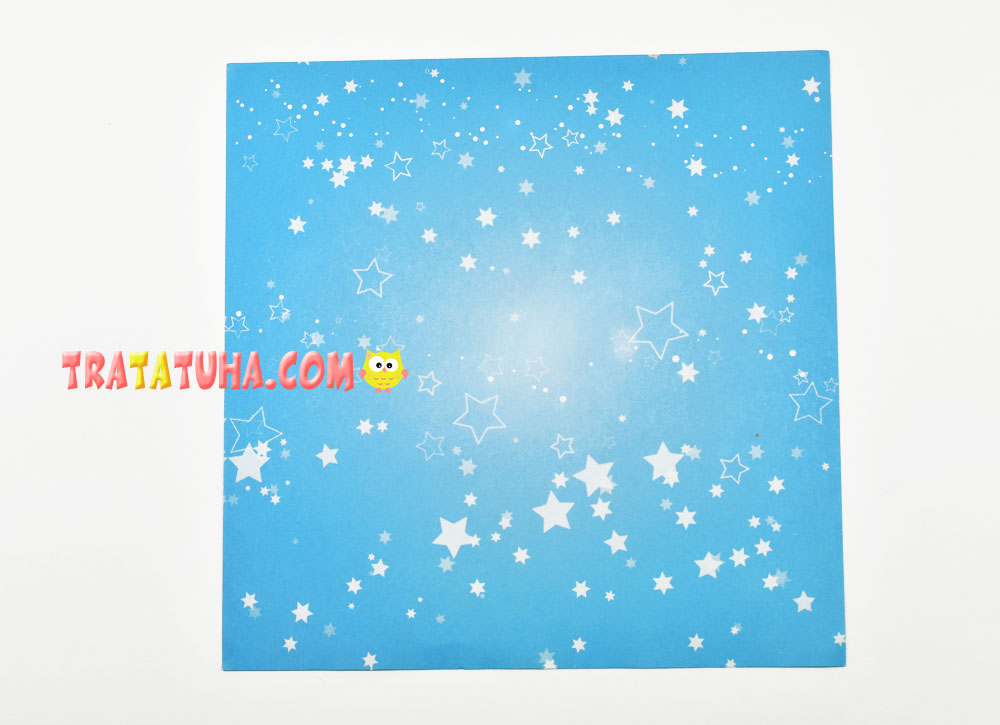
Place a square piece of paper in front of you.
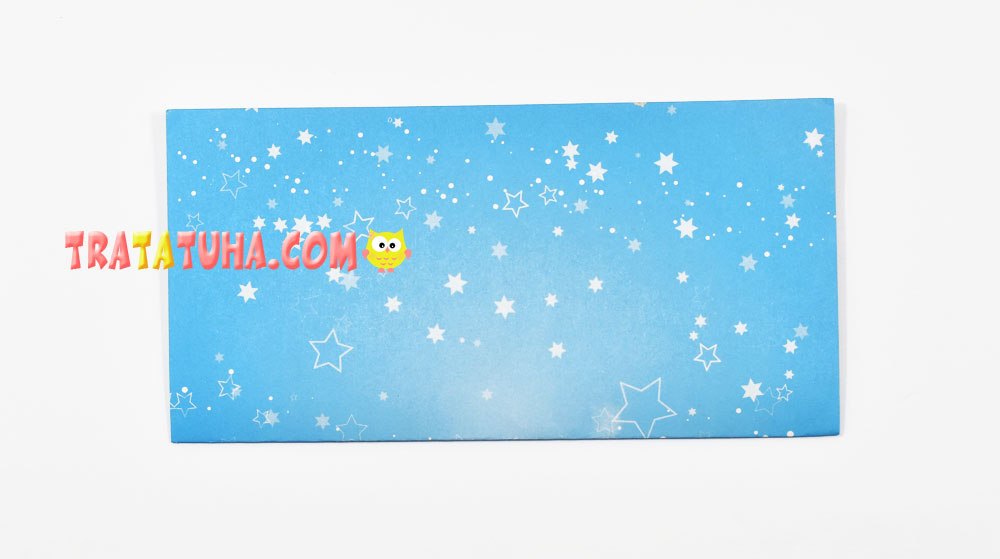
Fold in half to make a rectangle.
Then turn over and fold in half again so that the intersecting folds are visible on the surface of the square.
Open the paper and fold part of it from the bottom.
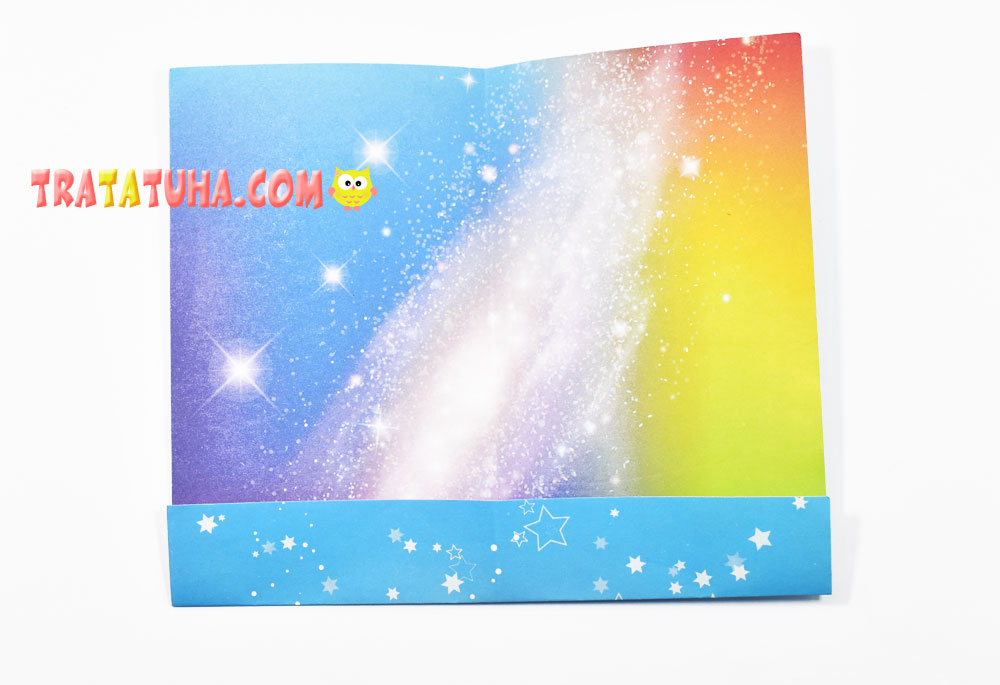
Flip over to the other side, folded up, and center the right corner.
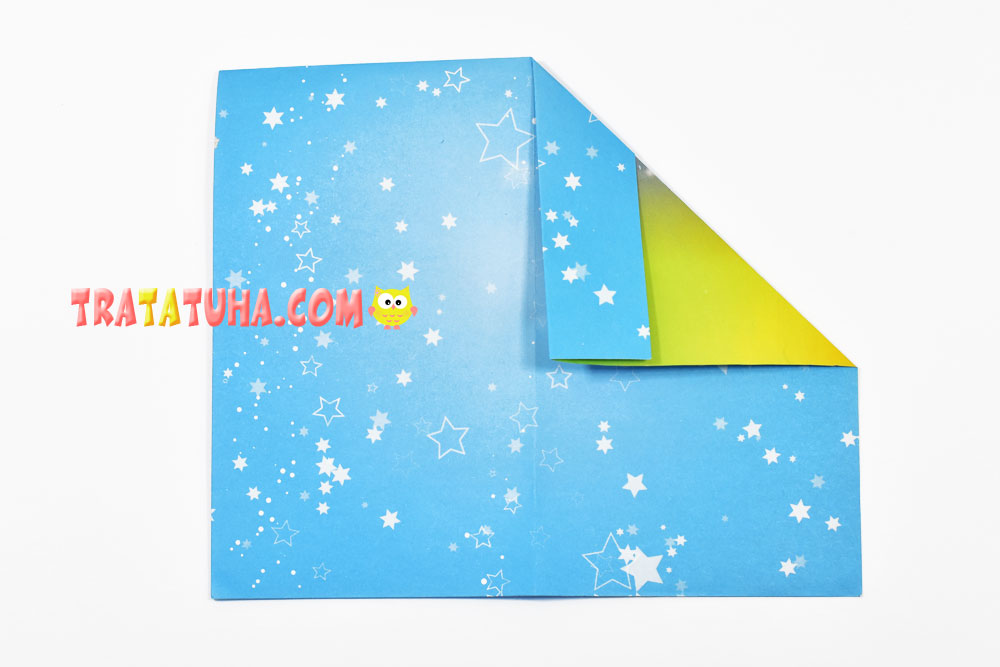
Then the left.
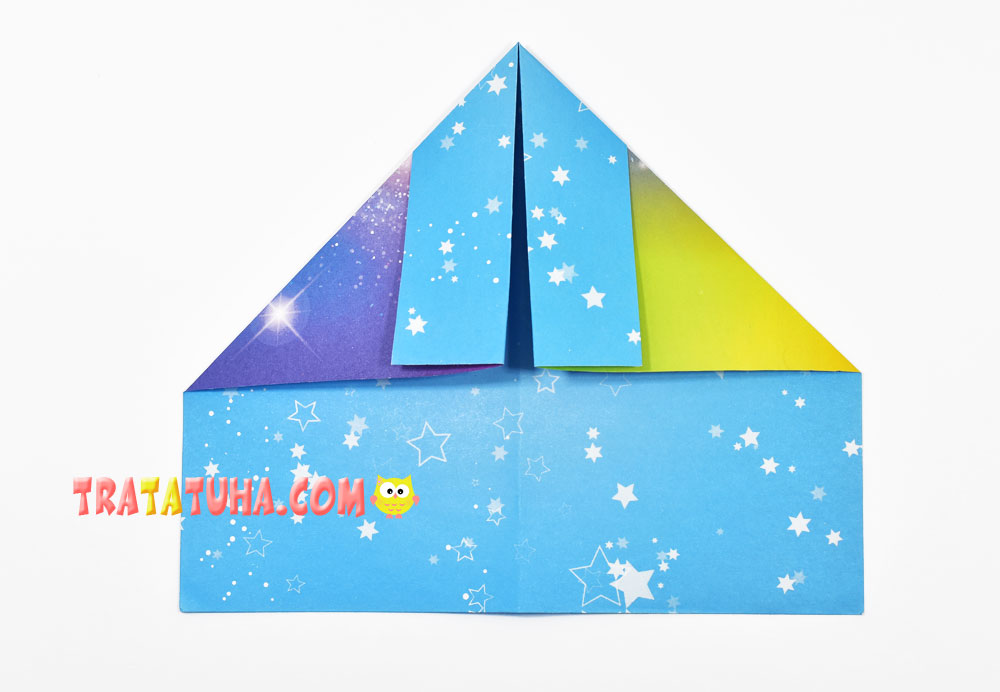
Turn over to the other side and fold the bottom of the paper up to the corners from the bottom.
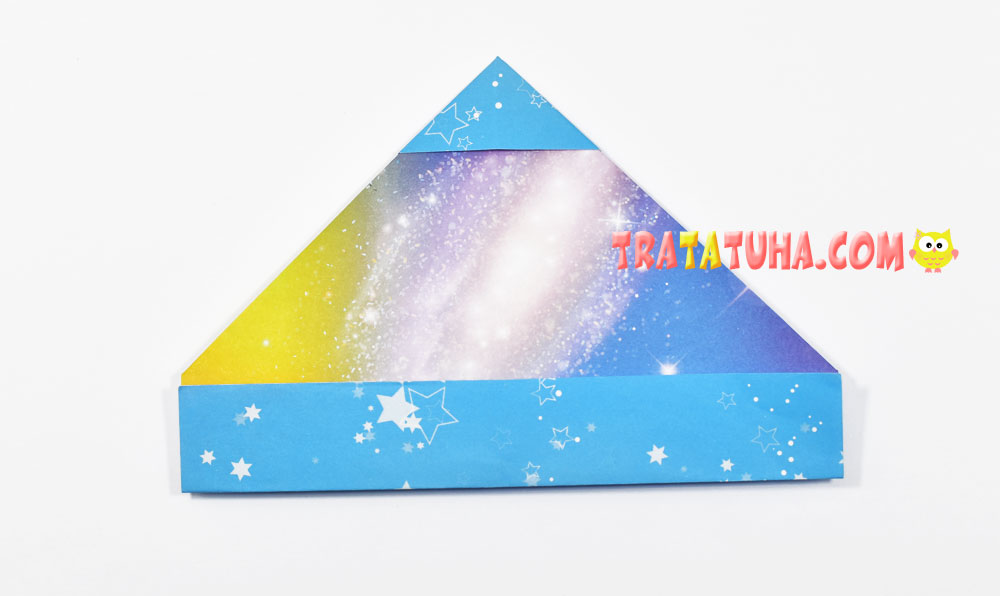
Flip over to the other side again, fold the left side to the right, aligning the bottom.
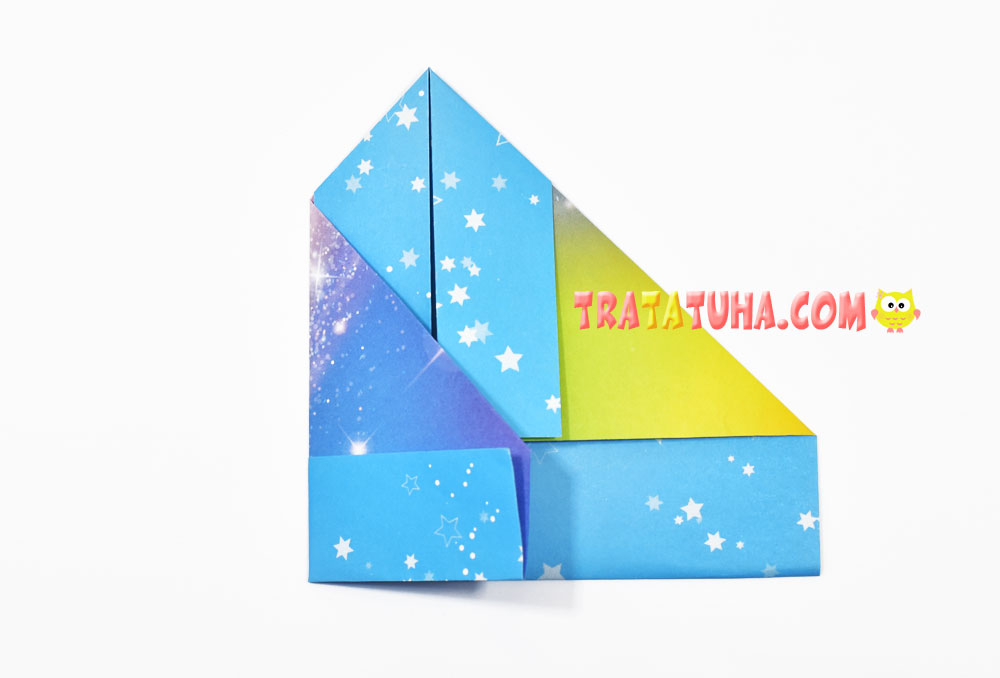
And then, making a small fold, immediately point this side back.
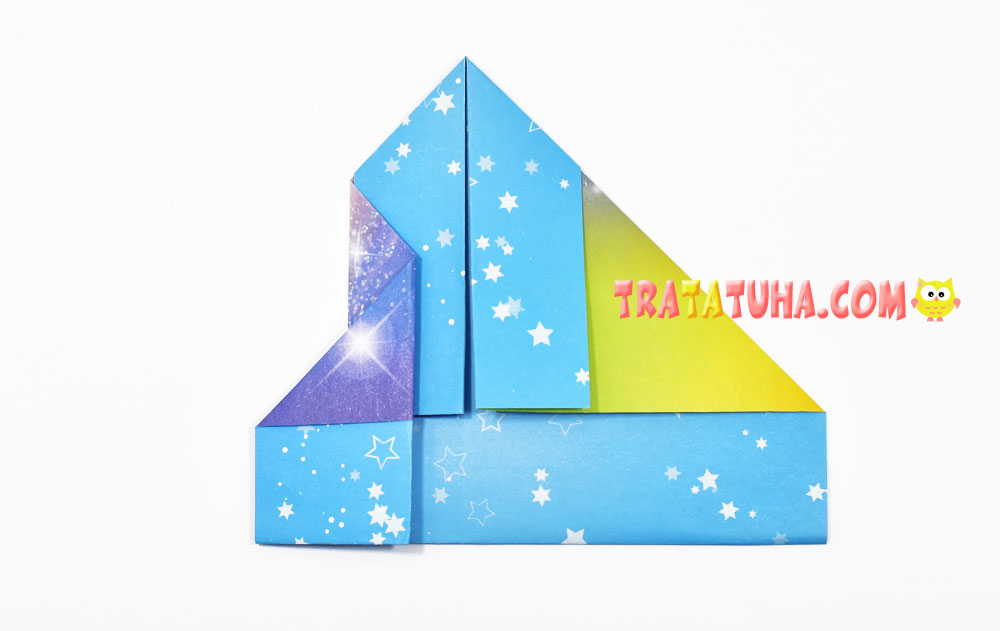
Do all the same manipulations with the right side.
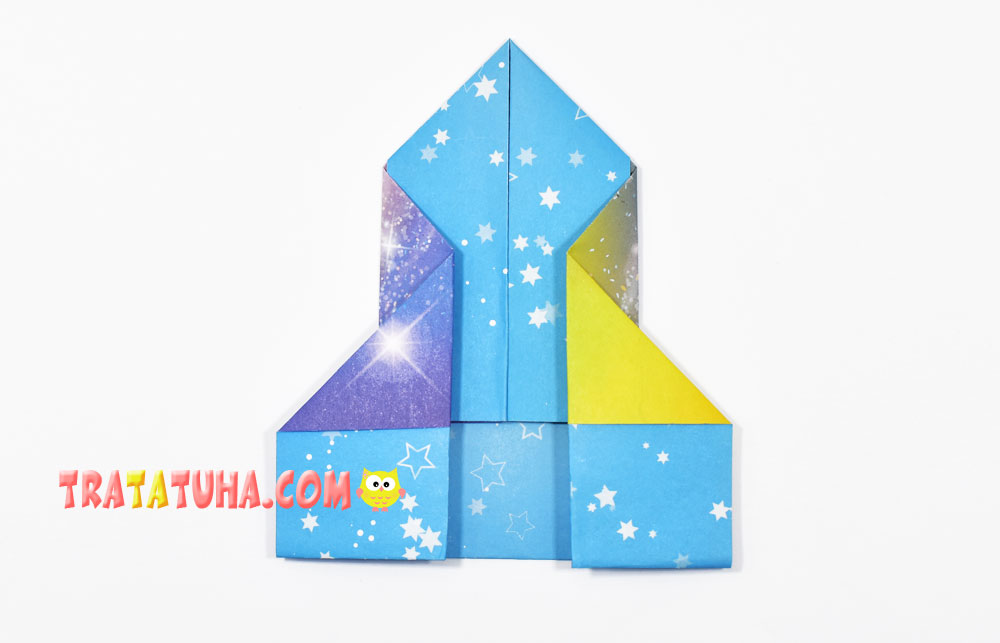
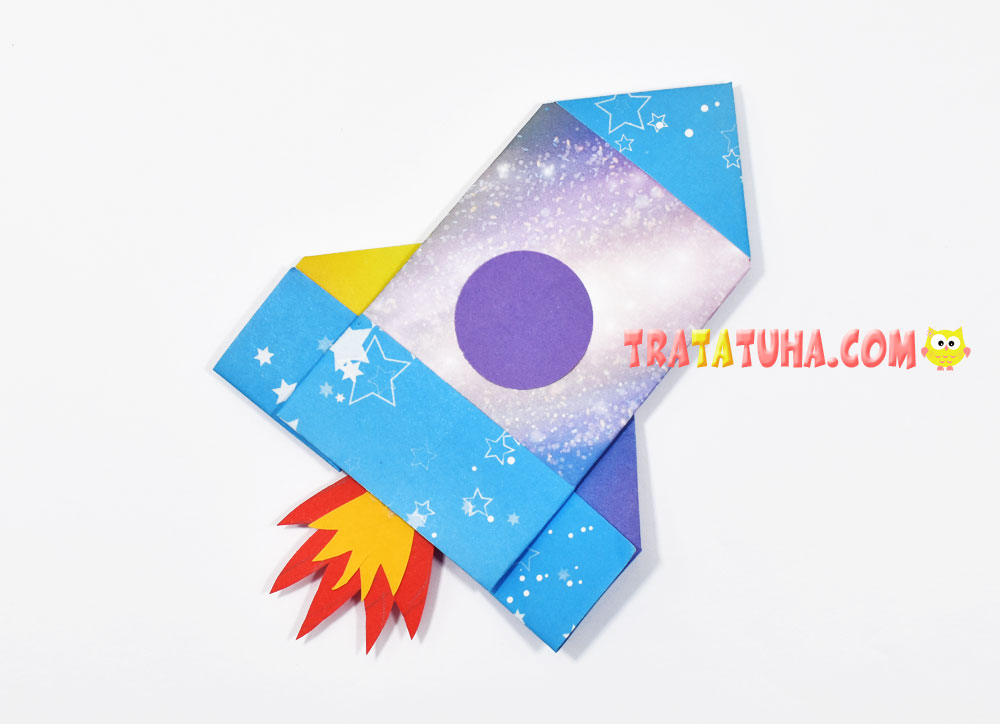
Turn over, a simple origami rocket is ready.
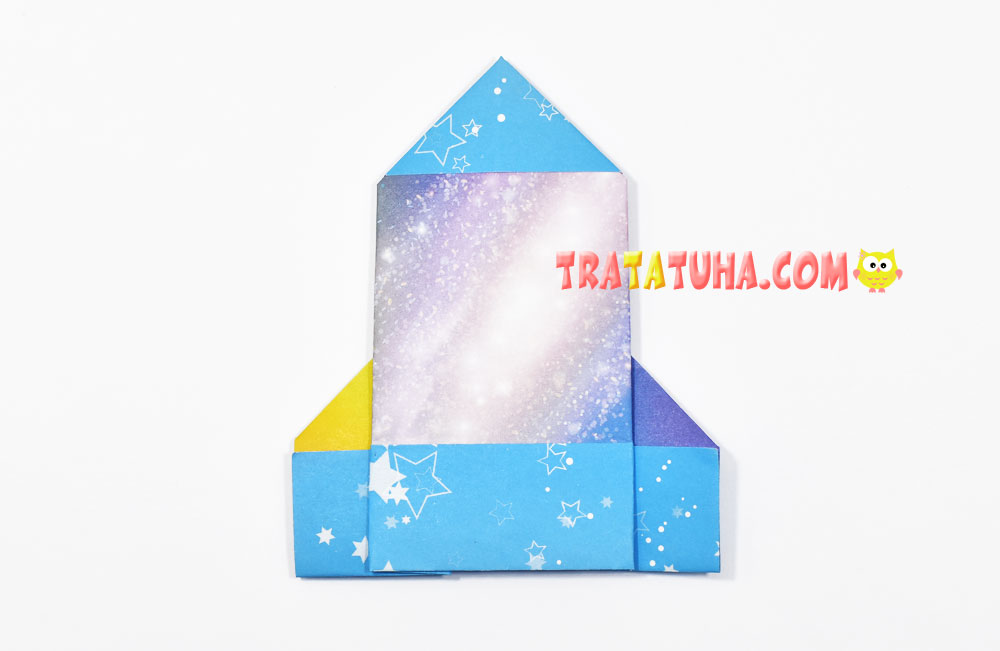
Optionally, you can also add 1-2 circles, imitating a porthole, cut a fire out of colored paper.
2nd Version of the Origami Rocket – Volumetric
Prepare square paper.
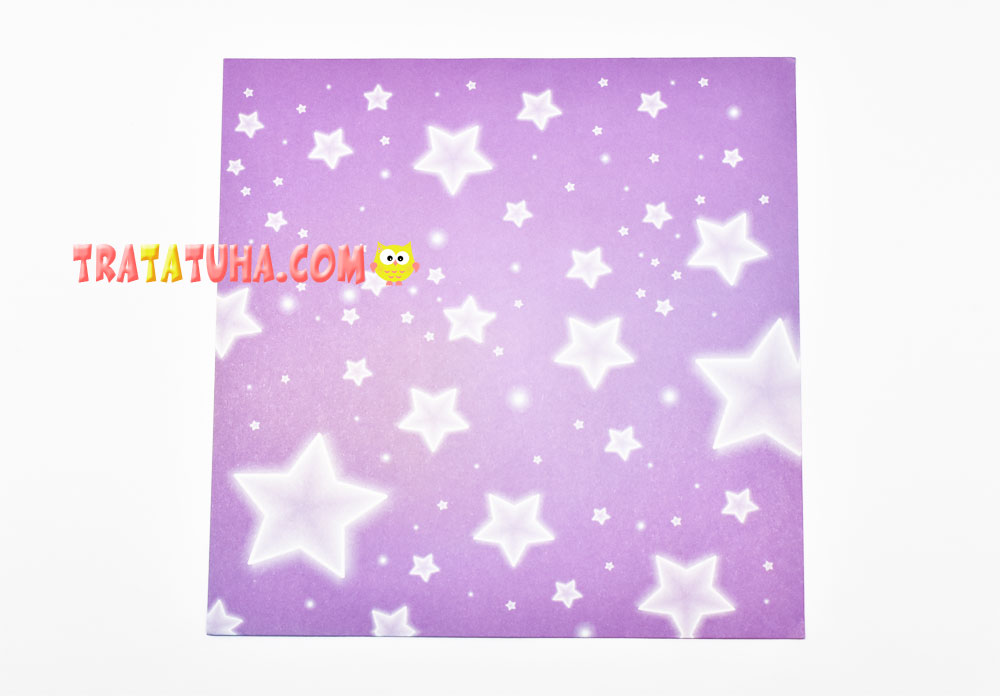
Make cross folds. First, connect two opposite corners.
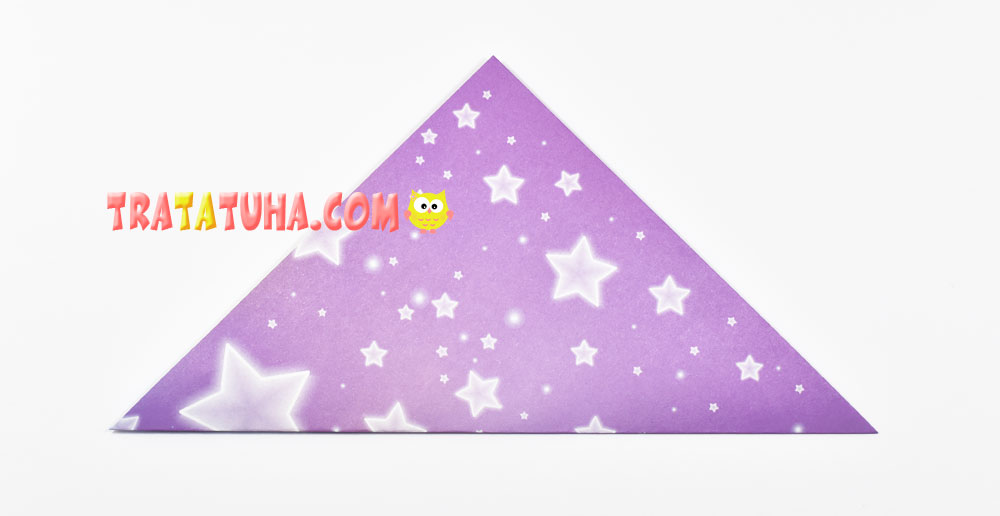
Then open the paper and connect the other two corners.

Now we need to make a basic shape common in origami, which is called a double triangle. For convenience, turn the paper over and, guiding the sides inward, select the cross edges.
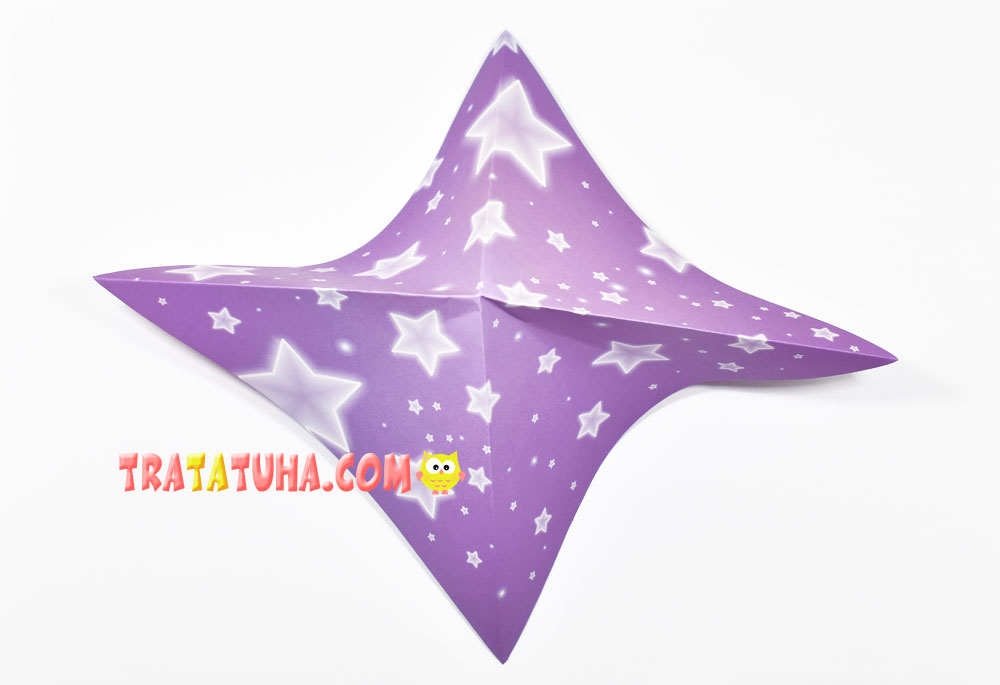
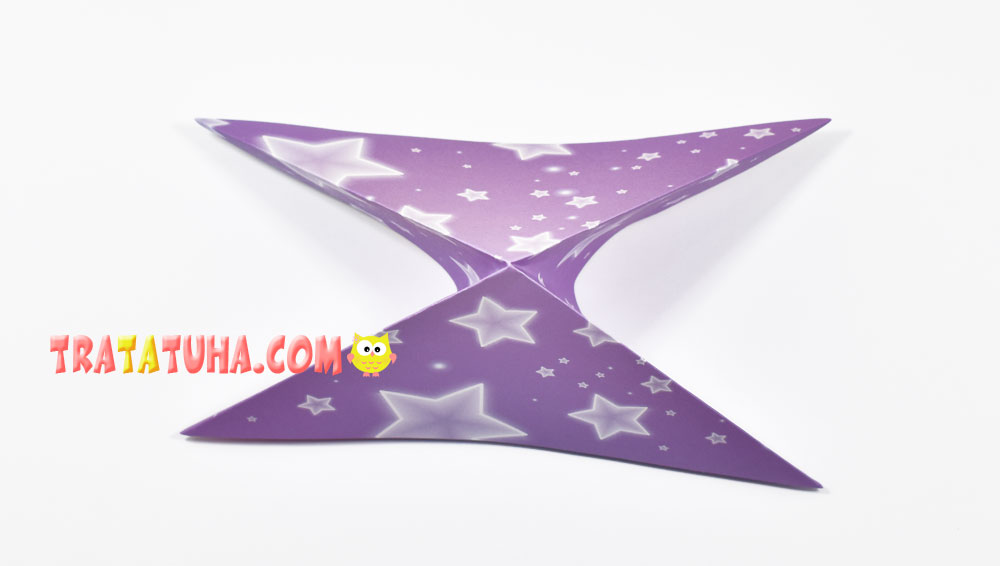
Press down and you get a double triangle. Align the right side of one part of the triangle to the center.
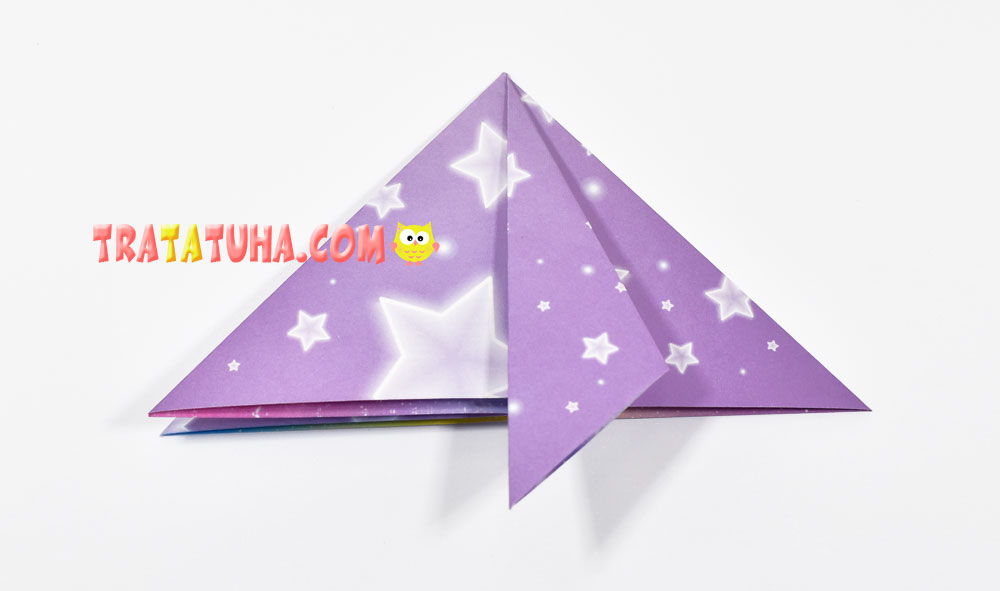
Then left.
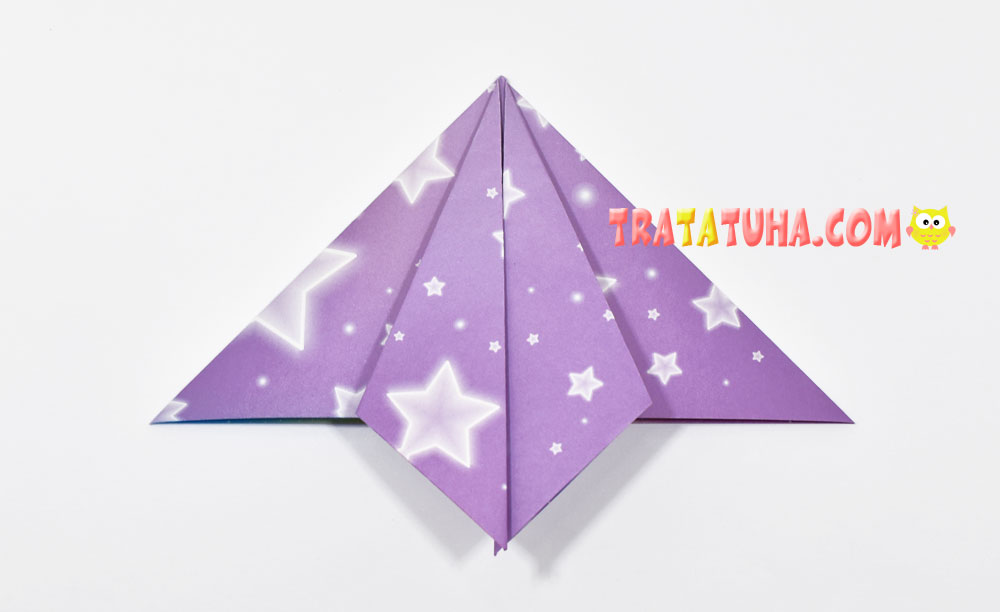
Flip over to the other side and fold both sides in the same way.
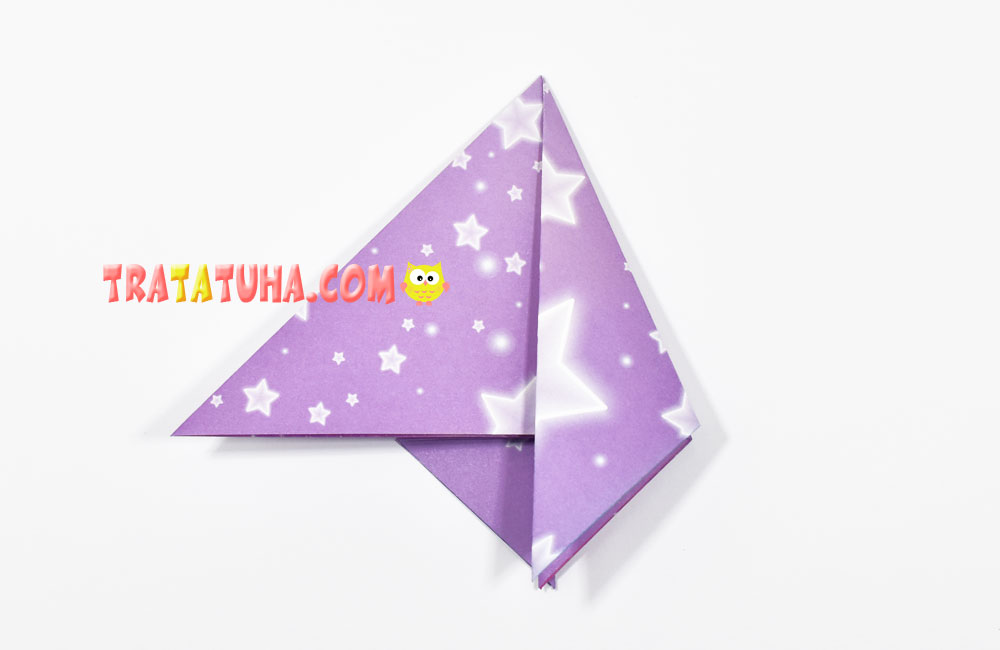
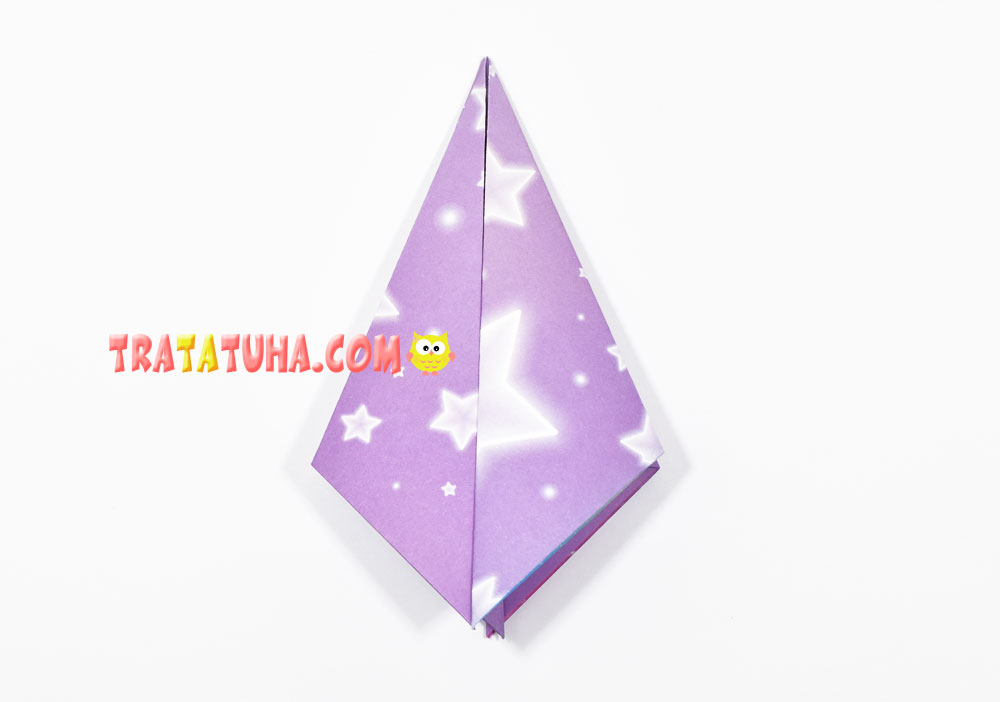
Now fold in the small corners on the sides.
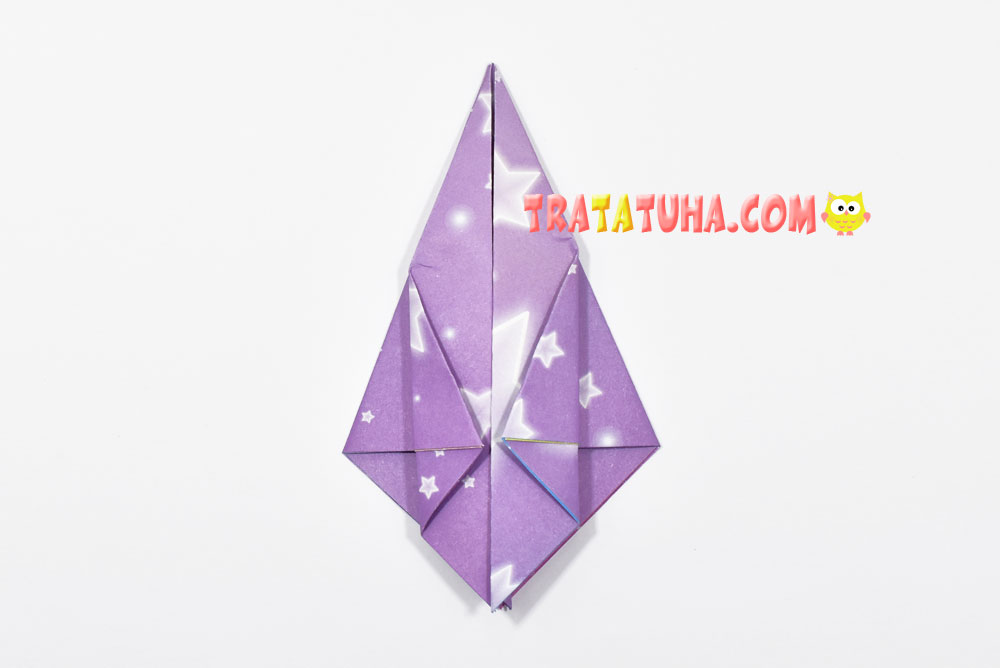
Flip over and fold in the corners on the other side as well. Bend the small corners from the bottom slightly to the side.
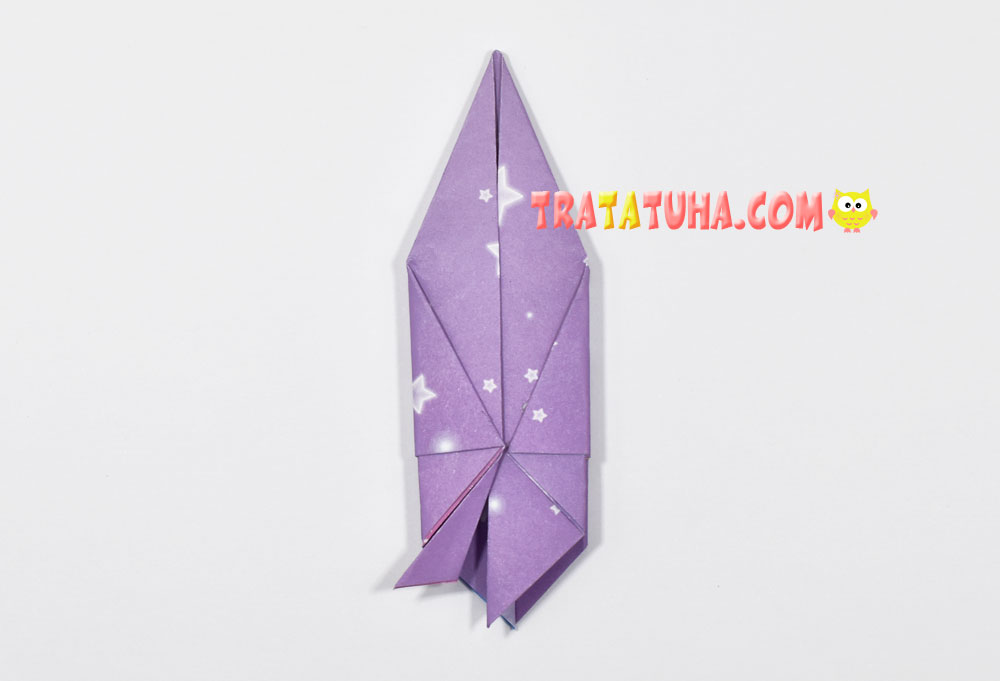
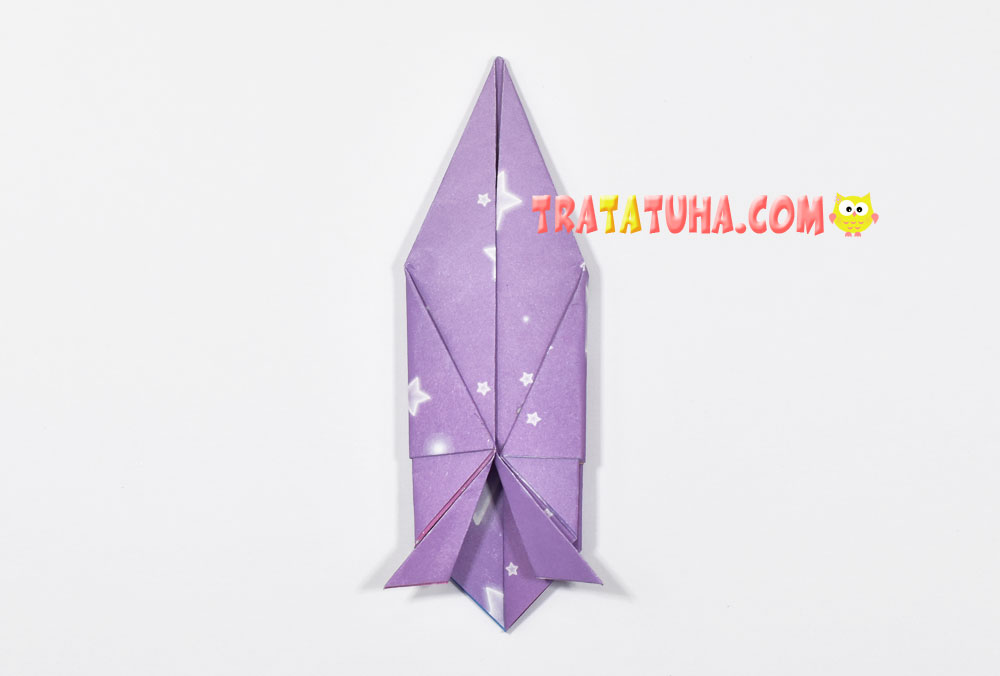
Turn over and the other side also bend the same small bottom corners.
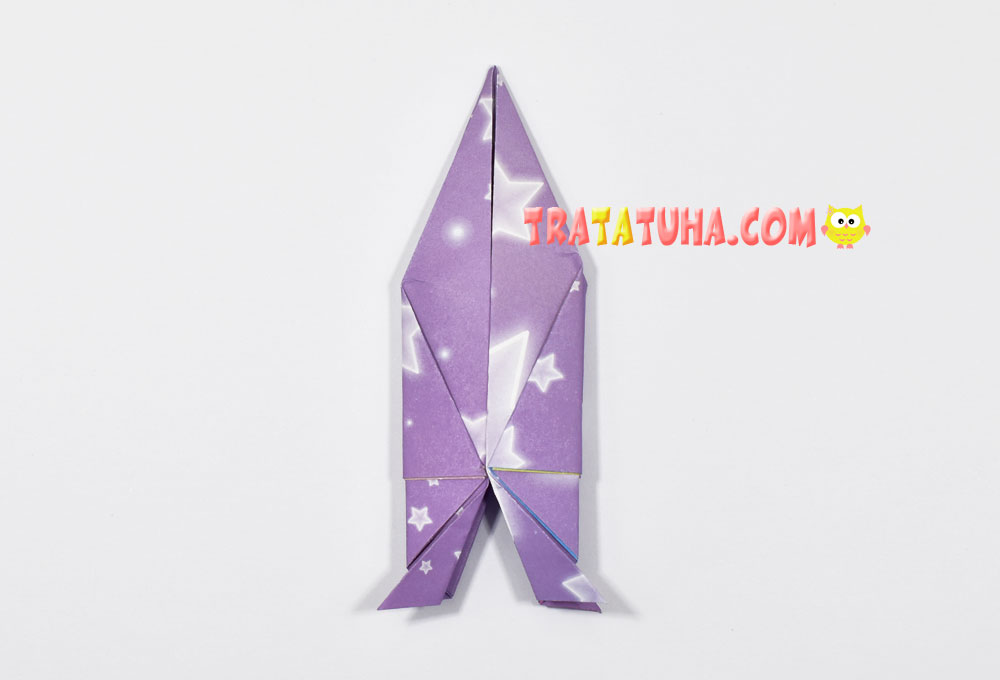
Place your finger on the bottom of the rocket and spread it out, making it look voluminous.
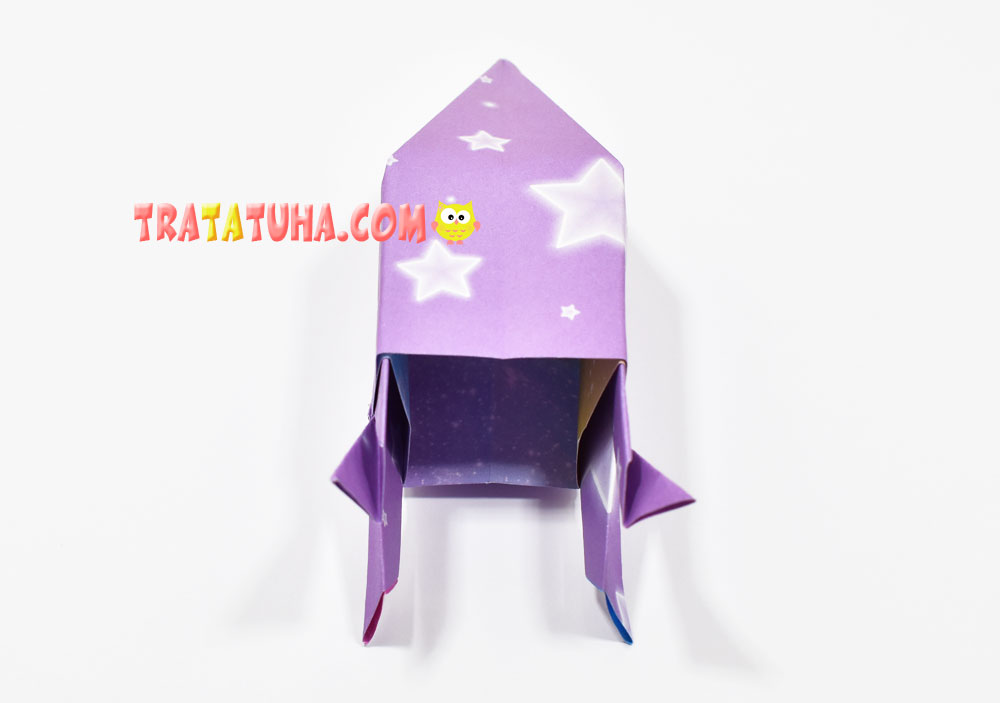
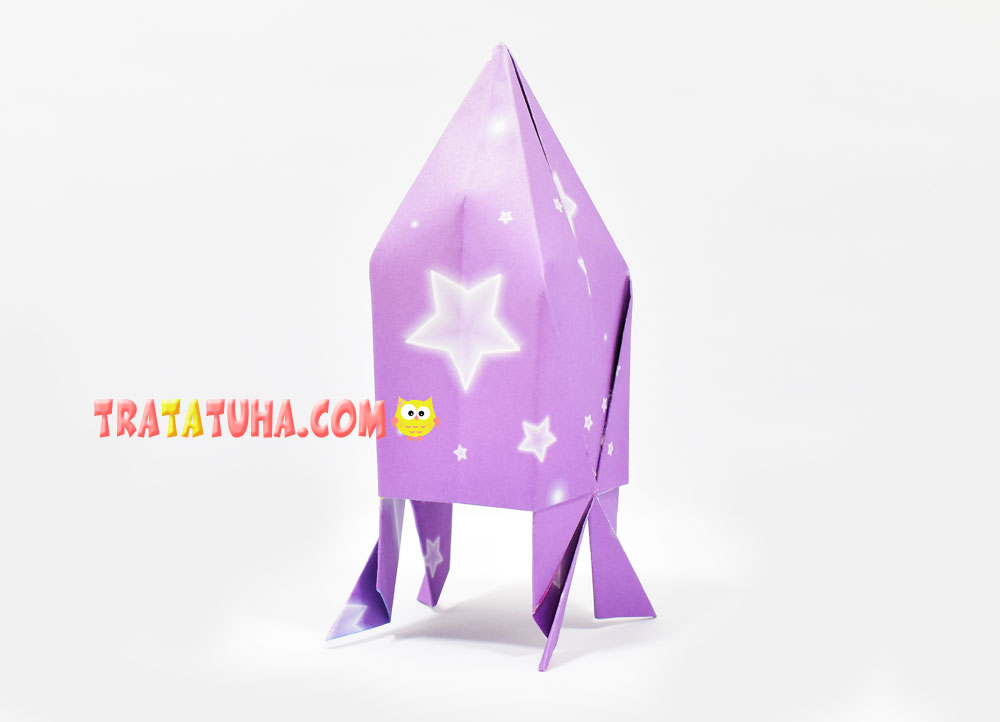
Everything, the origami rocket is ready.
Crafts for Kids – learn how to make craft at home! Super cute crafts for all age groups!
